
Keep useful image references ready
Manage reusable image references
Avoid cropping the same target for every command. Find a script's images, check what their pixels actually contain, and give each reference a useful name before relying on it for screen recognition.
Choose the part you need
The prepared Reference Images script has a separate copy of the ScriptTap icon reference. This guide manages that image; it does not build or run a recognition script. The written steps follow the same workflow.
Create a stable reference from a screenshot
This is the shared Asset Creation tutorial, not a second copy of the video. It shows Main Overlay Screenshot → Crop, the initial crop, custom and hollow shapes, Color Crop tolerance, and Save. Use its full written guide and narration for the detailed workflow.
Inspect and name an image reference
Find the owning script's images
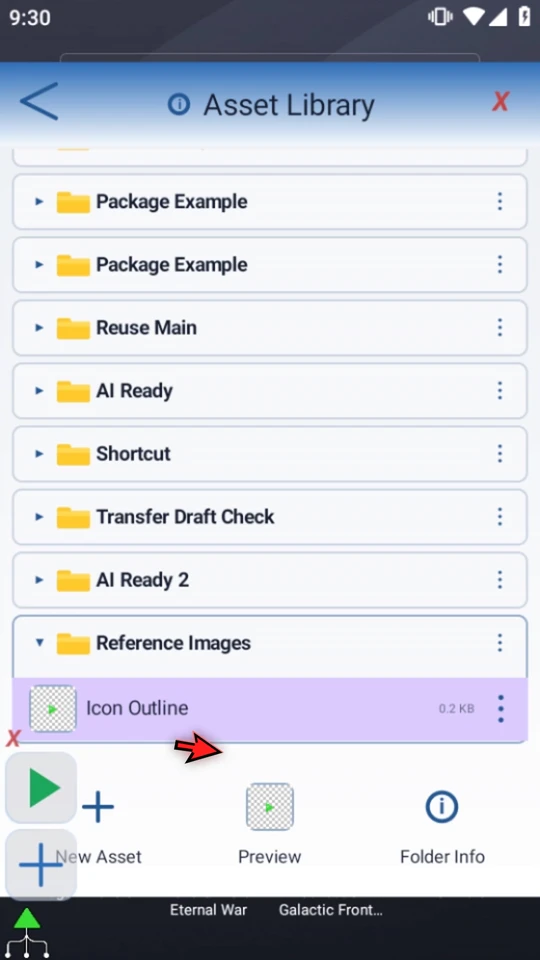
Choose Assets in the Script Library header. Expand the script folder you need, keep unrelated folders collapsed, and select an image. Preview becomes available for the current selection. Here the prepared Icon Outline belongs to Reference Images.
Read Folder Info before reorganizing
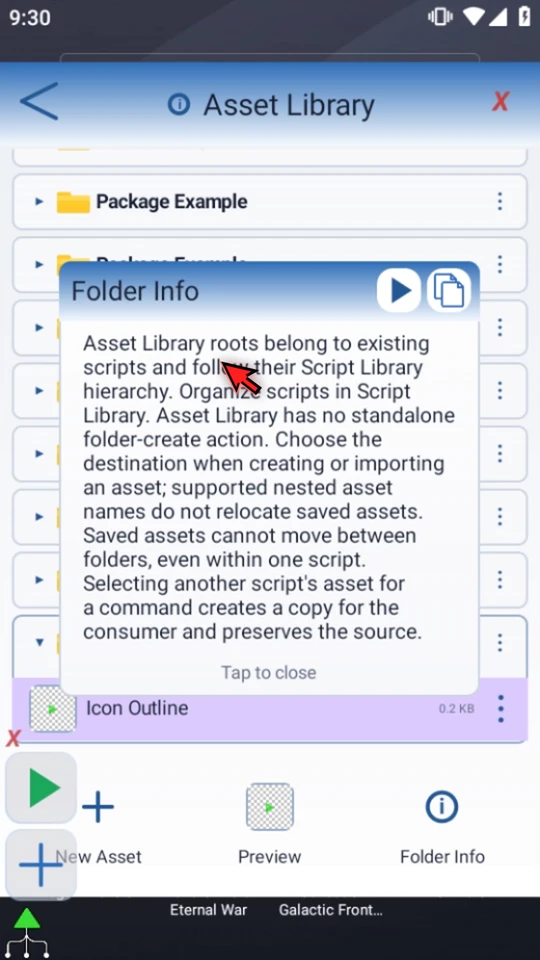
Folder Info explains the script-owned structure. It is information, not an independent empty-folder creation button. Initial creation or import can choose an asset destination; supported existing or imported nested paths and nested naming are different from relocating a saved image. Saved assets cannot be moved or dragged between folders, including within one script.
Check the actual pixels in Preview
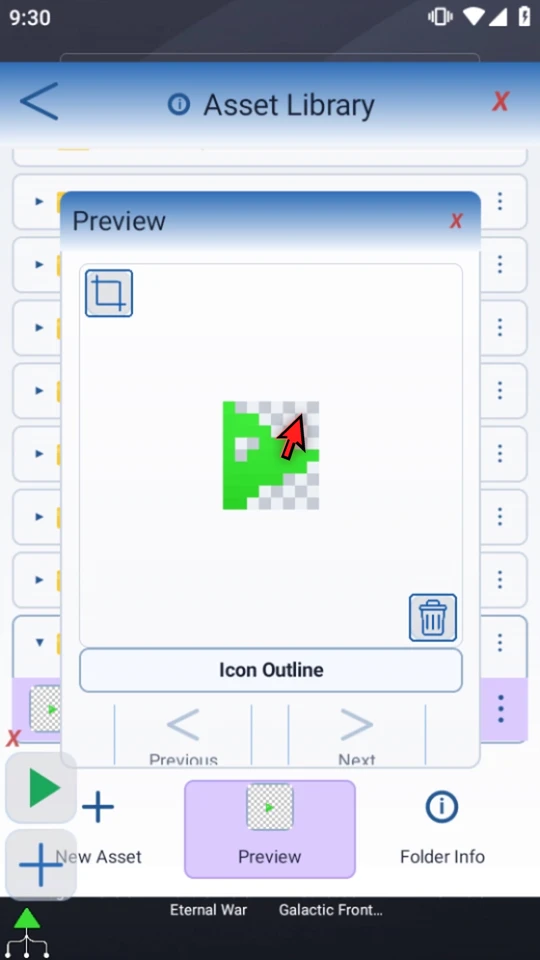
Select the reference and choose Preview. The checkerboard indicates transparent areas, not colors the matcher should find. Check that the remaining pixels form a useful, stable reference. The Asset Creation guide explains how to remove background and prepare a small reference.
Distinguish editing, deletion and browsing
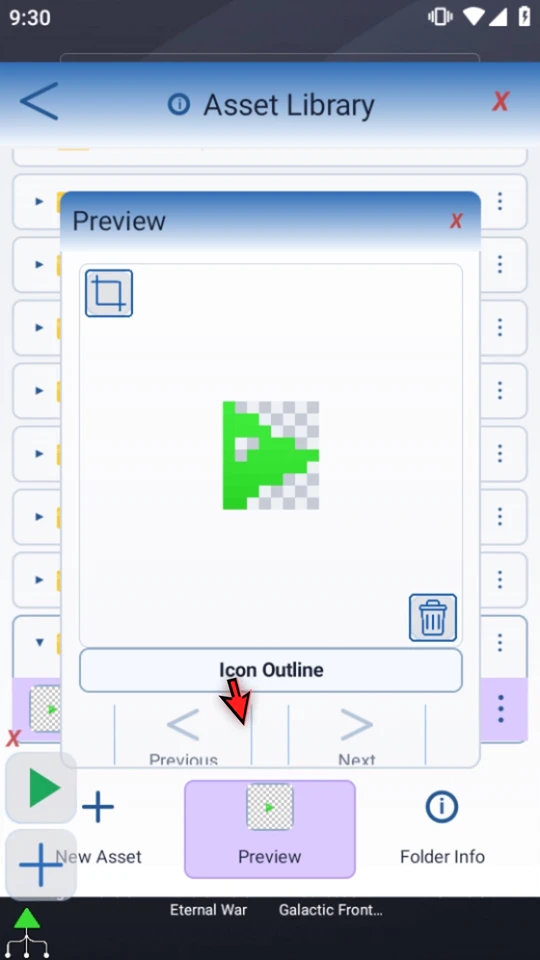
Preview exposes Crop for image editing and a trash control for deletion. Trash is not Back. The arrows browse images in the same folder; they are inactive here because it contains only one image. The video points out these controls without cropping or deleting the reference, then closes Preview with its header X.
Rename the selected copy
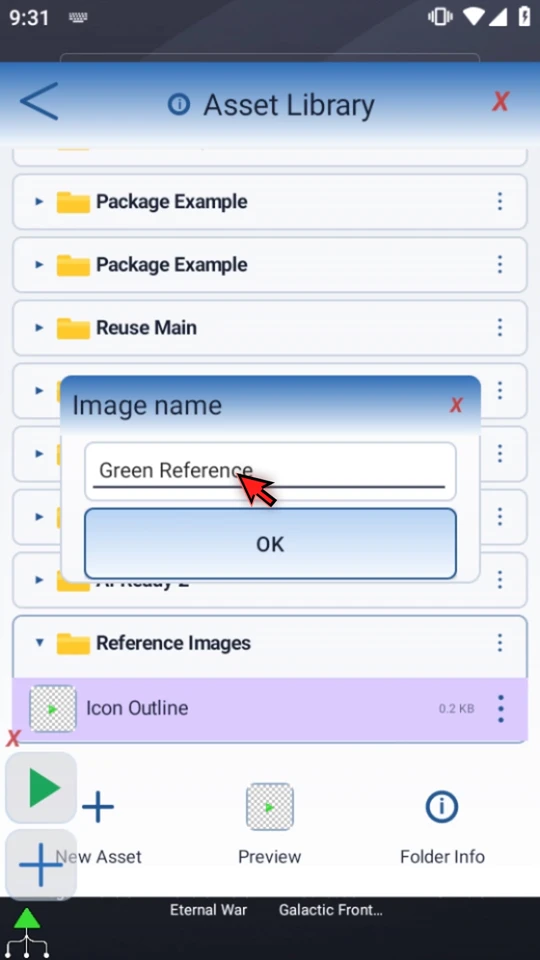
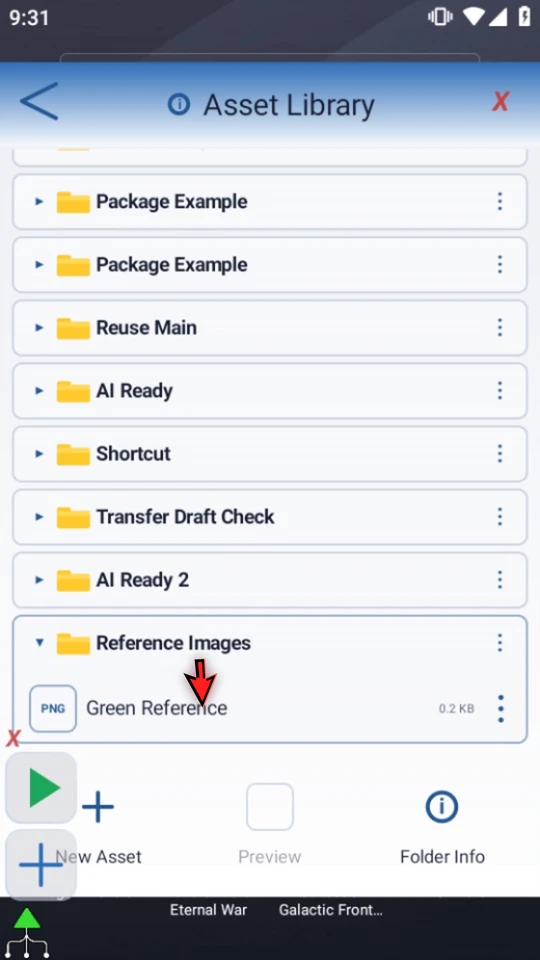
Open the image's three-dot menu and choose Rename. Enter a useful label, check the whole text, and confirm with OK. The example changes Icon Outline to Green Reference. This changes the selected asset copy's name, not the name of its owning script or the original reference.
Use the creation guide for a new image
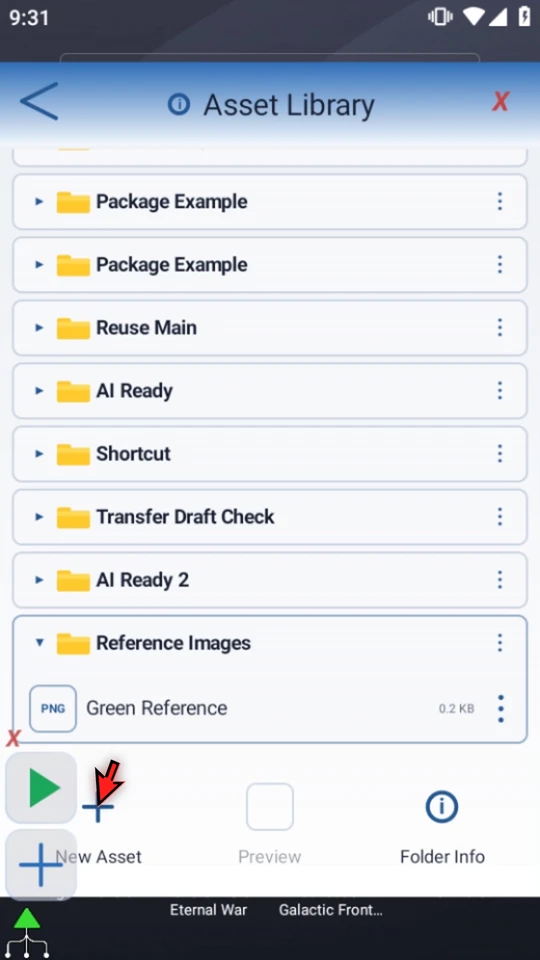
New Asset opens Recent Screenshots as a source. A saved screenshot is not yet a script asset. For creating and saving a reference, choose the Create an asset tab or its written guide. This management video points to New Asset without repeating the crop workflow.
Reuse without changing the source
When a command selects an image owned by another script, ScriptTap creates a copy for the consuming script and preserves the source. Duplicating a script also carries its assets. These are copy workflows, not asset moves.
Return to Script Library when finished and keep the owning script organized. Preview checks the reference itself; test recognition on the screen where it will be used. Managing an image in the library does not prove that a command will find a changing screen target.
Continue with a useful next step
Read the management narration
Keep useful image references ready instead of cropping the same target for every command. The Asset Library lets you inspect and name the images owned by your scripts. This prepared example has a separate copy of the ScriptTap icon reference from the Asset Creation tutorial.
Choose Assets in the Library header. Each script has its own asset folder. Expand the folder you need and select an image; Preview becomes available for that selection. Keep unrelated folders collapsed while you work.
Folder Info explains the structure. These roots belong to existing scripts; organize those scripts in Script Library. Deleting a script also removes its asset folder, so keep an exported copy of important work before destructive changes.
This is information, not an empty-folder creation button. Choose a destination when you create or import an asset. Supported existing nested paths and naming are different from moving a saved image. Saved assets cannot be dragged into other folders, even within the same script.
When a command selects another script's image, ScriptTap creates a copy for the consuming script and preserves the source. Duplicating a script also carries its assets. This example is a separate copy, so naming it will not rename the original reference.
Select the image and choose Preview. Check its actual pixels before relying on it for screen recognition. The checkerboard shows transparent areas. A small, stable reference is easier to understand than an unnecessarily large screenshot; the crop tutorial explains how to prepare one.
Preview also exposes crop and delete controls. Crop returns to image editing; the trash button is not a way back, so leave it alone unless you intend to remove the image. The arrows browse images in this same folder. Here there is only one, so they are inactive.
For a clearer label, open the image's three-dot menu and choose Rename. This edits the selected copy's name, not the script that owns it. Enter a useful label, check the full text, then confirm with OK. The image returns to the list under its new name, ready to select for a command.
New Asset opens Recent Screenshots as a source for creating an image asset. A saved screenshot is not yet an asset attached to your script. The separate Asset Creation tutorial shows the crop modes and Save workflow; use that guide before building commands that depend on image matching.
Return to Script Library when you are finished. Keep the owning script organized, check the reference in Preview, and test recognition in the screen where it will be used. The library manages your images; a command guide shows how to act on a match.