
Prepare a reliable visual reference
Create a reusable image asset
Give an image-matching command a small, distinctive picture to look for. Keep stable detail, remove pixels you do not need, and reuse the same reference across commands. This shared walkthrough uses part of the ScriptTap launcher icon.
Watch all four crop modes
Follow this walkthrough once, then use the saved asset in the image-matching commands you need.
Follow the steps
Choose detail that stays recognizable
Prefer a stable, distinctive part of the target. A large background or a filled interior can add matching work without useful identity. Semi-transparent edge pixels blend with whatever is behind them, so their captured colors can change with the background. Exclude those unstable edges where possible.
Capture the screen and open Crop
Keep the ScriptTap icon visible on Android Home. Use the screenshot button in Main Overlay, then immediately use the Crop button that appears. If Android asks, allow screen capture.
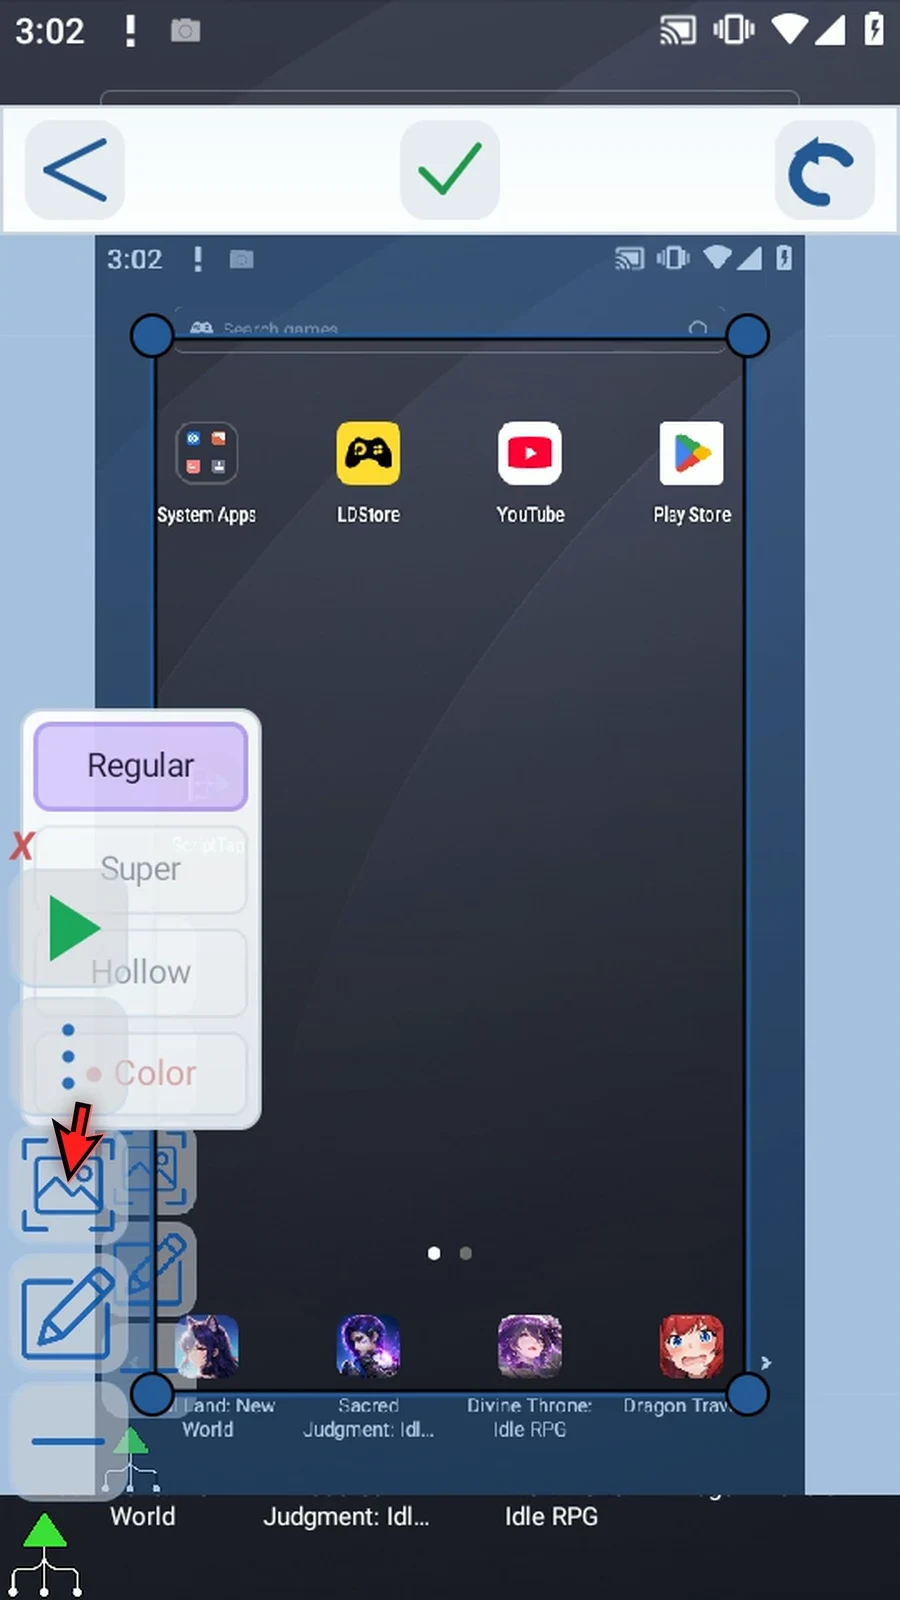
Use Regular Crop for the initial rectangle
Drag inside the initial selection to reposition it without resizing. Fit its handles around a small icon portion. Reduce the result to at most 32 × 32 pixels; if the initial crop is larger, use Crop Again to refine it. Assets must be at least 4 × 4 pixels.
Apply the initial crop before comparing the advanced tools. The video moves the crop square and tools so the selected detail remains visible.
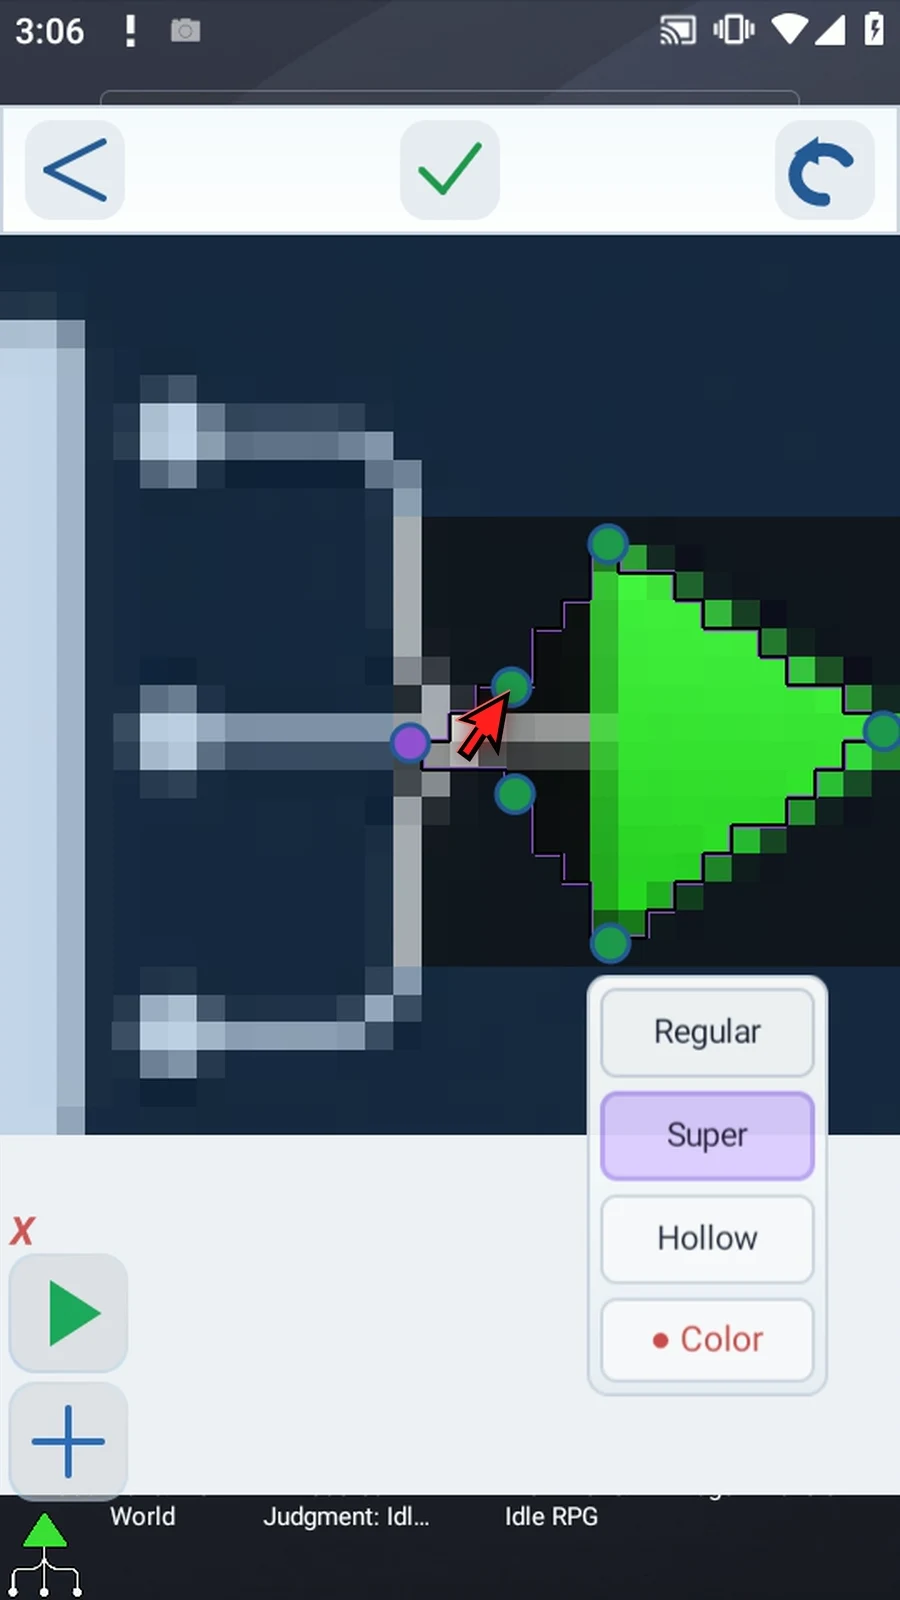
Use Super Crop for a custom outline
Super Crop uses three to sixteen waypoints to keep a custom shape instead of a rectangle. The video uses six points around an irregular icon portion. Move the points and inspect the preview; pixels outside the outline become transparent.
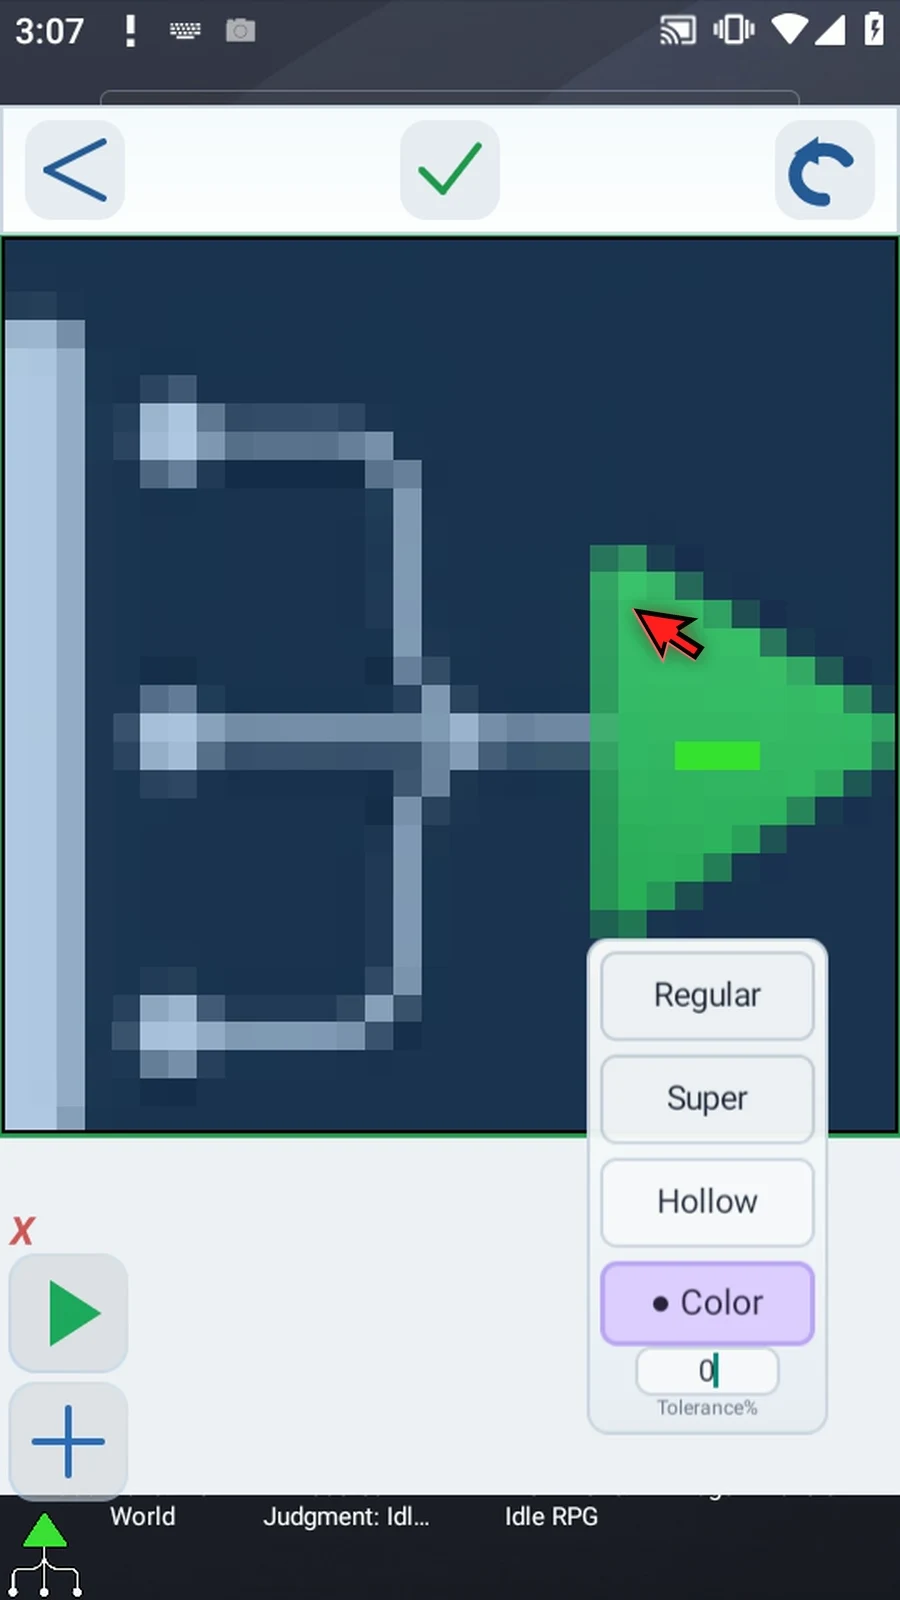
Use Color Crop to retain a color
Set Tolerance to 30 before sampling green. The selection retains green shades within that tolerance. Change tolerance to 0 without sampling again: the kept area updates as you edit the tolerance, and zero excludes any deviation from the sampled color.
Color Crop checks the entire image. Matching disconnected patches are retained too; it is not limited to one connected region. The comparison is performed before Hollow Crop so several colors remain available.
Use Hollow Crop for a transparent middle
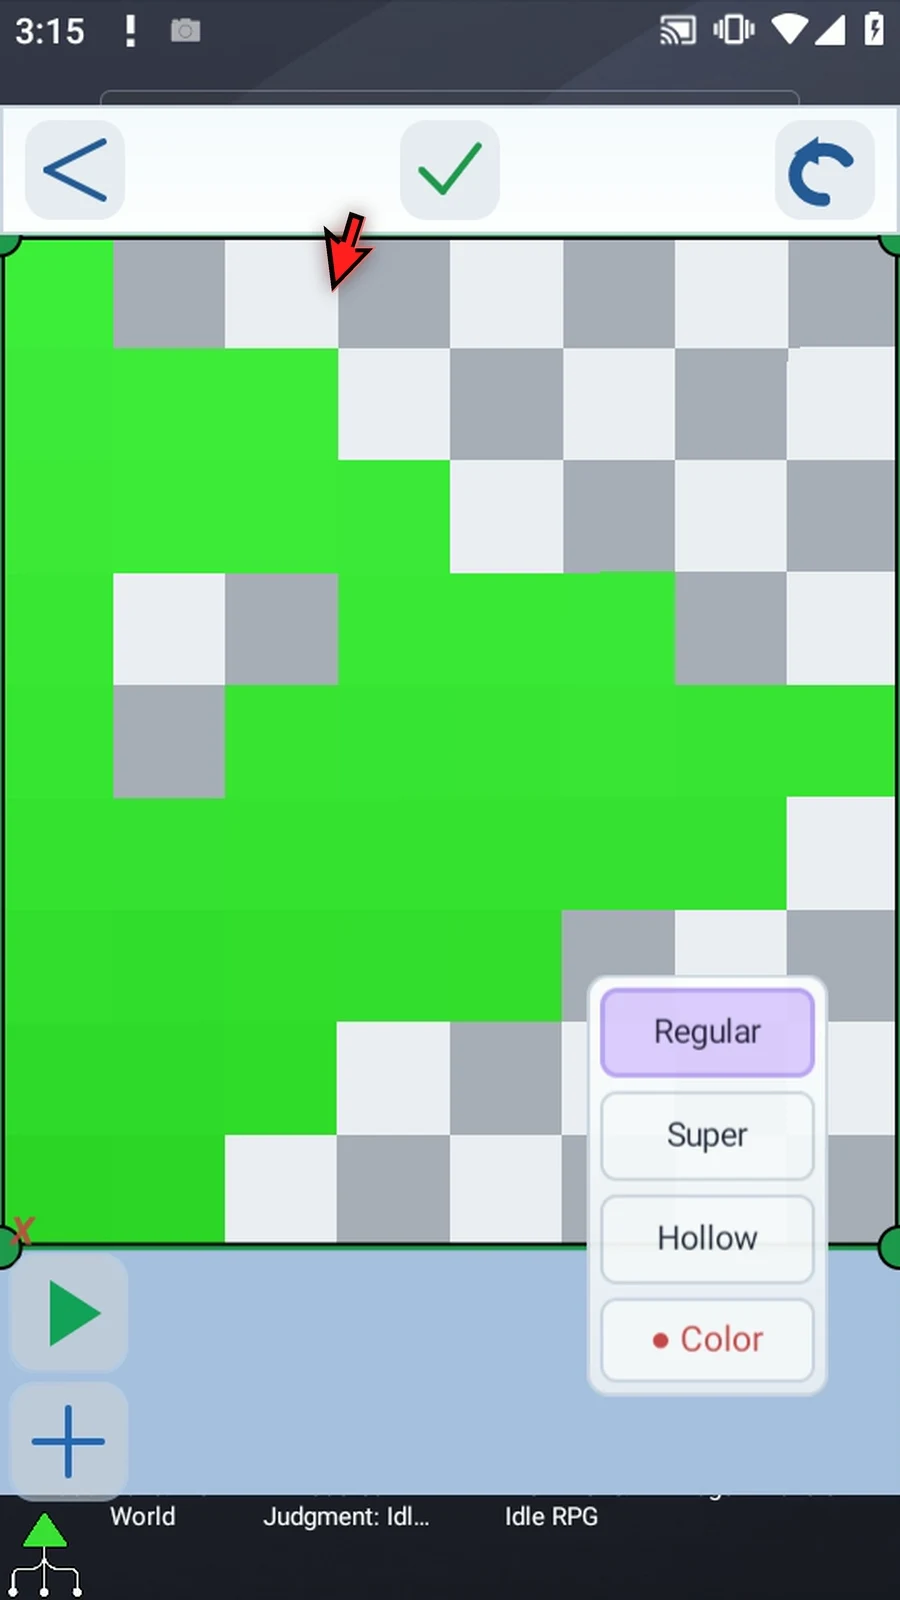
Return to the full rectangular source, then choose Hollow Crop. Three points are appropriate for this triangle. Position the inner shape first to mark the middle that will become transparent. Then fit the outer boundary around it; the outer shape cannot cross the inner shape.
Keep the outline inside the solid green area to remove blended outer edges. Applying this hollow shape leaves useful outline pixels while removing the filled center.
Save a useful name and destination
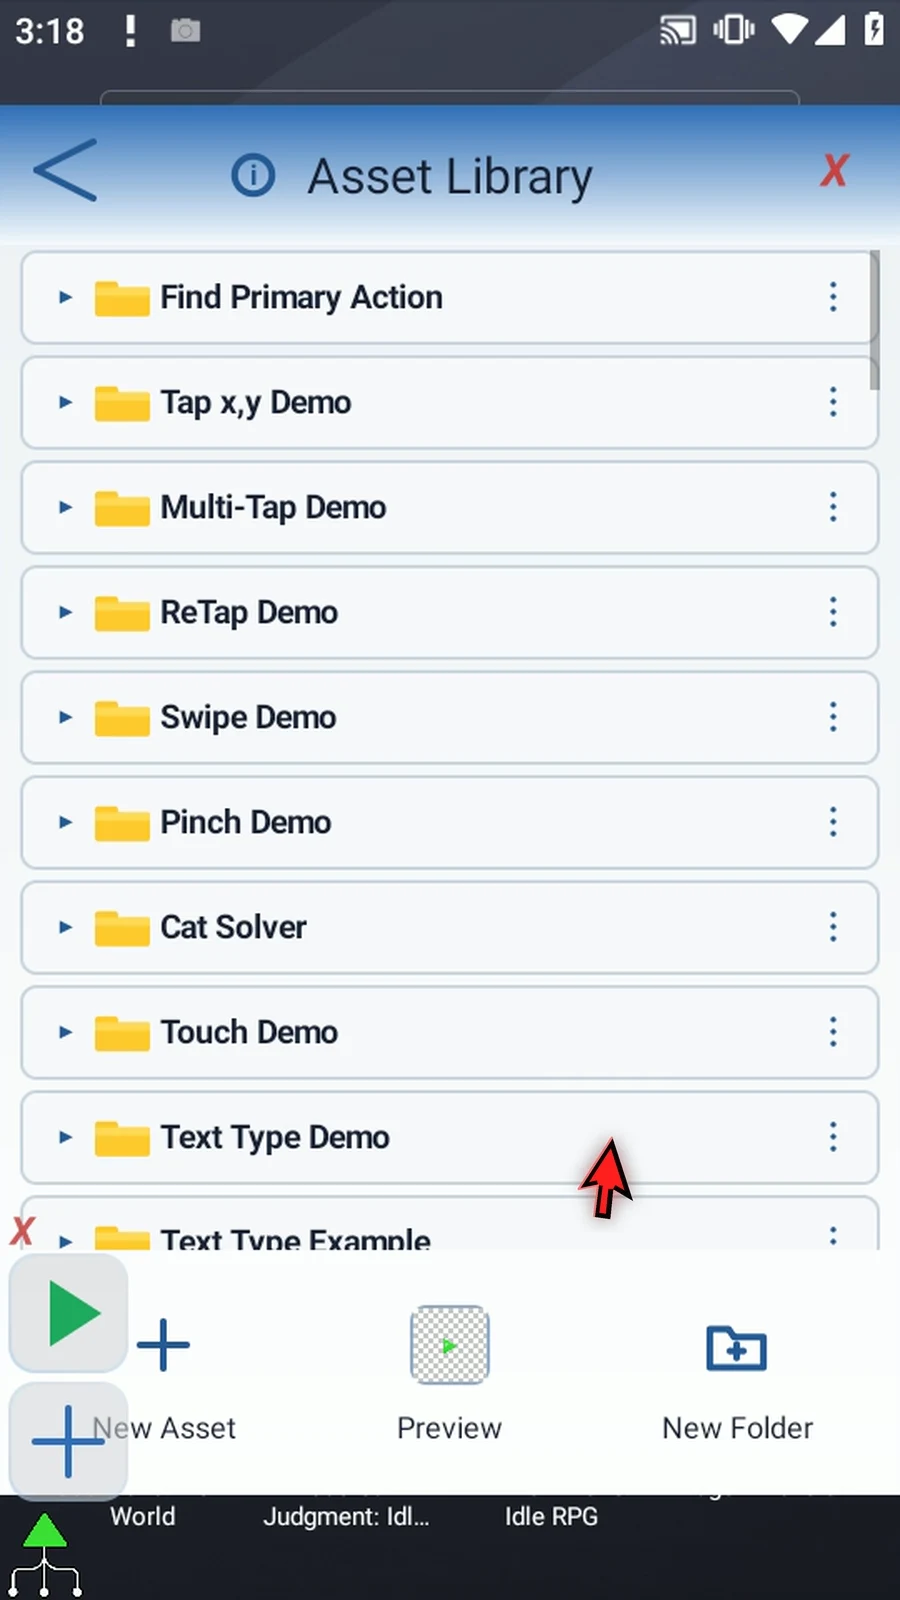
Use the check mark, choose Save, and inspect the preview. The example is named ScriptTap Outline. Check its destination folder before the final Save. It then appears in Asset Library, ready to select in a matching command.
Reuse the reference
You do not need to repeat cropping for each command. Select the existing reference where supported; the command guide explains its matching area, confidence, result variables, and actions. Negative assets can help reject unwanted matches; this walkthrough mentions them without creating a negative example.
For every intermediate screenshot and the full written walkthrough, see the detailed 34-step Asset Creation guide.