Command video guide
ColorClassify
ColorClassify turns stored Hex colors into useful codes or labels for later script decisions. It does not read the screen itself. This Intro demonstrates Single source / Rows targets.
Create and name a new blank script, then open the editor. If Android asks, allow screen capture. Manually drag SetVariable into it. Keep Single, choose Hex, and set h1=FF0000, the six-digit code for red. Keep This Script Only. A screen-reading command can supply the color in a real script; the fixed value makes this example predictable.
Under Advanced, drag ColorClassify after SetVariable and open its frame. Keep Source Mode Single and Source Hex h1: this input is a Hex variable, not a literal color. Array mode processes a declared Hex array segment. Use In keeps output local with This Script Only or shares it within the parent's call tree with Script Thread.
Set Confidence to 100 for an exact color match; lower values allow more RGB difference. The range is 1–100. Keep Output Type Integer, set Output i1, and No Match 0. Decimal supports fractional results and String supports labels. Every row Result and the No Match value must fit the selected type.
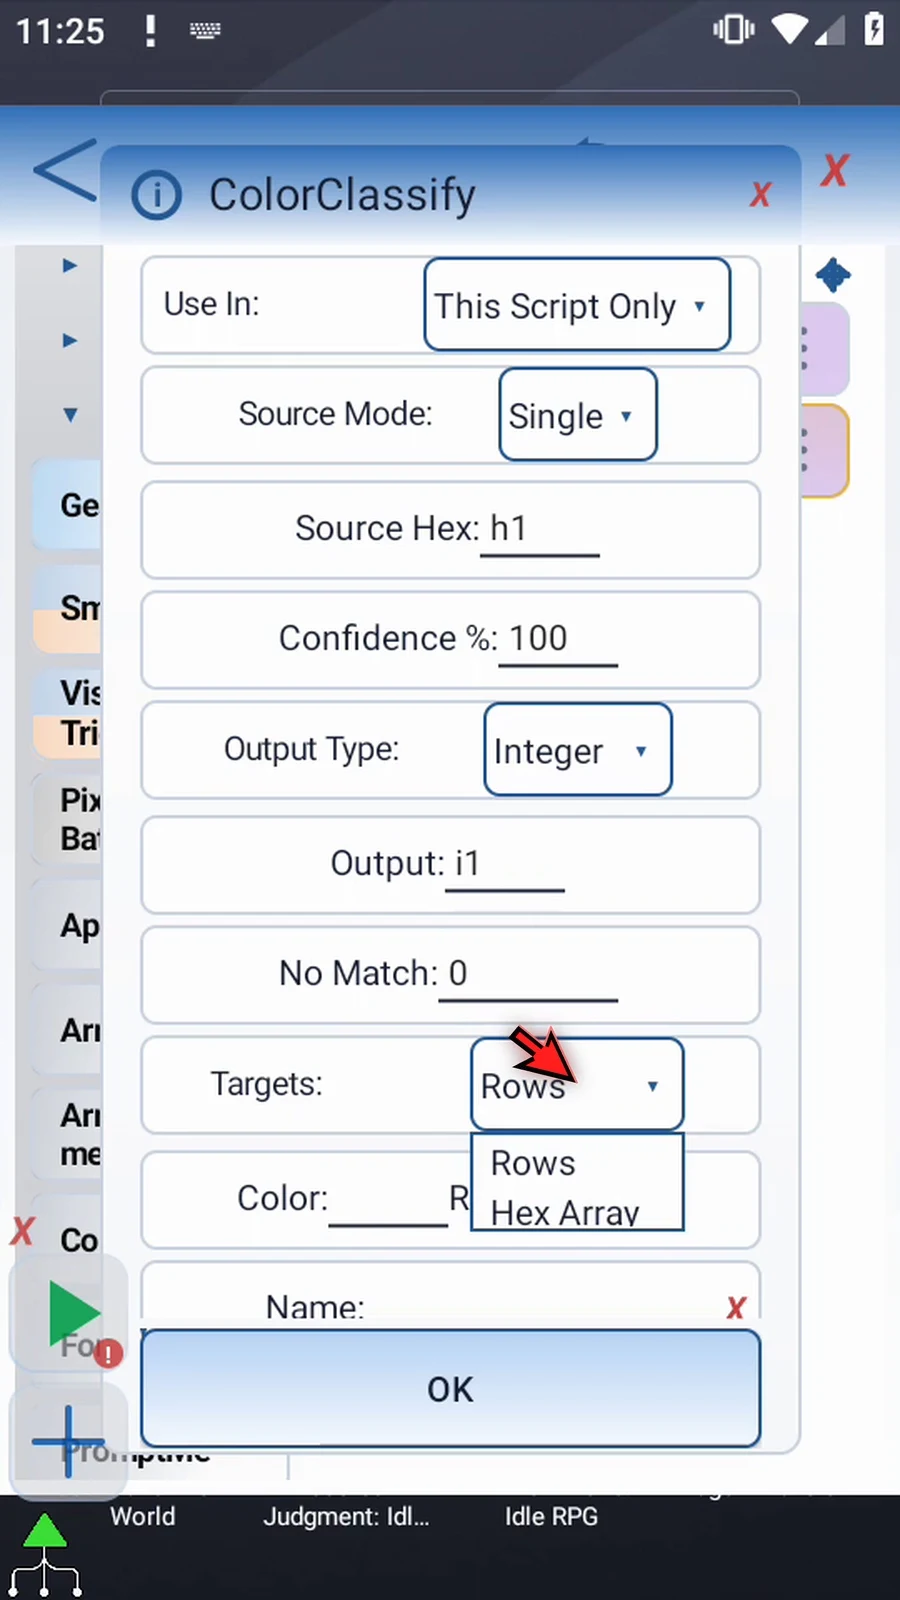
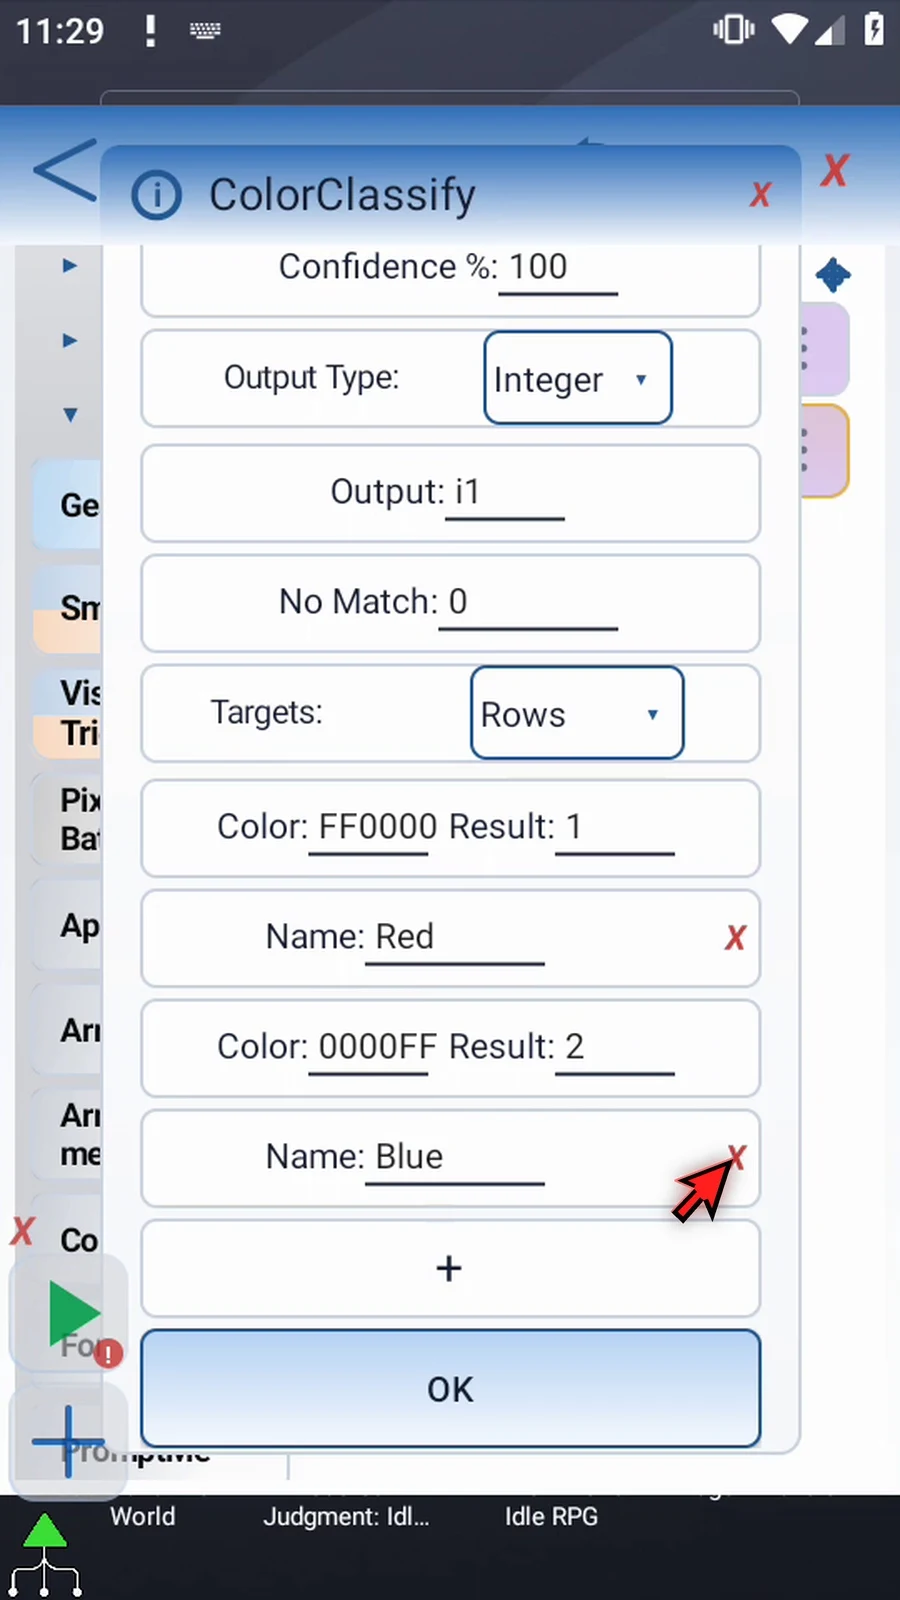
Keep Targets Rows. Set the first Color to FF0000, Result 1, optional Name Red. Use + for a second row: Color 0000FF, Result 2, Name Blue. Up to 16 rows are checked in order; the first matching color supplies its Result. Names are for readability, and a row's red X removes it. Hex Array instead looks up a declared target-color array. Tap OK.
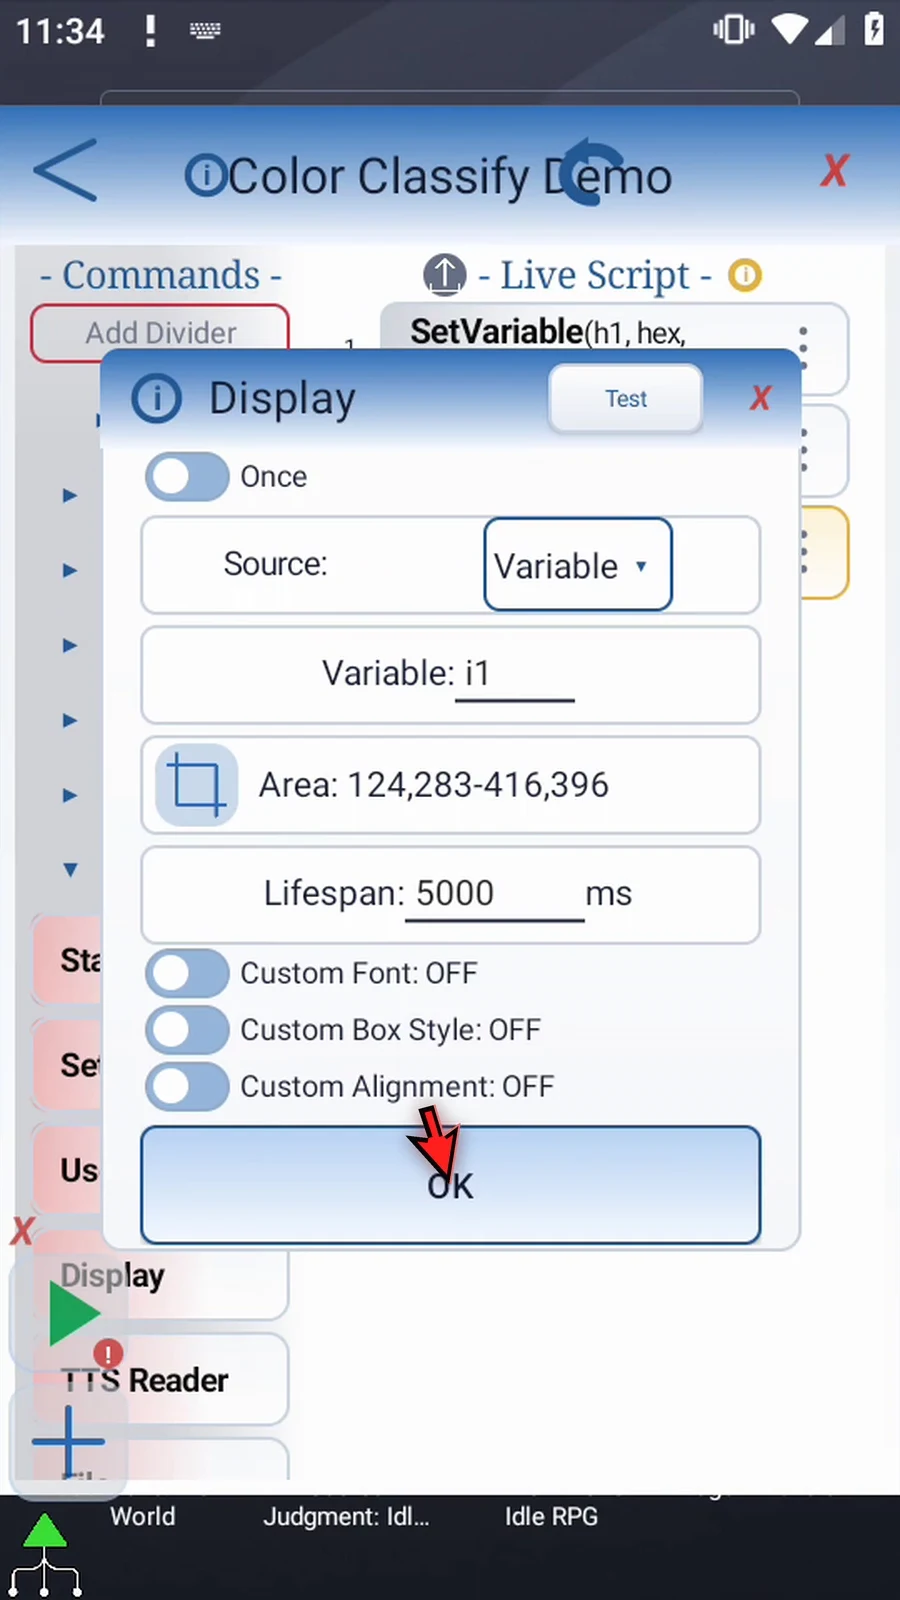
Drag Display after ColorClassify. Keep Once, choose Variable i1, select a clear rectangle with the visual area selector, confirm the check mark, and set Lifespan 5000 ms. Leave appearance defaults unchanged and tap OK.
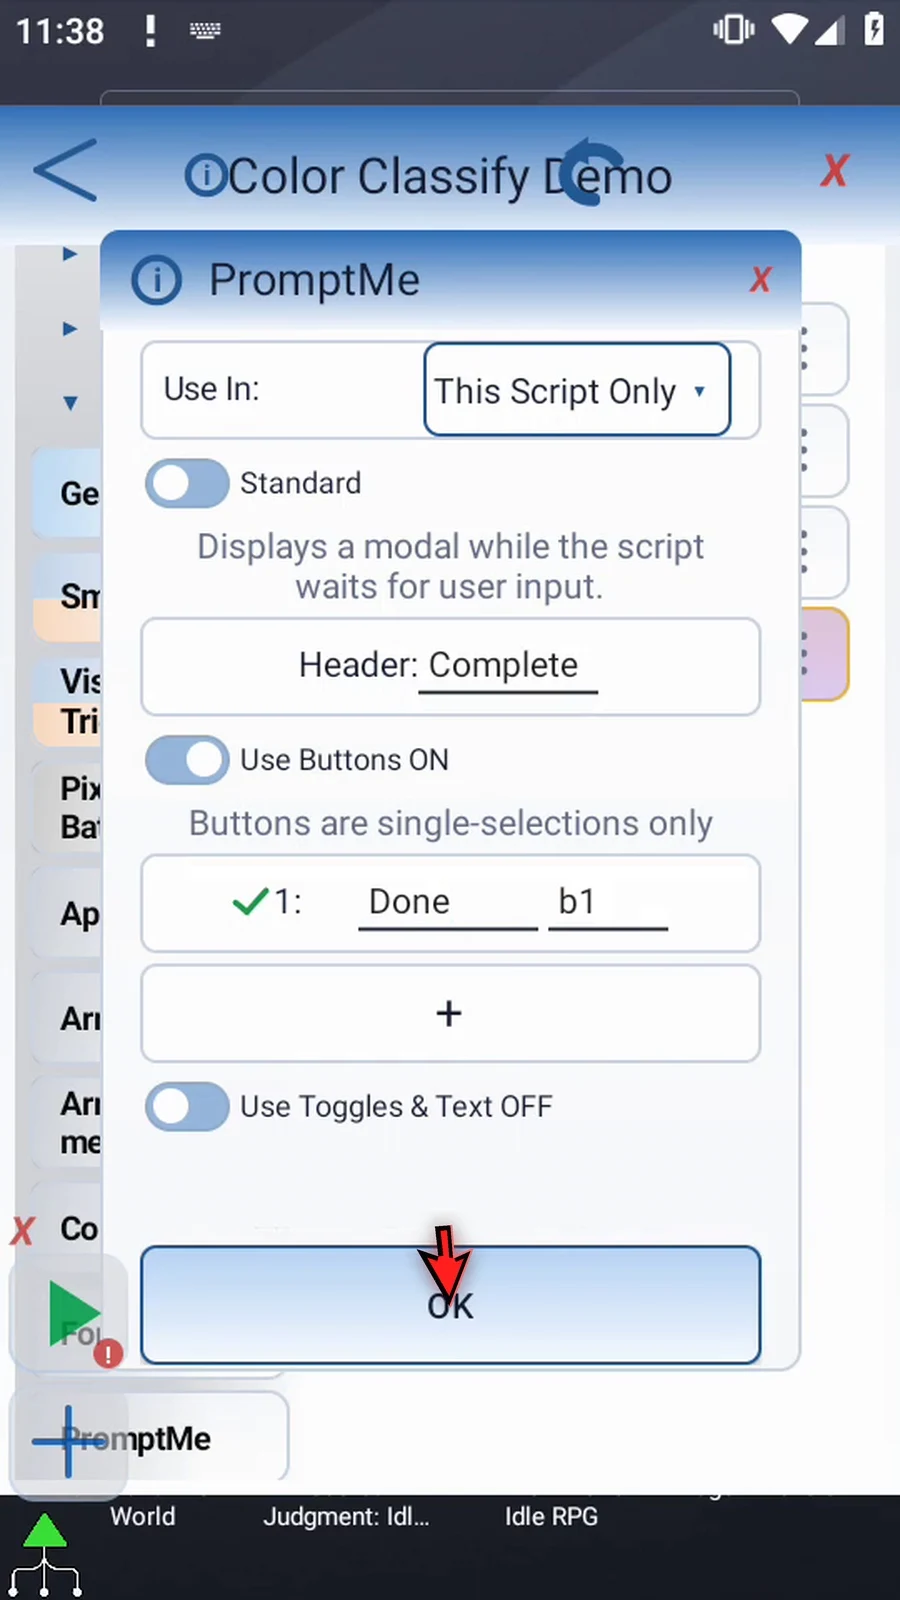
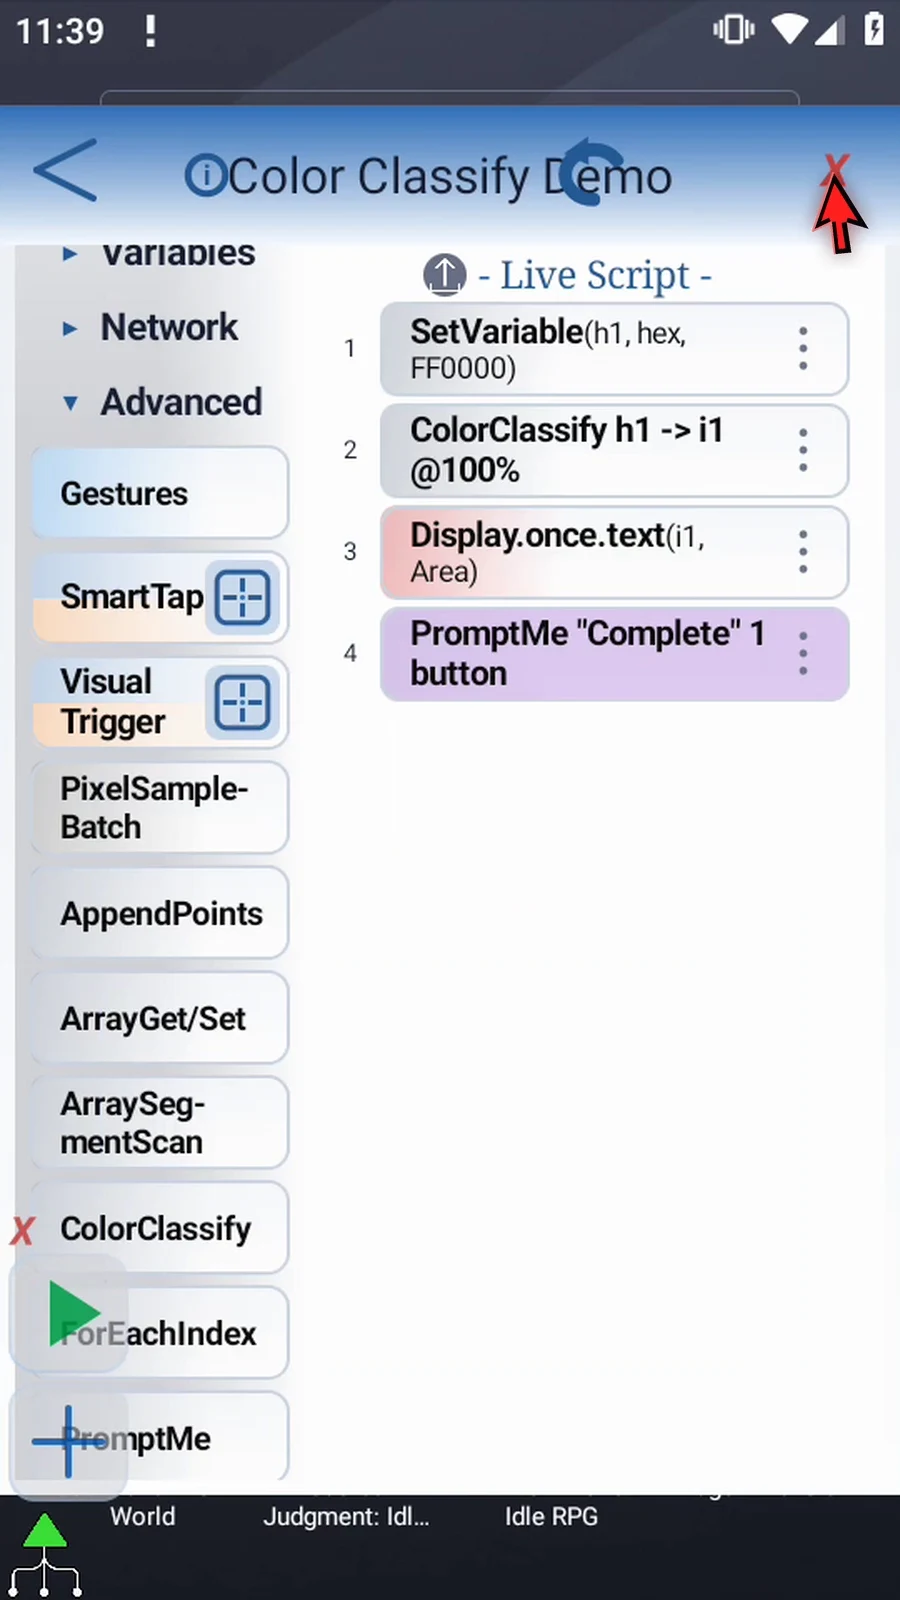
Drag PromptMe after Display. Keep the regular Standard prompt, Header Complete, and add a Done button with Boolean output b1. Keep Toggles & Text off. Tap OK, then close the editor.
Play the four-command script. The complete actual timed Display shows 1: red matched the first target and ColorClassify wrote its result to i1. Complete follows when Display closes. Press Done to finish automatically; natural completion leaves the permanent Play MainButton collapsed. The original h1=FF0000 remains unchanged.
Intro — Single / Rows
Step-by-step guide
Step 01 Color Classify turns a stored color into a useful number or label. Later commands can use that result to decide what to do. In this example, red will mean one and blue will mean two.
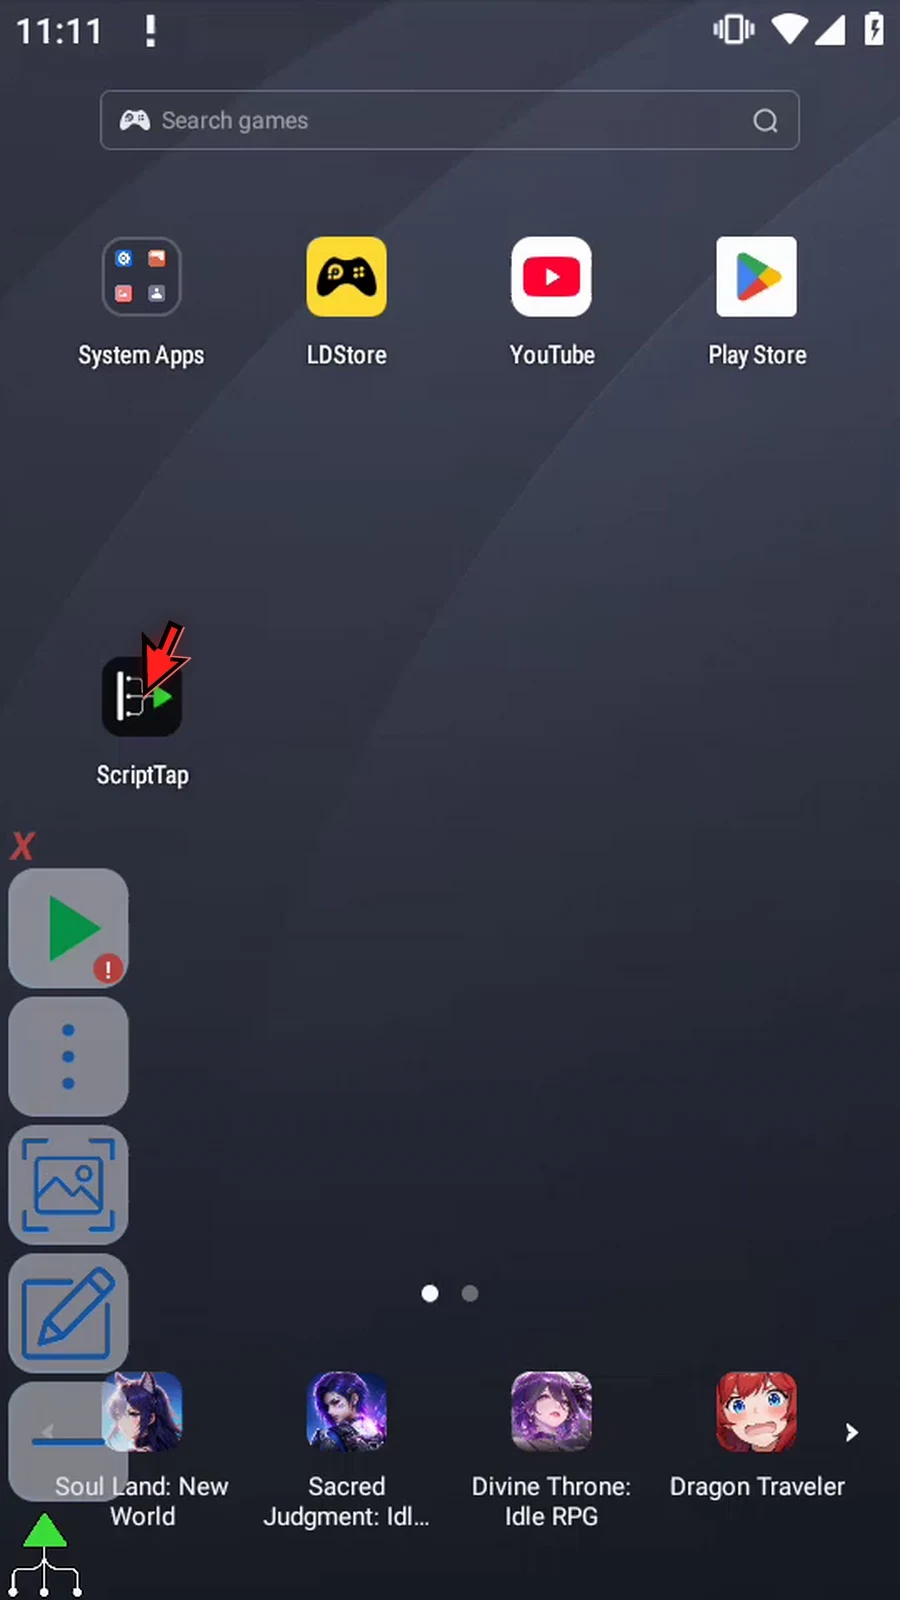
Step 02 Open the main menu, then Scripts.
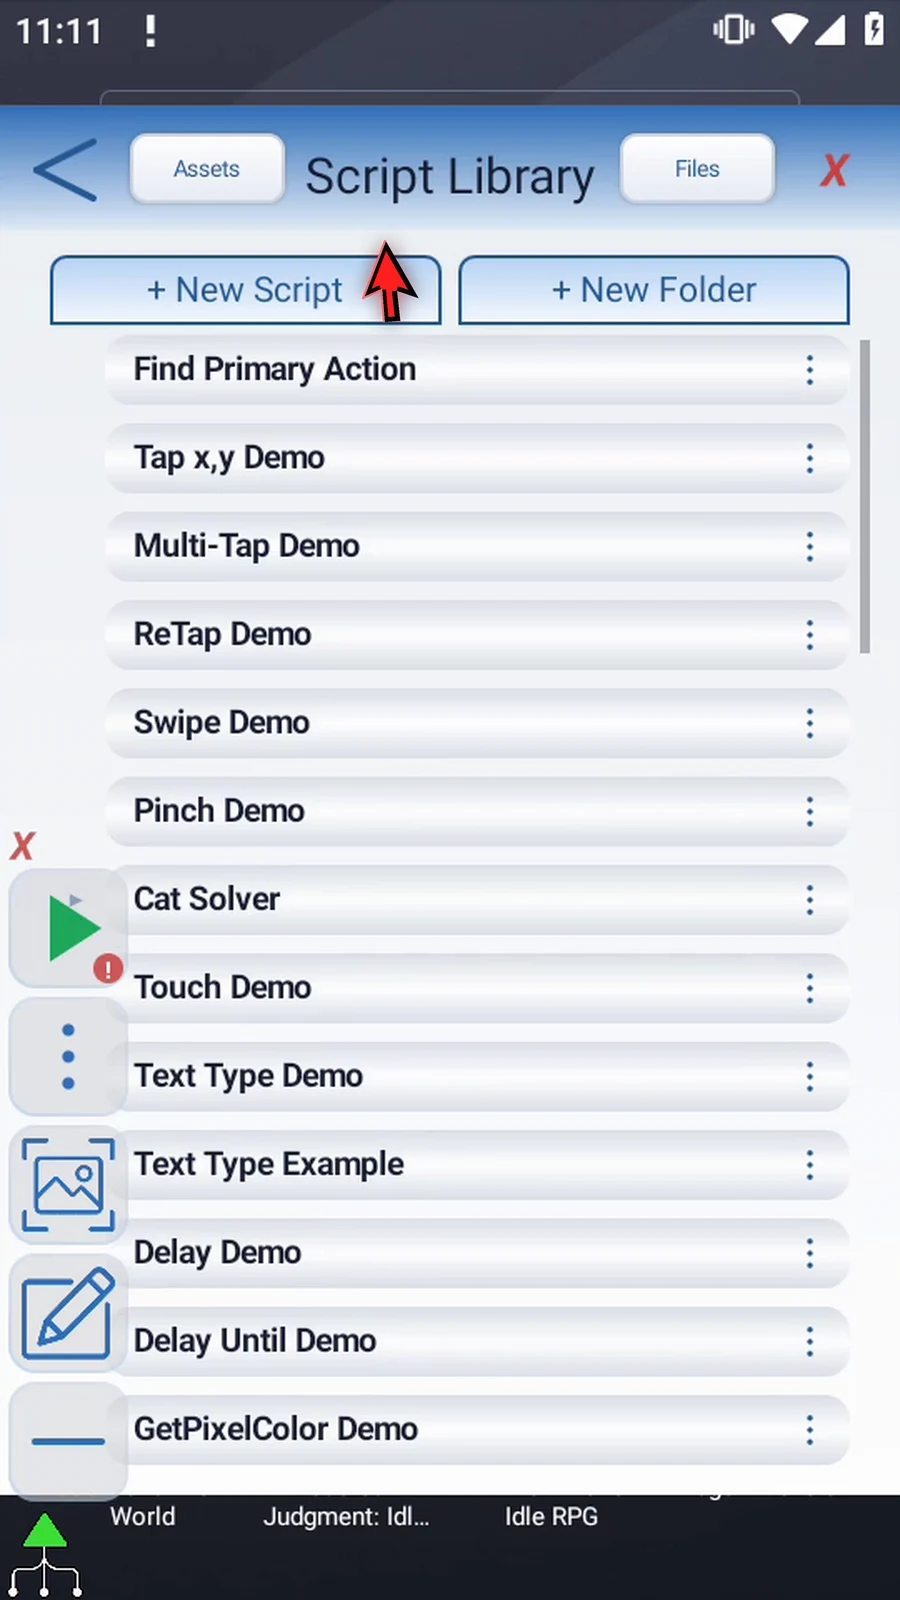
Step 03 Create a new blank script.
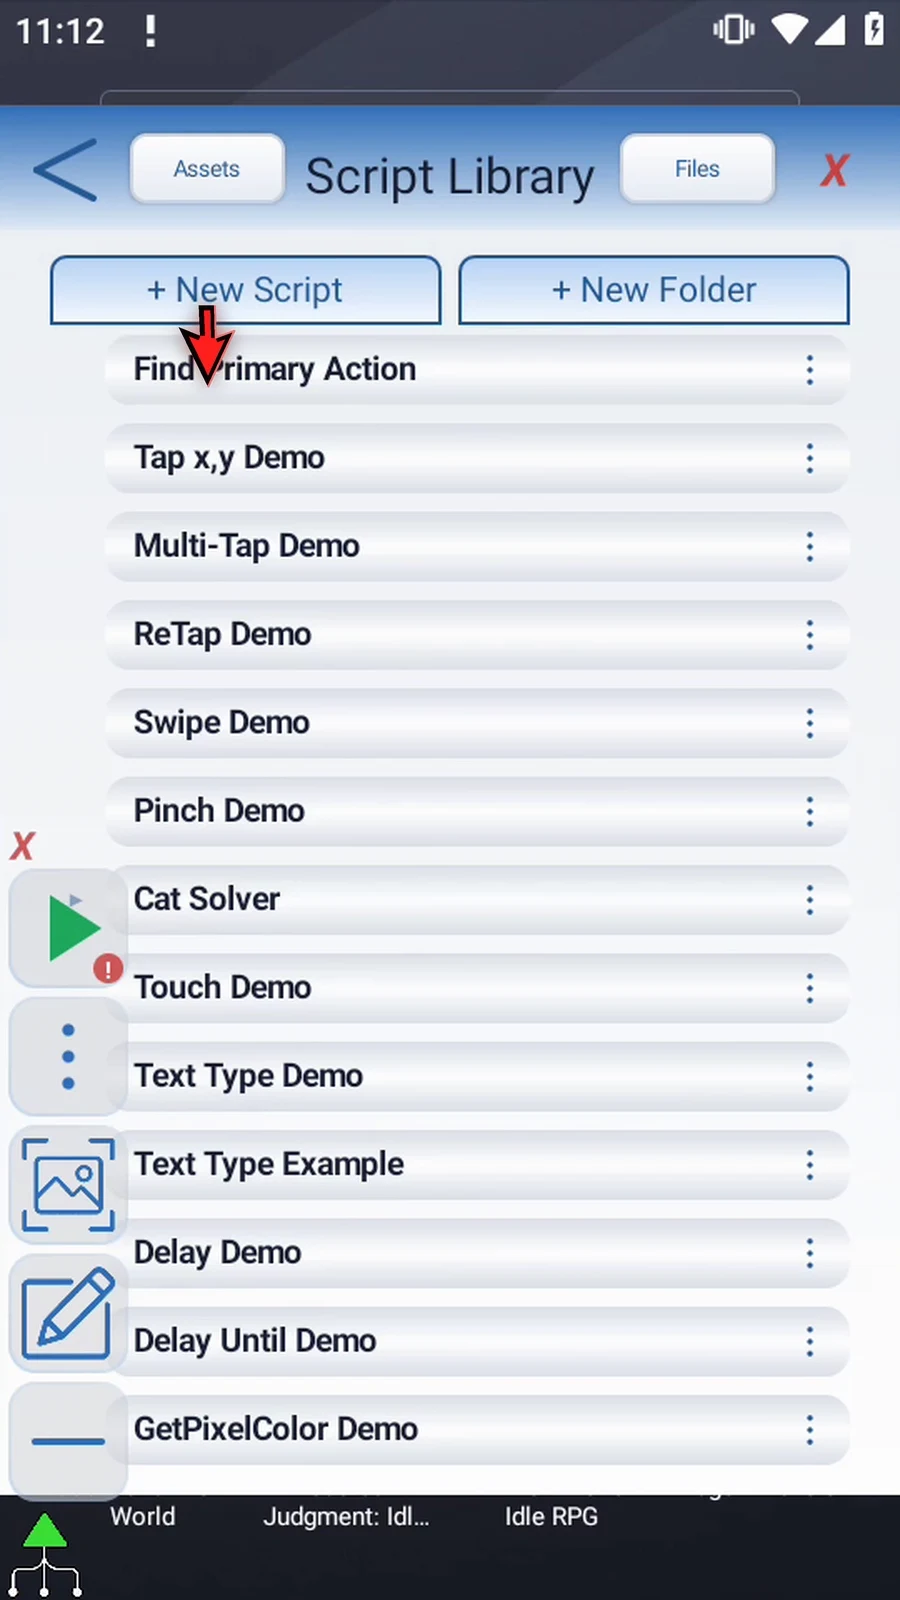
Step 04 Find the new script at the bottom of the library.
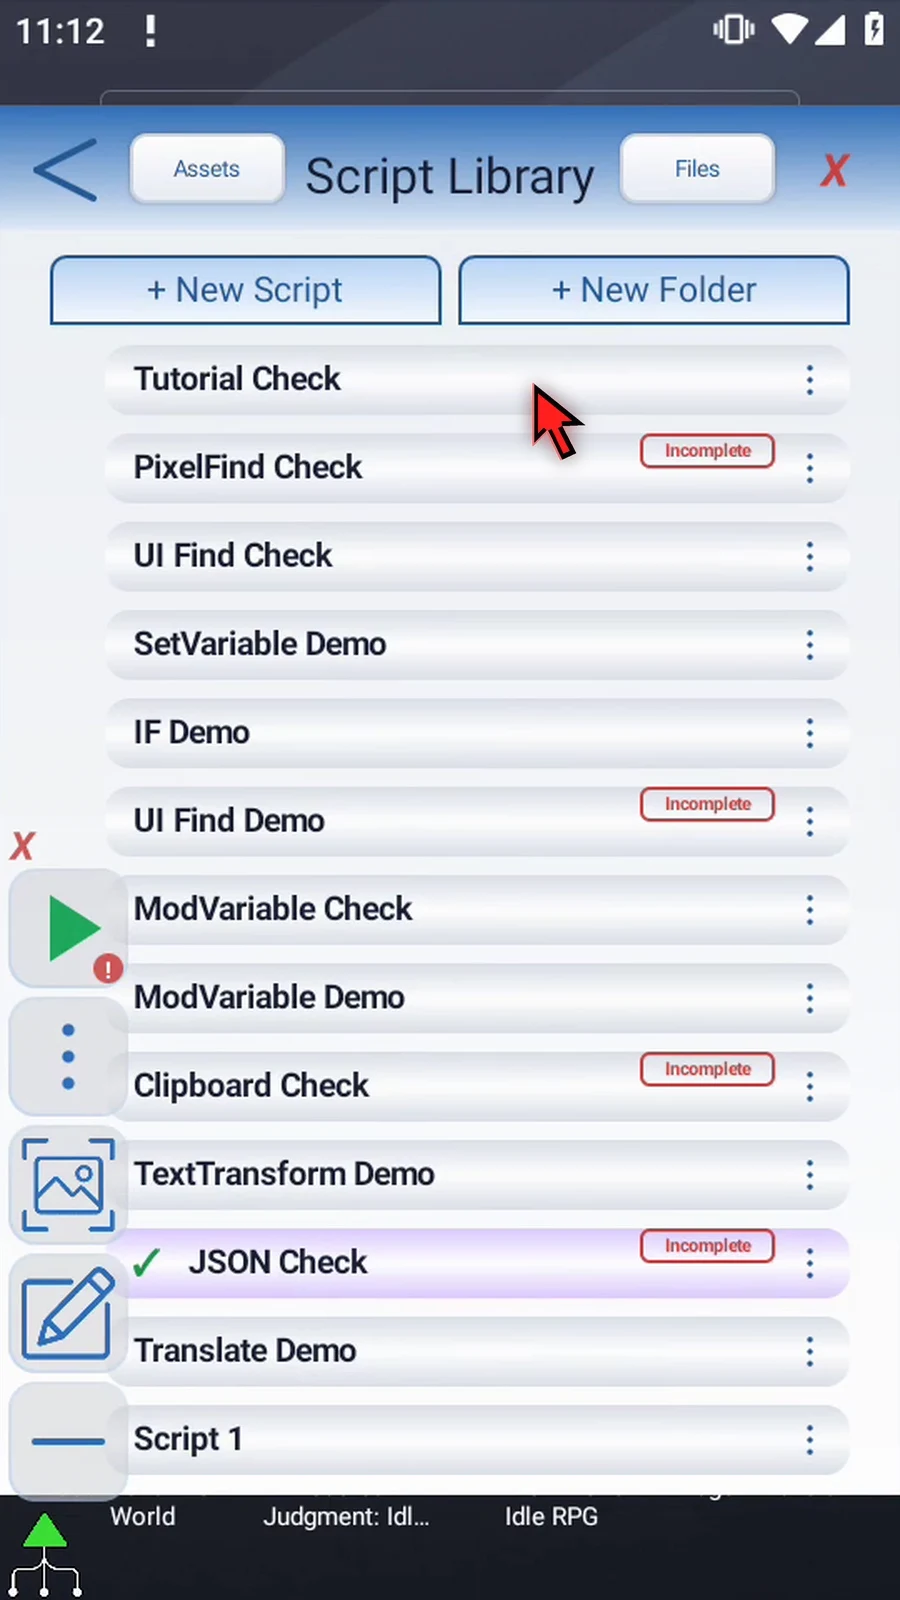
Step 05 Open its options, choose Rename, and pick a descriptive name.
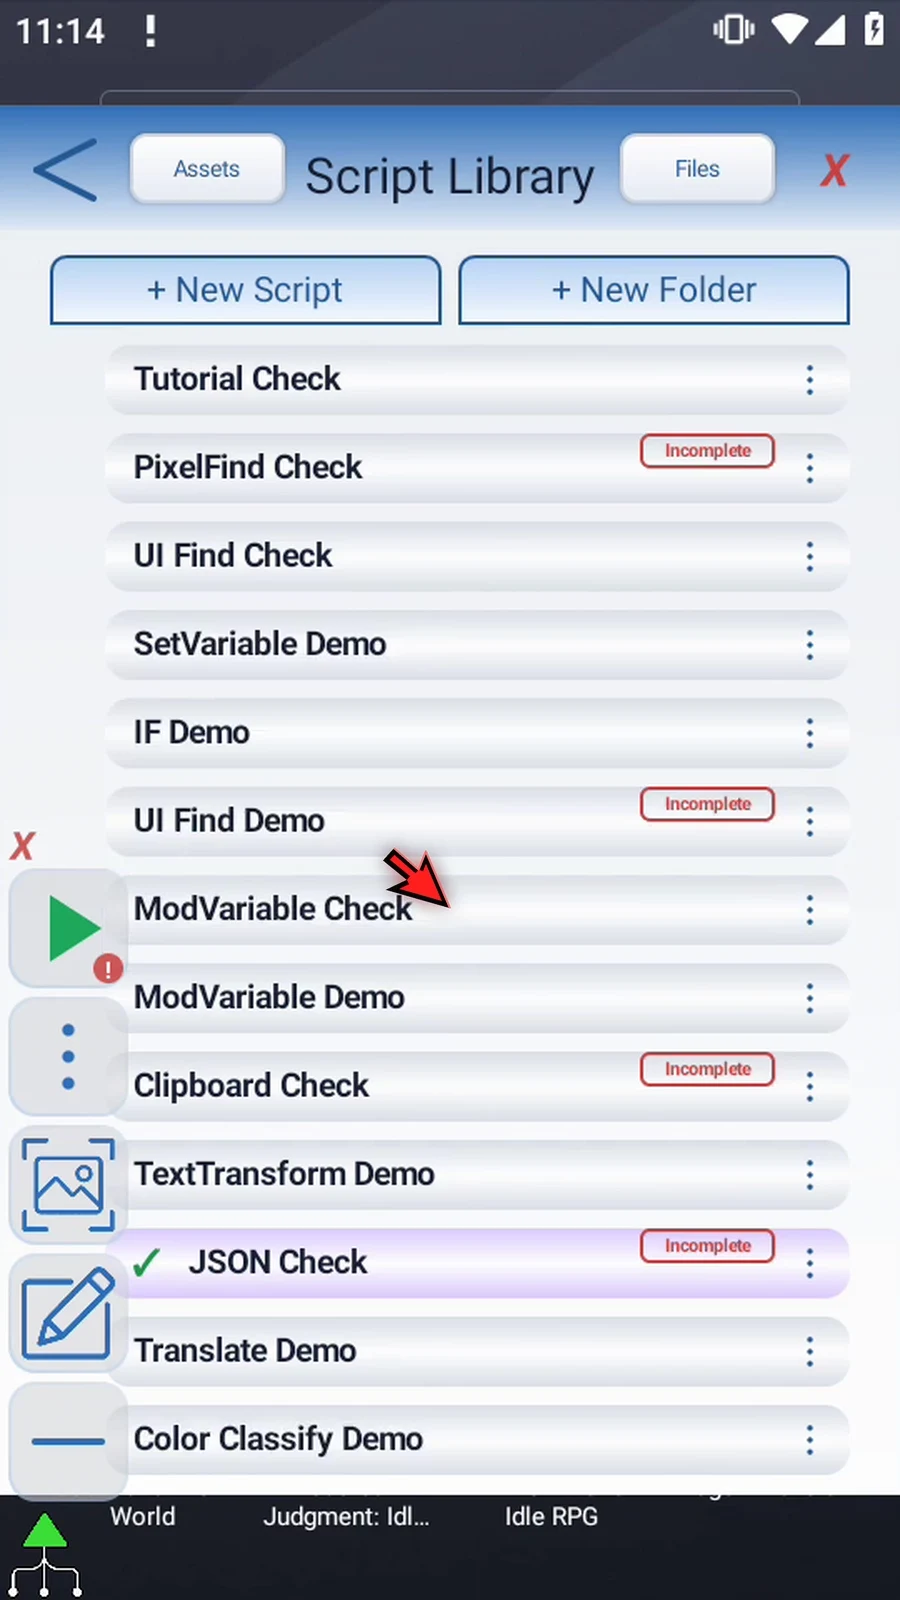
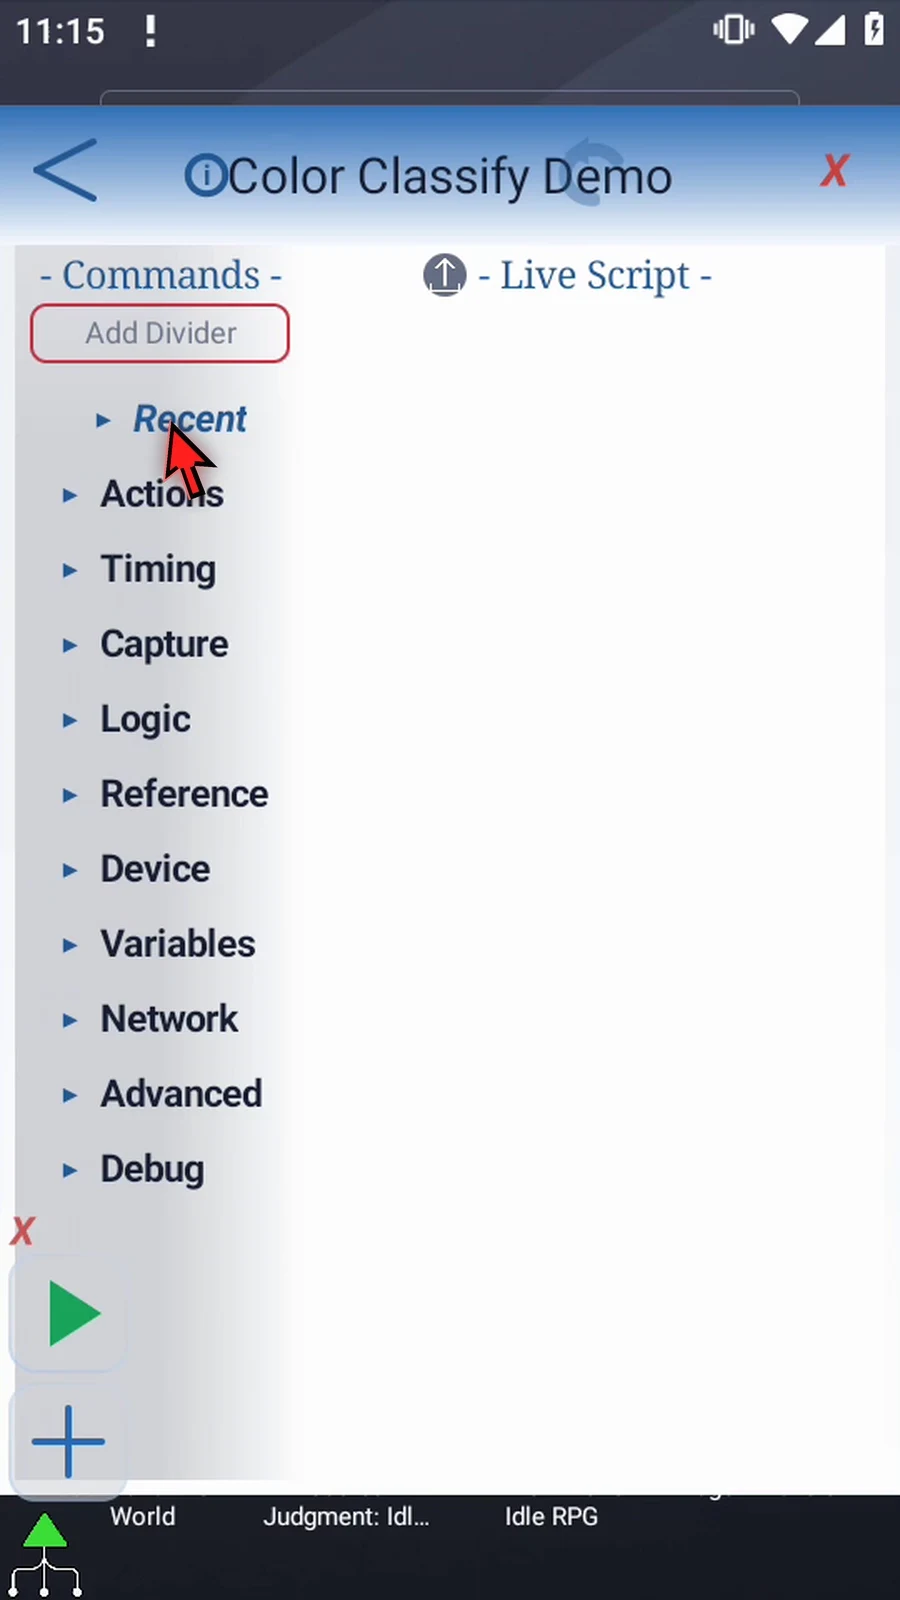
Step 06 Select the script and open the editor. Collapse the extra overlay controls if needed. If Android asks, allow screen capture.
Step 07 Expand Variables and drag Set Variable into the script. It will supply a known color for this example. Color Classify does not read the screen itself.
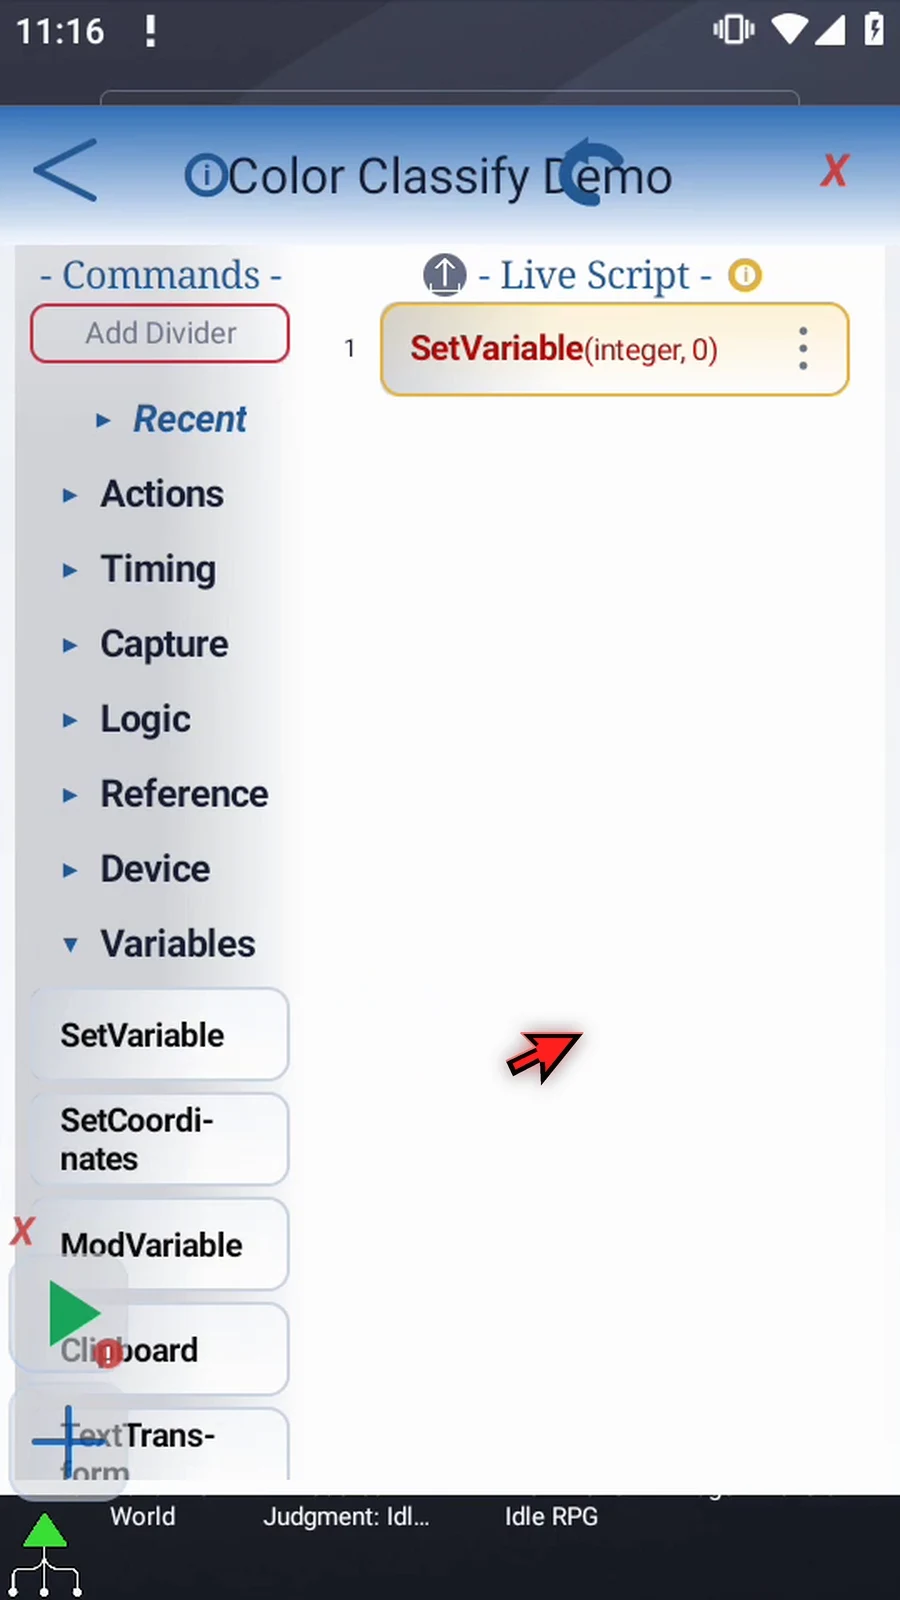
Step 08 Open the added frame, keep Single mode, and choose Hex as the type.
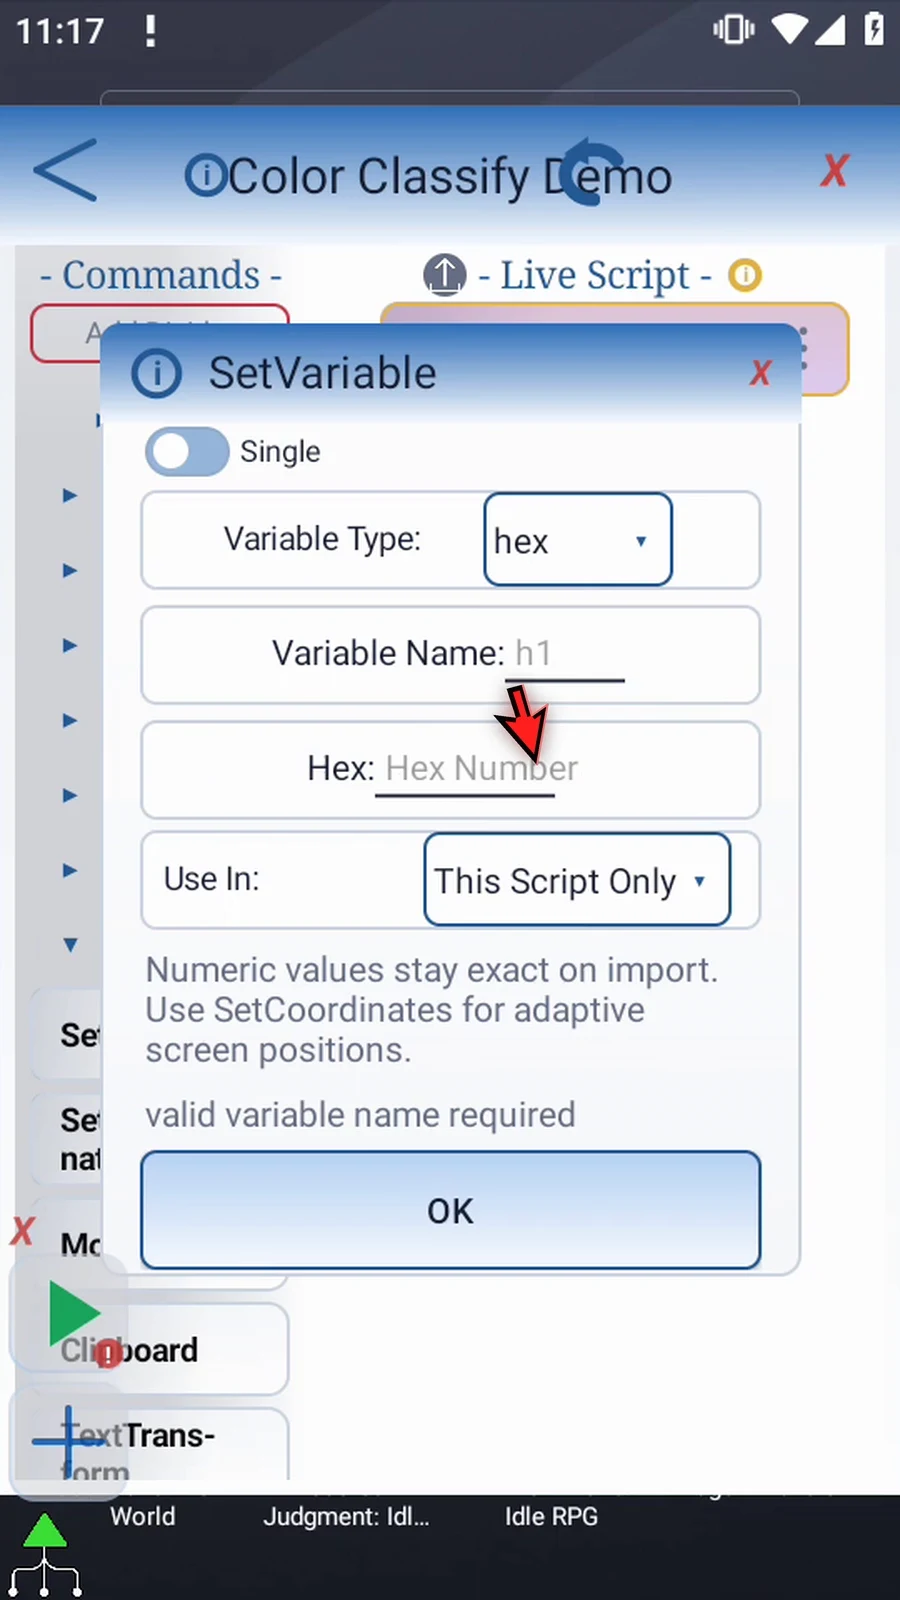
Step 09 Name the variable h1 and enter the six-digit Hex code for red. Keep This Script Only and tap OK. A screen-reading command could supply this color in a real script.
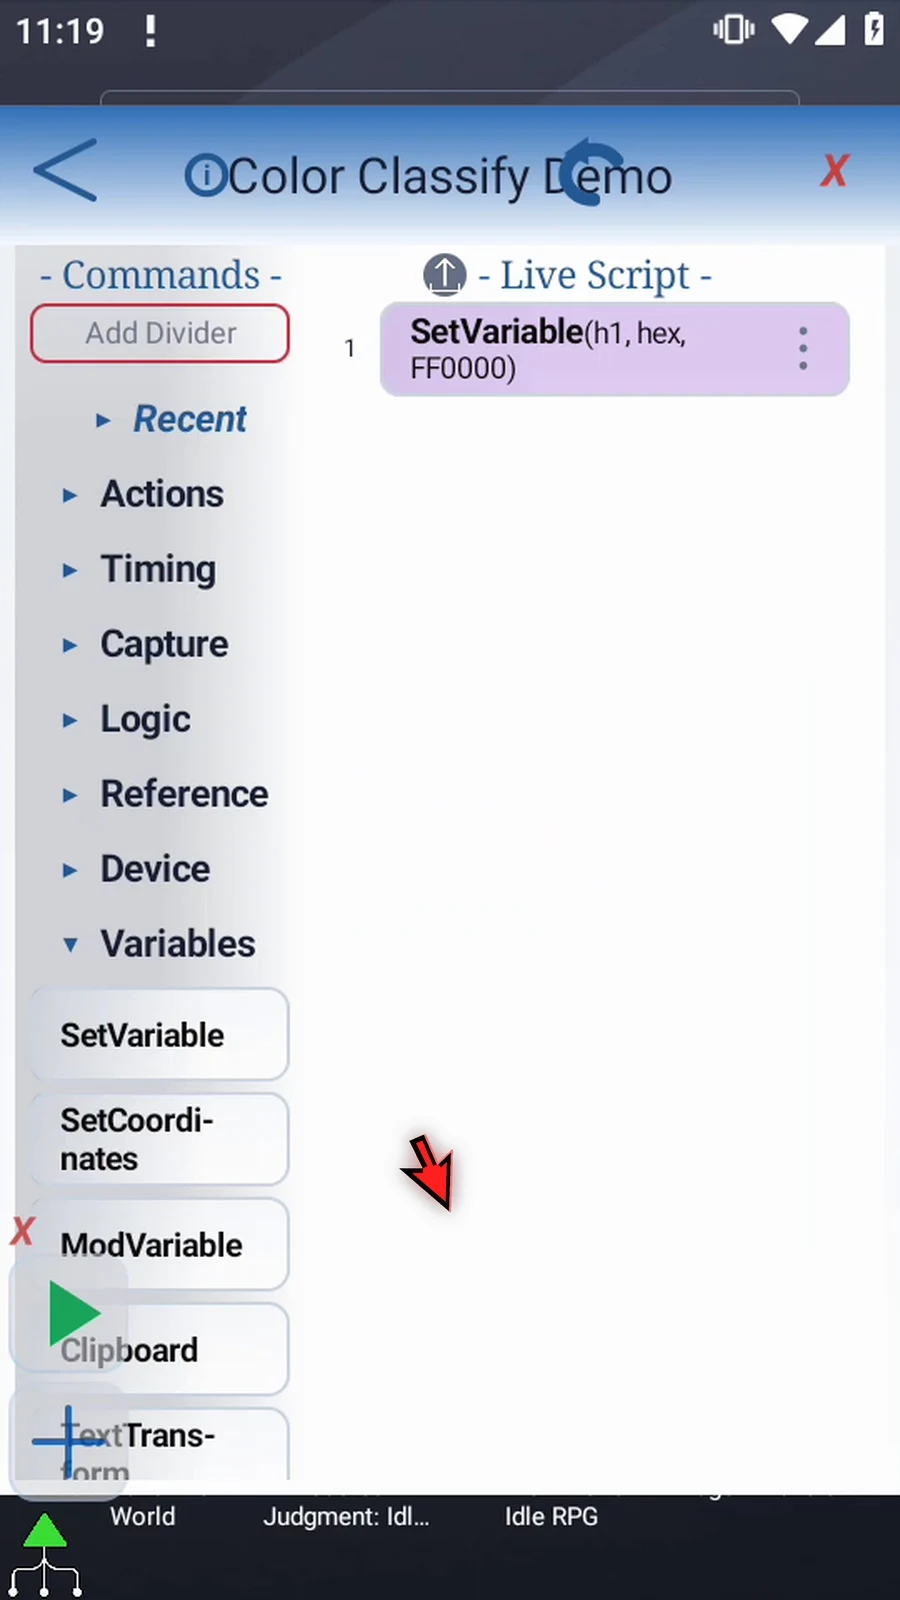
Step 10 Find Color Classify under Advanced and drag it after the assignment. Then open its frame.
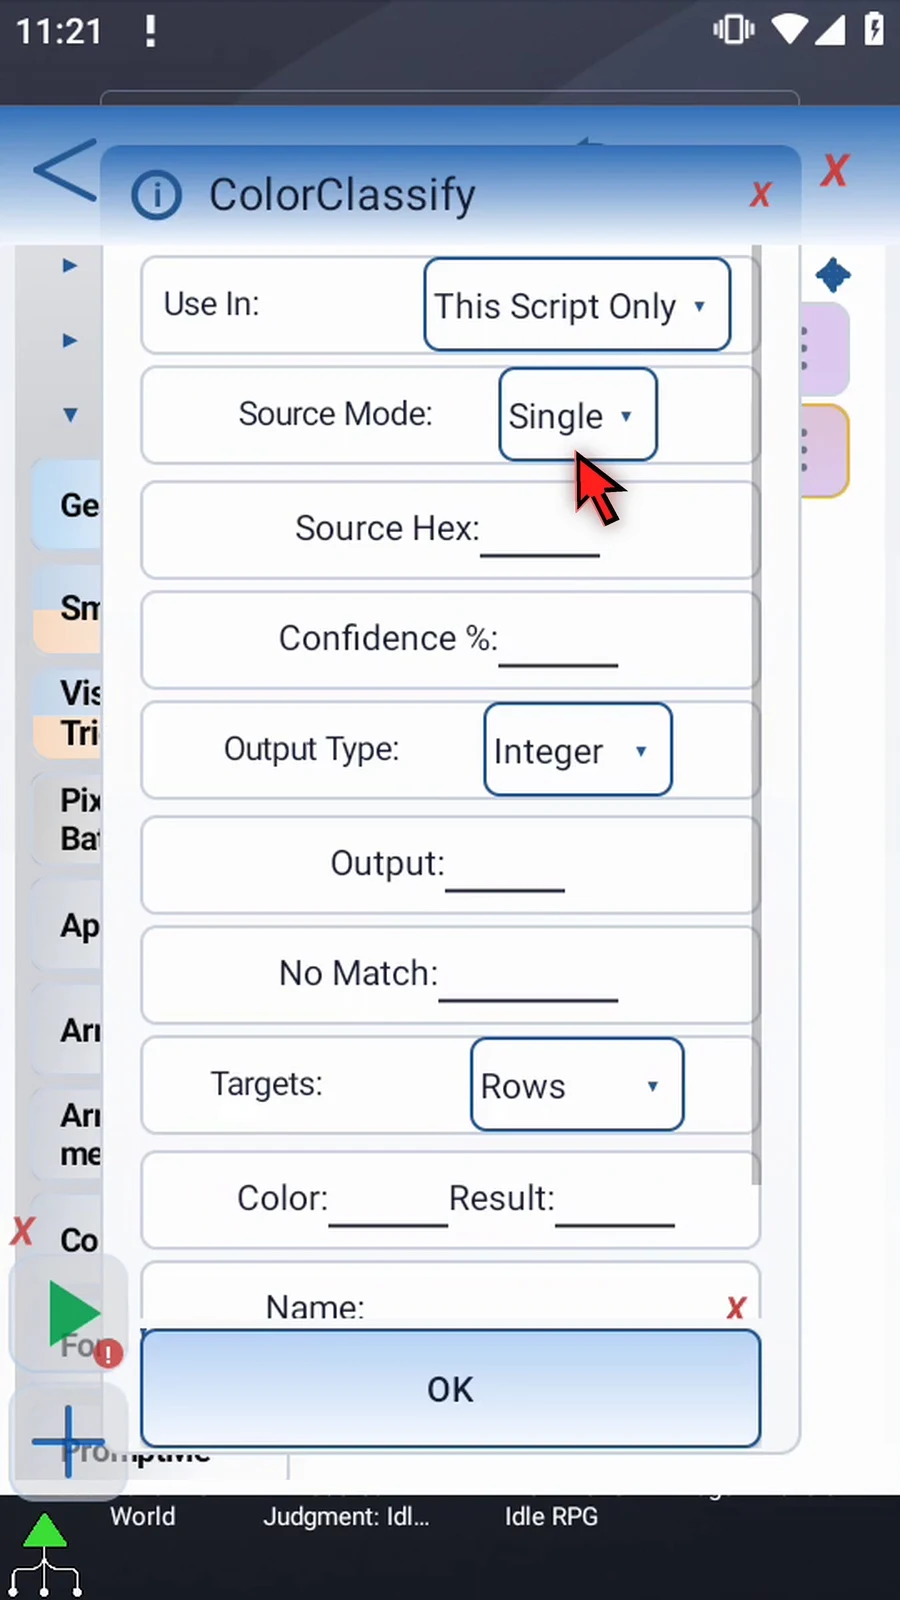
Step 11 Keep Source Mode Single and enter h1 as Source Hex. This field takes a Hex variable, not a literal color. Array mode processes a declared Hex array segment. We will cover that workflow separately.
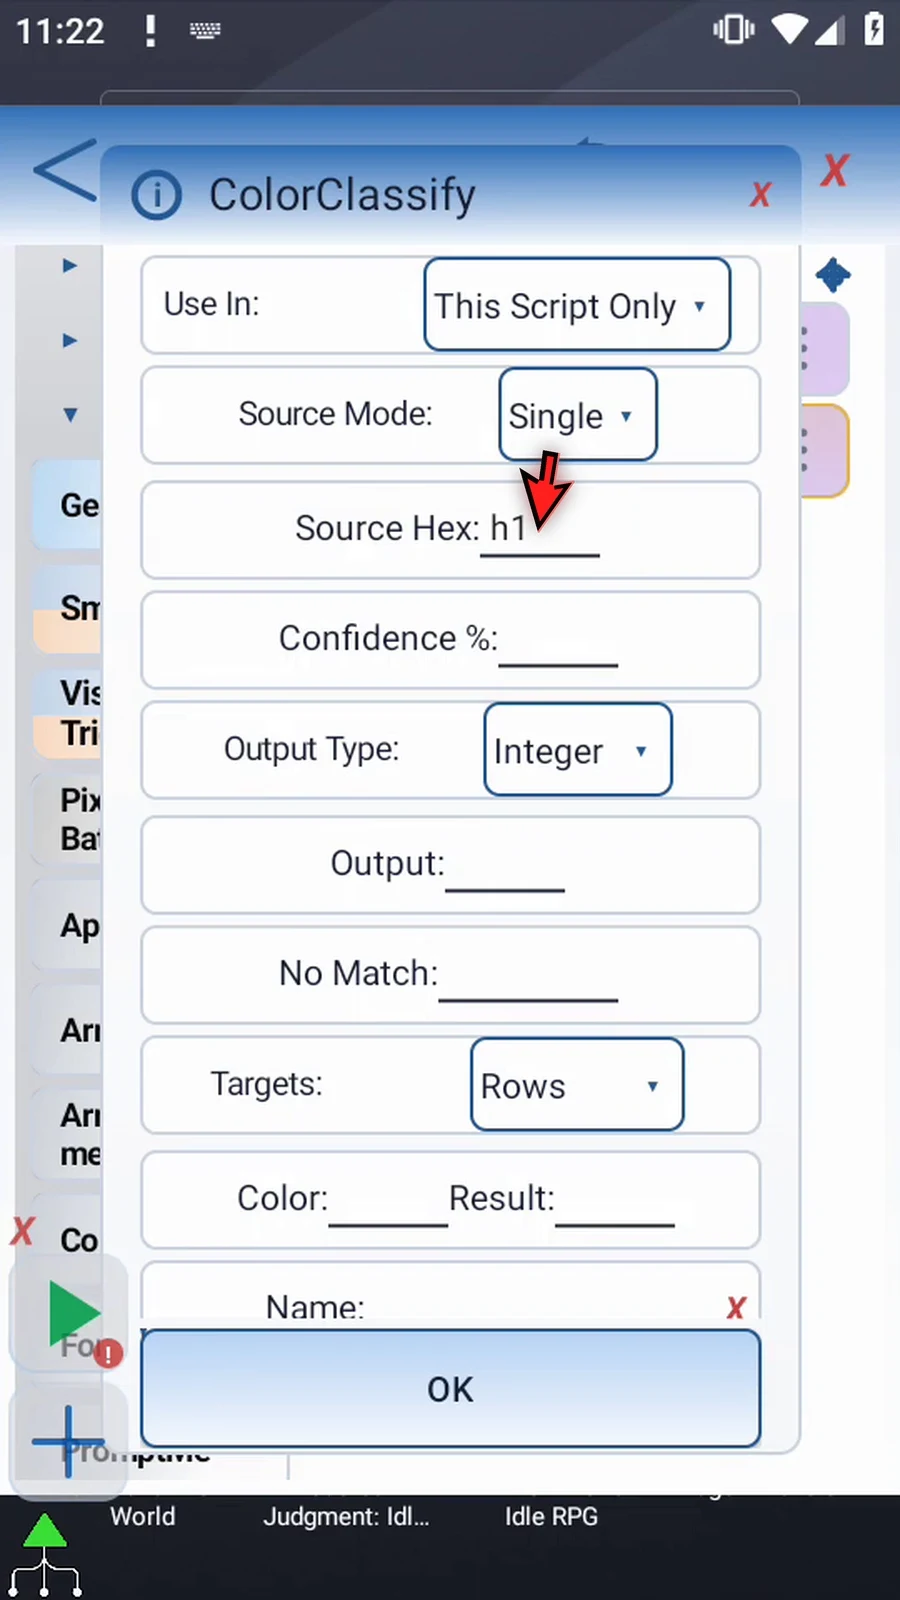
Step 12 Use In selects where the result is stored. This Script Only keeps it local; Script Thread shares it within the parent's call tree. Keep the local scope here.
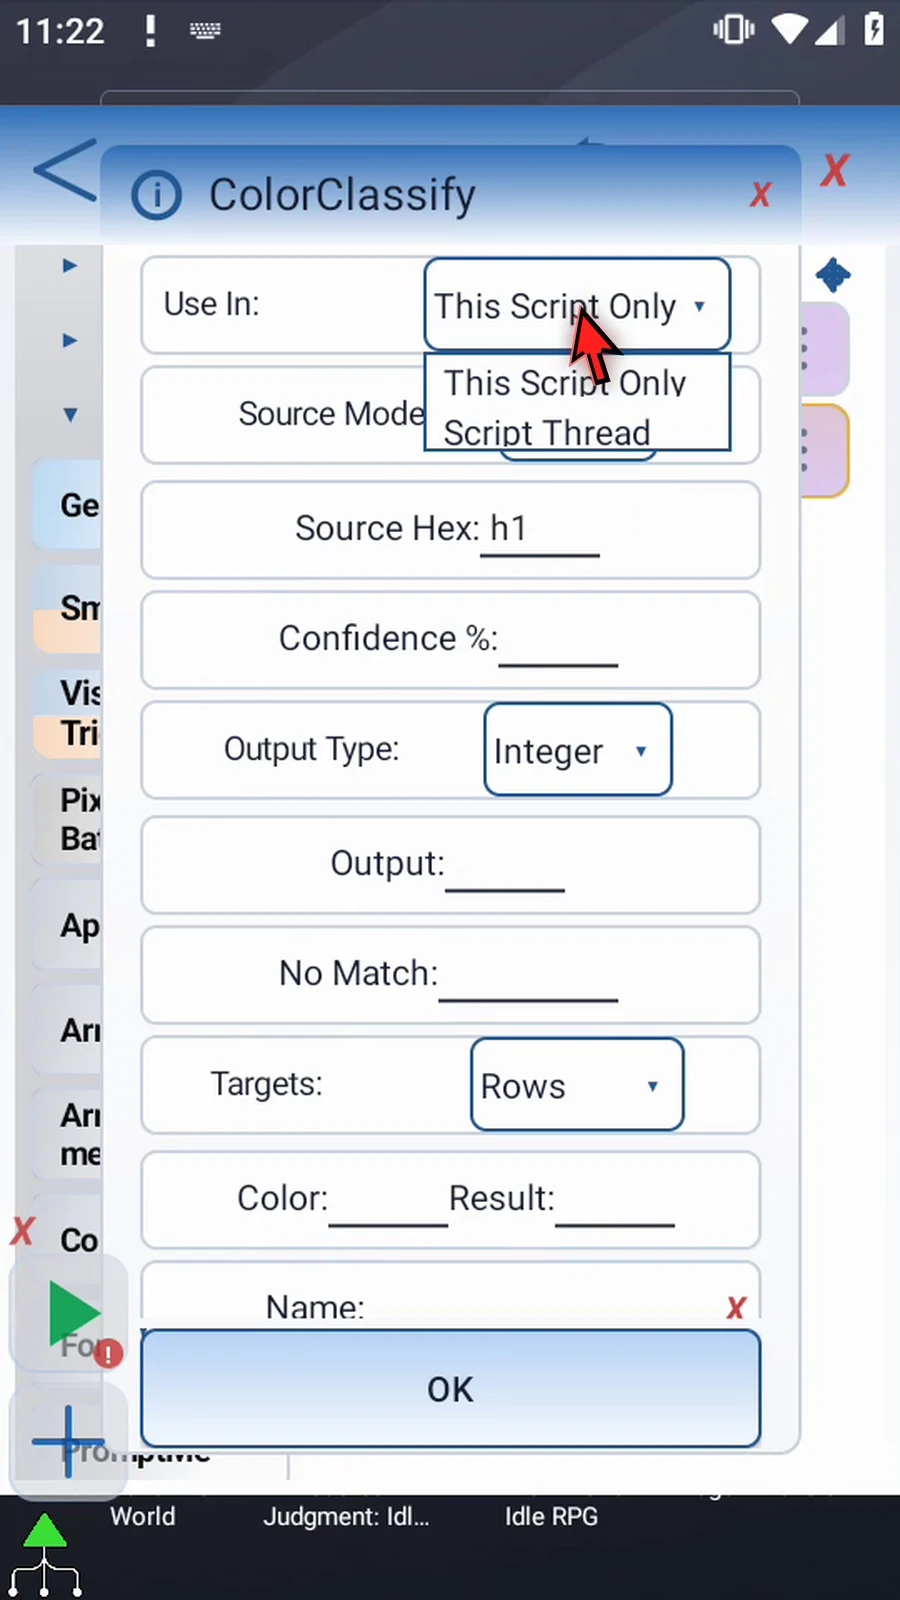
Step 13 Set Confidence to one hundred for an exact color match. Lower values allow more difference between the source and target colors. The allowed range is one through one hundred.
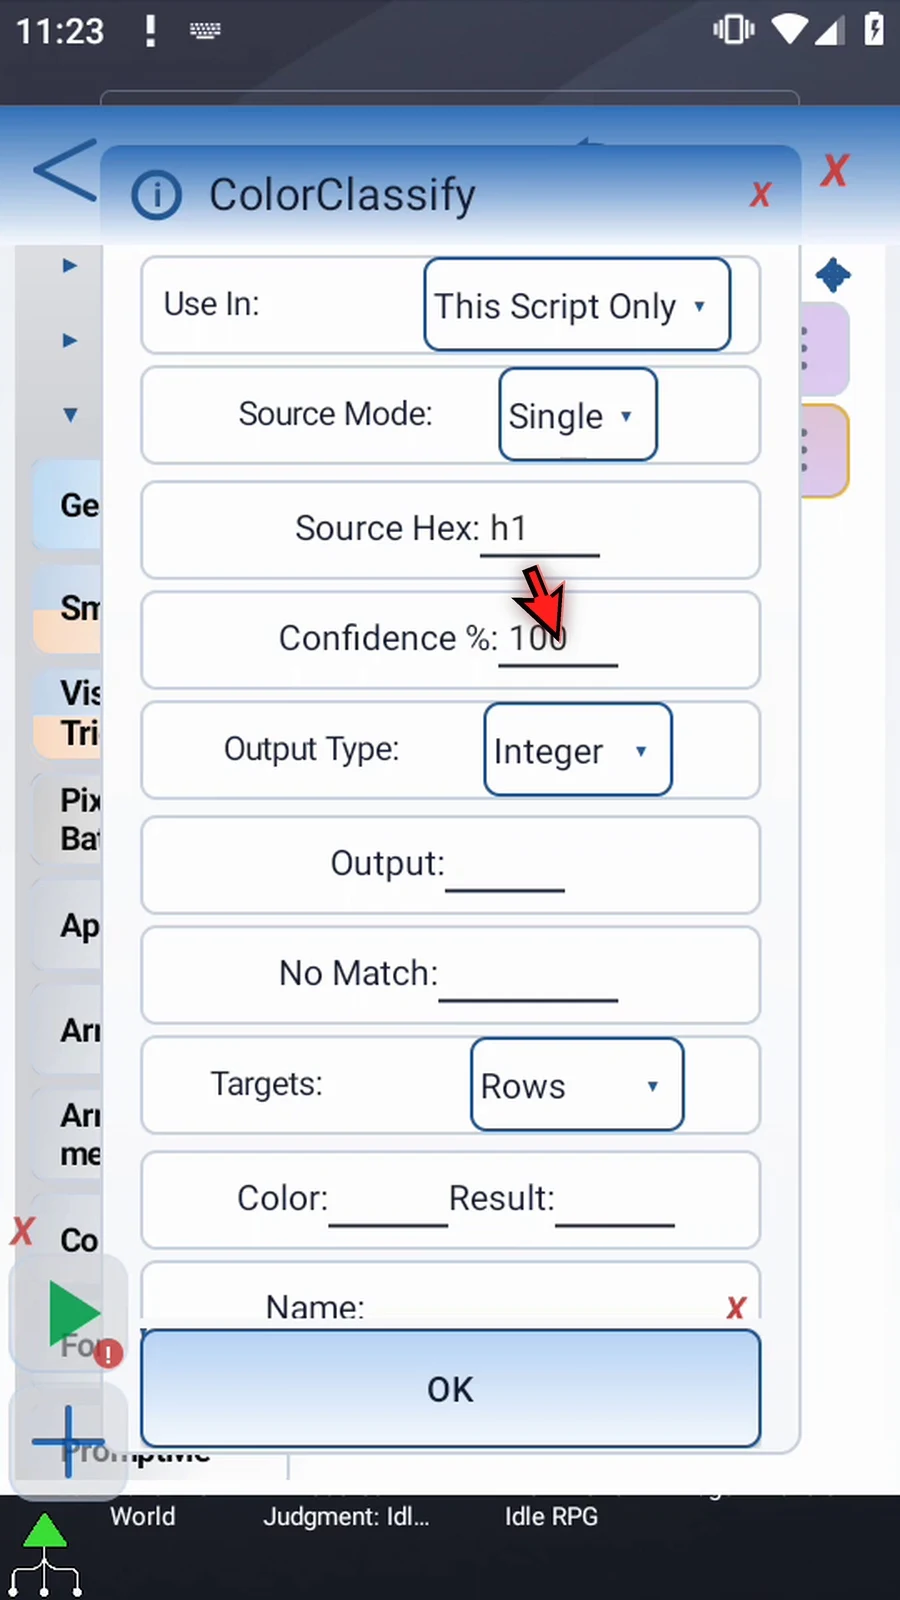
Step 14 Choose Integer for numerical codes. Decimal is available for fractional values, and String for text labels. Each row's Result and the No Match value must match the selected output type.

Step 15 Set Output to i1. This variable receives the selected row's result. Set No Match to zero, which will be used if none of the target colors match.
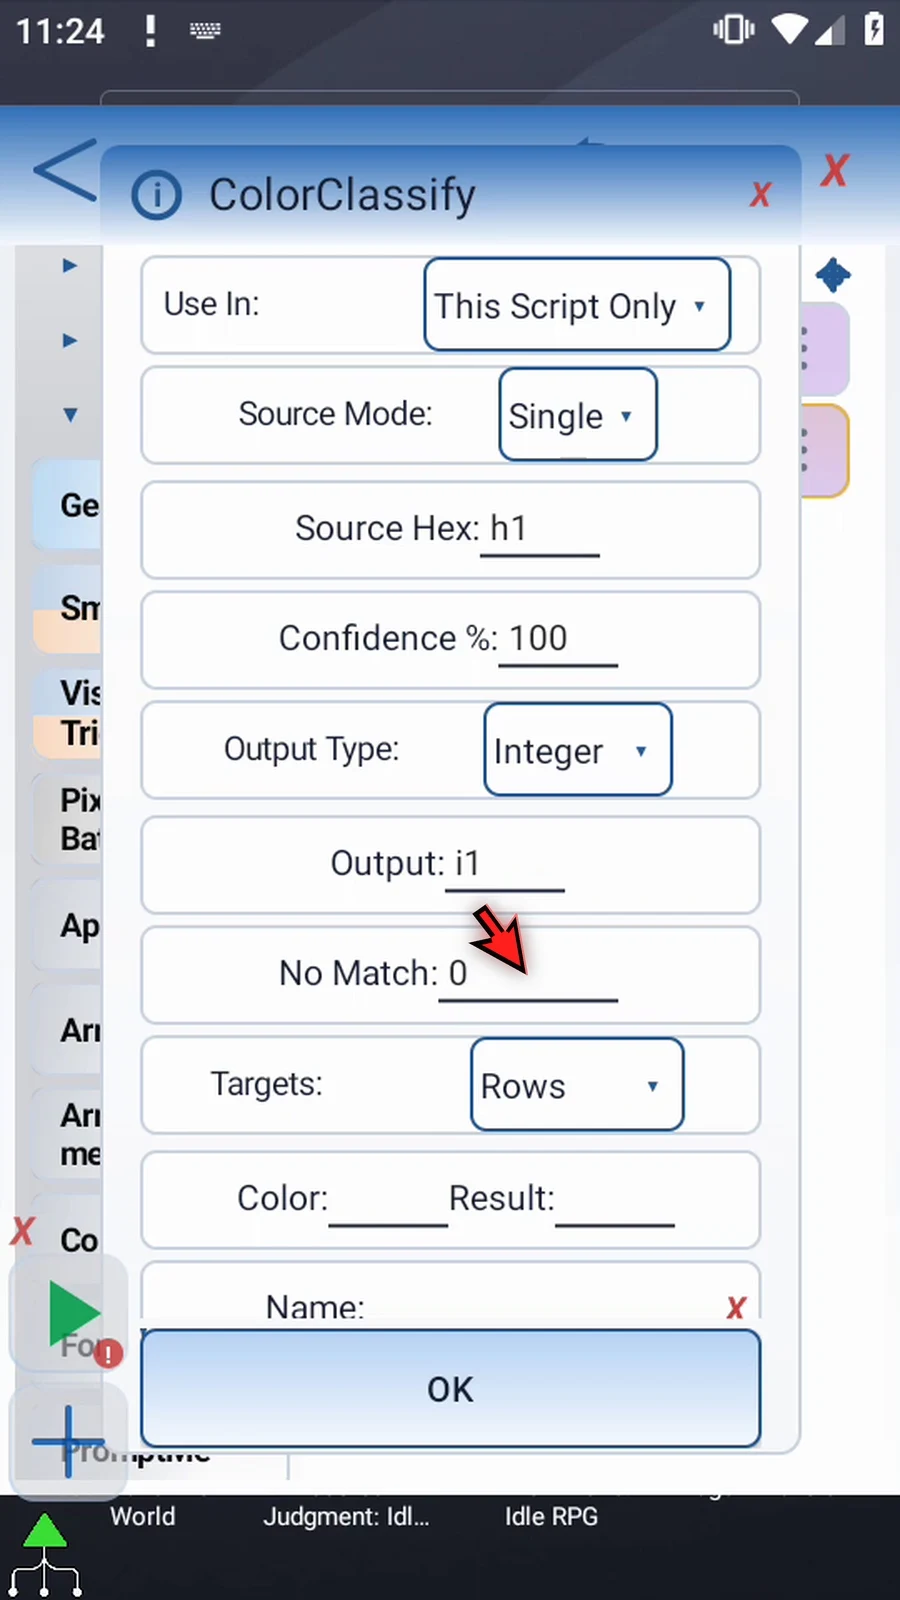
Step 16 Keep Targets set to Rows to define the colors and their results here. Hex Array instead looks up colors stored in a declared array. We will cover that workflow separately.
Step 17 In the first row, enter red as the Color and one as the Result. Give it the optional name Red so the list is easier to read.
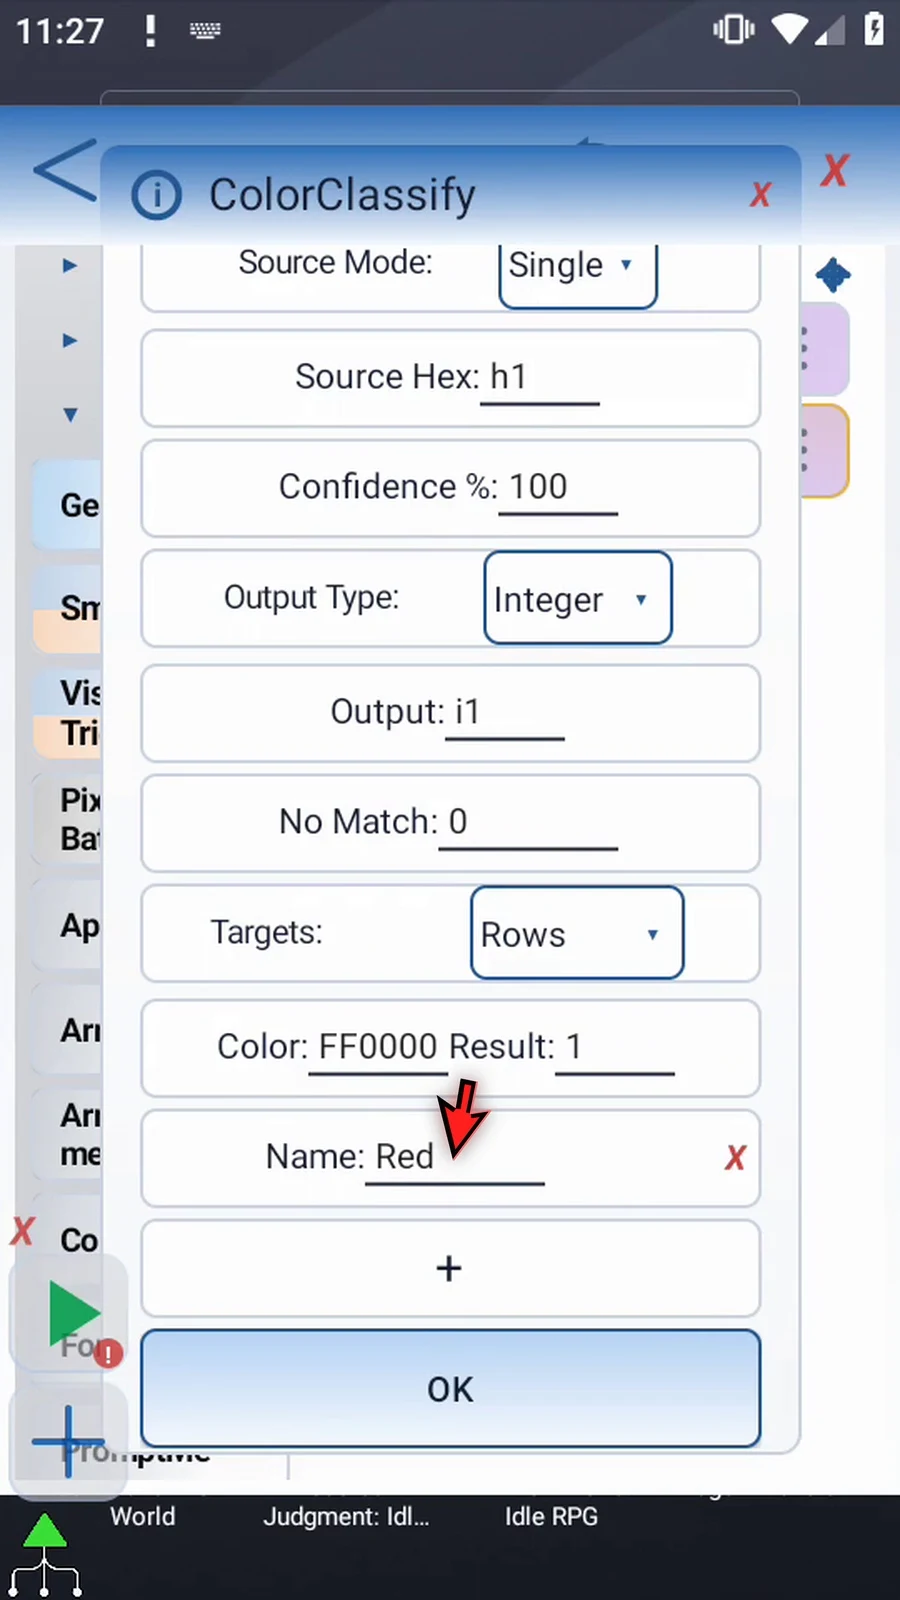
Step 18 Use the plus button to add a second row. Enter blue as the Color, two as the Result, and name it Blue.
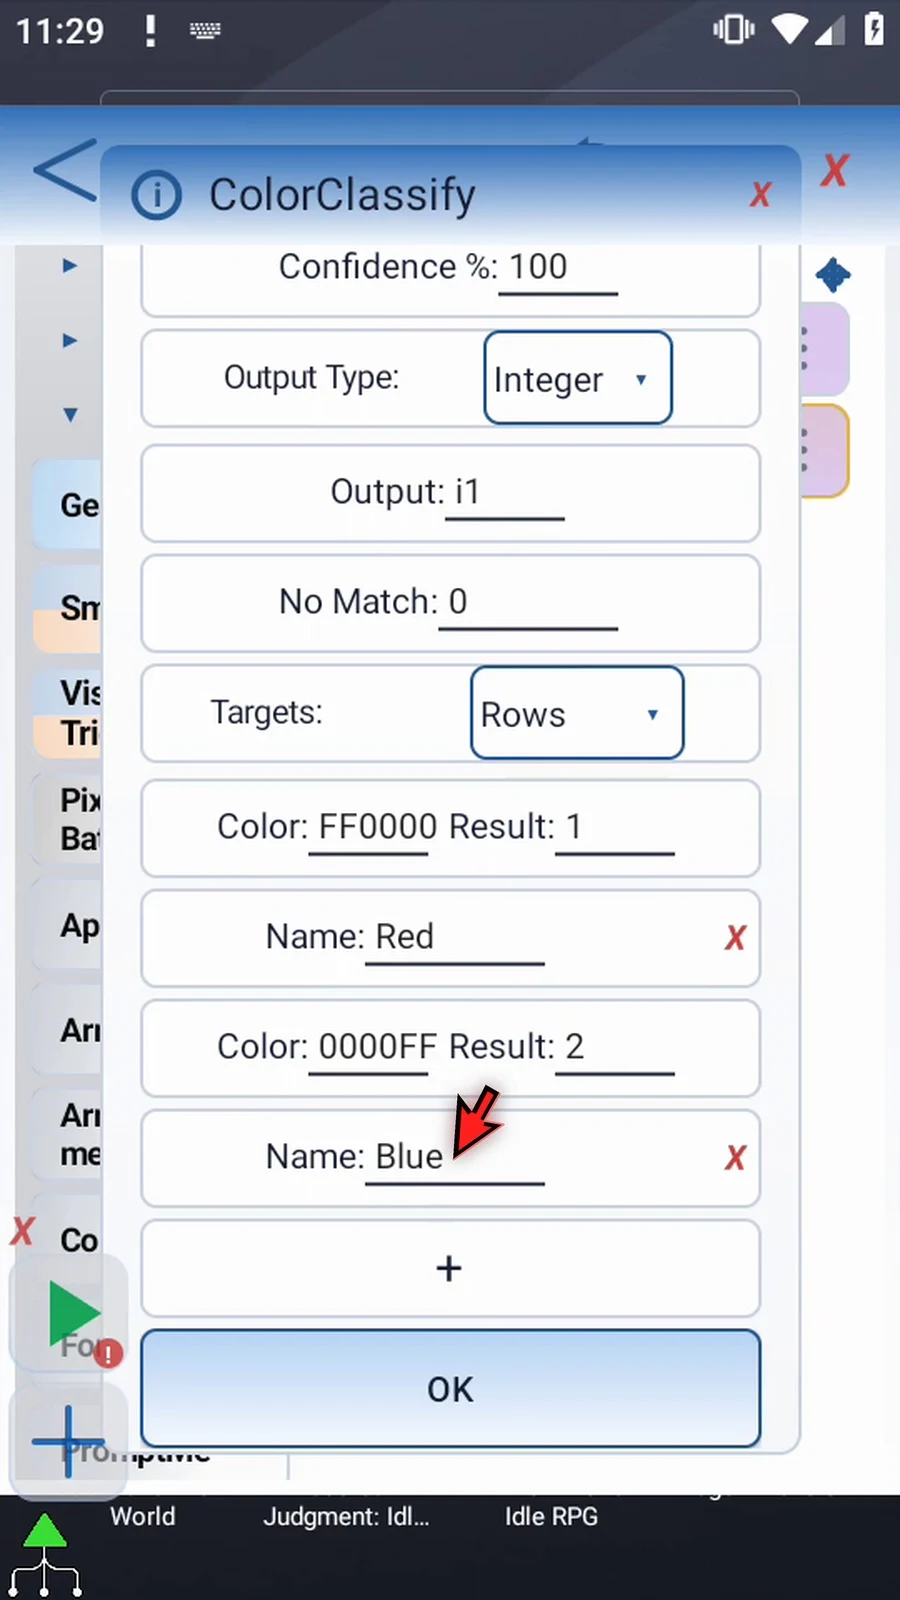
Step 19 You can define up to sixteen target rows. They are checked in order, and the first color that matches supplies its Result. Names are for readability. The red X removes an unwanted row.
Step 20 Tap OK. Set Variable provides red, then Color Classify converts that color to our numerical code. Next, add a visible result and a completion check.
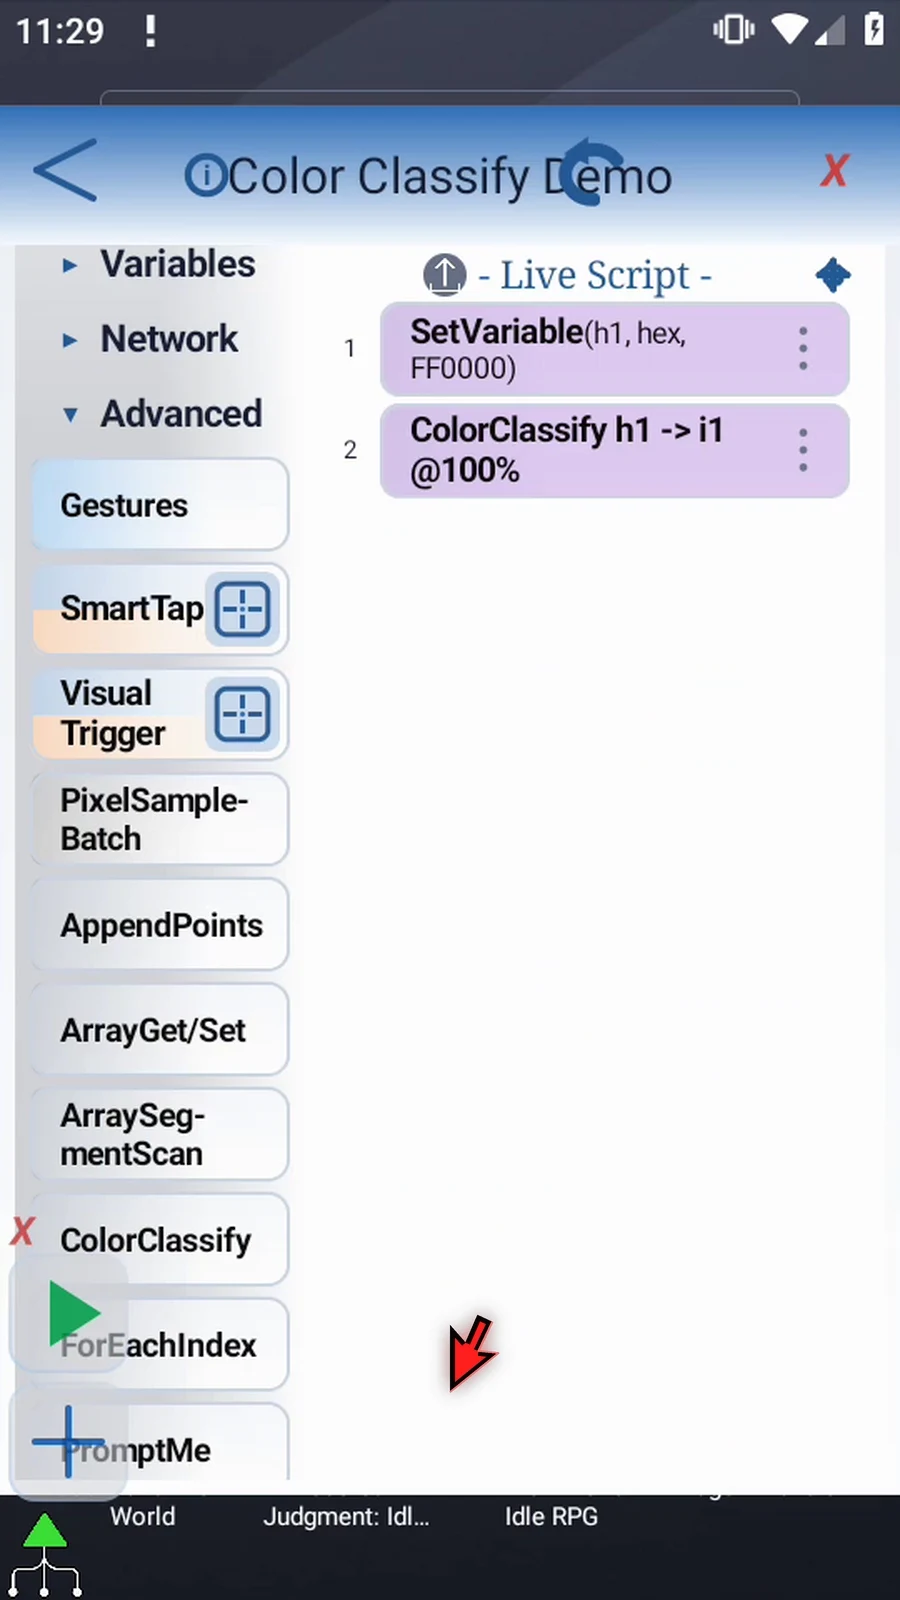
Step 21 Expand Device and drag Display after Color Classify. This supporting command lets us see the value stored in i1.
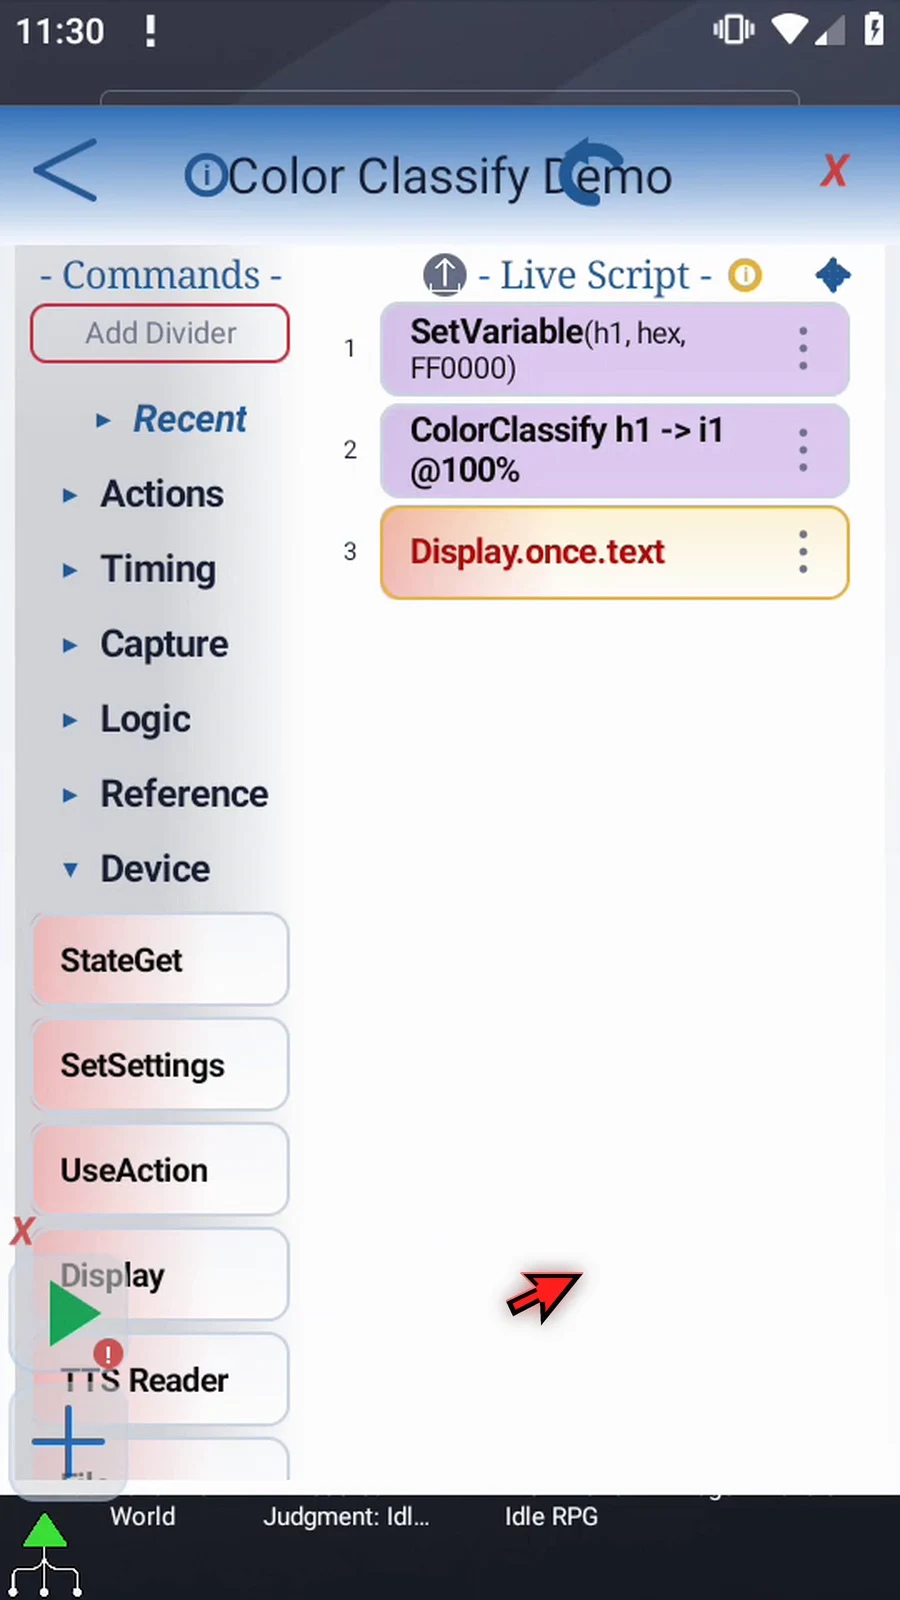
Step 22 Open Display, keep Once mode, choose Variable as the source, and enter i1.
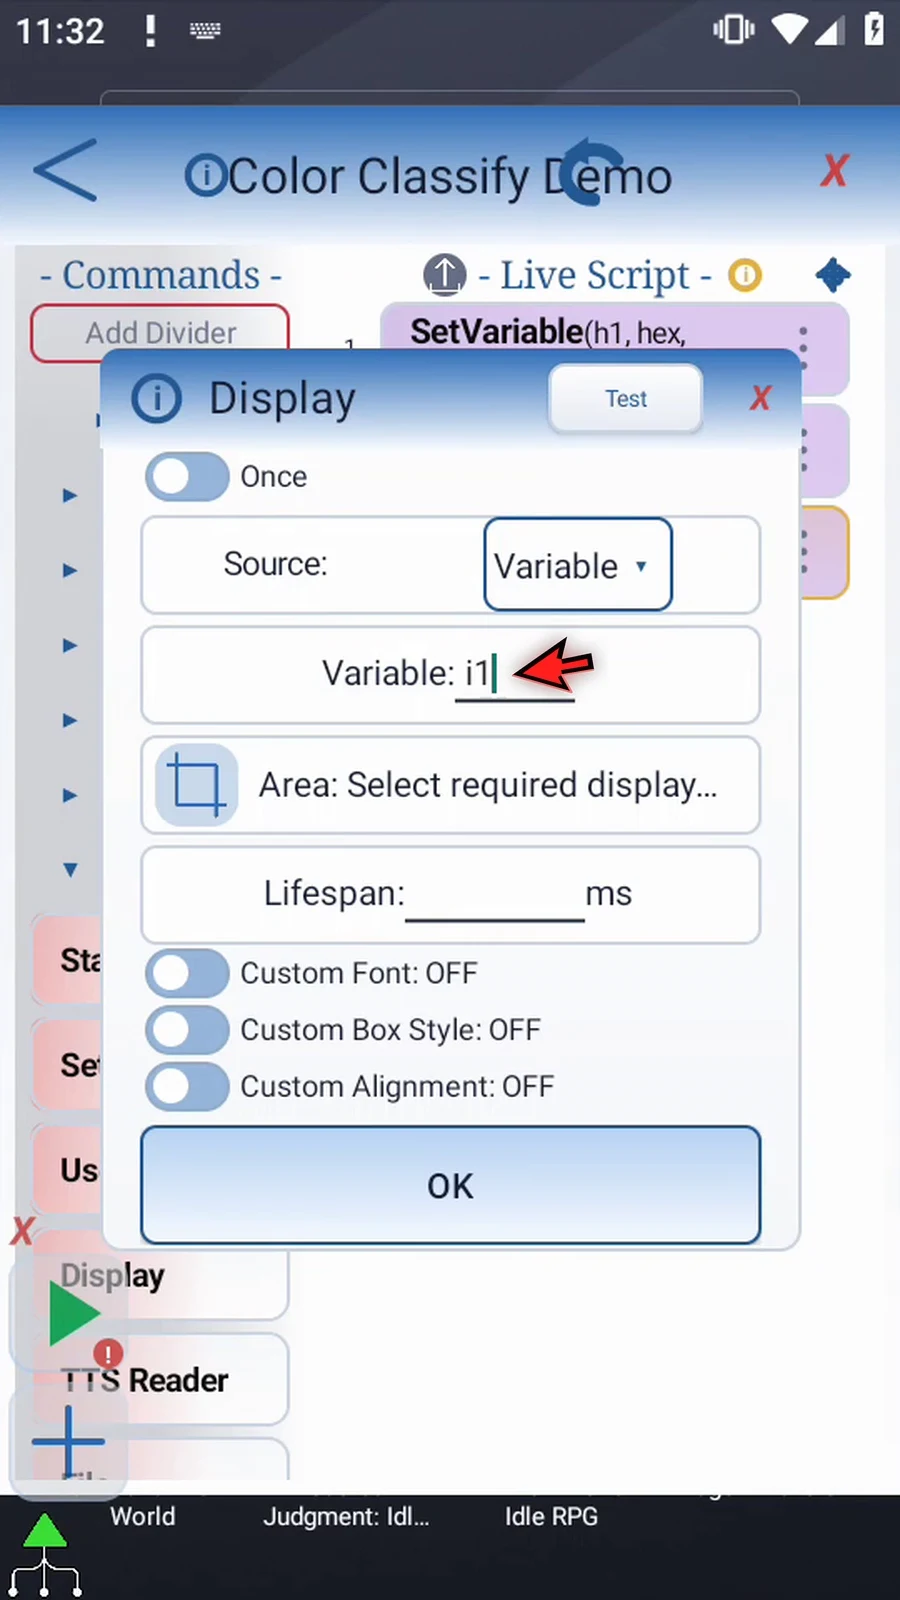
Step 23 Open the area selector and resize the box to a clear area. Use the check mark to return.
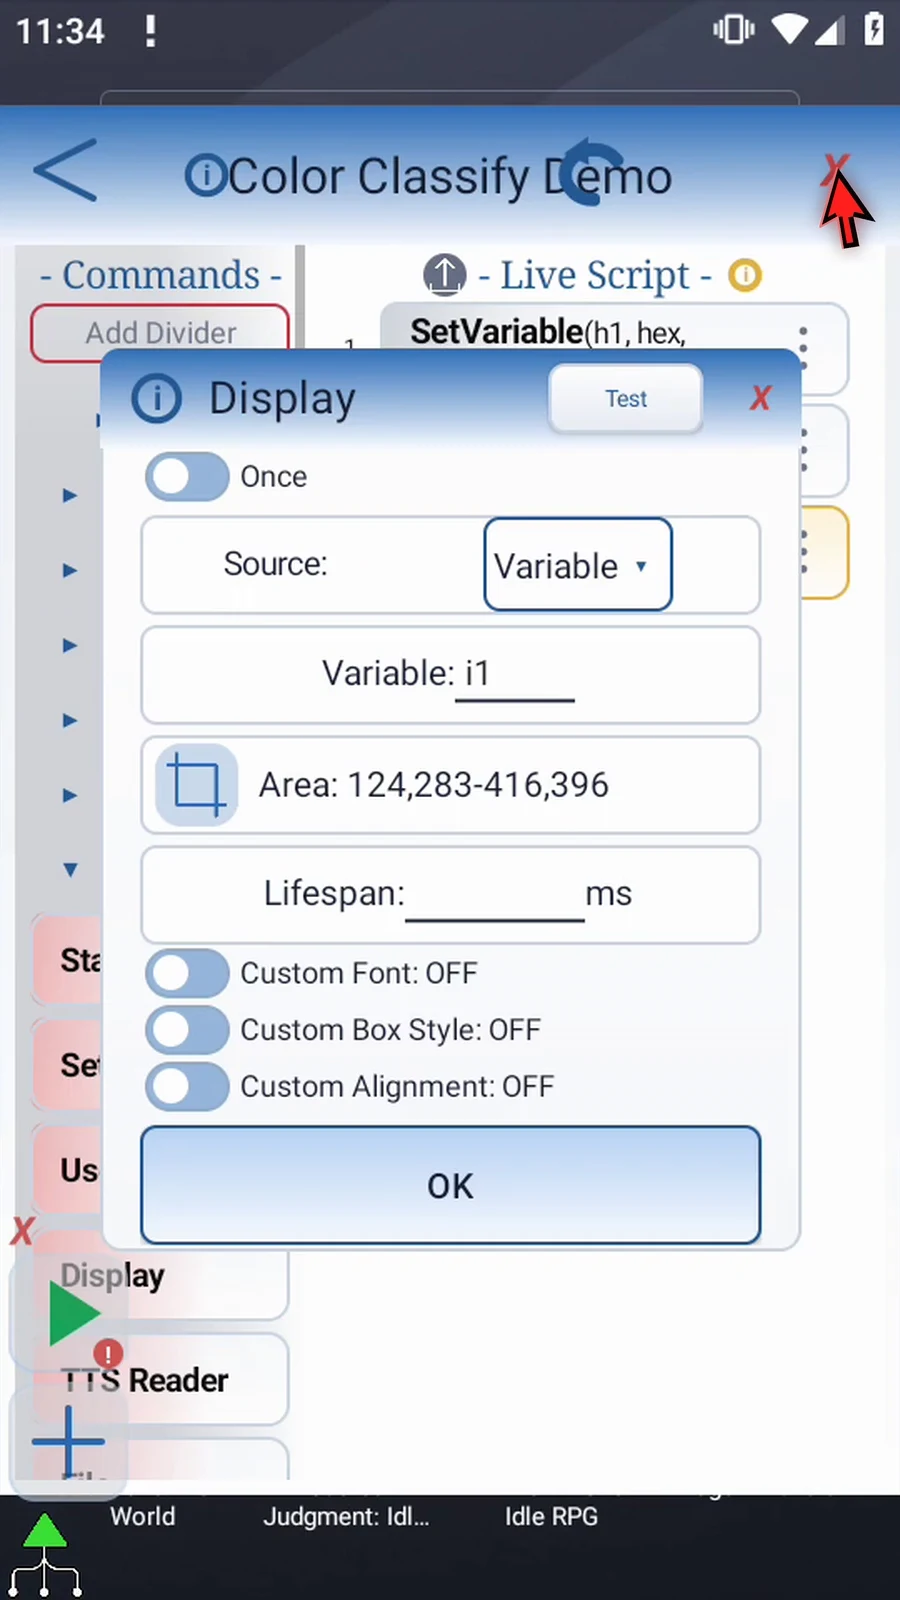
Step 24 Set its lifespan to five thousand milliseconds, giving us five seconds to see the result. Keep the other settings at their defaults and tap OK.
Step 25 Drag Prompt Me after Display as a final confirmation. It shows that the script reached the next command.
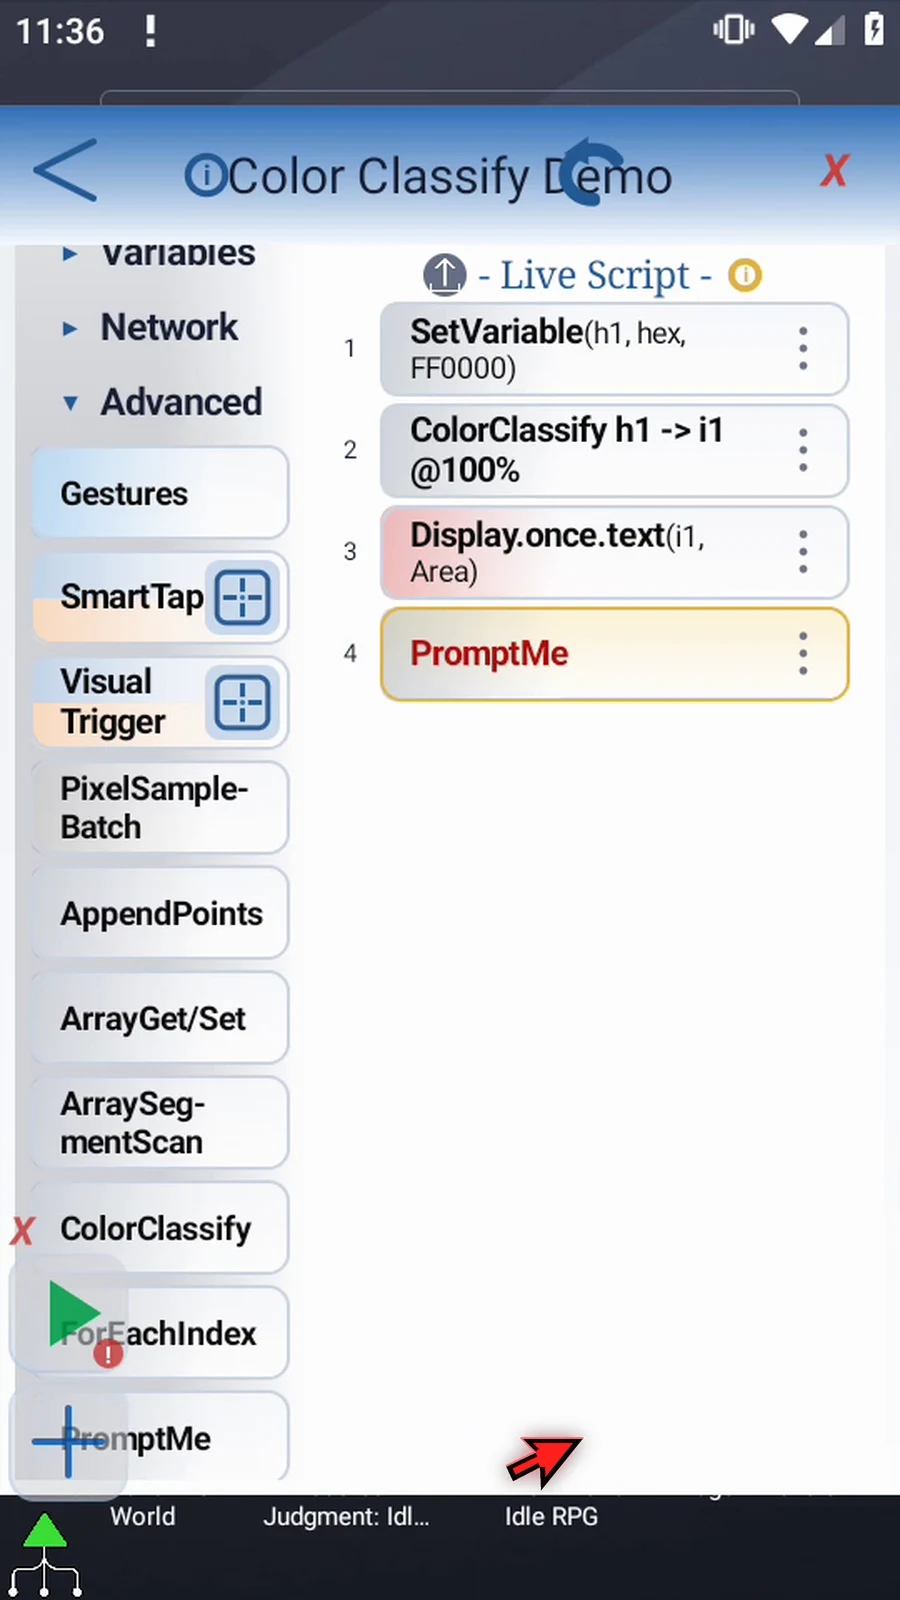
Step 26 Keep the regular Standard prompt and give it the header Complete.
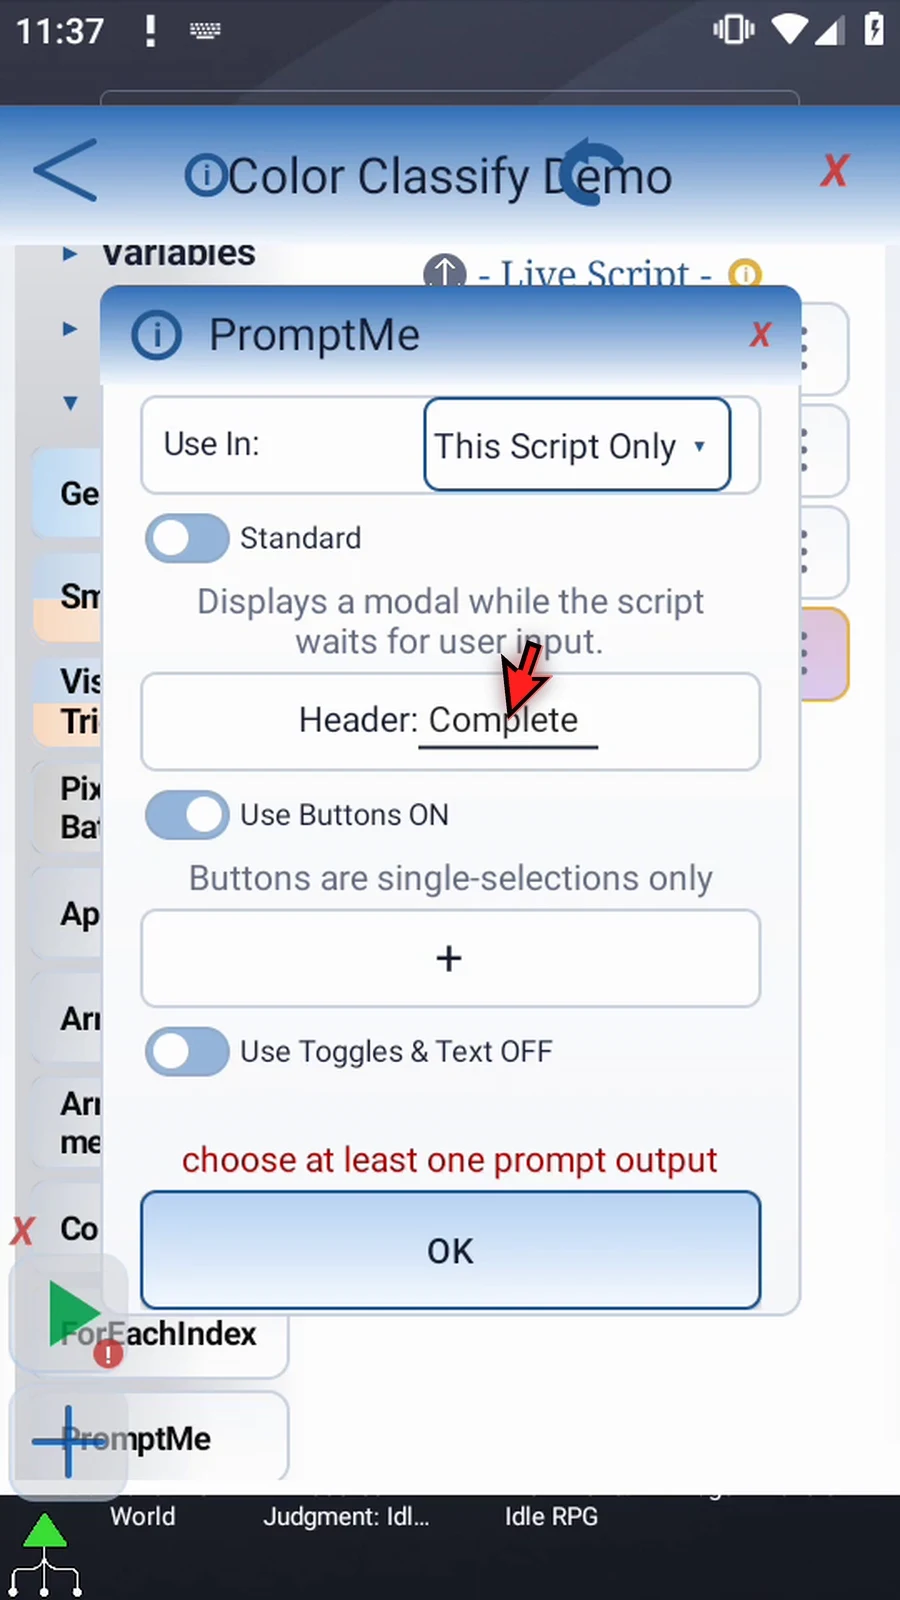
Step 27 Add a button named Done, using b1 for its Boolean output. Then tap OK.
Step 28 The four commands supply a Hex color, classify it, display the numerical result, and confirm completion. Close the editor.
Step 29 When the script is complete, simply use the Play button in the main overlay.
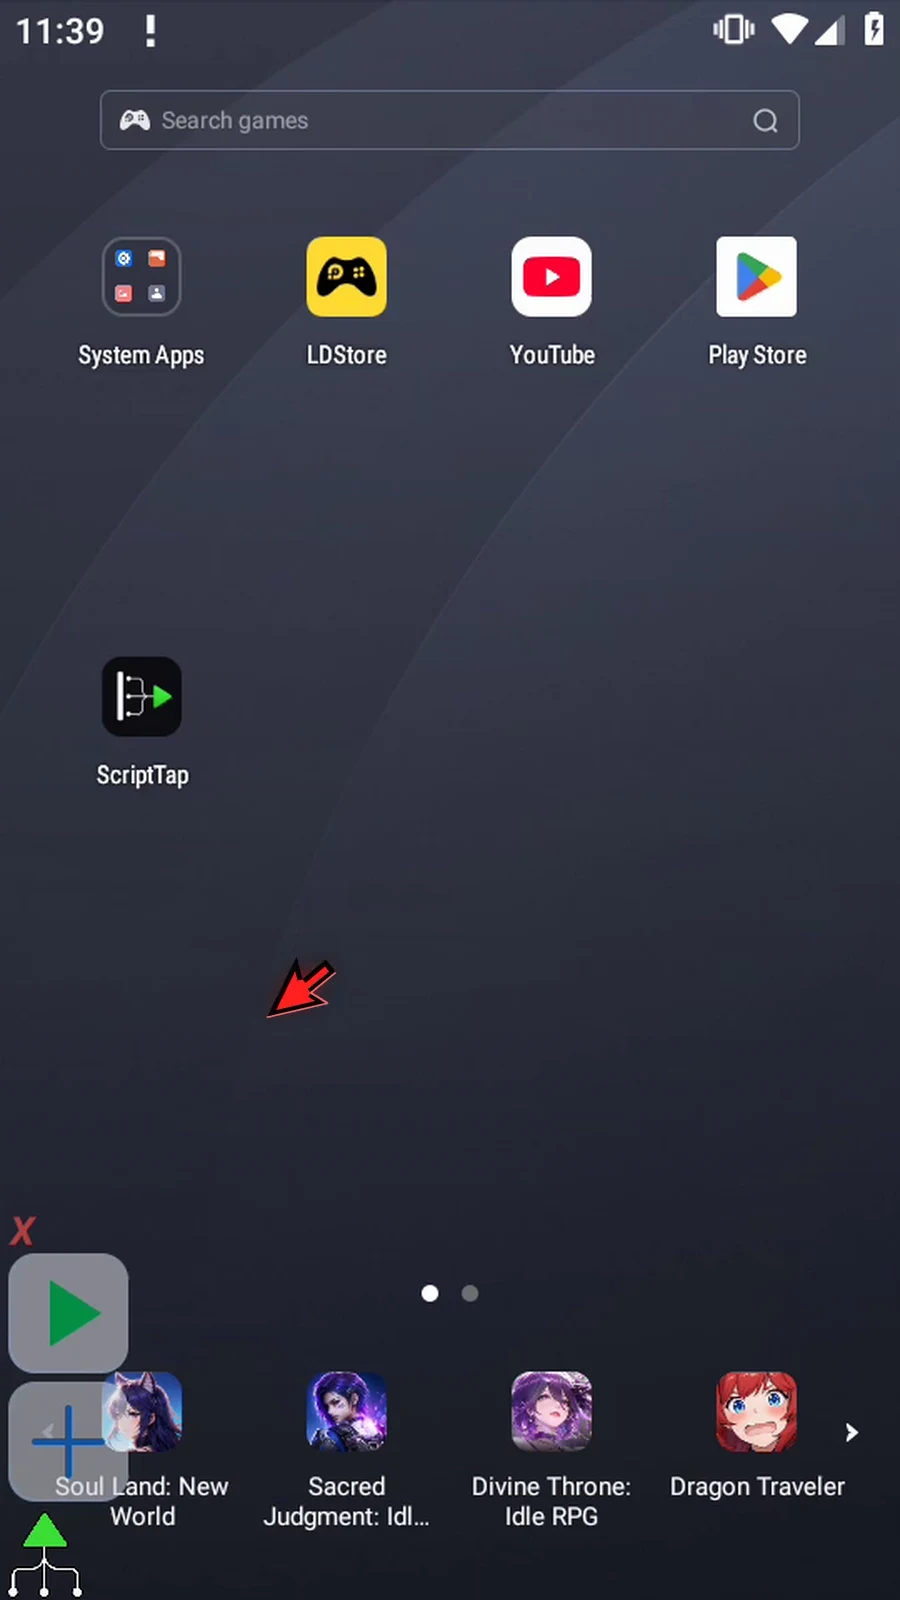
Step 30 Display shows one. The red Hex value matched our first target.
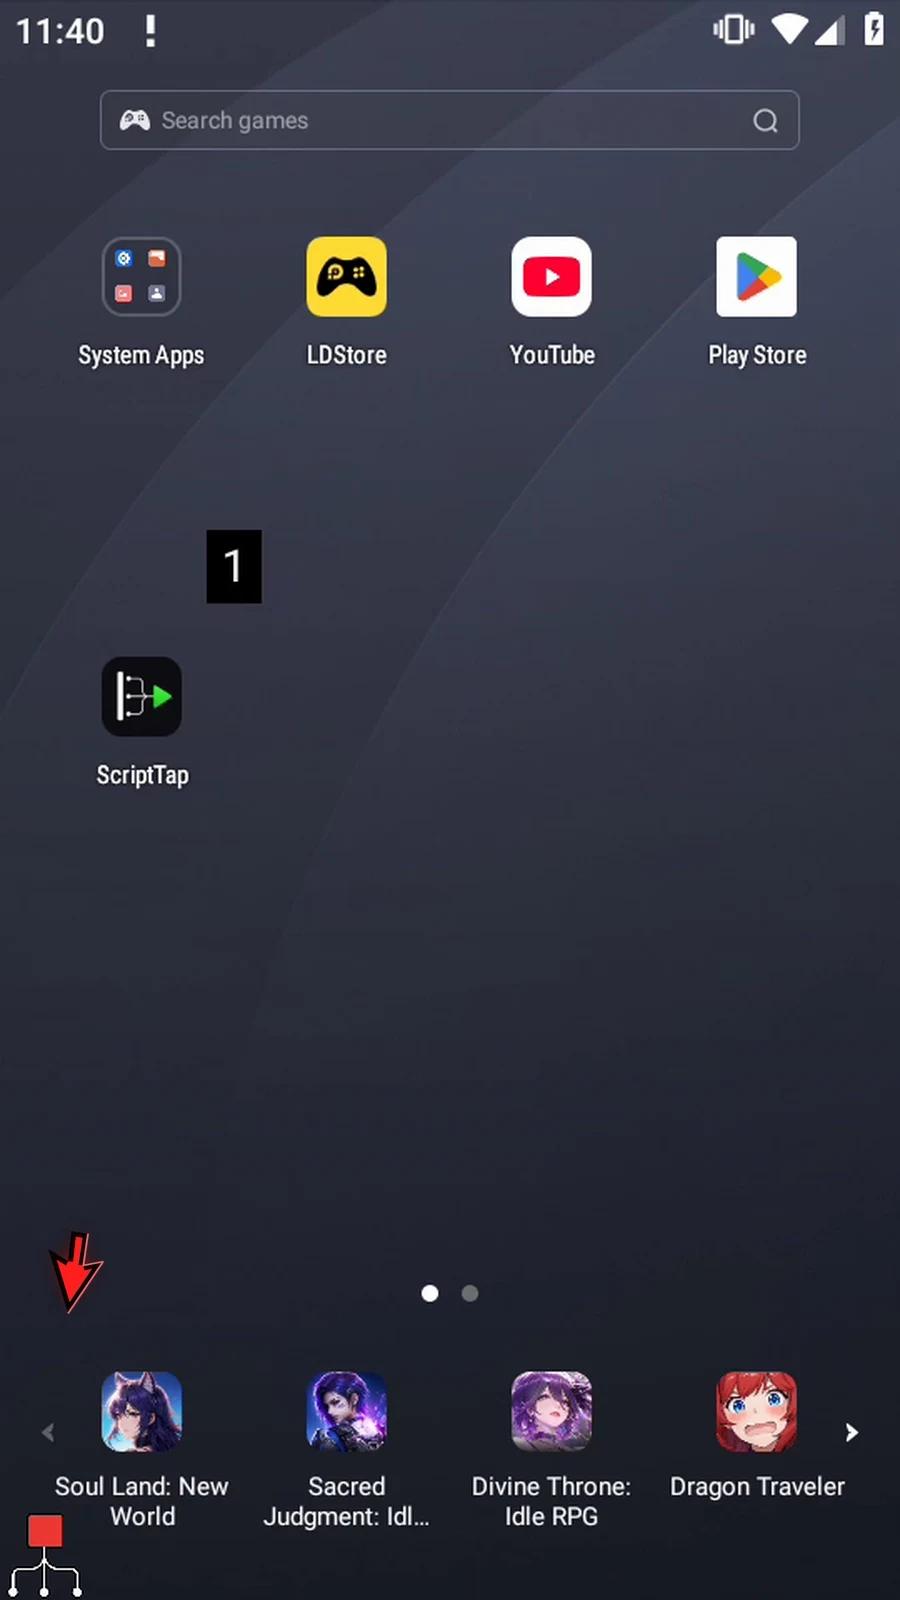
Step 31 Complete confirms that the script reached Prompt Me. Later commands could use i1 to choose an action instead of repeatedly comparing Hex color codes.
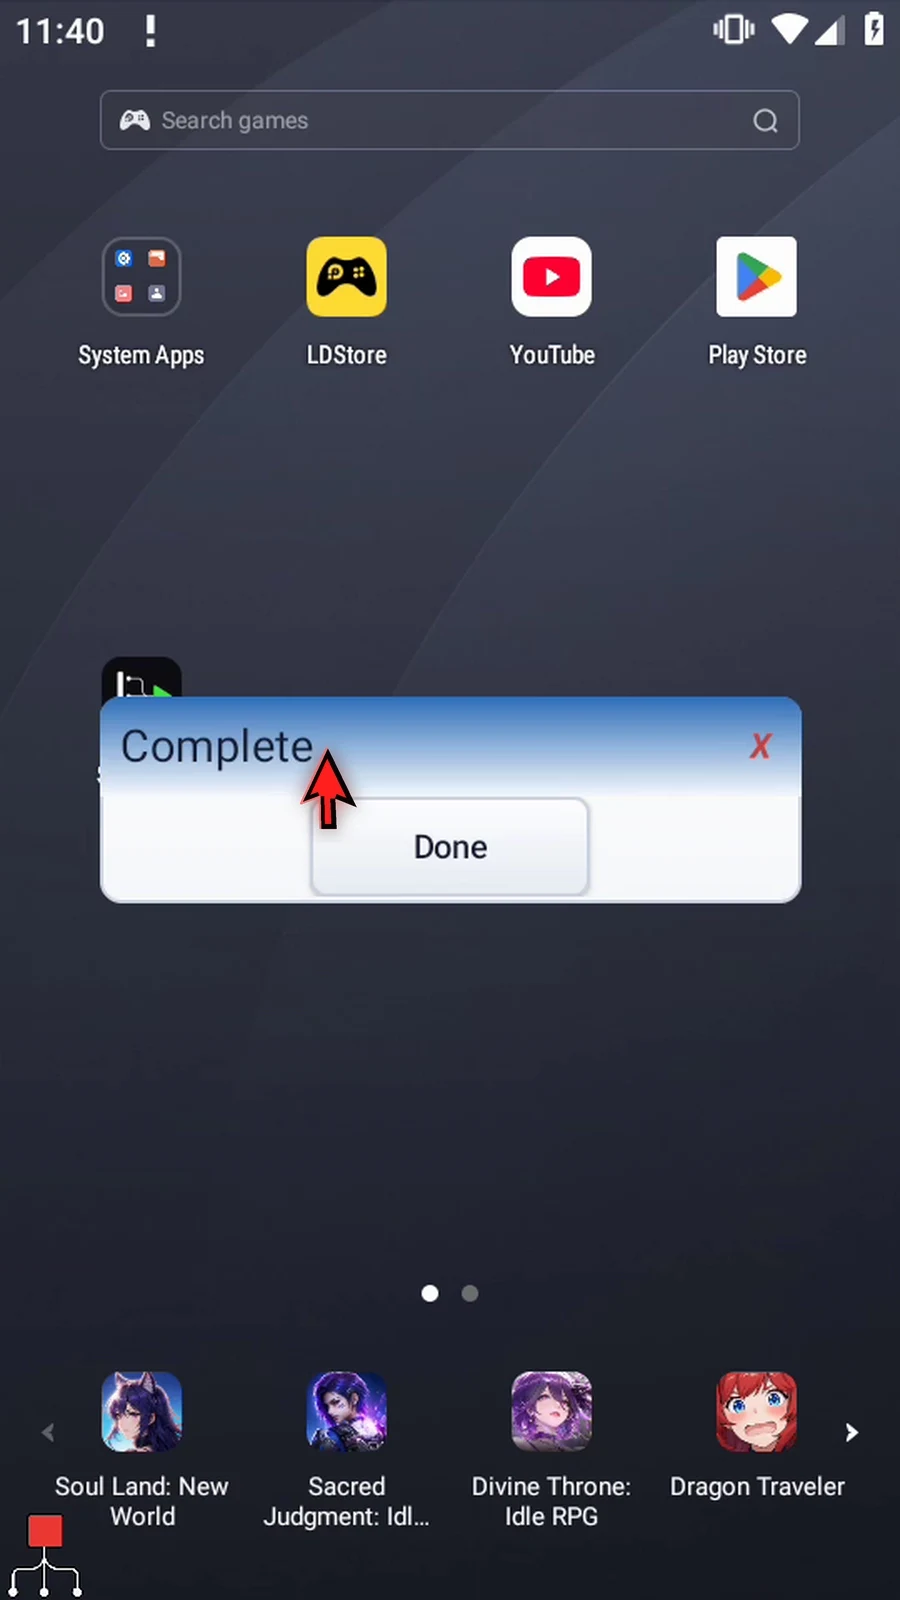
Step 32 Press Done. The script finishes automatically. Use Color Classify when stored colors need meaningful codes or labels, with explicit targets and a clear No Match result.
Hex Array targets let ColorClassify look up a stored Hex source in a prepared color list instead of fixed result rows. Continue the Intro's Color Classify Demo; keep h1=FF0000, Display i1 for 5000 ms, and PromptMe Complete / Done.
Open the editor and expand Variables. Scroll the palette to a convenient height. Manually drag another SetVariable into the live script, then move the new row between the original assignment and ColorClassify. Choose Array / Hex, letter e, capacity 3, and This Script Only. A declaration reserves capacity without filling its slots. Tap OK.
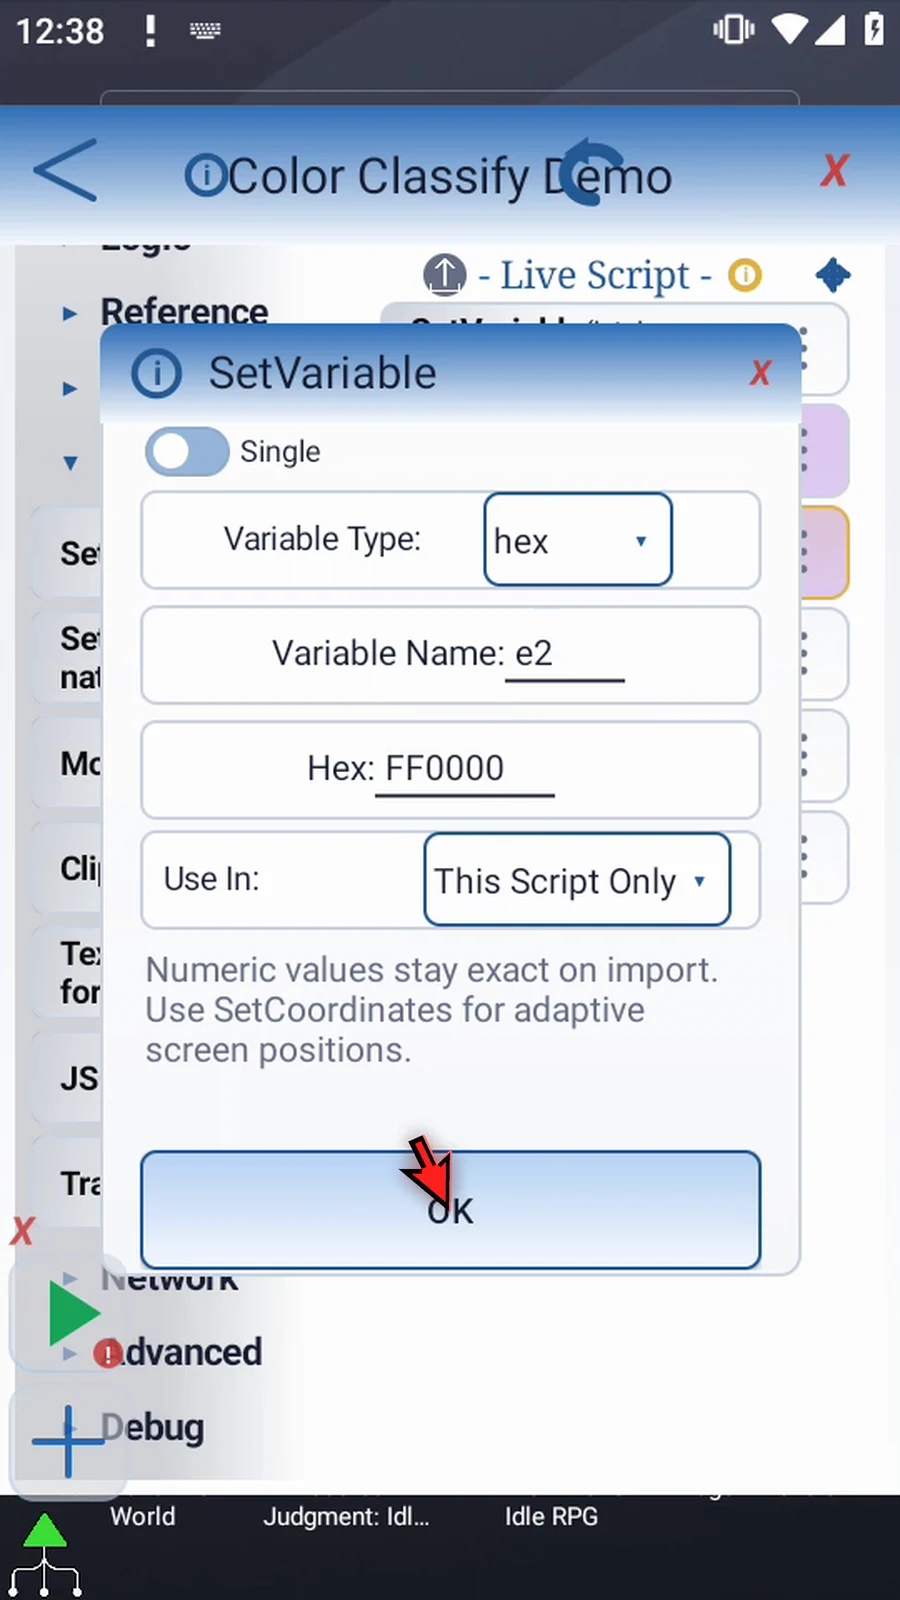
Drag another SetVariable after the declaration and before ColorClassify. Keep Single, choose Hex, name e2, and value FF0000. This compatible typed assignment fills the second slot; e1 and e3 remain unwritten. Tap OK.
Open ColorClassify. Keep Source Single h1, Confidence 100, Integer output i1, No Match 0, and local scope. Change Targets to Hex Array. Enter array e, Start 1, Count 3. Start and Count accept Integer values or variables; the full range must fit the declaration. Count zero searches no targets. Unwritten target slots are skipped.
The first matching target wins, scanning in ascending slot order. Integer and Decimal outputs contain its absolute target slot number, not a custom row Result. String output contains the matched normalized Hex color. No Match remains the typed fallback. The target array is not modified.
Tap OK and close the editor. Play the six-command script. The complete live Display shows 2, because red matched e2. Complete follows after Display closes. Press Done to finish automatically.
Single / Hex Array
Step-by-step guide
Step 01 Hex Array targets let Color Classify look up a source color in a list prepared earlier. This is useful when the colors come from variables instead of fixed rows. We'll continue the Intro script and keep the same red source.
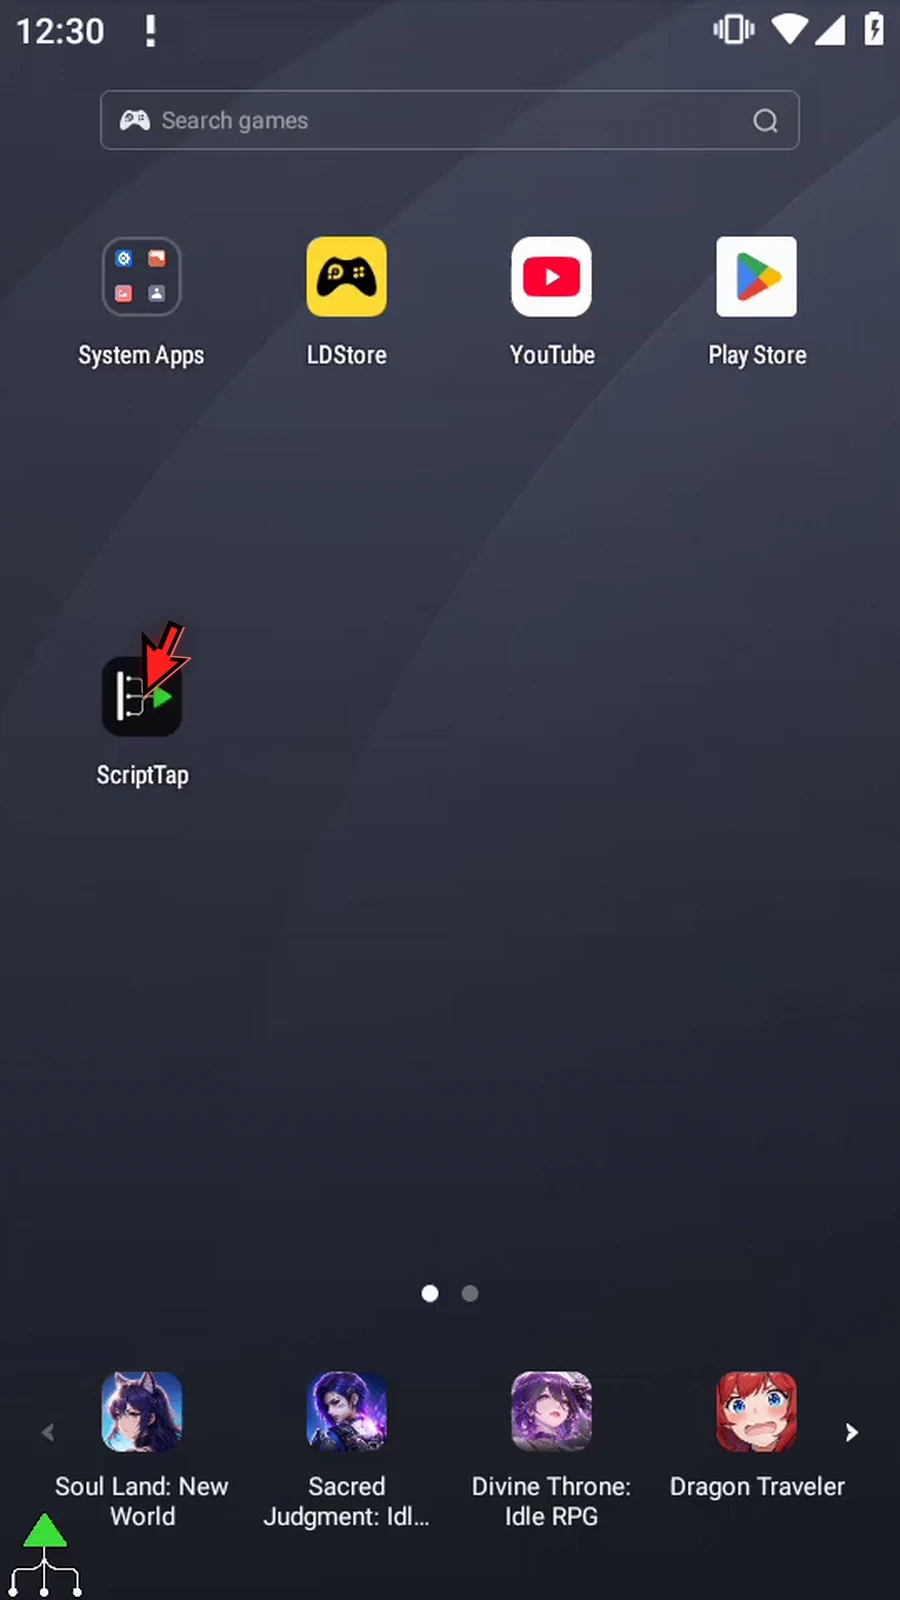
Step 02 Open the editor. Keep the original assignment to h1, Display, and the completion prompt.
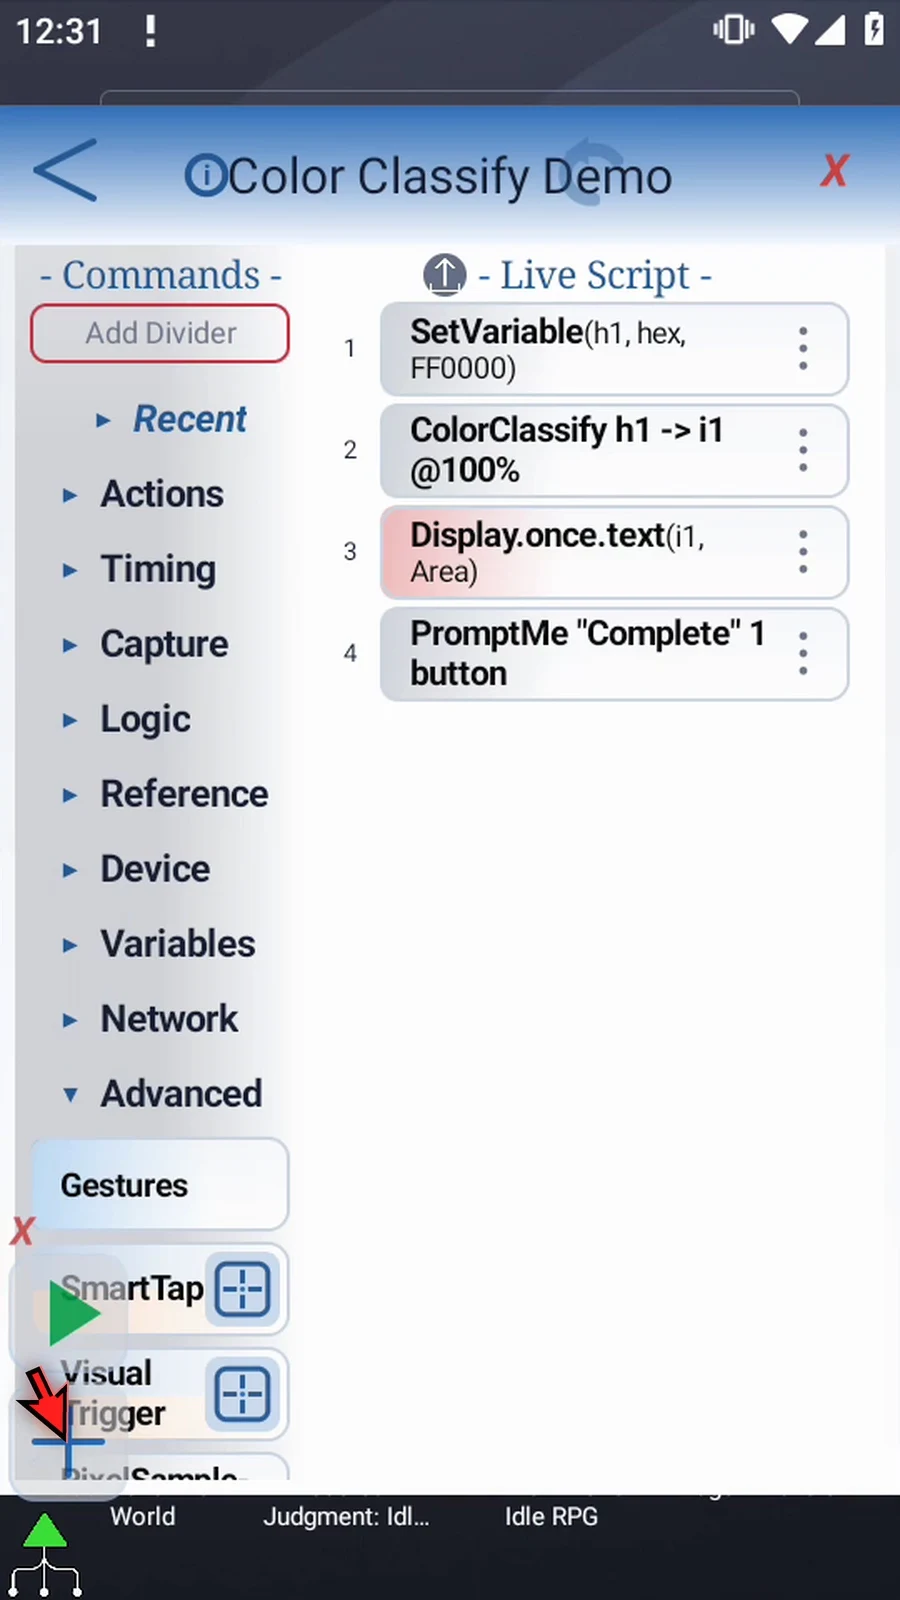
Step 03 Expand Variables and scroll the palette to a convenient height for dragging.
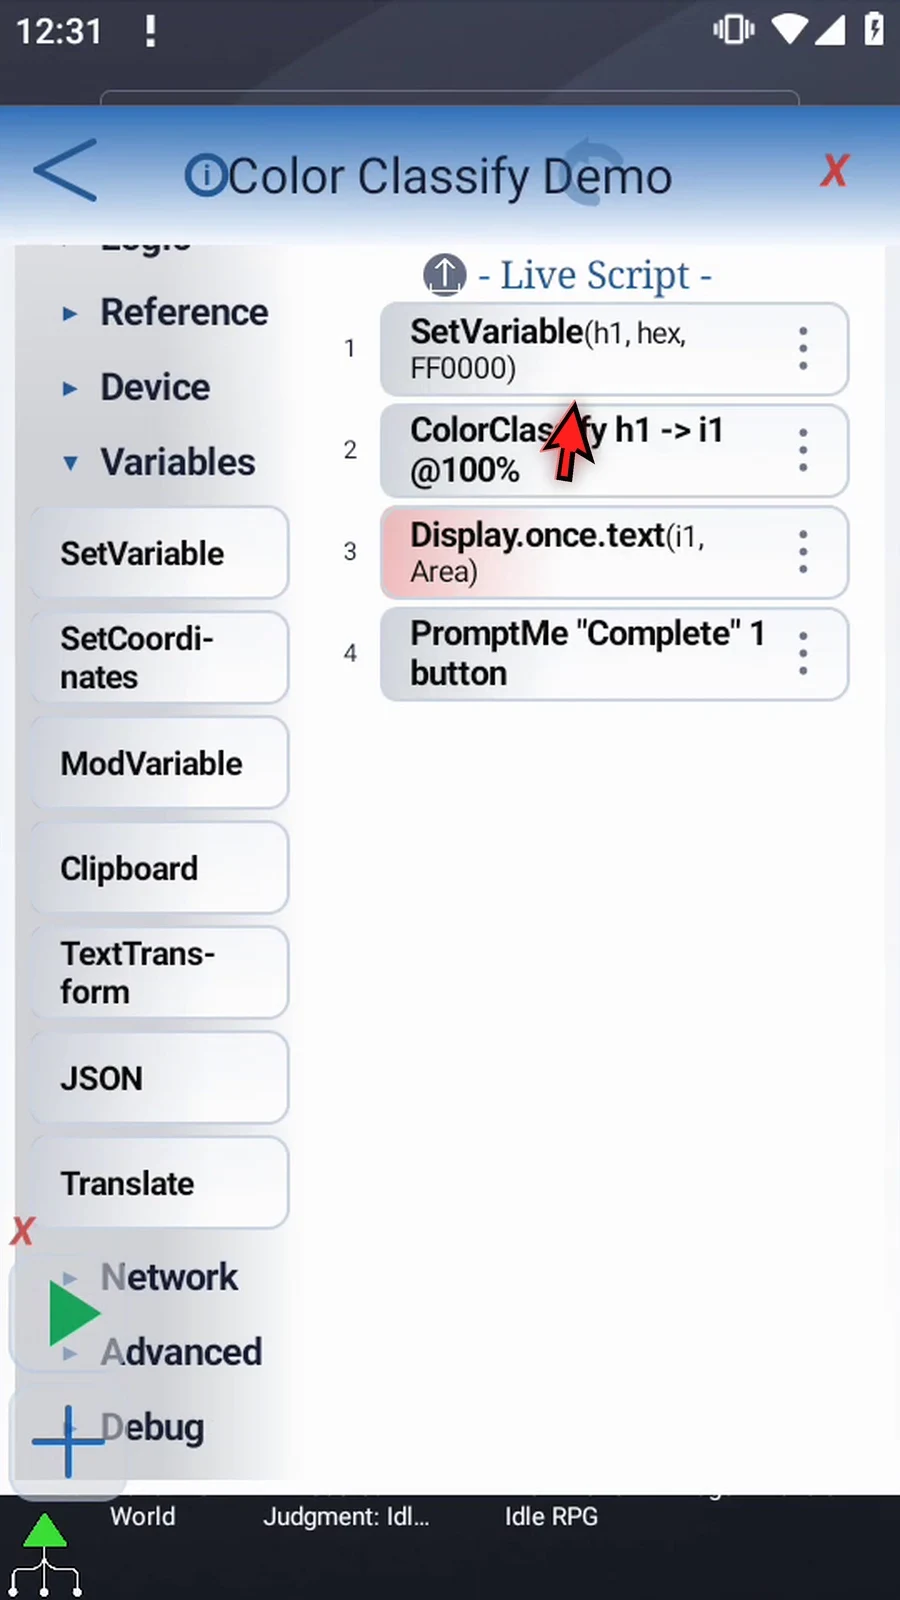
Step 04 Drag another Set Variable into the live script.
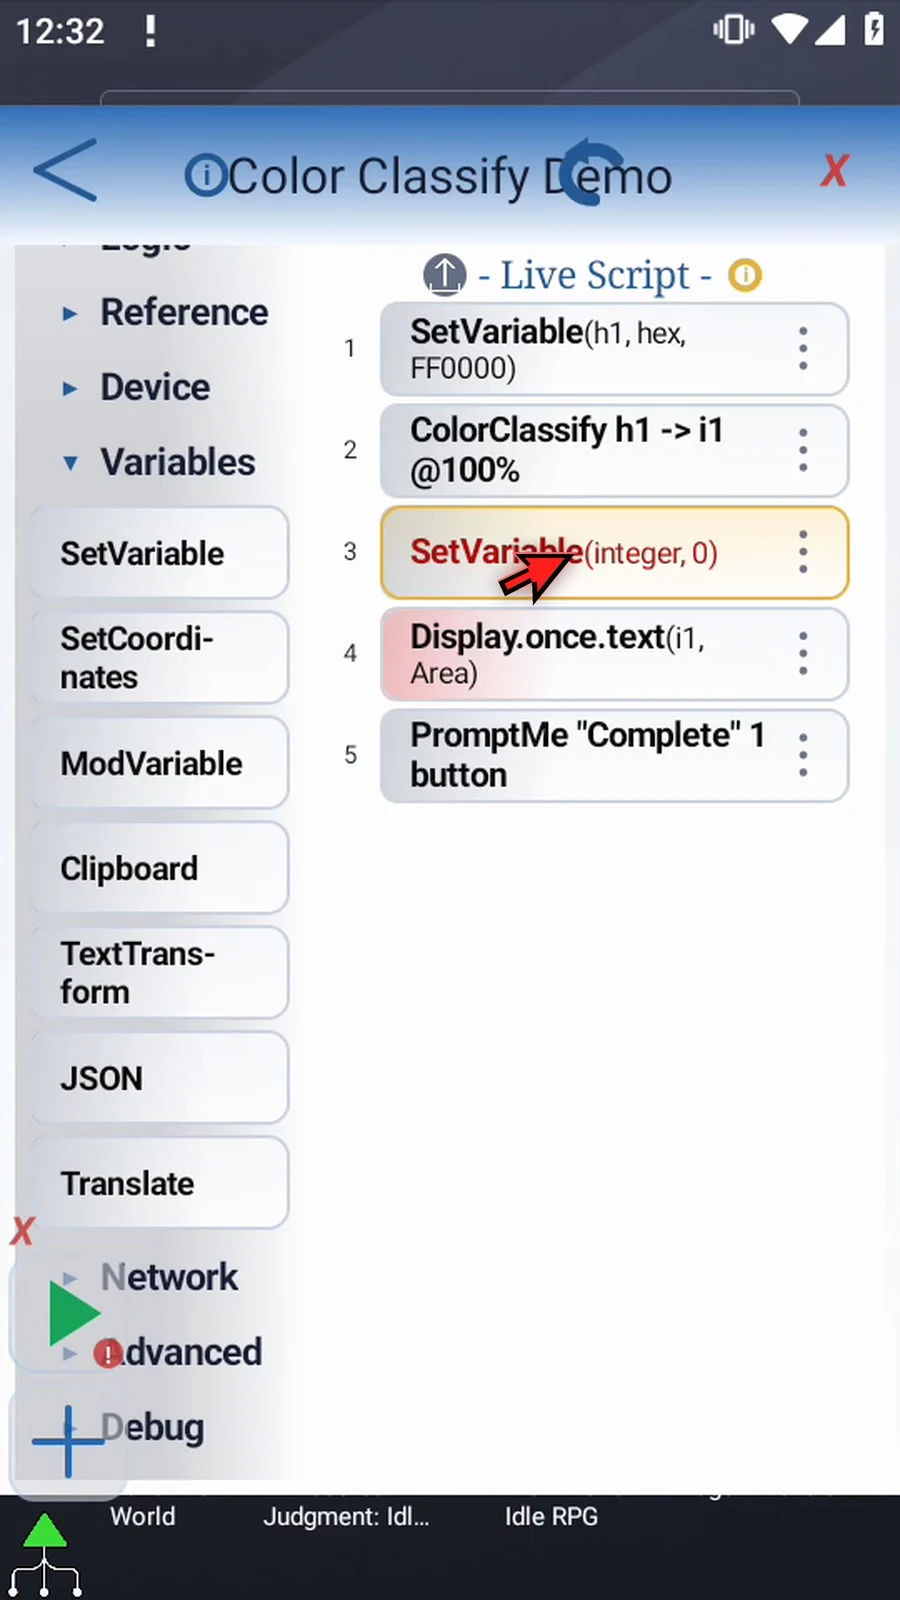
Step 05 Move the new frame between the original assignment and Color Classify. The target array must be declared before the lookup runs.
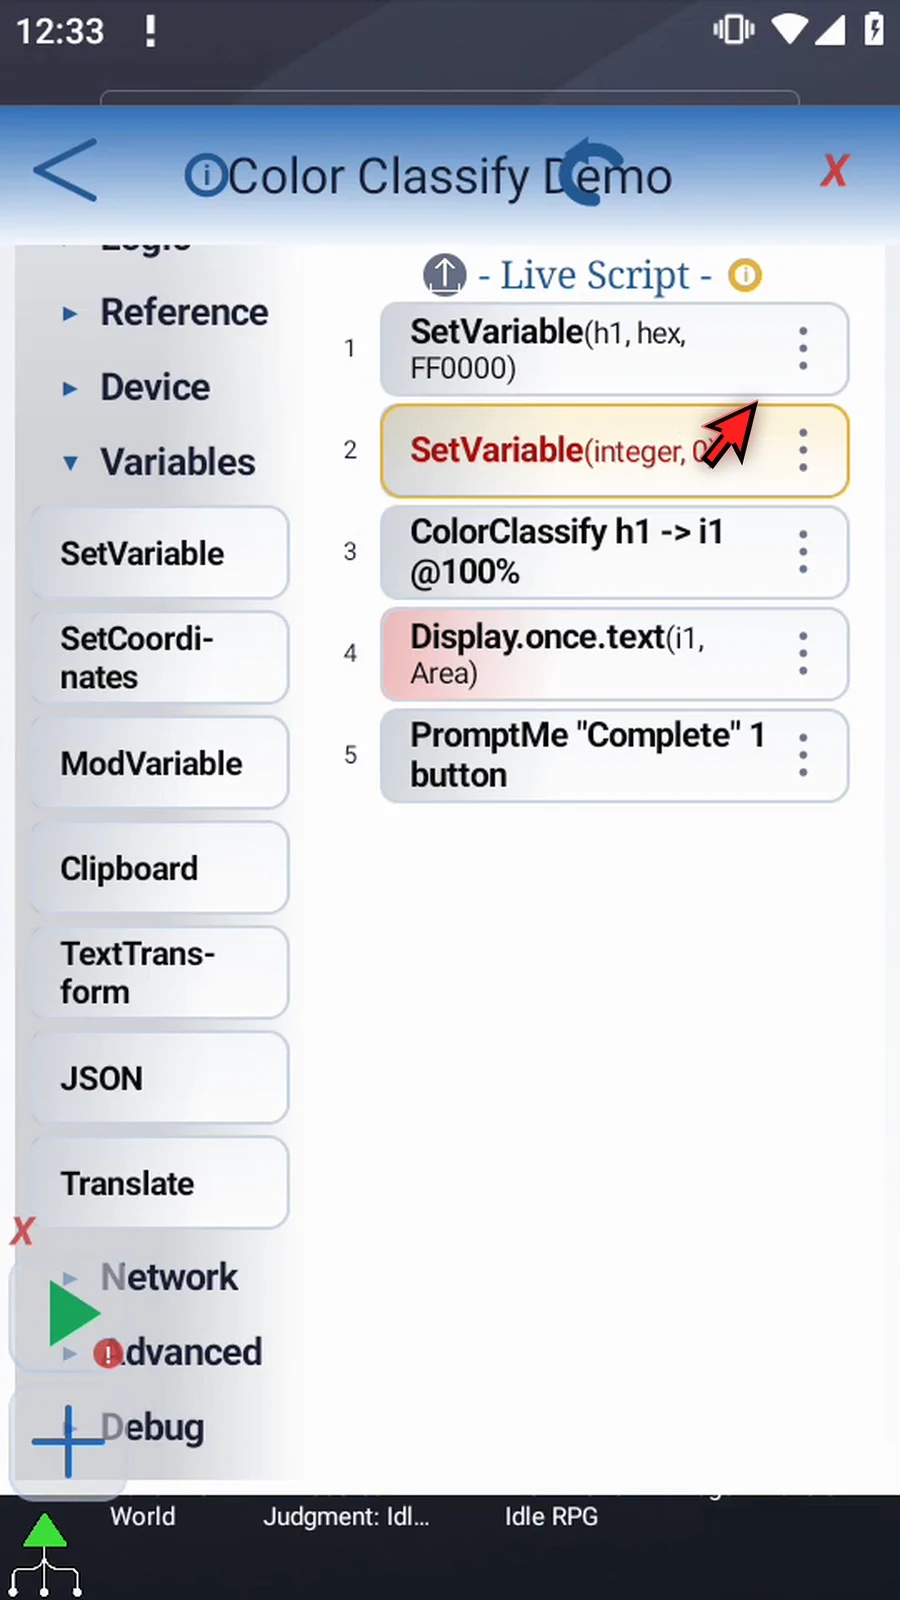
Step 06 Open the added frame, choose Array mode, and select Hex as its type.
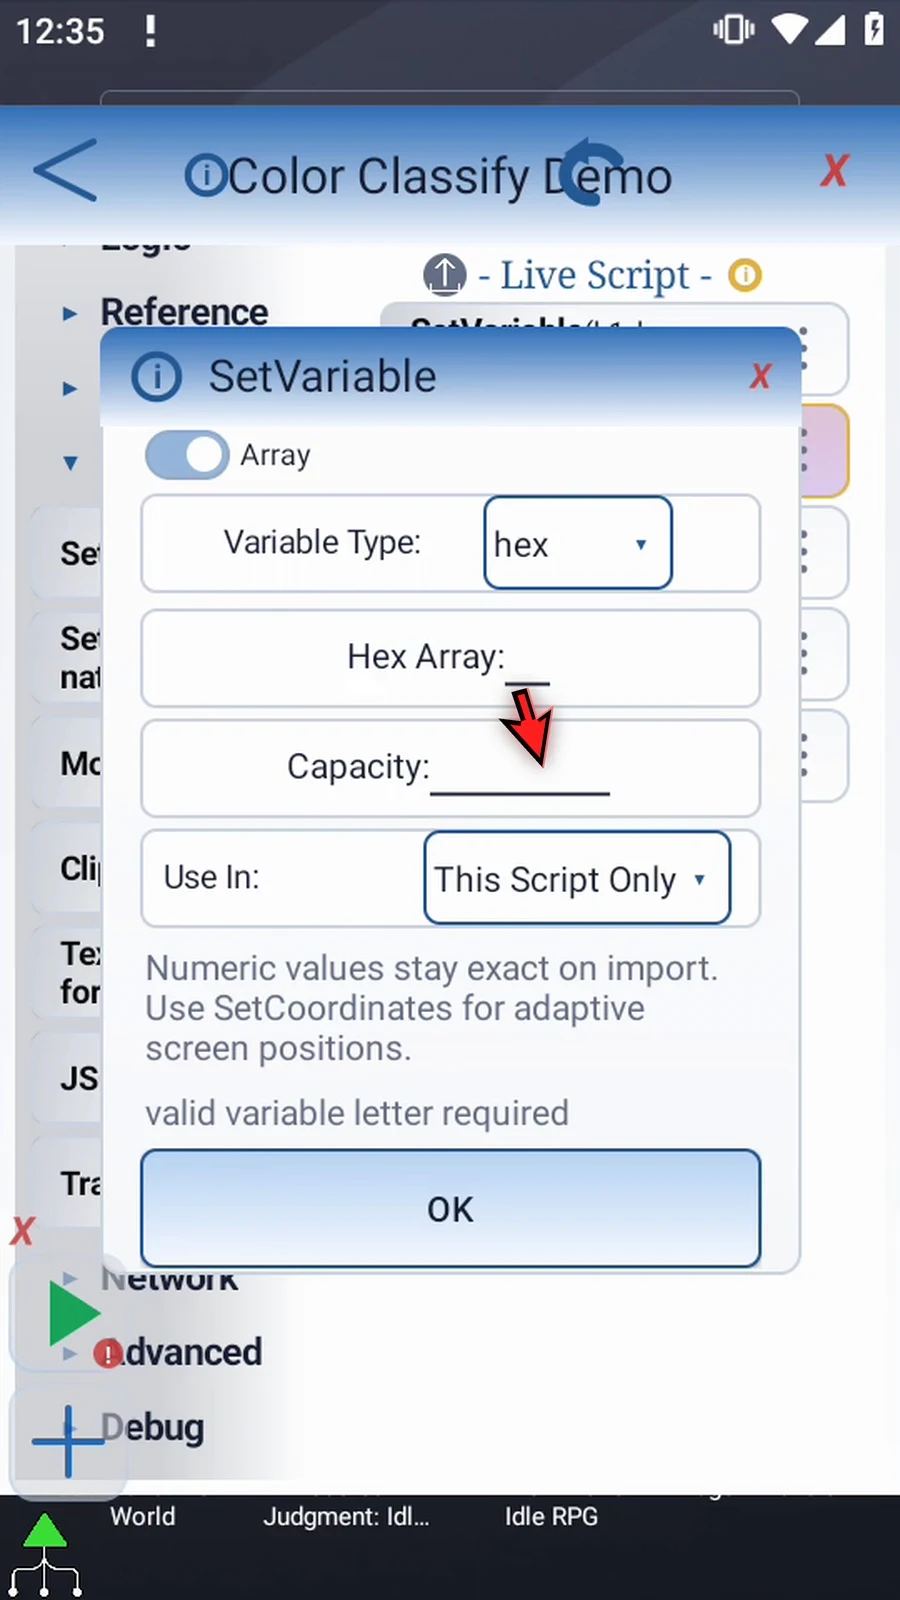
Step 07 Use the array letter e and a capacity of three. Keep This Script Only and tap OK. A declaration reserves space; it does not fill the slots with colors.
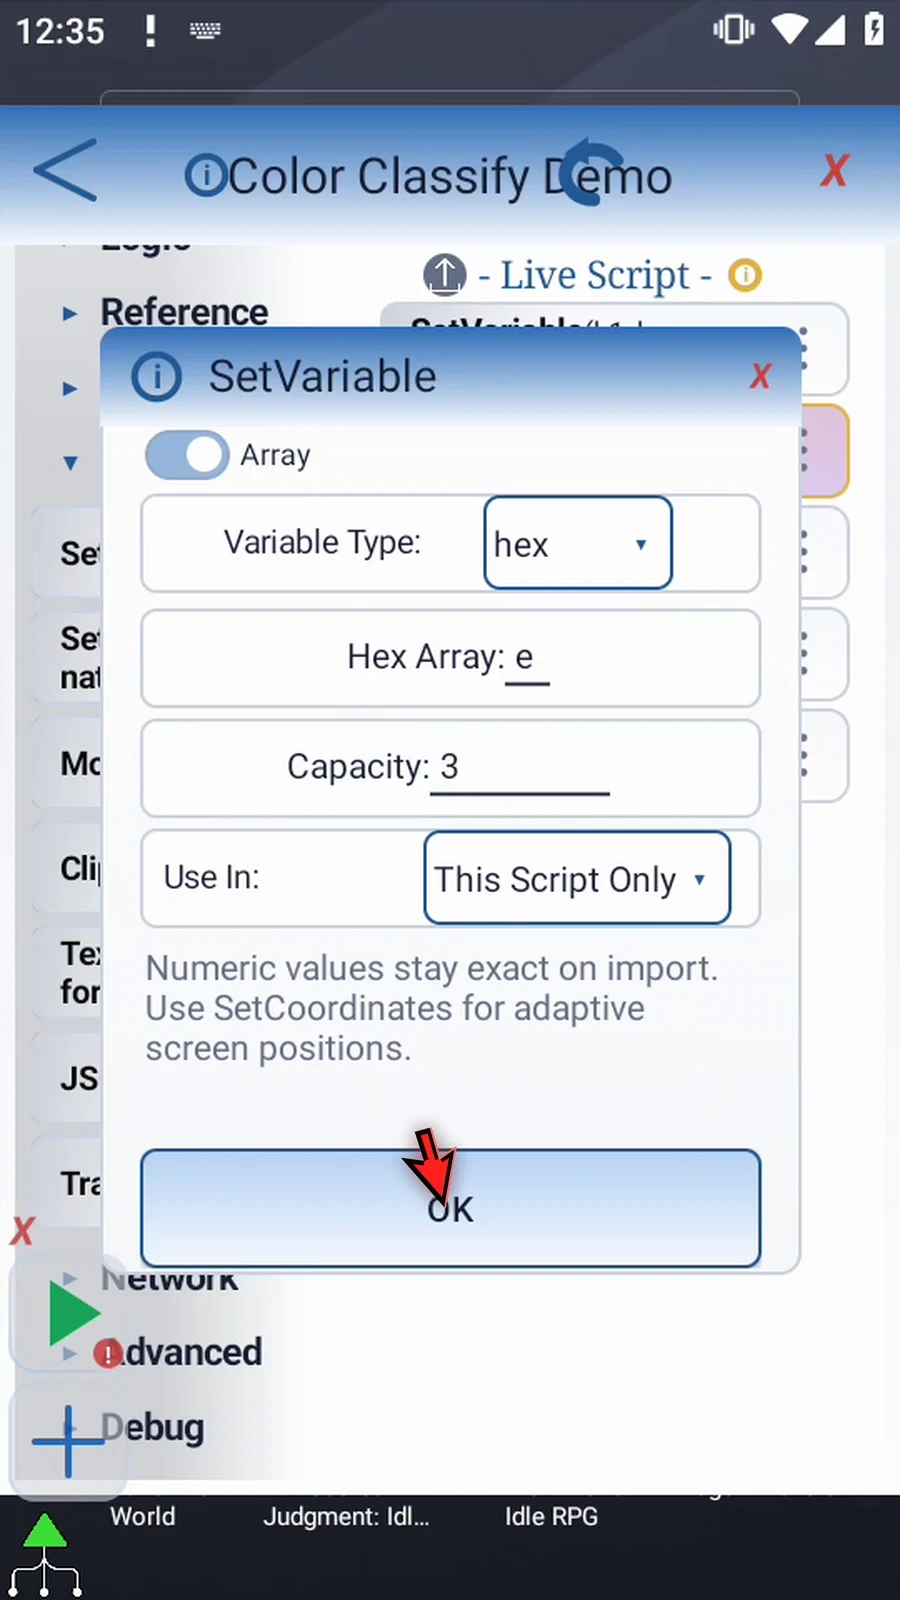
Step 08 Drag one more Set Variable after that declaration and before Color Classify. This supporting assignment will fill just the second slot.
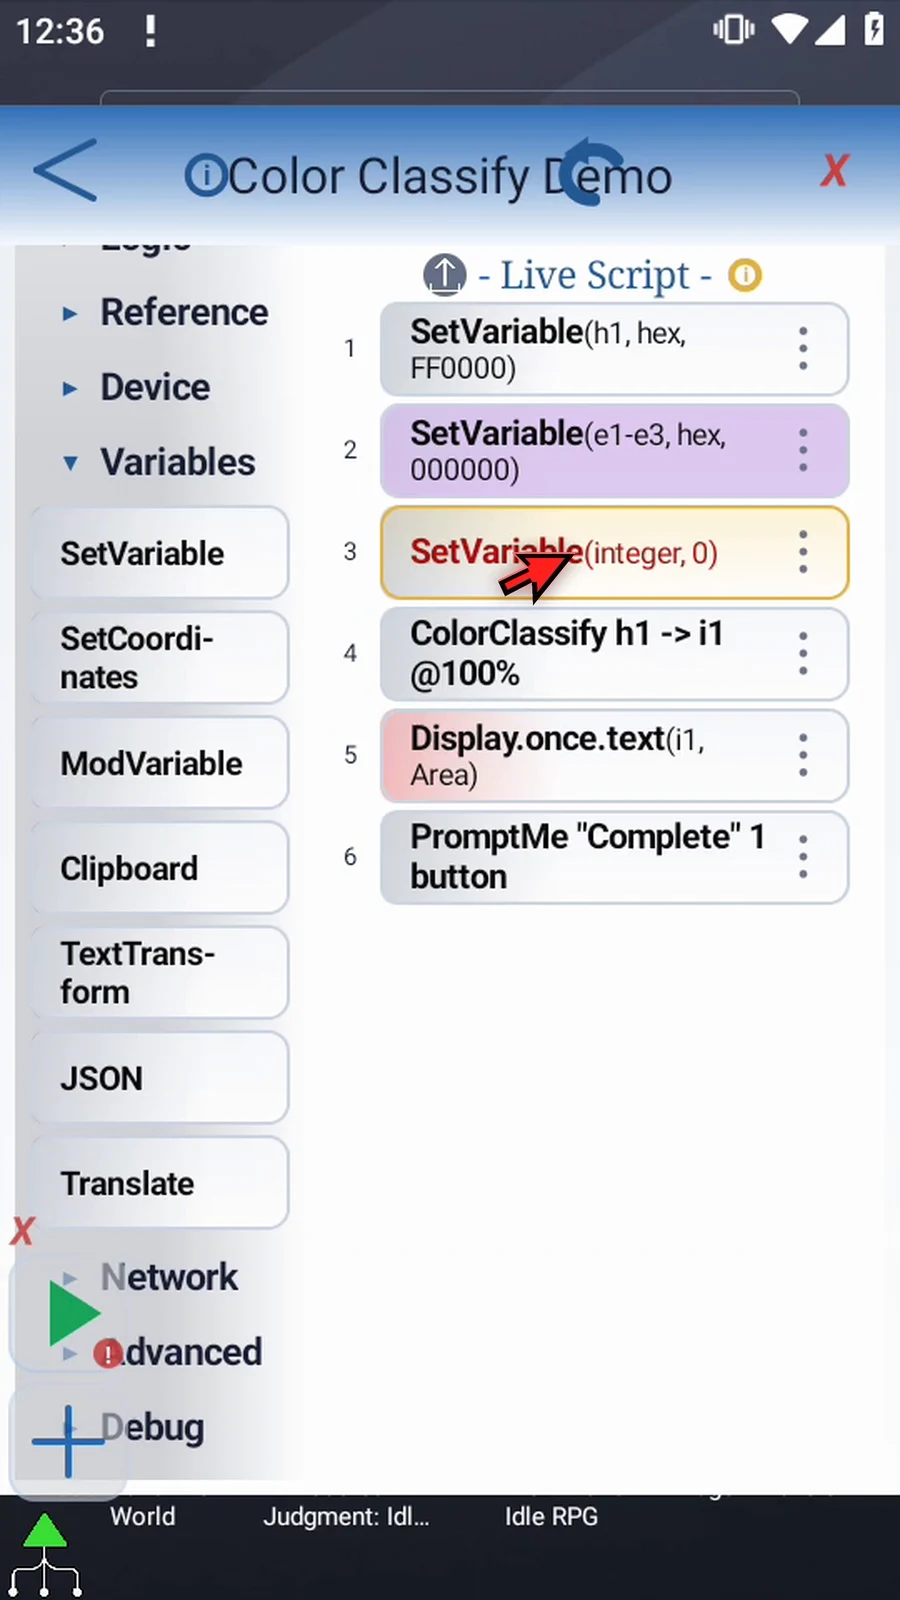
Step 09 Open it, keep Single mode, and choose Hex.

Step 10 Name it e2 and enter the red Hex code. This writes red into slot two of the declared Hex array. Slots one and three remain unwritten. Tap OK.
Step 11 Open Color Classify. Keep Source Mode Single, Source Hex h1, Confidence one hundred, Integer output i1, and No Match zero.
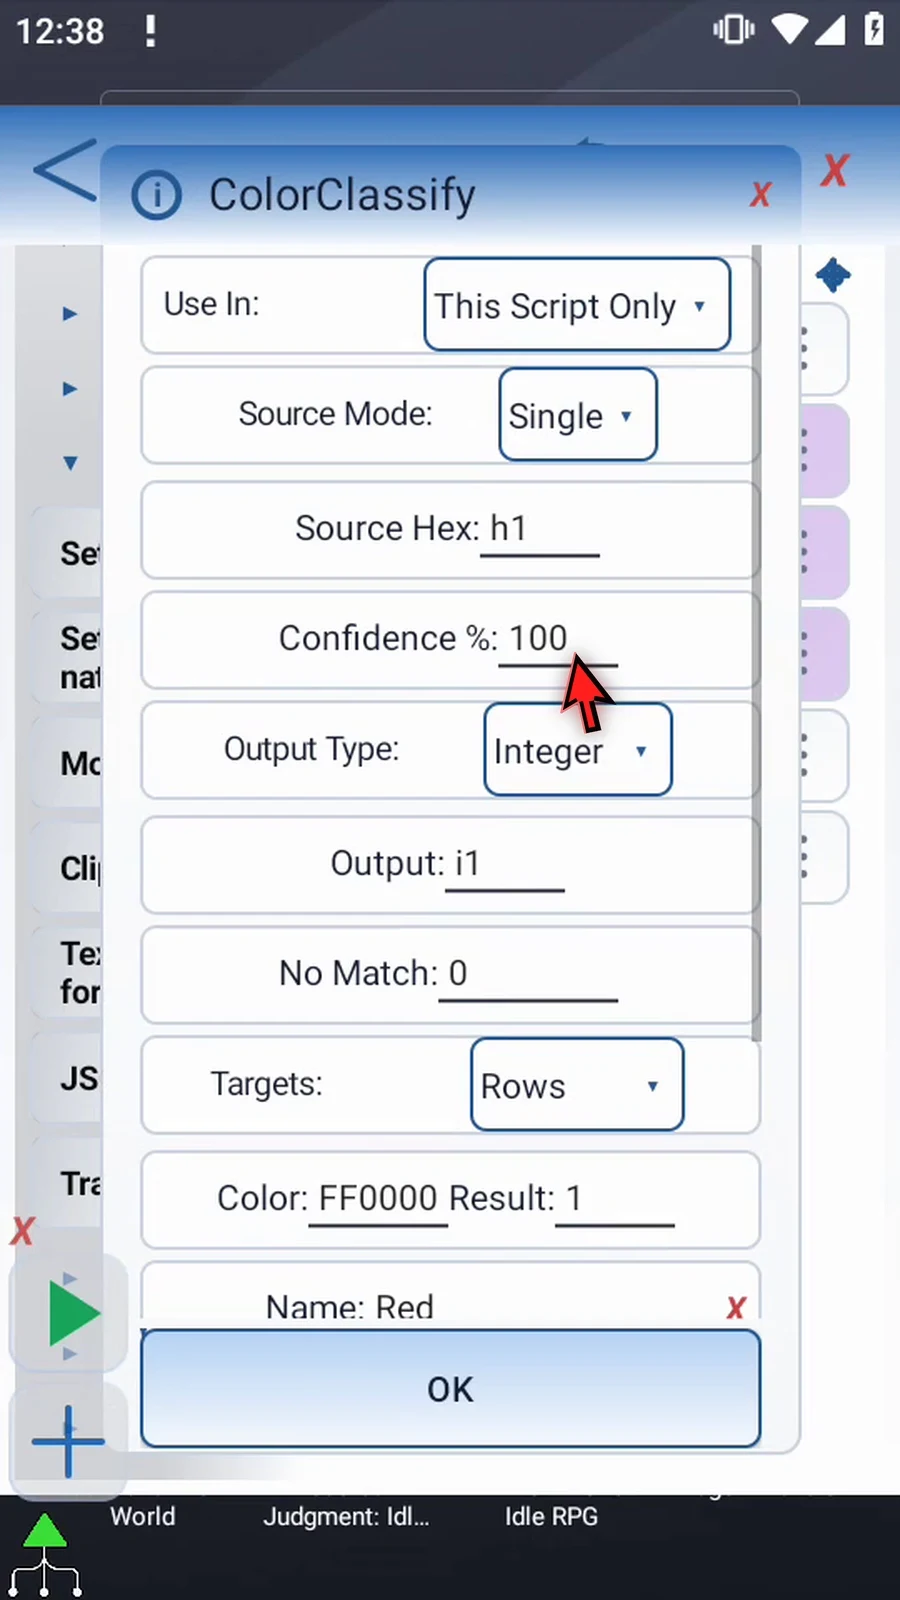
Step 12 Change Targets from Rows to Hex Array. The row list is replaced by array and range controls.
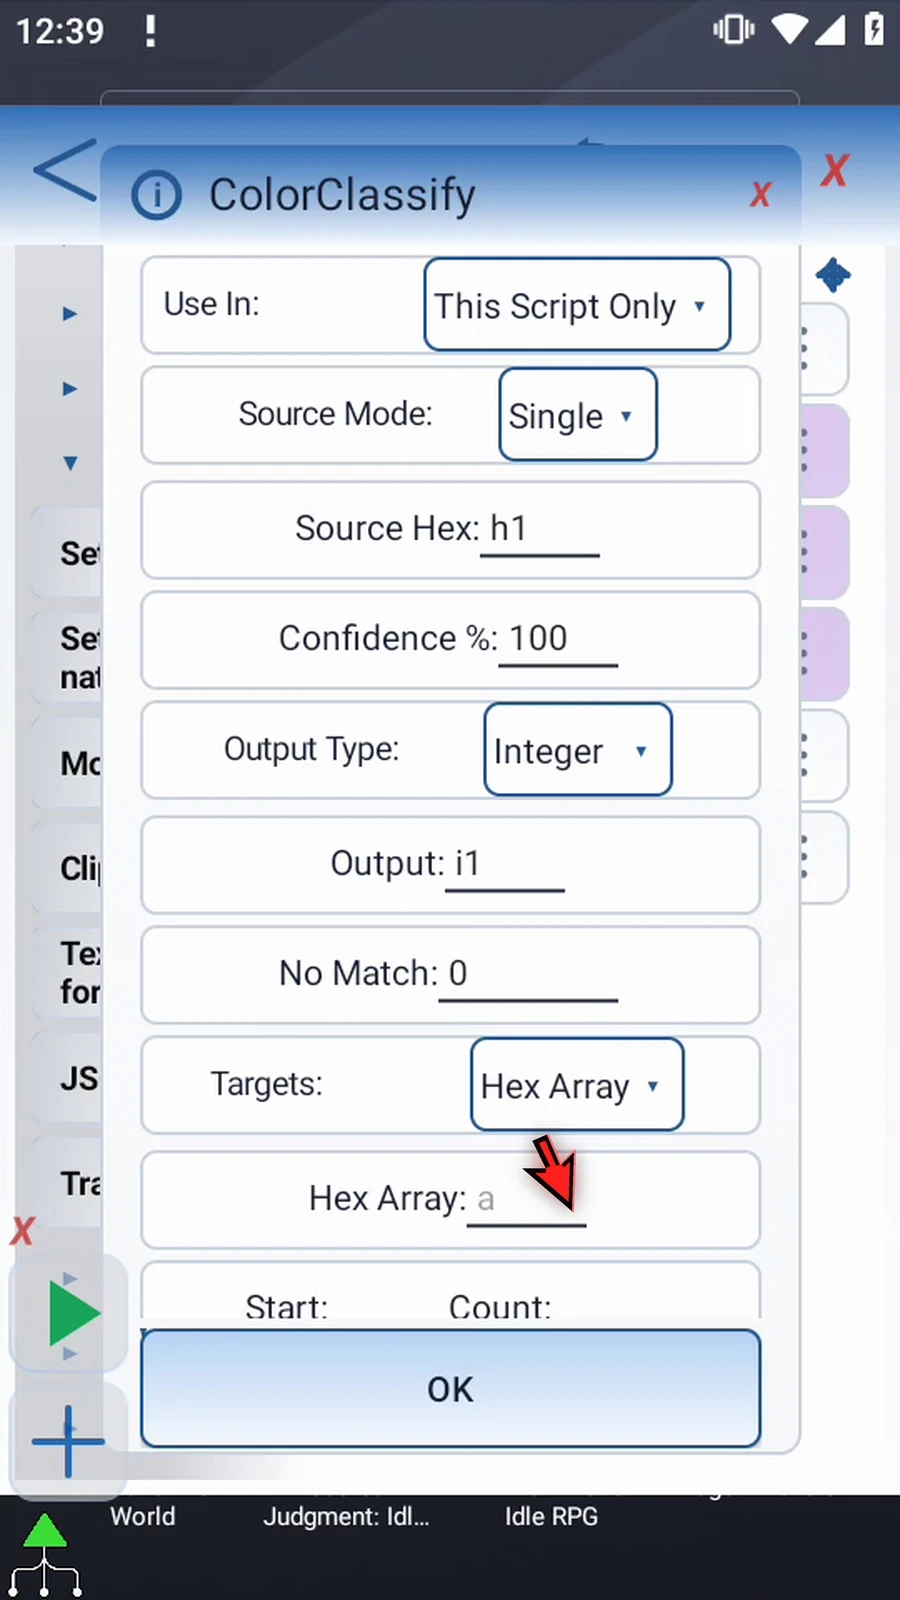
Step 13 Enter e as the Hex Array, Start one, and Count three. This searches all three reserved slots. Unwritten target slots are skipped, so e2 is our only candidate.
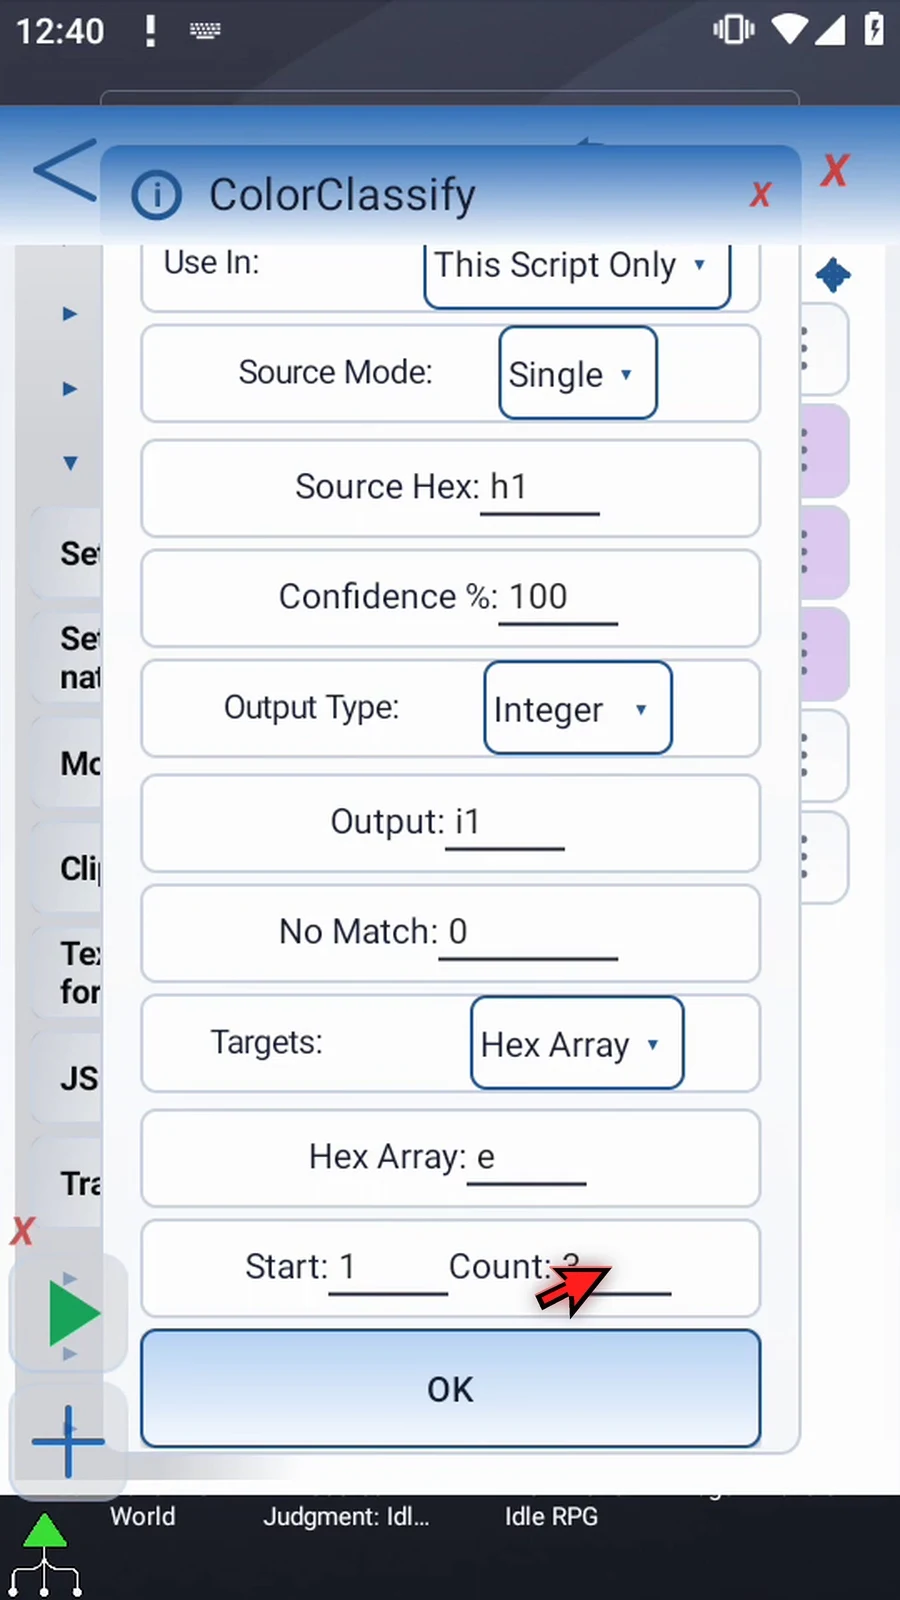
Step 14 Start and Count can use Integer values or Integer variables. The full range must fit the declared array. A Count of zero searches no targets.
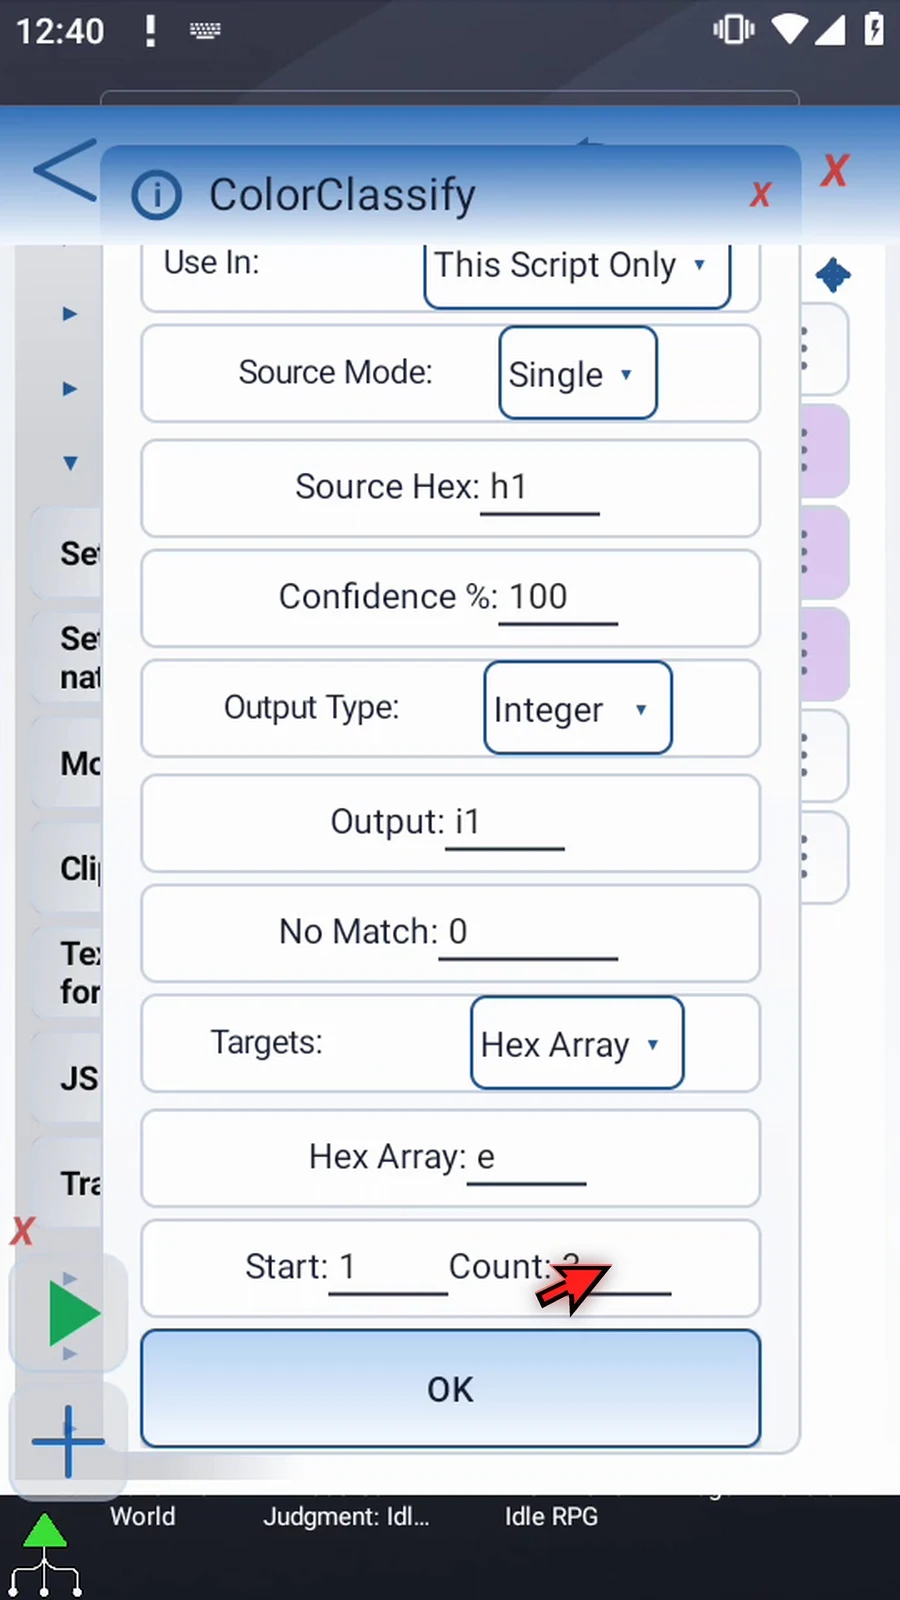
Step 15 The first matching slot wins. Integer and Decimal outputs contain its absolute slot number, not a custom row result. String output contains the matched Hex color. The target array is not changed.
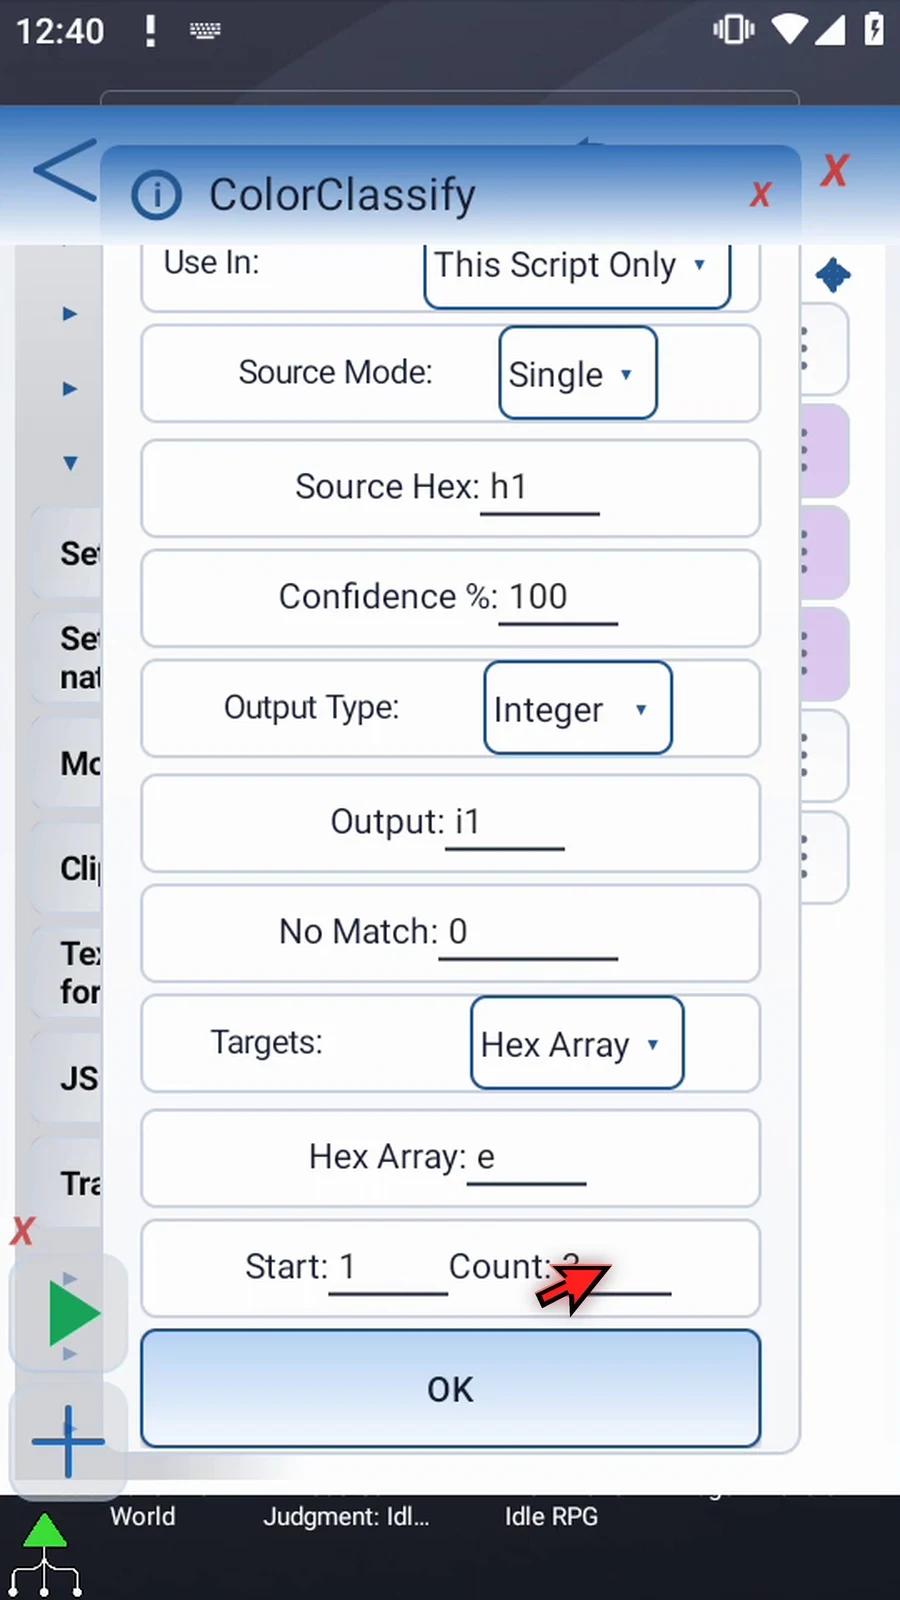
Step 16 Tap OK. The red source will match e2, so i1 will receive two. No Match zero remains the fallback when no target matches.

Step 17 The two added assignments declare the target array and fill its second slot. Color Classify does the lookup; Display and Prompt Me make the result and completion visible. Close the editor.

Step 18 When the script is complete, simply use the Play button in the main overlay.
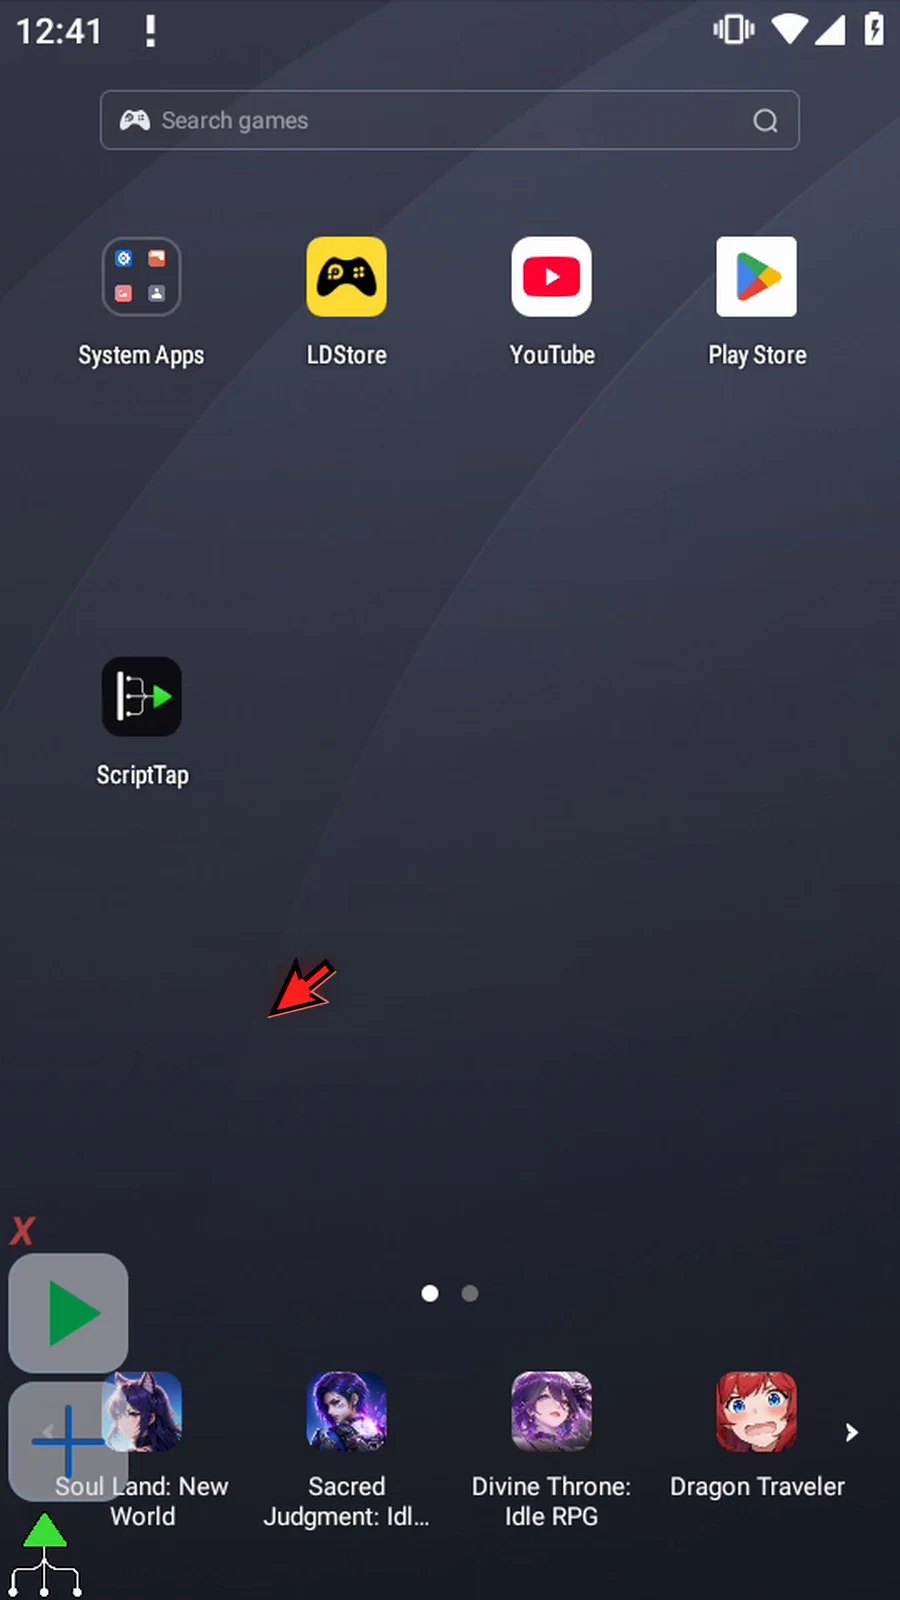
Step 19 Display shows two: the absolute slot number of the matching red target.
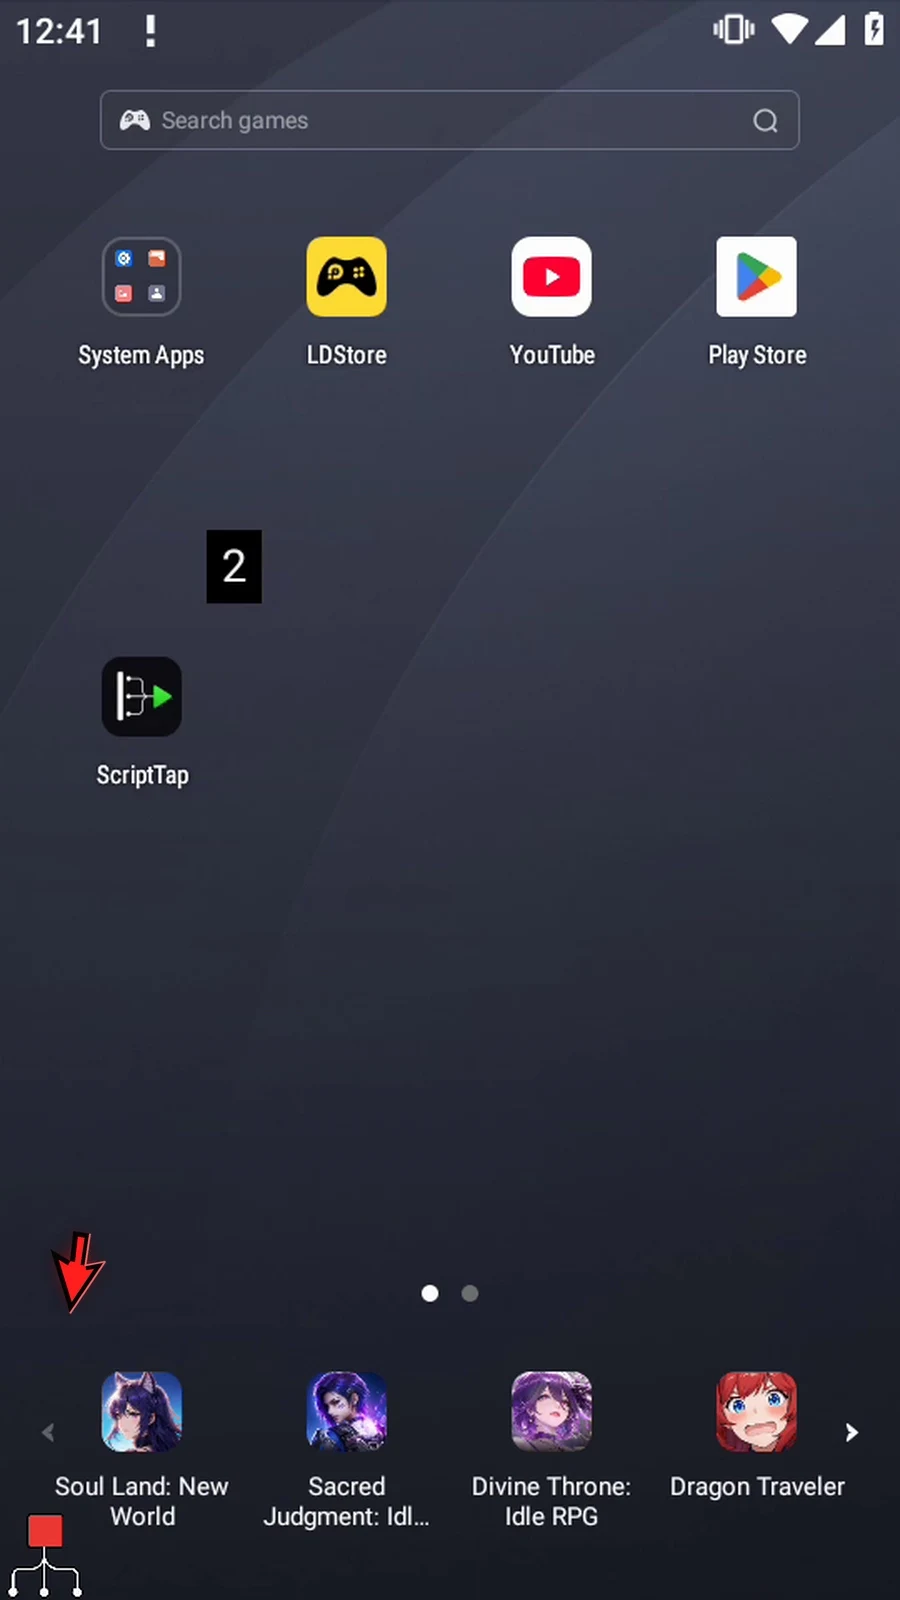
Step 20 Complete confirms that the script reached Prompt Me. Later commands could use this slot number to select a corresponding action.
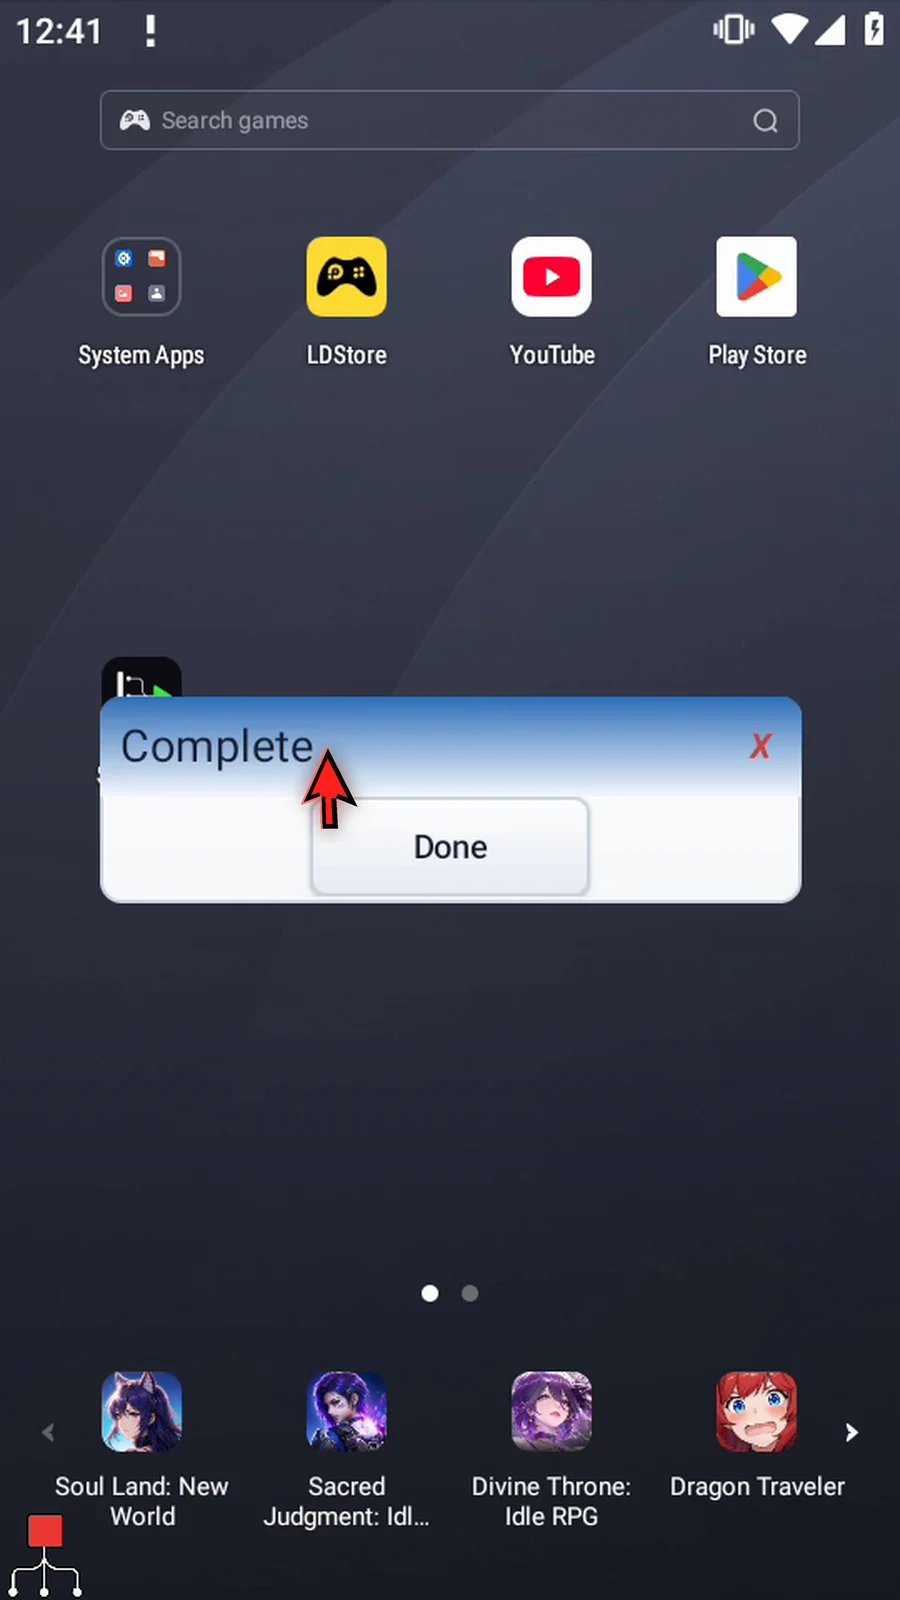
Step 21 Press Done. The script finishes automatically. Use Hex Array targets when a prepared color list should drive the lookup instead of fixed result rows.