Command video guide
GetPixelColor
GetPixelColor reads the color at one screen coordinate and writes it to a Hex variable. It does not search for a color or tap by itself. Use the sampled value in later conditions.
Create and name a separate script. Open Capture and manually drag GetPixelColor into the script. Double-tap its row to configure it.
- Use In: This Script Only keeps the output local; Script Thread shares it with the current script thread.
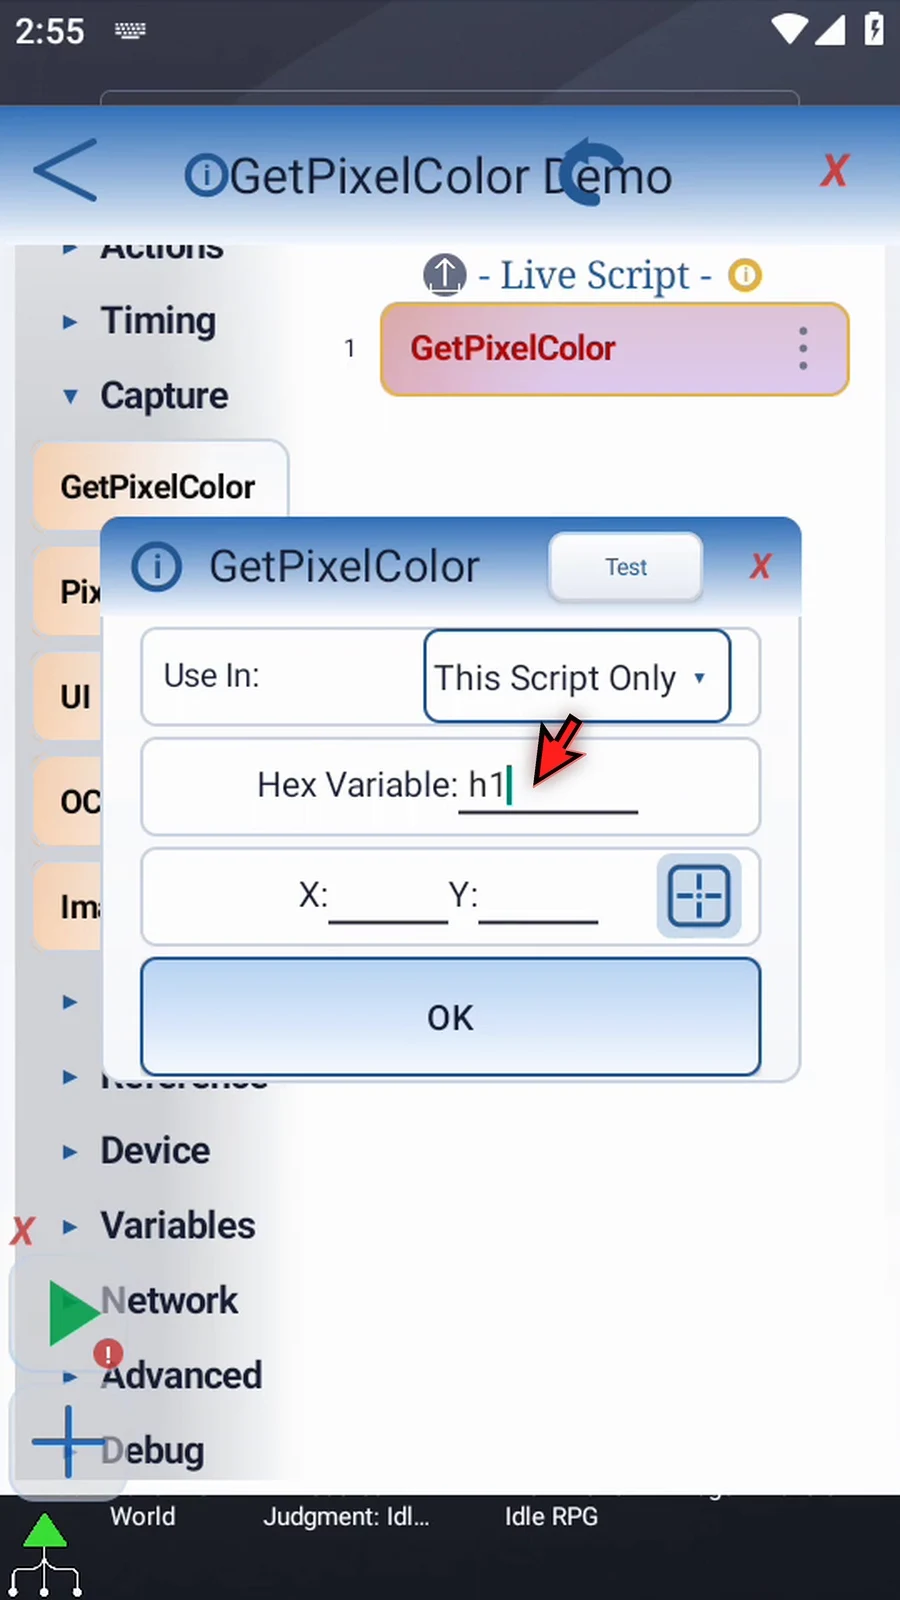
- Hex Variable: use a valid destination such as
h1. Do not reuse a name already declared with a different type. - X / Y: enter fixed Integer coordinates, or Integer variables created earlier in the script. The square-target picker saves fixed coordinates. Adapt them to your device layout.
- Target: if Android asks, allow screen capture. Drag the square repeatedly to position its center; the live label shows coordinates and Hex color. Releasing does not save. Use the checkmark to return to settings.
- Test: temporarily hides ScriptTap windows and samples the chosen pixel. Editor Test needs literal numeric coordinates; variable-backed coordinates are resolved during real Play.
Save with OK. A sampled Result is a setup snapshot attached to its parent; it moves with GetPixelColor. During Play, the command samples the screen again and updates the output variable.
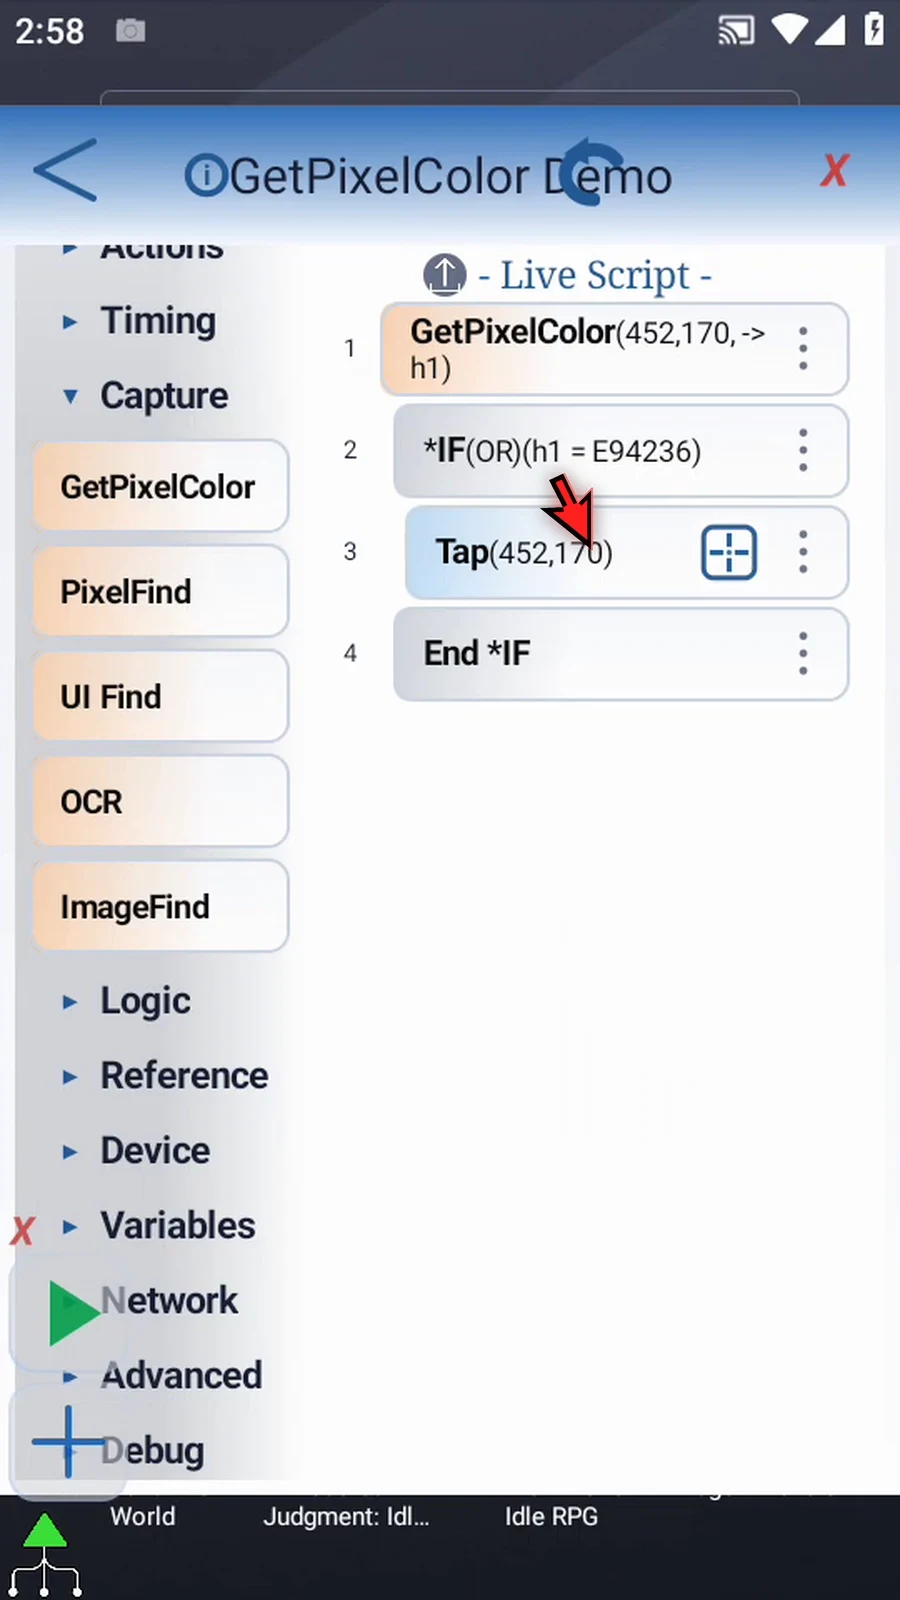
The Result menu's Convert to Tap creates a linked IF / Tap / End IF block. The tap at the sampled coordinate runs only when the current Hex value matches the captured value. In this example that tap opens Play Store. The generated rows do not replace GetPixelColor's color read.
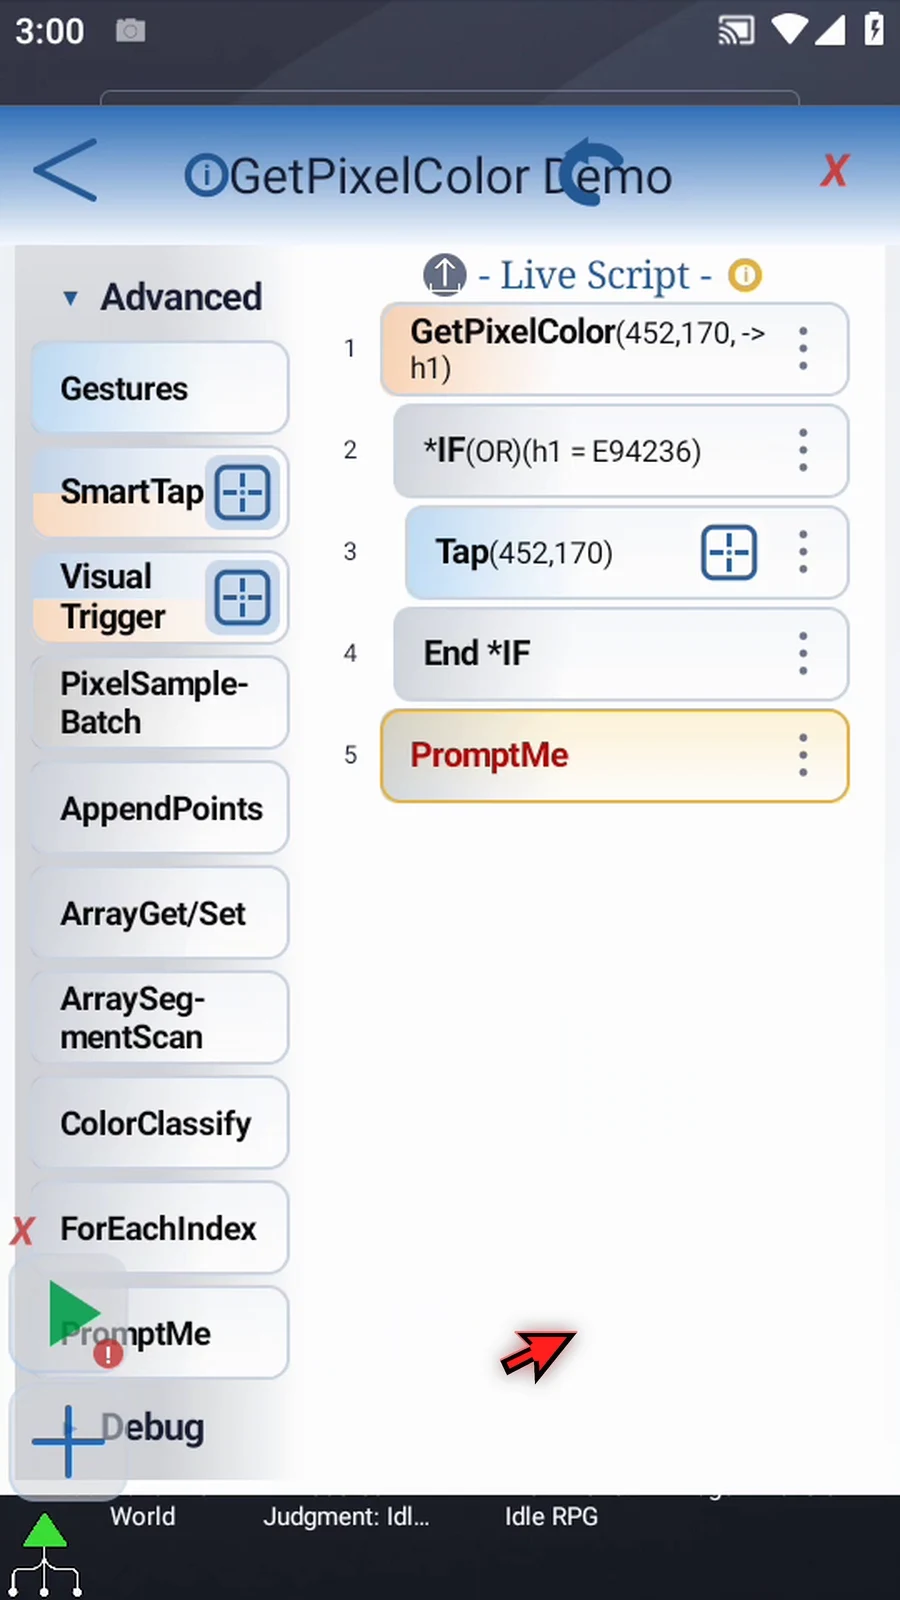
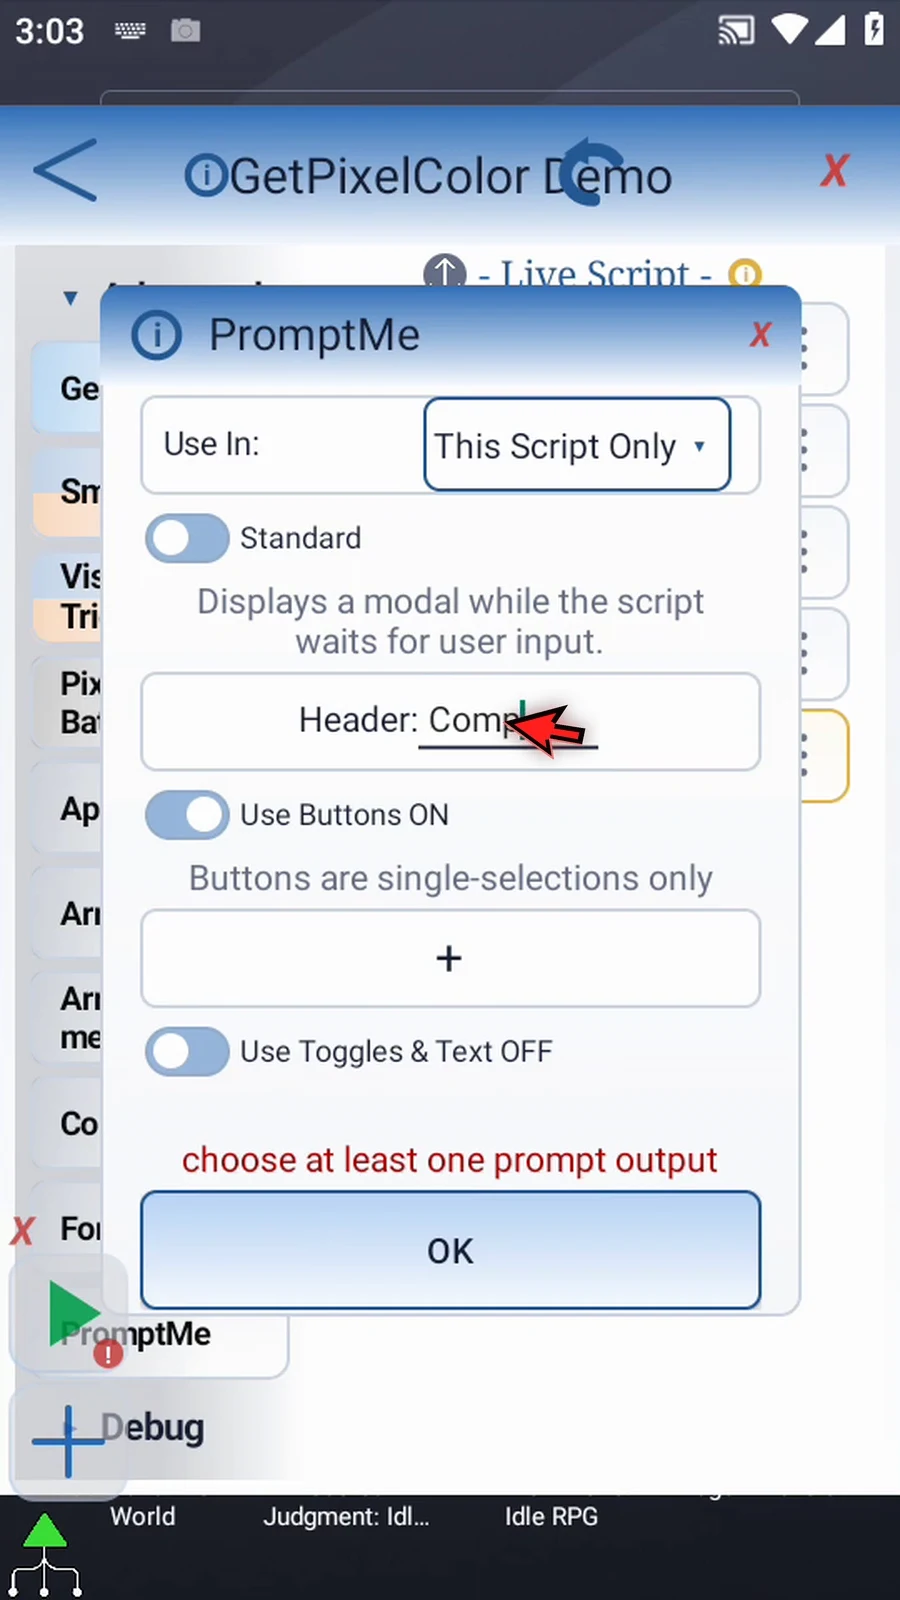
For an end-of-script confirmation, manually add PromptMe after End IF, keep Standard mode, set header Complete, and add one Done button writing Boolean b1. This prompt confirms completion whether or not the color matched; the app opening demonstrates the matching branch.
Return to Android home with the target icon in the same place, then use Play. A matching color opens Play Store. Press Done to finish automatically. No image asset or asset-creation step is required for this single-pixel command.
Watch the walkthrough
Step-by-step guide
Step 01 Get Pixel Color reads the color at one screen coordinate and stores it in a Hex variable. Later commands can use that value to decide what to do. It does not search for a color or tap by itself.
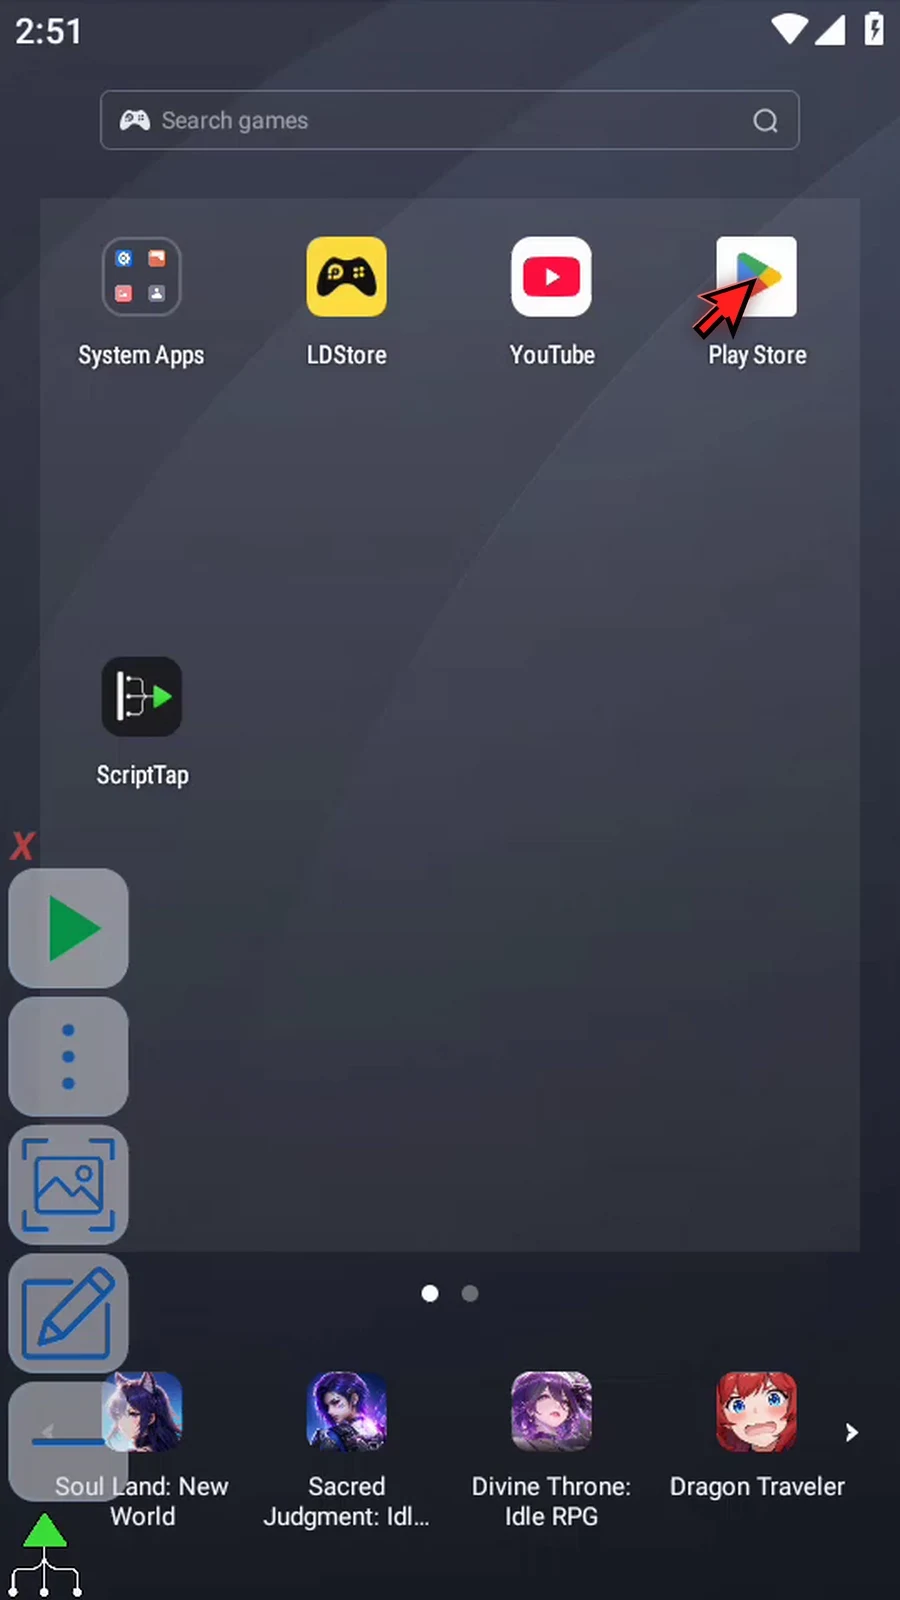
Step 02 Open Scripts. Tap New Script and choose Blank Script. We will build a separate example.
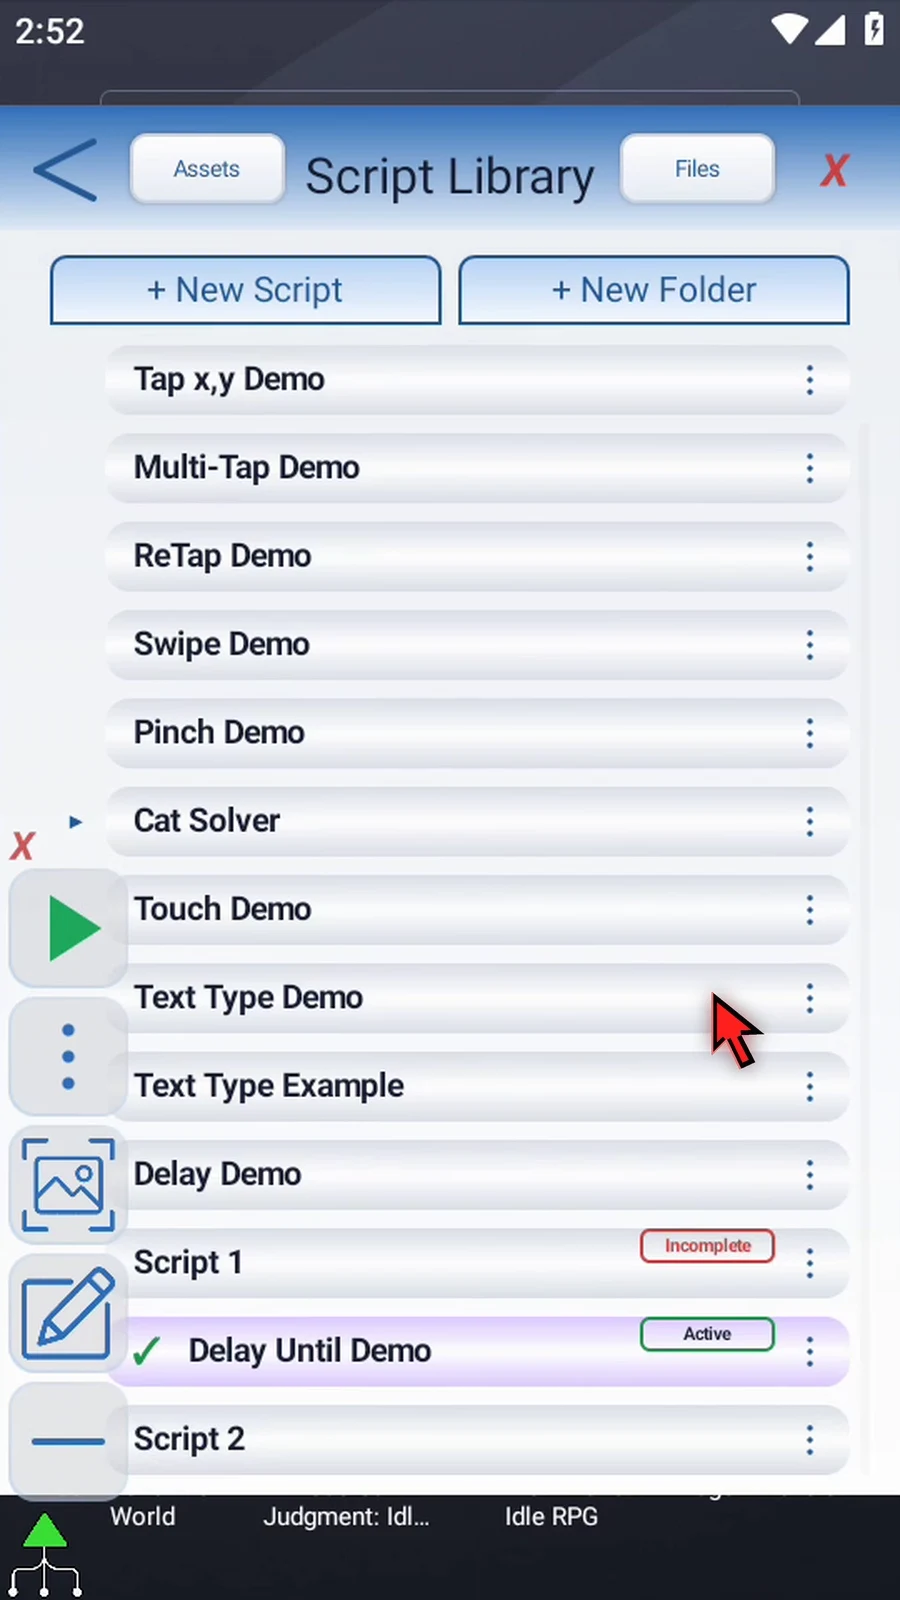
Step 03 Open the new script's three-dot menu, choose Rename, and give it a name. Tap OK.
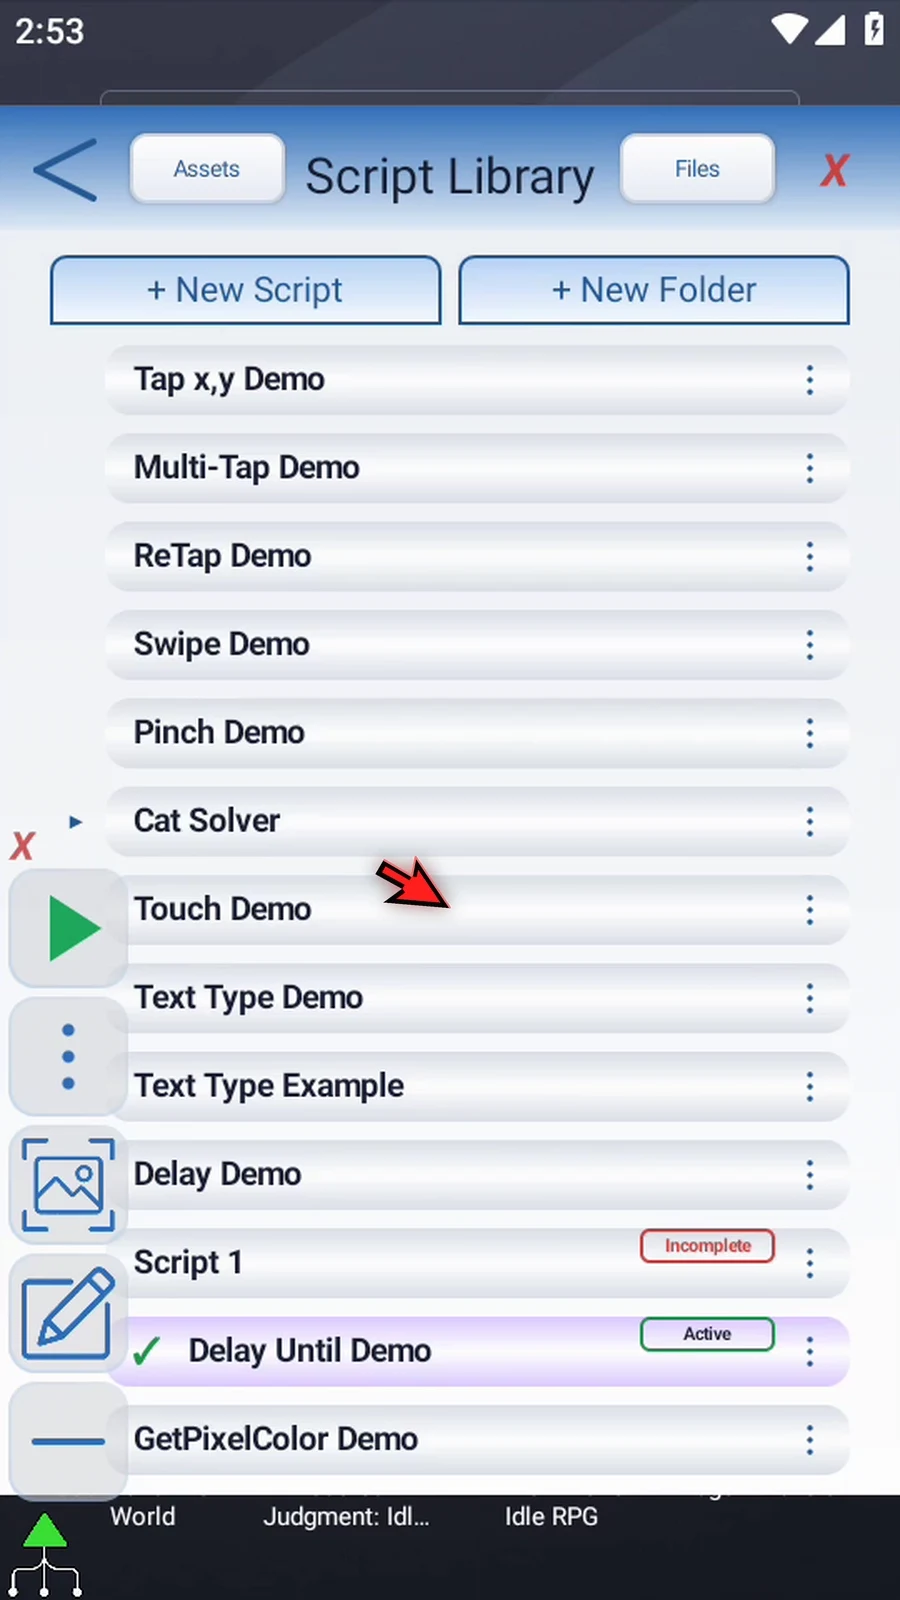
Step 04 Select the new script, open the Script Editor, and collapse the extra overlay controls.
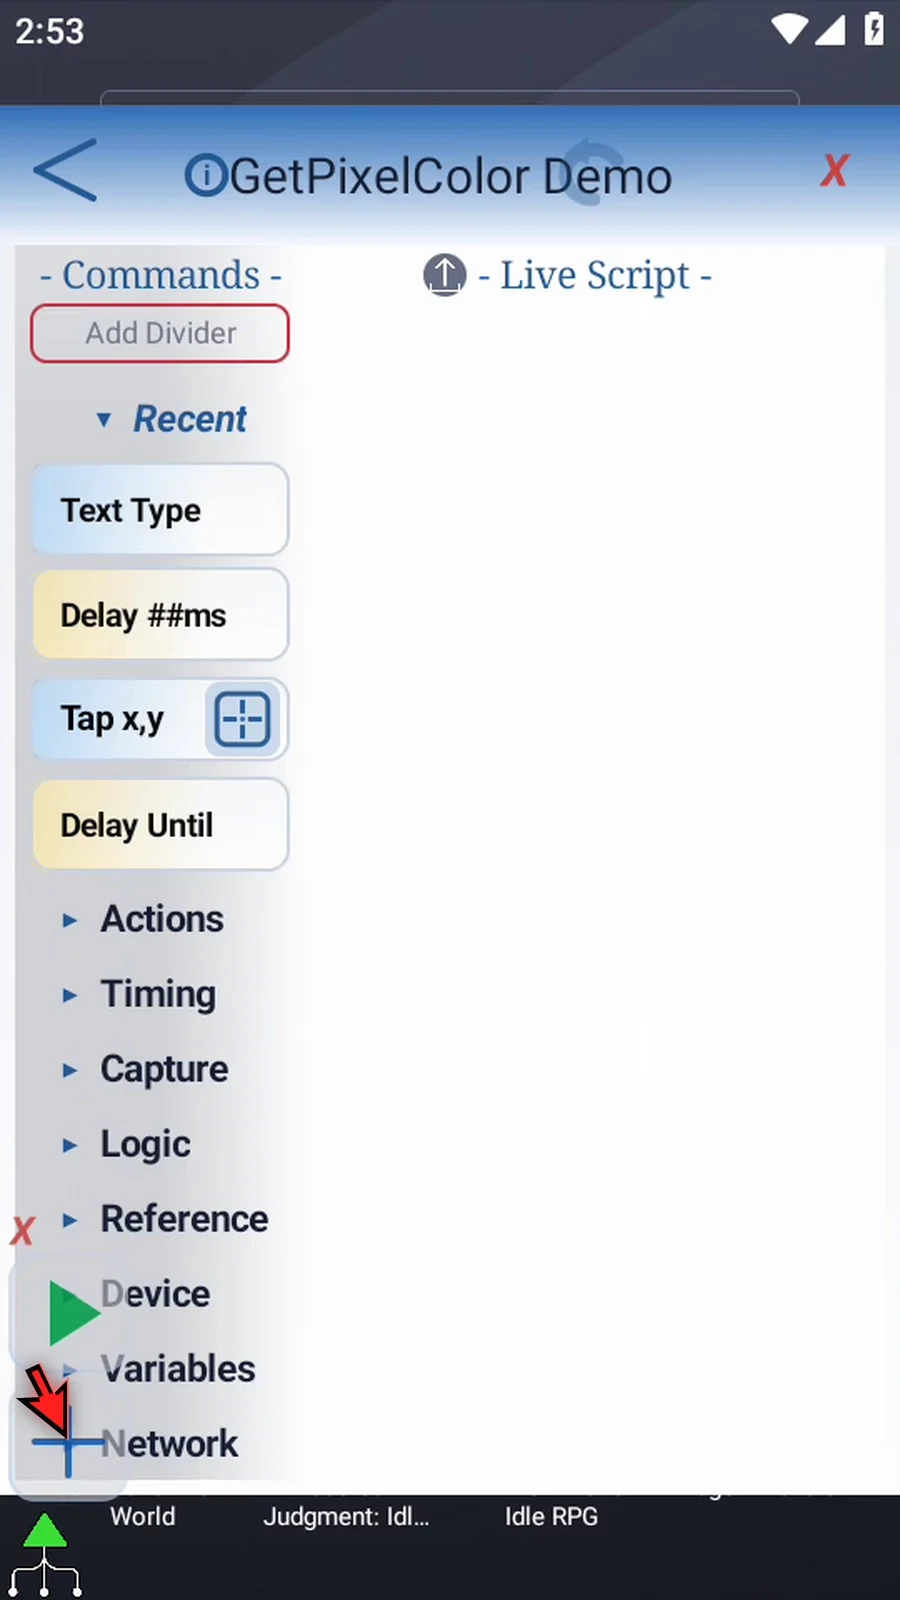
Step 05 Expand Capture. Scroll the palette if needed, then drag Get Pixel Color into the script. Double-tap its frame to open the settings.
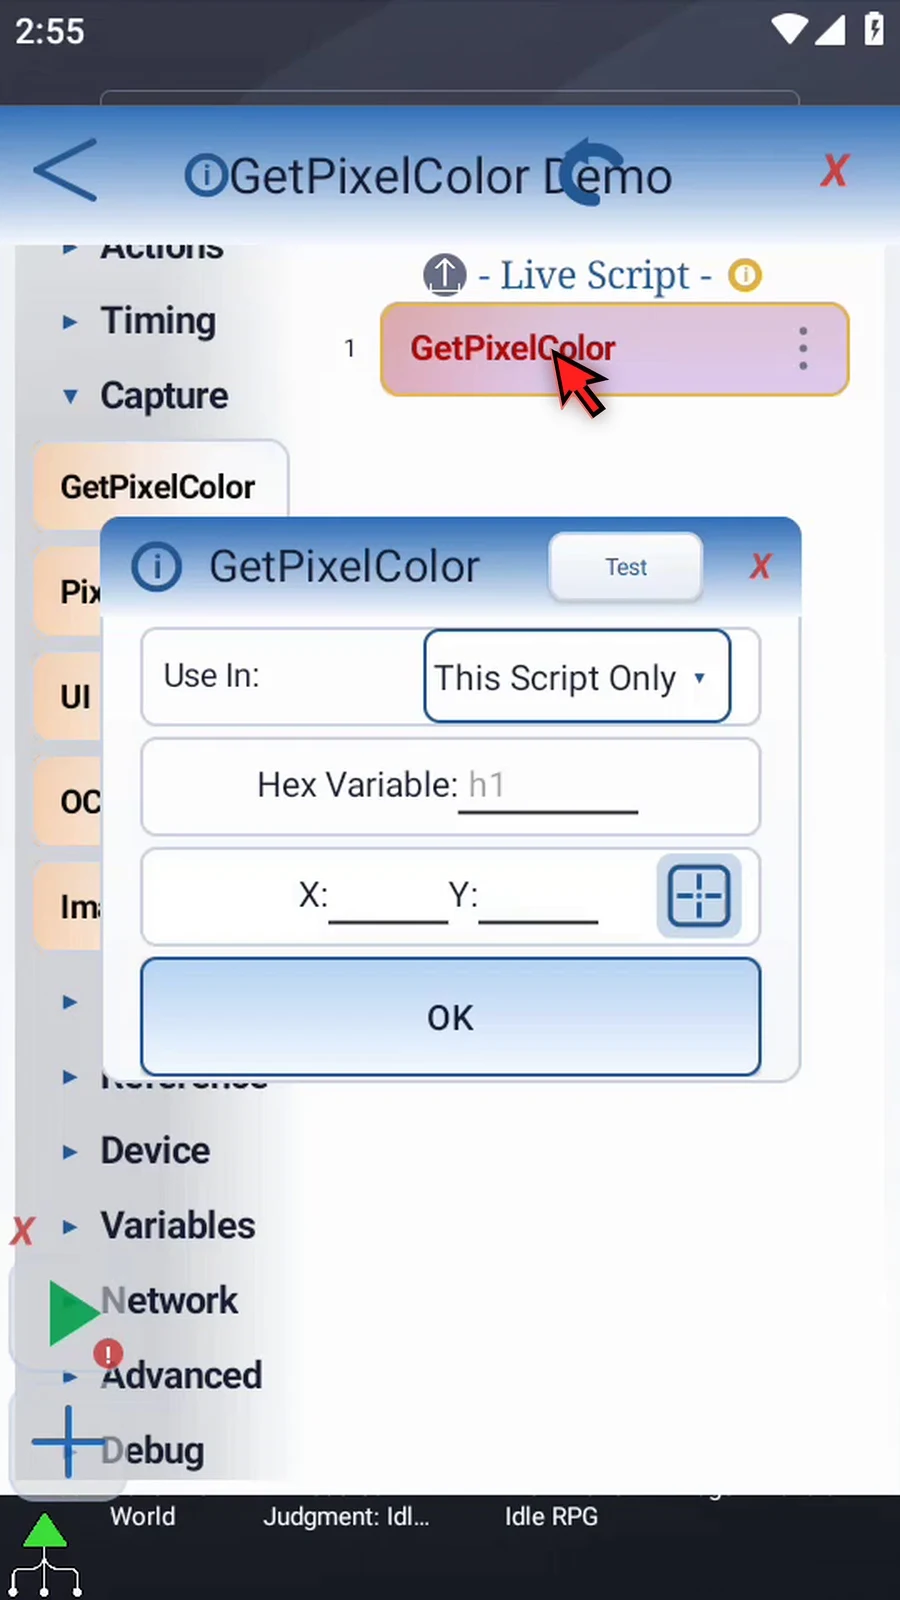
Step 06 Use In controls the output variable's scope. We will keep This Script Only. Enter h1 as the Hex variable that will receive the sampled color.
Step 07 Tap the target icon. If Android asks, allow screen capture, so ScriptTap can read the screen colors.
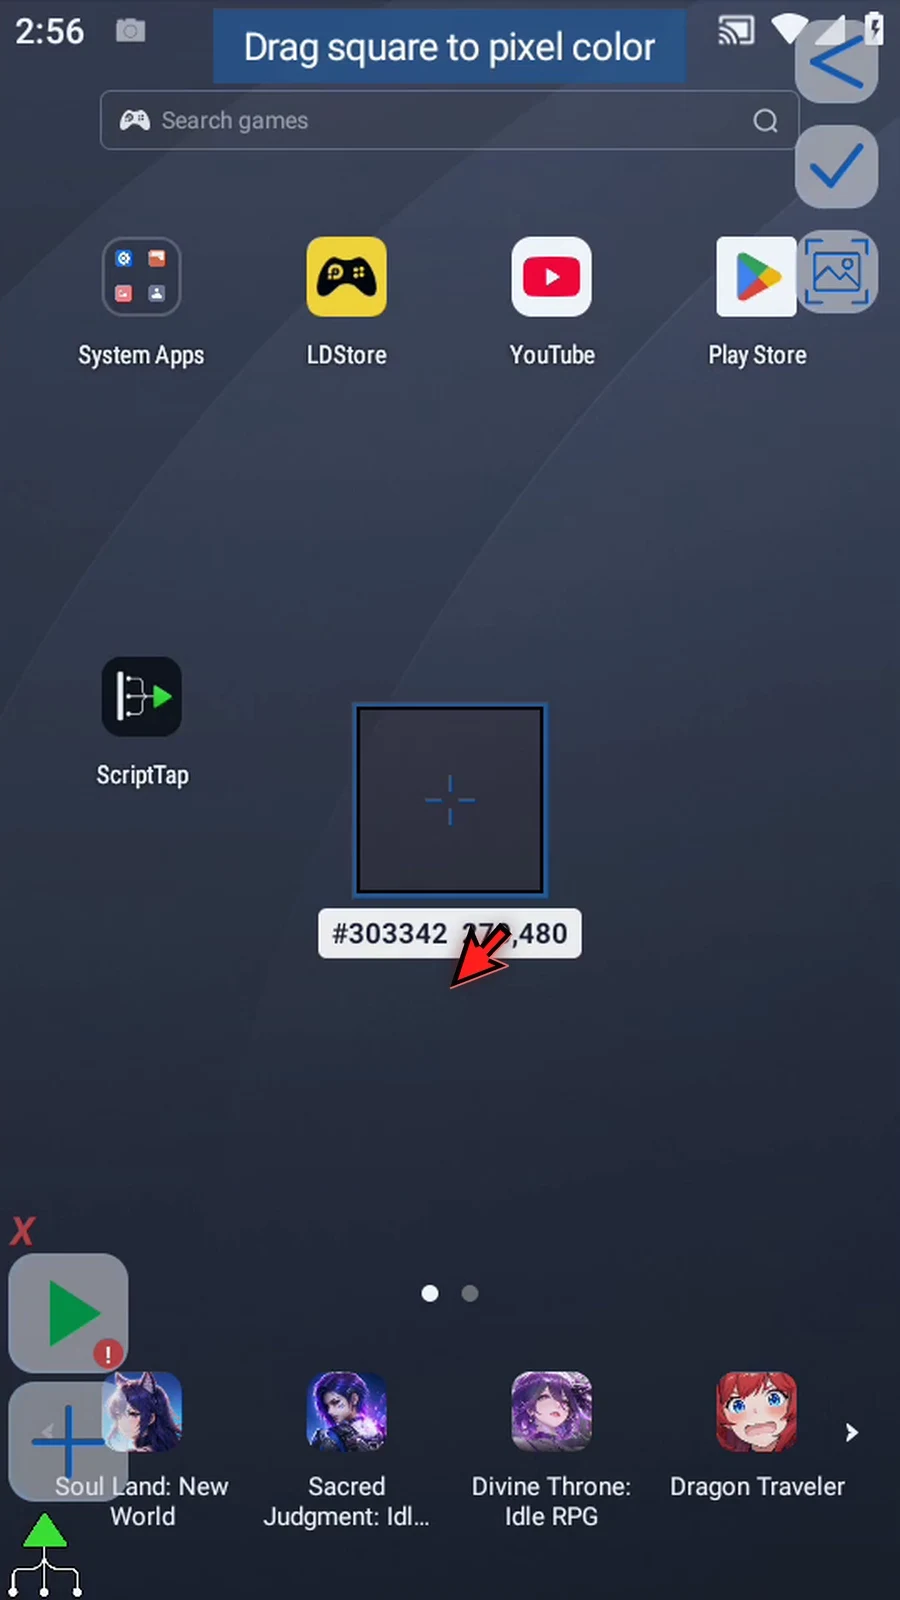
Step 08 Drag the square until its center marks the pixel you want. The label shows the coordinate and current Hex color. You can adjust it repeatedly; releasing your finger does not save it. We will sample this point on the Play Store icon.
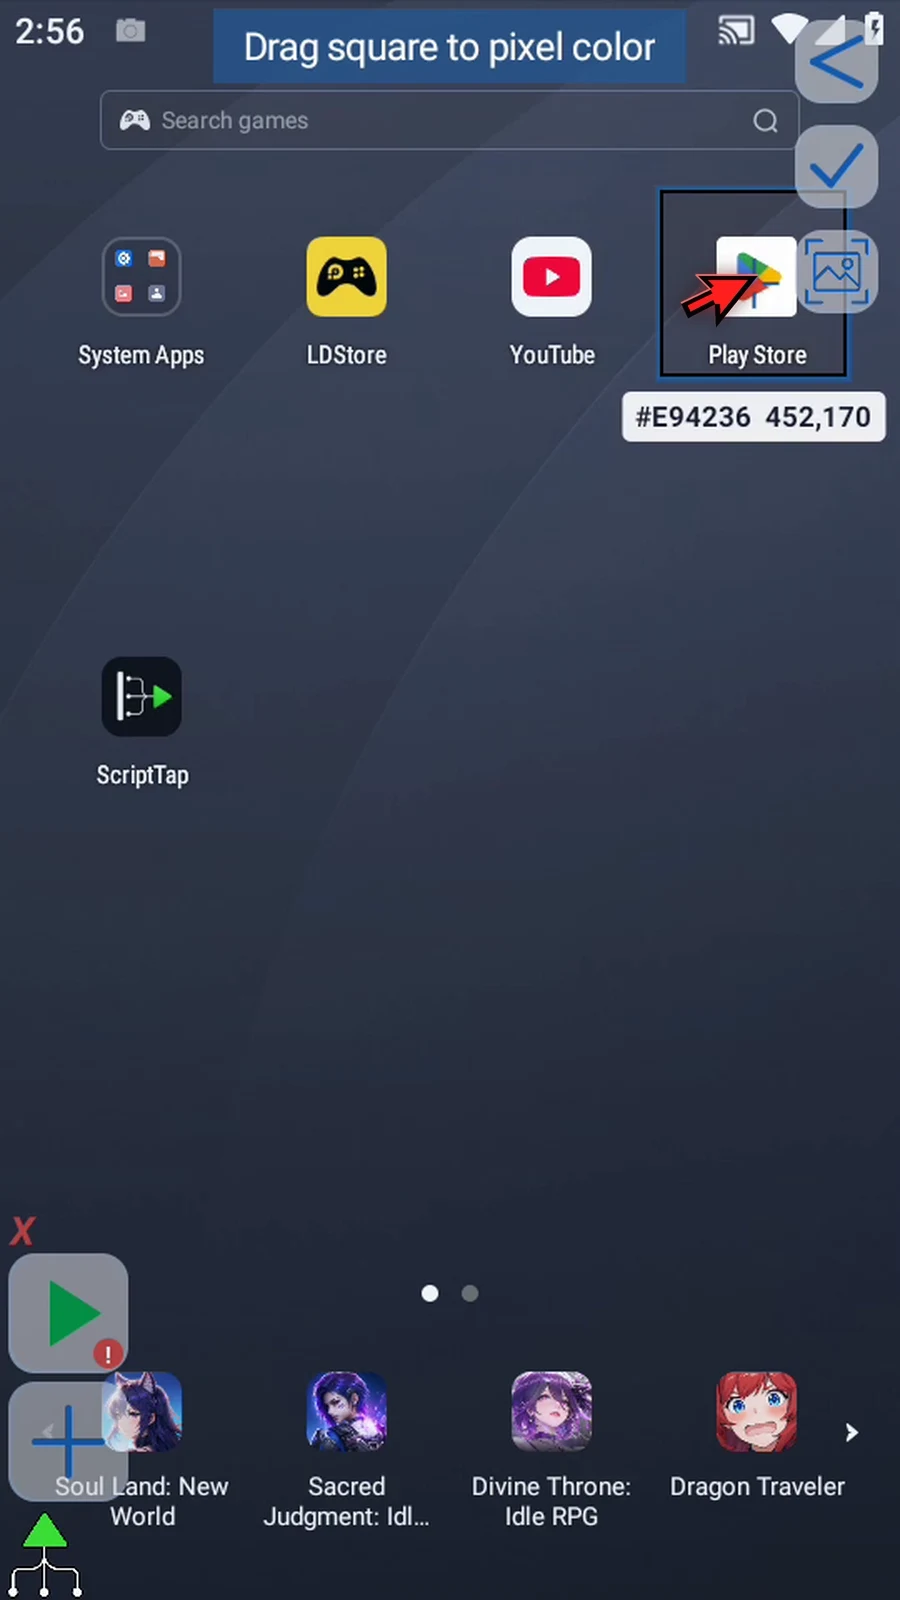
Step 09 Tap the checkmark to accept the target. The selected X and Y coordinates return to the command settings.
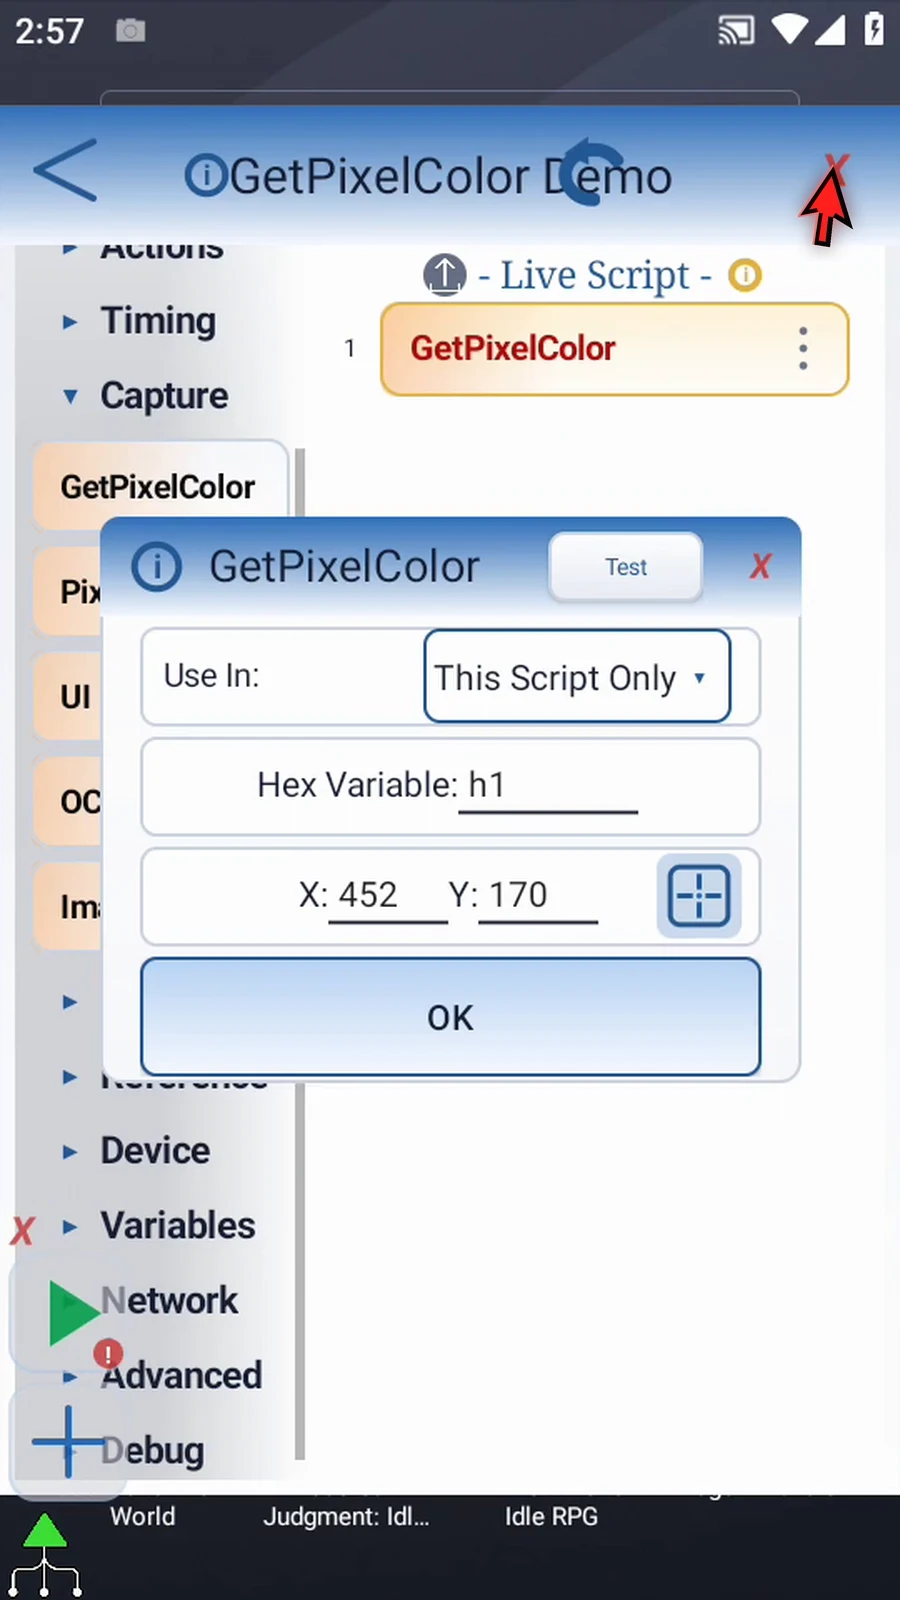
Step 10 You can also enter X and Y yourself, or use Integer variables defined earlier. The picker saves fixed coordinates. Match these to your own screen layout.
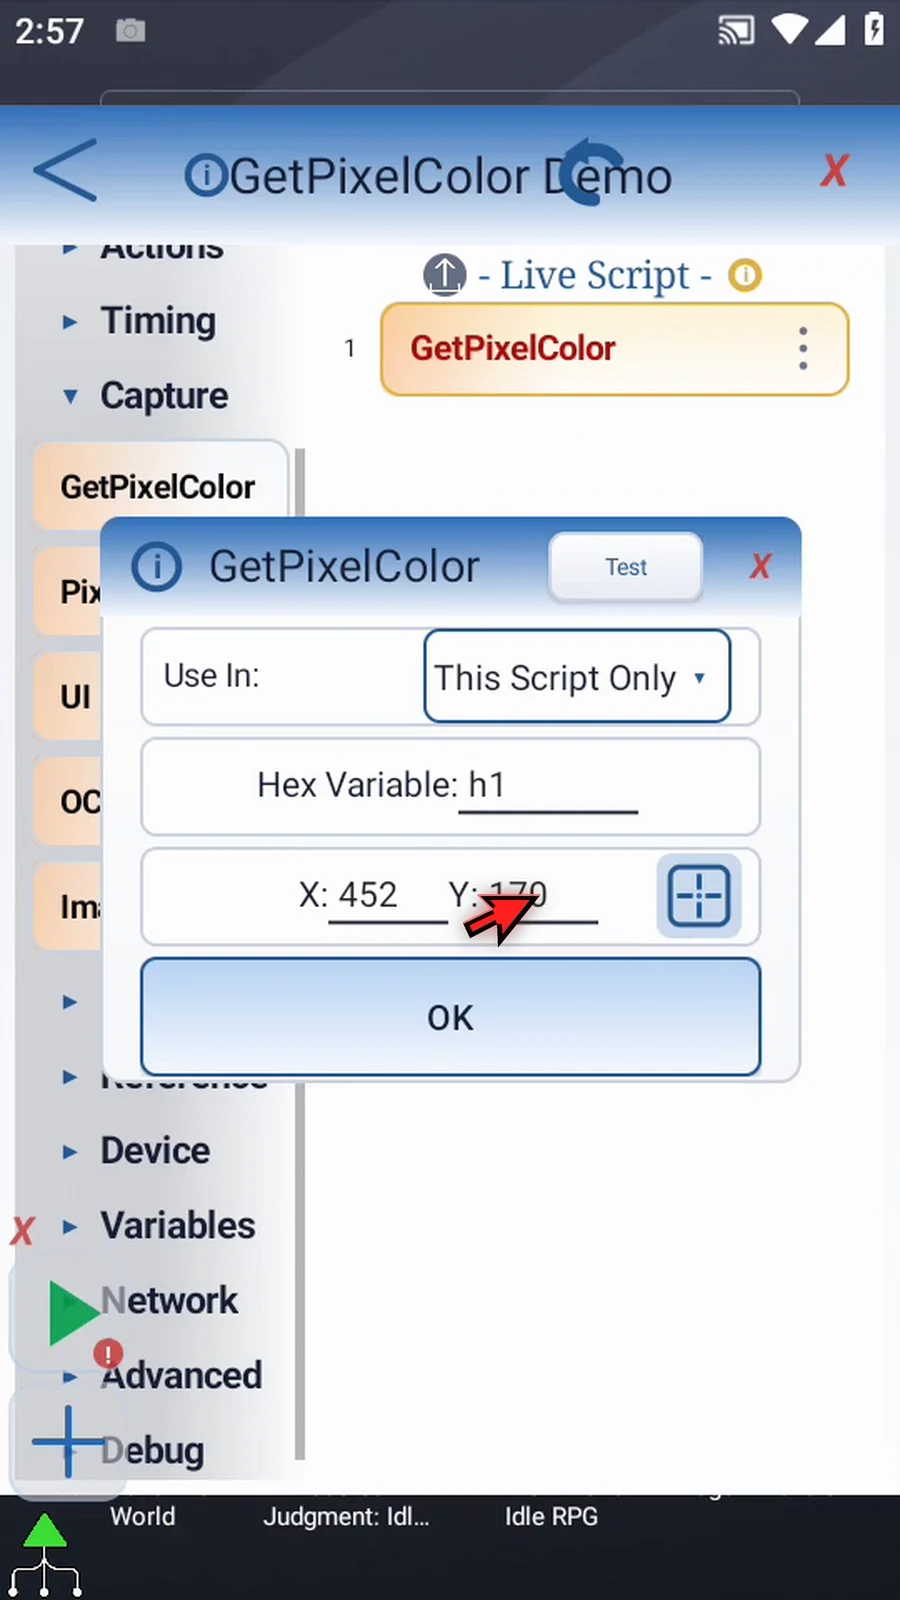
Step 11 Test temporarily hides ScriptTap's windows and reads the chosen pixel. The sampled Hex color appears here. Editor Test needs fixed numeric coordinates, not variable coordinates.
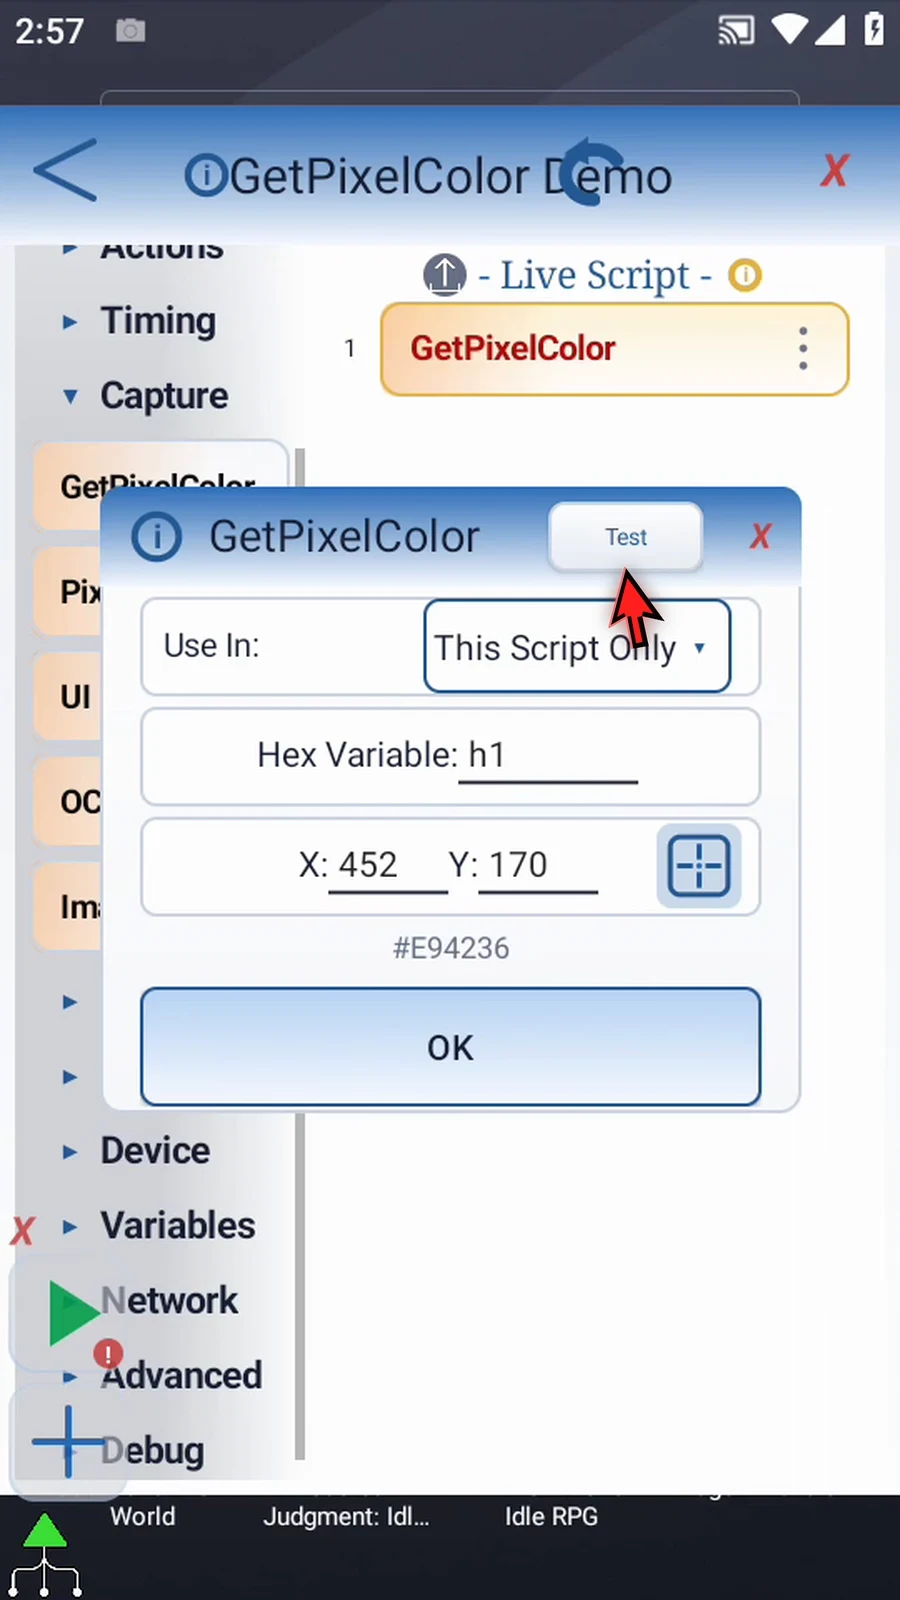
Step 12 Tap OK to save. The attached Result row records the captured color and moves with its parent. This is a setup snapshot. During playback, Get Pixel Color reads the screen again and updates h1.
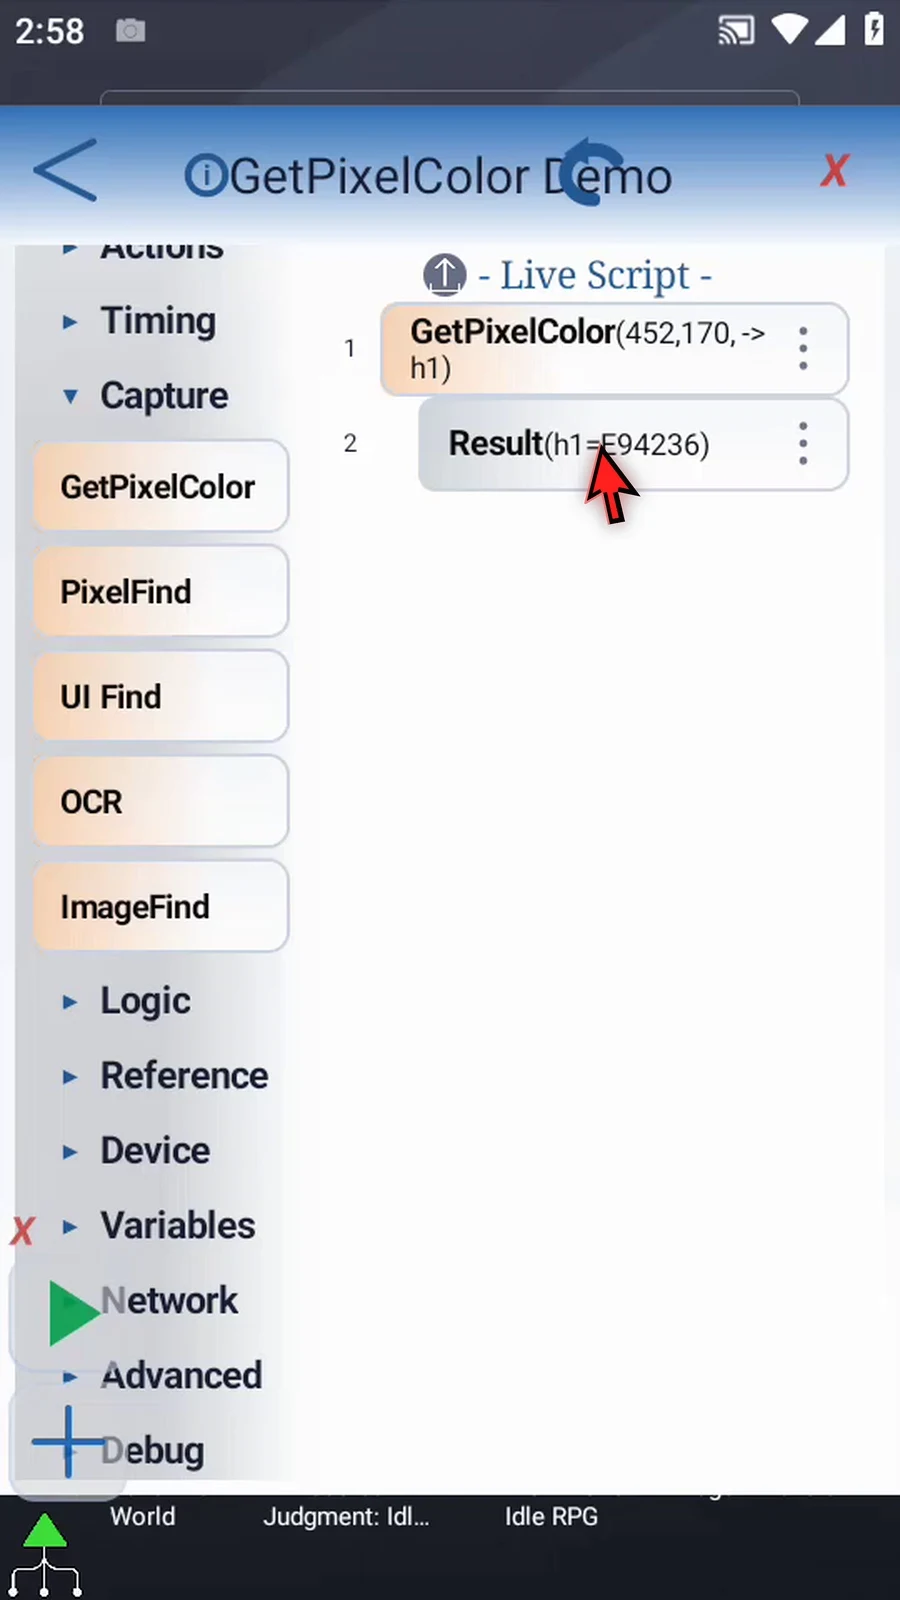
Step 13 Open the Result menu and choose Convert to Tap. ScriptTap creates an IF block: if h1 equals the captured color, tap the original coordinate. If the color differs, that tap is skipped.
Step 14 For a visible completion confirmation, expand Advanced and drag PromptMe after End IF. This confirmation runs whether the color matched or not; it shows that the script reached the end.
Step 15 Double-tap PromptMe. Keep Standard mode and enter Complete as its header.
Step 16 Keep Use Buttons on. Add one button with the caption Done and Boolean output b1, then tap OK. We only need it to acknowledge the confirmation.
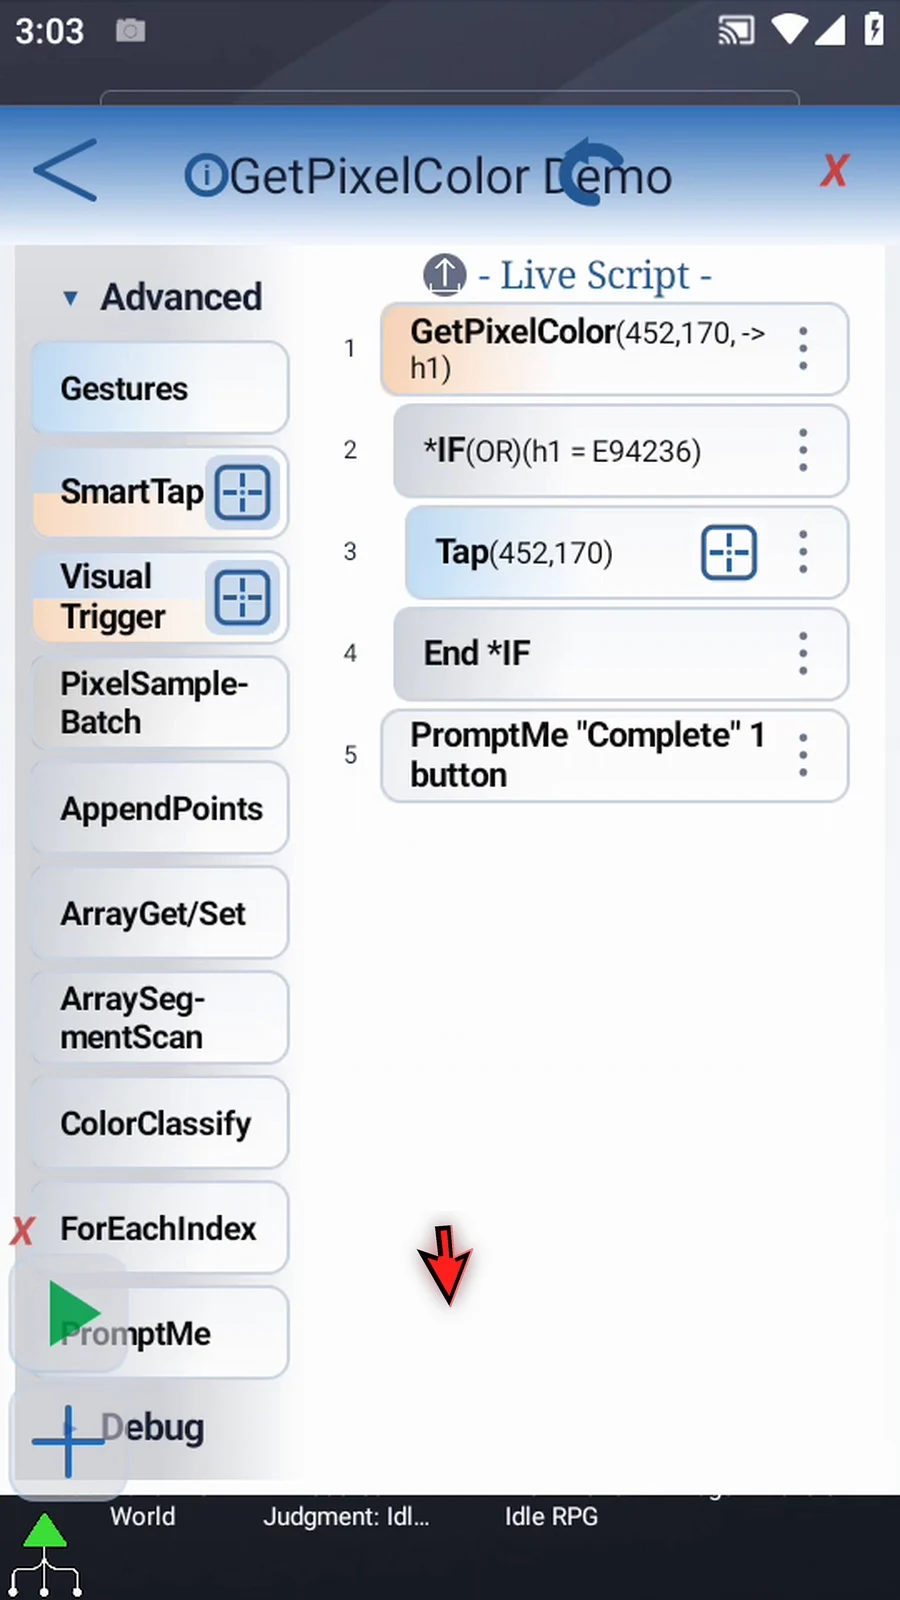
Step 17 Our script samples one pixel into h1, checks it against the captured Hex value, and opens Play Store only when they match. PromptMe then confirms completion. The color check, rather than an unconditional tap, controls the action.
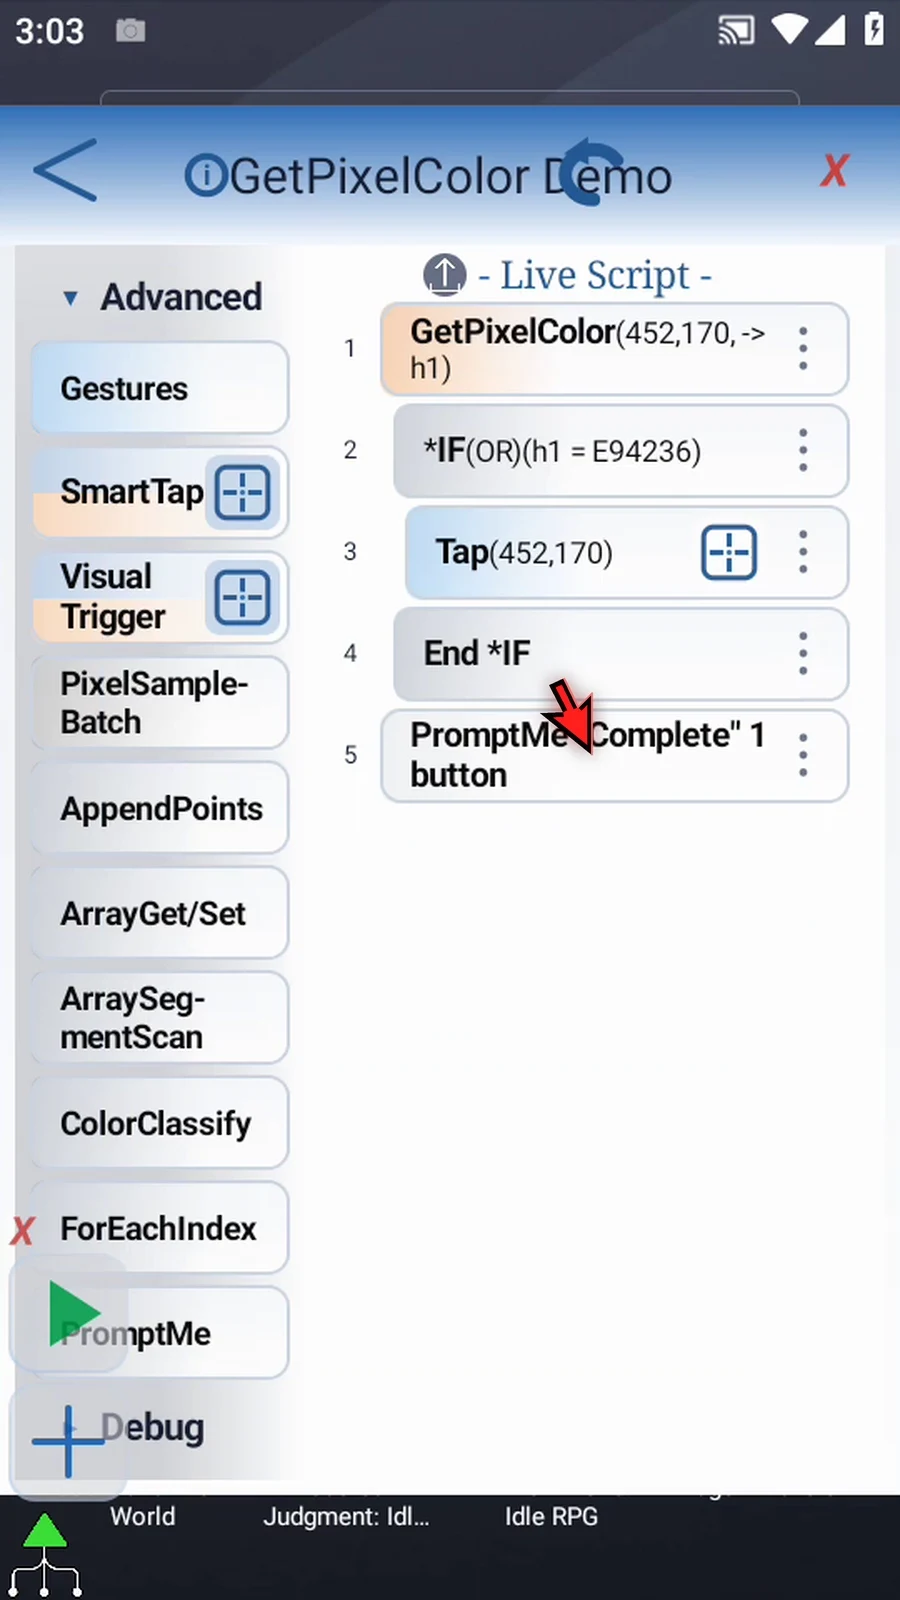
Step 18 Close the editor and leave the target icon in the same place.
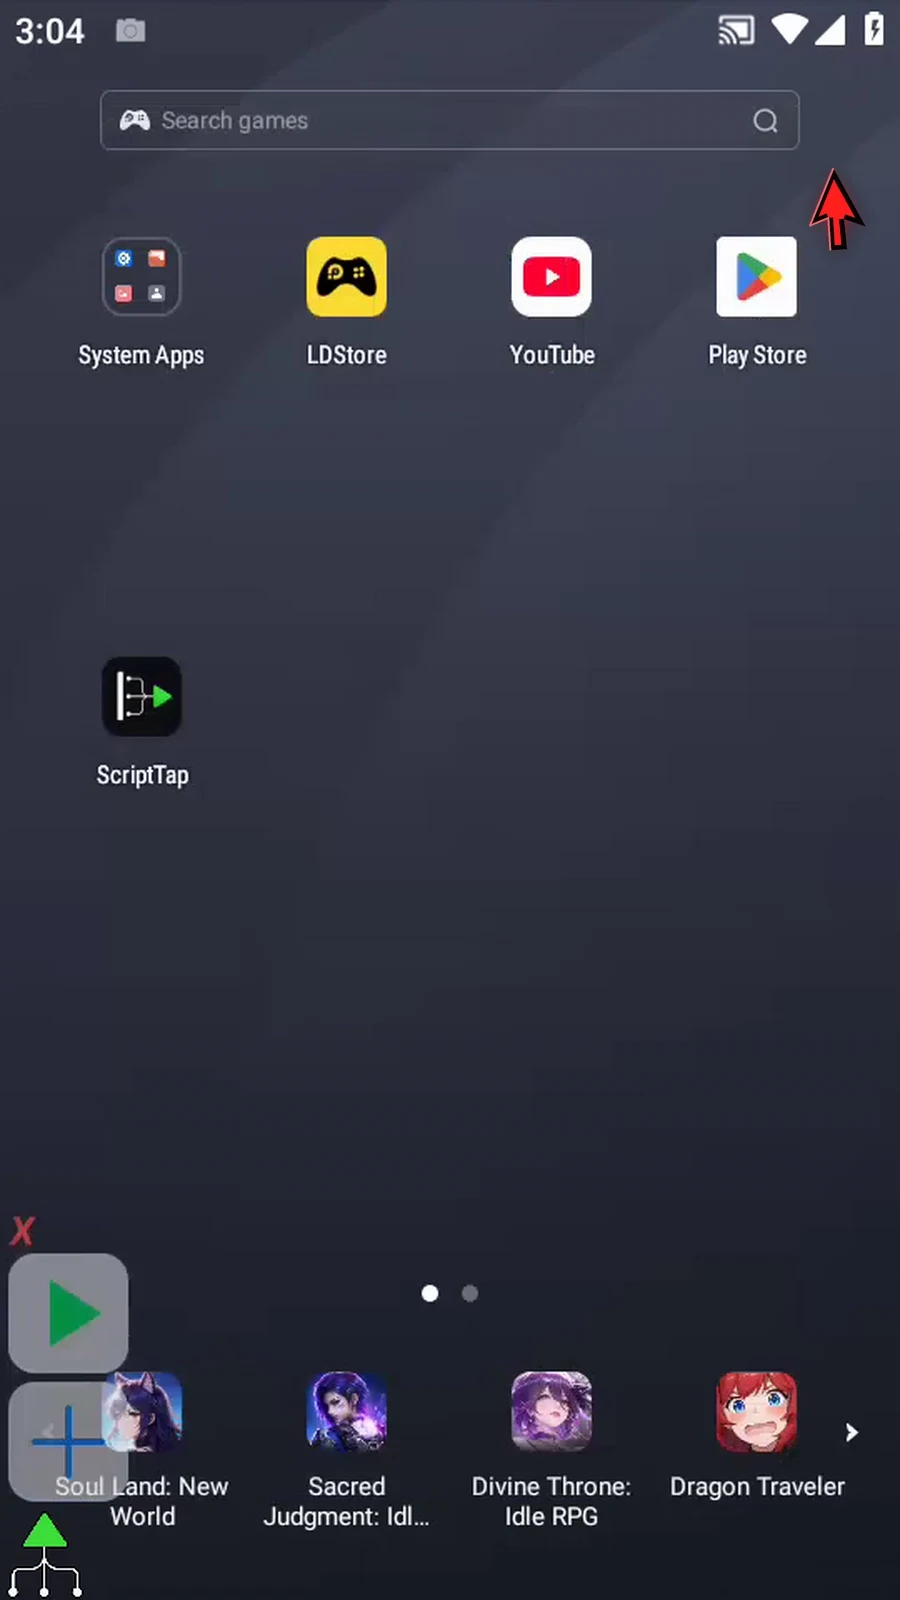
Step 19 When the script is complete, simply use the Play button in the main overlay.
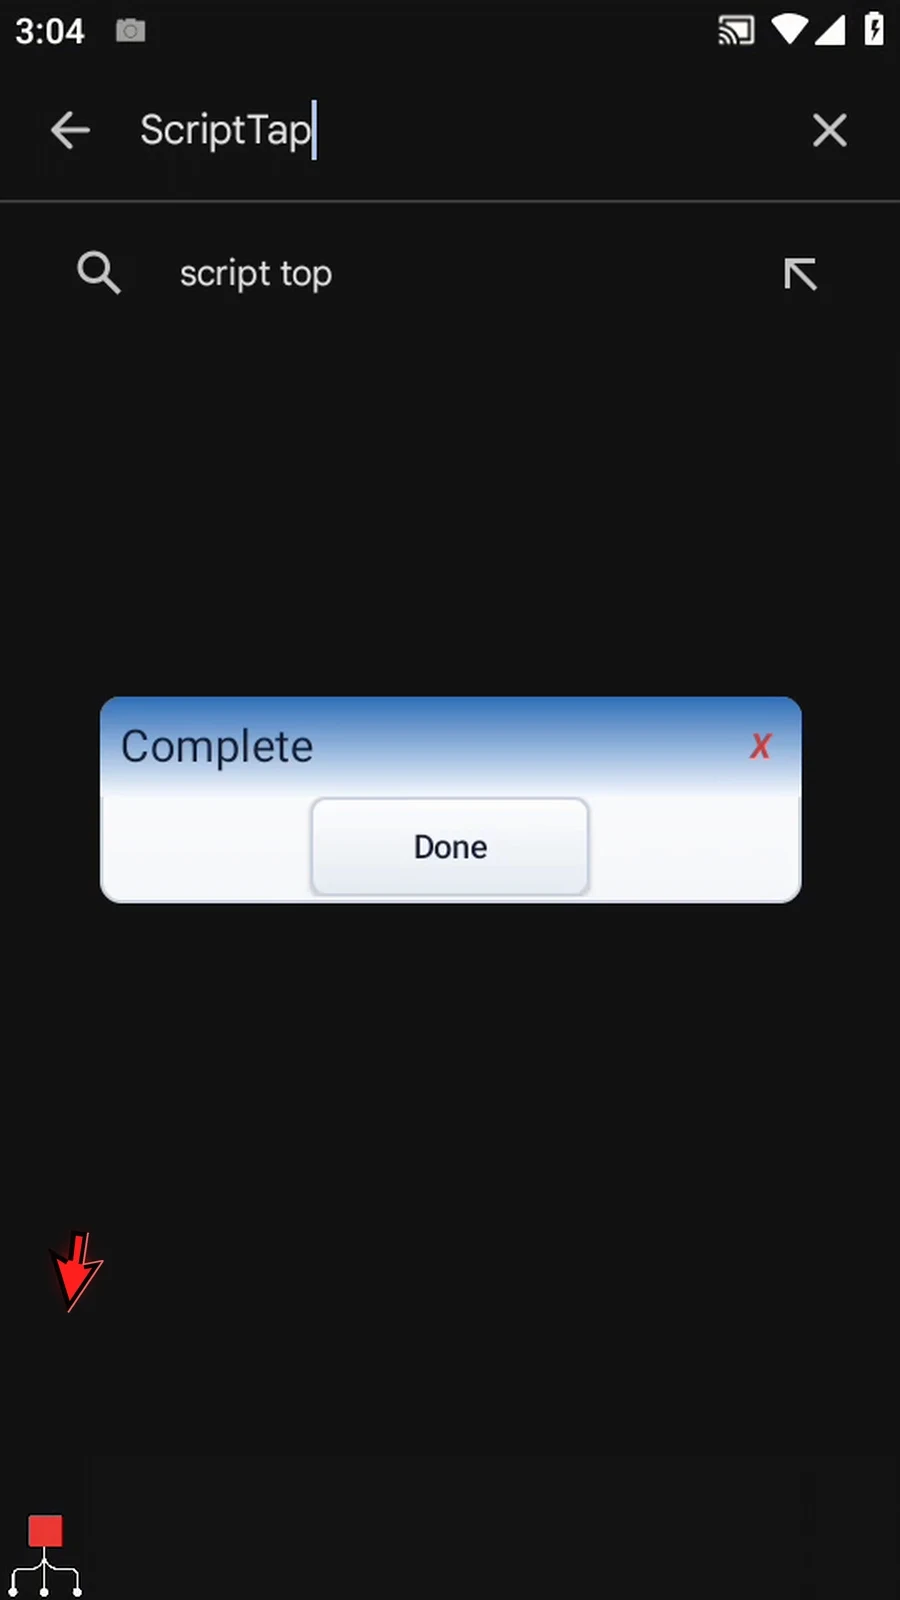
Step 20 The current color matches, so the IF block taps the icon and Play Store opens. The completion prompt is now visible. Get Pixel Color supplied the value used for that decision.
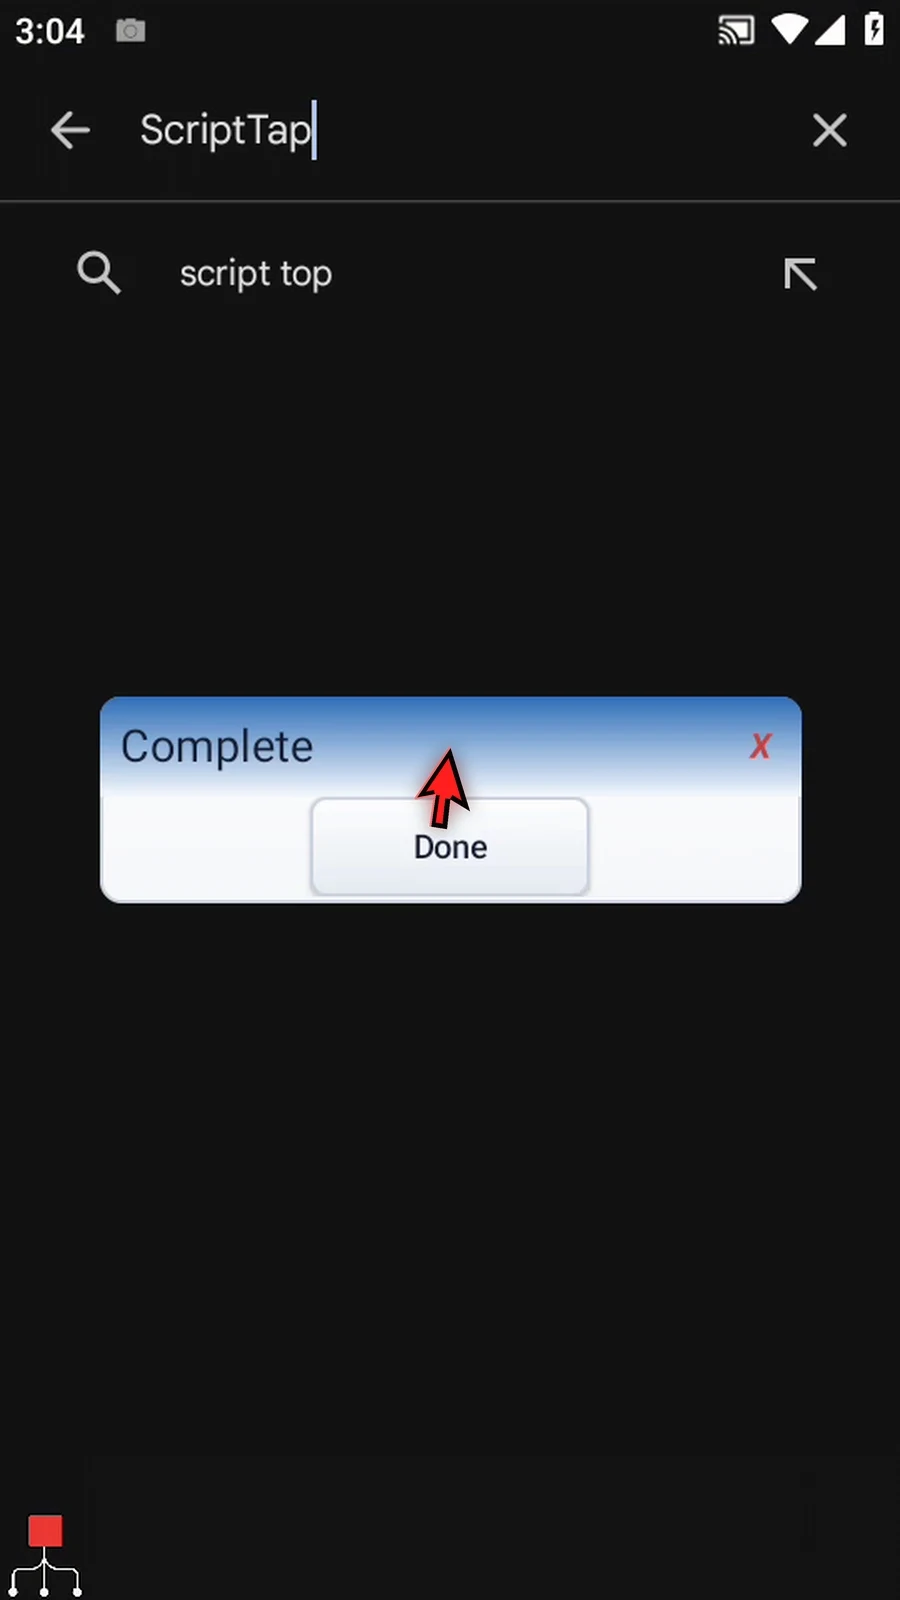
Step 21 Tap Done to acknowledge the prompt. The script finishes automatically. Use the sampled Hex value in later conditions whenever an action depends on a particular screen color.