Command video guide
Multi-Tap - Basic
Create a script, record tap locations, edit coordinates, set the delay between taps, and run Multi-Tap.
Watch the walkthrough
Step-by-step guide
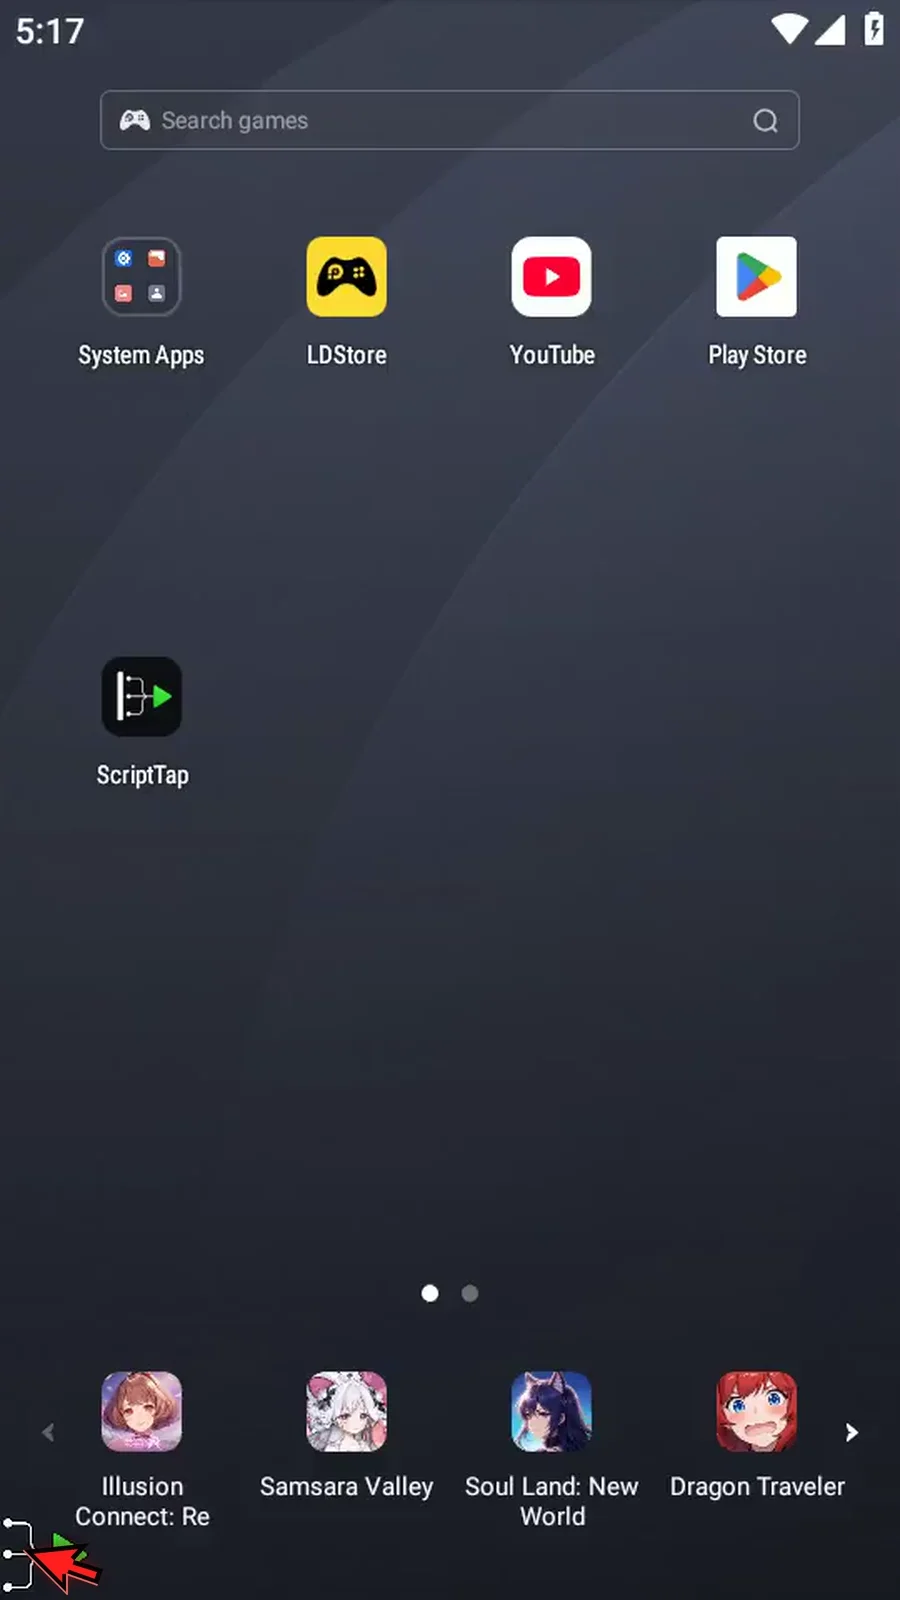
Step 01 Multi-Tap saves several tap locations in one command. Start by expanding the ScriptTap main overlay.
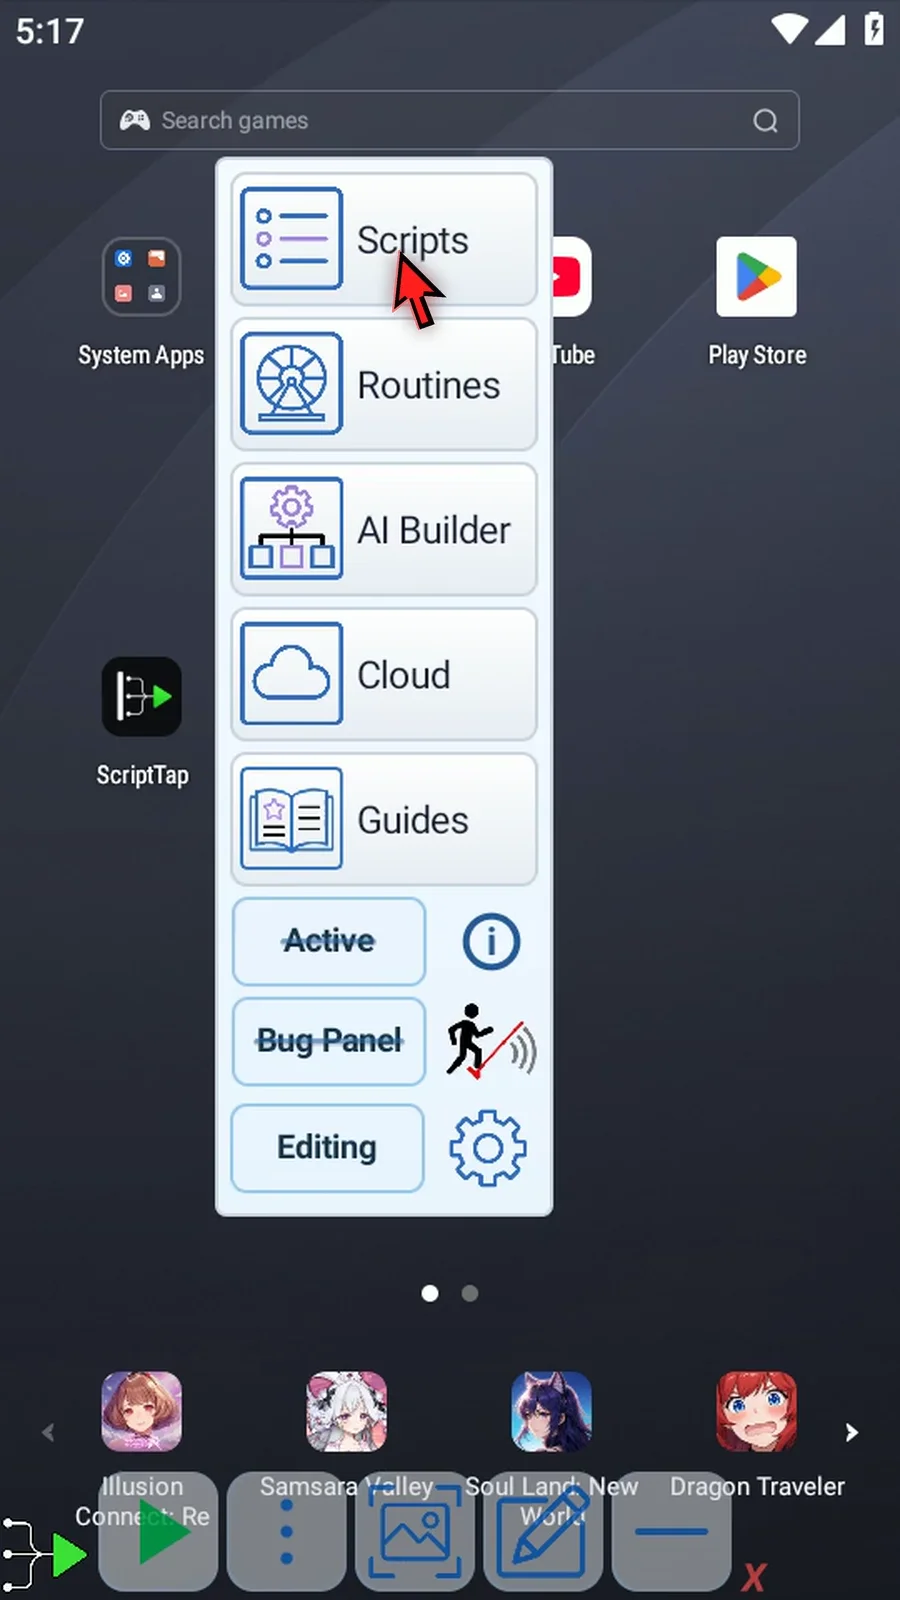
Step 02 Open the three-dot menu. Choose Scripts.
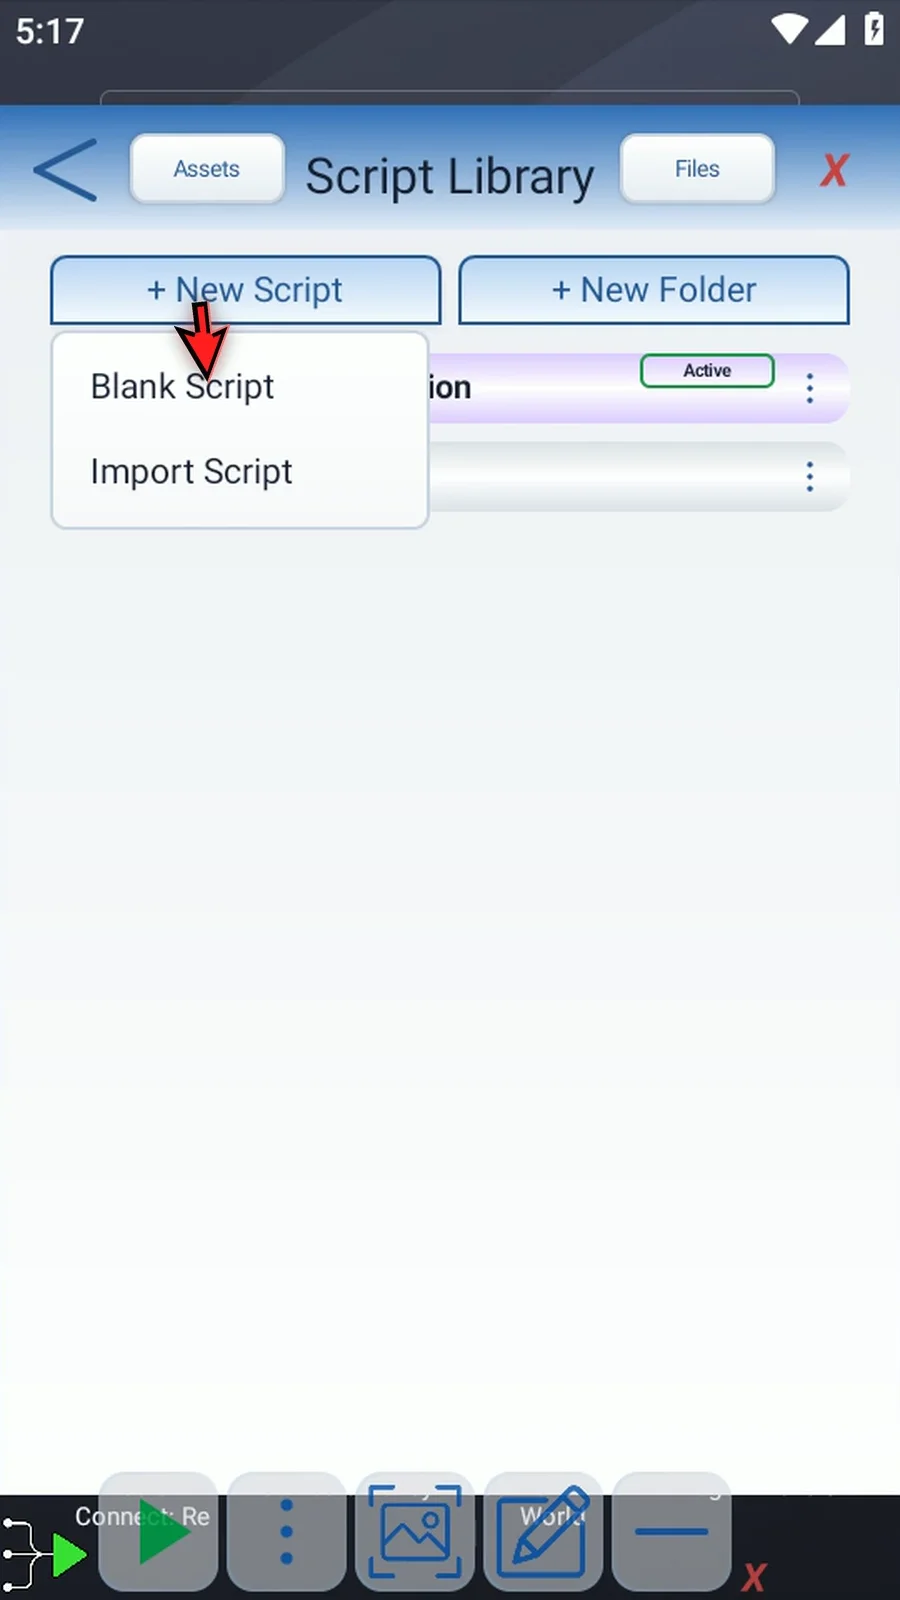
Step 03 Tap New Script. Choose Blank Script to create your script.
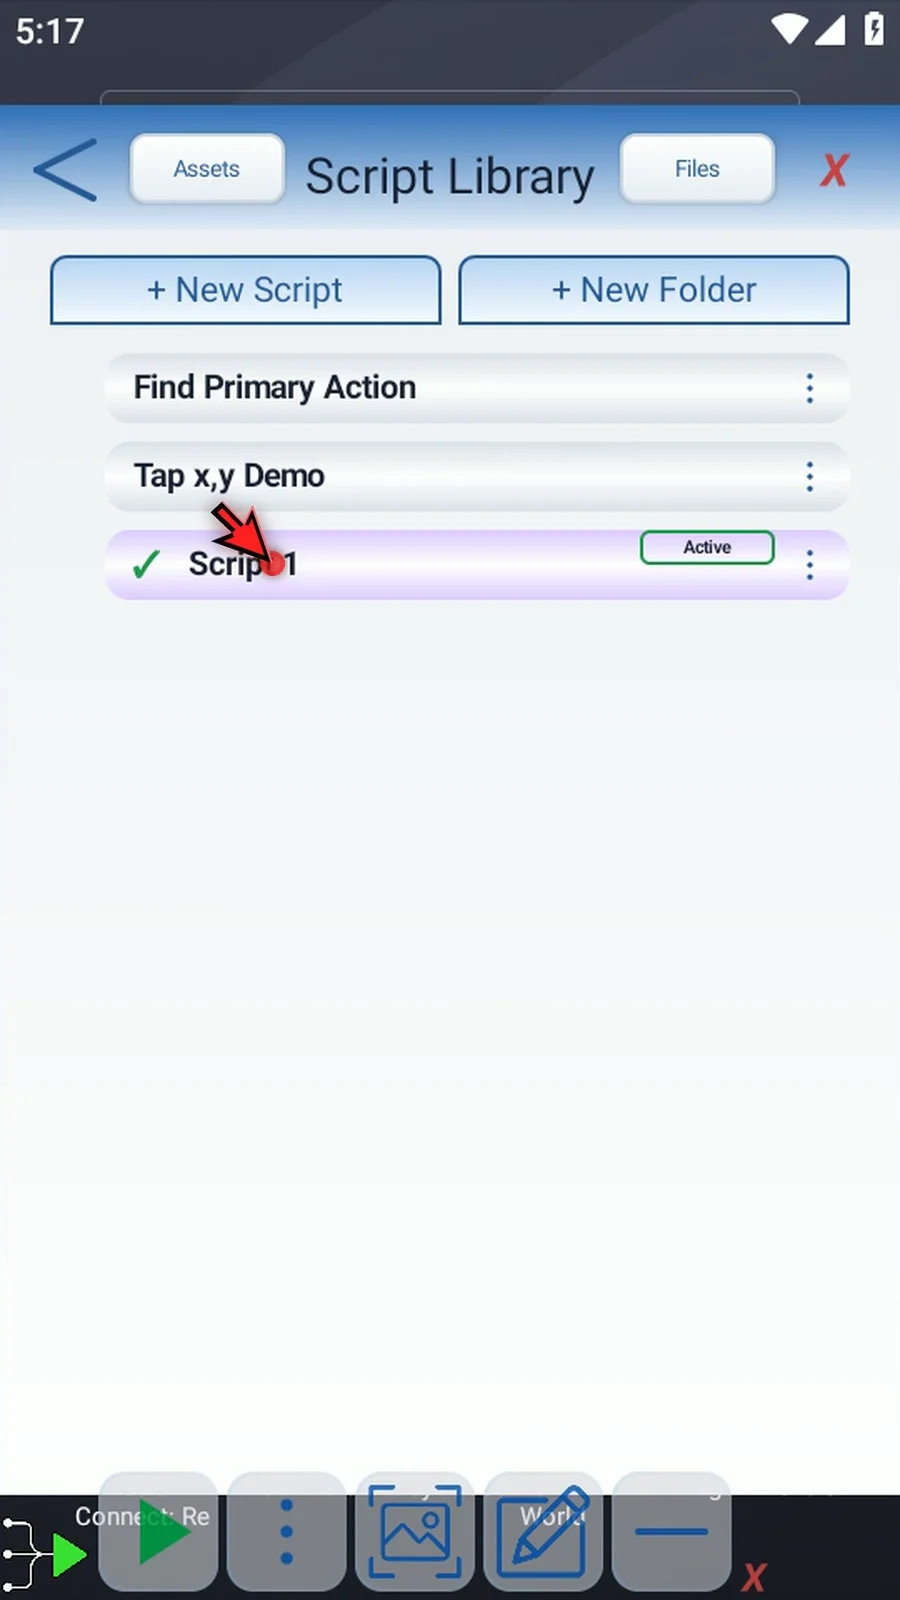
Step 04 Select your new script.
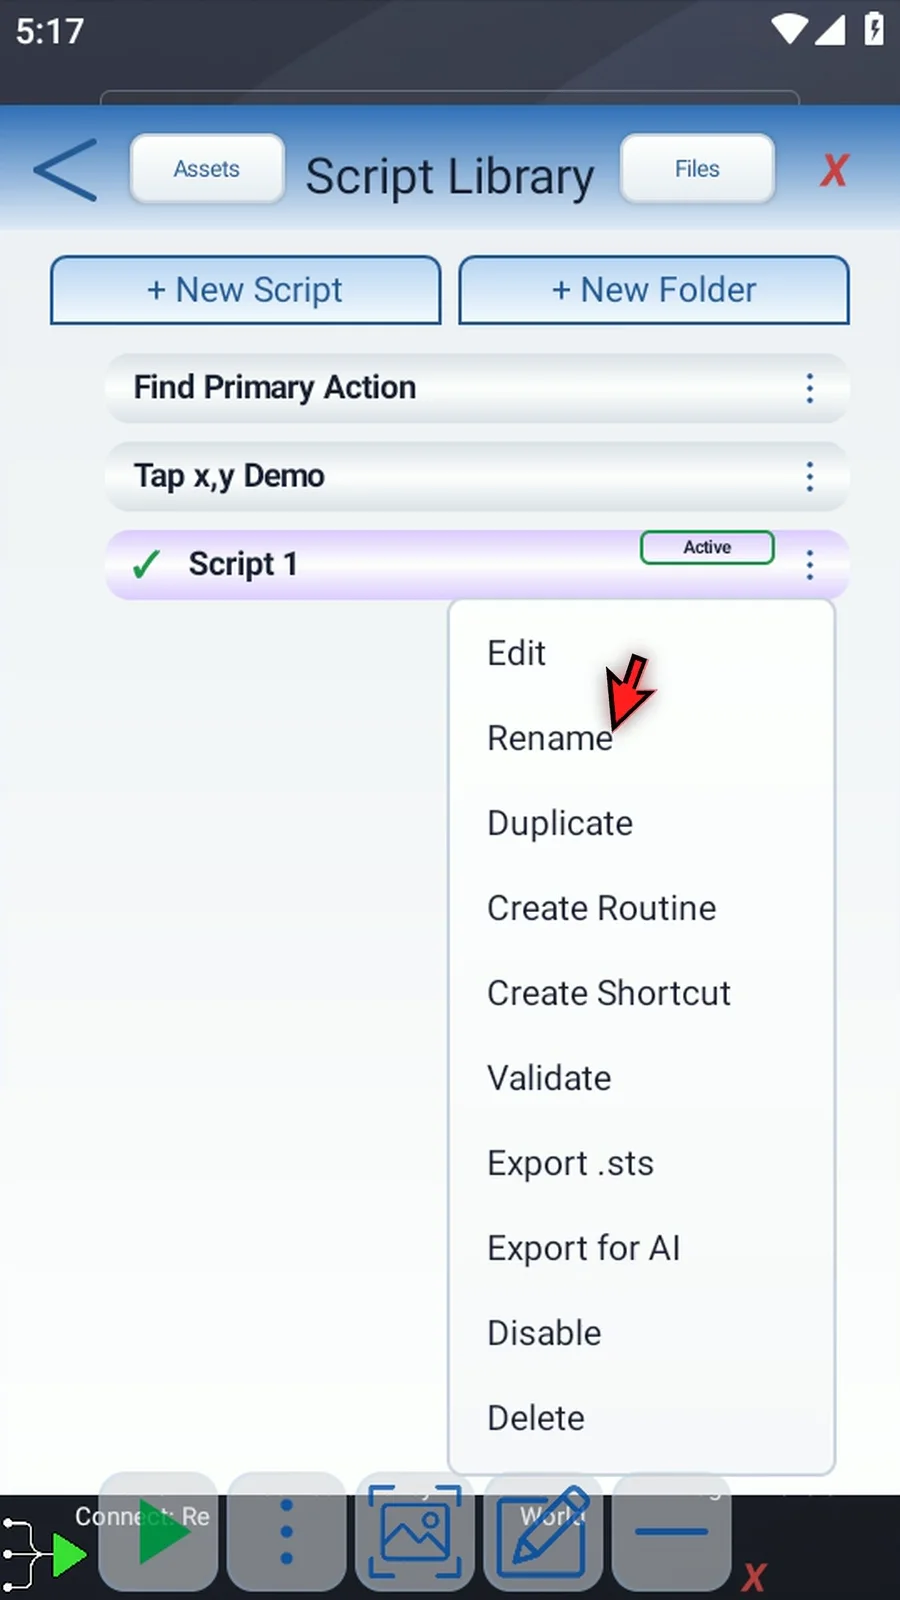
Step 05 Open its three-dot menu. Choose Rename.
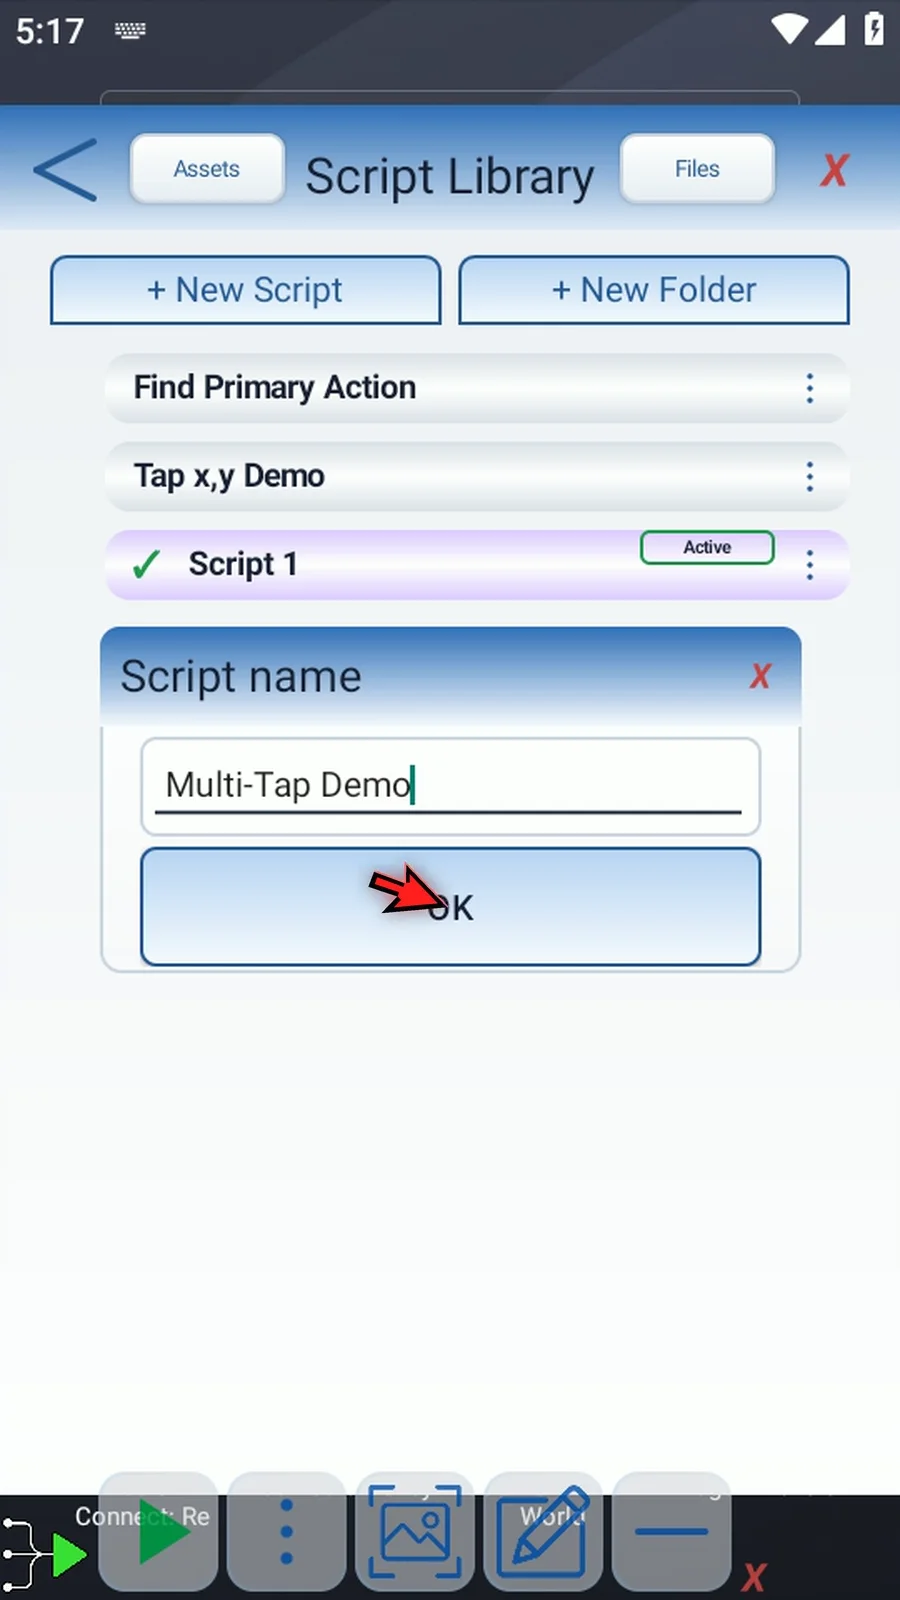
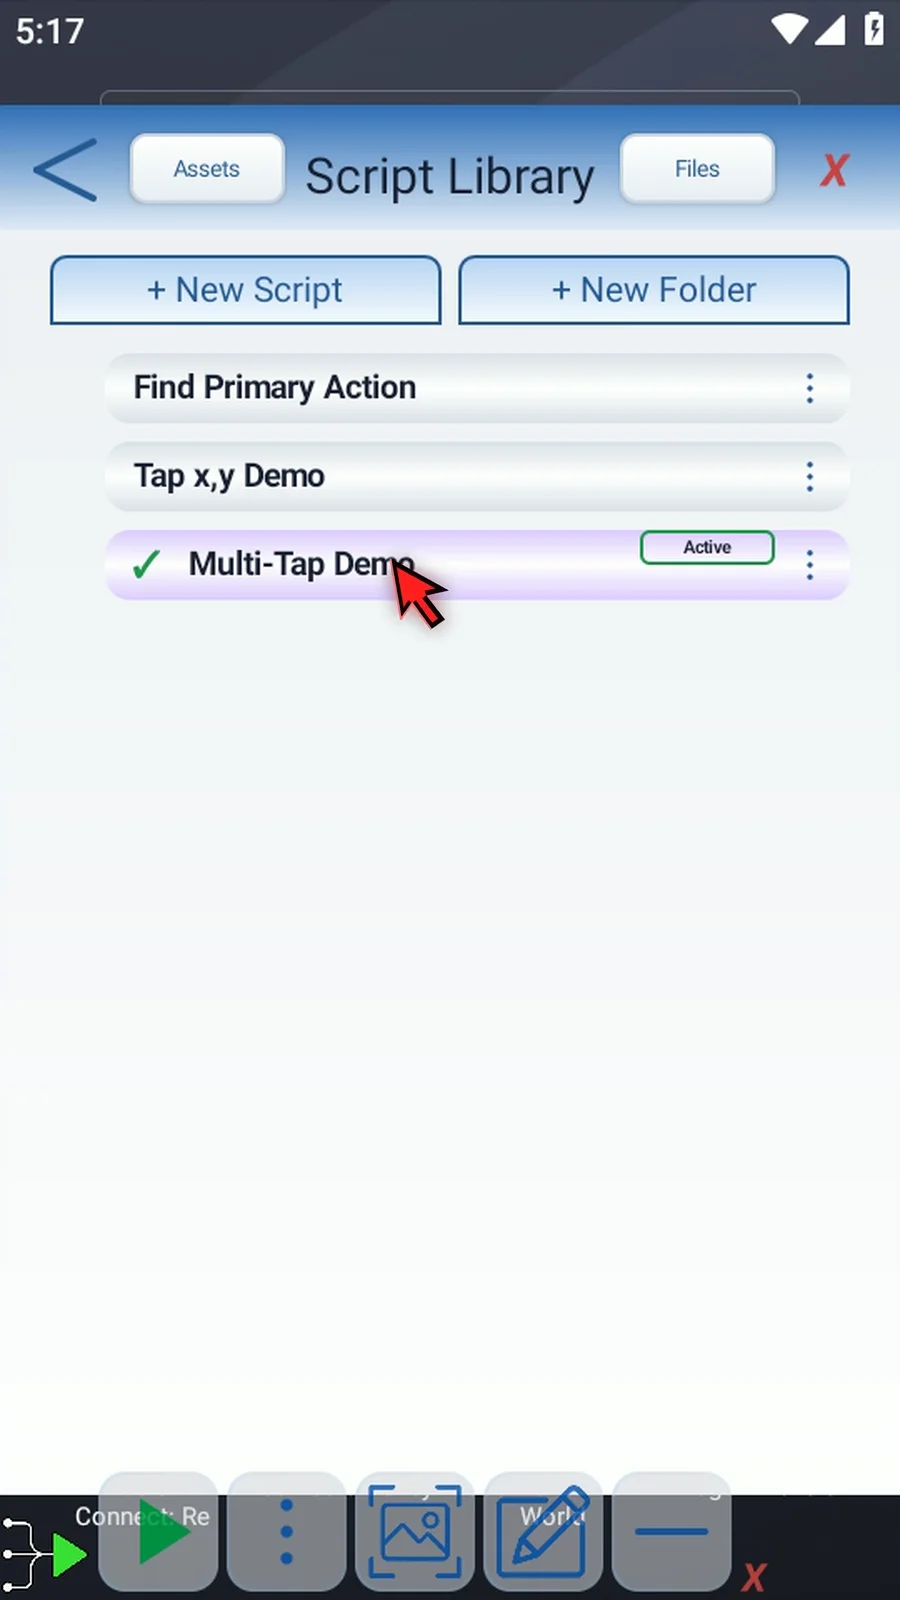
Step 06 Pick a name for your script and enter it. Then tap OK.
Step 07 Double-tap the script card to open the editor.
Step 08 On the left, expand Actions.
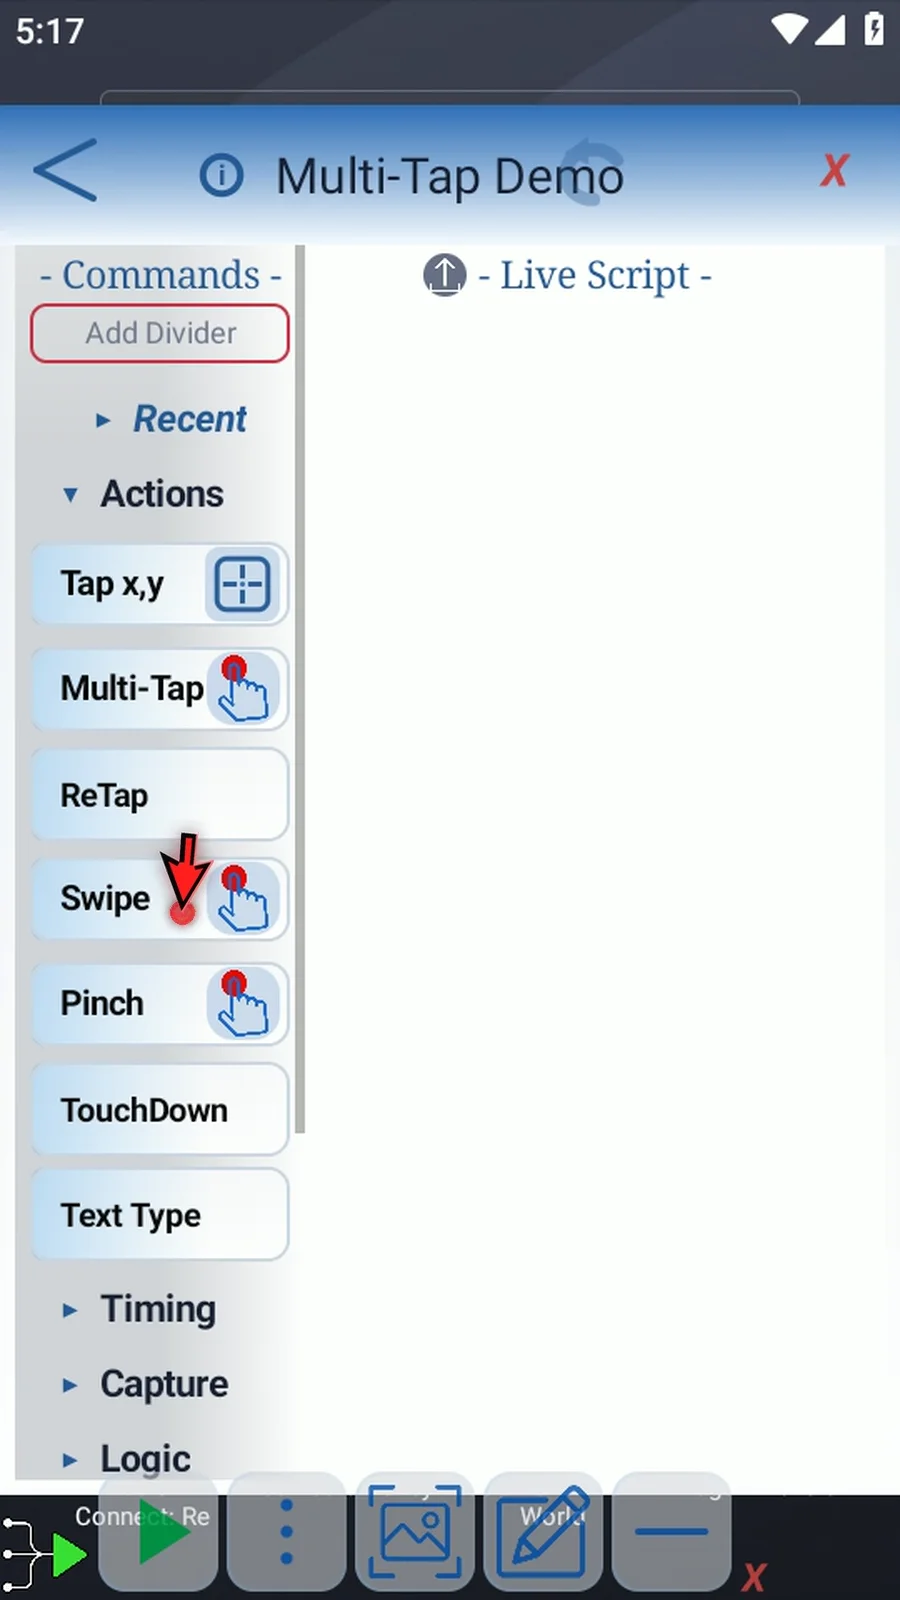
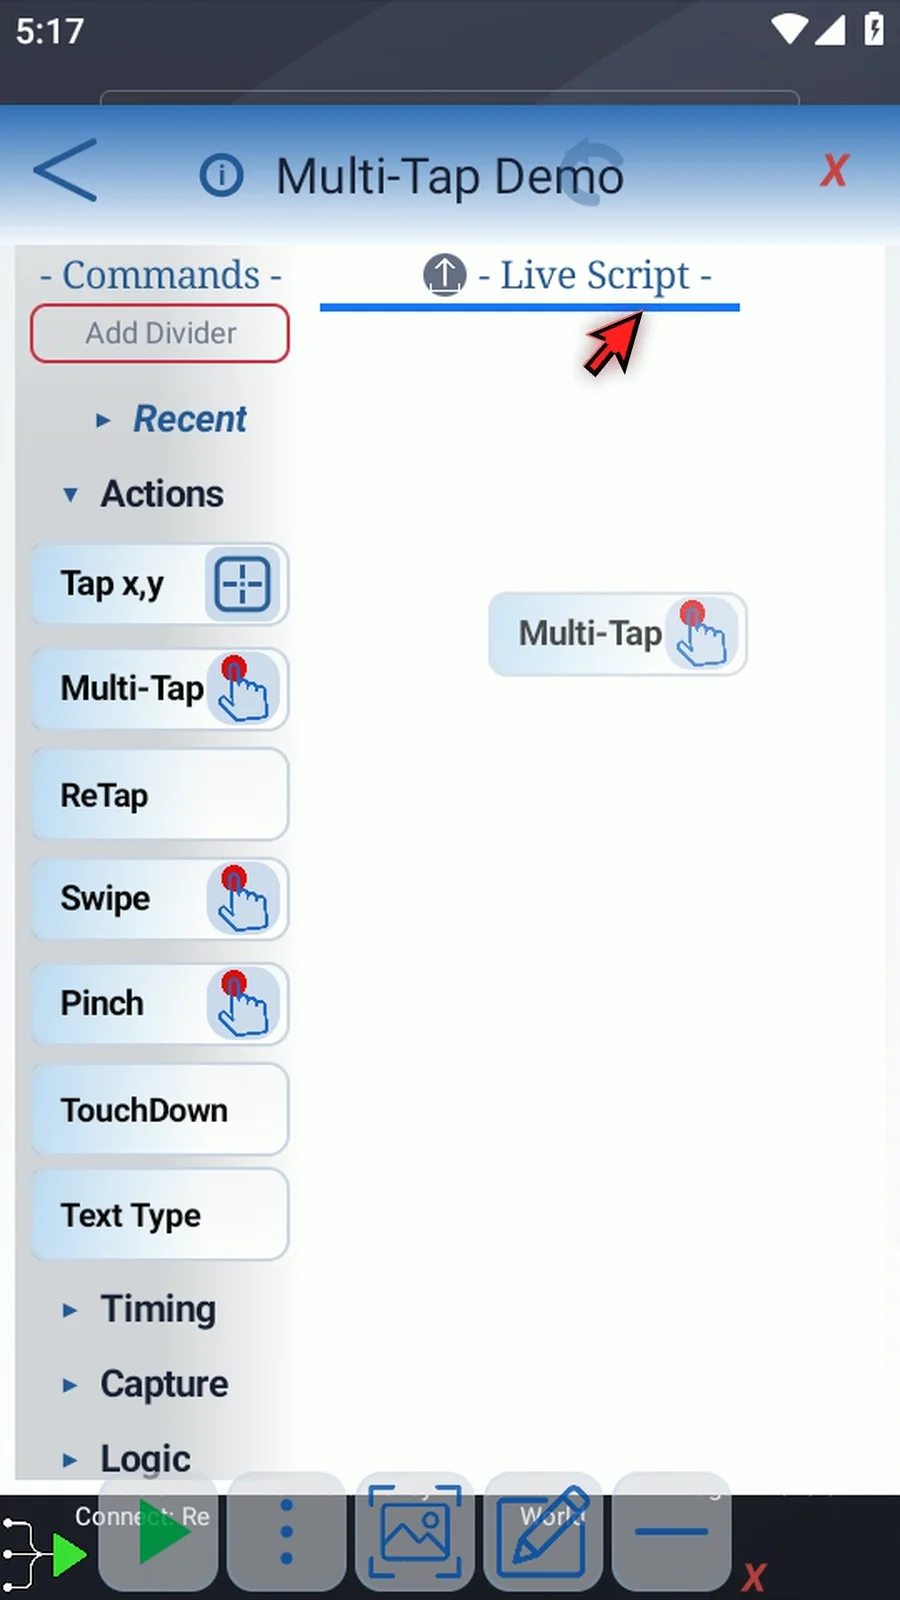
Step 09 Drag Multi-Tap and release on the blue line. Double-tapping appends it to the end instead.
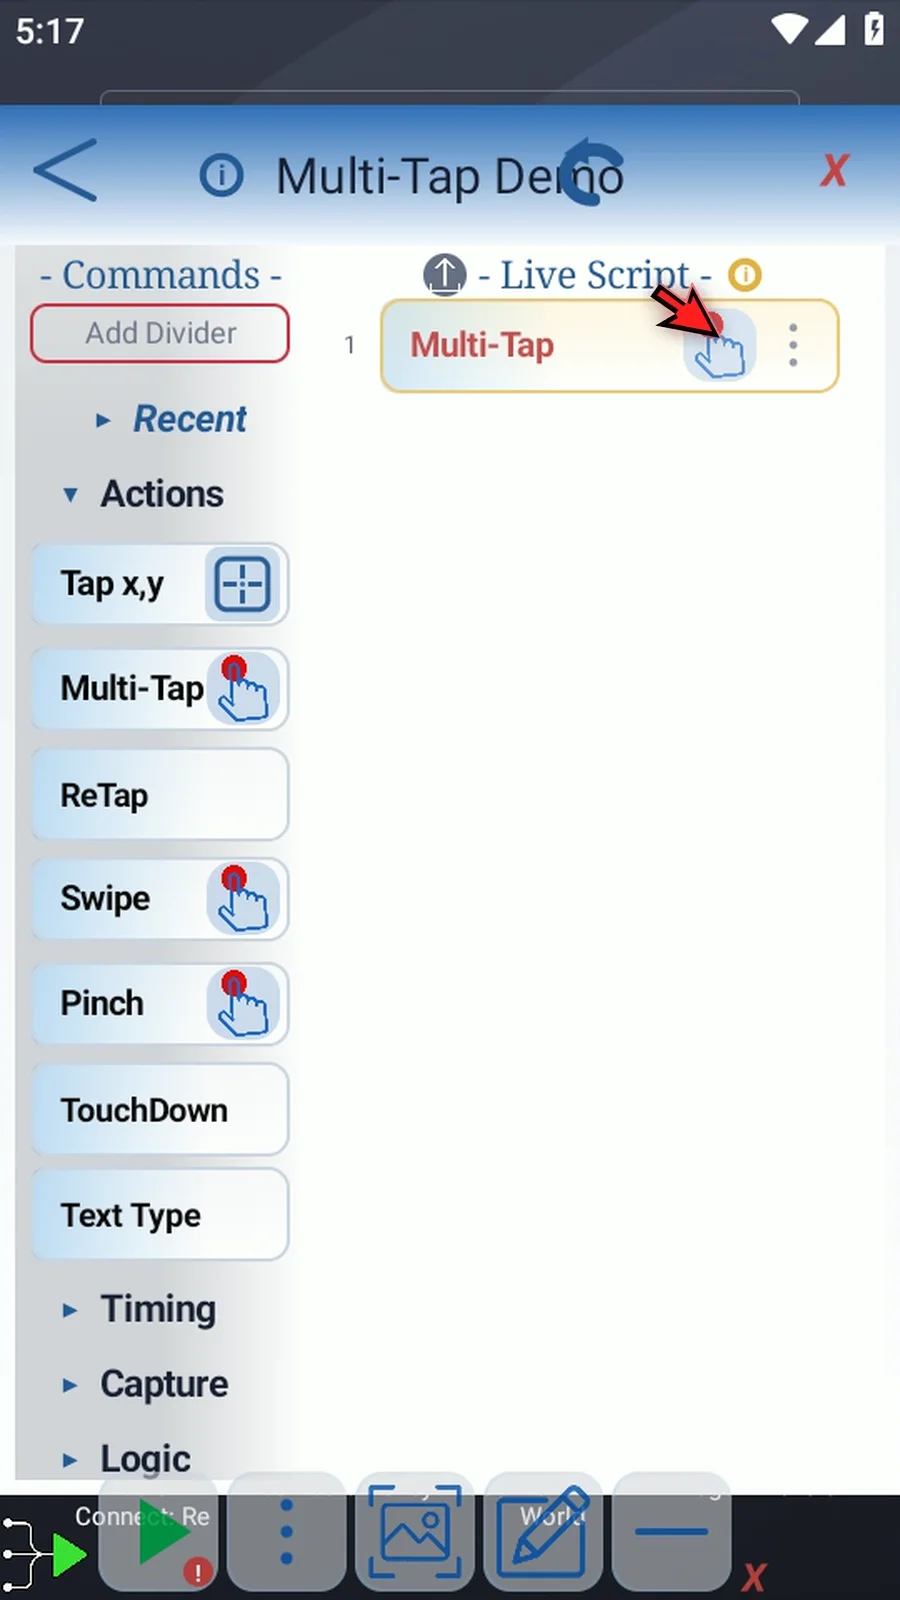
Step 10 Tap the recording icon on the command to select your locations.
Step 11 Tap the locations you want to use, in order. Each numbered marker shows a selected point. You can choose up to ten locations. Here, we will finish with fewer than ten.
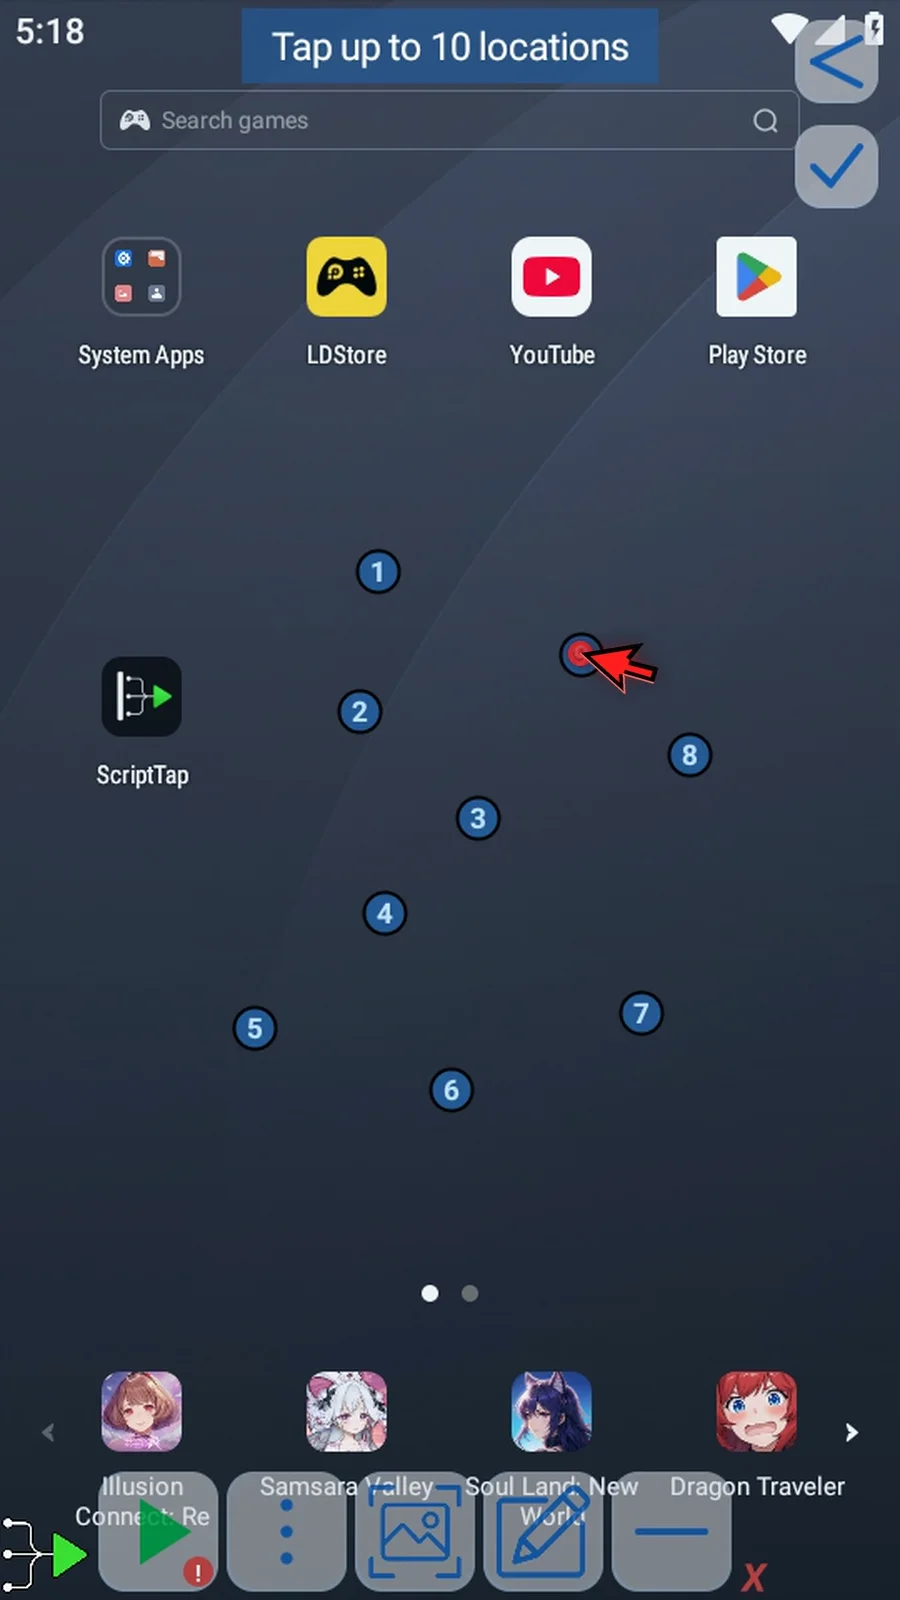
Step 12 When you need fewer than ten taps, press the checkmark to save your selection.
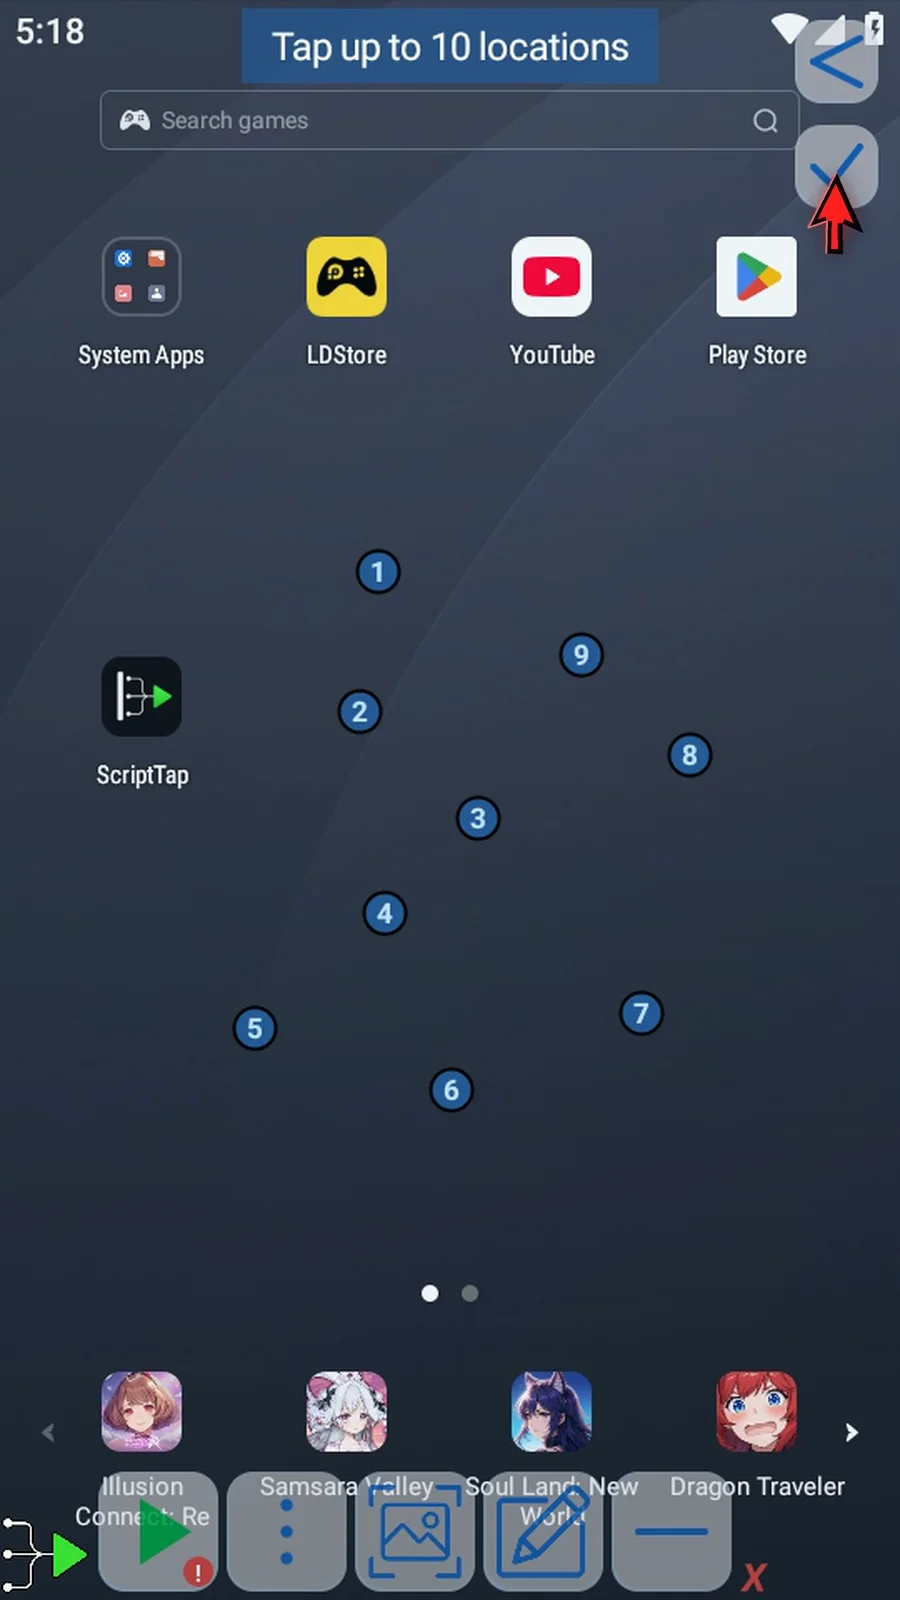
Step 13 Using the recording icon again clears the previous selection and starts over.
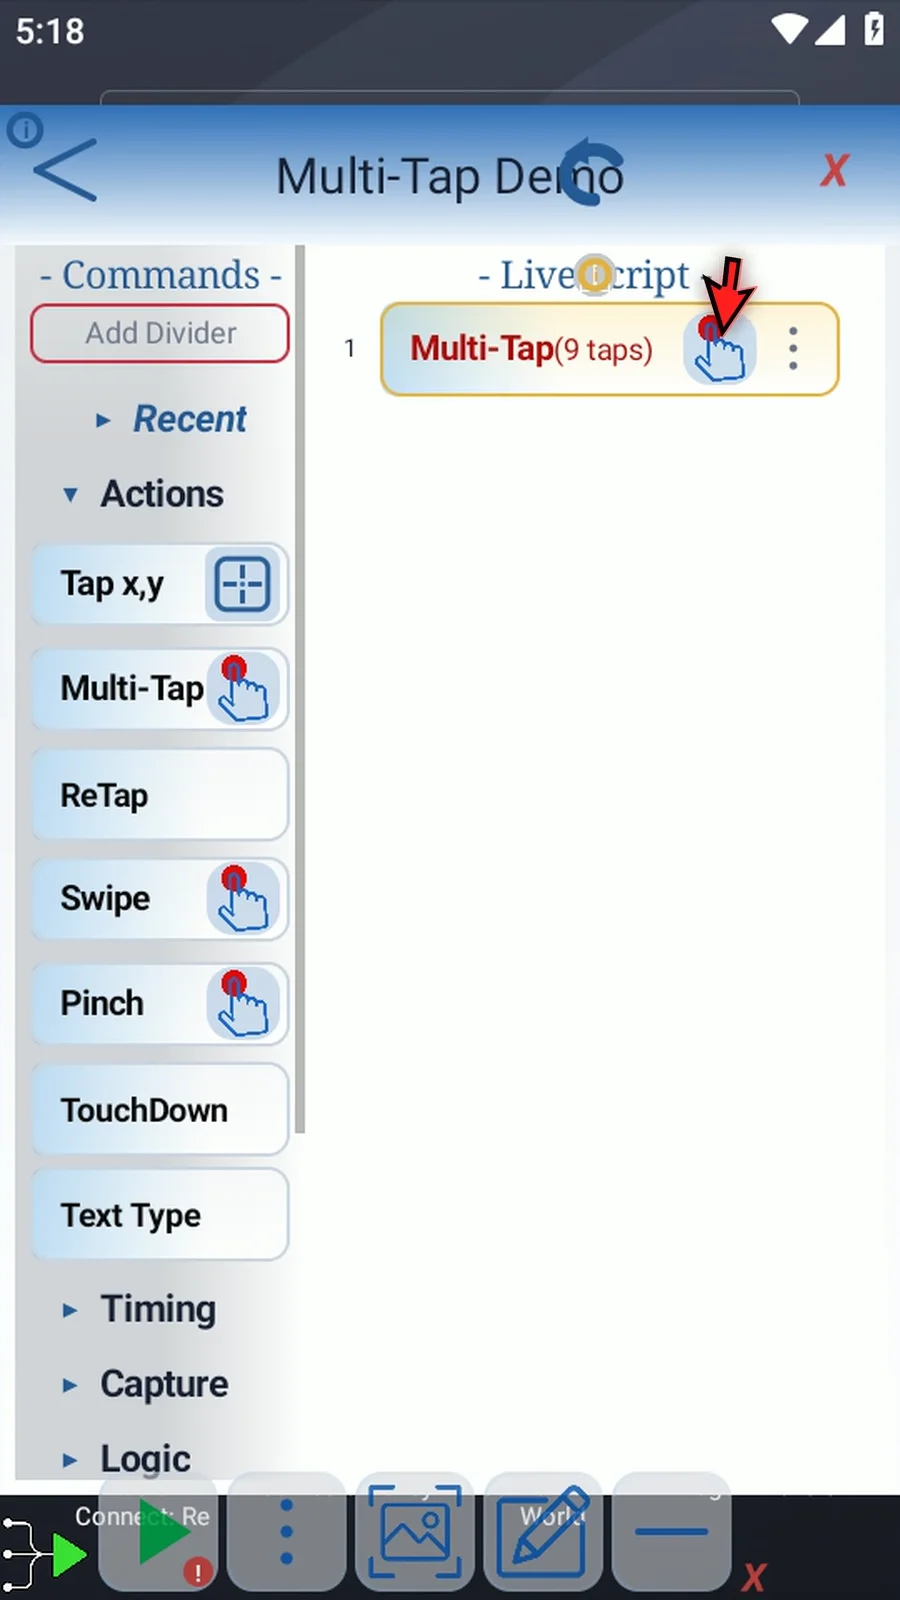
Step 14 This time, we will use all ten locations. Start placing the points in the order you need. The numbered markers help you review the sequence as you go. There is no need to press the checkmark when selecting all ten.
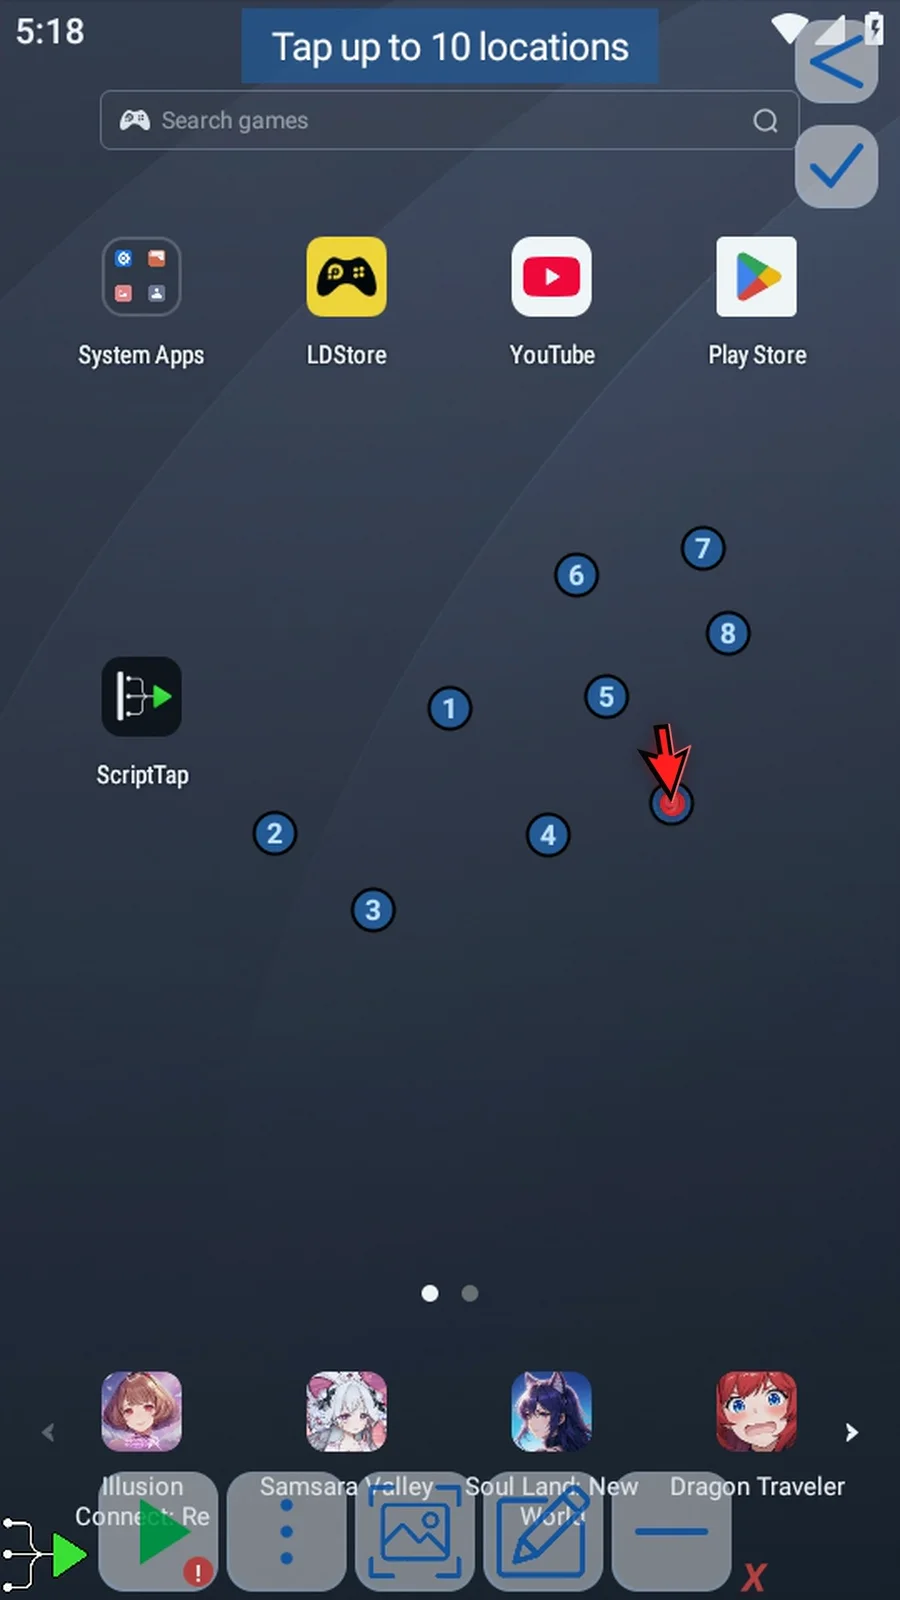
Step 15 Select the tenth point. ScriptTap saves automatically and returns to the editor.
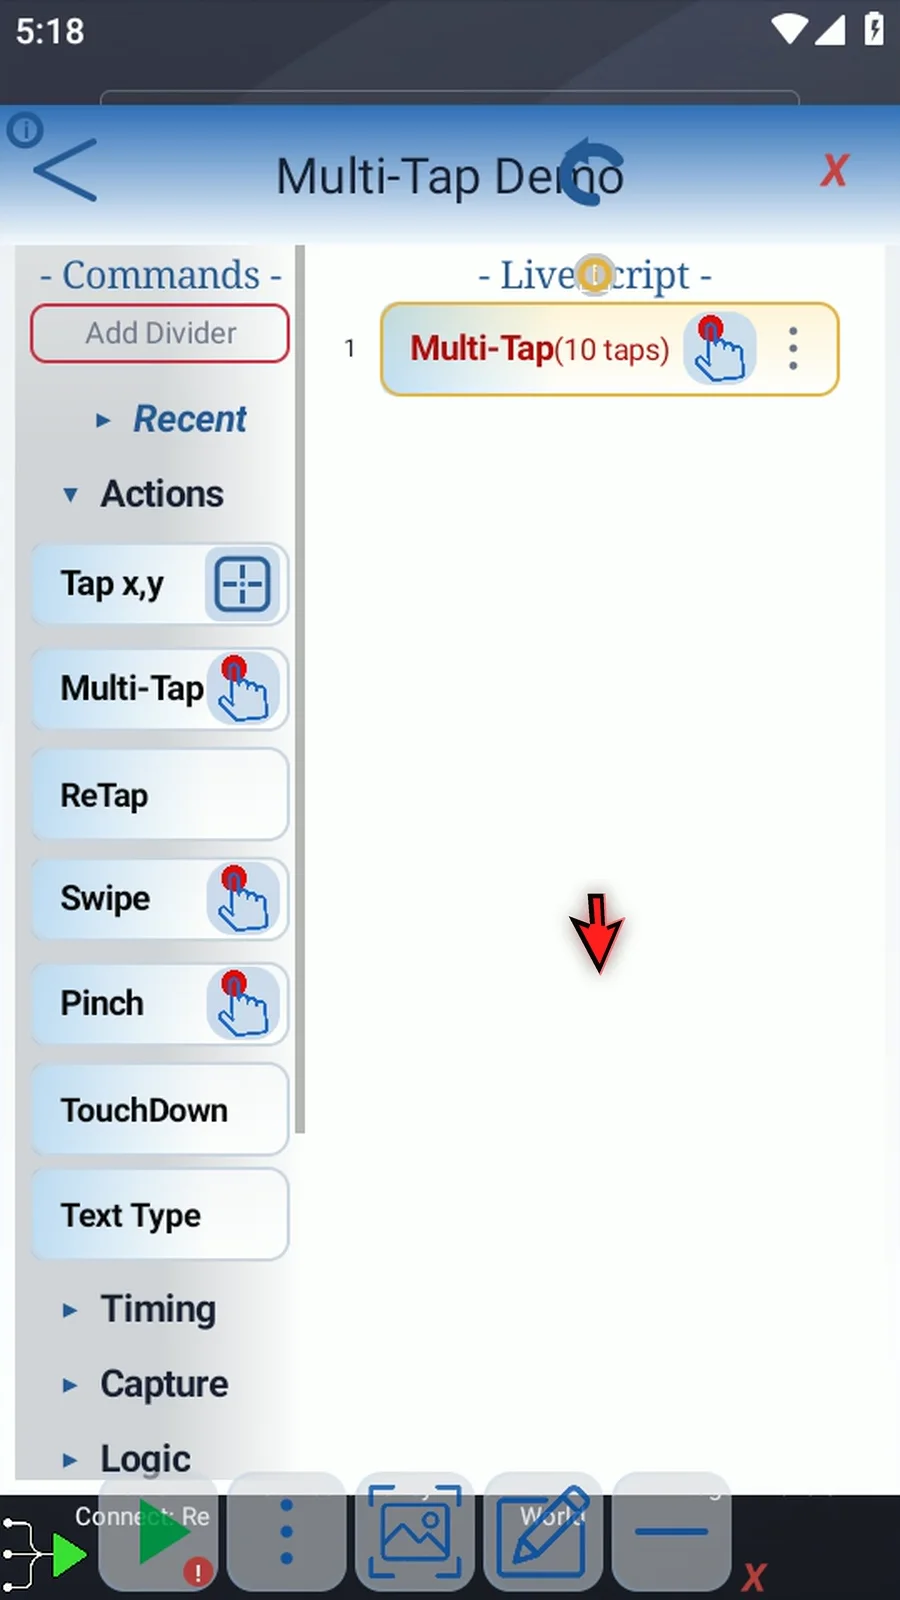
Step 16 Double-tap the command frame to edit your selections.
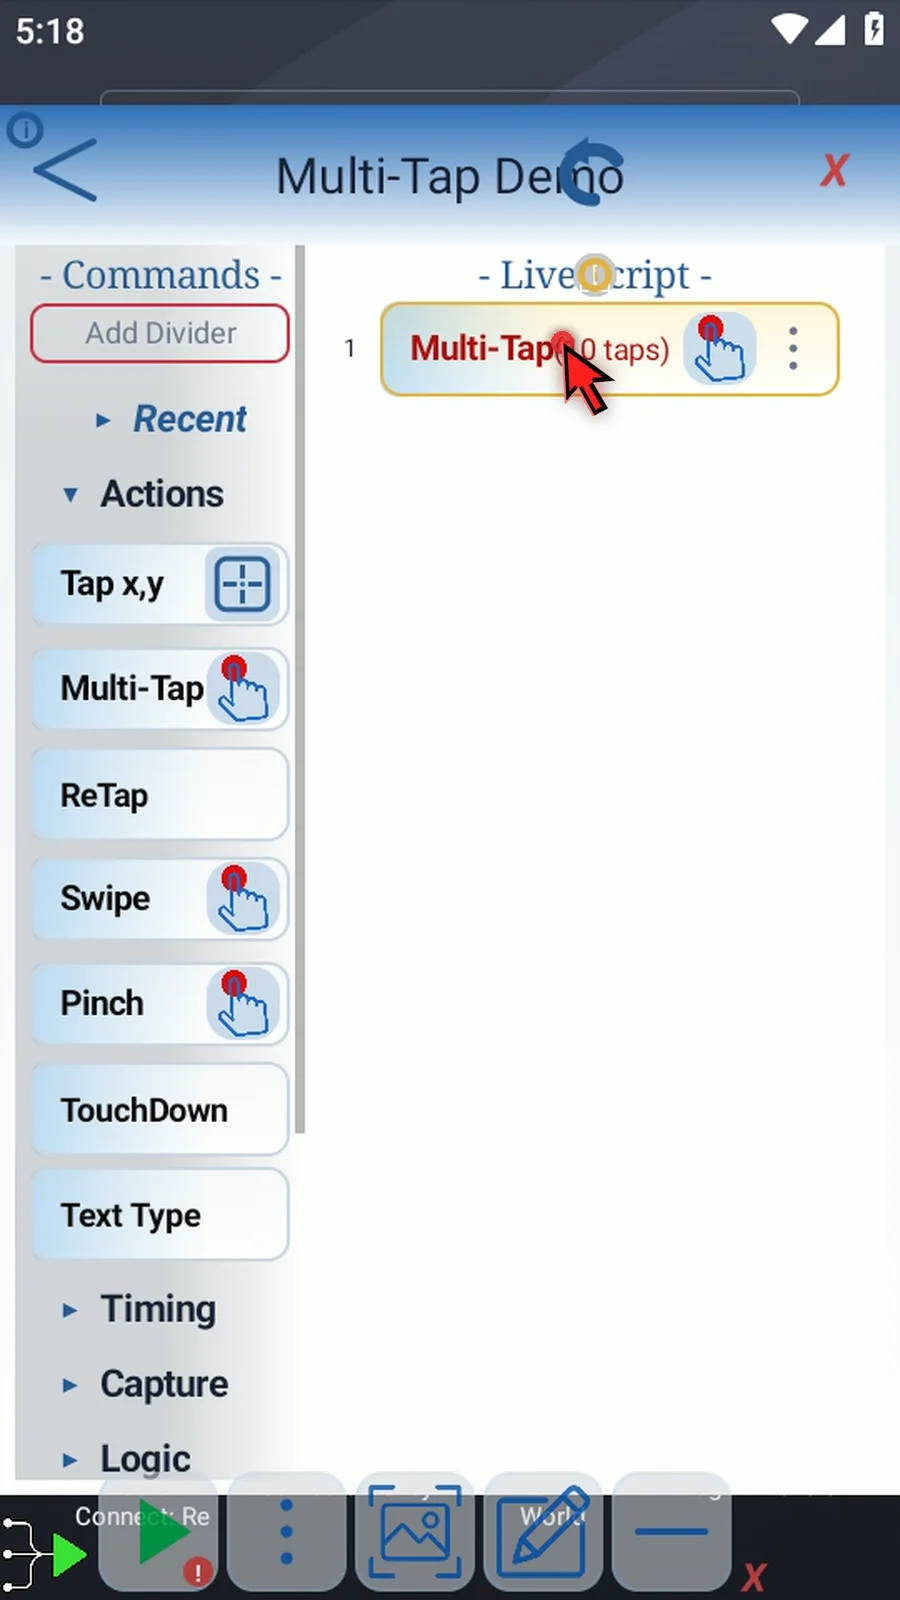
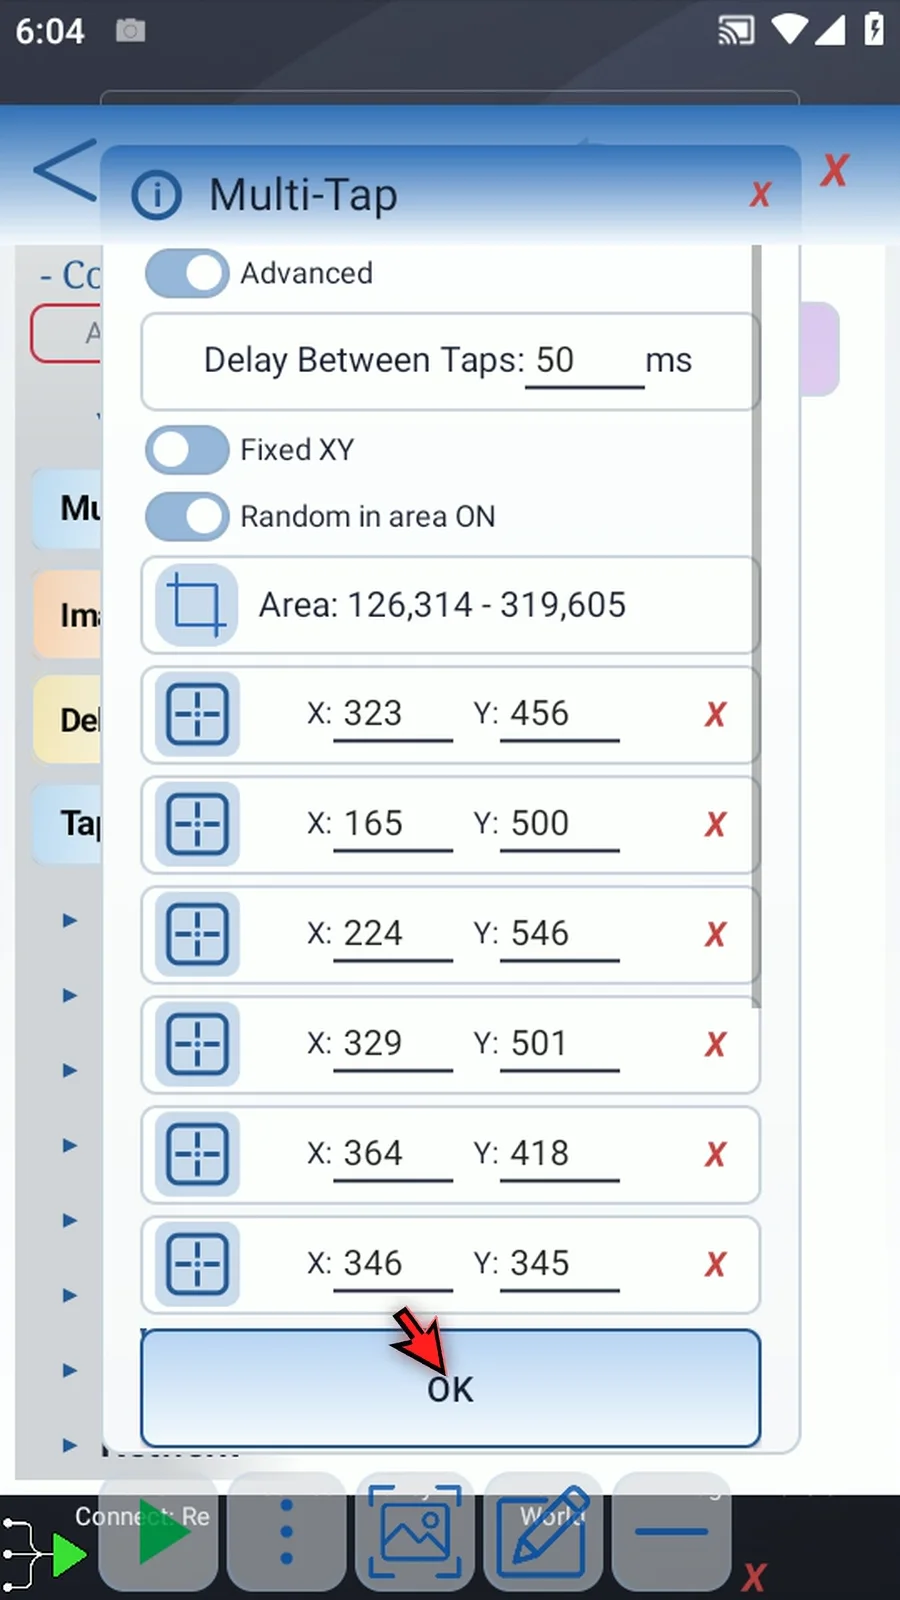
Step 17 Delay Between Taps is required. Enter the pause between taps in milliseconds. Here, we enter fifty milliseconds.
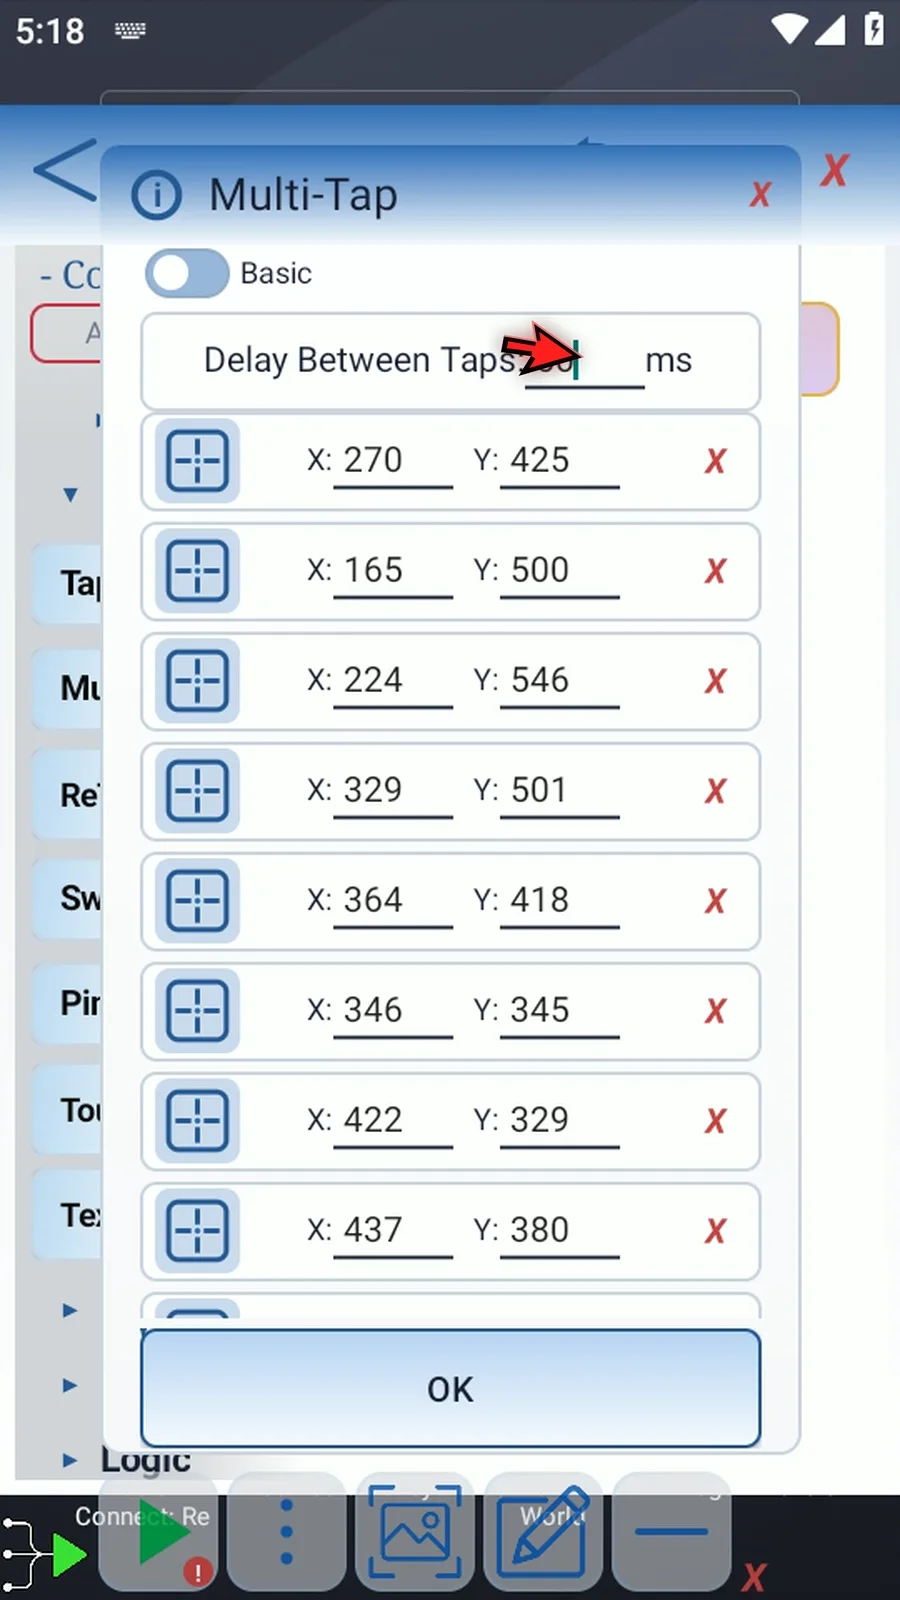
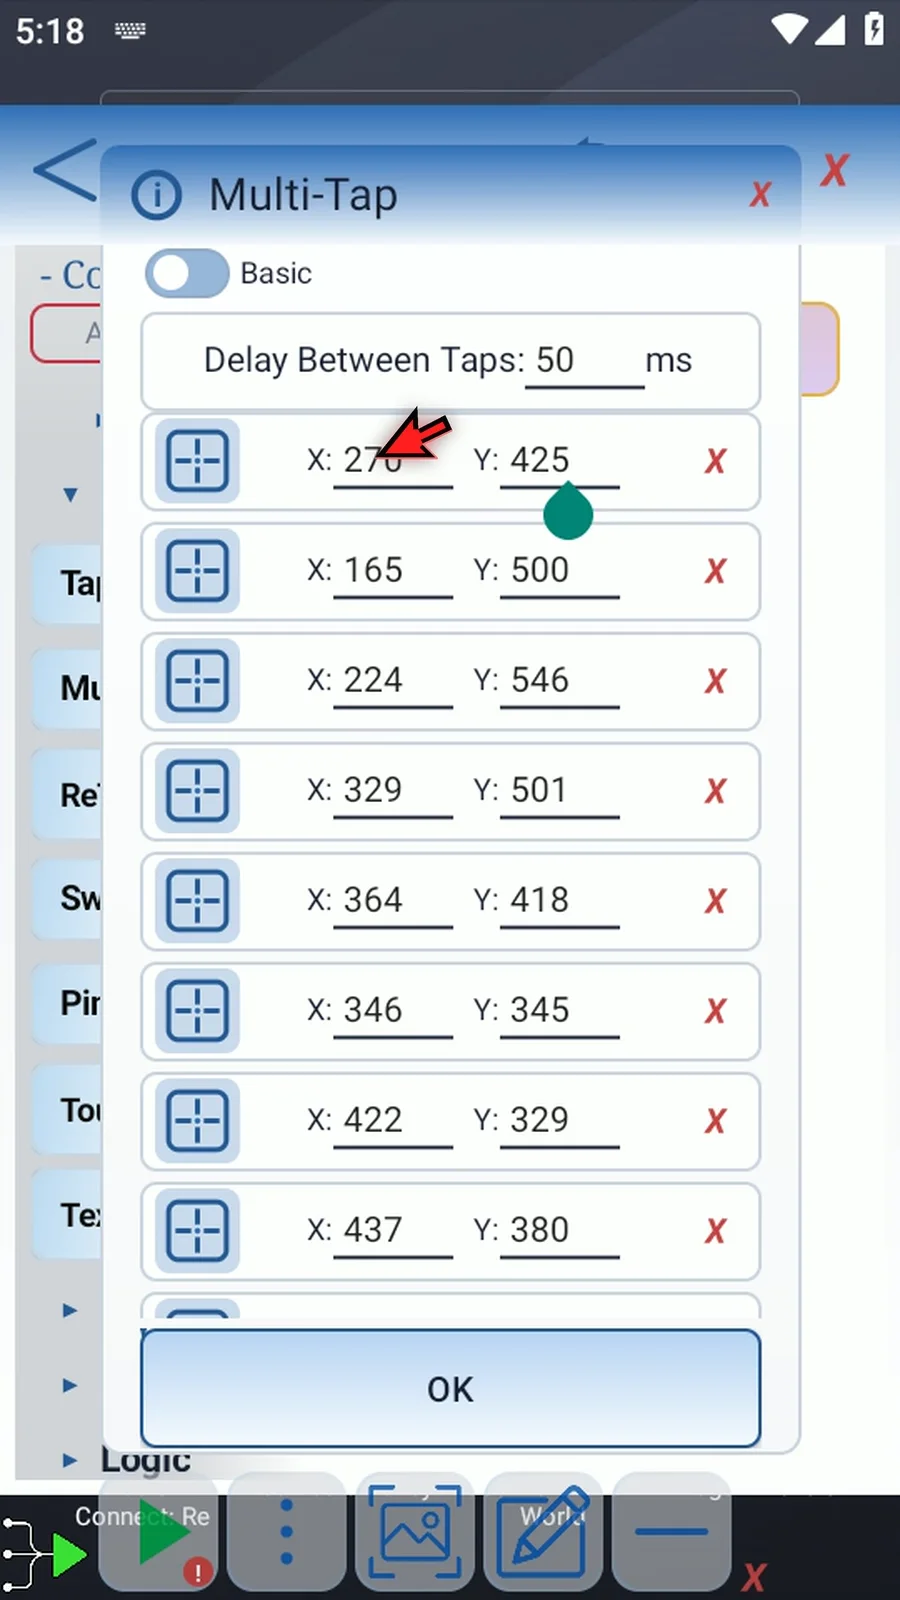
Step 18 Each row contains one tap location. You can edit its X and Y coordinates directly.
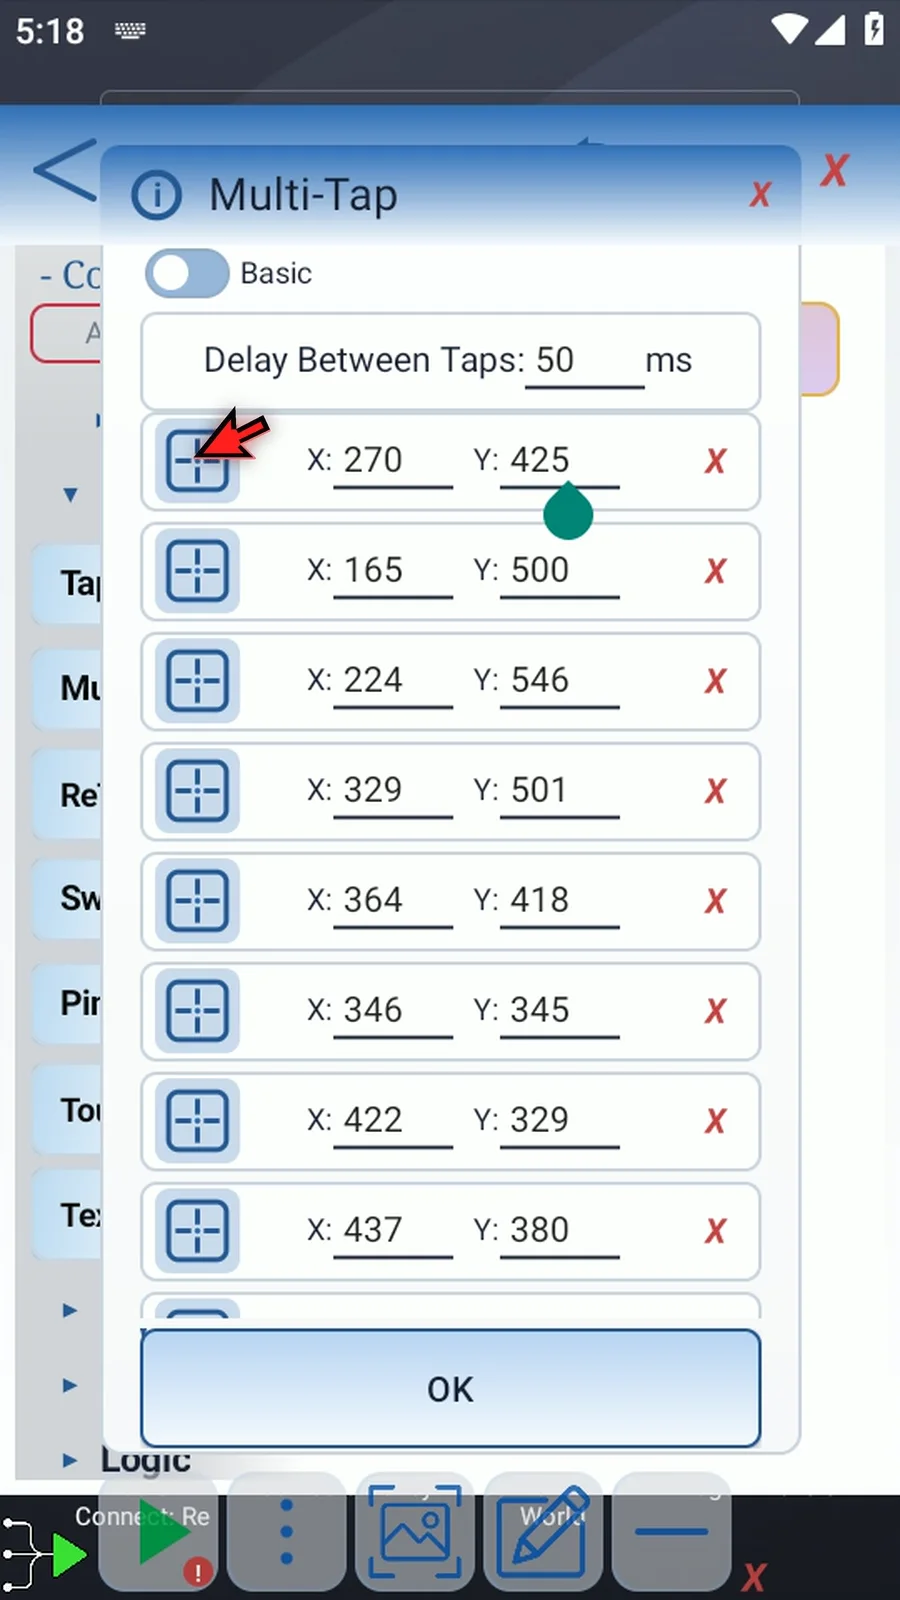
Step 19 To adjust a point visually, tap its blue selector icon.
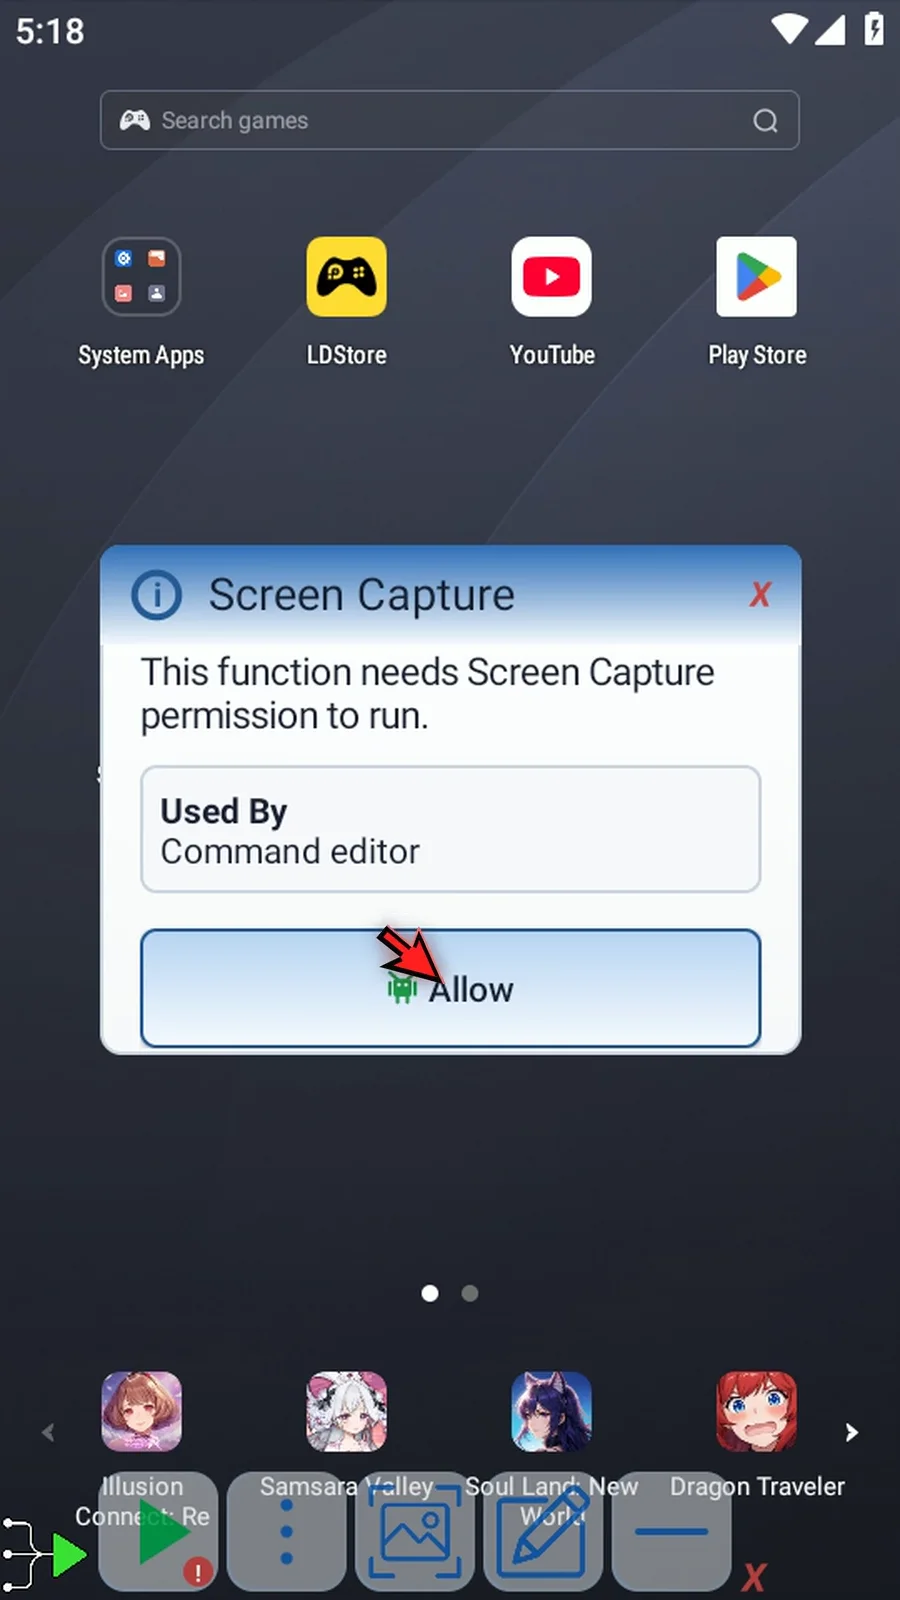
Step 20 If Android asks, allow screen capture.
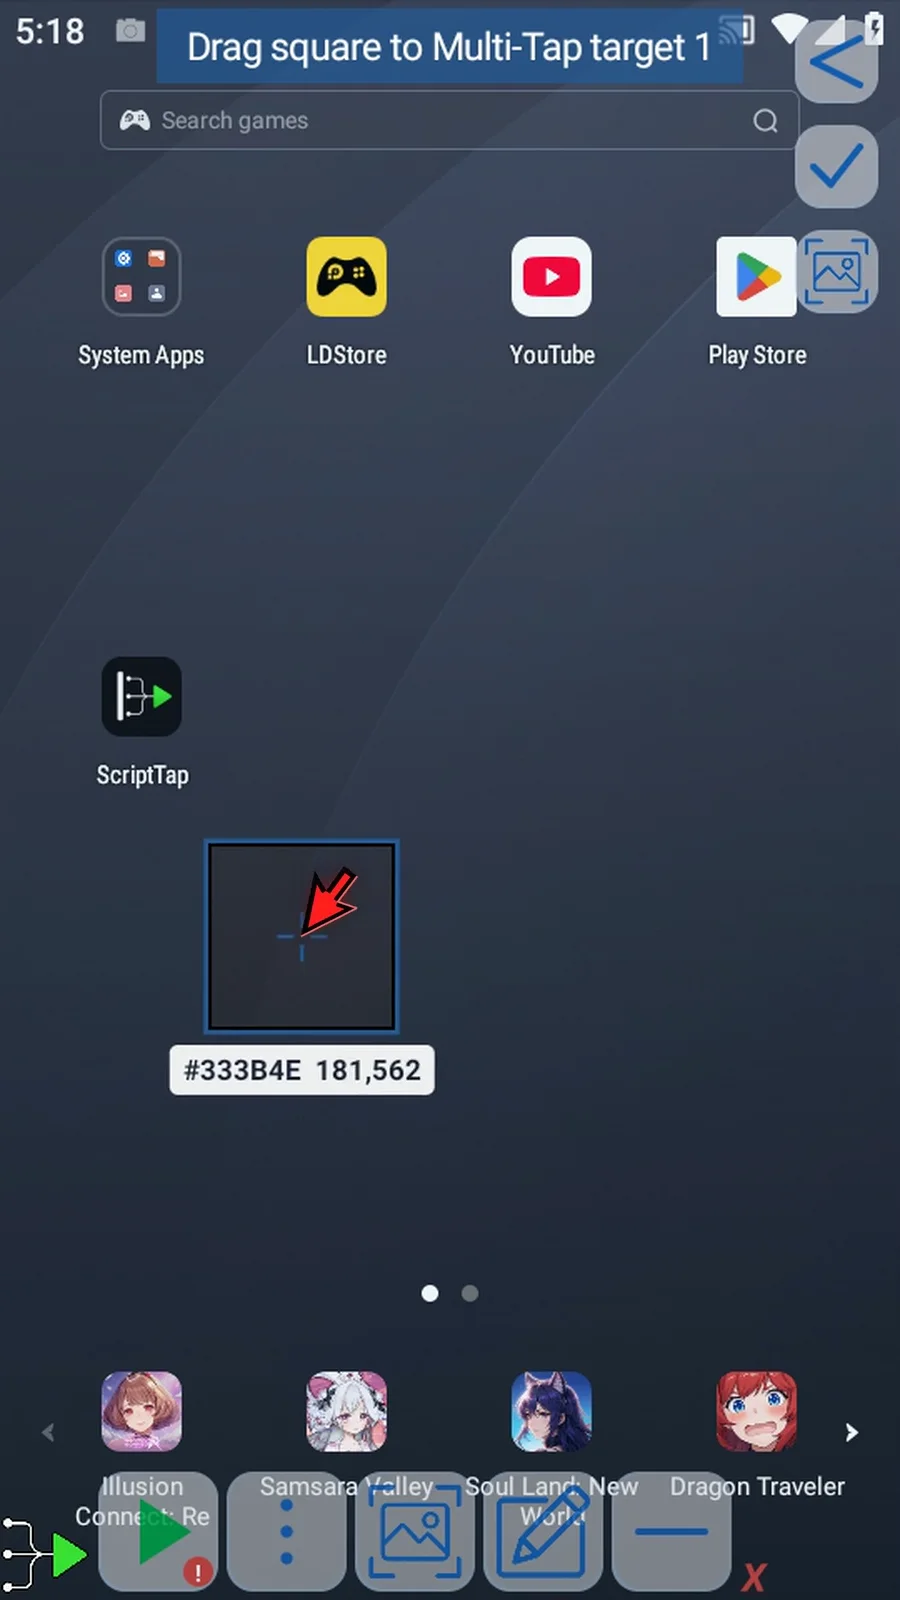
Step 21 Drag the target square to the new location. Its coordinates and pixel color update beside it.
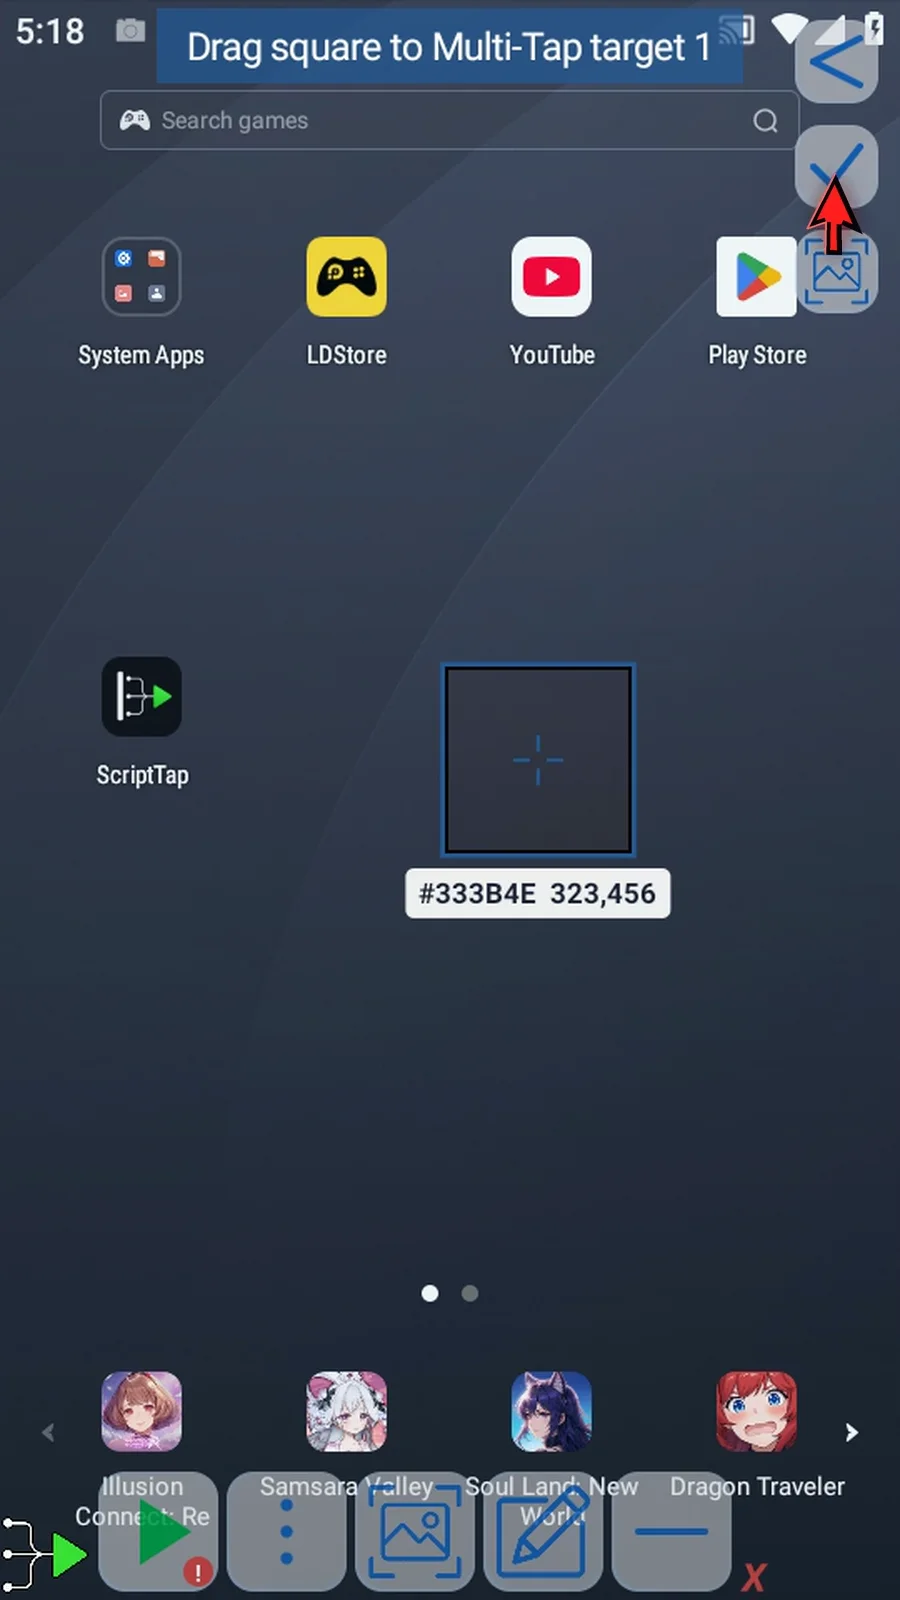
Step 22 Tap the checkmark to return with the updated point.
Step 23 Review your coordinates. The red X on a row removes that tap location.
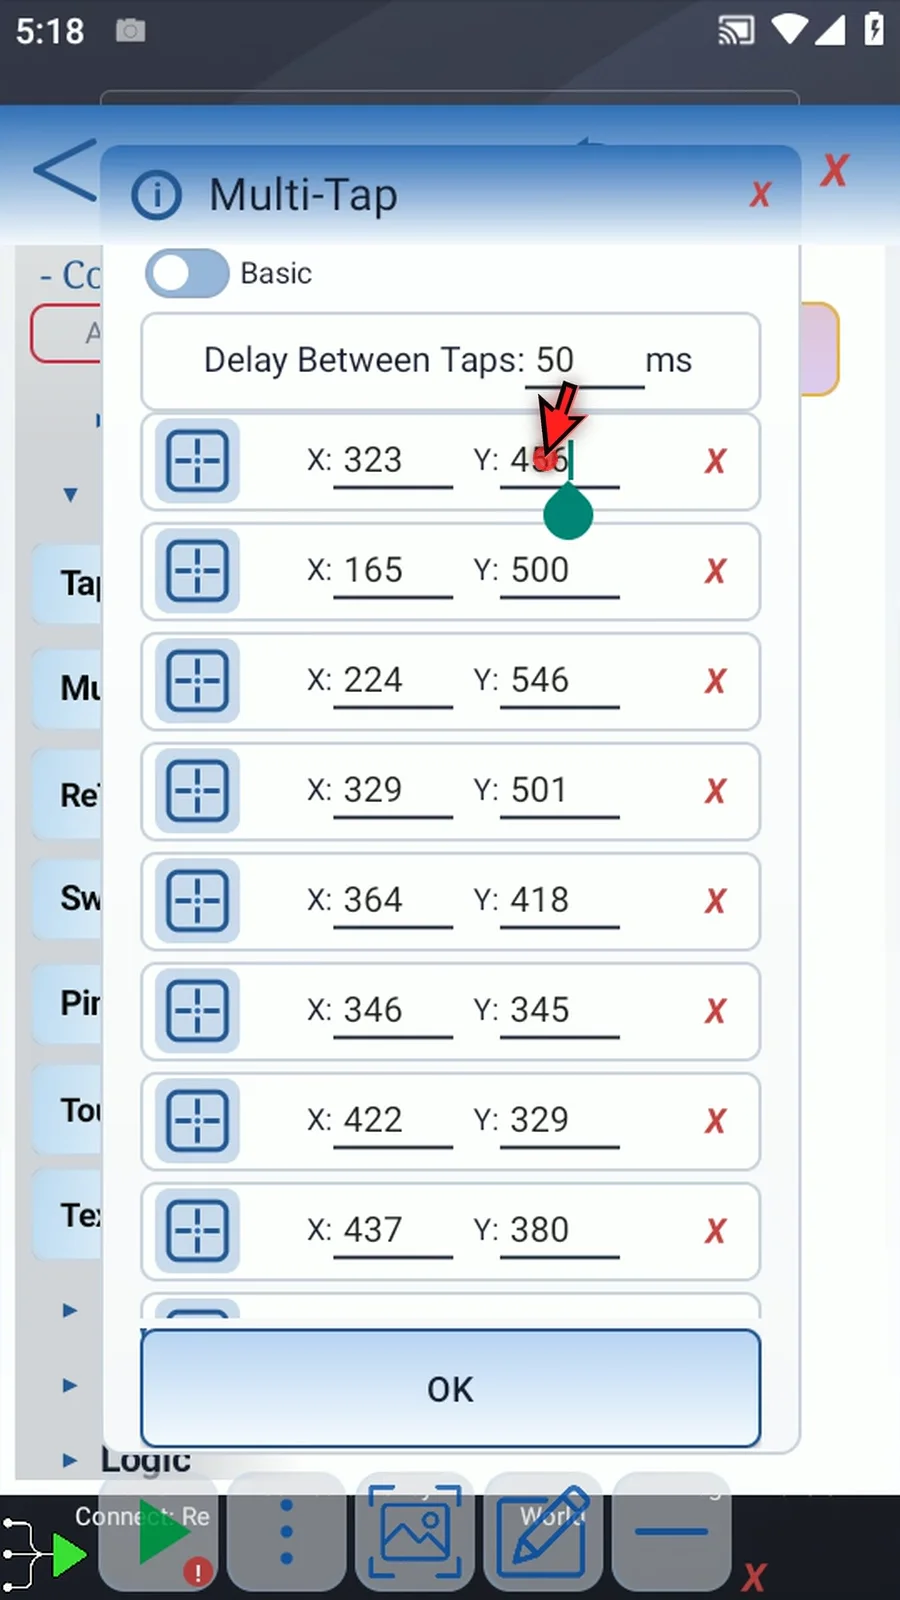
Step 24 Scroll to review the remaining locations.
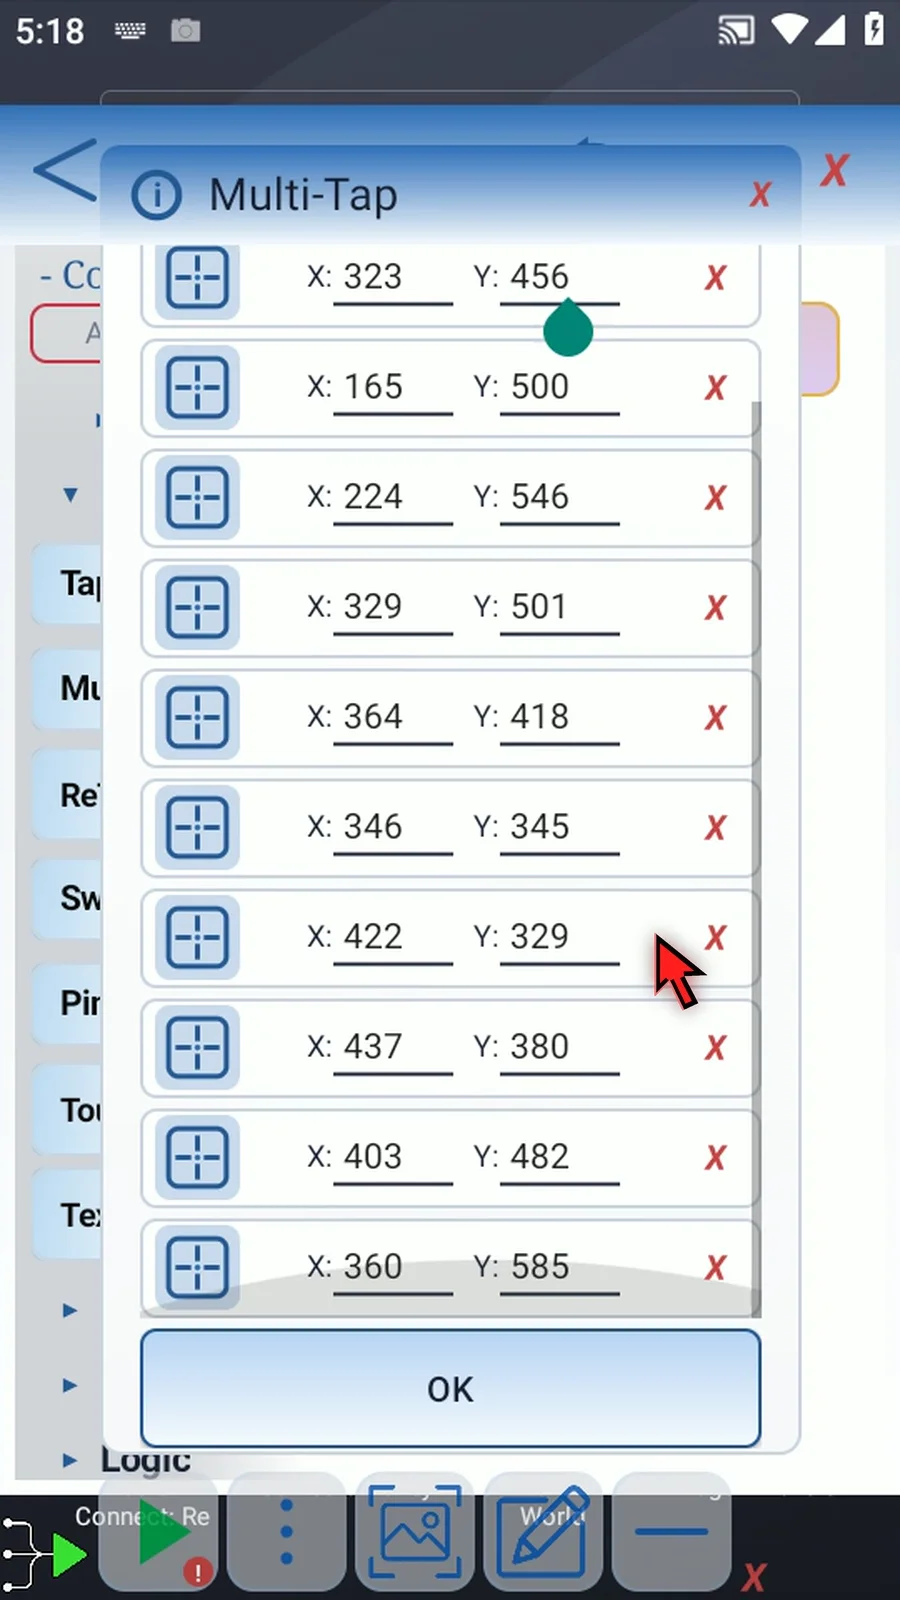
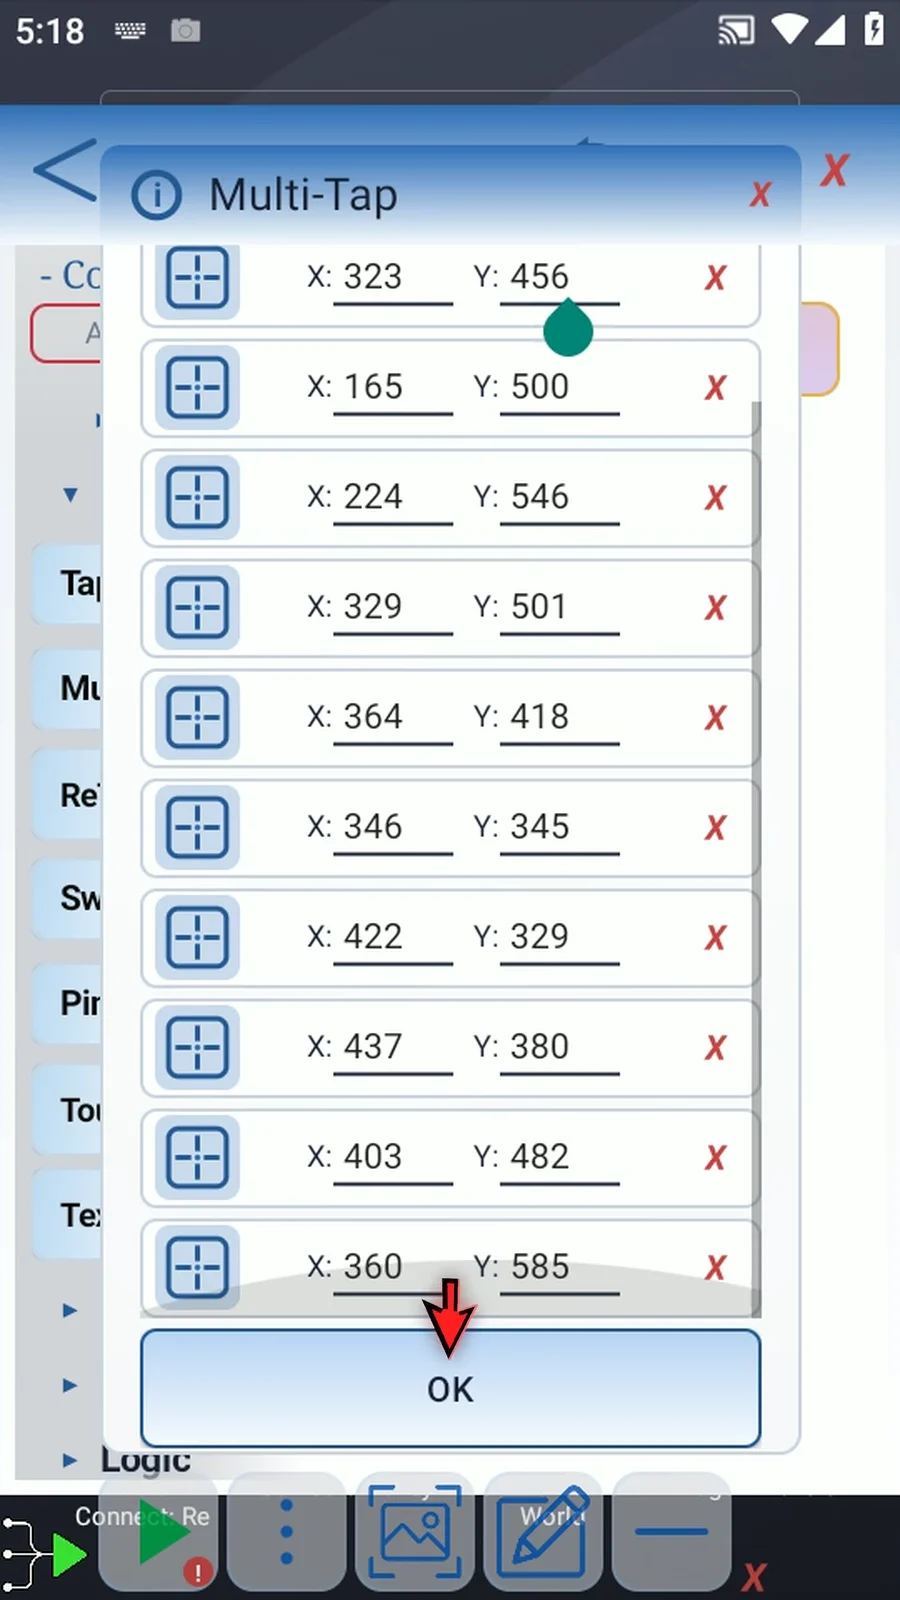
Step 25 Tap OK to save your changes.
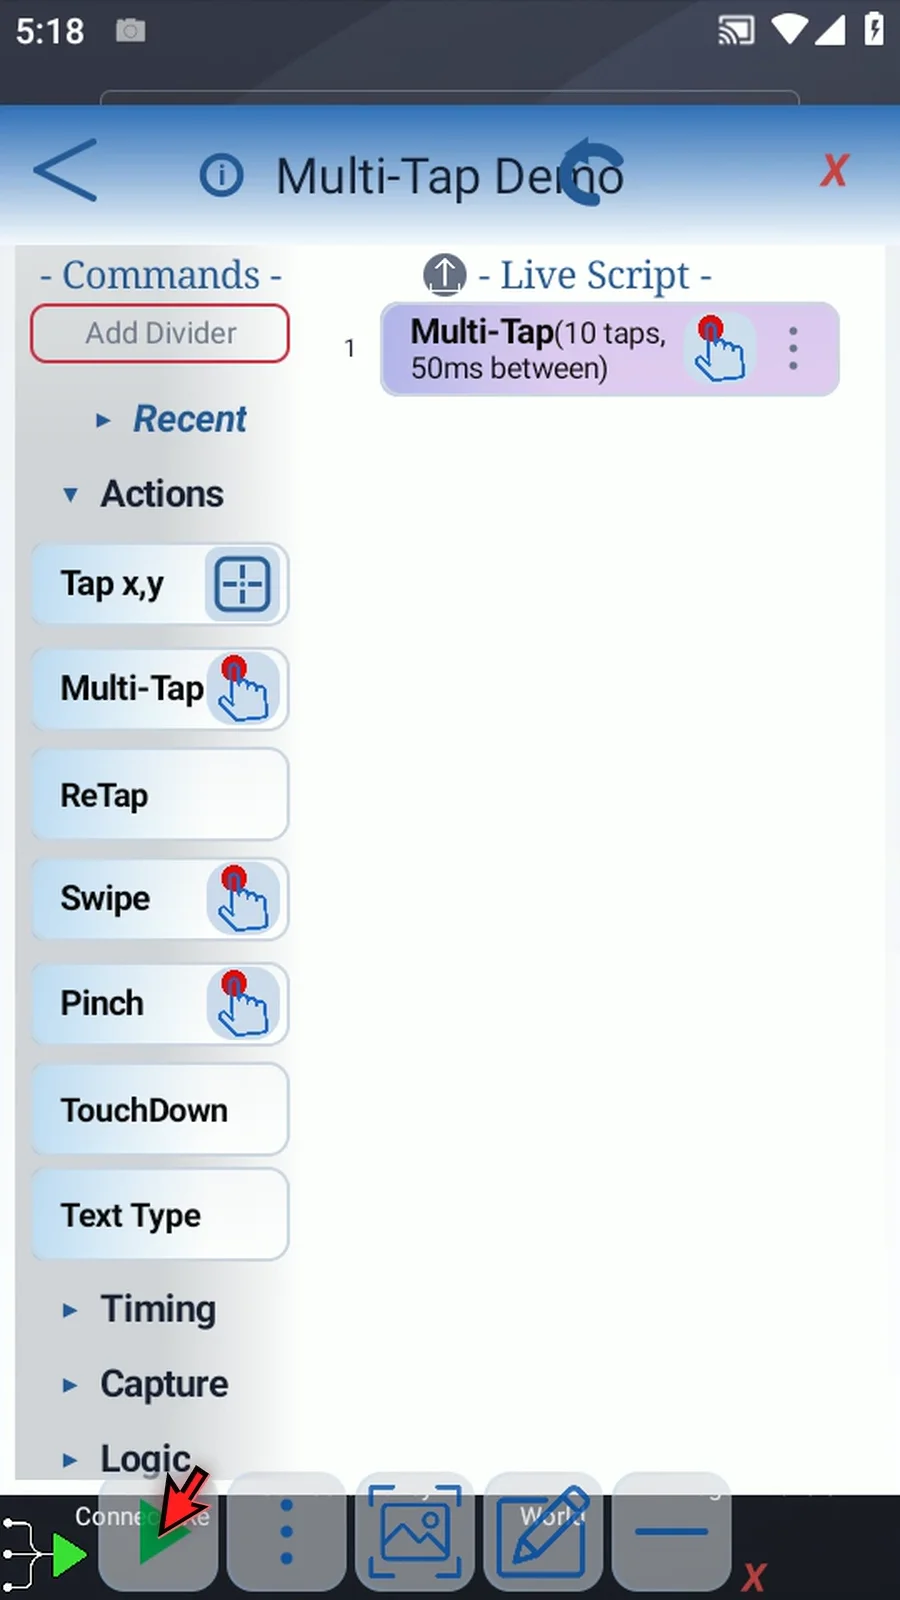
Step 26 When the script is complete, simply use the Play button in the main overlay. ScriptTap runs the saved taps with your chosen delay, then stops automatically.
Command video guide
Multi-Tap - Advanced
Use Integer arrays for tap coordinates or select a random tap area. Watch the walkthrough or follow each step below.
Watch the walkthrough
Step-by-step guide
Step 01 Continue with the Multi-Tap command from Basic. Double-tap its frame to open the options.
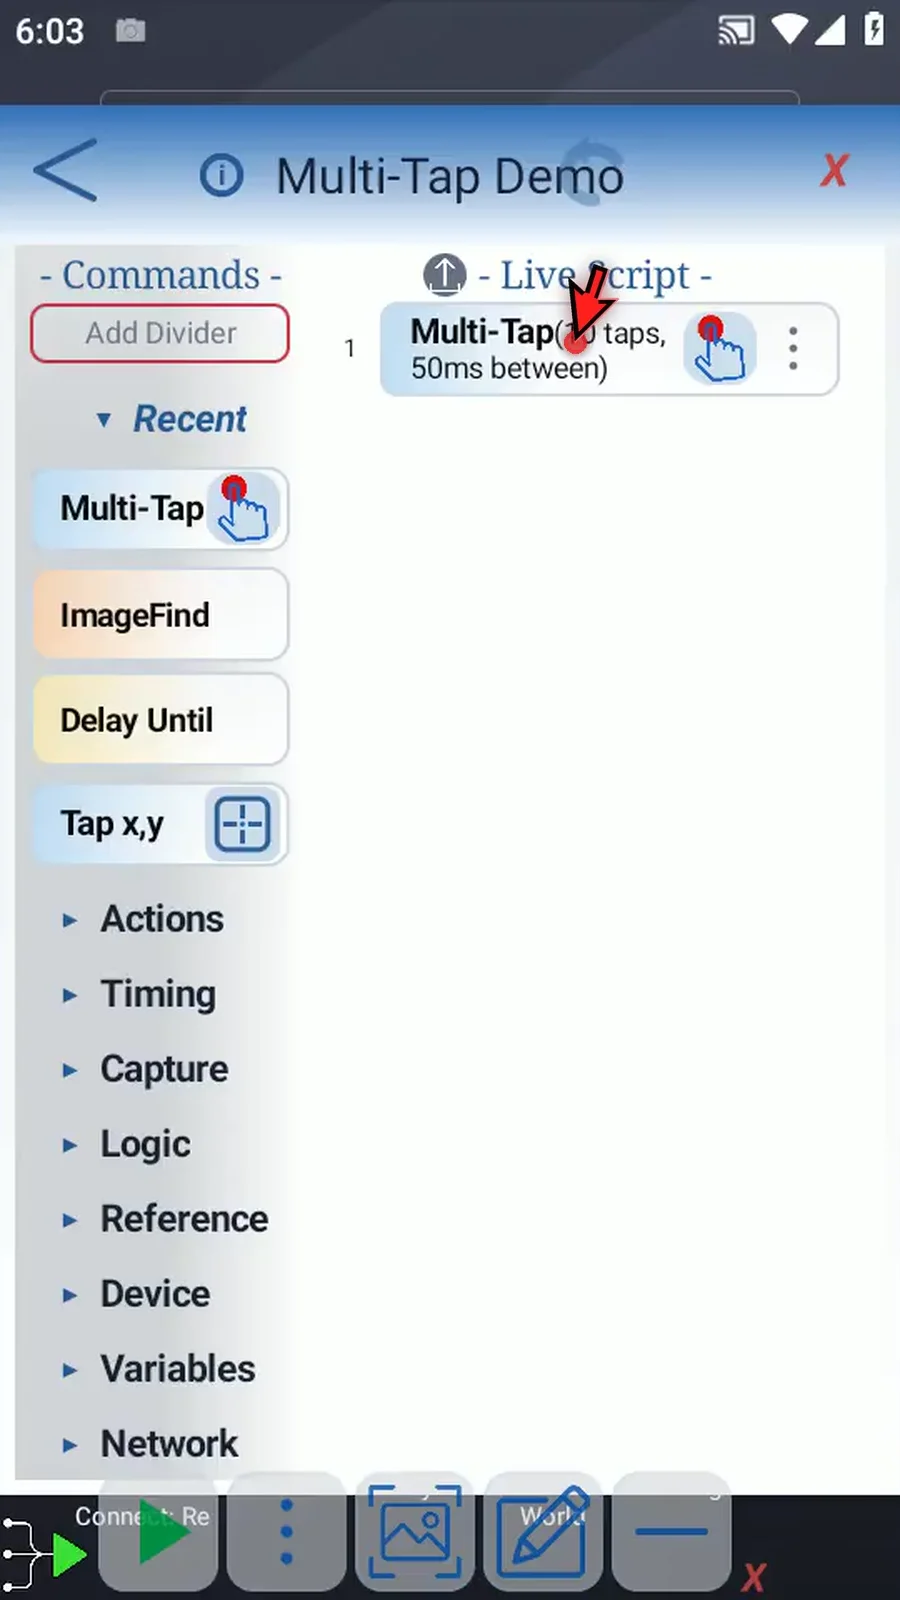
Step 02 Switch to Advanced to reveal Variable Array and Random in area.
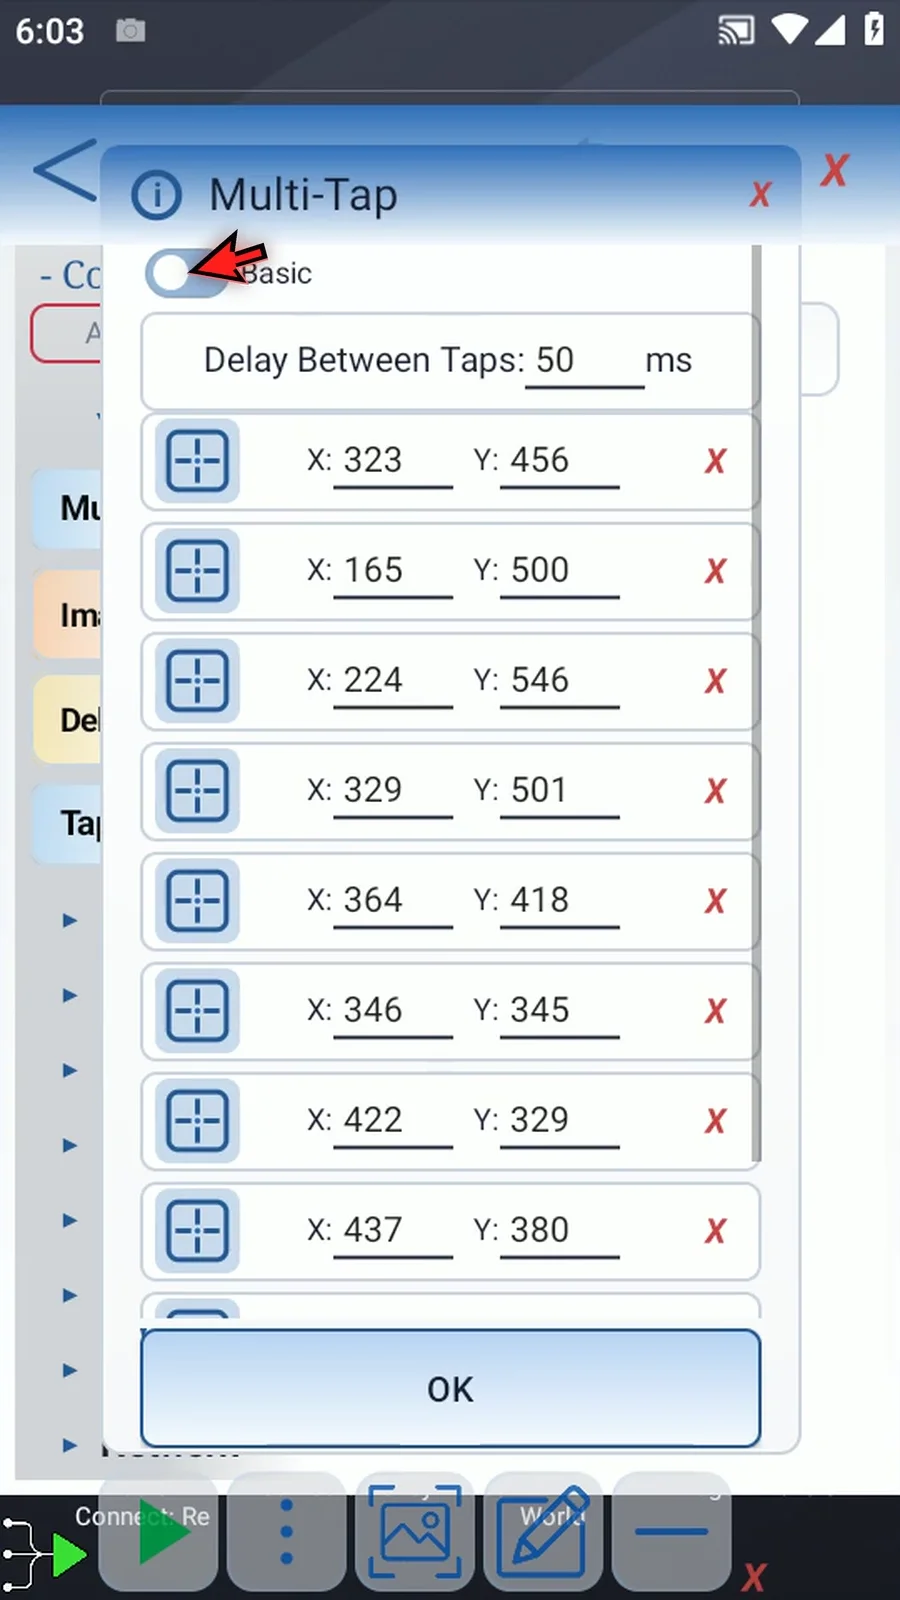
Step 03 Delay Between Taps still controls the pause after each tap, in milliseconds. Keep the value you set in Basic, or enter another delay.
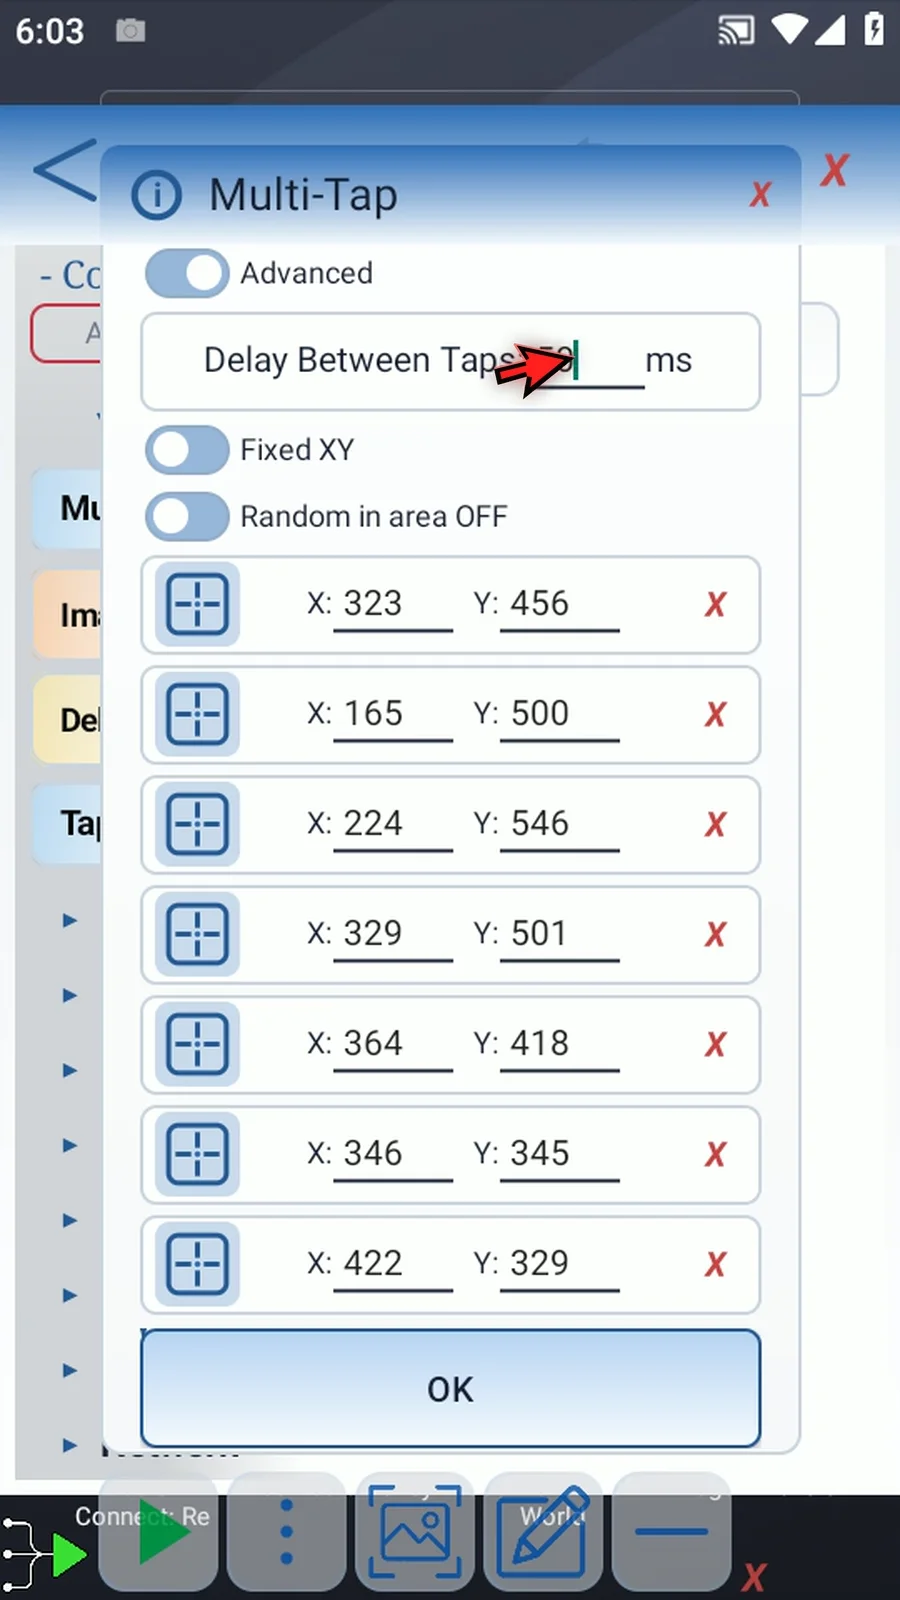
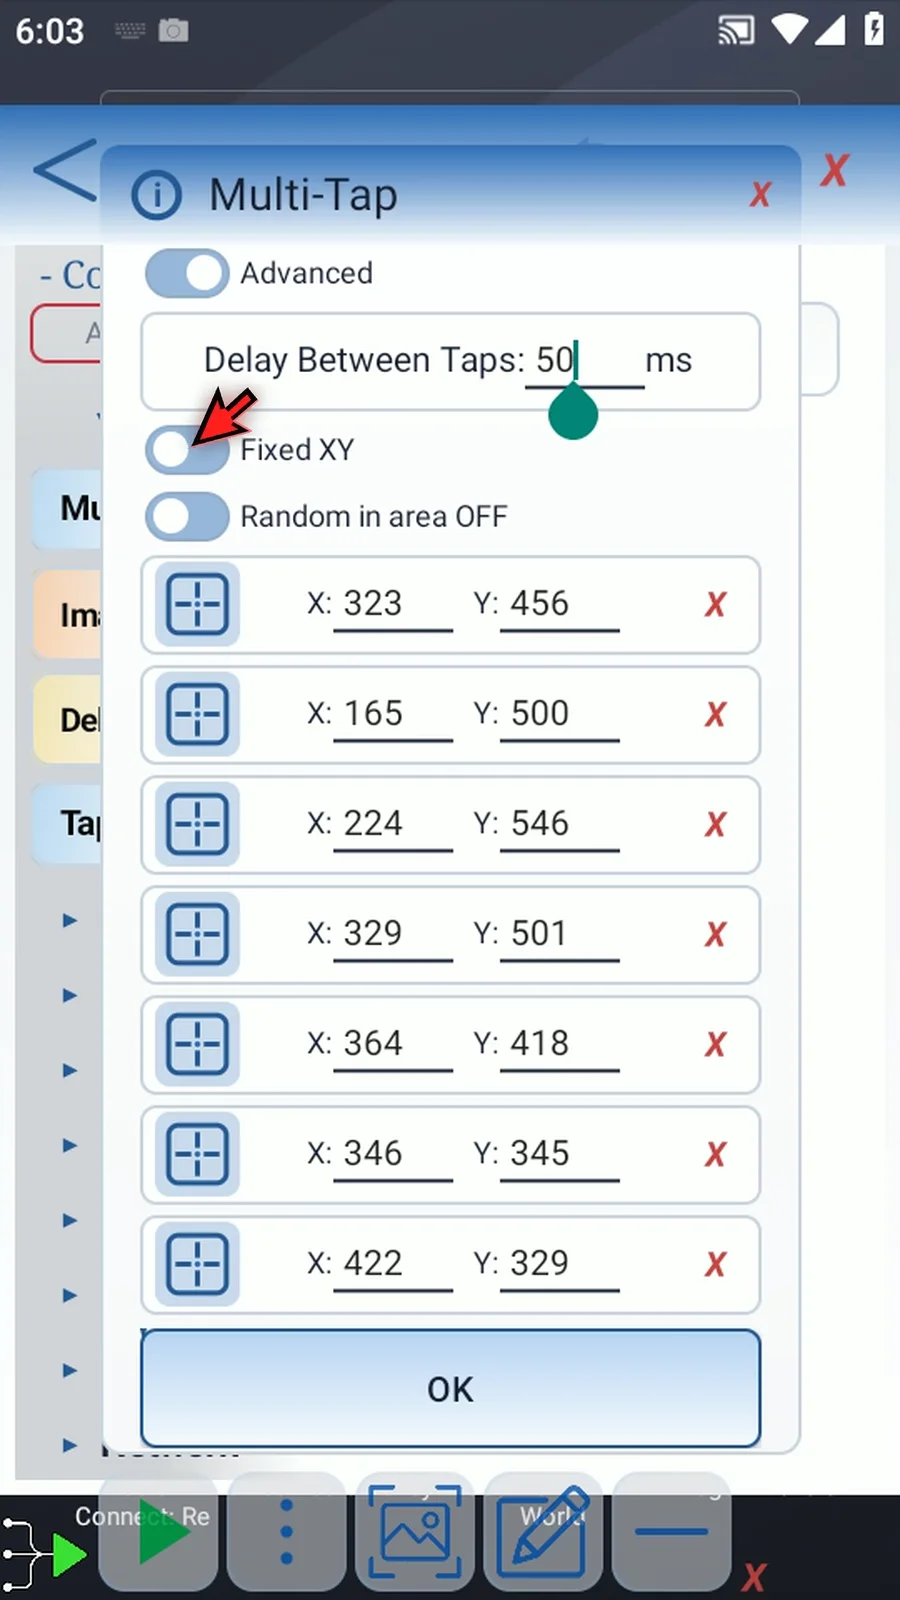
Step 04 Fixed X Y uses the saved point rows. Switch to Variable Array to use coordinates supplied by your script.
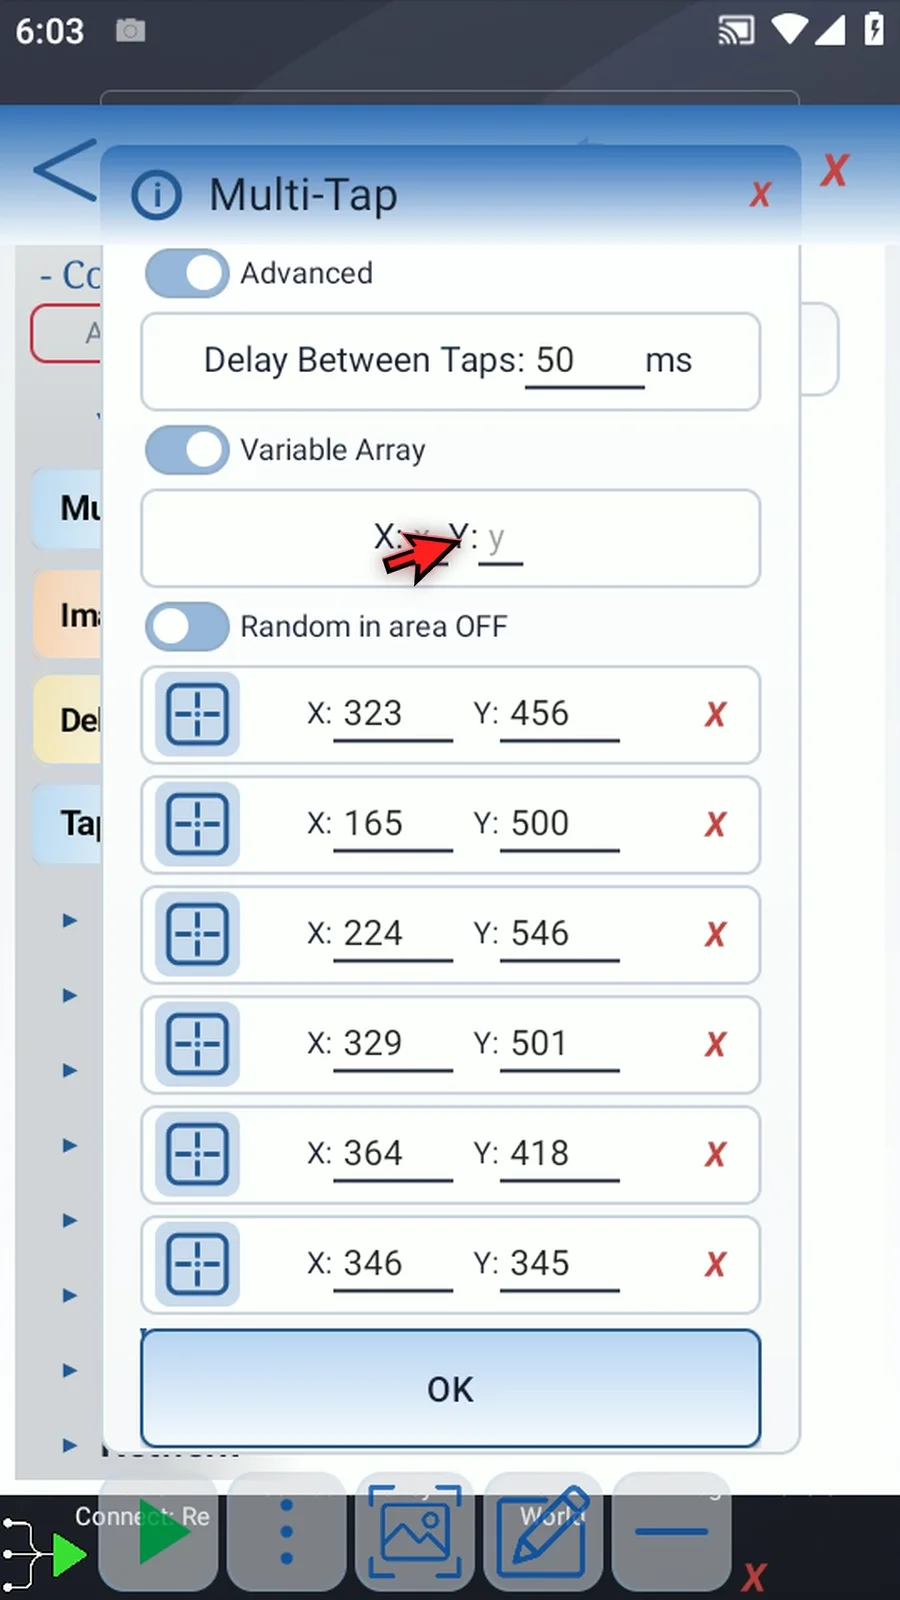
Step 05 Enter the names of your X and Y Integer arrays. Define them earlier in the script. Entries with the same index form each tap location, and the points run in order.
Step 06 For random locations, turn on Random in area. This switches off Variable Array; the two modes are alternatives.
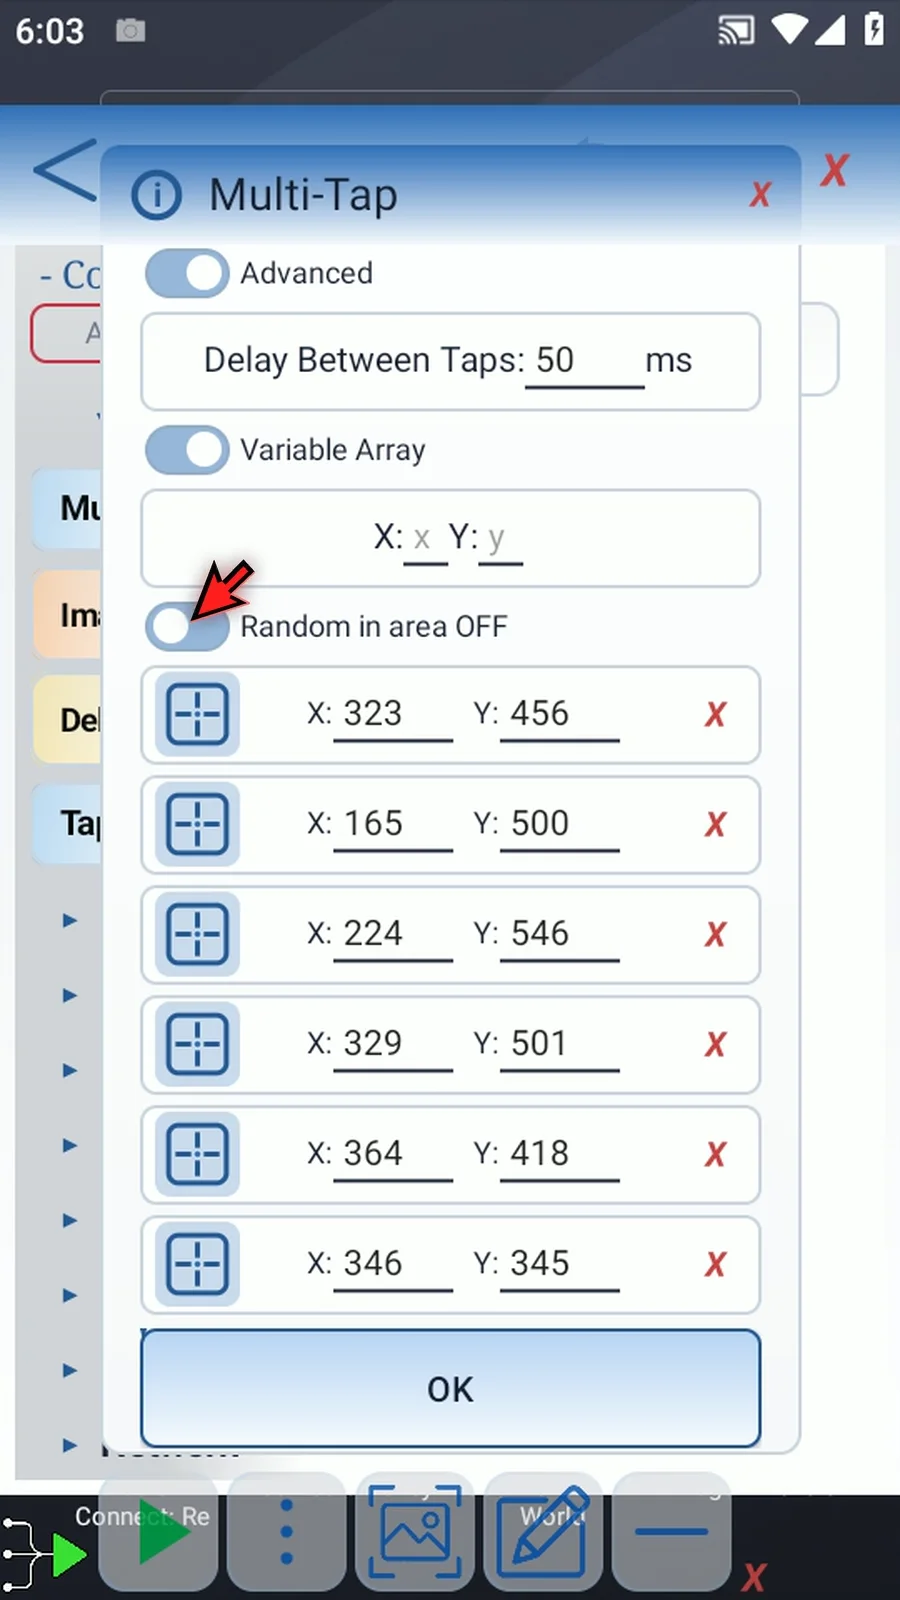
Step 07 In area mode, the point rows set the number of random taps. These ten rows produce ten taps inside the selected region, using the delay above.
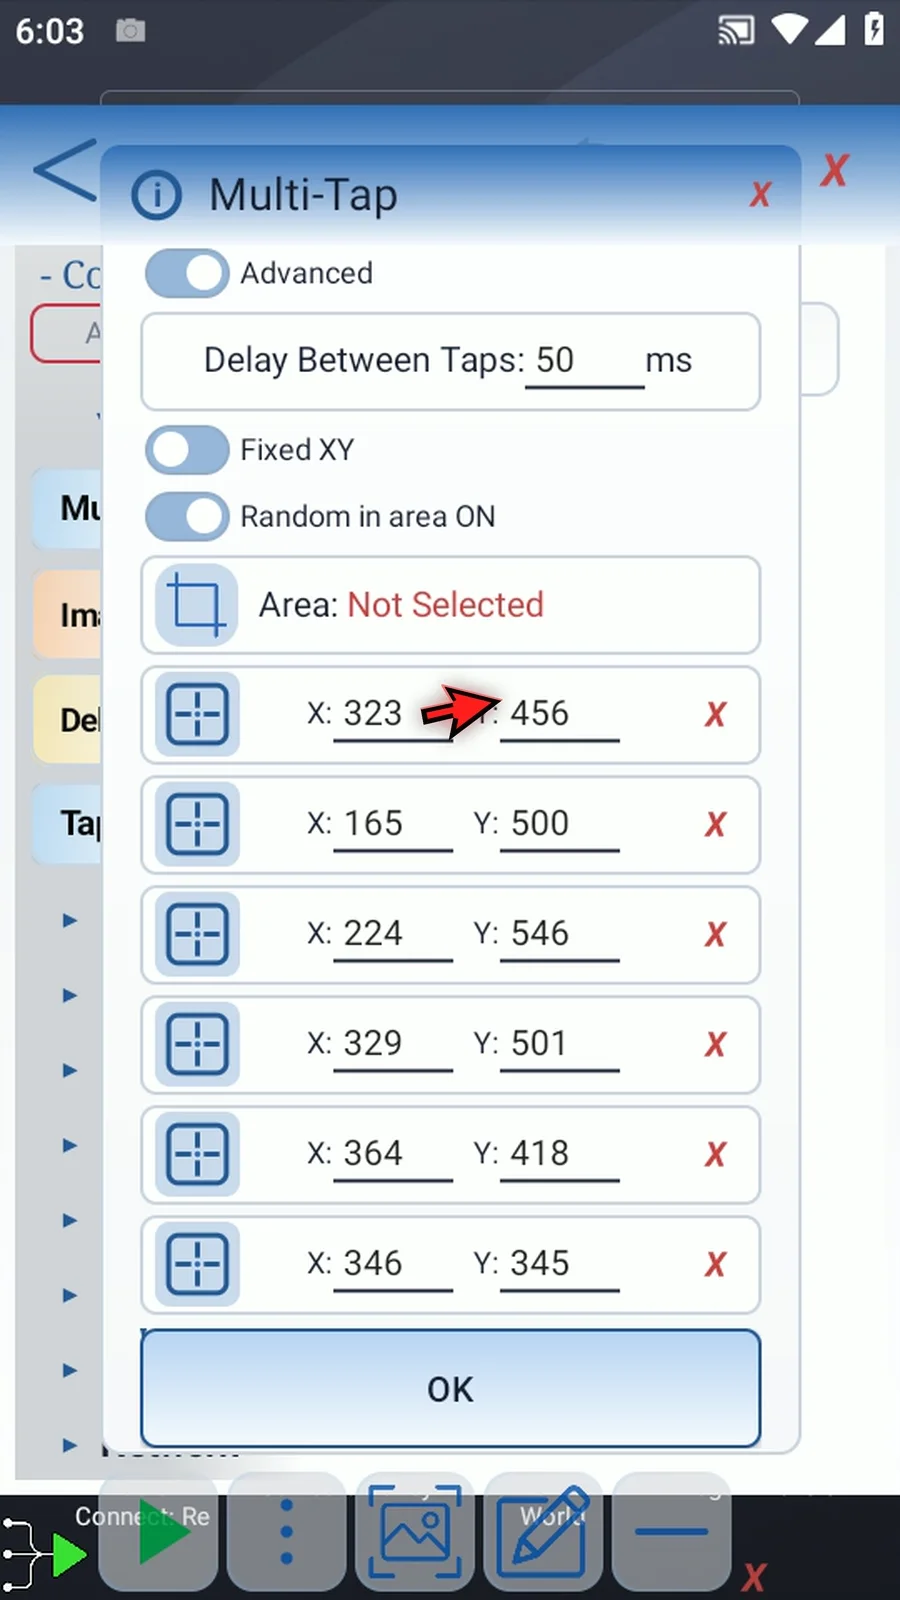
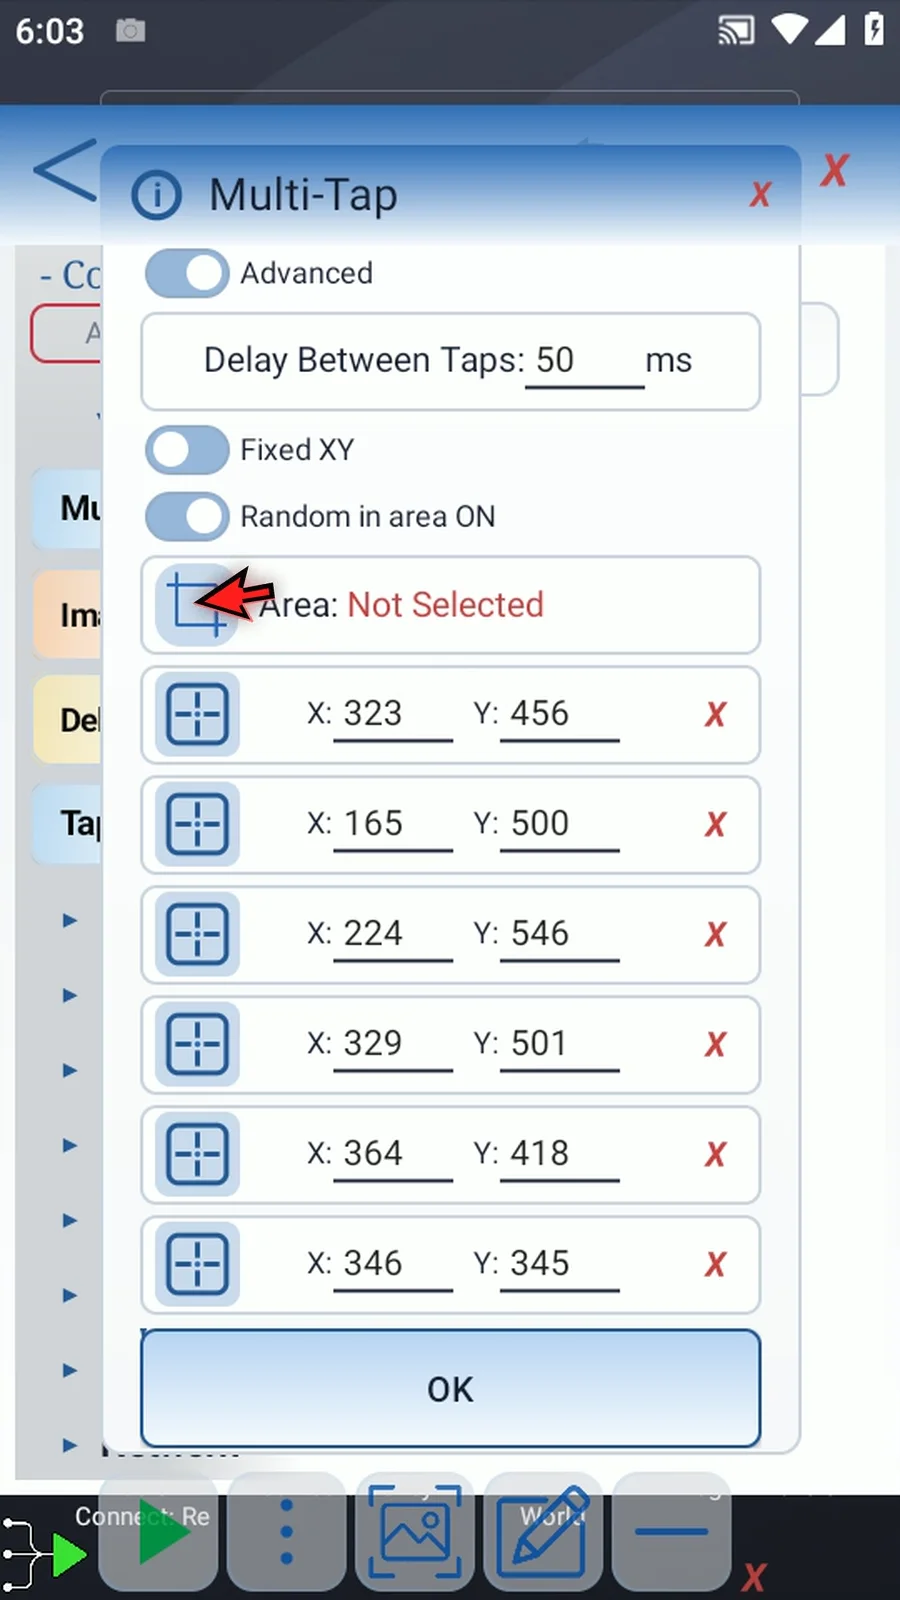
Step 08 Tap the blue area icon to choose the region. If Android asks, allow screen capture.
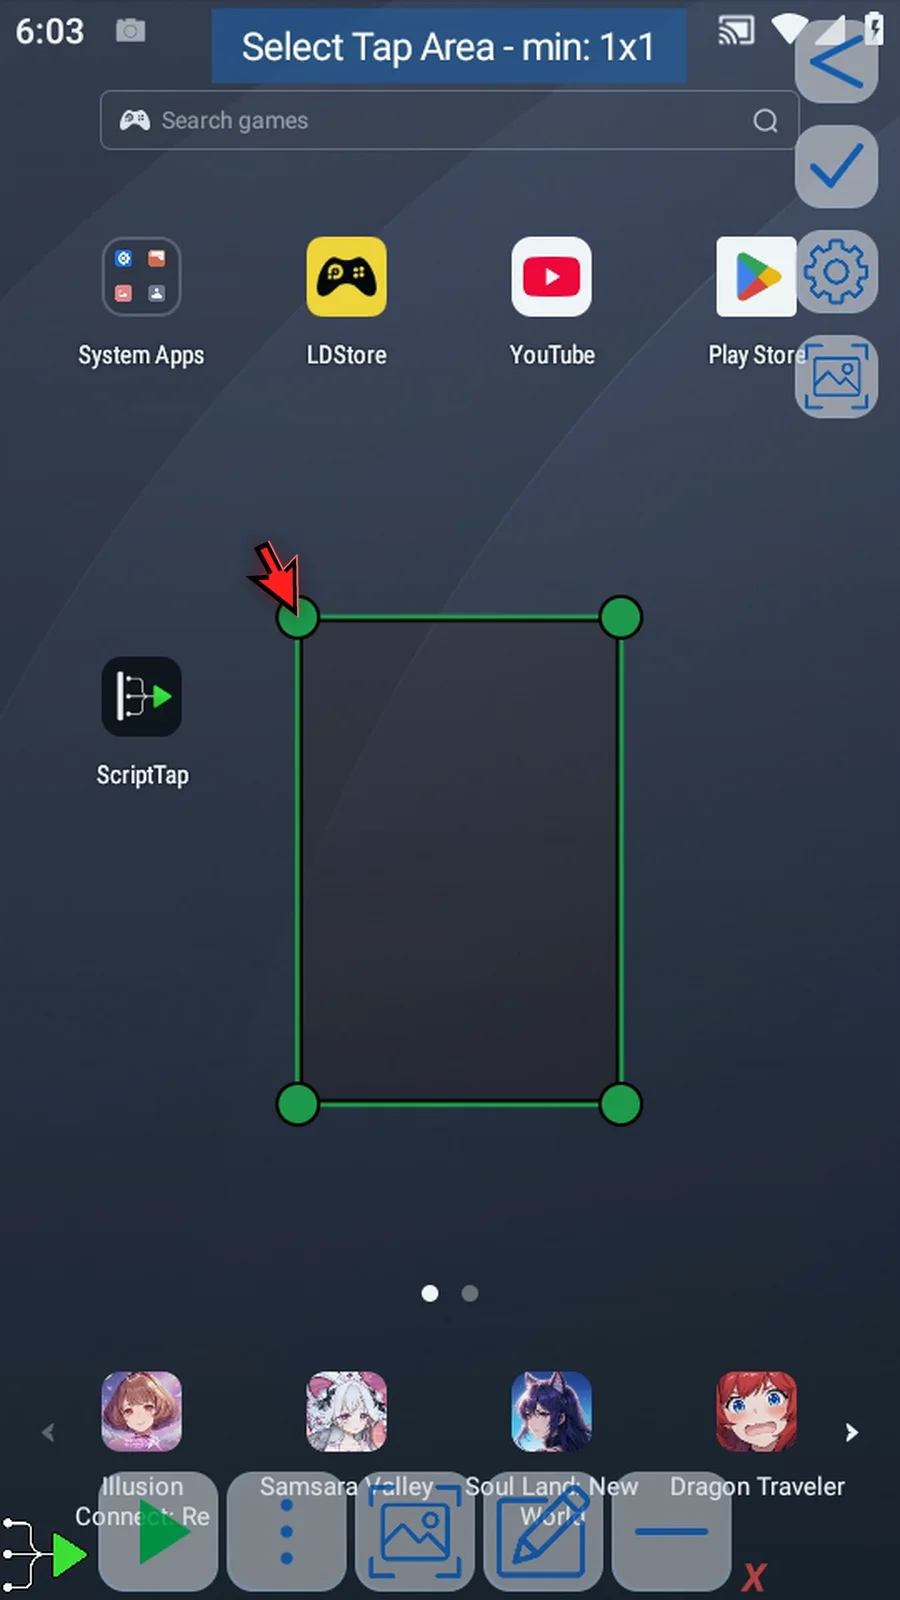
Step 09 The green box marks the tap area. Drag a corner to resize it.
Step 10 Drag inside the box to move the whole selection.
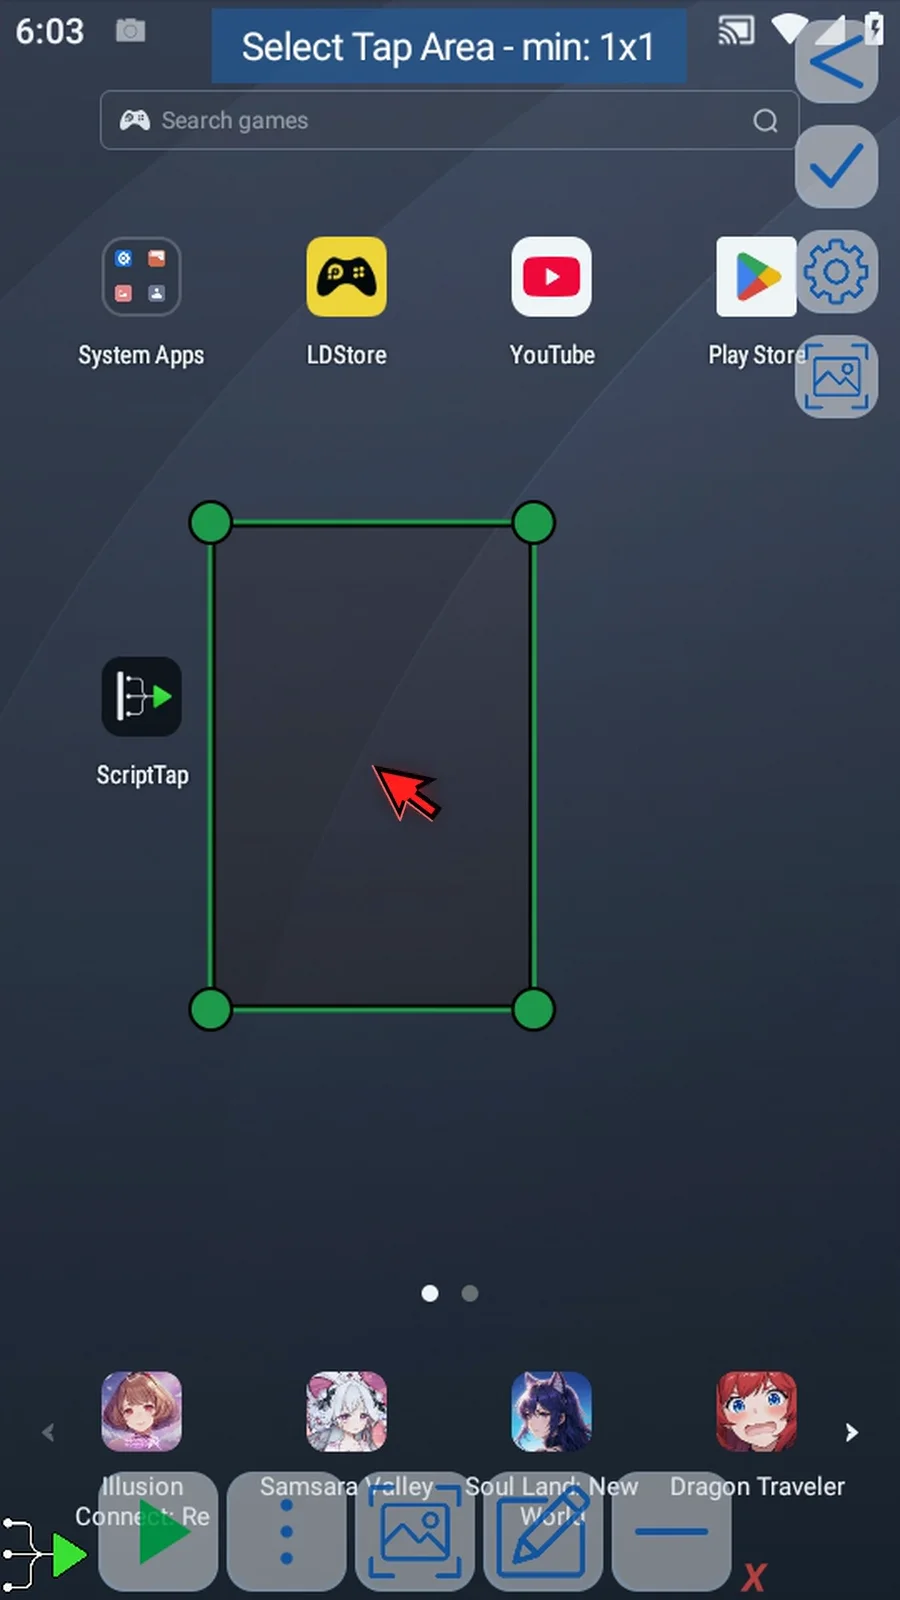
Step 11 The cog offers Area Mode and Line Mode. The screenshot icon lets you select against a saved screenshot instead of the current screen.
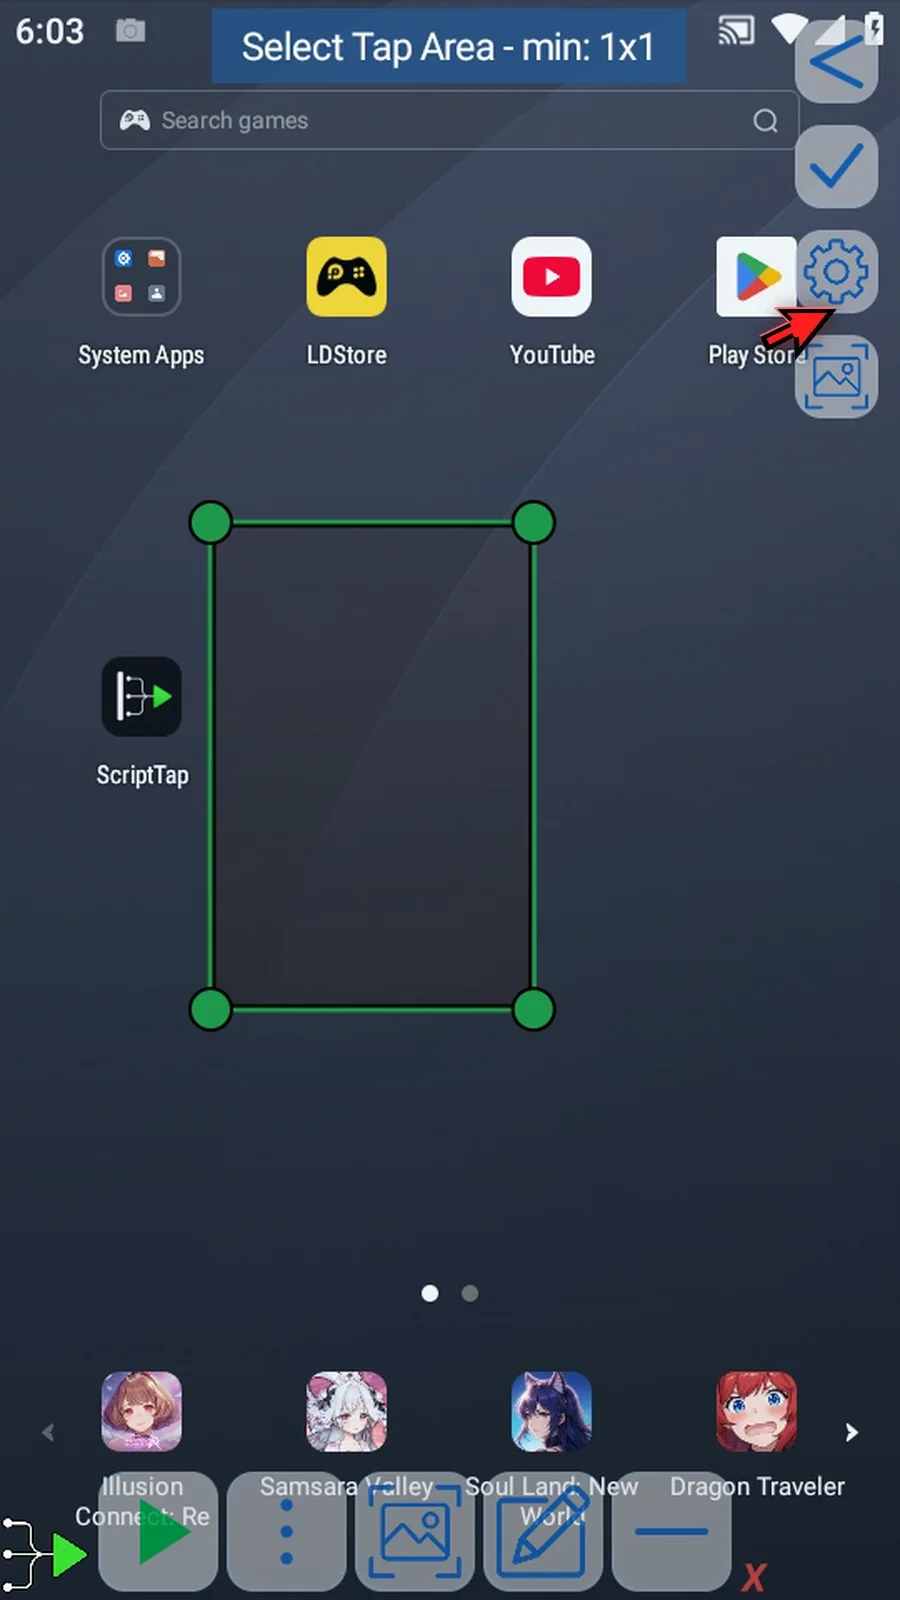
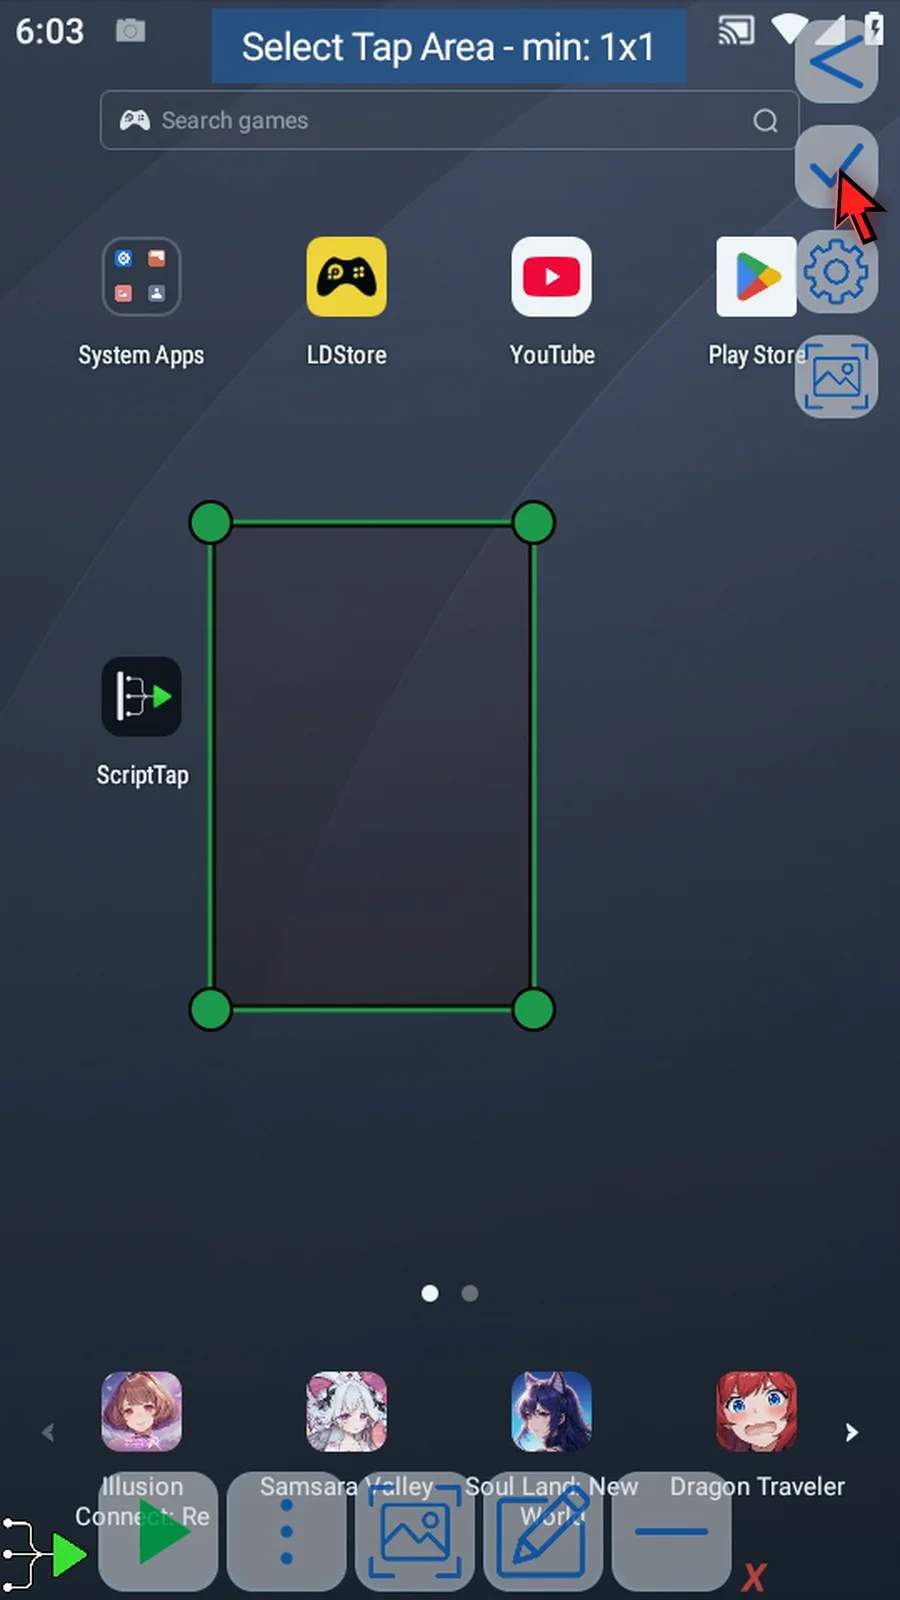
Step 12 Tap the checkmark to return with your selection. Then review the area shown in the command.
Step 13 The area frame also supports manually entered corner coordinates, including Integer variables for boundaries that change with your script.
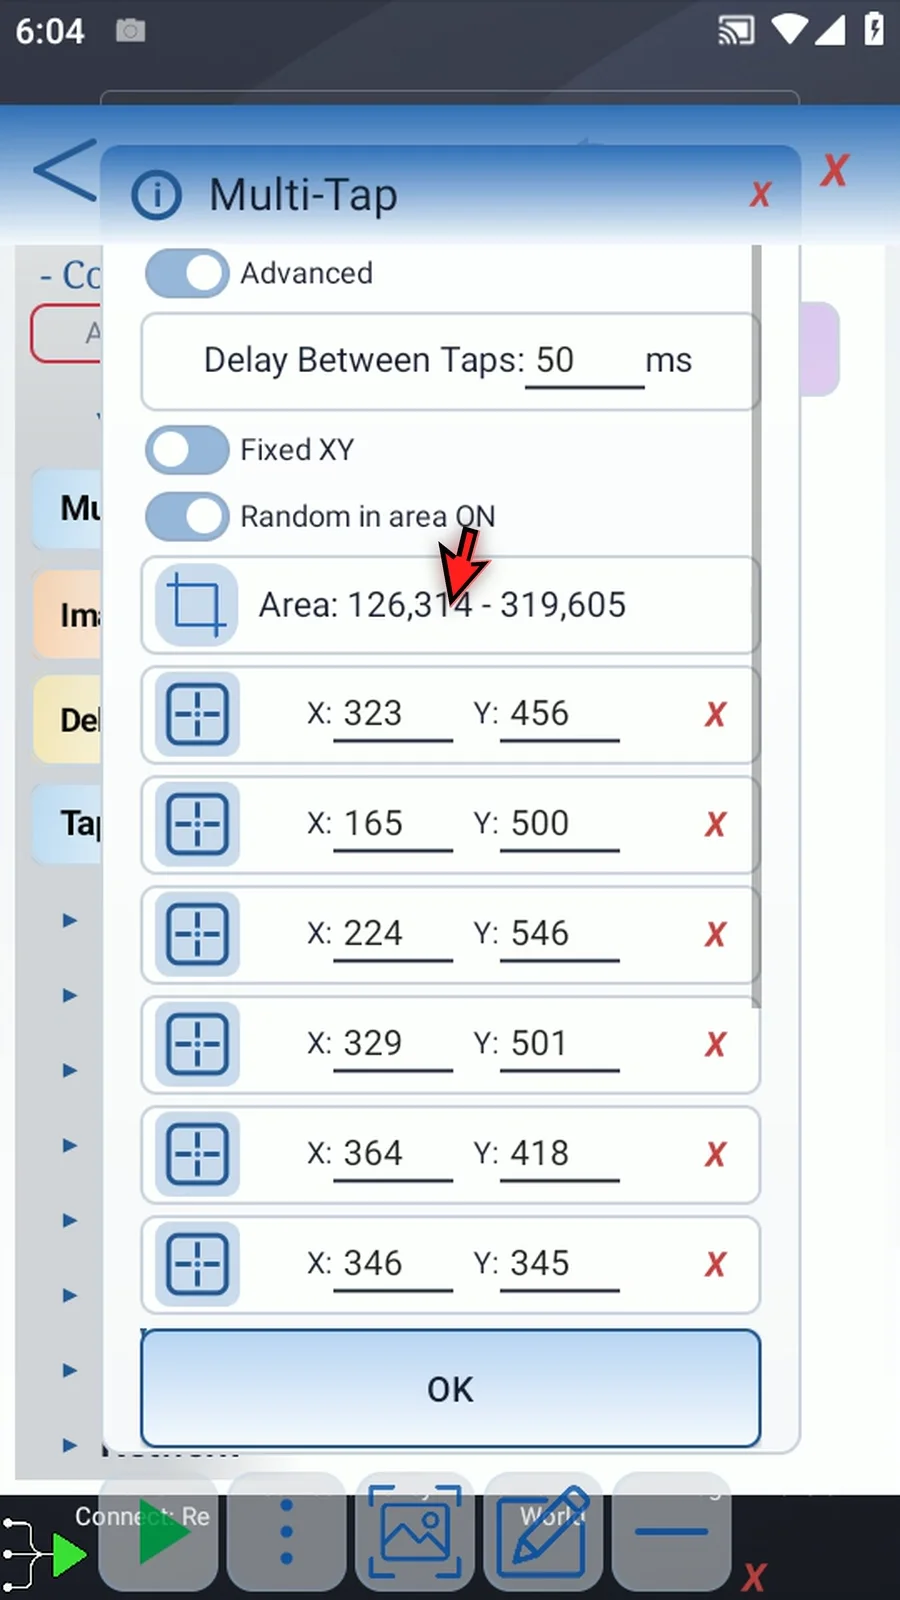
Step 14 Your point rows remain available. In area mode, removing a row reduces the number of random taps. With Random in area off, Fixed X Y uses the row coordinates.
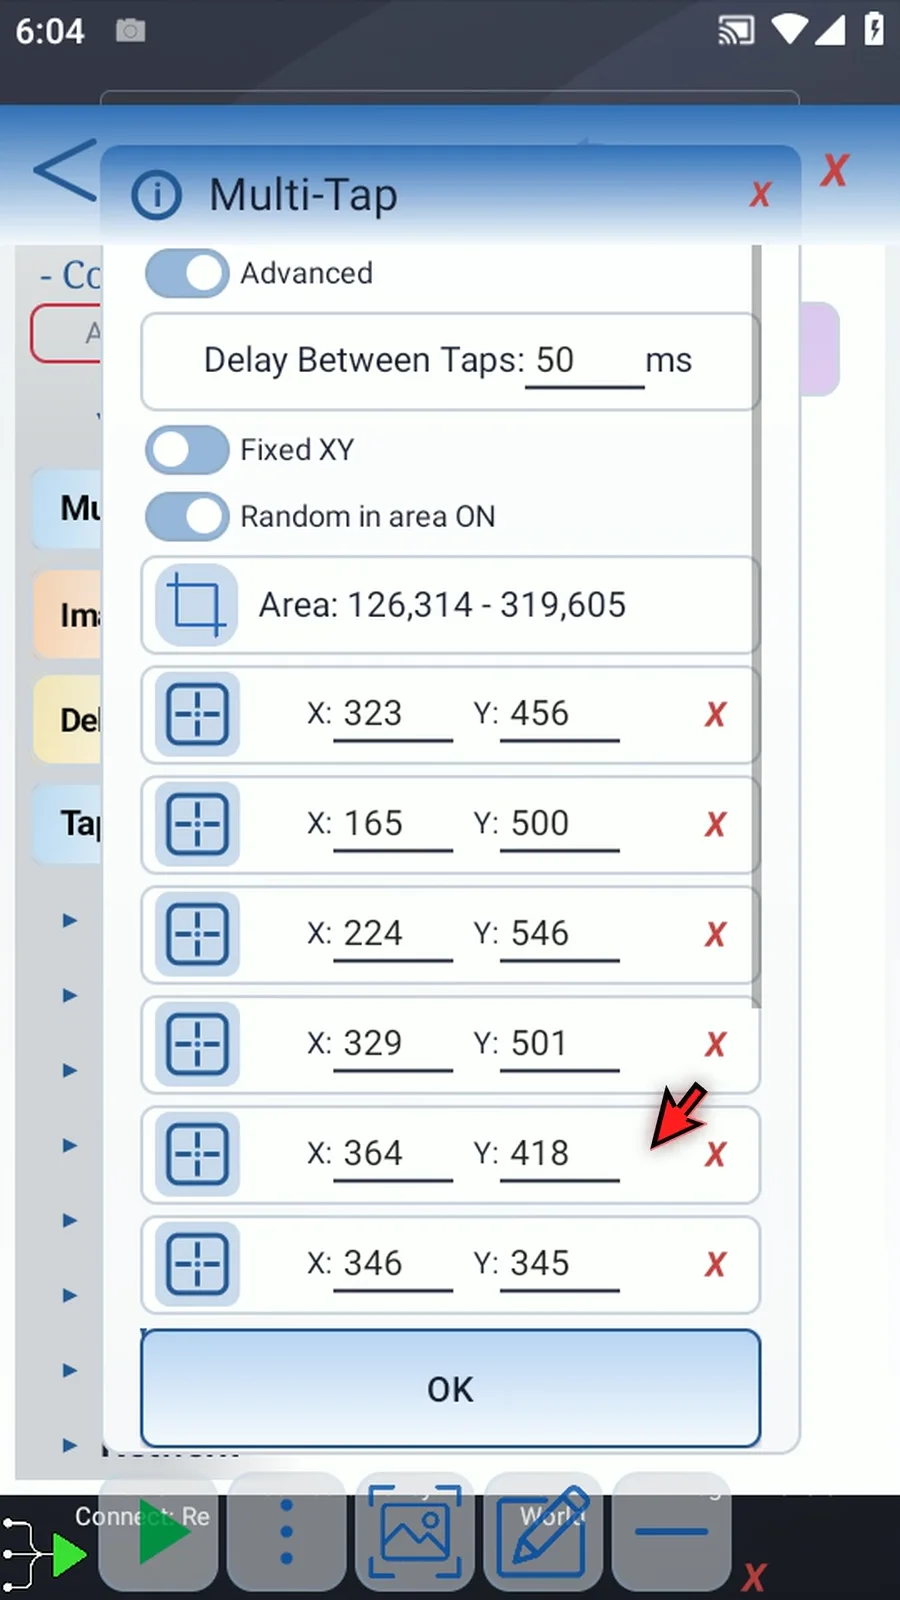
Step 15 Switching back to Basic clears the advanced array and area settings, but keeps your point rows. Stay in Advanced to keep the area.
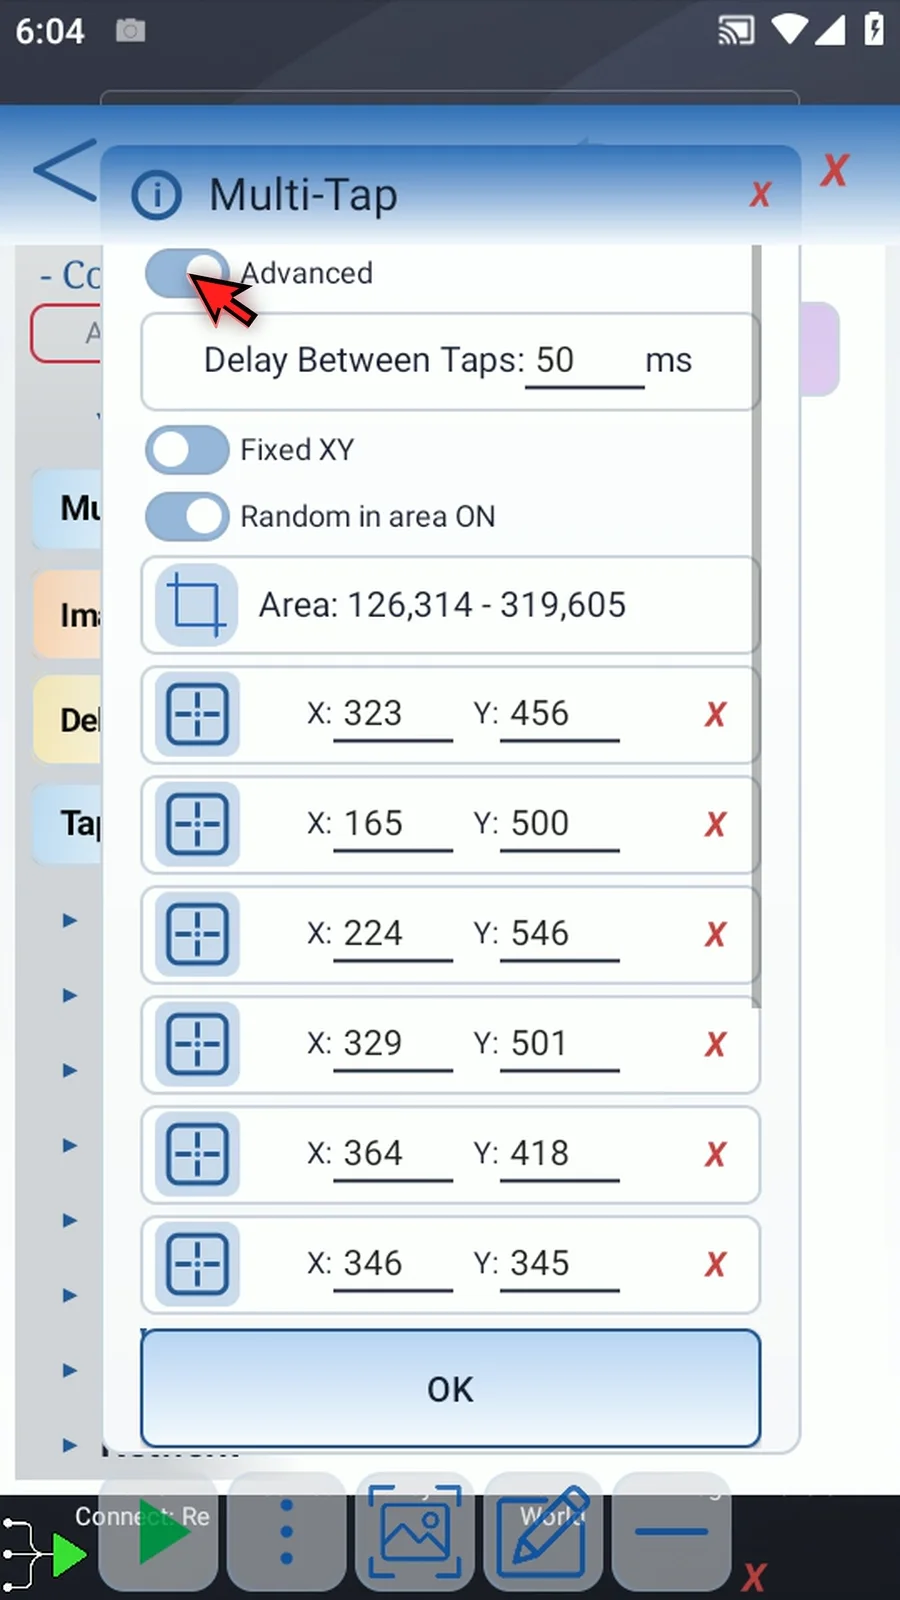
Step 16 Tap OK in the command footer to save your changes.