Command video guide
Screenshot
Screenshot saves a PNG of the visible screen when a script reaches this command. Use the captures with Run Logs to diagnose coordinates or image-matching setup. The command does not hide ScriptTap overlays.
Create and name a new blank script, select it, open the editor and expand Debug. Manually drag Screenshot into the script. Open the row, keep Full-Screen and save.
Manually drag a second Screenshot after the first. Open it and enable Specify Area. Tap the area icon to use the visual selector. If Android asks, allow screen capture. Drag the green handles around a clear rectangle and save with the check mark. The example selects part of the ScriptTap launcher icon.
Tap the Area text to inspect or enter exact display-pixel bounds. Each coordinate accepts one Integer literal or one prior Integer variable. This example uses literal bounds 71,399–115,442. Switching to Full-Screen hides the area settings; switching back retains the same rectangle. Save with Specify Area enabled.
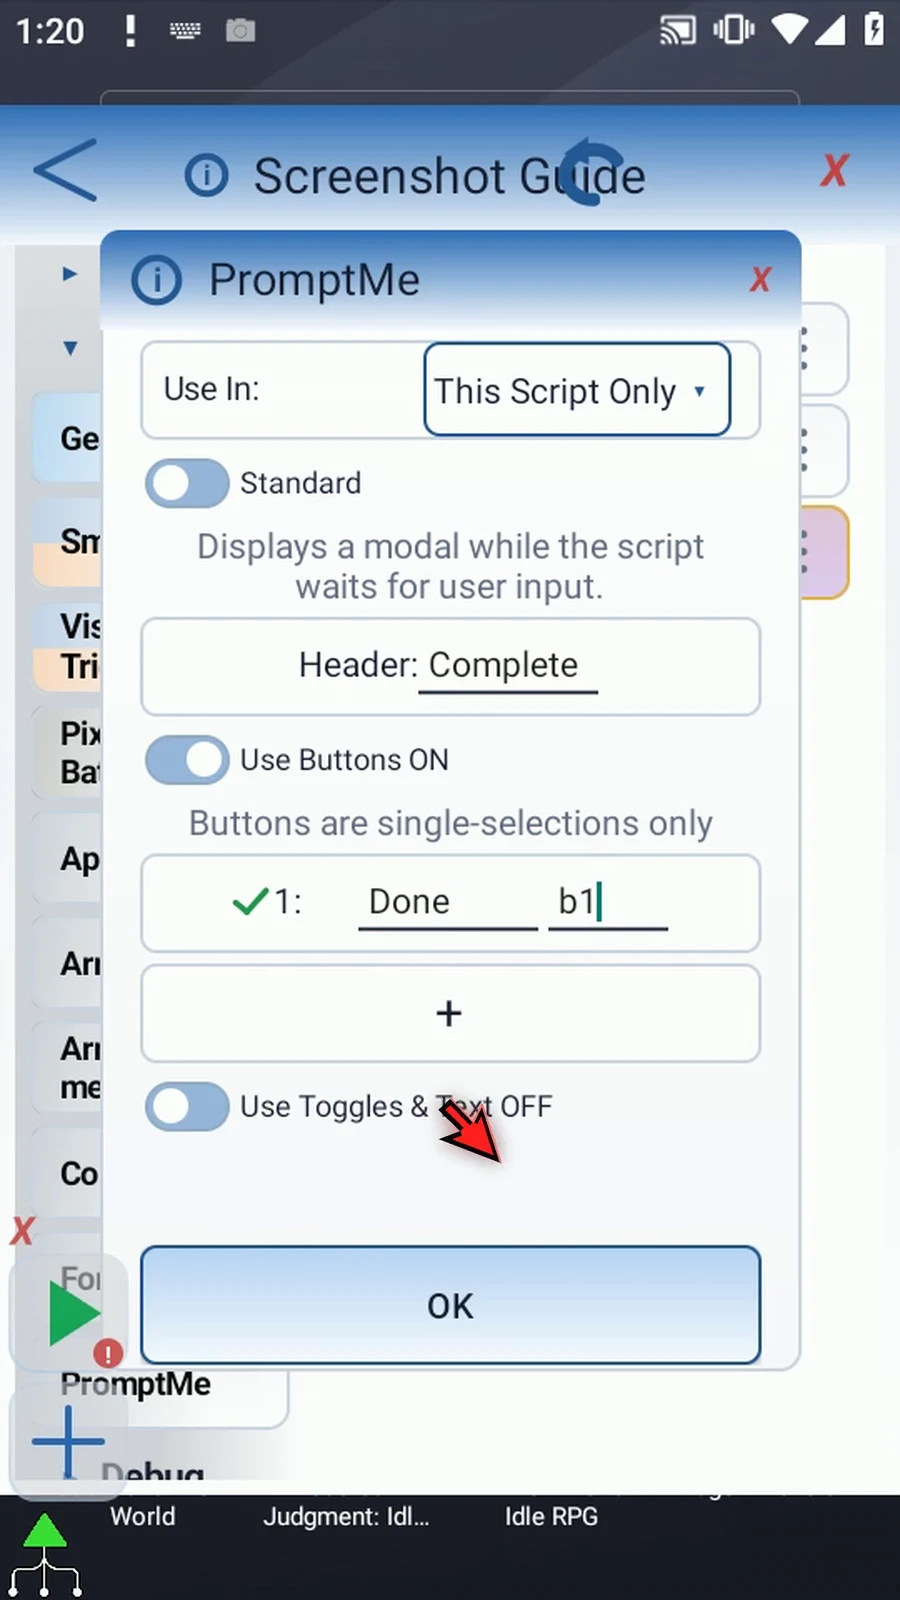
Under Advanced, manually drag PromptMe after both screenshots. Keep Standard, set Header Complete, add Done → Boolean b1, and leave Toggles & Text off. This supporting prompt confirms that the script reached the end.
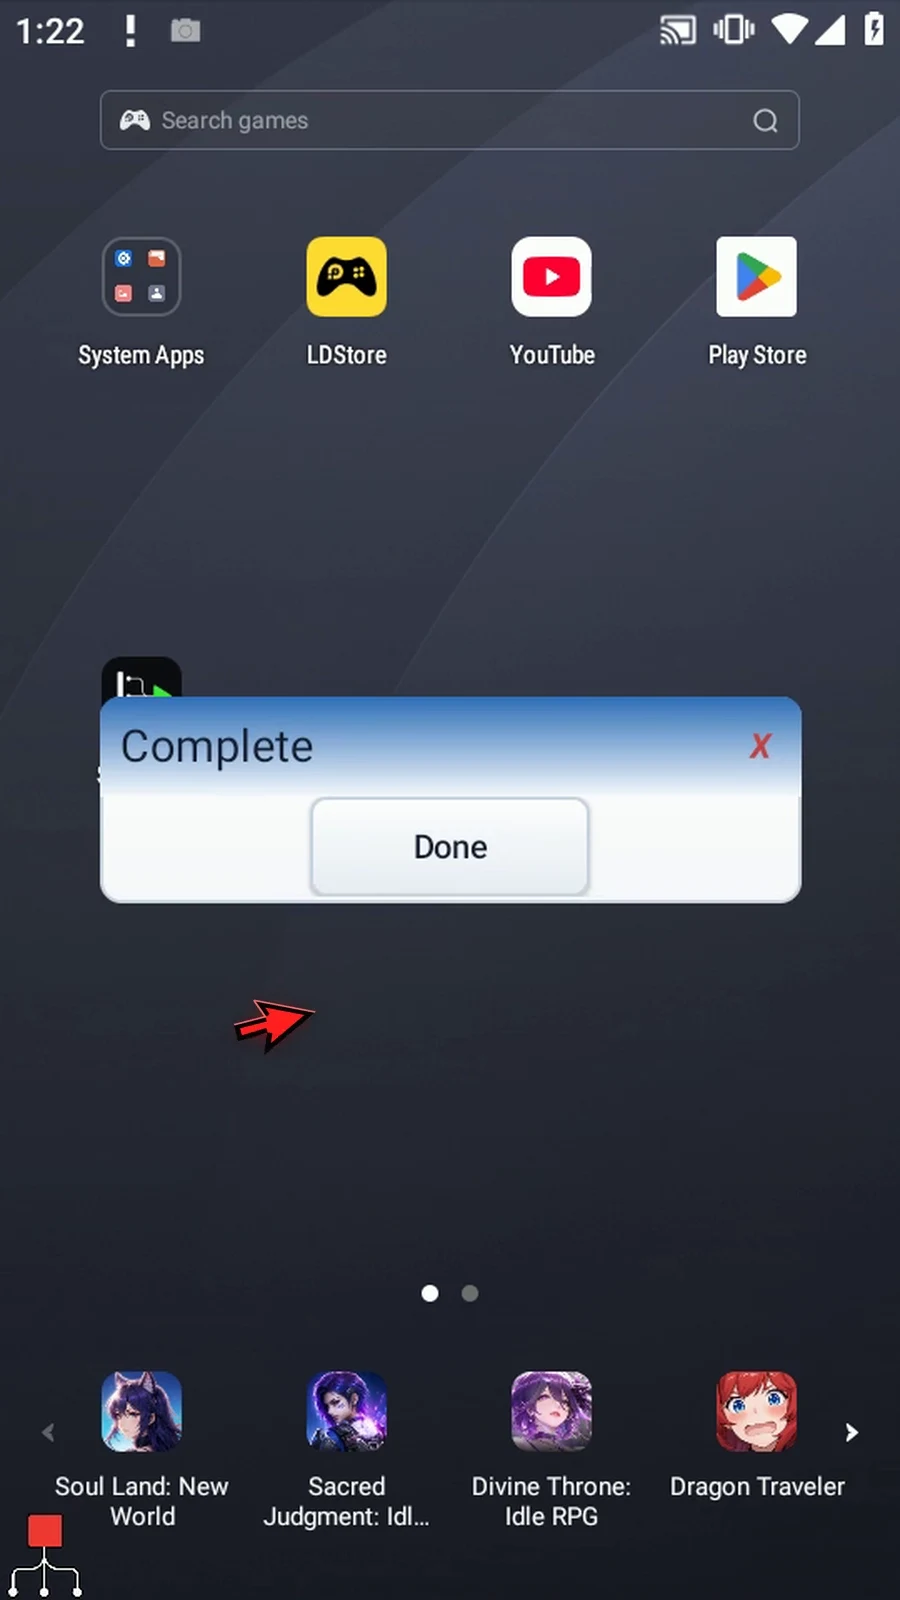
Play from the main overlay while the neutral home screen is visible. Complete appears after both captures. Press Done to finish naturally. Original scripts are unchanged.
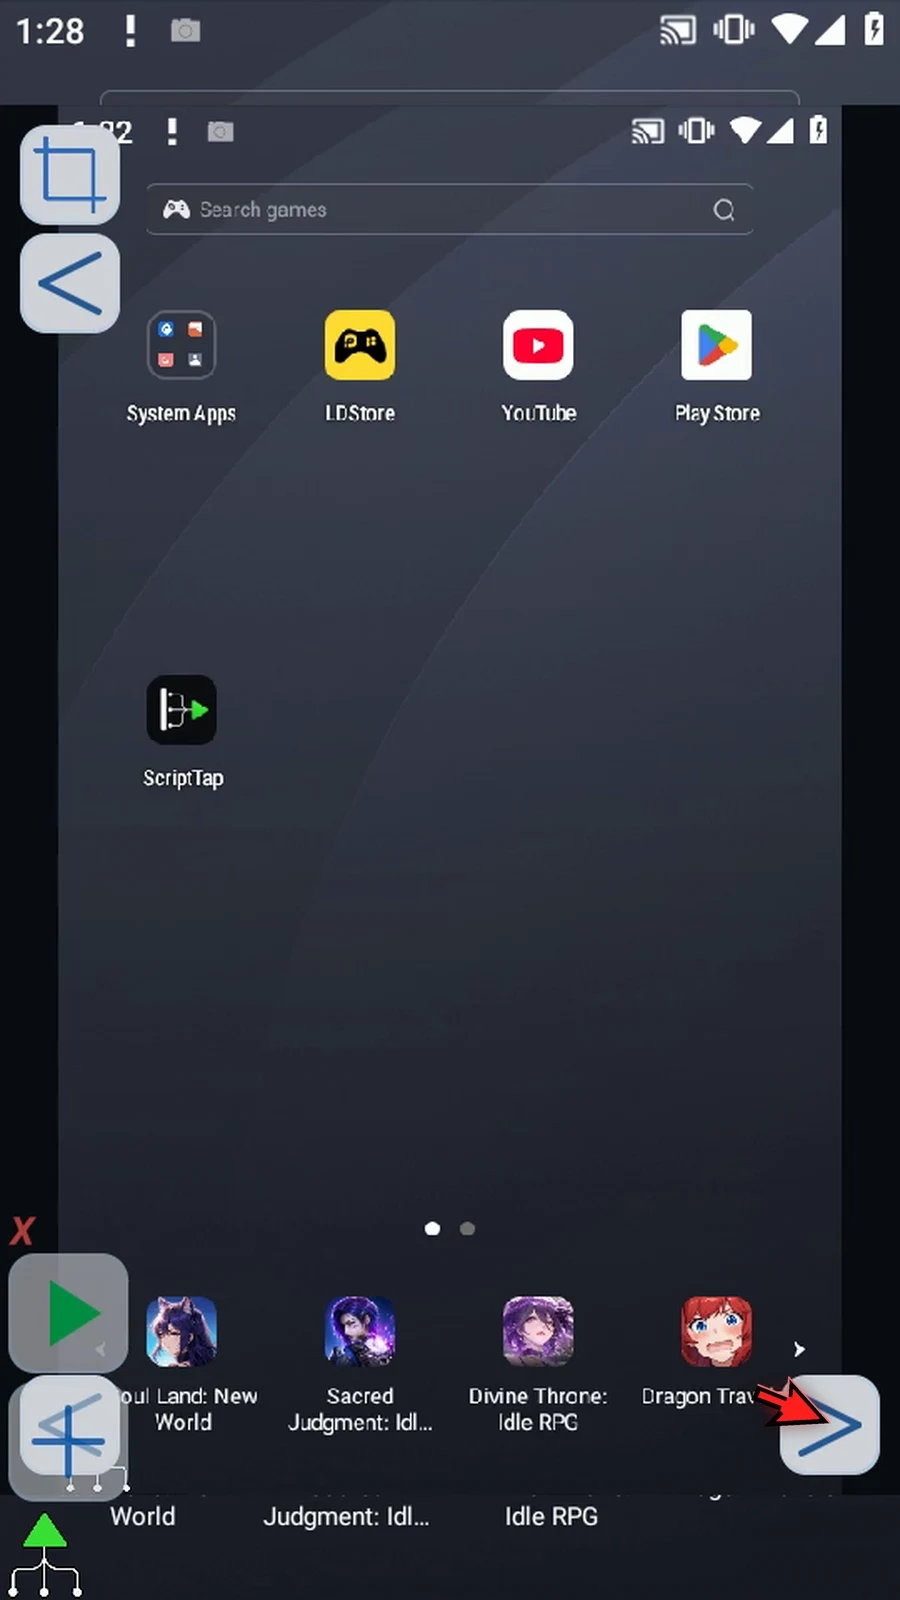
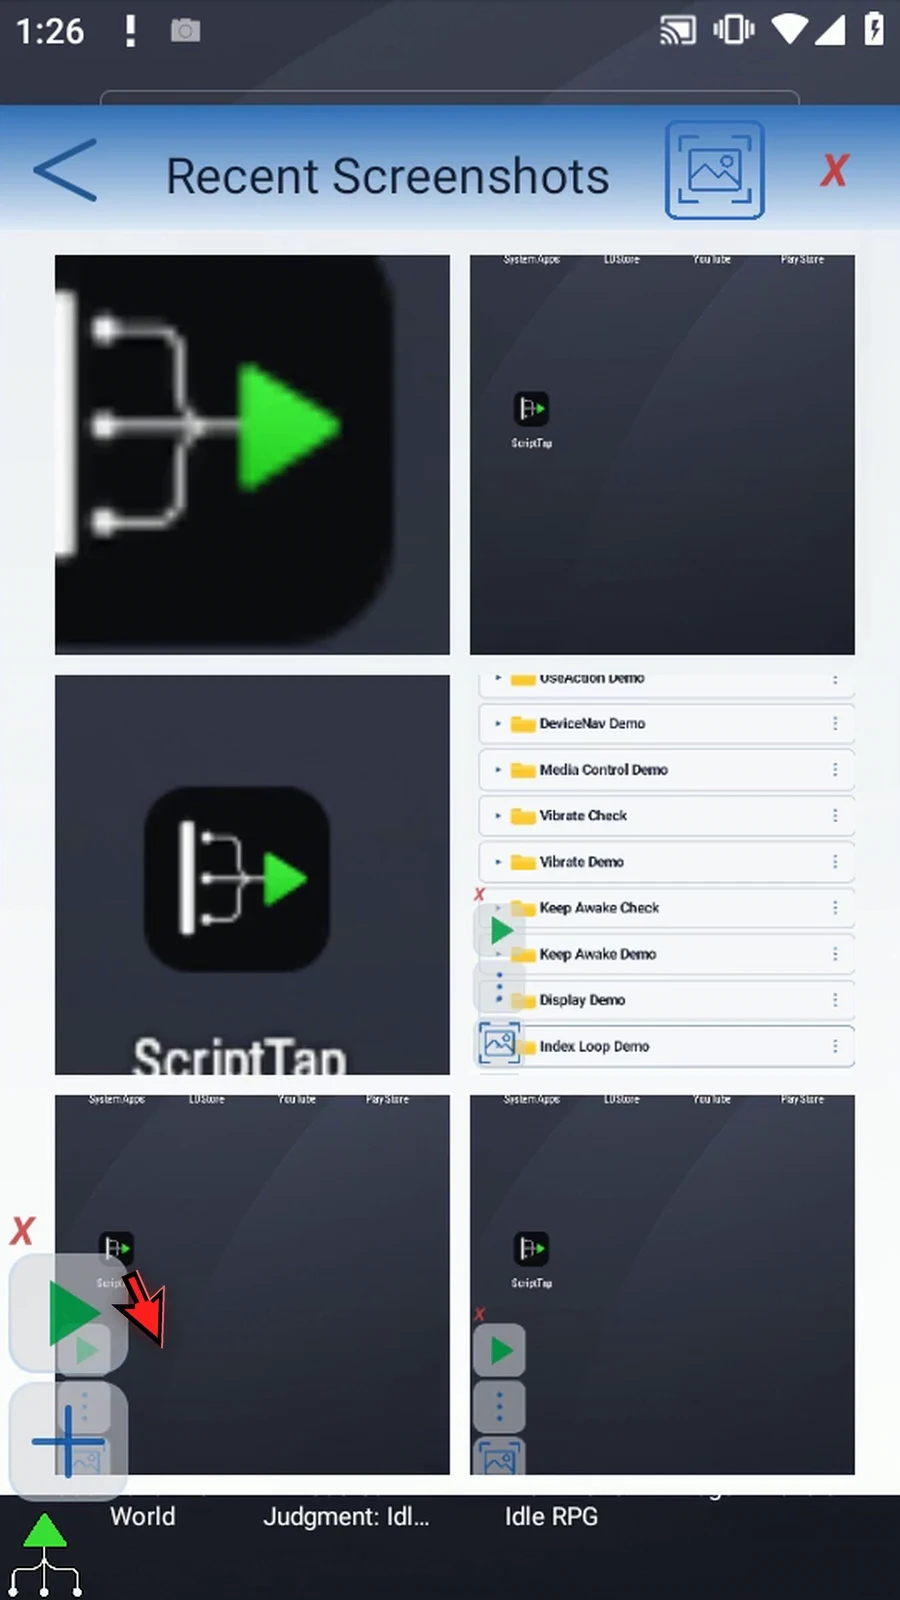
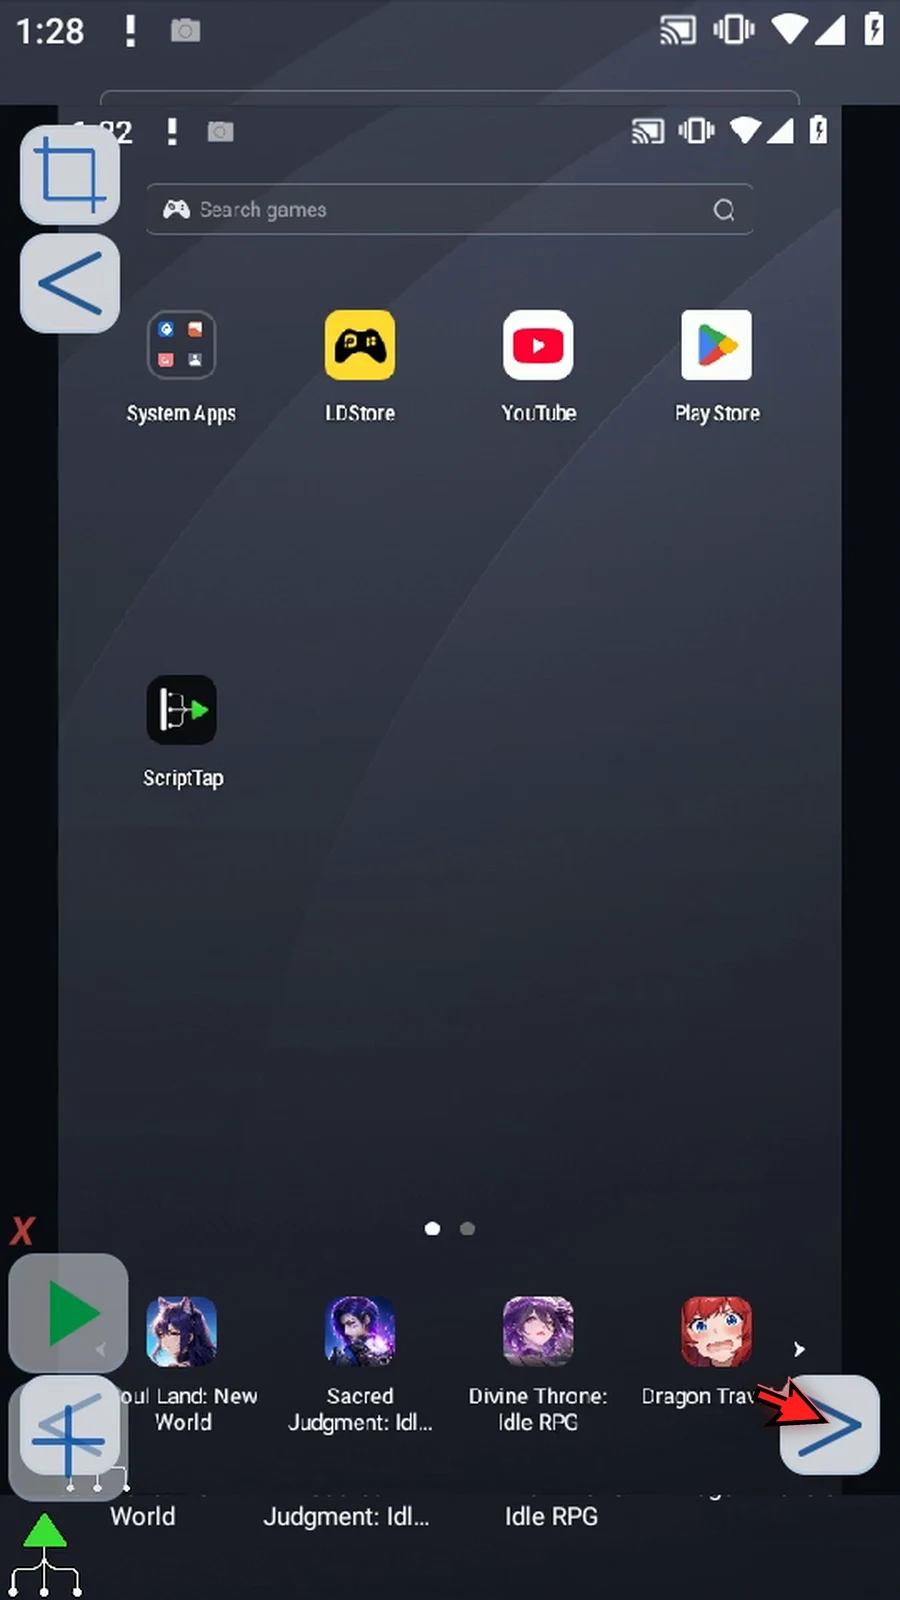
Show the main overlay, expand Plus, open the menu and Scripts, then choose Assets → New Asset. This opens Recent Screenshots; reviewing a capture does not create an asset. Select the newest cropped image and choose View. Use the next arrow to compare the full-screen image.
Screenshot saves PNG files in the background; the script does not wait for disk writes. When Run Logs are enabled, each capture also has a timestamped Screenshot entry. No image asset is created in this guide.
Watch the walkthrough
Step-by-step guide
Step 01 Screenshot saves an image of the screen when the script reaches this command. Use it to check what was visible while diagnosing coordinates or image matching.
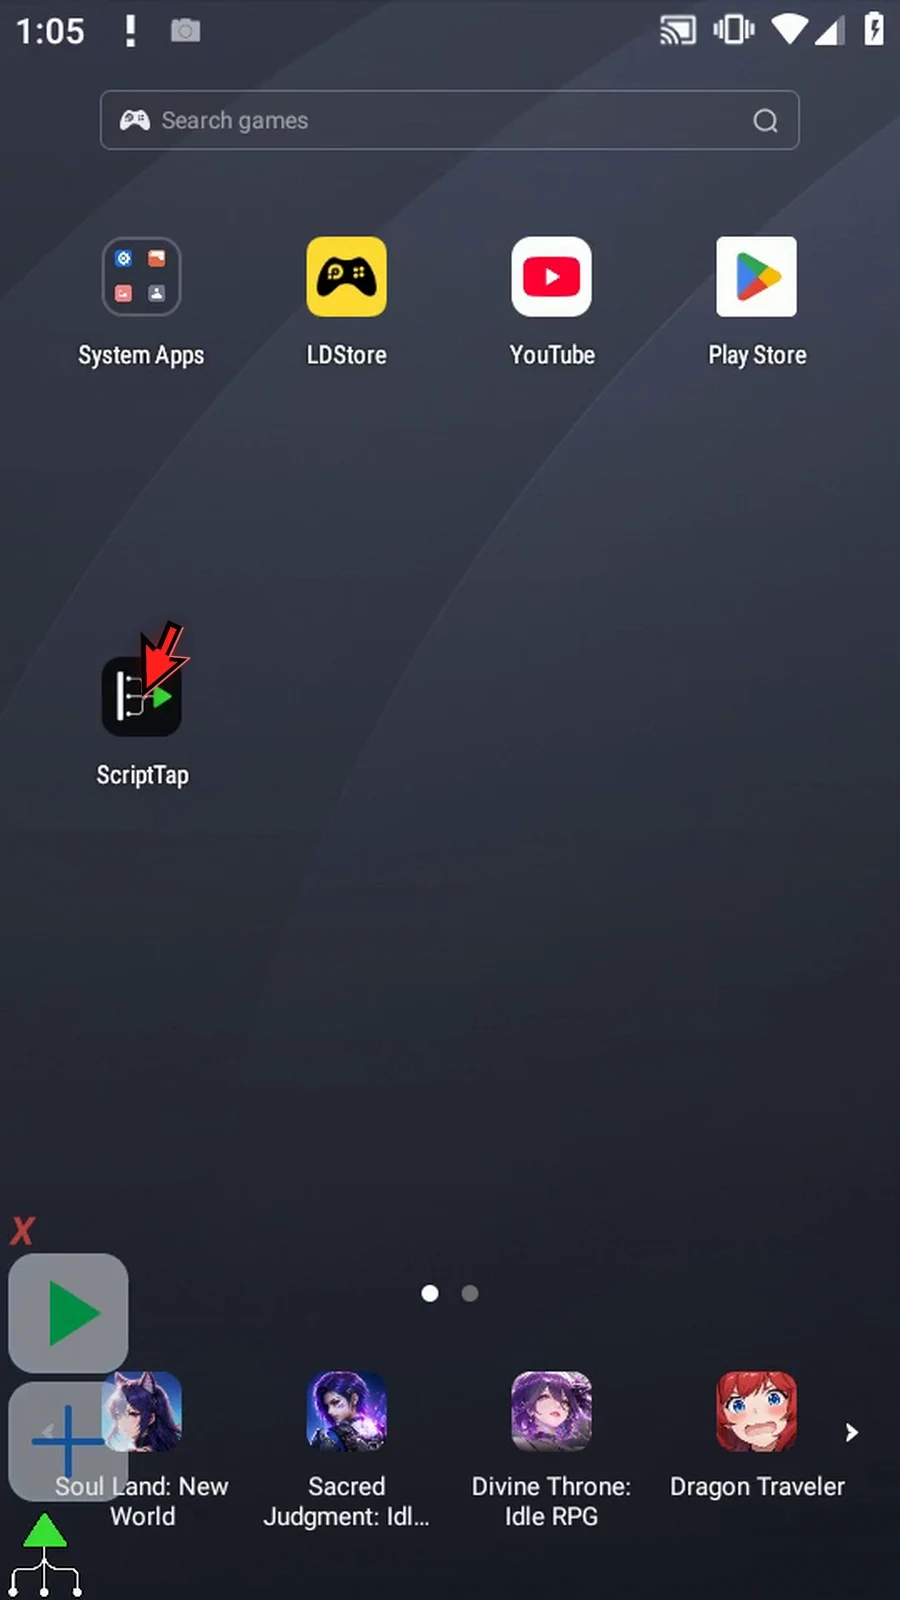
Step 02 Let's capture both the full screen and a small area. Use Plus to expand the main overlay, then open the menu and Scripts. Choose New Script, followed by Blank Script.
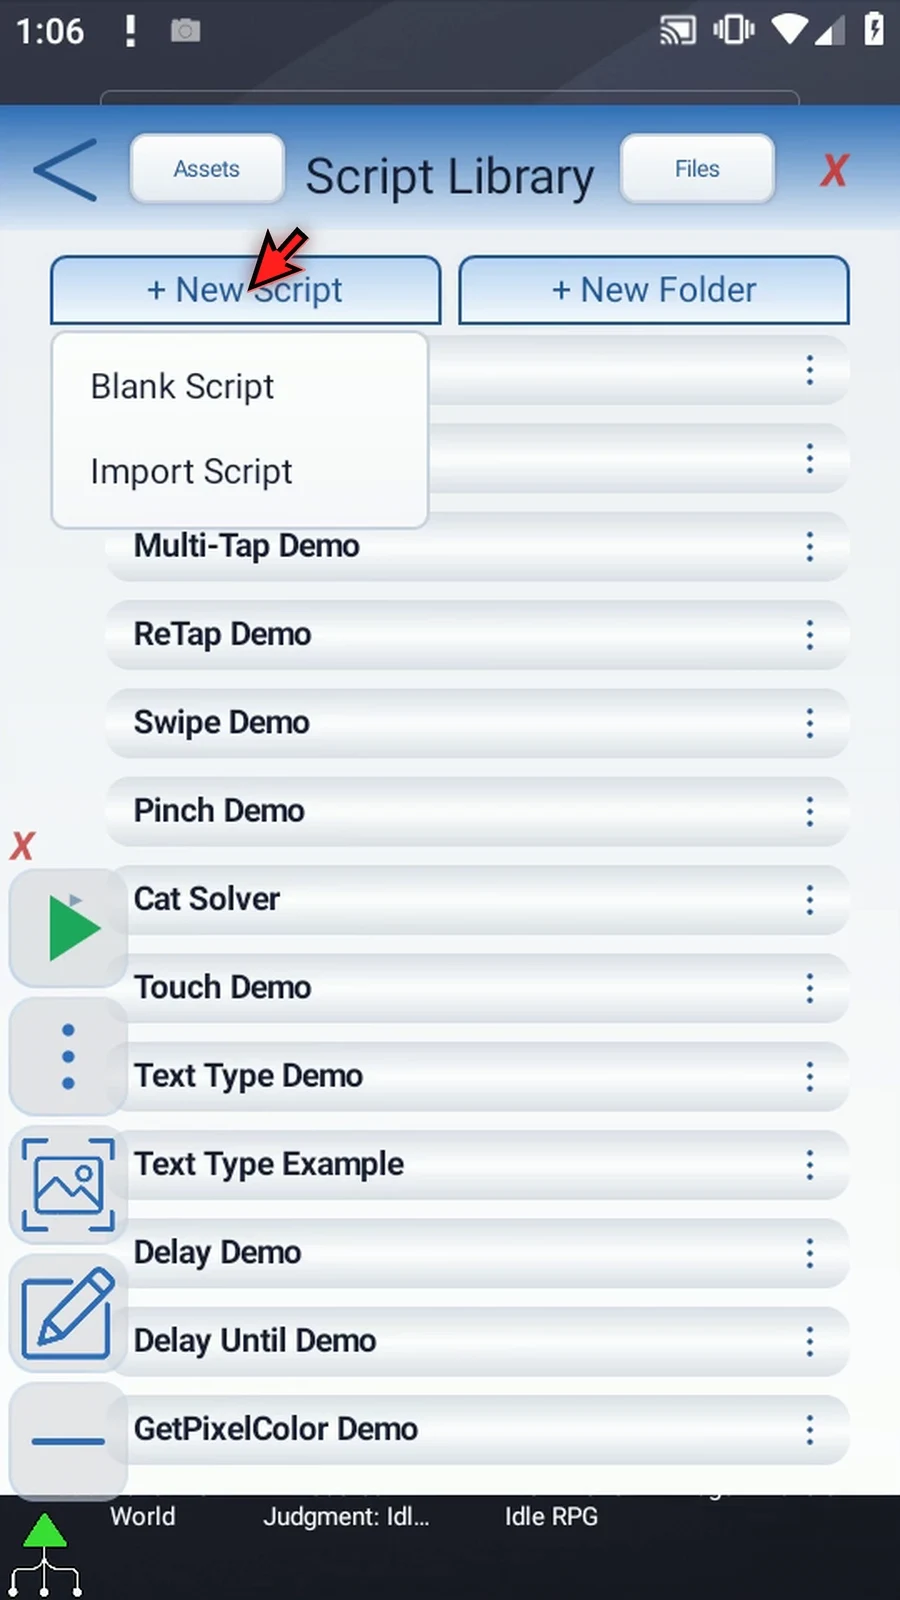
Step 03 New scripts appear at the end of the library. Scroll down until the new blank script is visible. Open its menu and choose Rename. We will change only this new example and leave the other scripts alone.
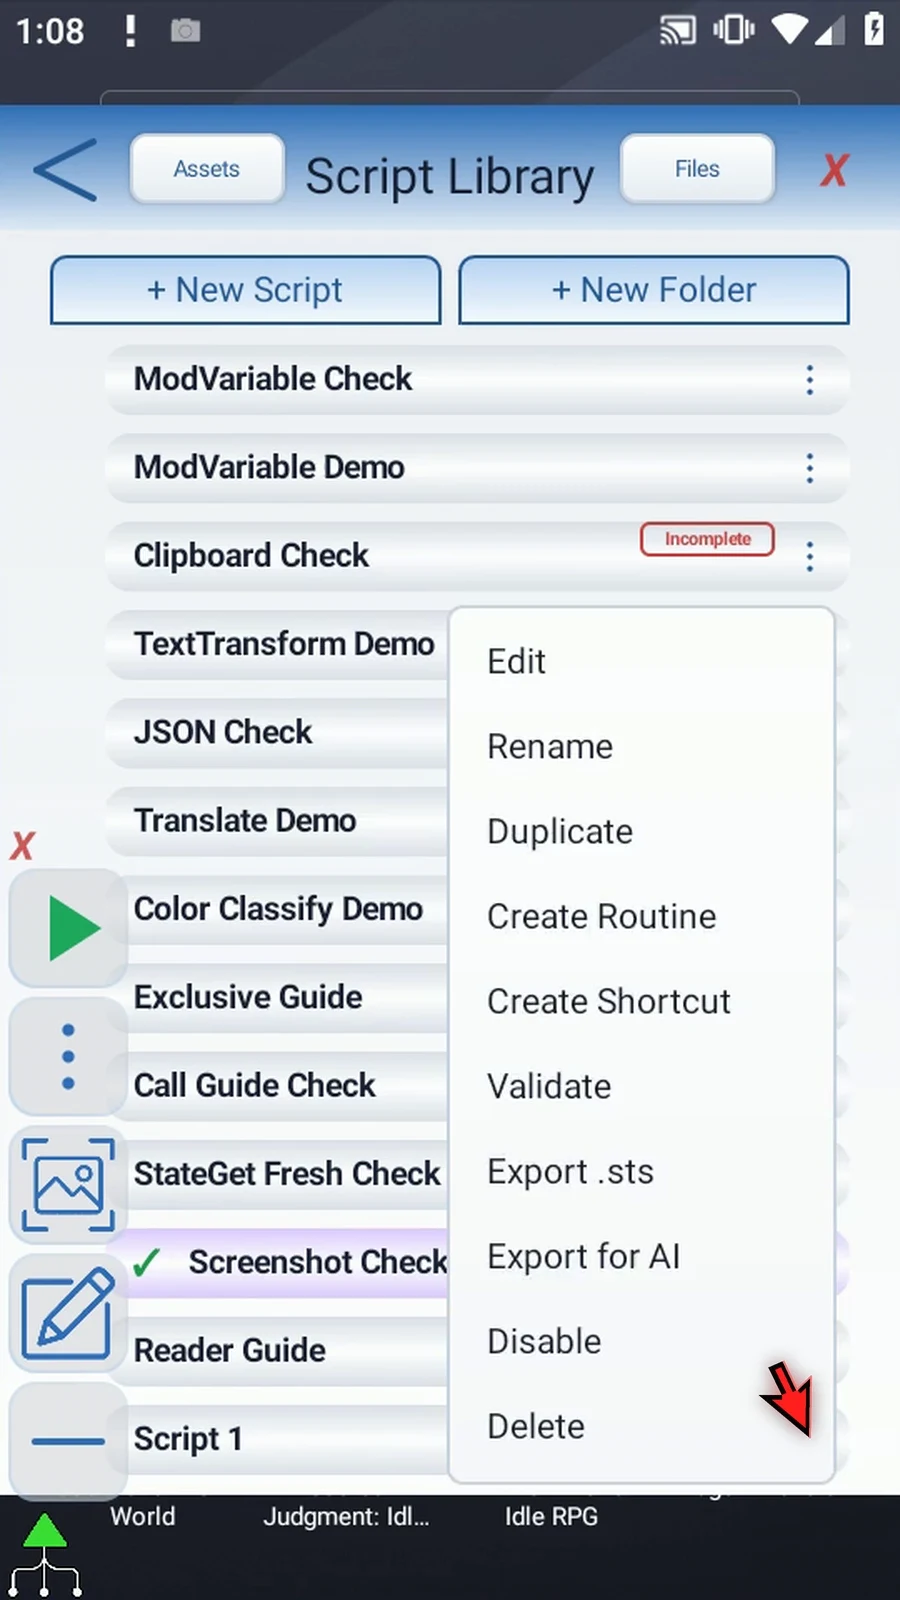
Step 04 Give the example a descriptive name, save it, and select the new script so it becomes active.
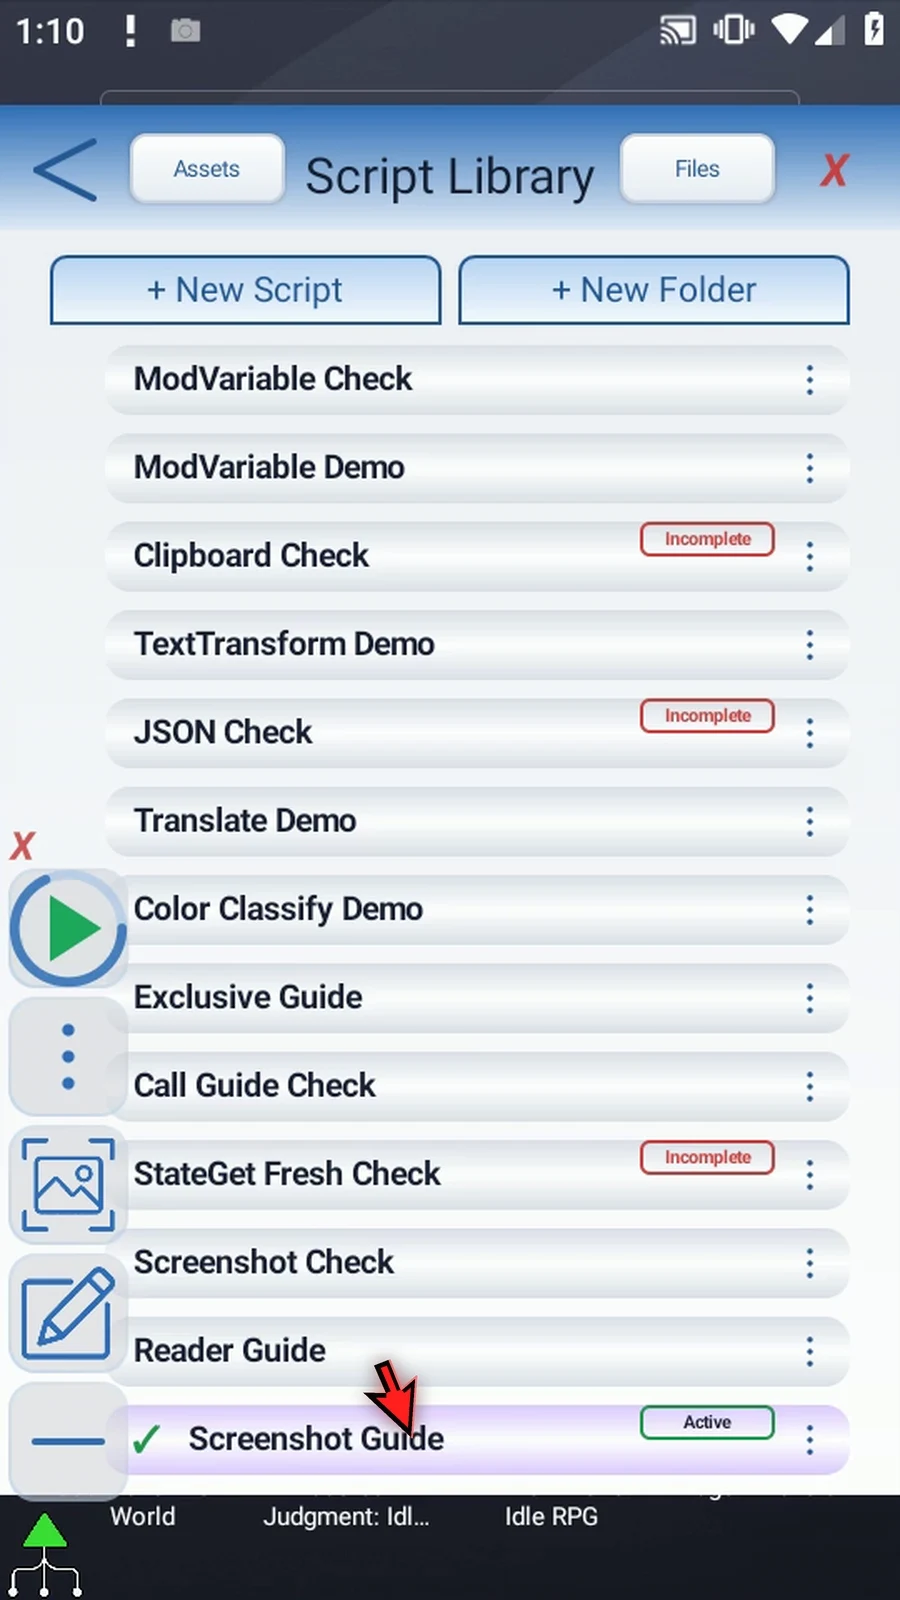
Step 05 Open the Script Editor. Collapse the extra overlay controls so the script stays clear. Close Recent and expand Debug near the bottom of the command palette.
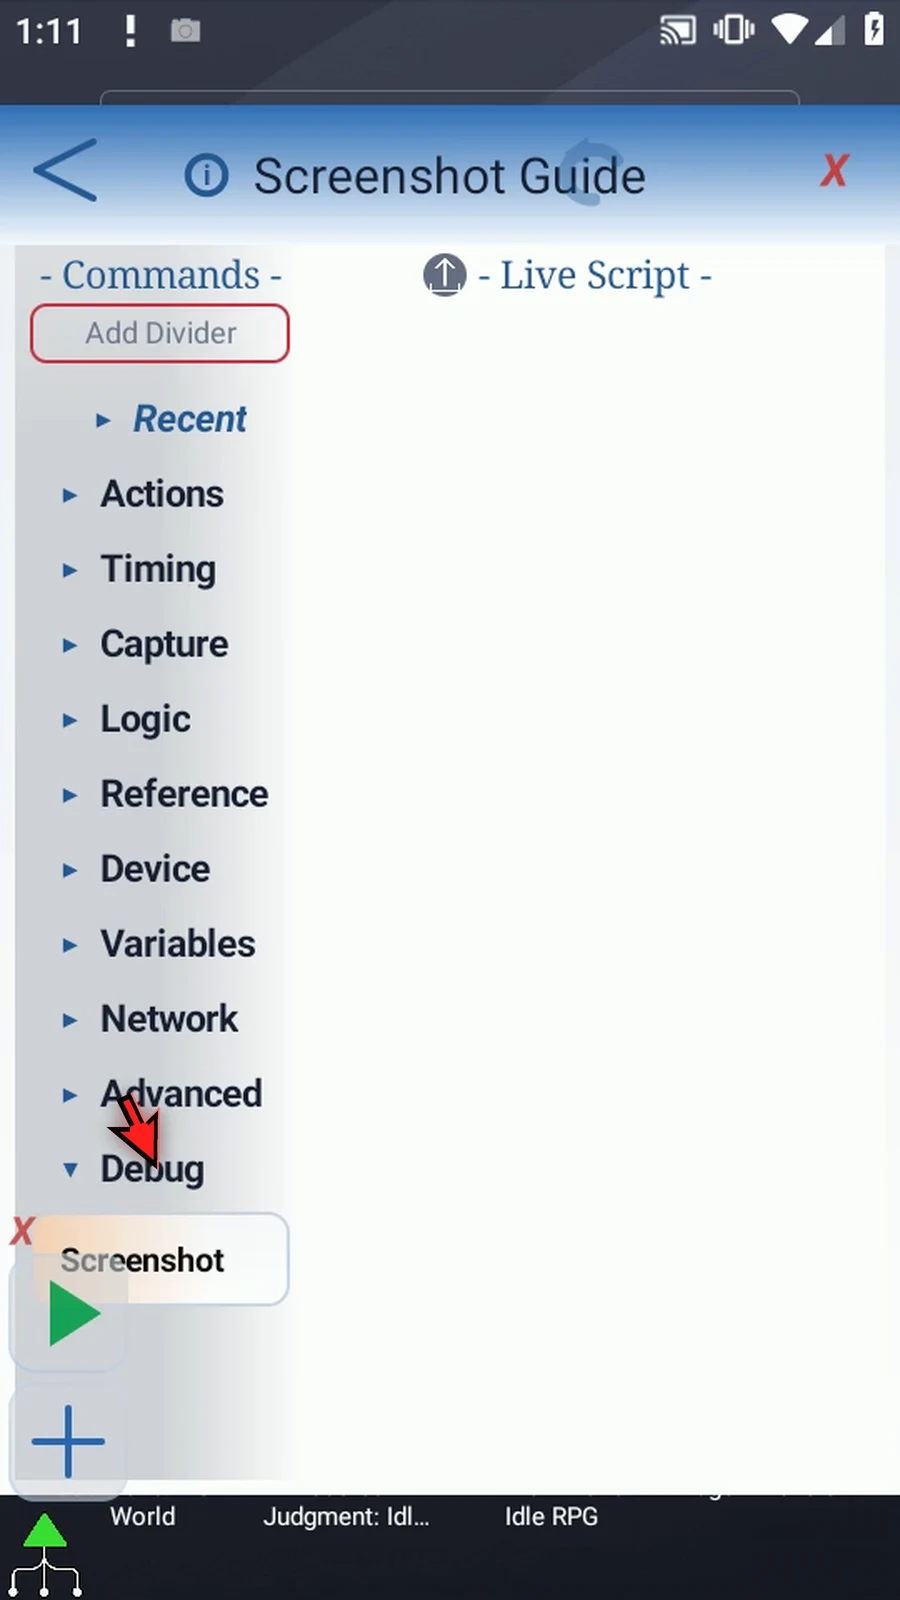
Step 06 Manually drag Screenshot into the script, then open the inserted command. Keep Full-Screen and save. This captures the entire Android display.
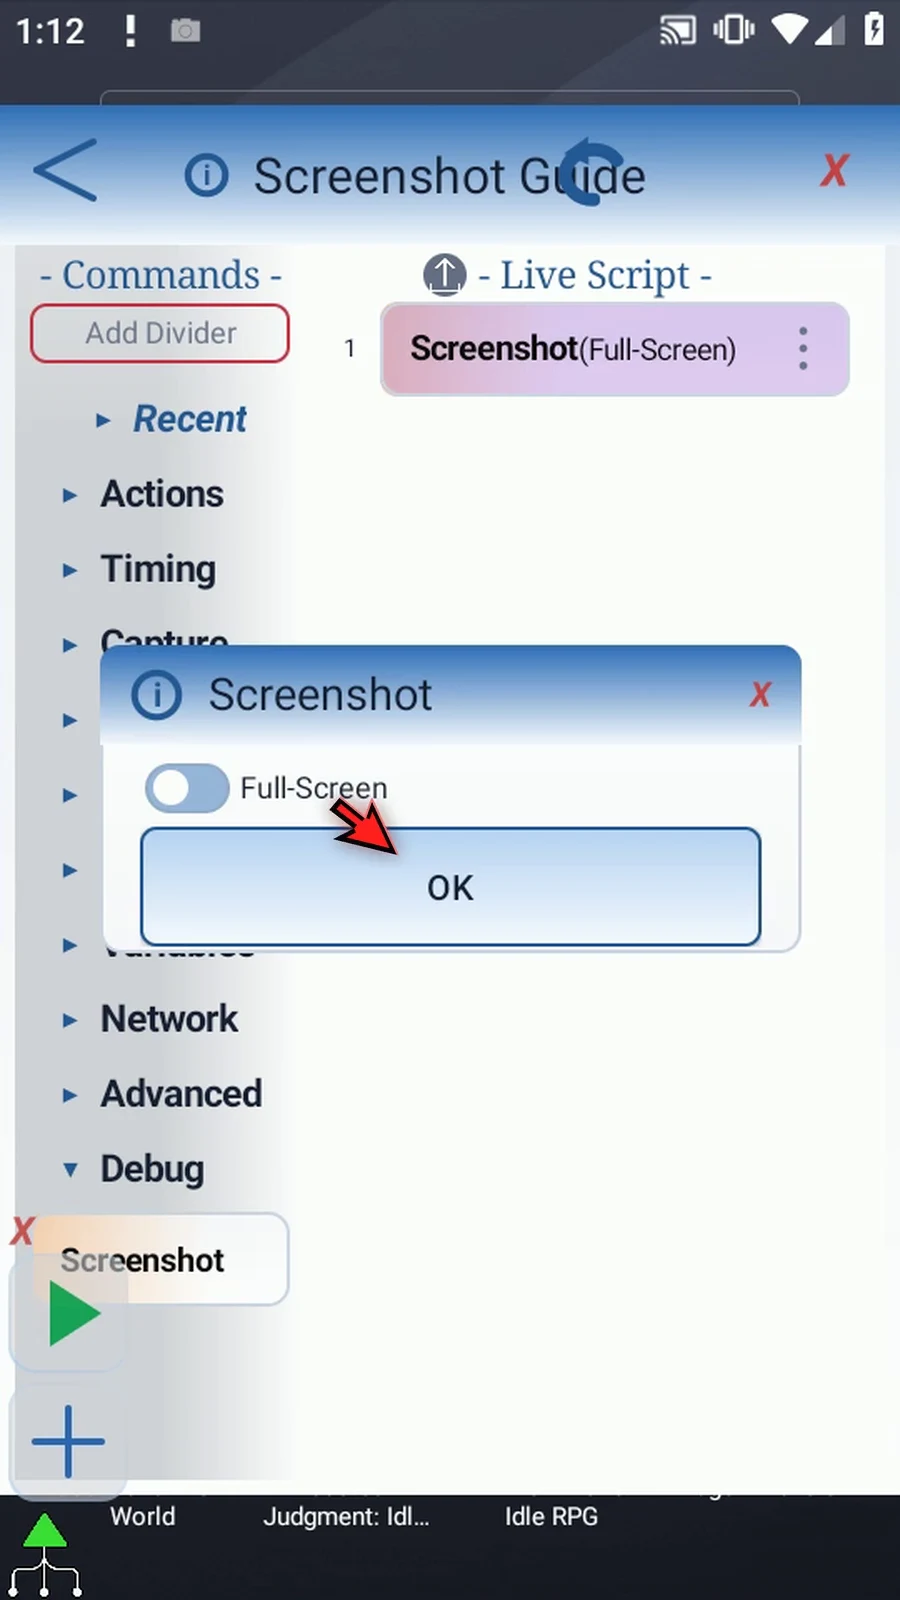
Step 07 Drag a second Screenshot after the first. Open it and turn on Specify Area to capture only a rectangle.
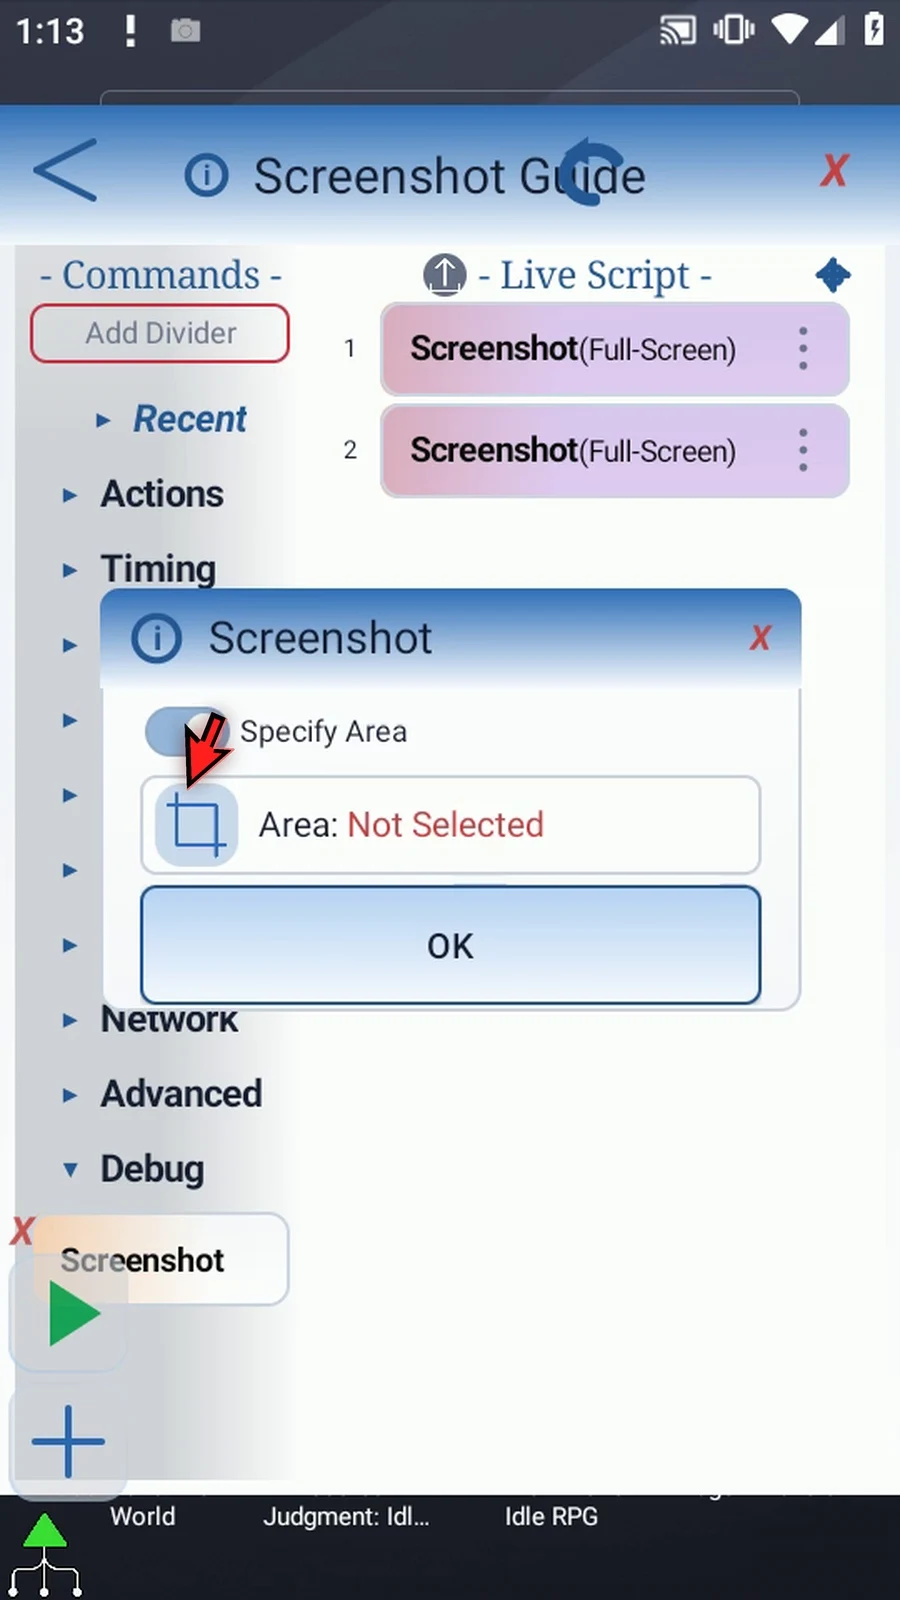
Step 08 Tap the area icon to choose the rectangle visually. If Android asks, allow screen capture. Drag the green handles around part of the ScriptTap icon, then use the check mark.
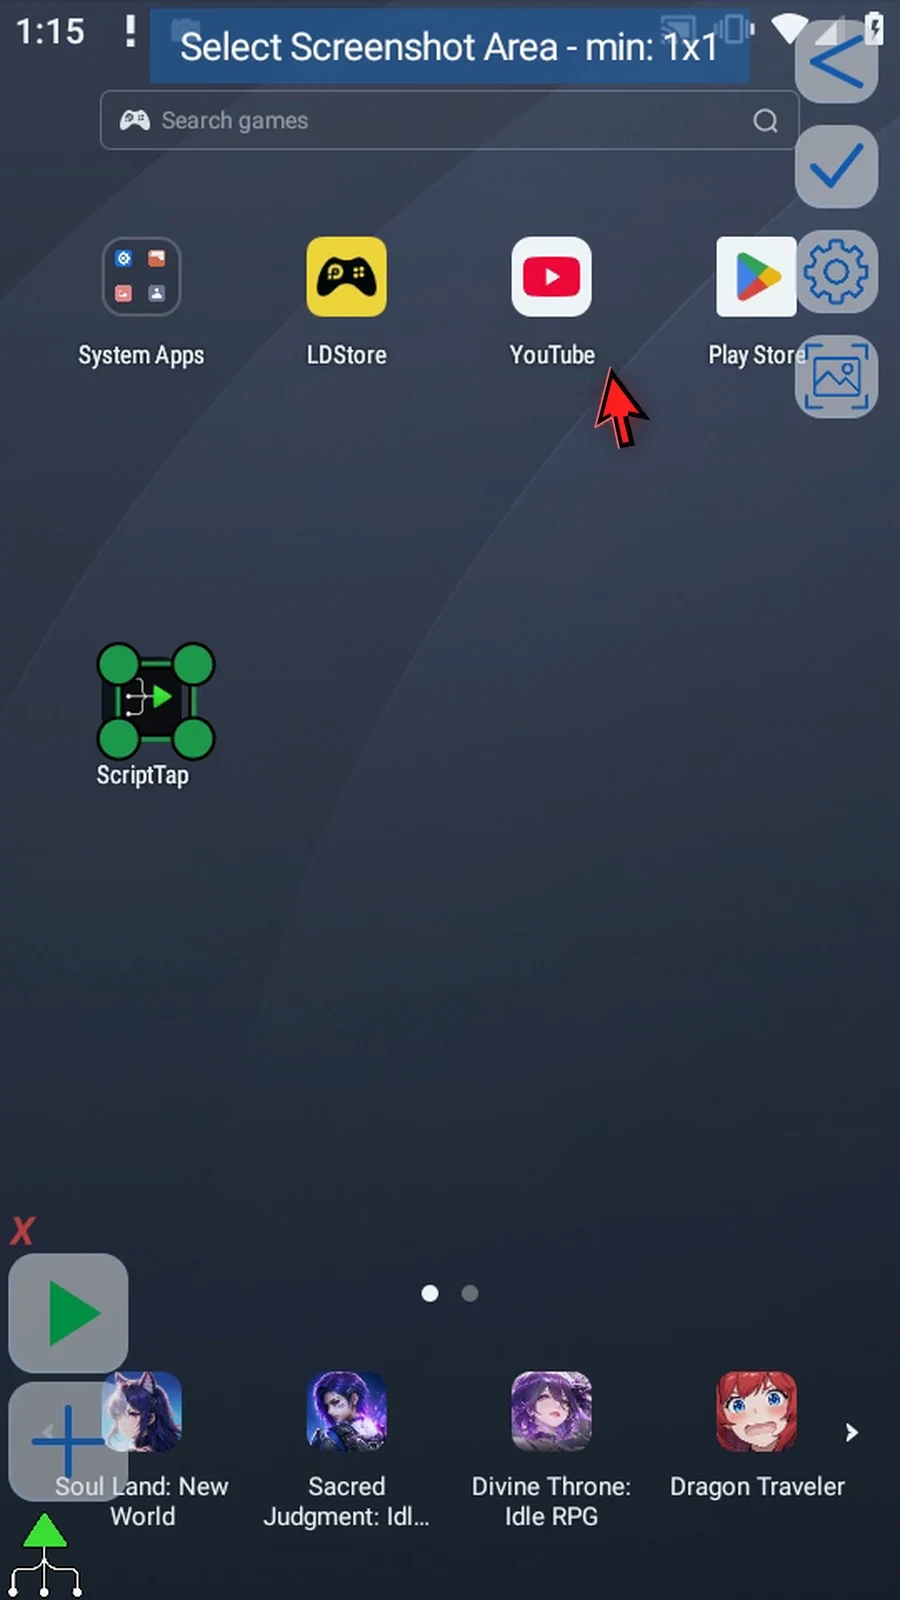
Step 09 Tap the Area text to inspect the exact coordinates. These are display pixels, from the top-left corner to the bottom-right. Each field also accepts one Integer variable created earlier in the script. We'll keep literal coordinates here.
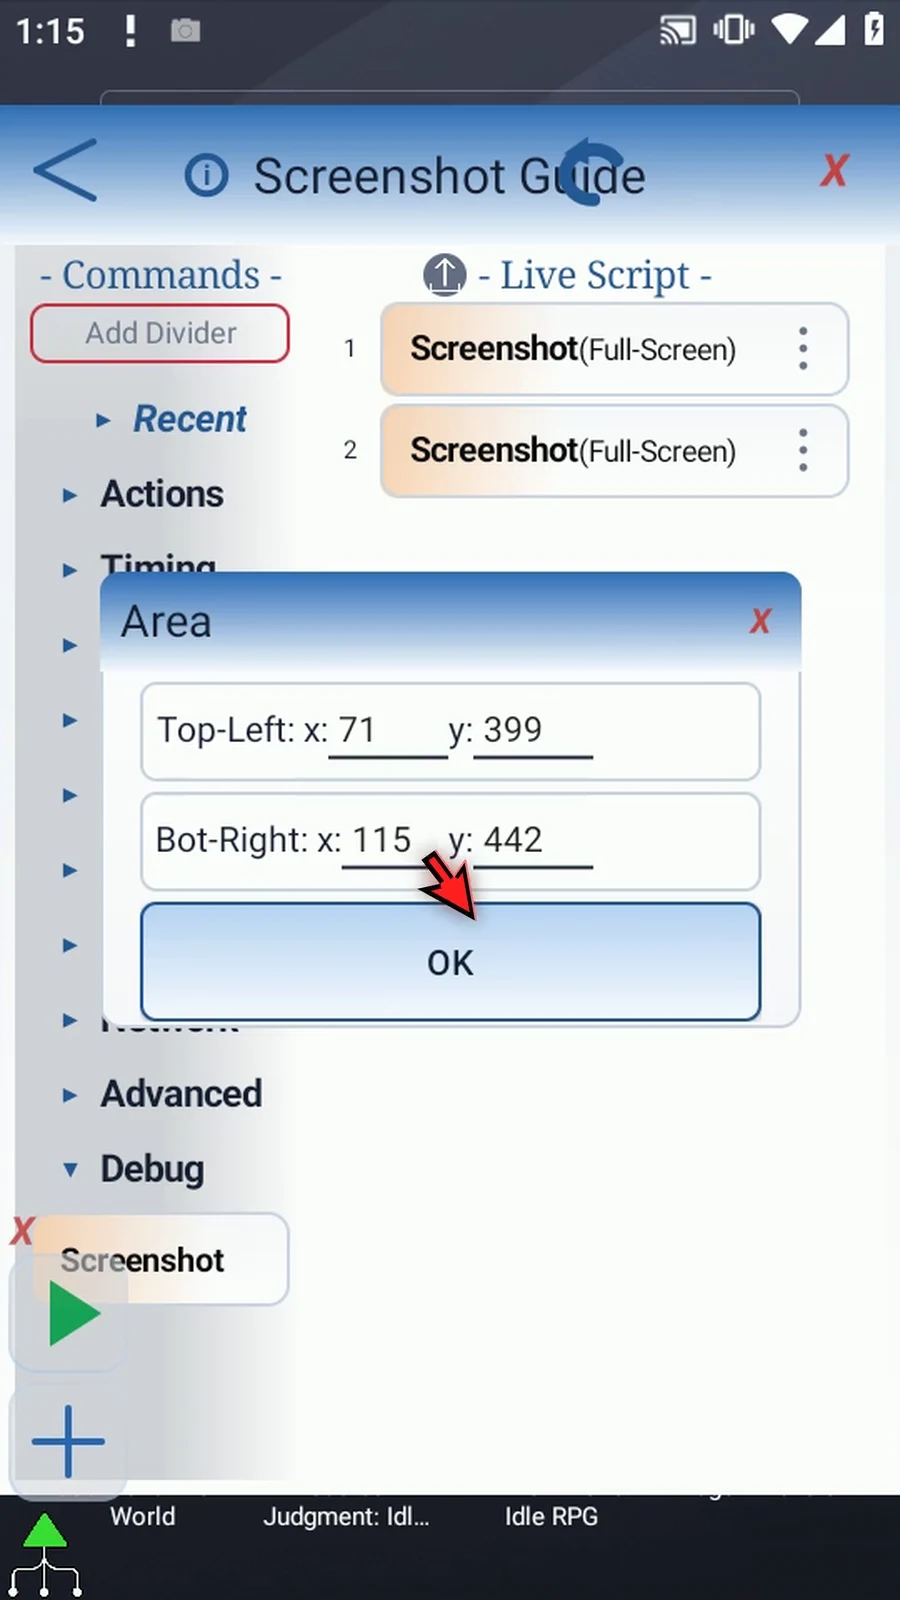
Step 10 Full-Screen hides the area settings. Switching back to Specify Area restores the same rectangle, so you can change this option without rebuilding your selection. Keep Specify Area and save.
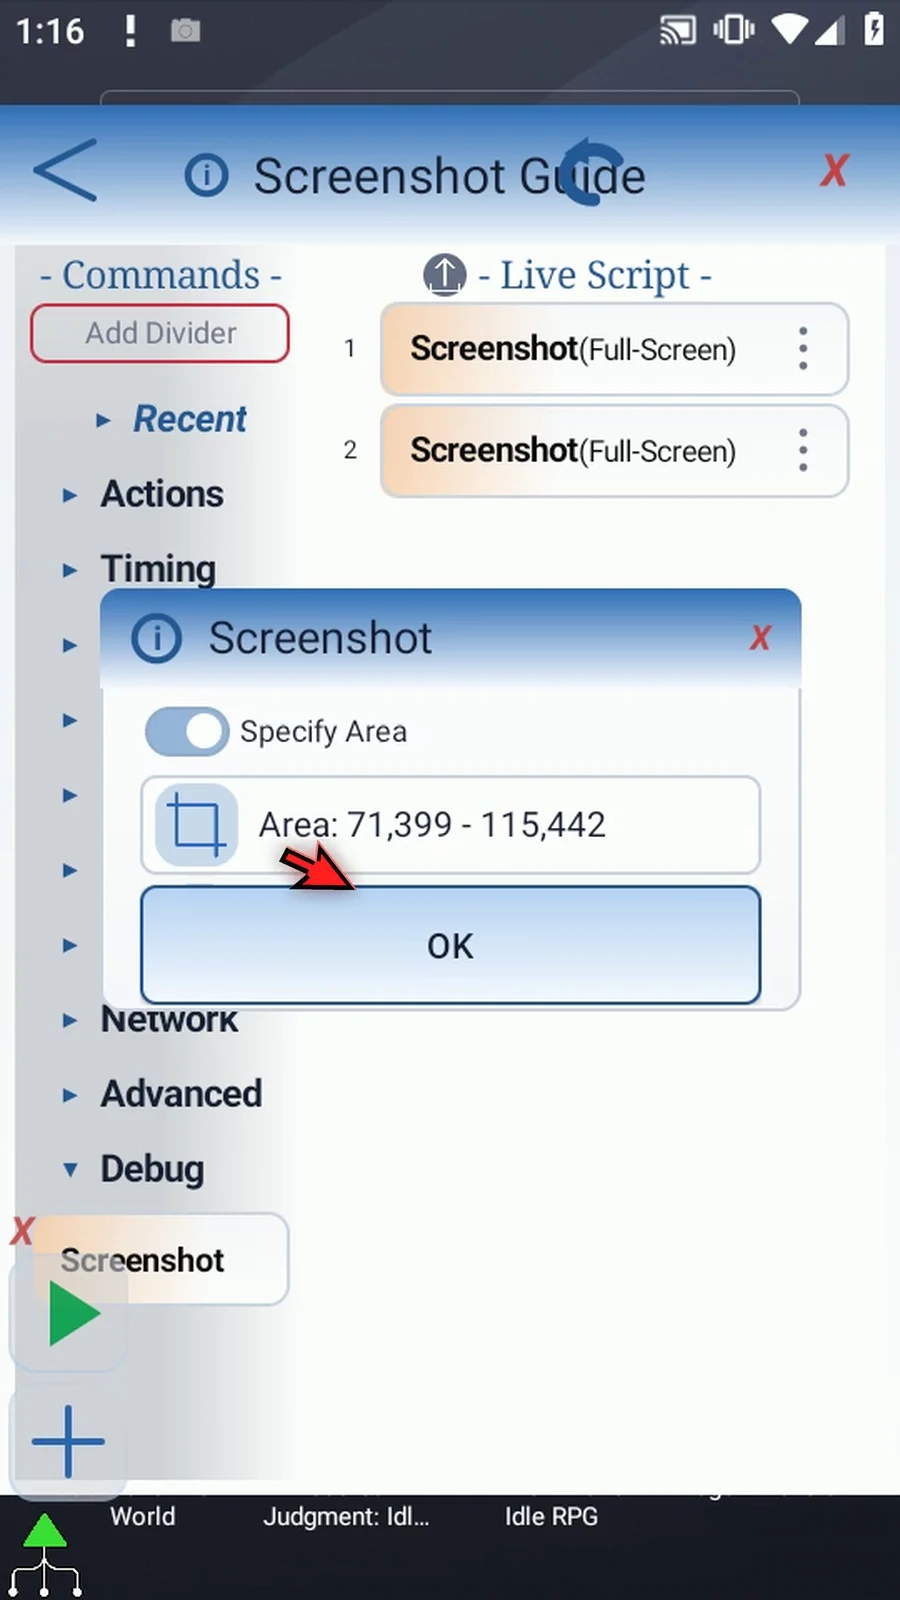
Step 11 Under Advanced, manually drag PromptMe after the two screenshots. It will give us a visible confirmation when the script reaches the end.
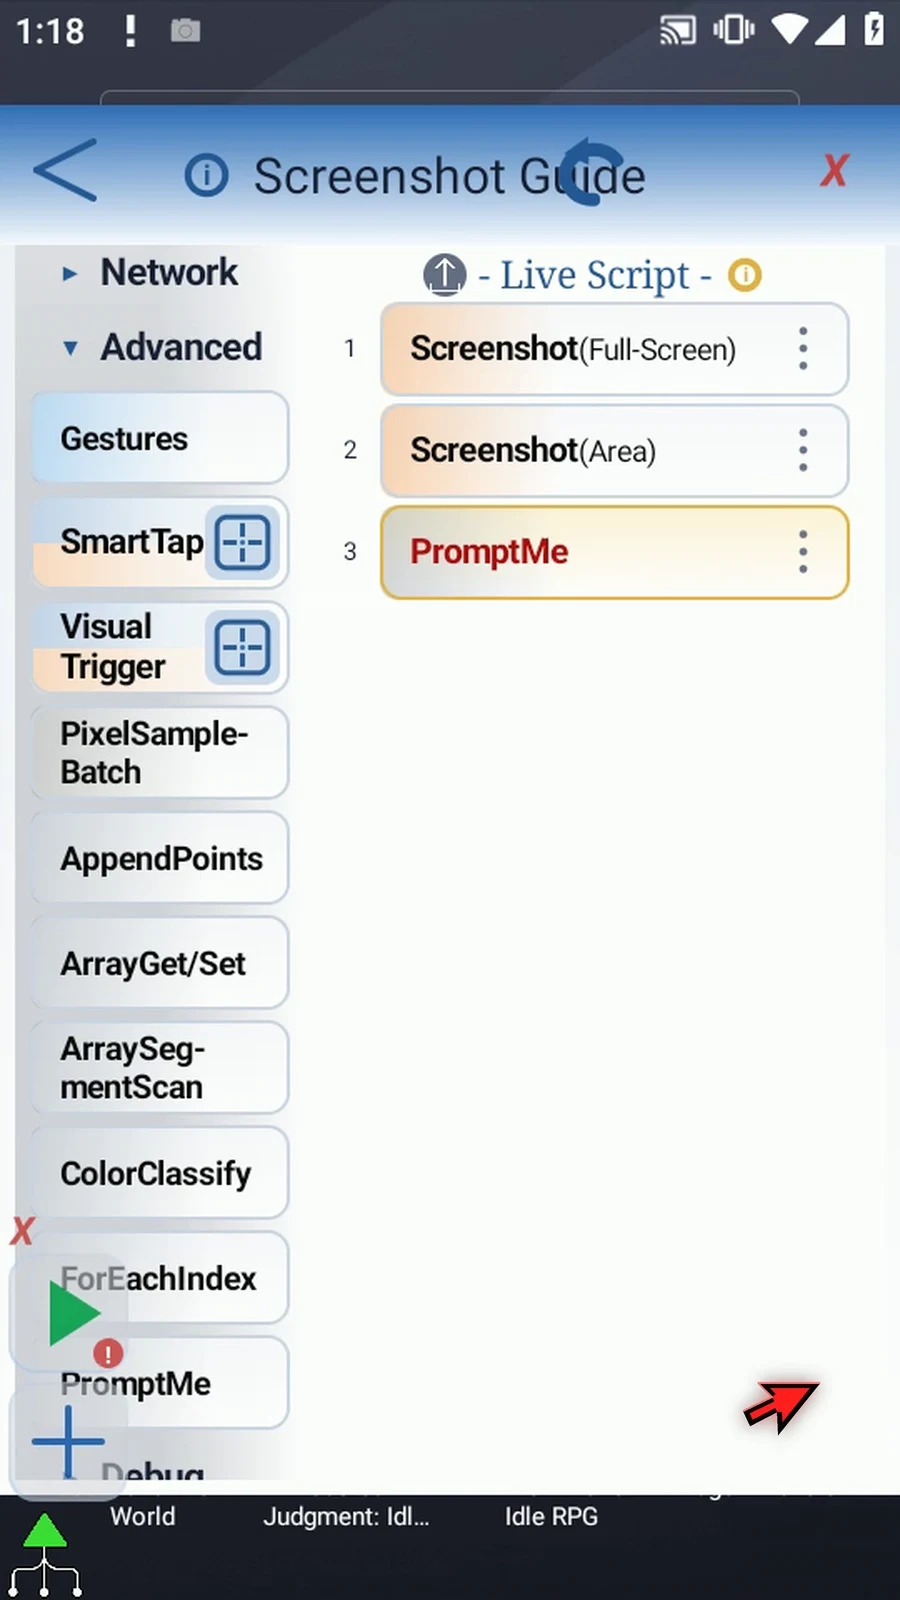
Step 12 Open PromptMe, keep the regular style, and set the header to Complete. Leave Toggles and Text off.
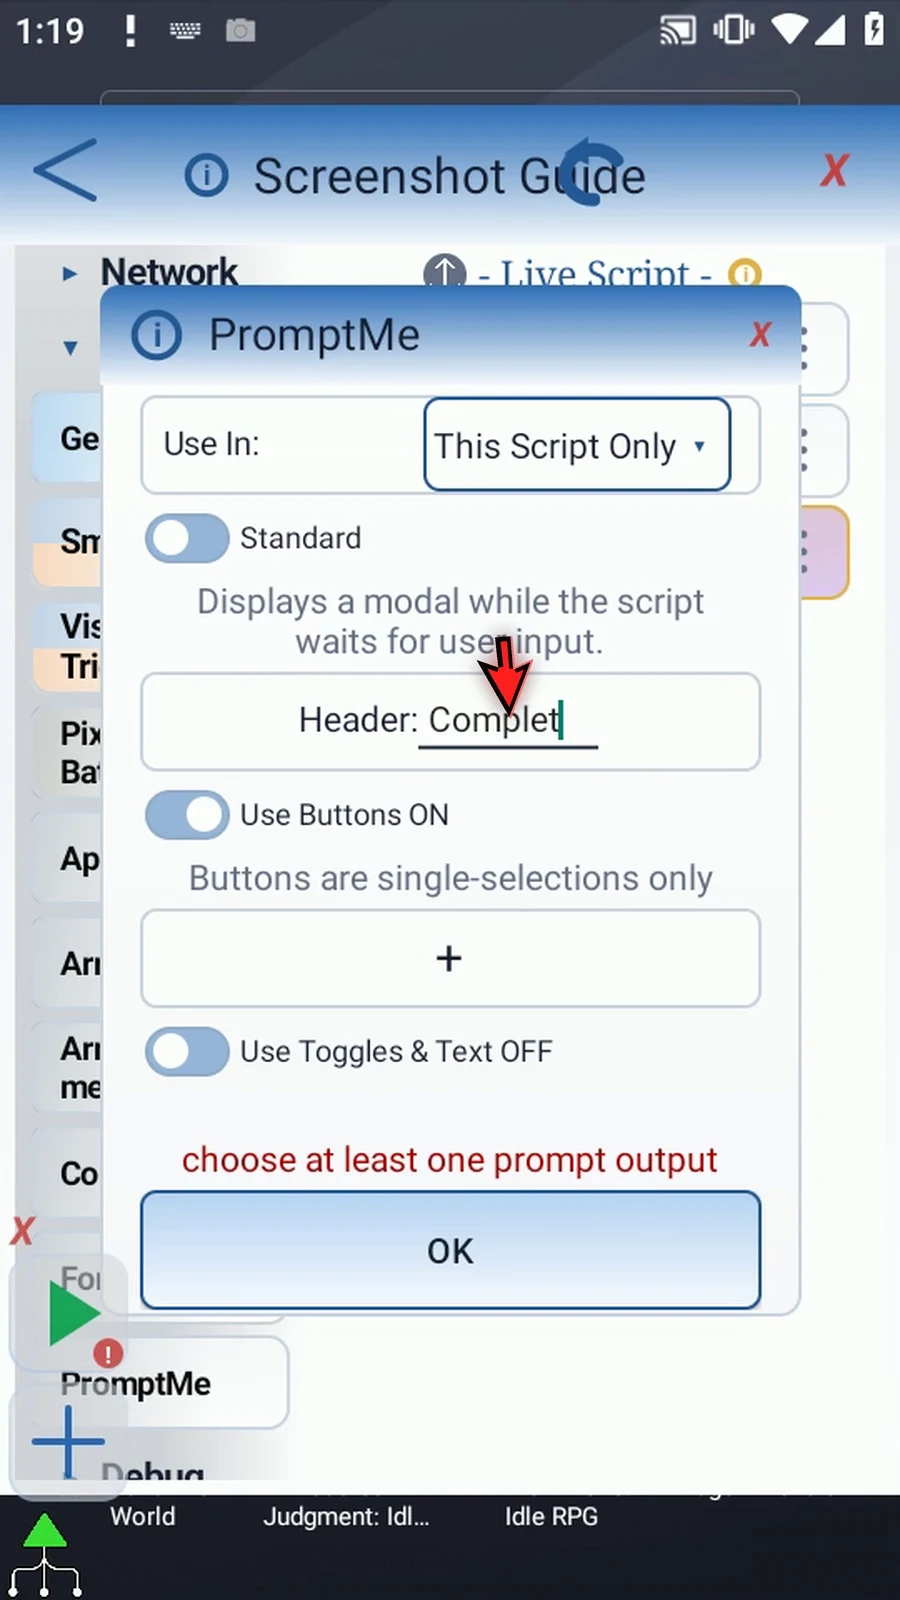
Step 13 Add a button named Done and assign Boolean b one. This button lets us acknowledge the confirmation. Save the prompt.
Step 14 The script now captures the full screen, captures the selected area, and shows Complete. Screenshot does not hide ScriptTap overlays, so choose a clear area when you need an unobstructed image.
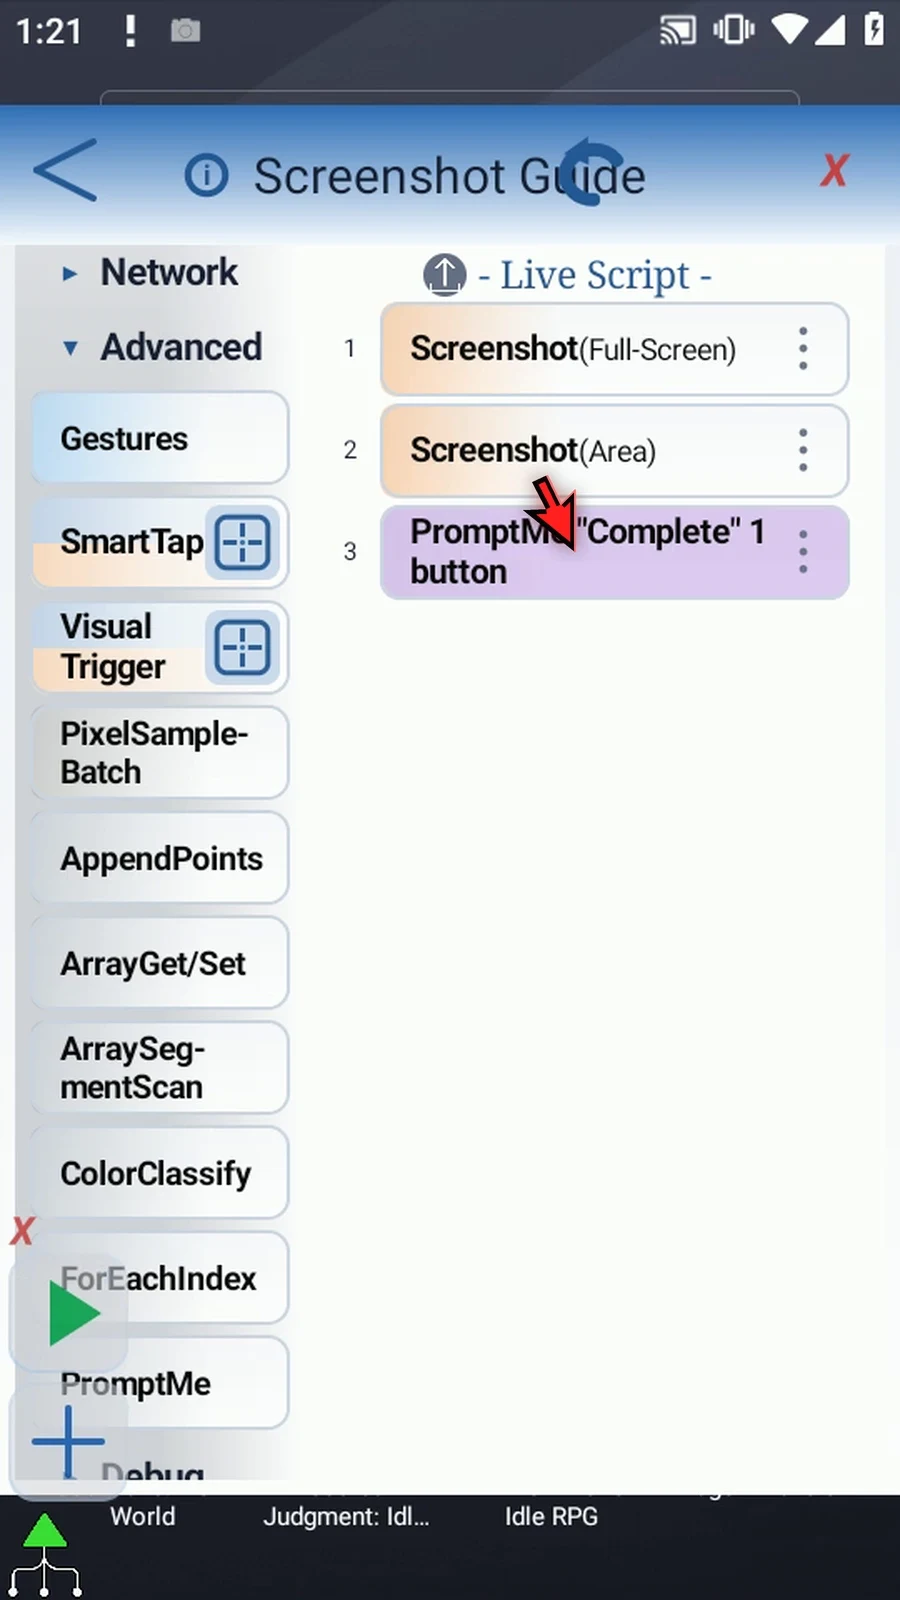
Step 15 When the script is complete, simply use the Play button in the main overlay.
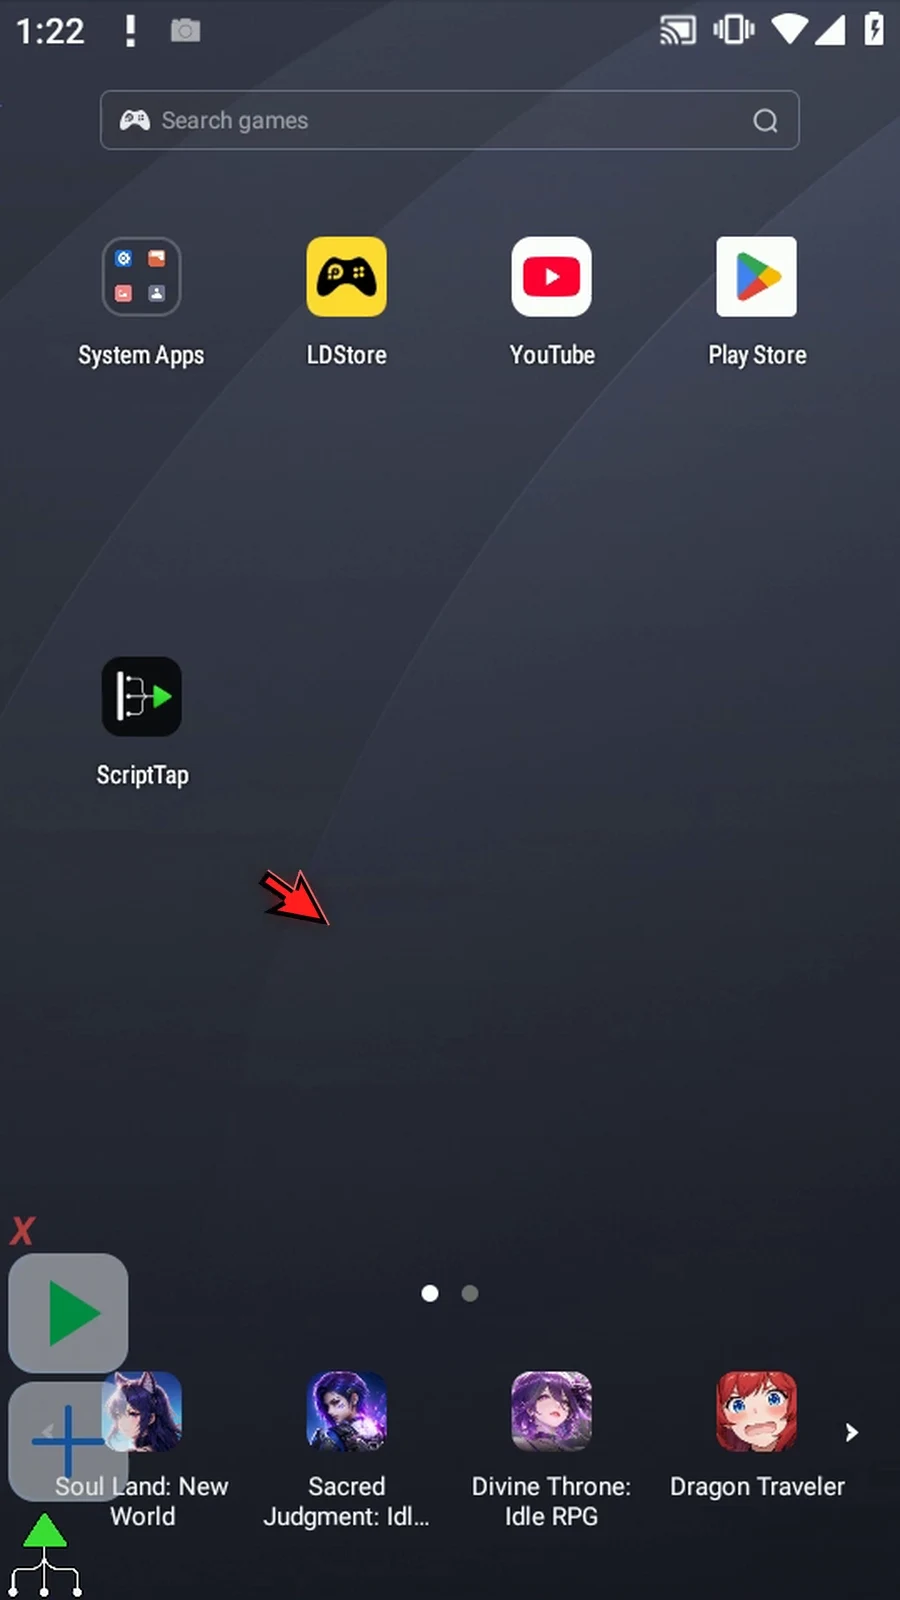
Step 16 Complete appears after both Screenshot commands. Press Done to finish naturally. Next, let's inspect the images that were saved.
Step 17 Show the main overlay and use Plus to expand its controls. Open the menu and Scripts, then collapse the extra controls. Choose Assets and New Asset. This opens Recent Screenshots, where you can review captures without creating an asset.
Step 18 Select the new cropped image and choose View. Only the selected rectangle was saved, rather than the entire screen.
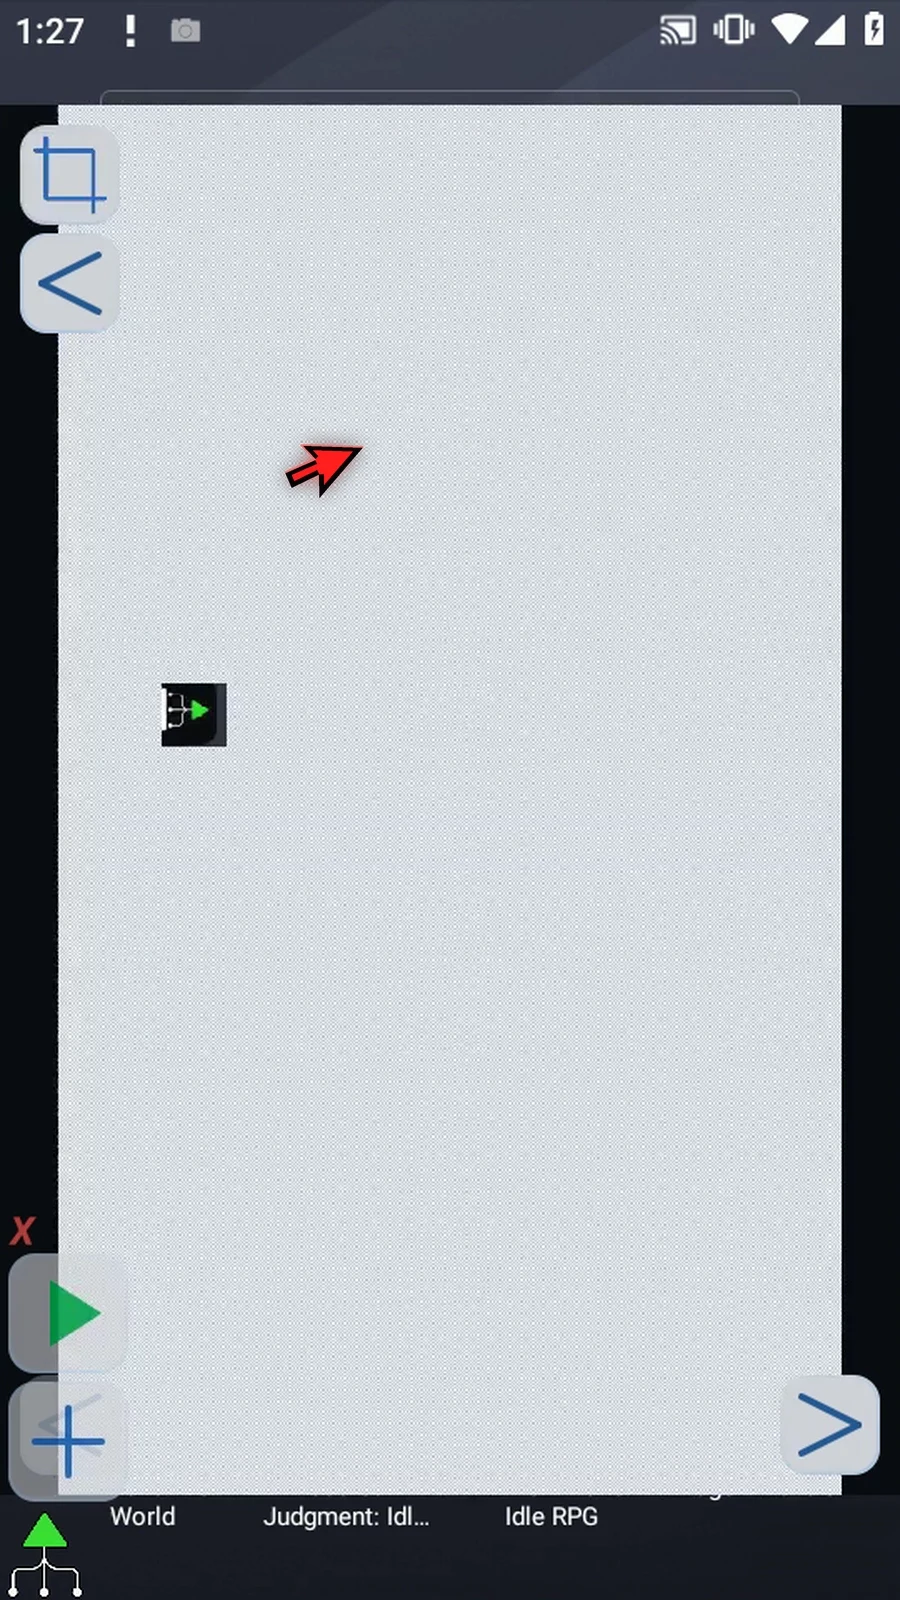
Step 19 Use the next arrow to compare the full-screen capture. It contains the entire Android display, including any visible ScriptTap overlays.
Step 20 Screenshot saves PNG files in the background, so the script does not wait for disk writes. With Run Logs enabled, each capture also has a timestamped Screenshot entry. Use the images and logs together to understand what the script saw.