Command video guide
IF
IF decides whether a group of commands runs. When its rule passes, the script runs the commands inside the block, then continues after End IF. This introduction demonstrates OR: at least one condition must be true.
Create and name a separate script. Expand Variables and manually drag SetVariable into Live Script. Keep Single and Integer, name it i1, set its value to 3, and keep This Script Only. This supplies the value before IF reads it.
Expand Logic and manually drag IF after the assignment. The paired End IF is created automatically. Double-tap the IF frame. Mode selects OR (at least one), AND (every condition), XOR (exactly one, not odd parity), or RGB Confidence (Hex-color matching).
Set the first condition to i1 > 2. Add a second condition, i1 < 0. An IF supports up to five conditions; scroll the form as needed. The small red X at a row divider removes that condition.
Relationship offers =, <>, >, >=, <, <=, Between and Contains. Text equality and Contains ignore letter case. Number and Time comparisons use their values. Between includes both bounds; a time-only range can cross midnight. A comparison value can be a literal or a compatible variable written earlier.
Drag PromptMe from Advanced into the script, then move its frame between IF and End IF at the blue insertion line. Keep Standard, set Header to Matched, and add a Next button with Boolean output b1. Leave Use Toggles & Text off.
Manually drag another PromptMe after End IF, with Header Complete, a Done button and output b2. This outside confirmation runs whether the condition passes or fails. An optional ELSE can provide an alternative inside path.
Close the editor and use Play. With i1=3, the first condition is true and the second false, so OR displays Matched. Press Next to reach Complete, then Done to finish automatically. IF controls execution; it does not change the tested value.
Intro / OR
Step-by-step guide
Step 01 IF decides whether a group of commands runs. It checks conditions, runs the commands inside when its rule passes, then continues after End IF. We will use OR to check two numeric conditions and show which path ran.

Step 02 Open the main overlay menu, then choose Scripts.
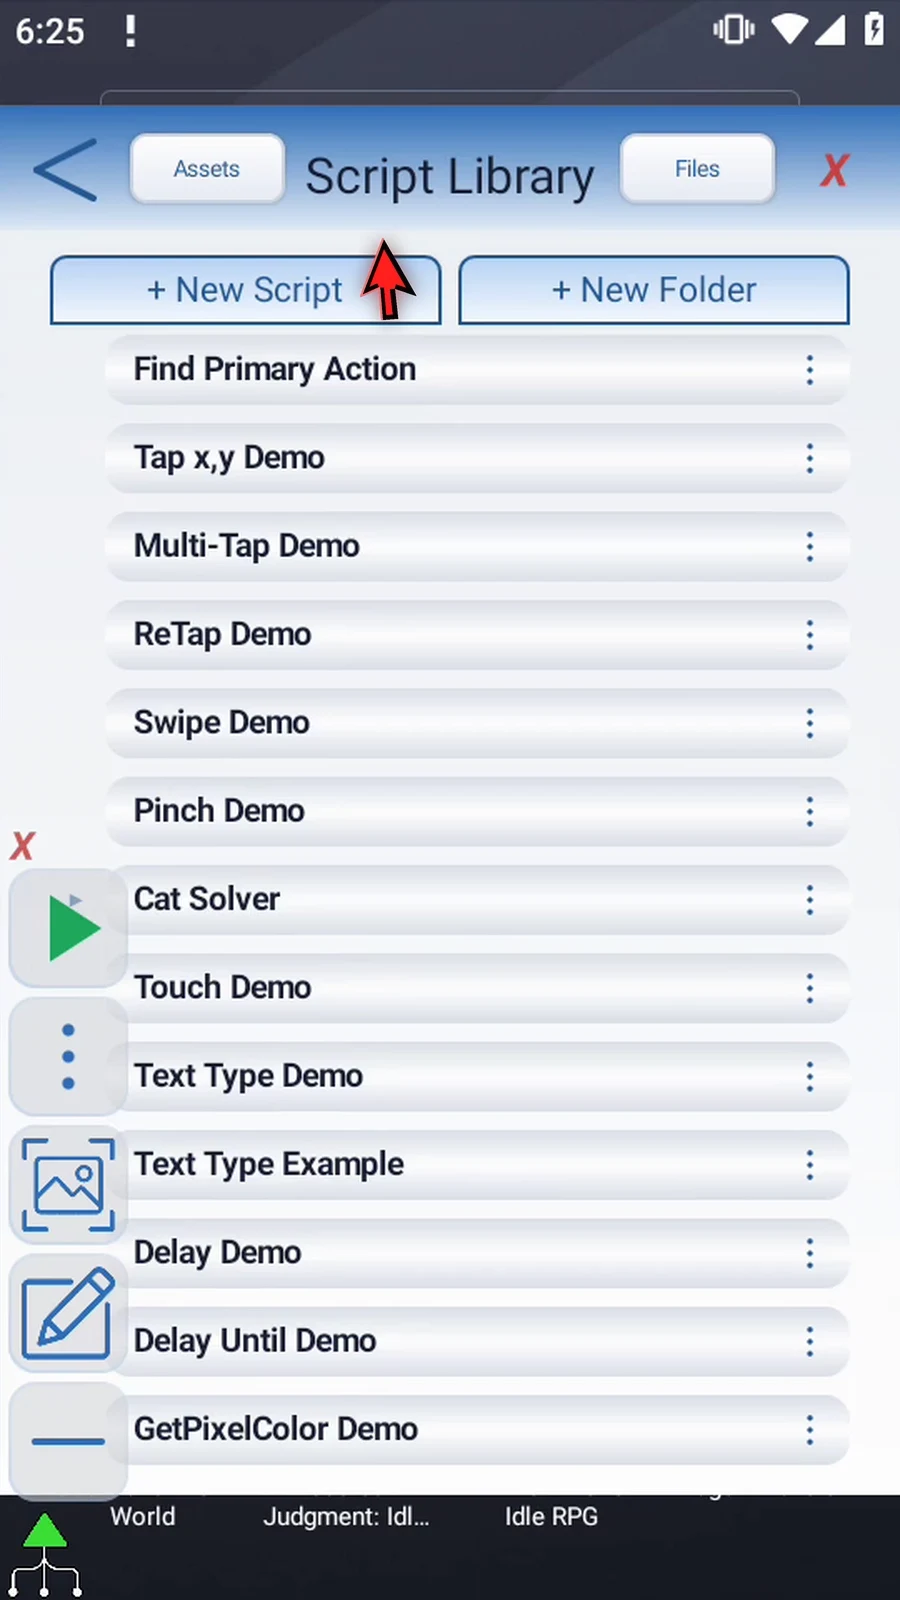
Step 03 Tap New Script and choose Blank Script.
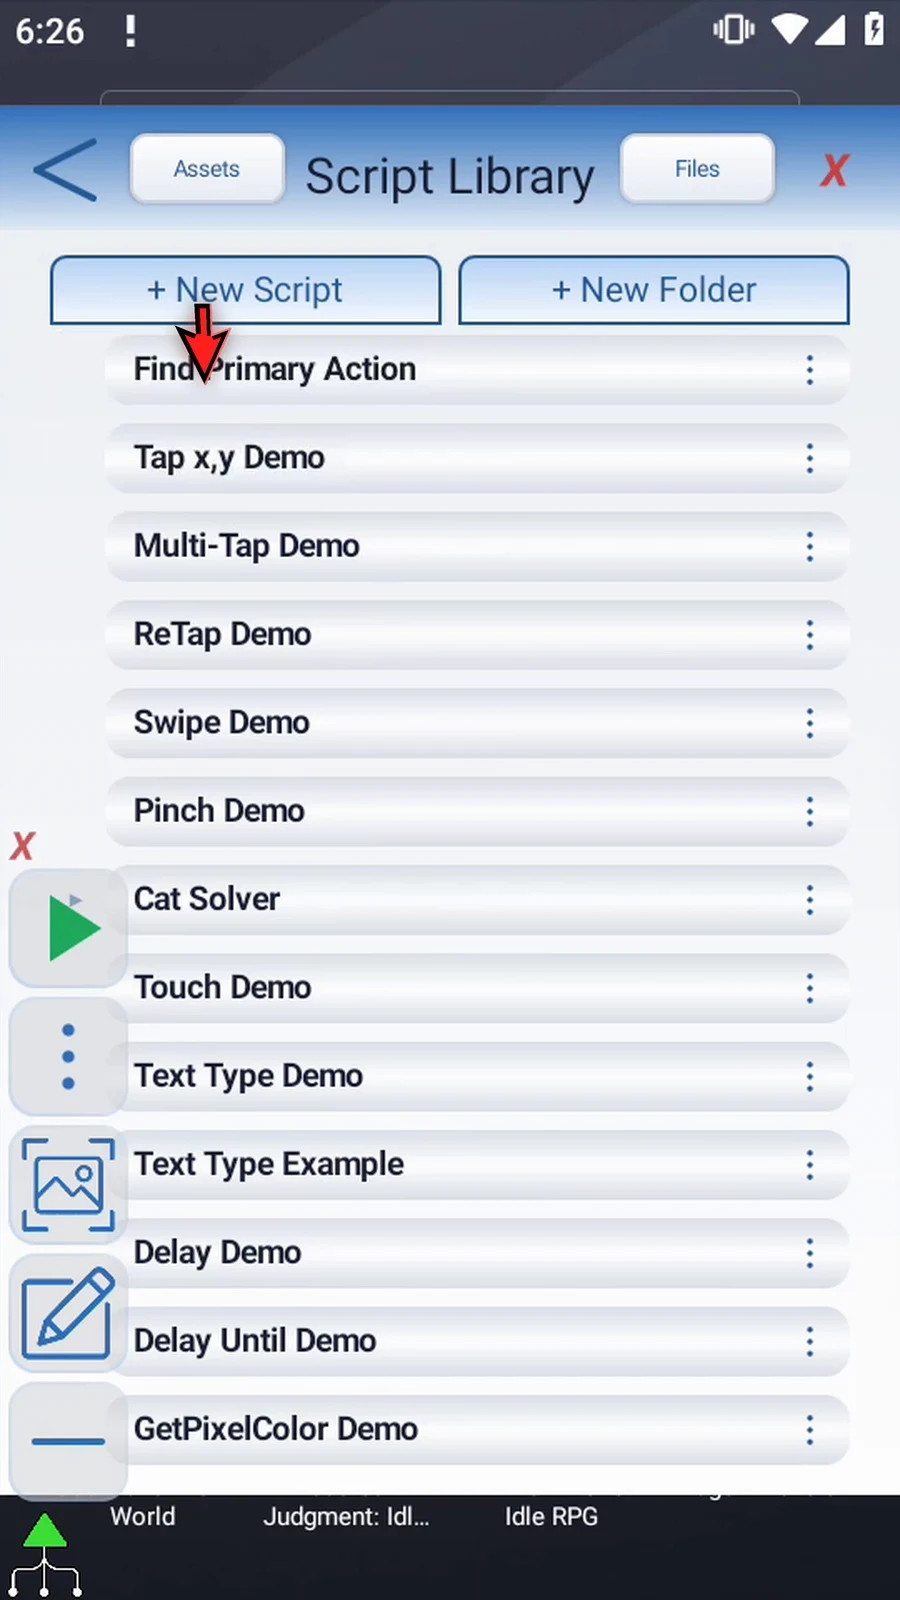
Step 04 Scroll to the new row if needed. We will use a separate example and leave existing scripts unchanged.
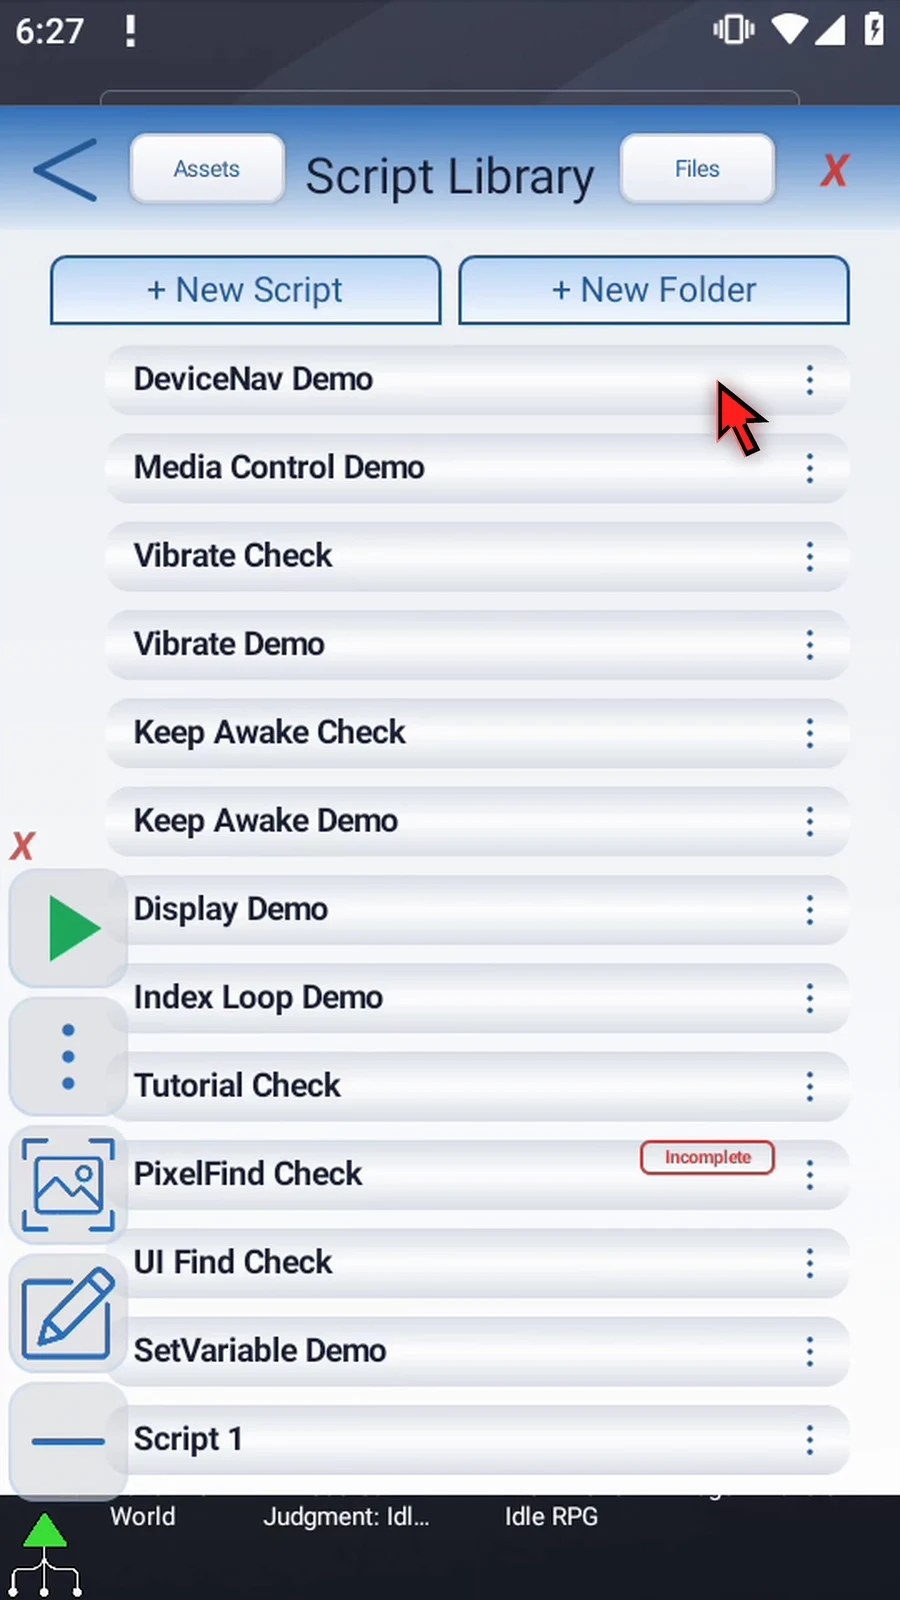
Step 05 Open the new row's menu and choose Rename. Give the script a descriptive name, then tap OK.
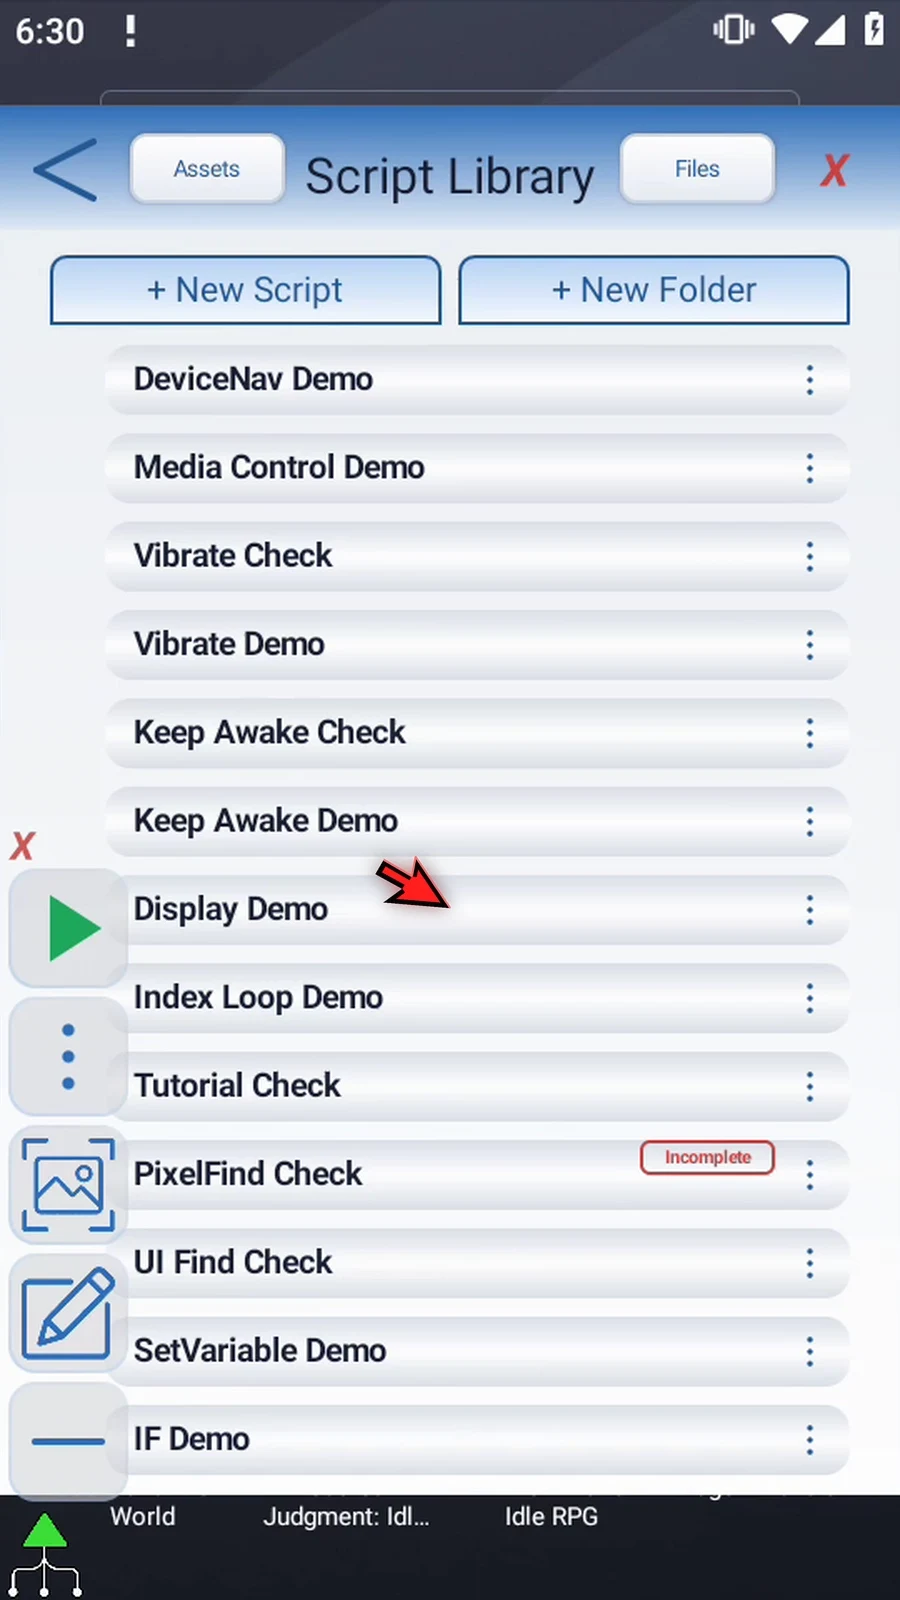
Step 06 Select the new script, open the editor, and collapse the extra overlay controls.
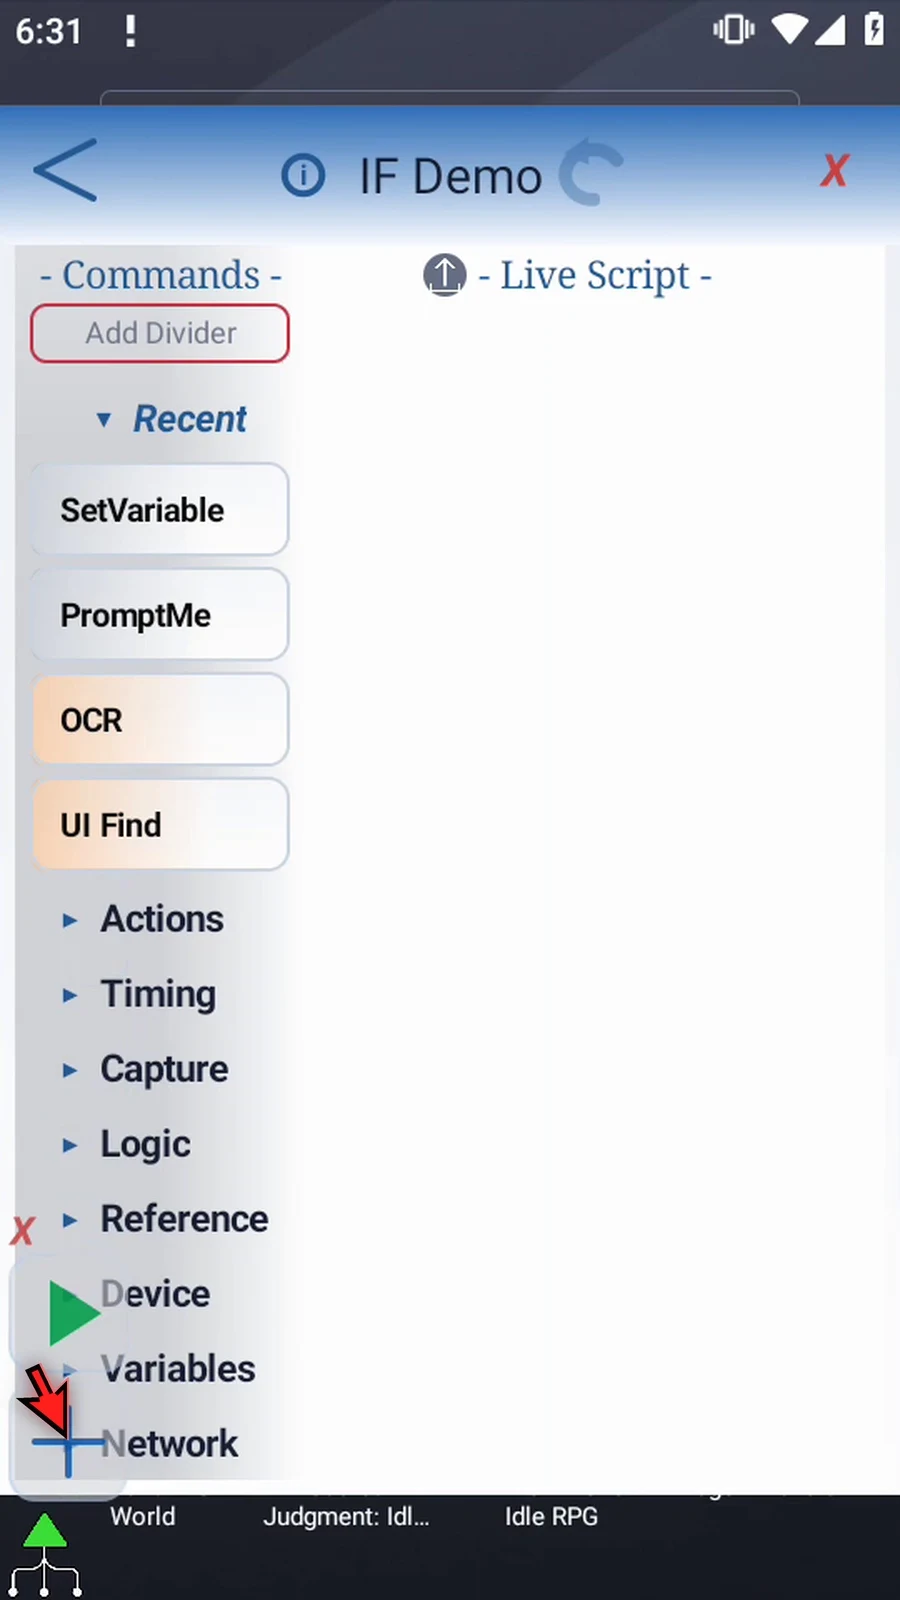
Step 07 First we need a value to test. Expand Variables and drag Set Variable into the script. Double-tap its frame to configure it.
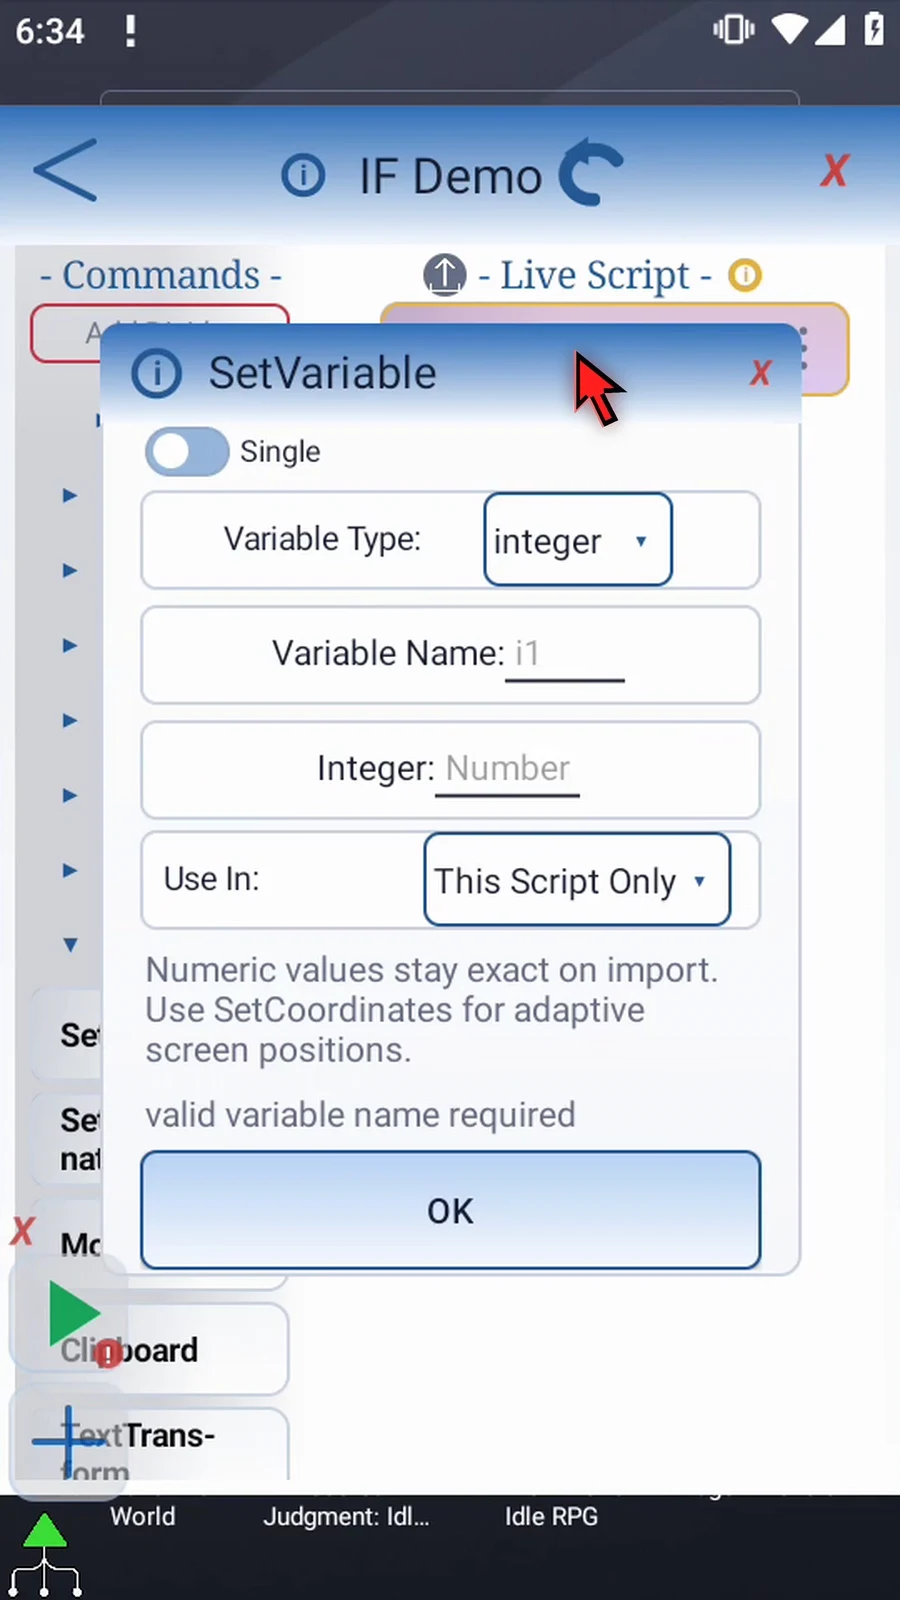
Step 08 Keep Single mode and Integer. Name the variable i1. This supporting command defines the value before IF reads it.
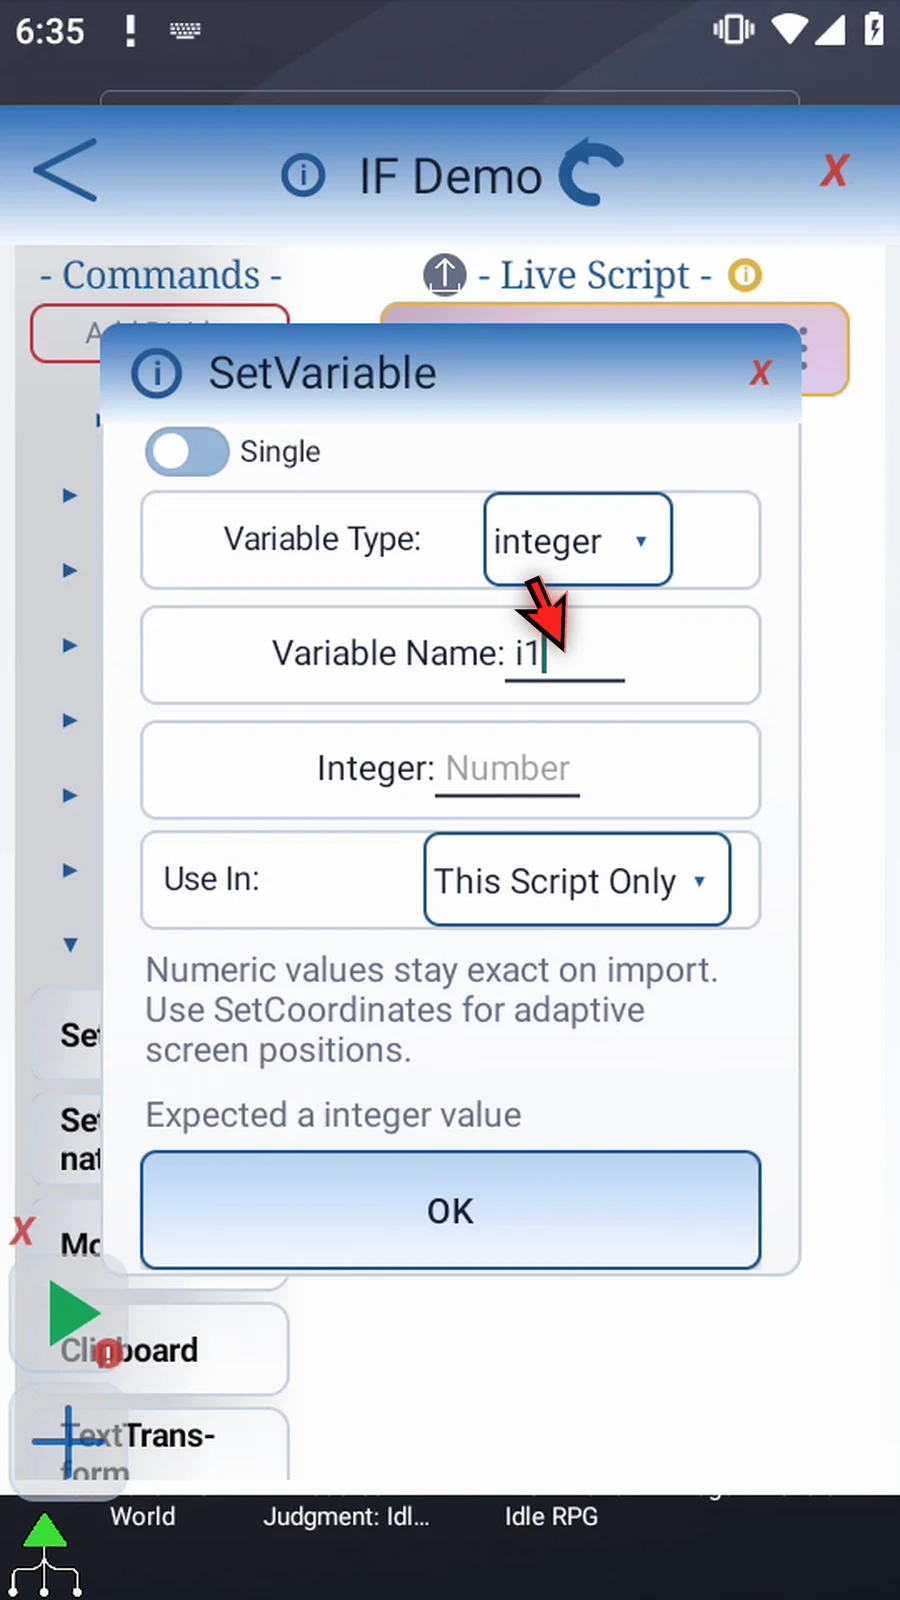
Step 09 Set its value to three and keep This Script Only. Now tap OK.
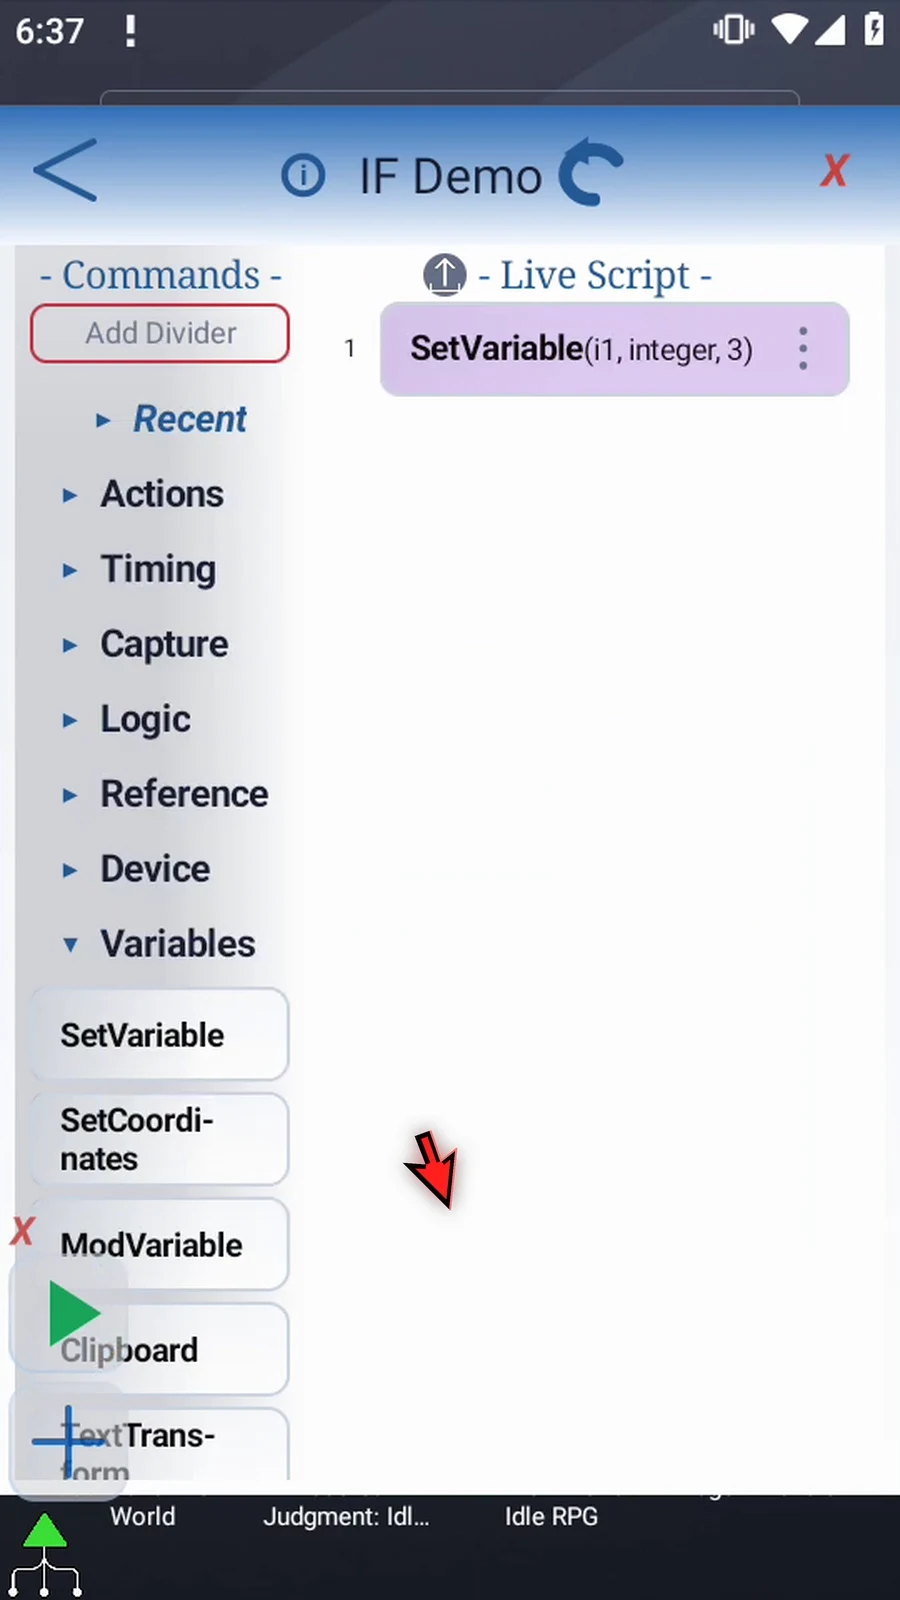
Step 10 Collapse Variables and expand Logic. Drag IF after Set Variable. Its matching End IF is created with the block.
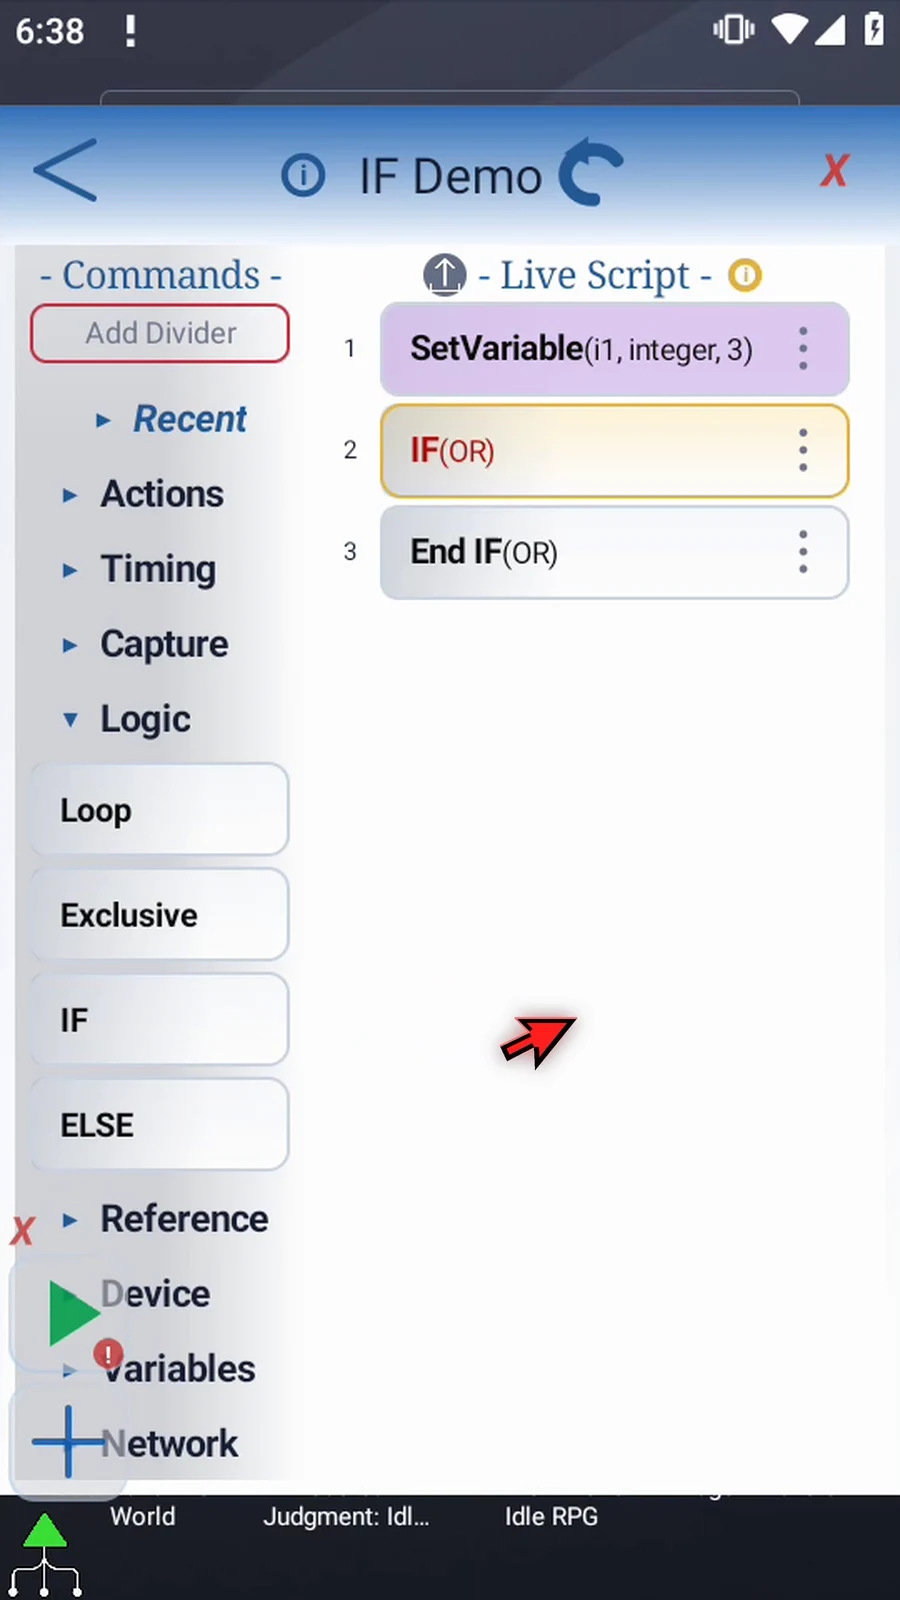
Step 11 Double-tap the IF frame to open its conditions.
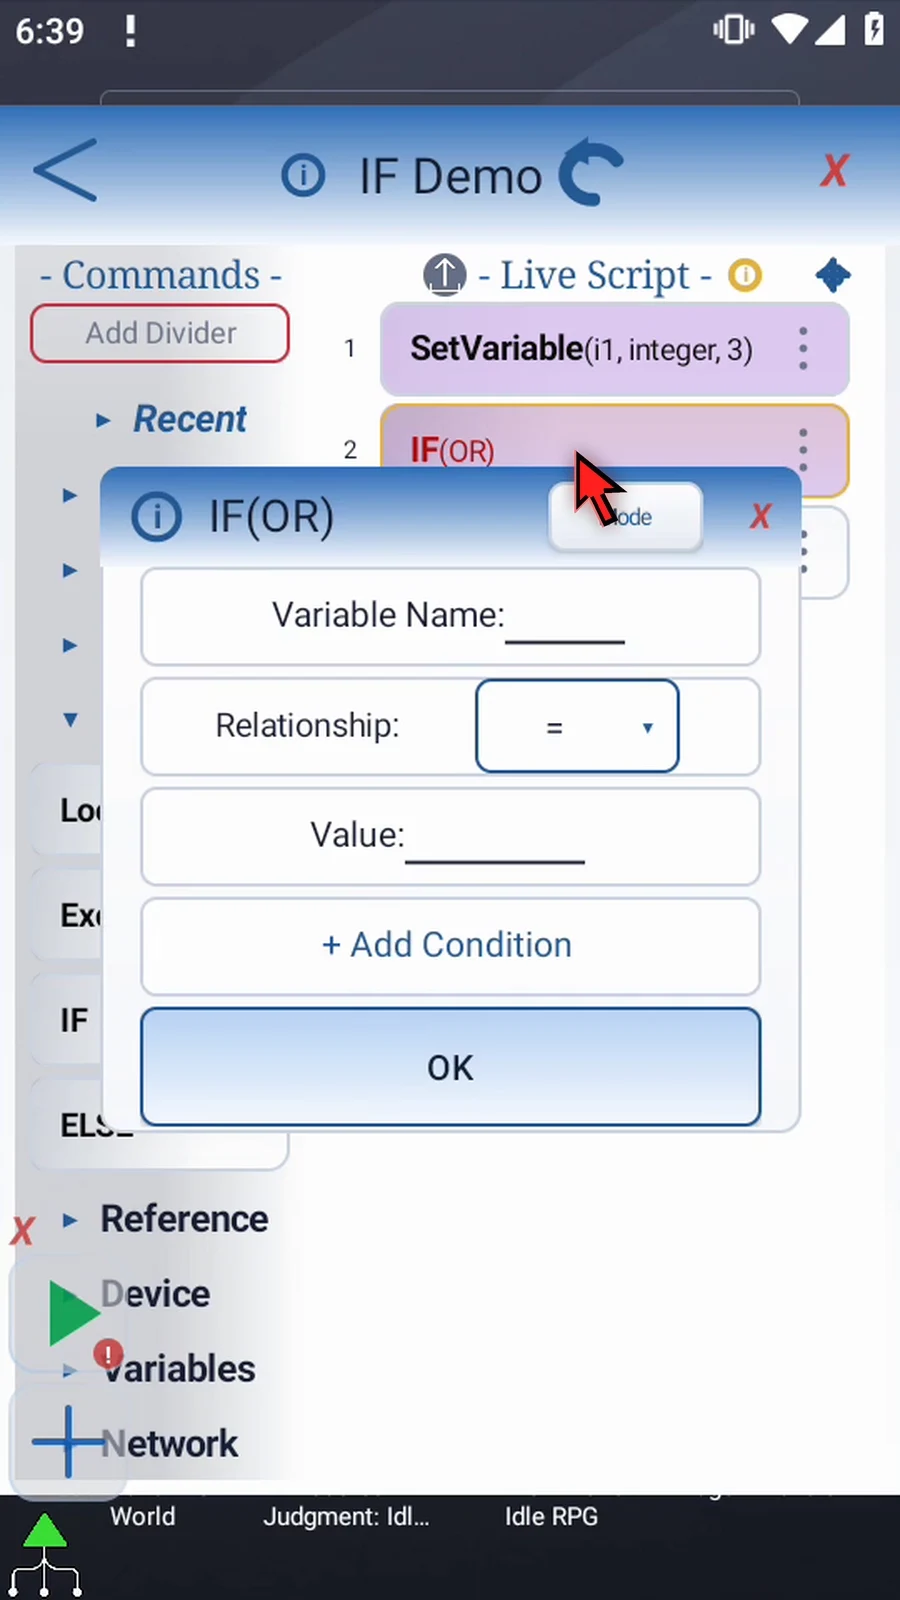
Step 12 Mode changes the rule. AND requires every condition; XOR requires exactly one, not just an odd number; and RGB Confidence compares Hex colors. Keep OR here: at least one condition must be true.
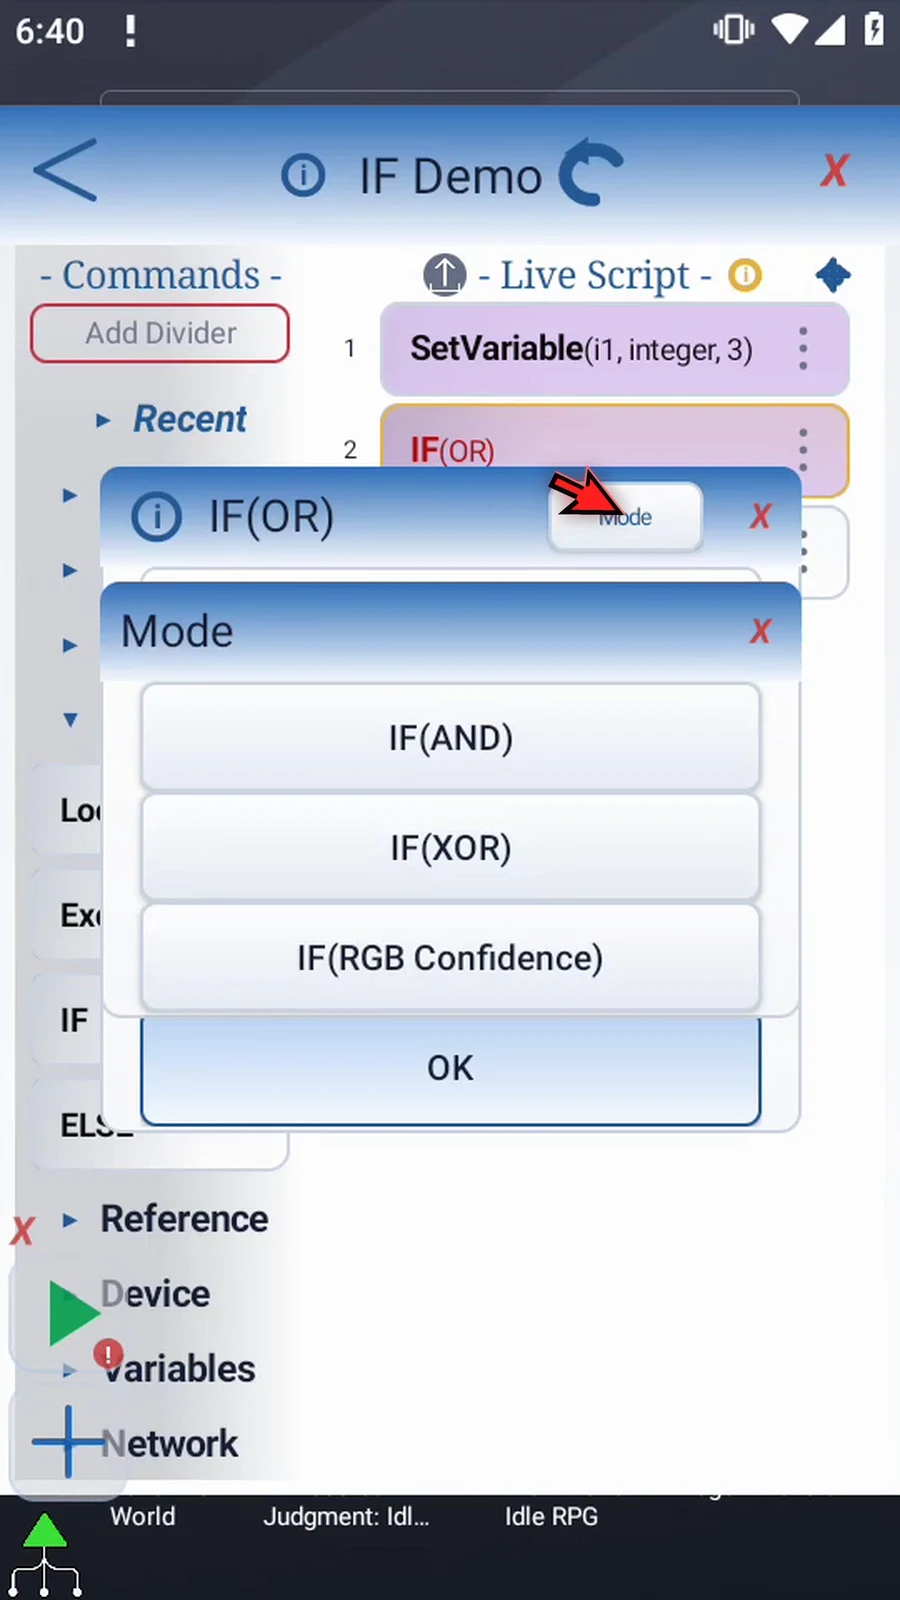
Step 13 Enter i1 as Variable Name. Use a value declared earlier, and choose comparisons appropriate for its type.
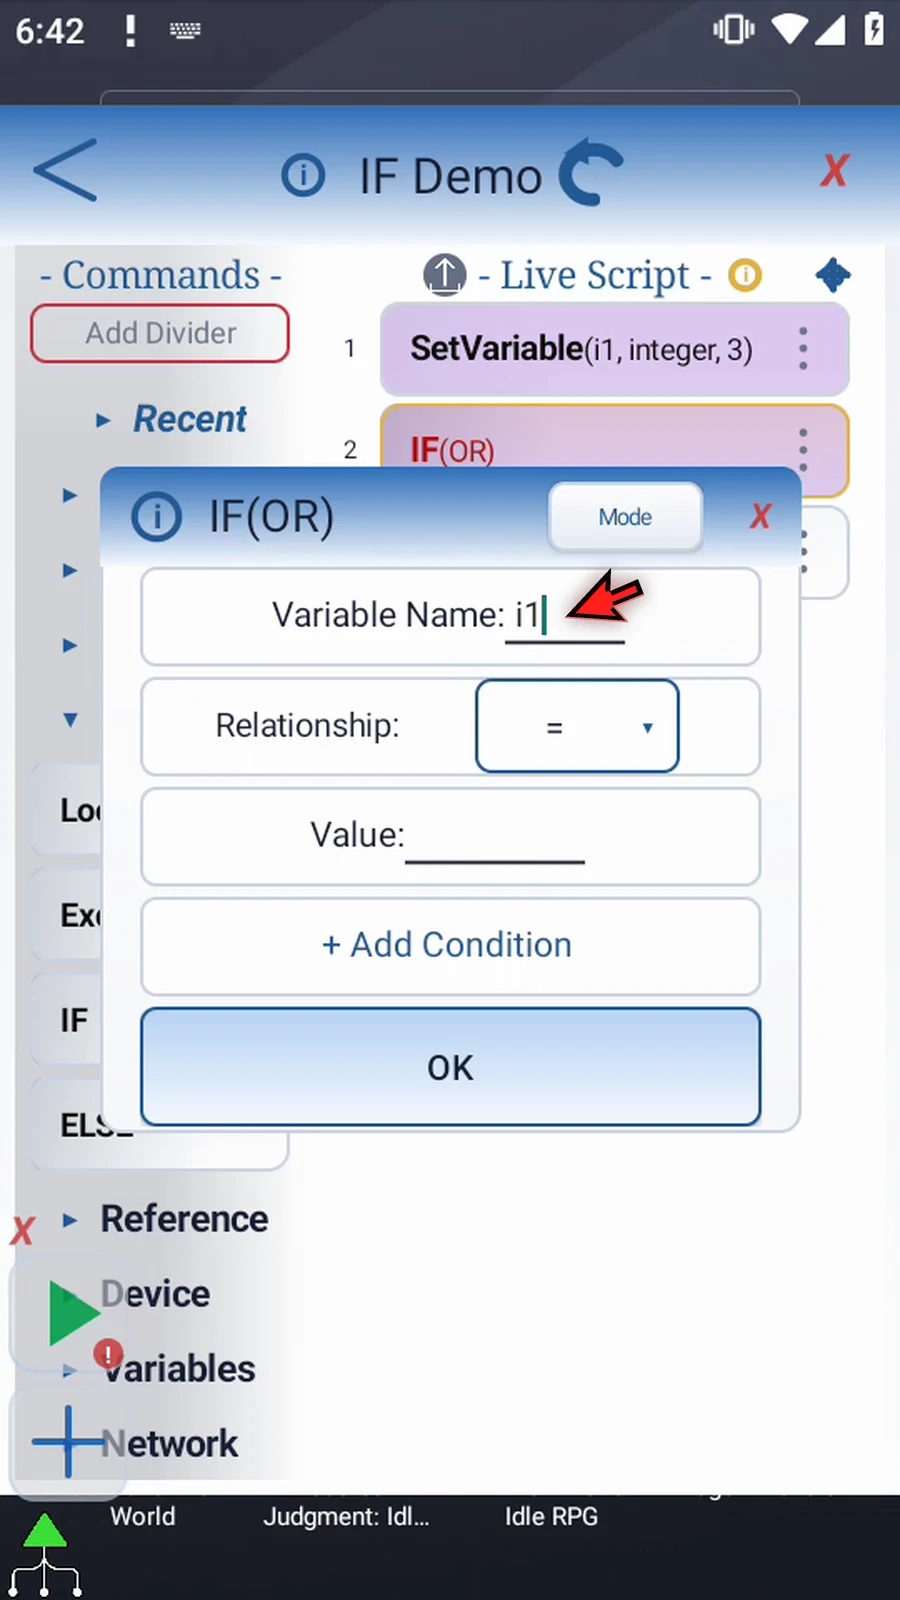
Step 14 Relationship offers equal, not equal, greater or less, their inclusive versions, Between, and Contains. Text equality and Contains ignore letter case. Number and Time comparisons use their values.
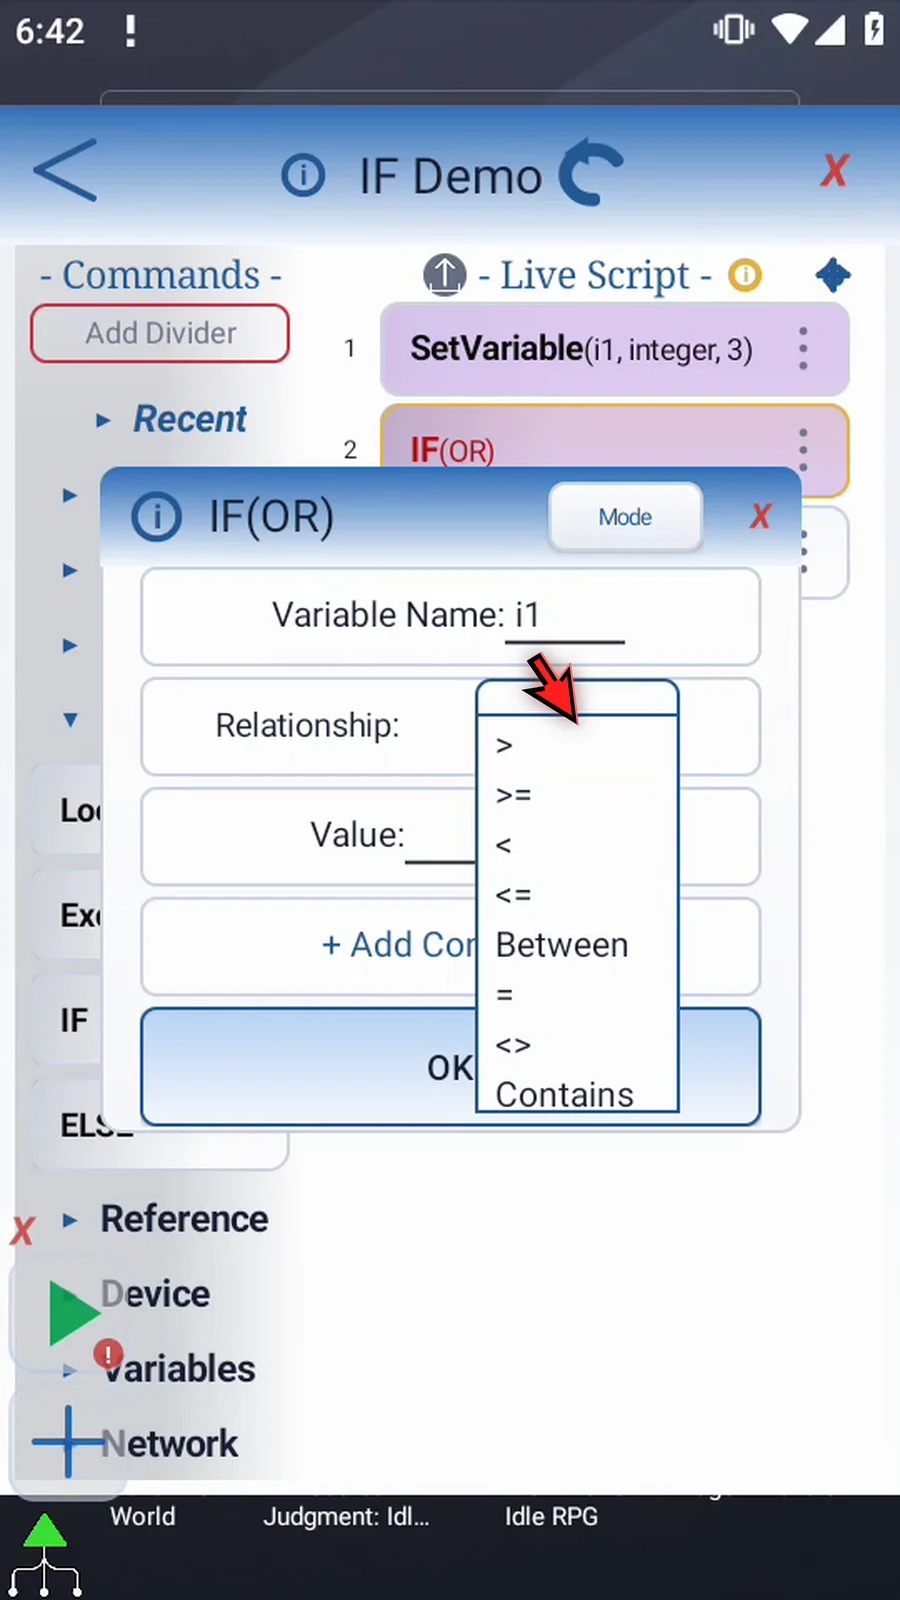
Step 15 Between shows two bounds and includes both ends. A time-only range can cross midnight. Values can be literals or compatible earlier variables. For this example, switch back to greater than.

Step 16 Enter two. The first condition is i1 greater than two. With our assigned value of three, this condition is true.
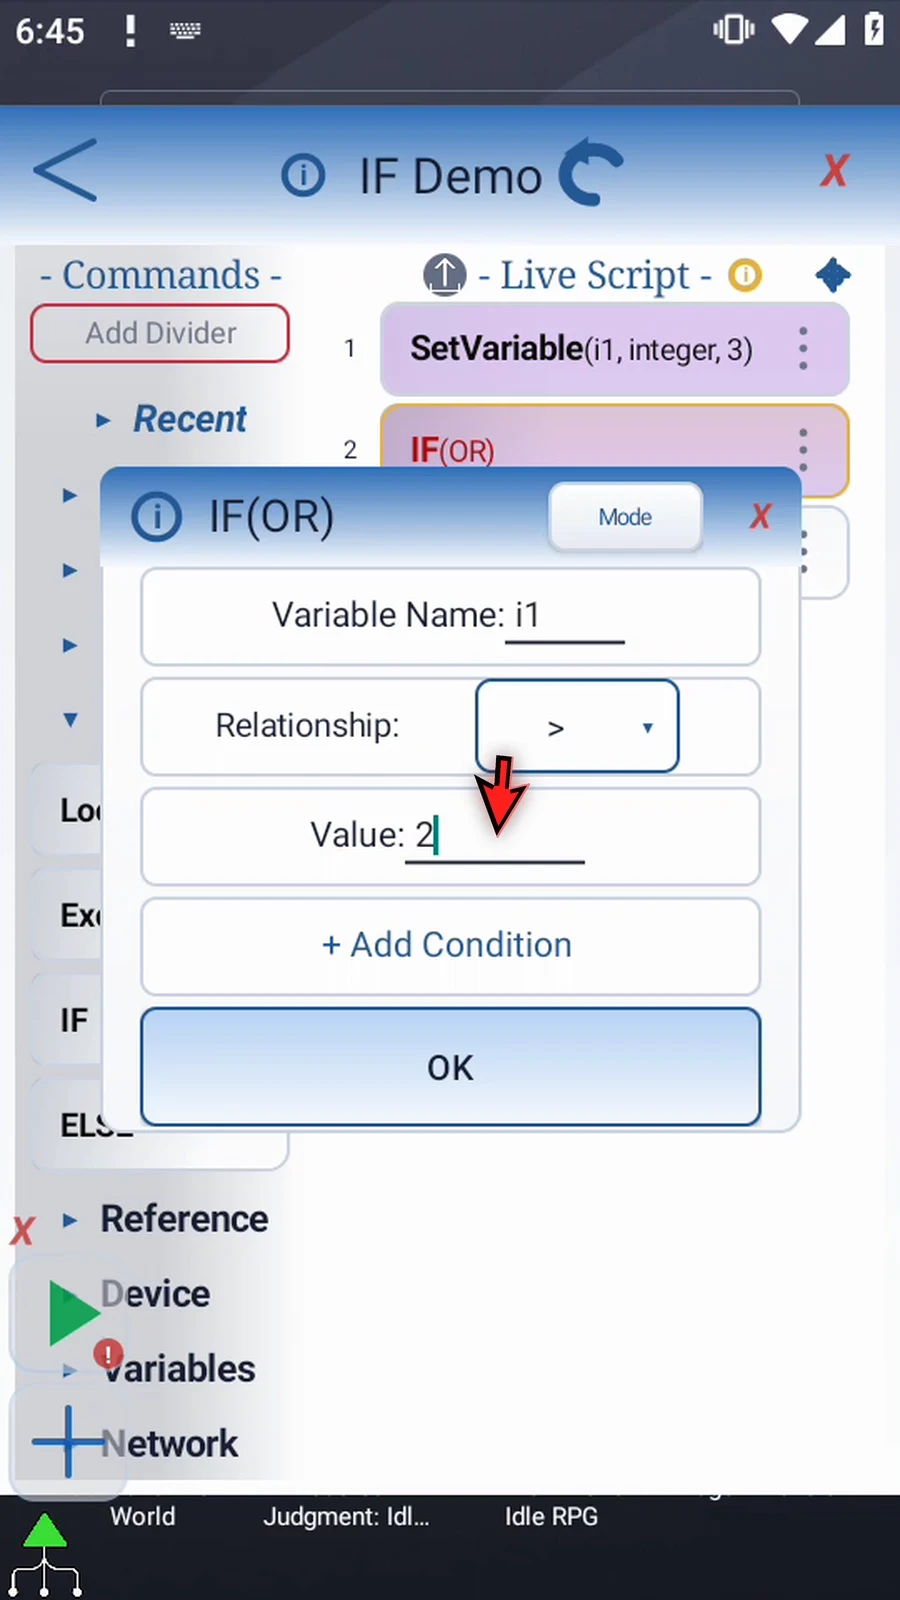
Step 17 Tap Add Condition to add another row. One IF supports up to five conditions; scroll the form when necessary.
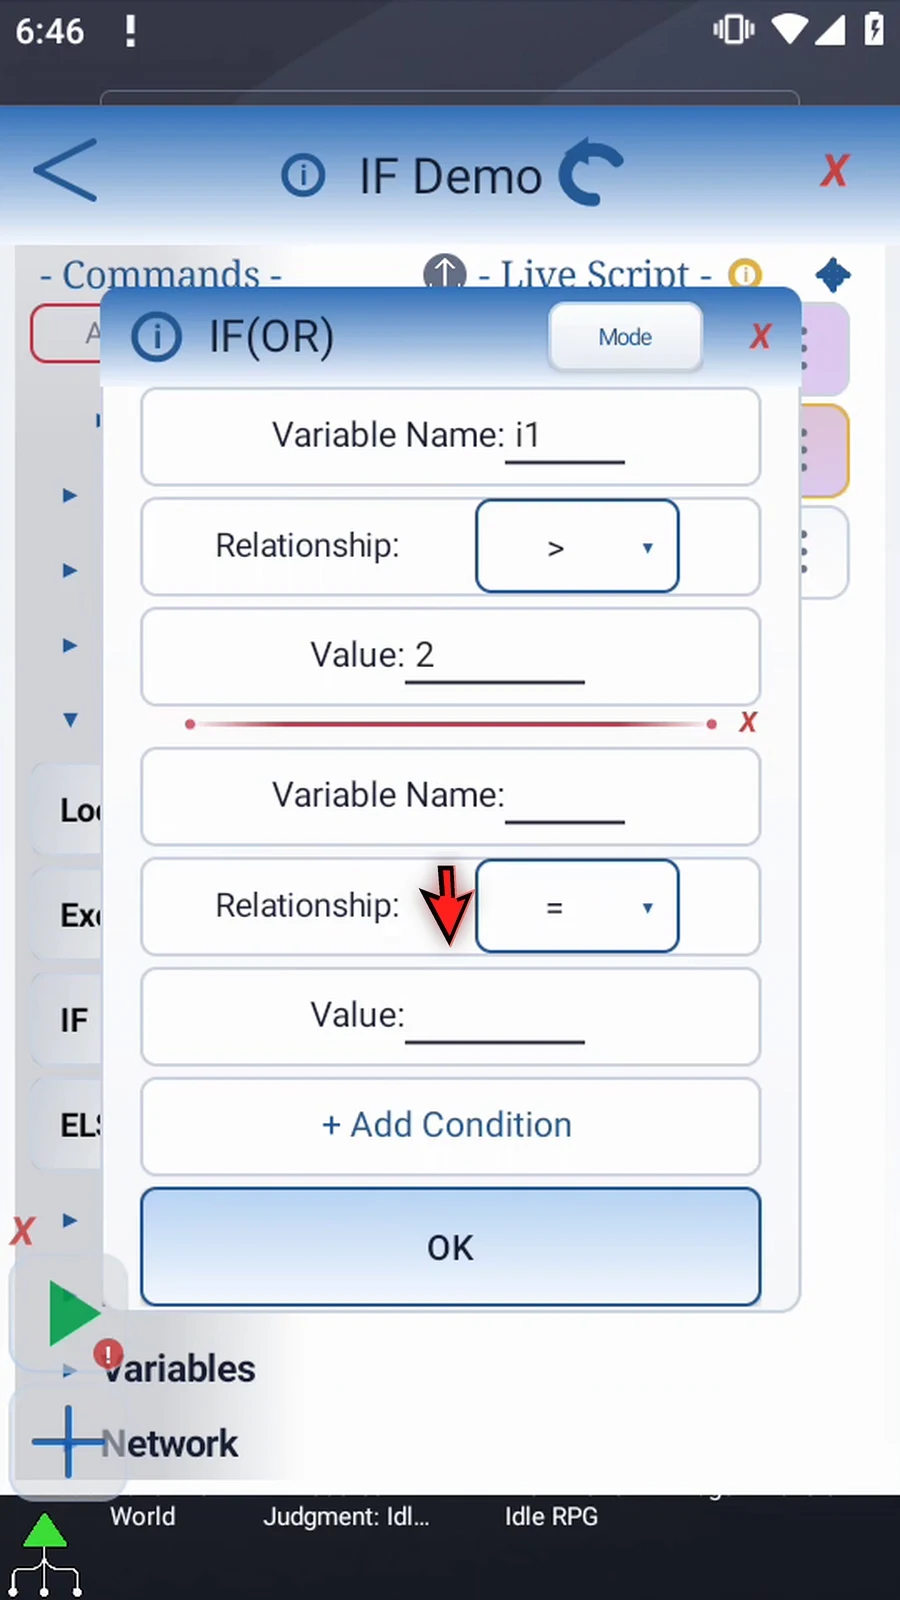
Step 18 Use i1 again for the second condition.
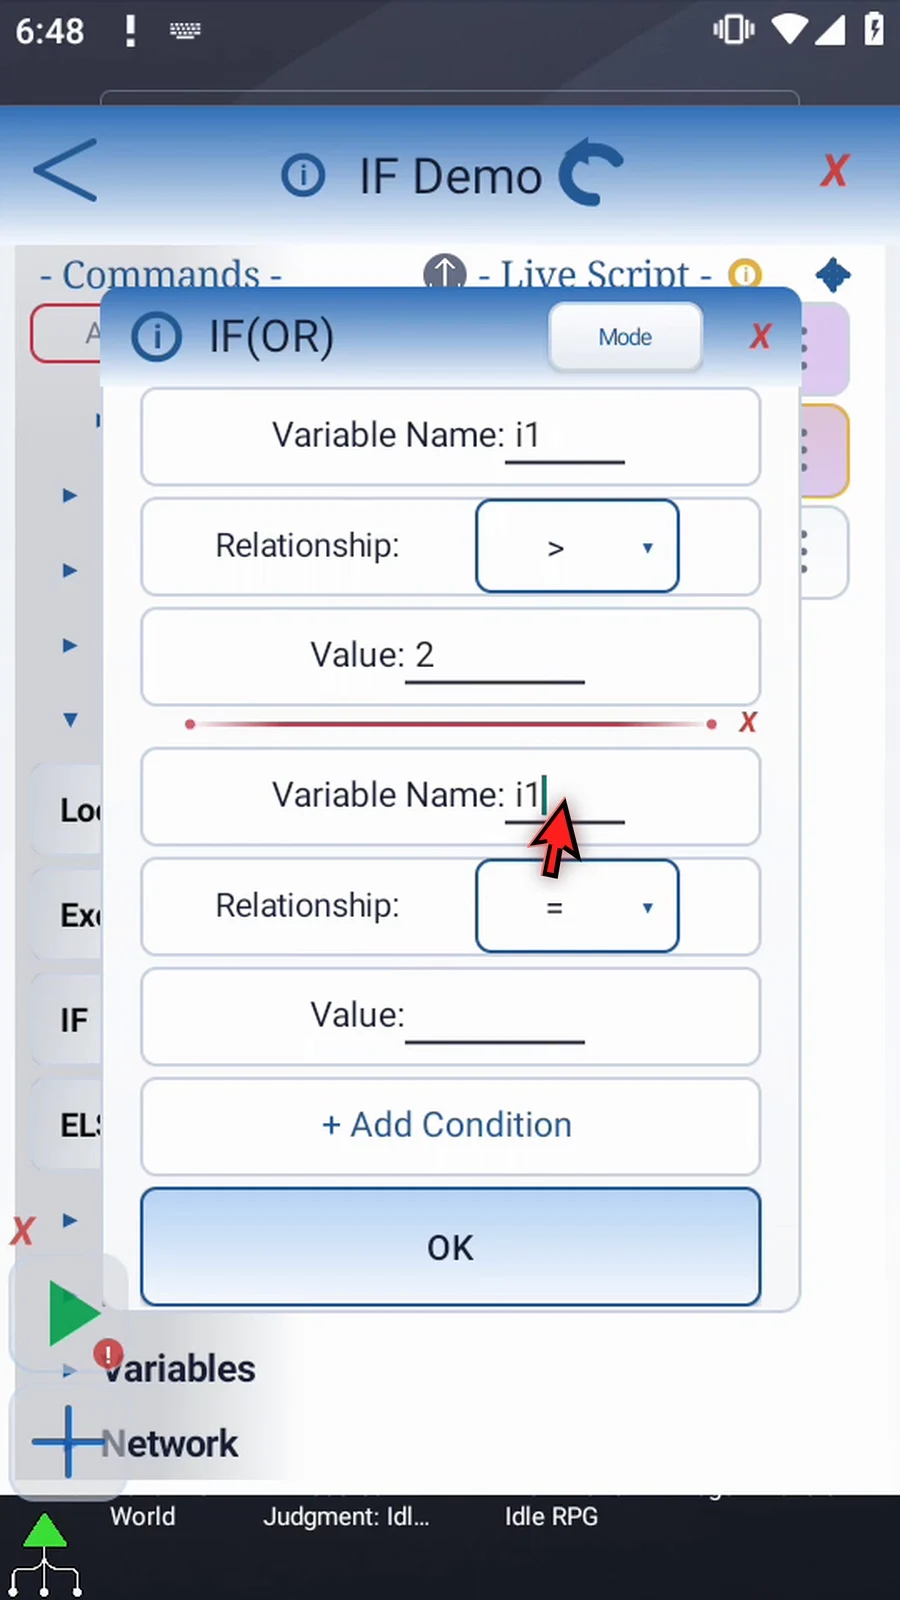
Step 19 Choose less than for its relationship.
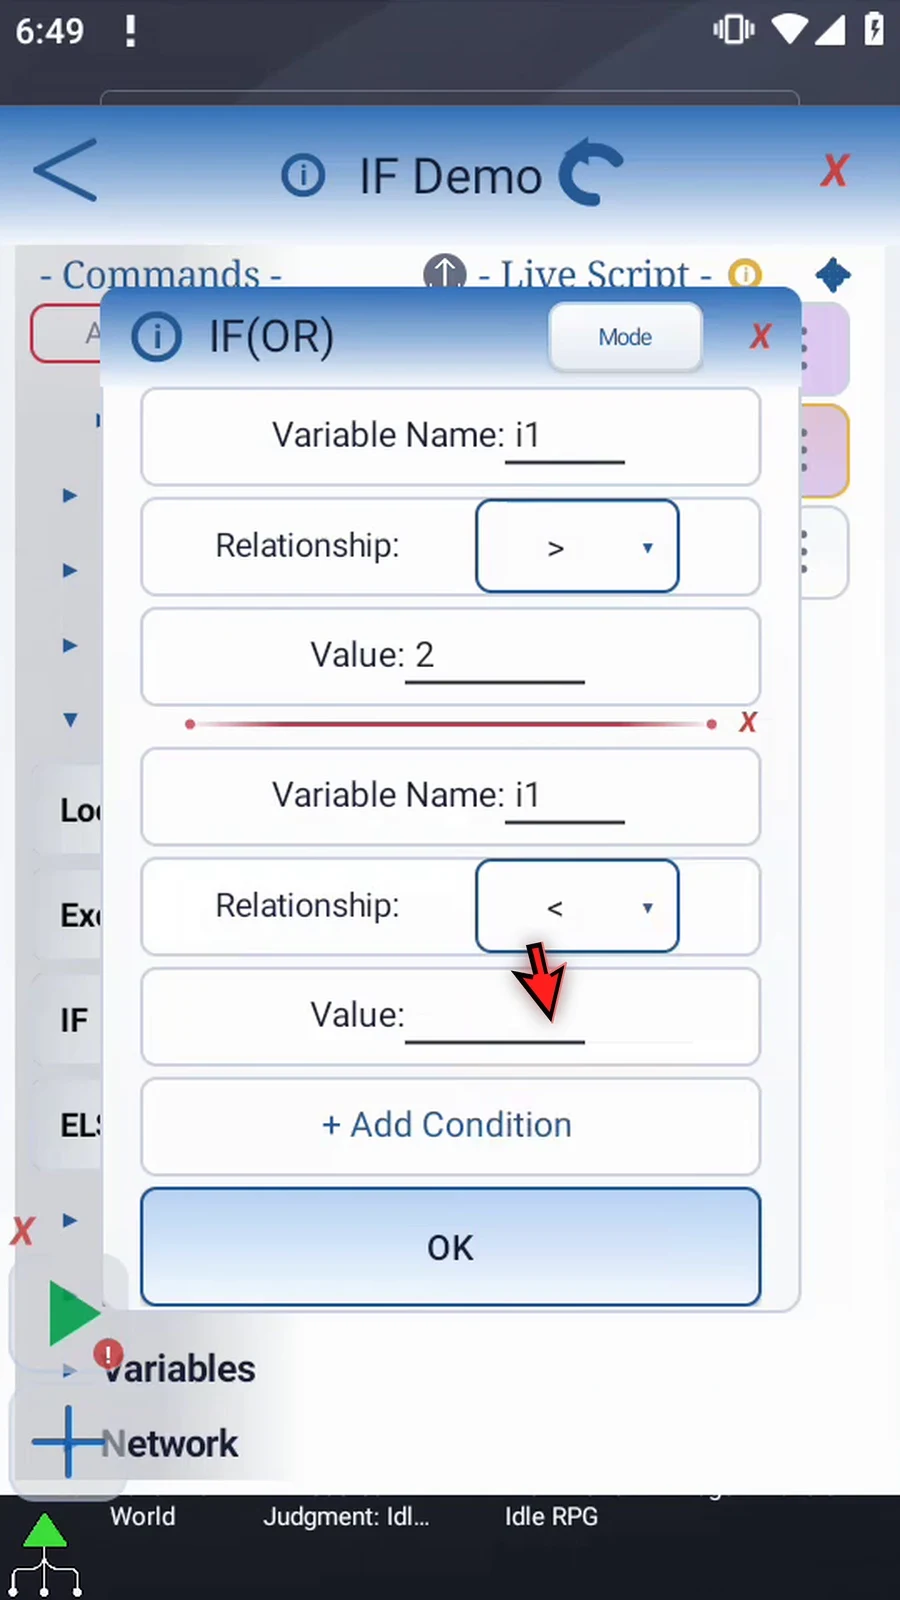
Step 20 Enter zero. Three is not less than zero, so this condition is false. OR still passes because our first condition is true.
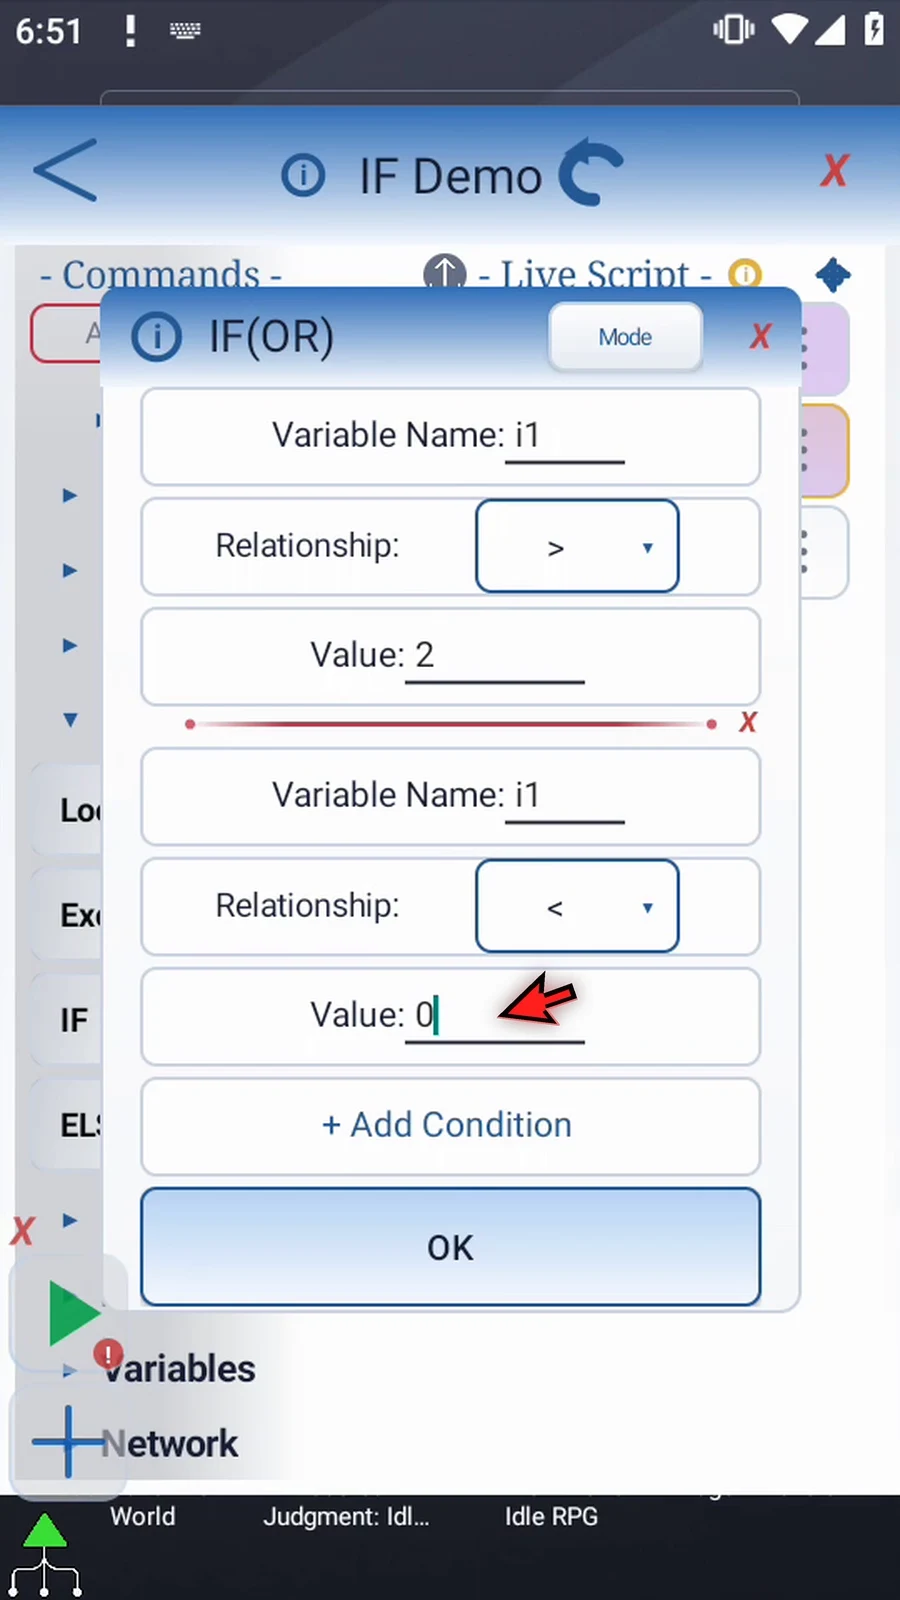
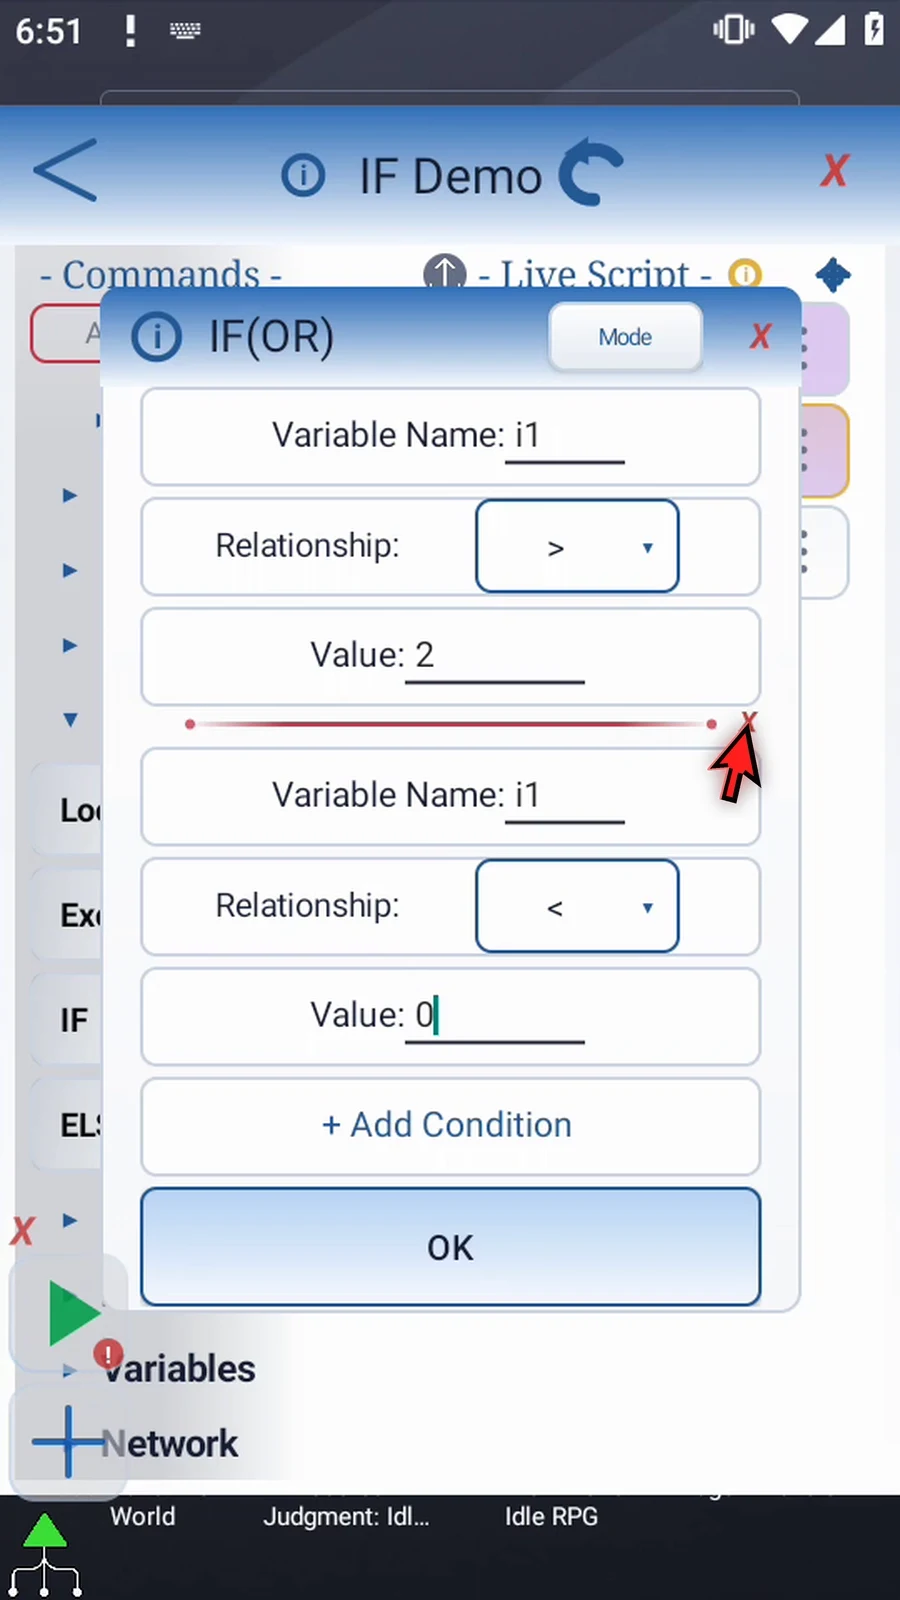
Step 21 Use the small red X beside a row divider to remove a condition. Keep our two rows, then tap OK.
Step 22 We need a visible result inside the block. Collapse Logic, expand Advanced, and scroll to PromptMe. Drag it into the script, then move its frame between IF and End IF. Release at the insertion line.
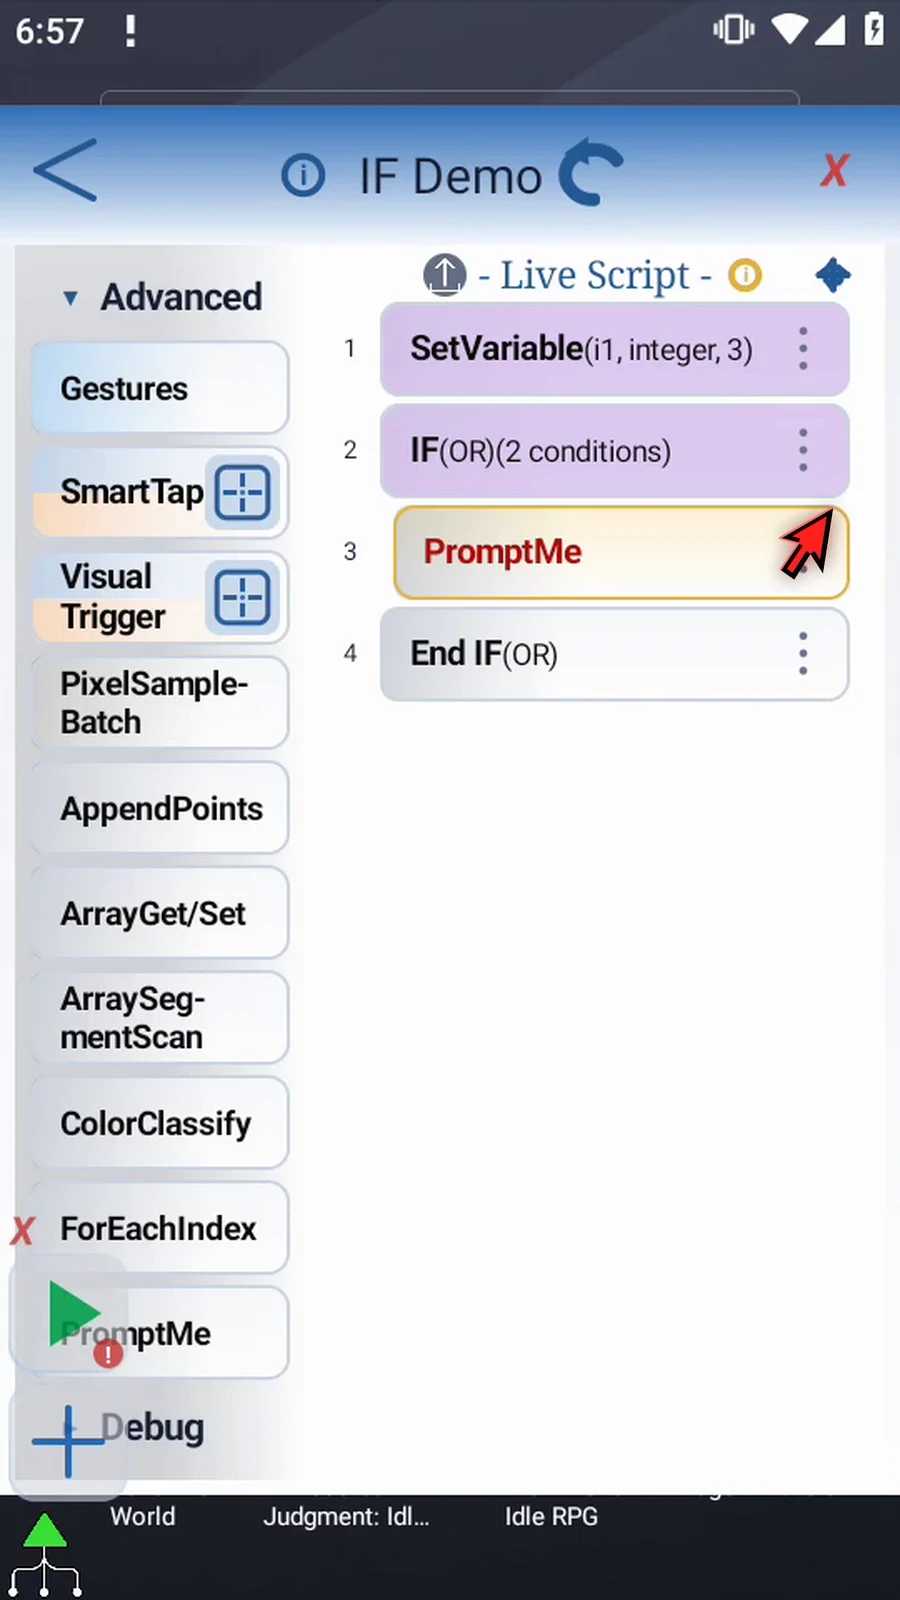
Step 23 Open PromptMe, keep Standard mode, and set its header to Matched. This message will appear only when the IF rule passes.
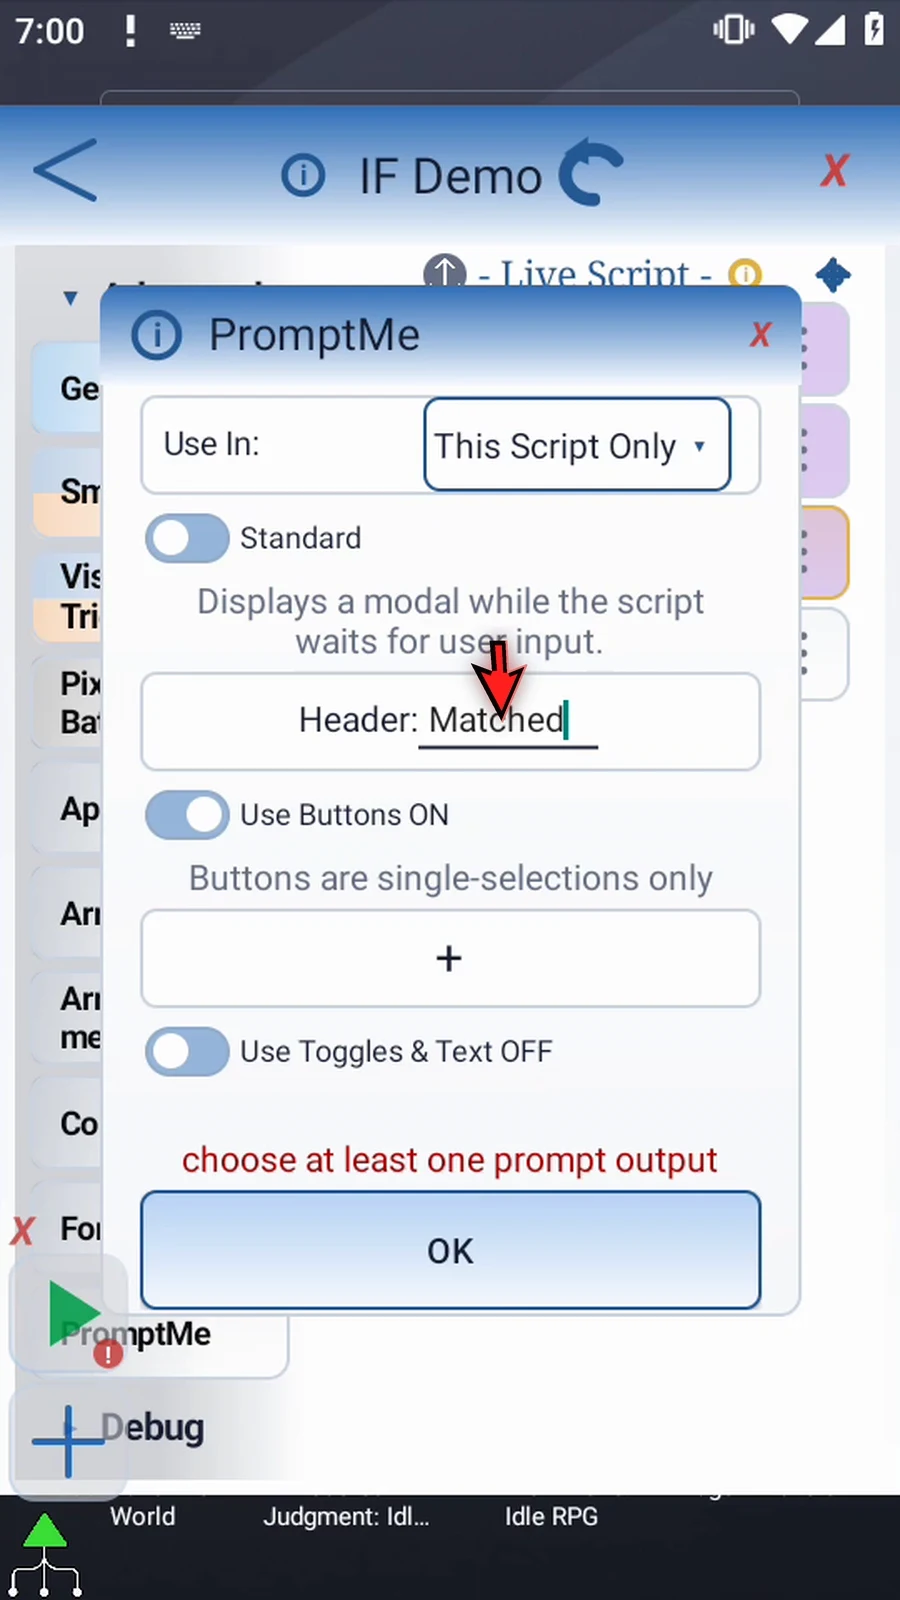
Step 24 Add one button with caption Next and Boolean output b1, then tap OK. The button lets us continue after seeing the matched path.
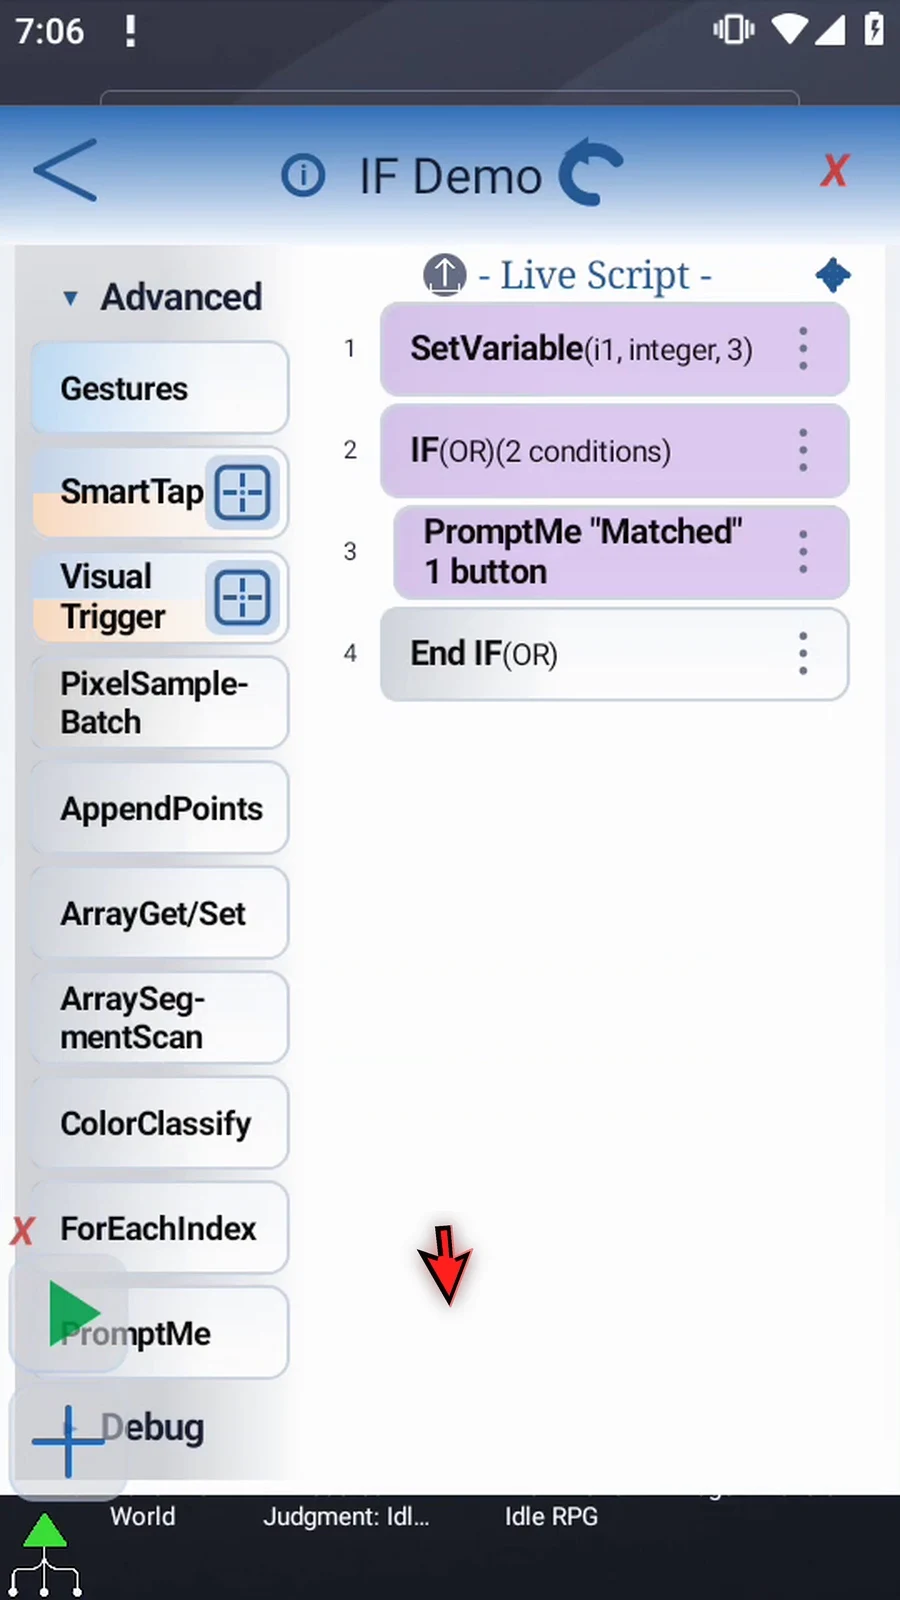
Step 25 Drag another PromptMe after End IF. It must be outside the block, so it can confirm that execution continued whether the conditions passed or failed.
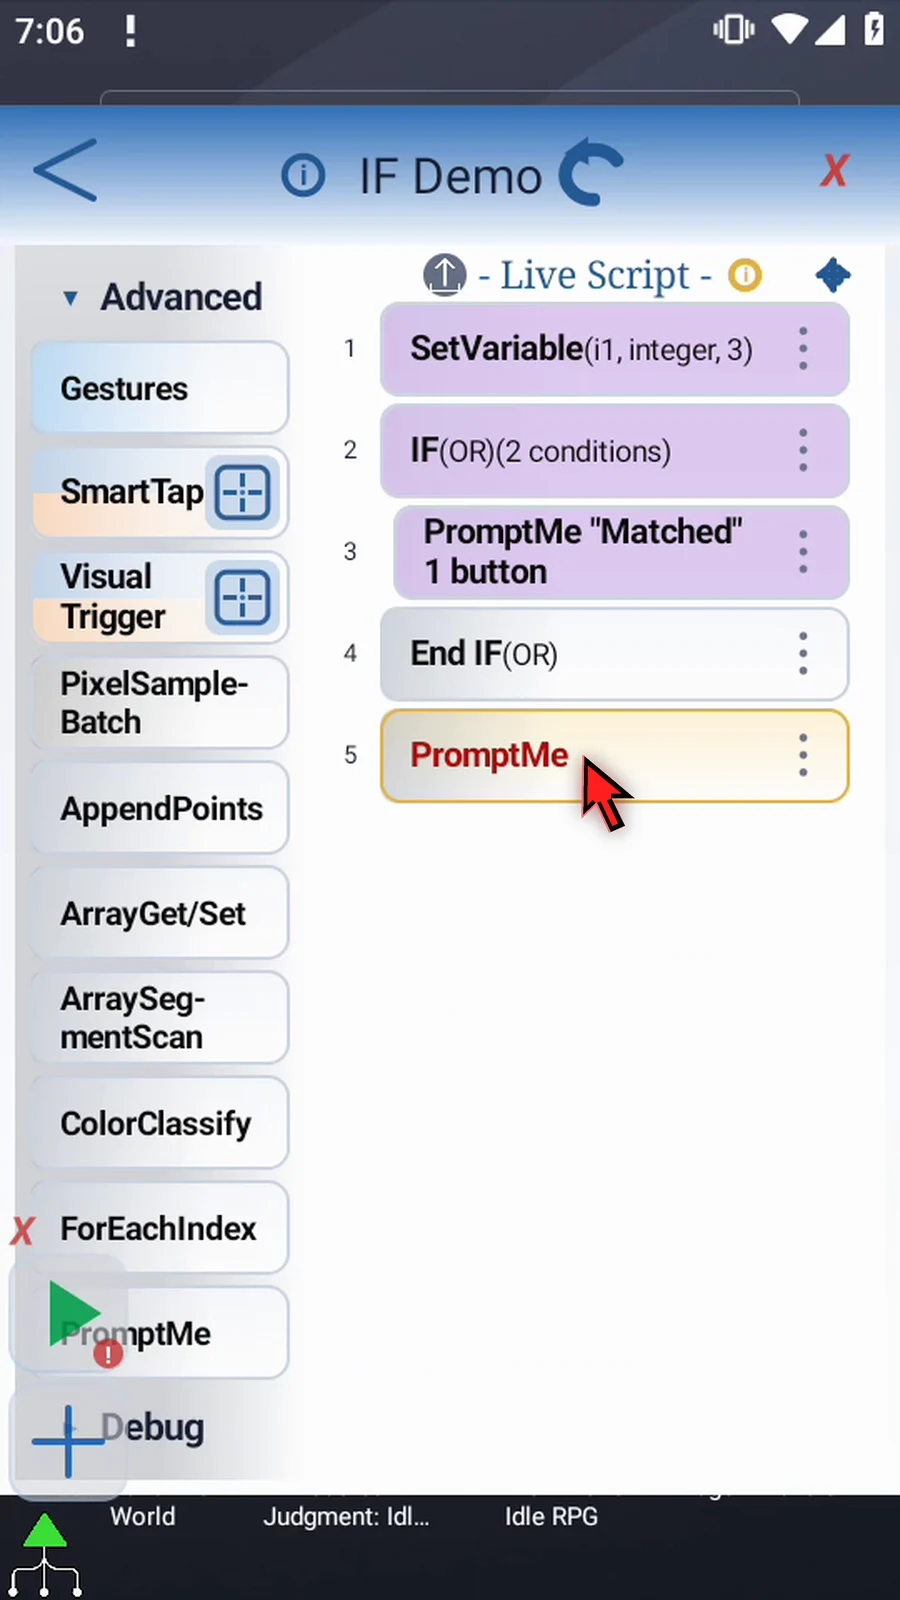
Step 26 Open this prompt and set its header to Complete.
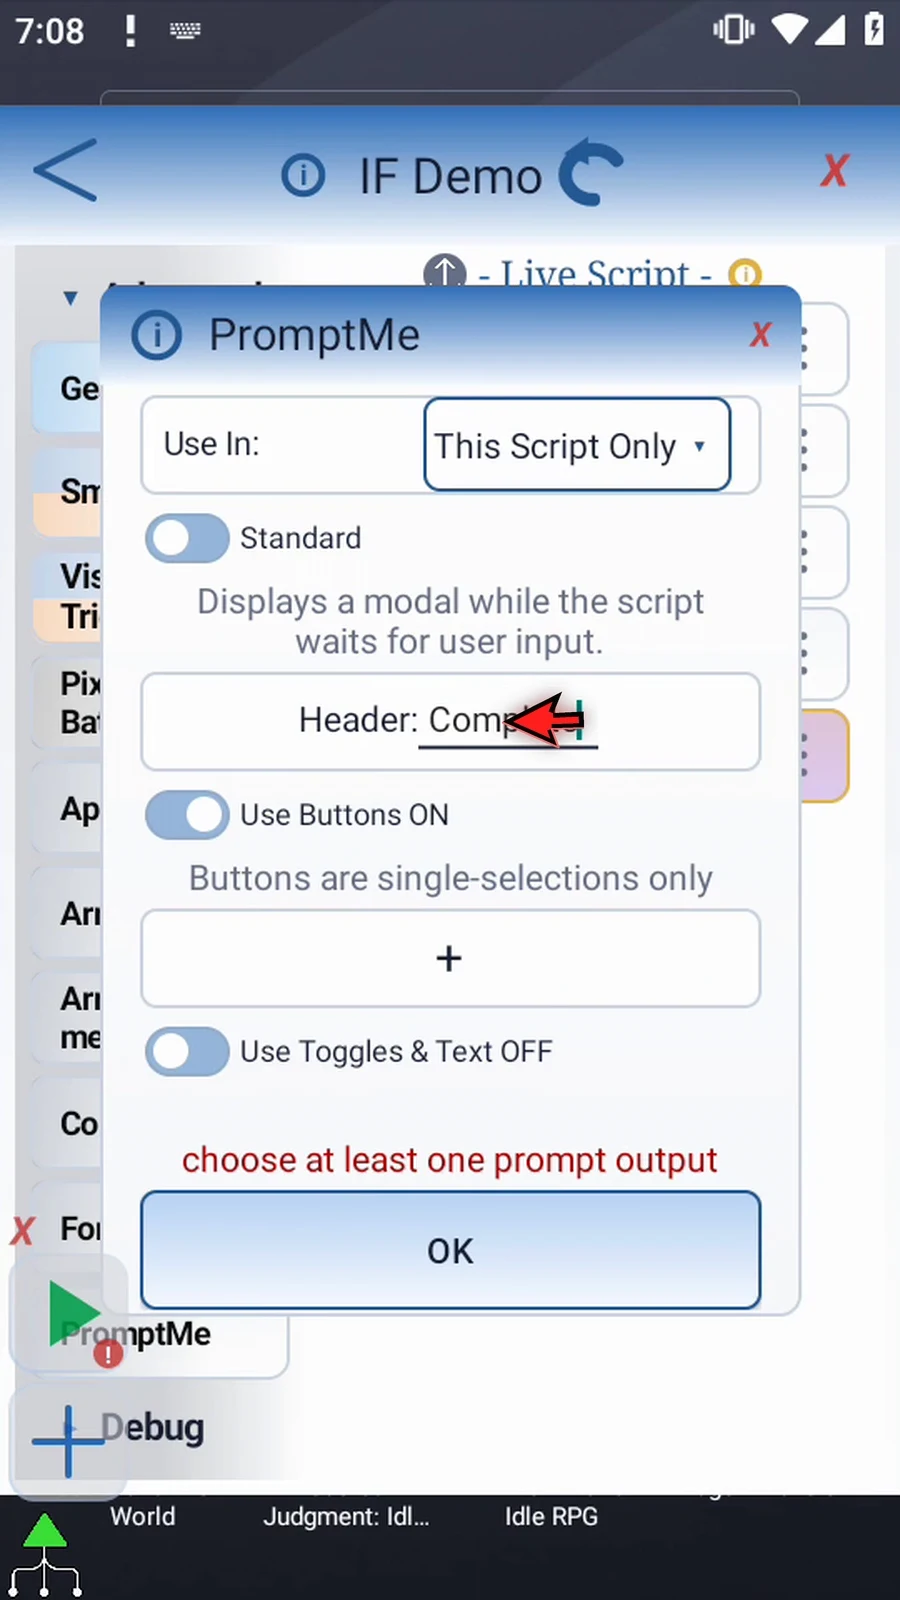
Step 27 Add a button with caption Done. Enter b2 for its Boolean output, separate from the Next button. Keep text input off, then save with OK.
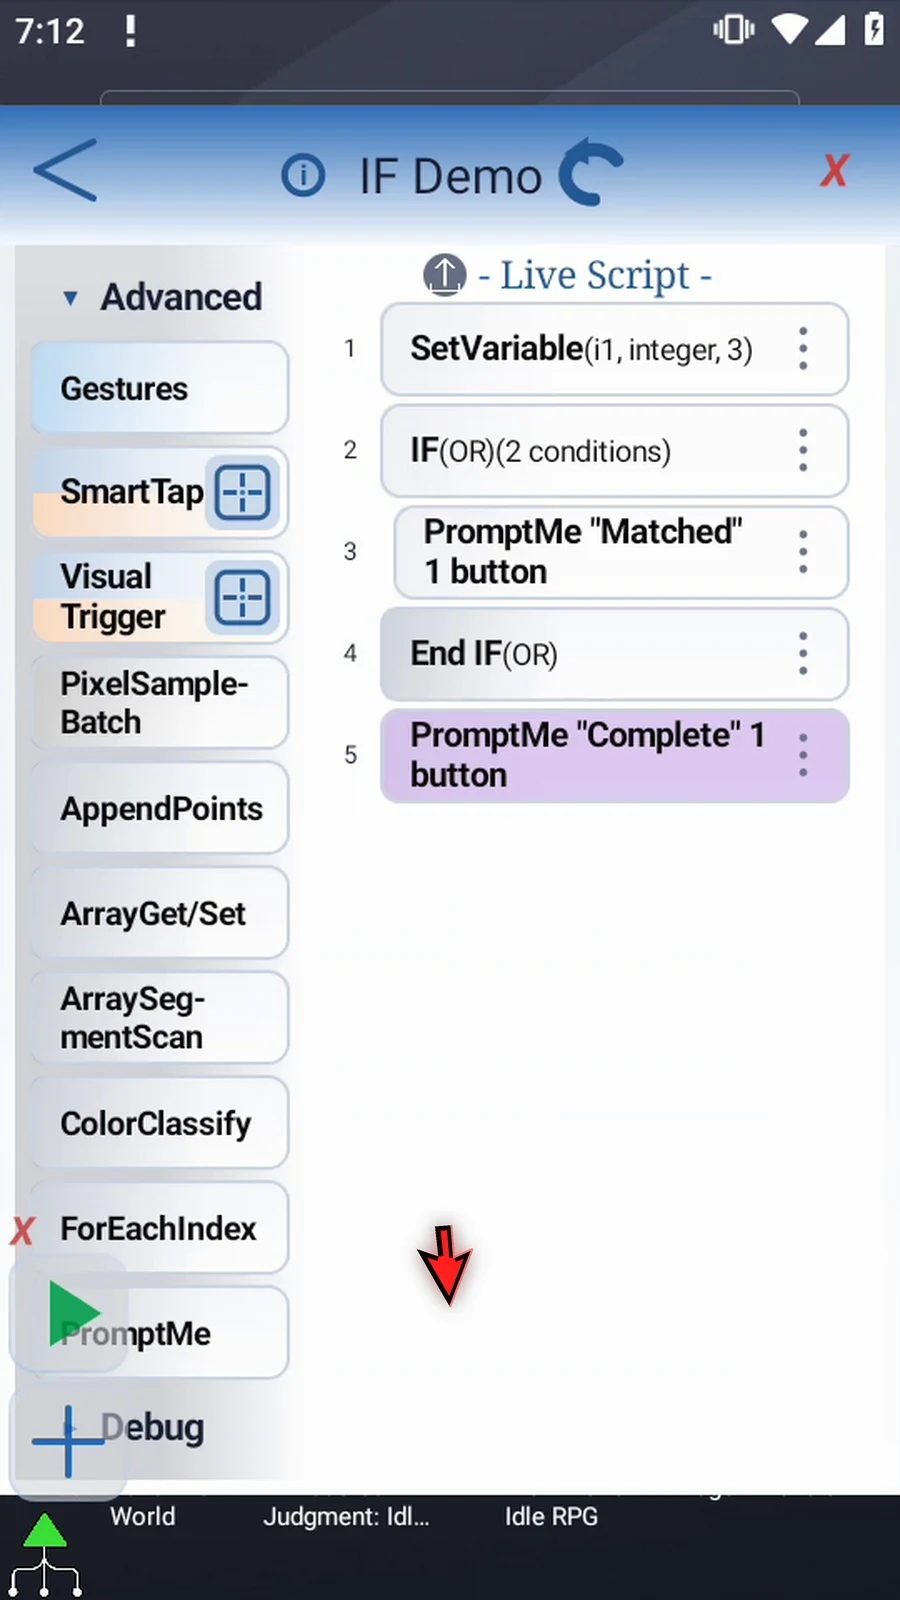
Step 28 Set Variable assigns three. OR tests greater than two or less than zero. Matched is inside the IF block; Complete is after End IF. If OR were false, the script would skip the inside commands and continue outside. An optional ELSE can provide an alternative path.
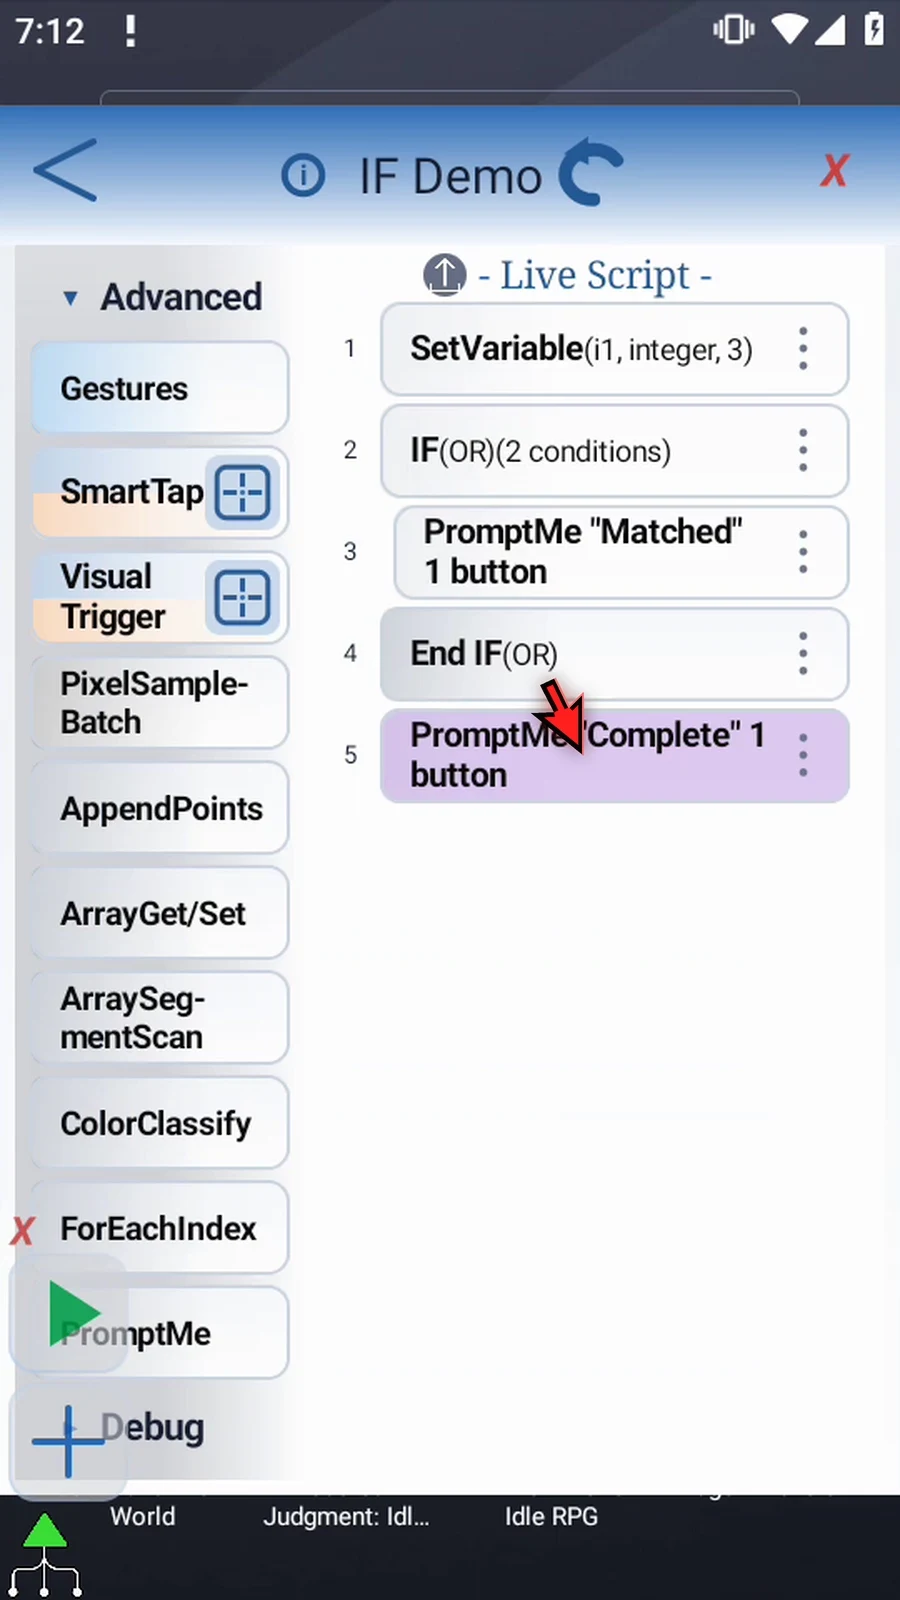
Step 29 Close the editor to return to the home screen.

Step 30 When the script is complete, simply use the Play button in the main overlay.

Step 31 Matched appears because at least one condition is true. This is the command inside our IF block.
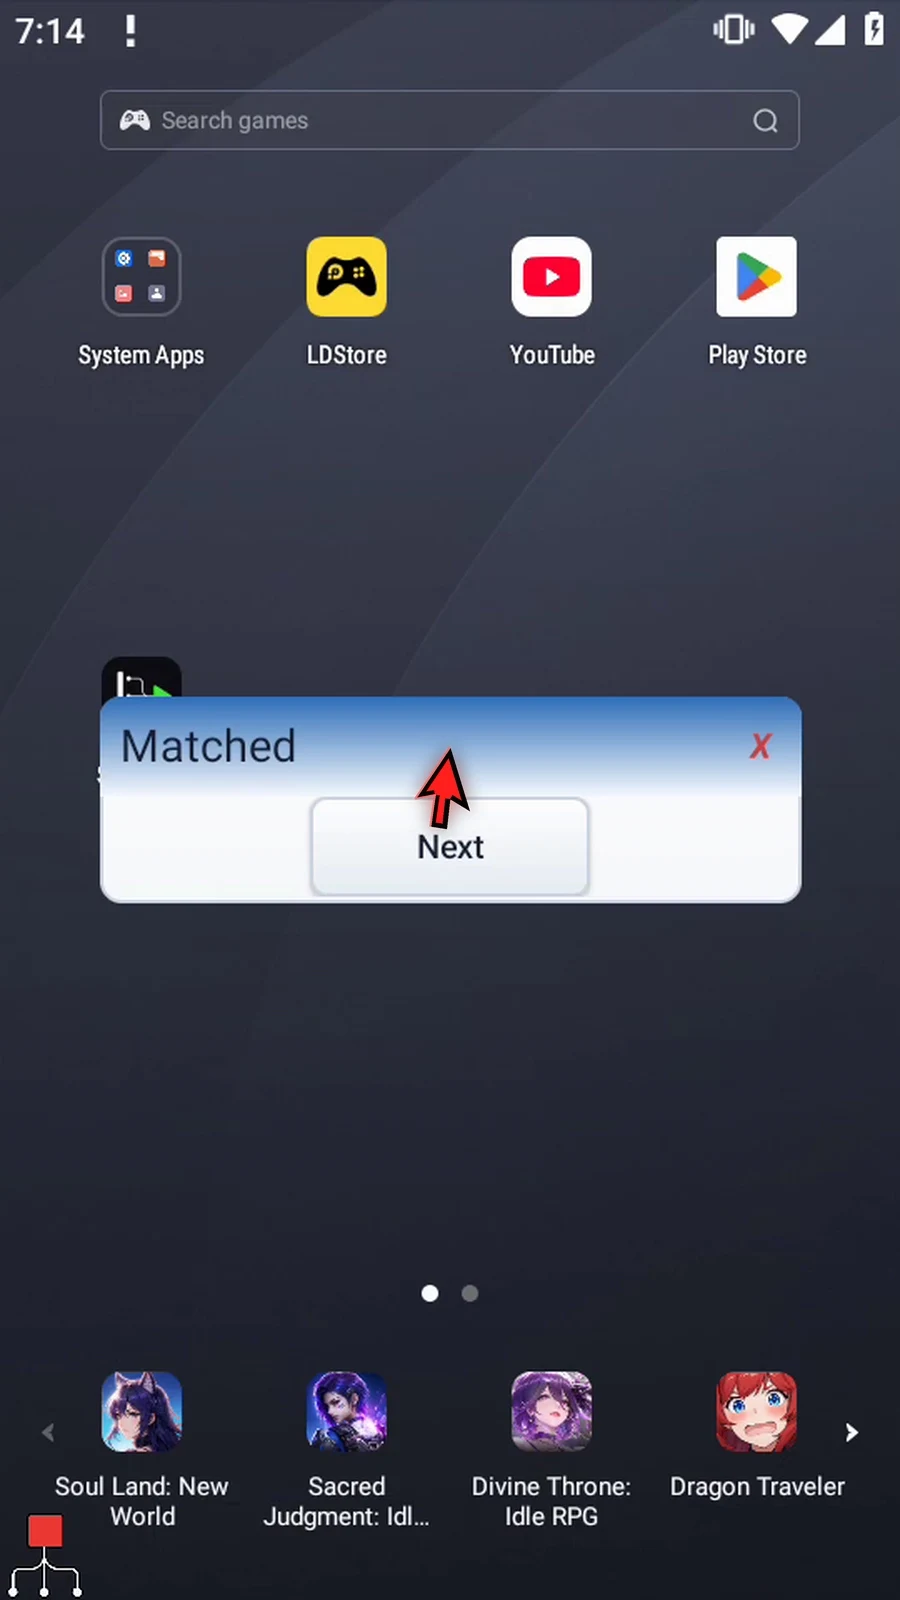
Step 32 Press Next to continue past End IF.
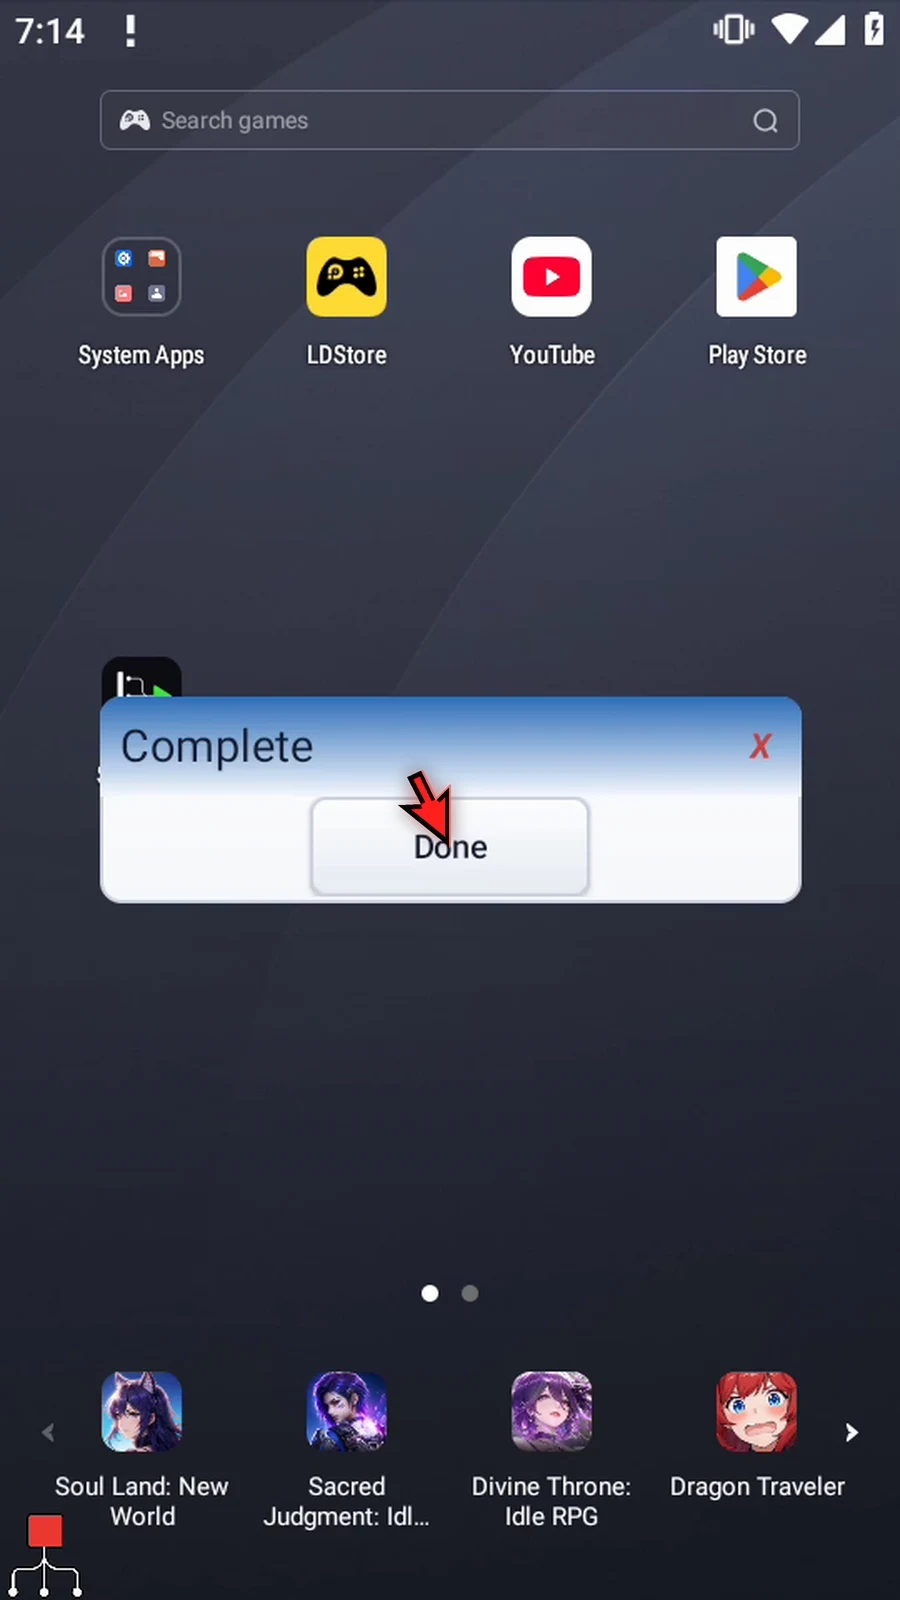
Step 33 Complete is outside the block and confirms the script continued. IF changes which commands run; it does not change i1.

Step 34 Press Done. The script finishes automatically. Use IF whenever later actions should depend on your script's values.
AND runs the commands inside IF only when every condition is true. Continue the same five-command script from Intro / OR; no new command insertion is needed.
Double-tap the IF frame, open Mode, choose AND, and leave the two comparisons unchanged: i1 > 2 and i1 < 0. SetVariable still assigns i1=3. The first condition is true, but the second is false.
Save with OK. The paired End IF changes to AND automatically. Keep Matched inside the block and Complete after End IF. Close the editor and use Play. Only Complete appears: AND skipped the inside commands because one requirement failed. Press Done to finish.
Restore the main overlay with its green widget, expand the controls if needed, and reopen the editor. Open IF again and change only the second value from 0 to 4, keeping its less-than relationship. Now 3 > 2 and 3 < 4 are both true.
Save, close the editor, and use Play again. Matched now appears because every condition passed. Press Next to reach the outside Complete confirmation, then Done to finish automatically. Use AND when all requirements must be satisfied before the inside actions run.
AND
Step-by-step guide
Step 01 AND runs the commands inside IF only when every condition is true. Continue the script from Intro and OR. It assigns three to i1 and has one confirmation inside the block and another after End IF.
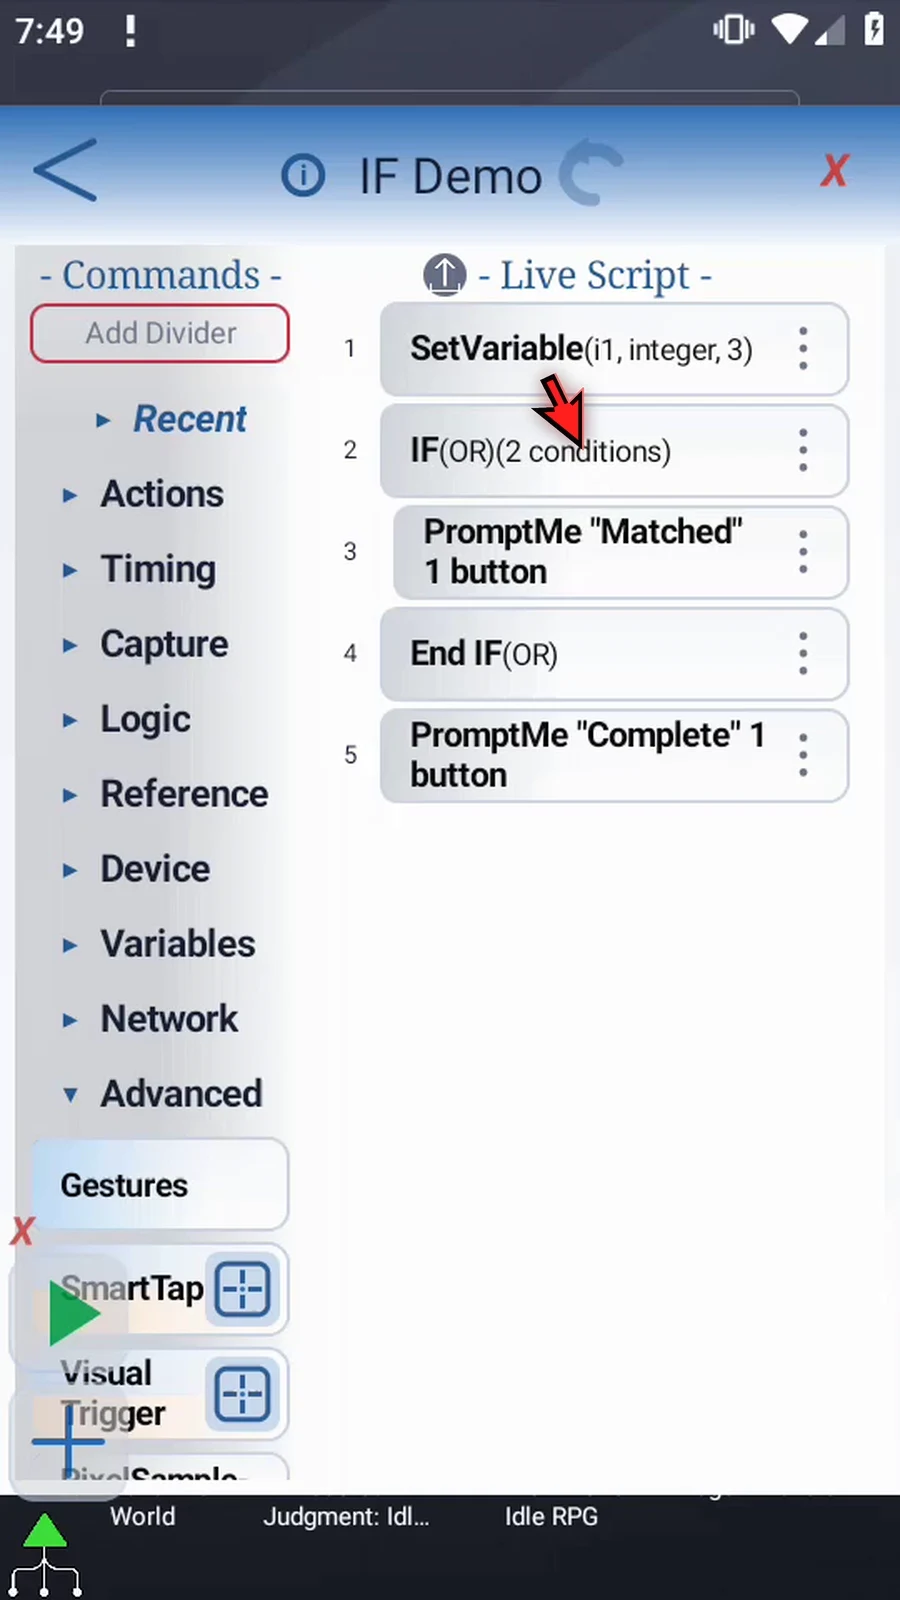
Step 02 Double-tap the IF frame. Open Mode to see the alternatives, then choose AND.
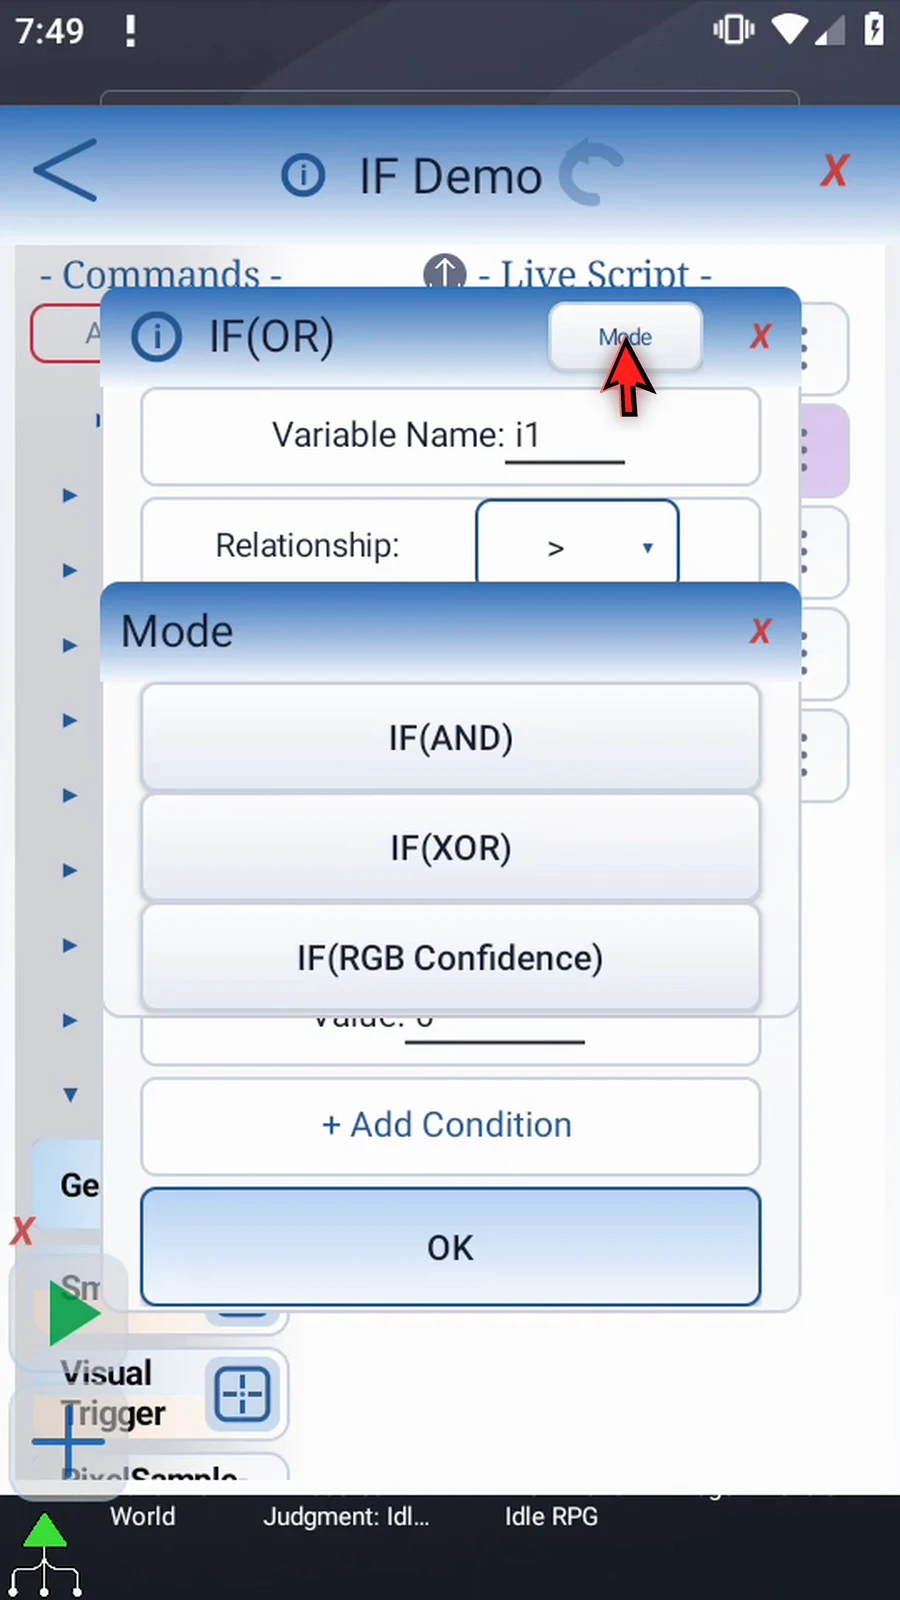
Step 03 Keep both conditions unchanged: i1 greater than two, and i1 less than zero. Three passes the first test but fails the second. Unlike OR, AND does not pass when even one condition is false.
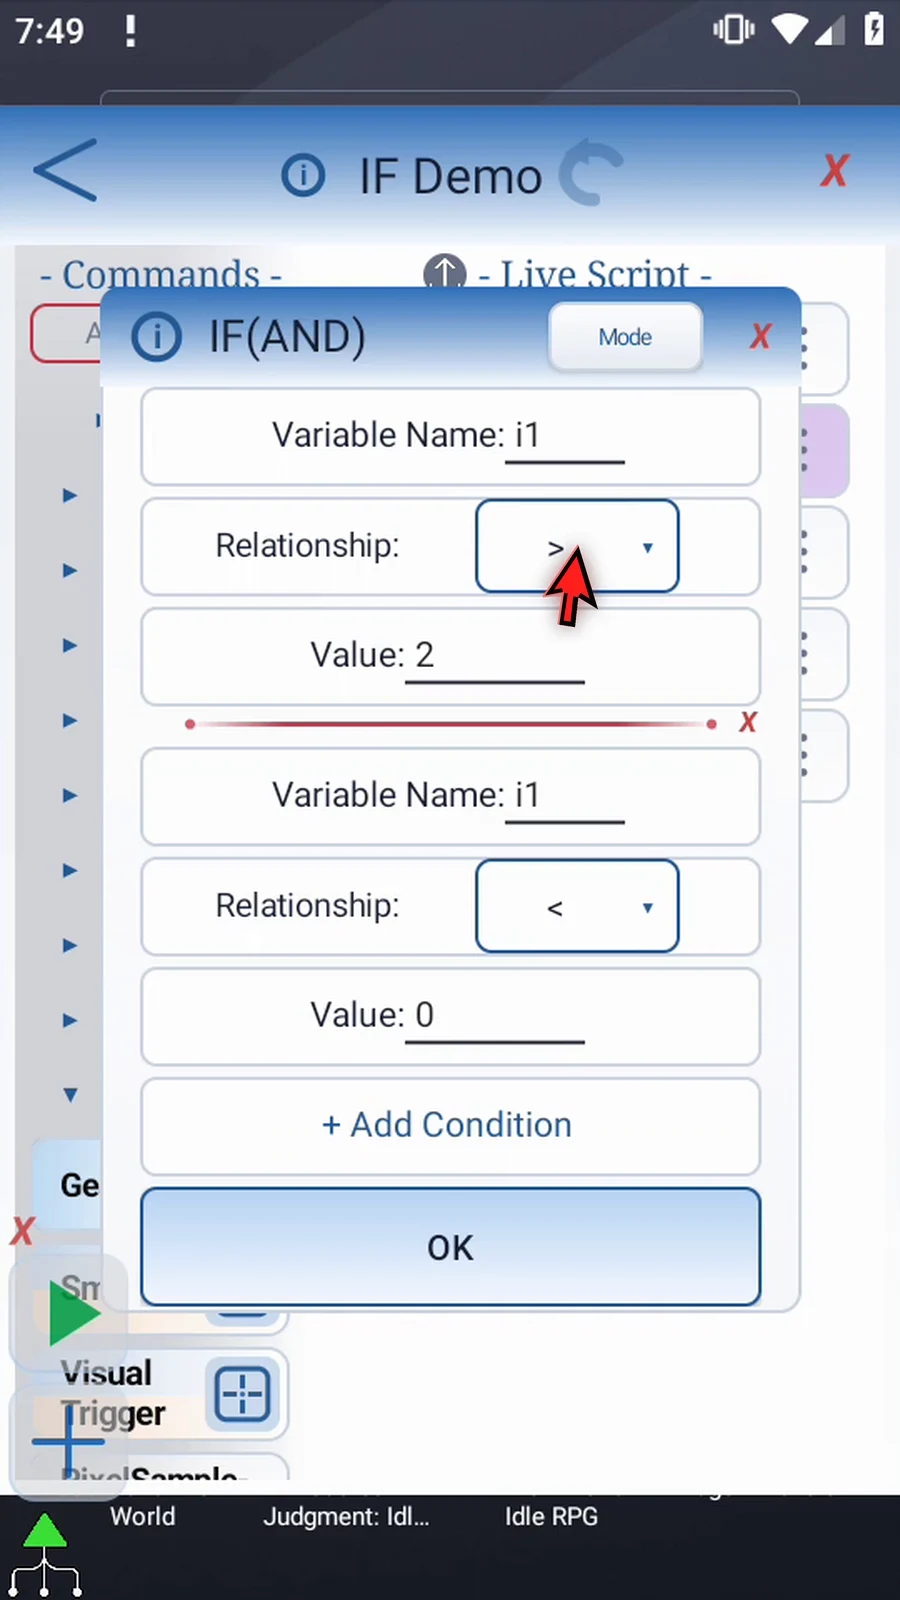
Step 04 Tap OK. The matching End IF changes with the selected mode. The two PromptMe commands stay in their original positions.
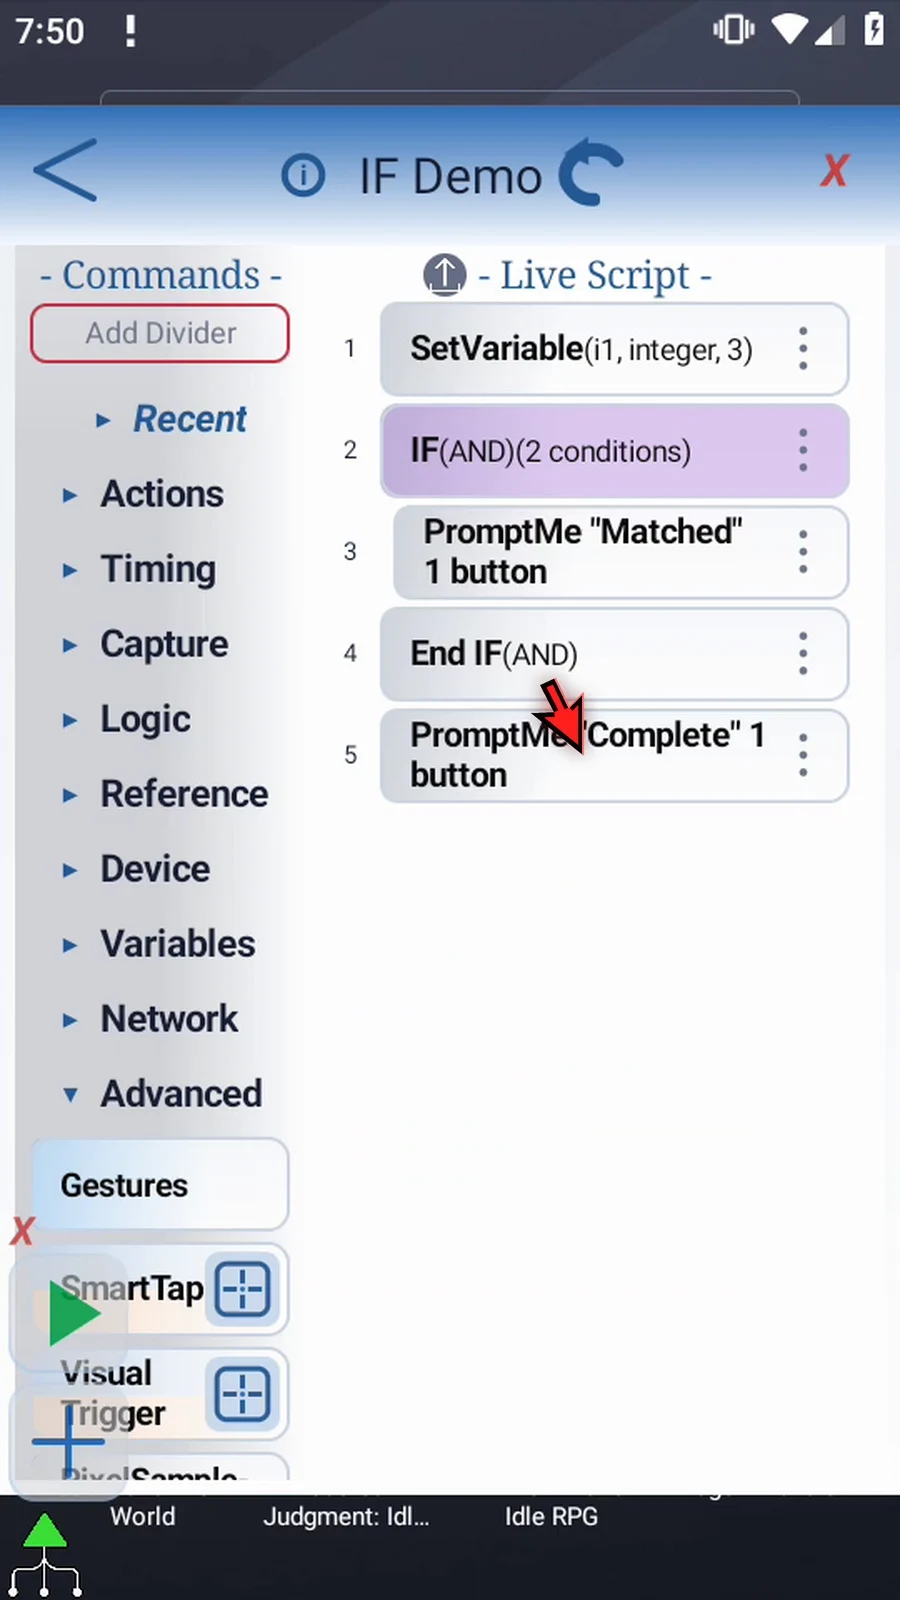
Step 05 Close the editor to test the script.

Step 06 When the script is complete, simply use the Play button in the main overlay.

Step 07 Only Complete appears. AND skipped the Matched command inside the block because one condition was false. Execution continued after End IF.
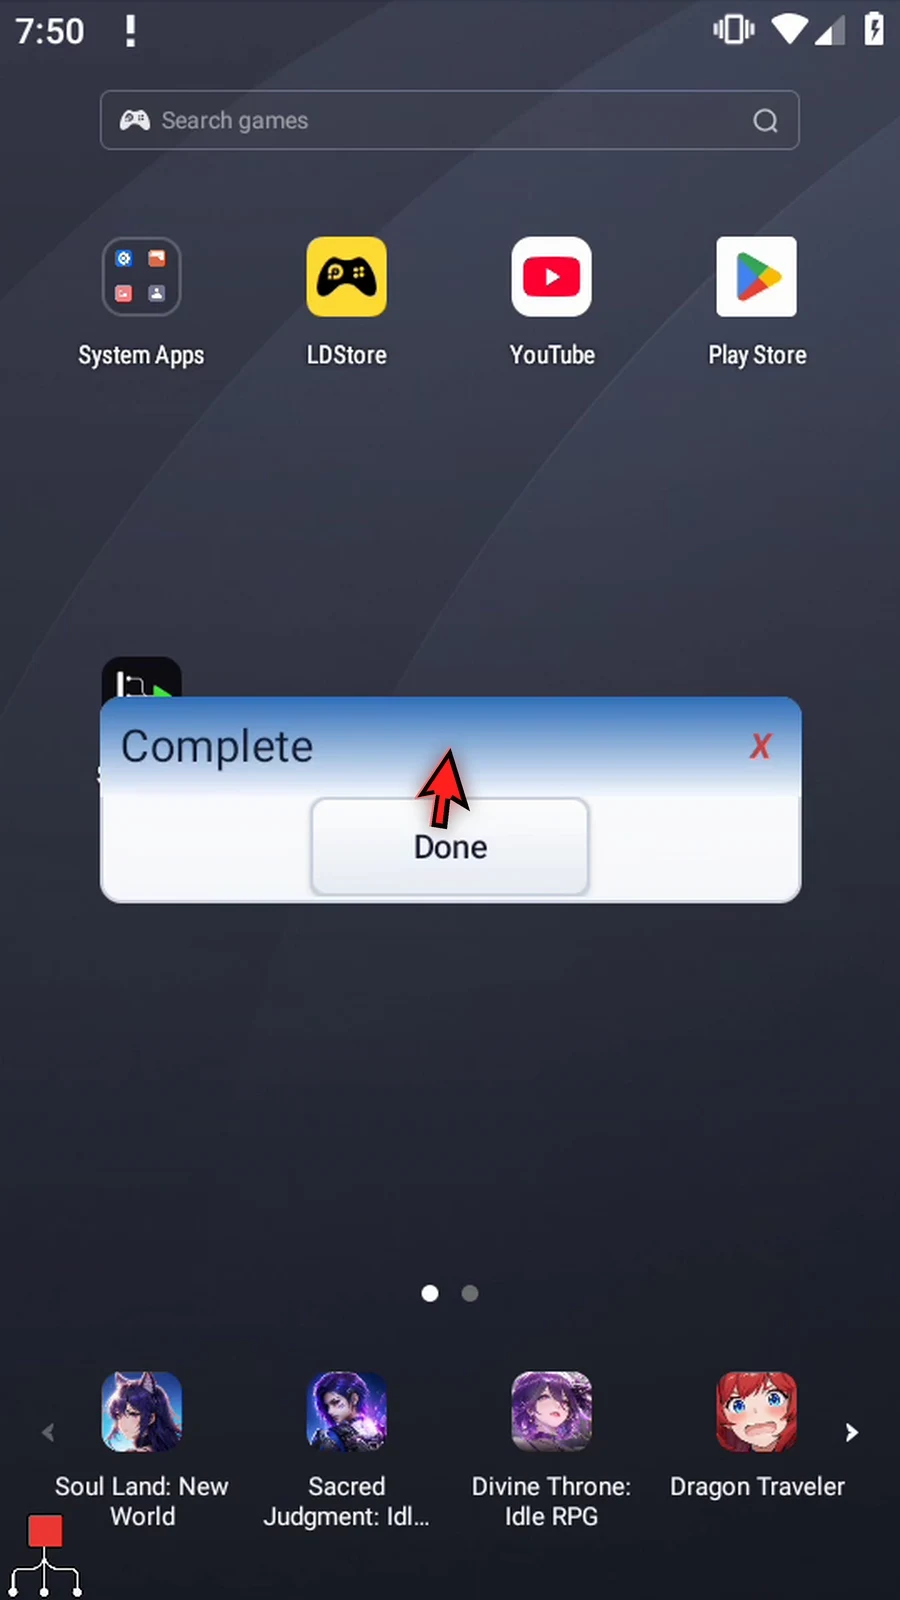
Step 08 Press Done to finish this run.
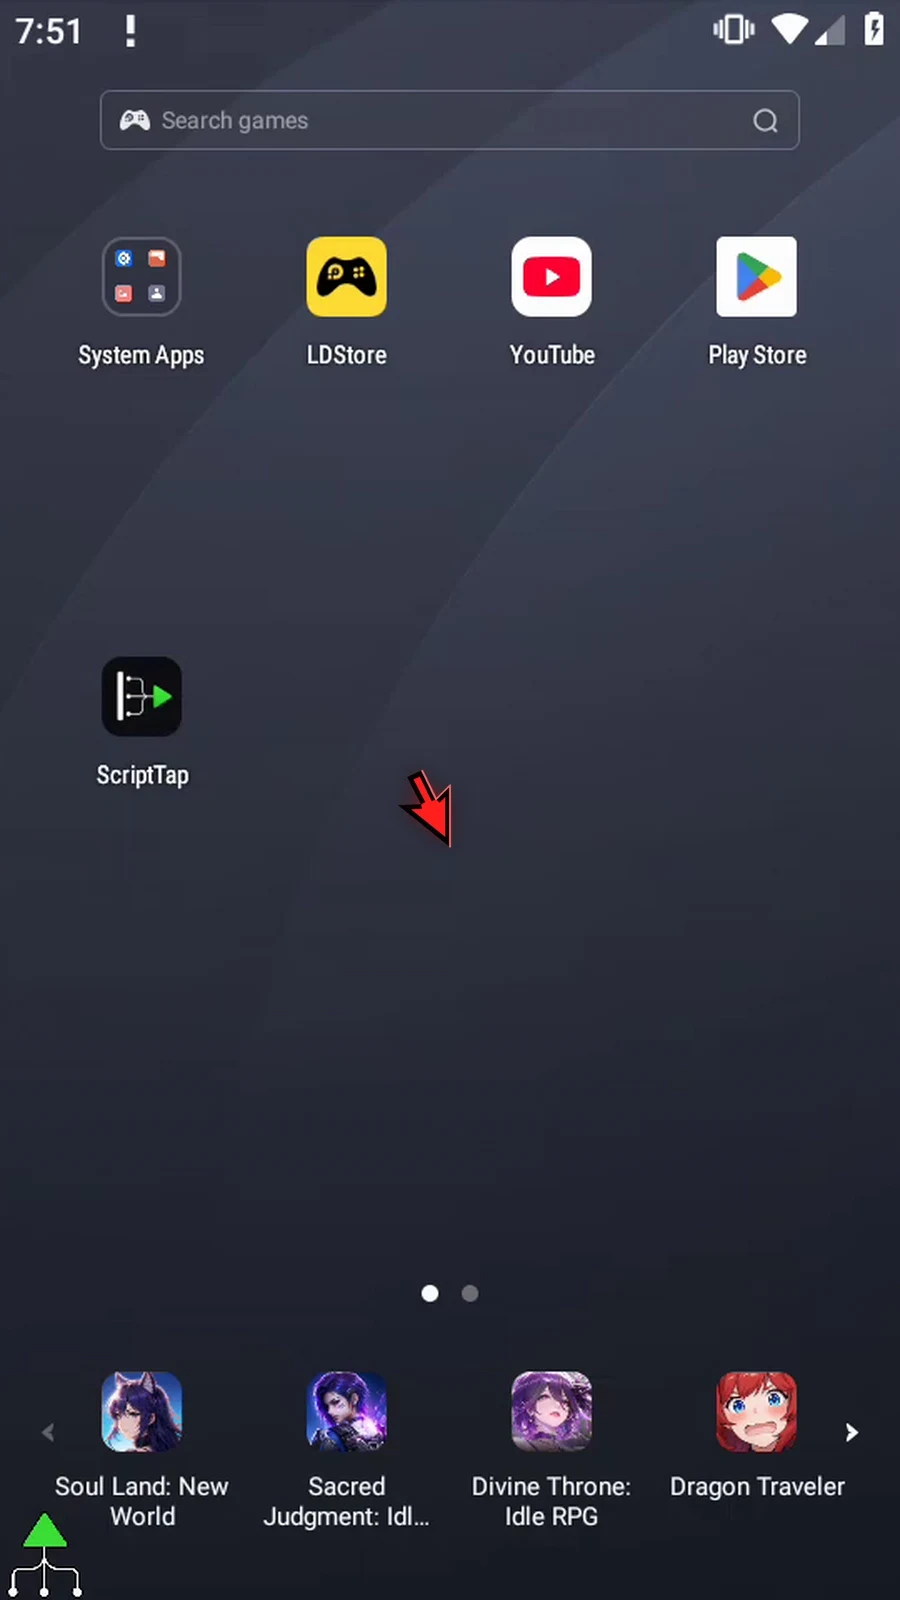
Step 09 Restore the main overlay with the green widget. Expand its controls if needed, then open the editor again.
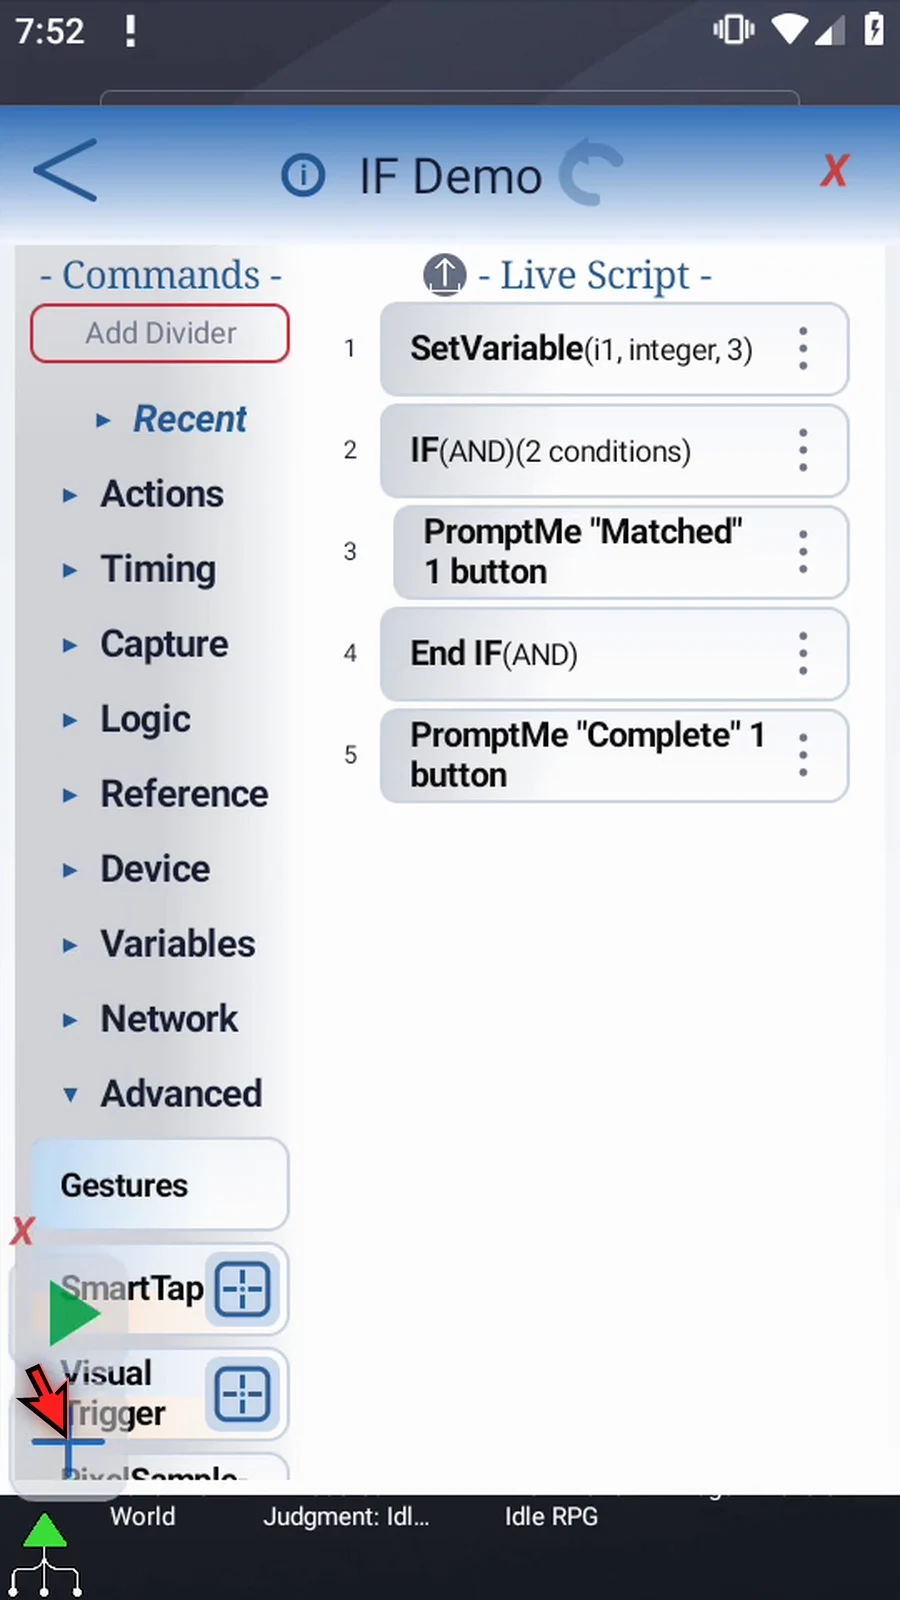
Step 10 Open IF again. Change only the second value from zero to four, keeping less than as its relationship.
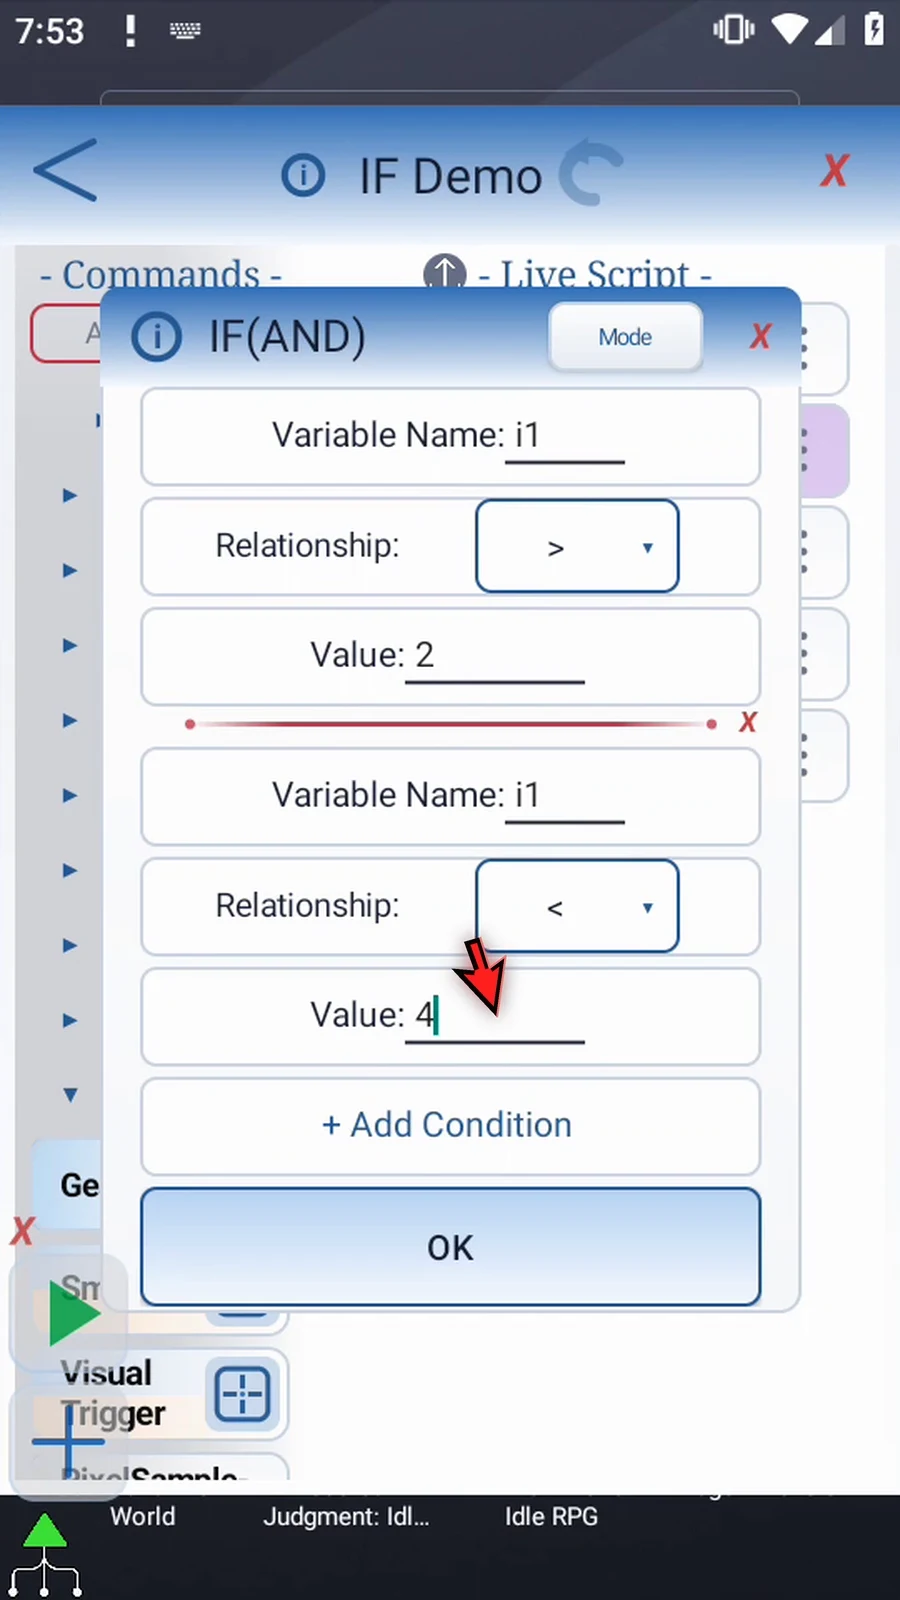
Step 11 Now three is greater than two and less than four. Both conditions are true, so AND can run the inside commands. Tap OK to save.
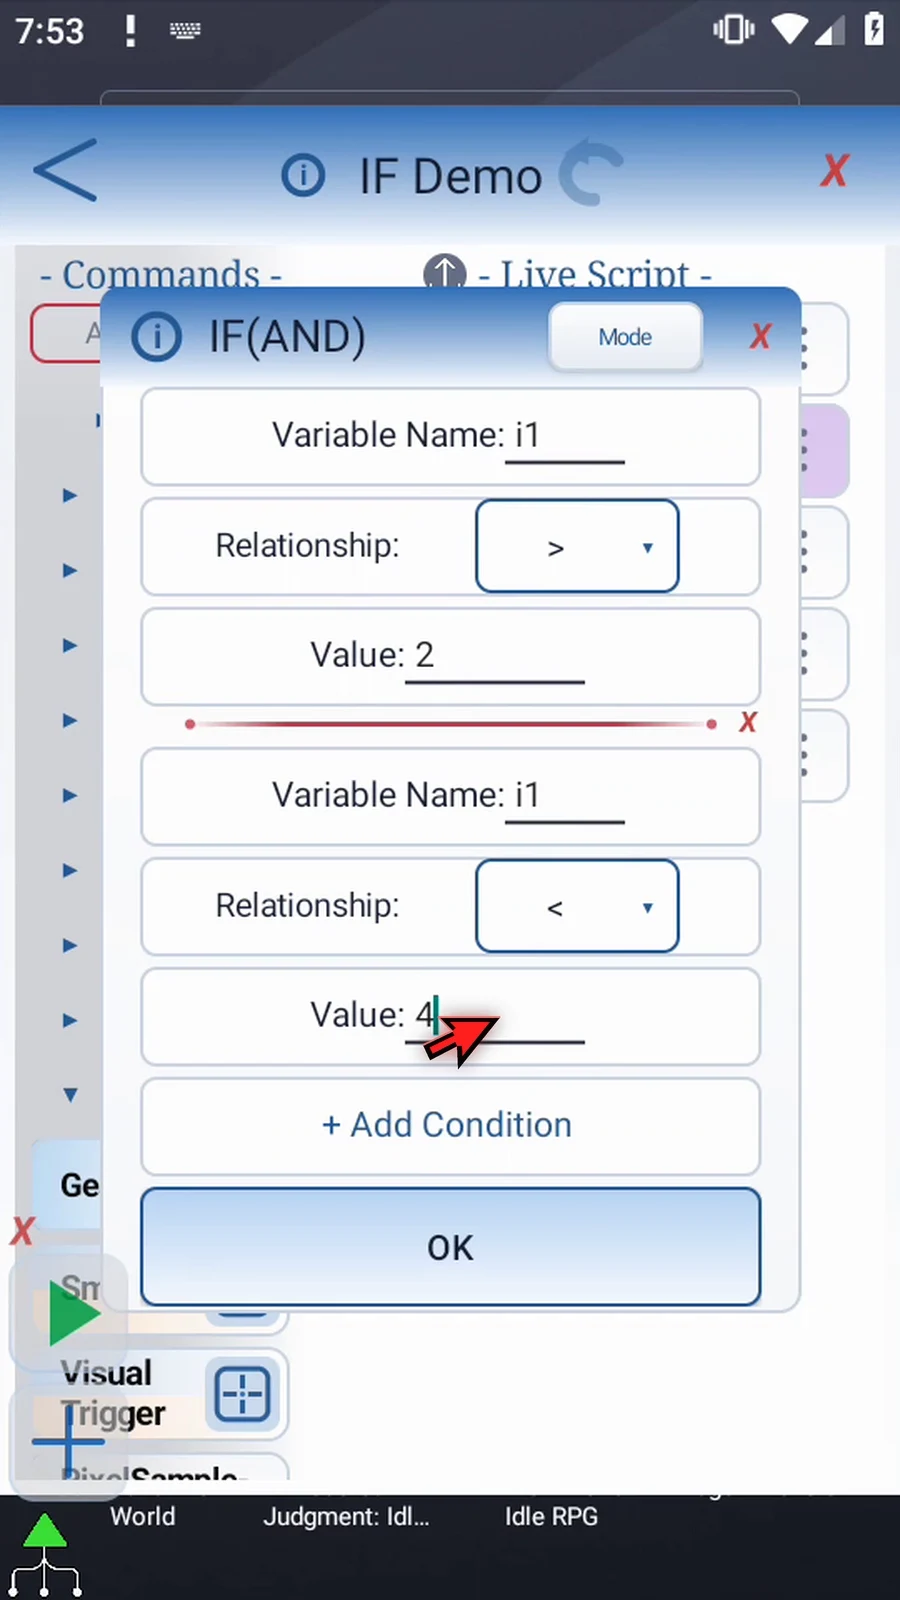
Step 12 Close the editor and test the same script again.

Step 13 When the script is complete, simply use the Play button in the main overlay.

Step 14 This time Matched appears. AND passed because every condition was true, so the command inside the block ran.
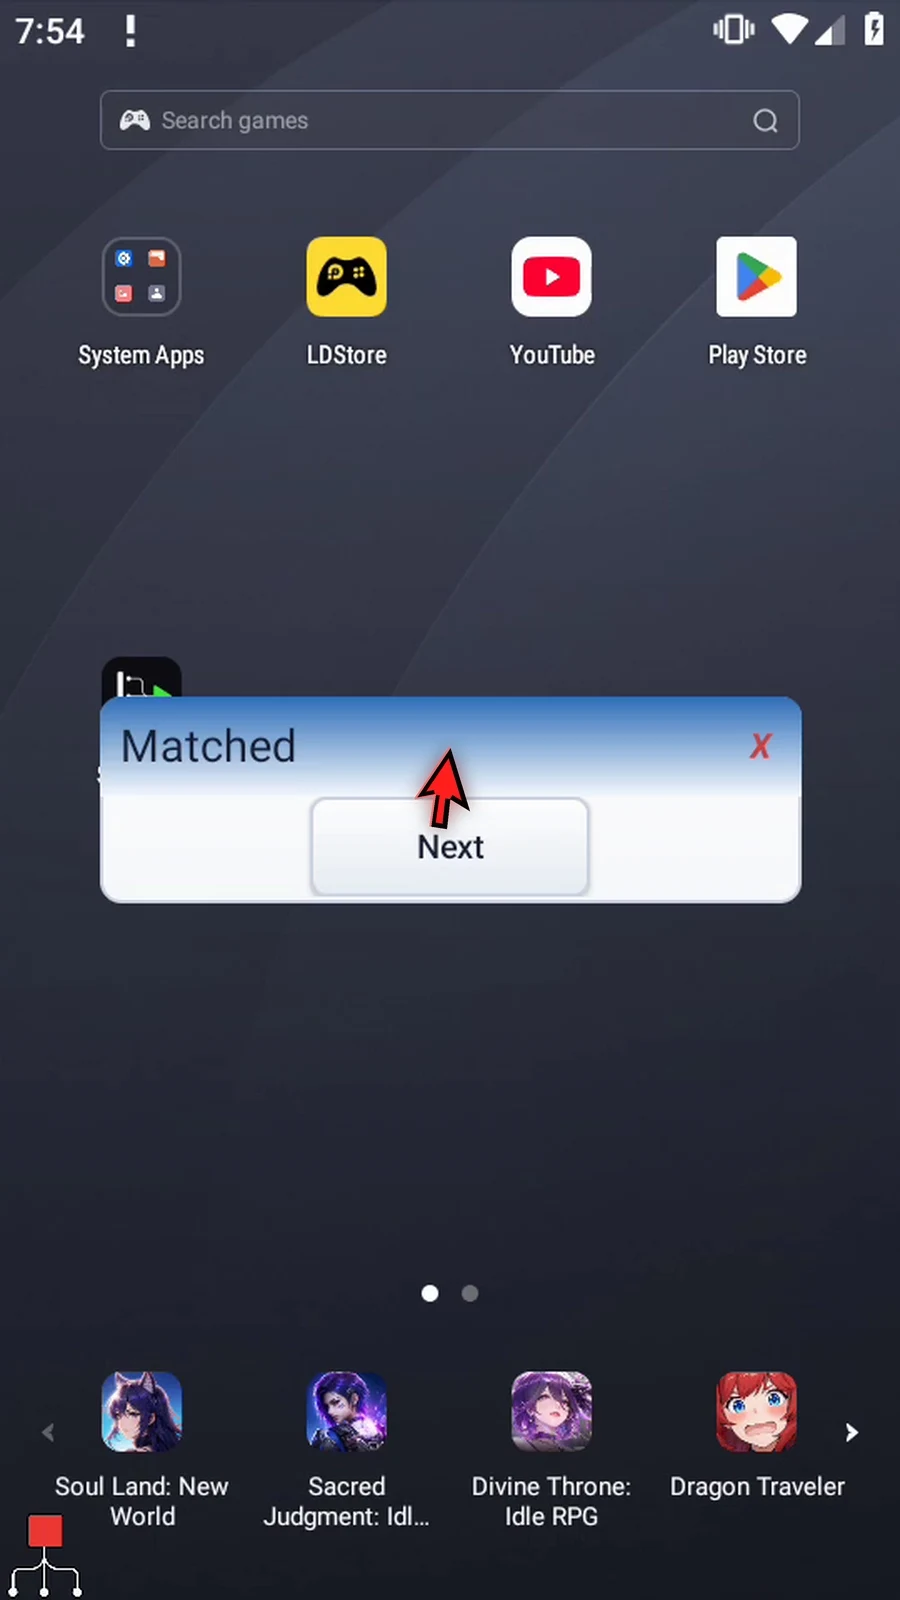
Step 15 Press Next to continue past End IF.
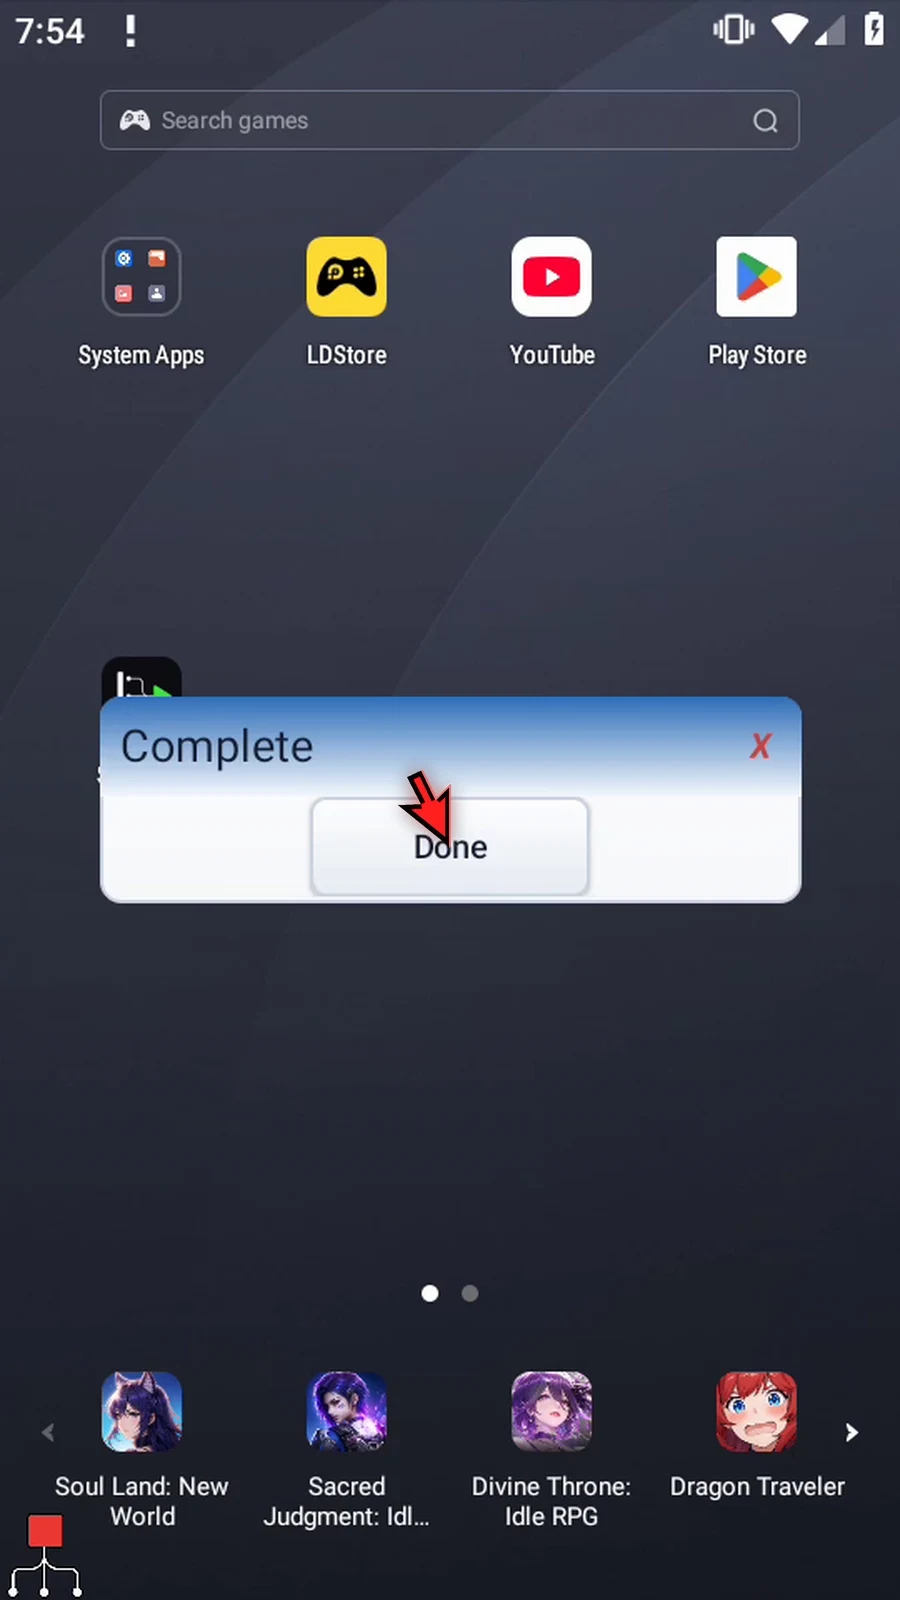
Step 16 Complete confirms that execution continued outside the block, just as it did in the failed case.

Step 17 Press Done. The script finishes automatically. Use AND when all of your requirements must be satisfied before the inside actions run.
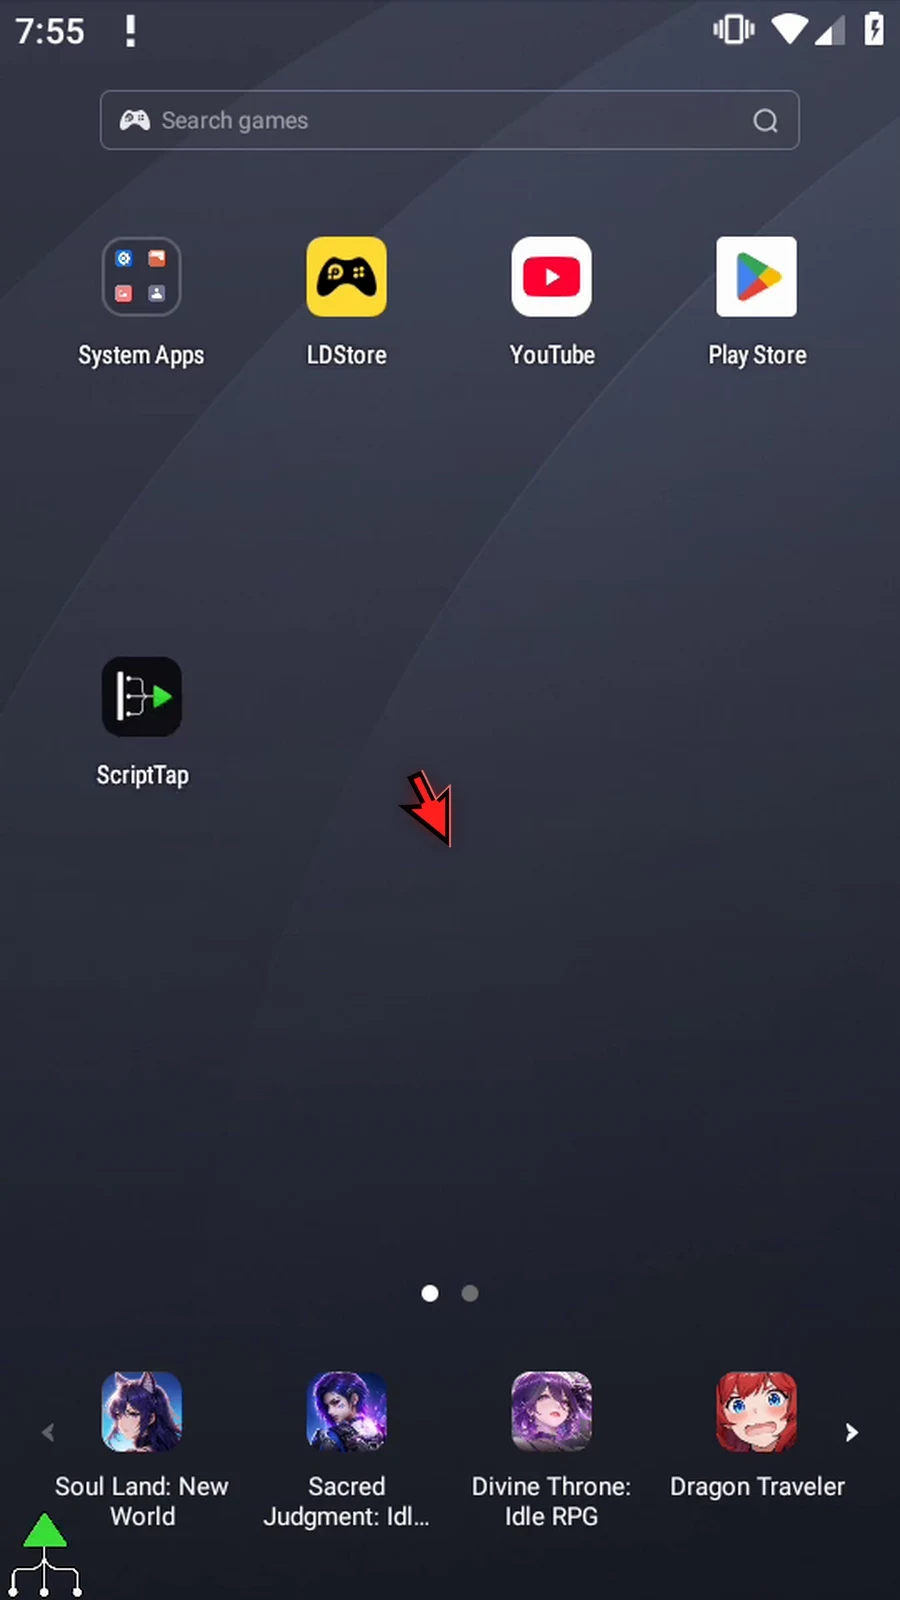
XOR runs the inside commands only when exactly one condition is true. Zero or several true conditions fail, including three or five; this is not an odd-parity rule.
Use the shared five-command example created in Intro / OR. The starting IF mode may already be OR or AND. Double-tap its frame, open Mode, and choose XOR. Keep the assignment i1=3, the inside Matched prompt, and the outside Complete prompt.
For the first test, use i1 > 2 and i1 < 0. Set the second value to zero if it differs. The first condition is true and the second false. Save with OK; the paired End IF updates to XOR. Close the editor and use Play. Matched appears because exactly one condition passed. Press Next to reach Complete, then Done to finish.
Restore the main overlay, reopen the editor, and change only the second value from 0 to 4. Now 3 > 2 and 3 < 4 are both true. OR and AND would pass this particular example, but XOR fails because more than one condition is true.
Save, close the editor, and use Play again. Only Complete appears: the inside Matched command was skipped, and execution continued after End IF. Press Done to finish automatically. Use XOR when exactly one requirement must be satisfied and any other number must fail.
XOR
Step-by-step guide
Step 01 XOR runs the inside commands only when exactly one condition is true. Zero or several true conditions fail, including three or five. We will reuse the five-command Intro example to show a pass and a failure.
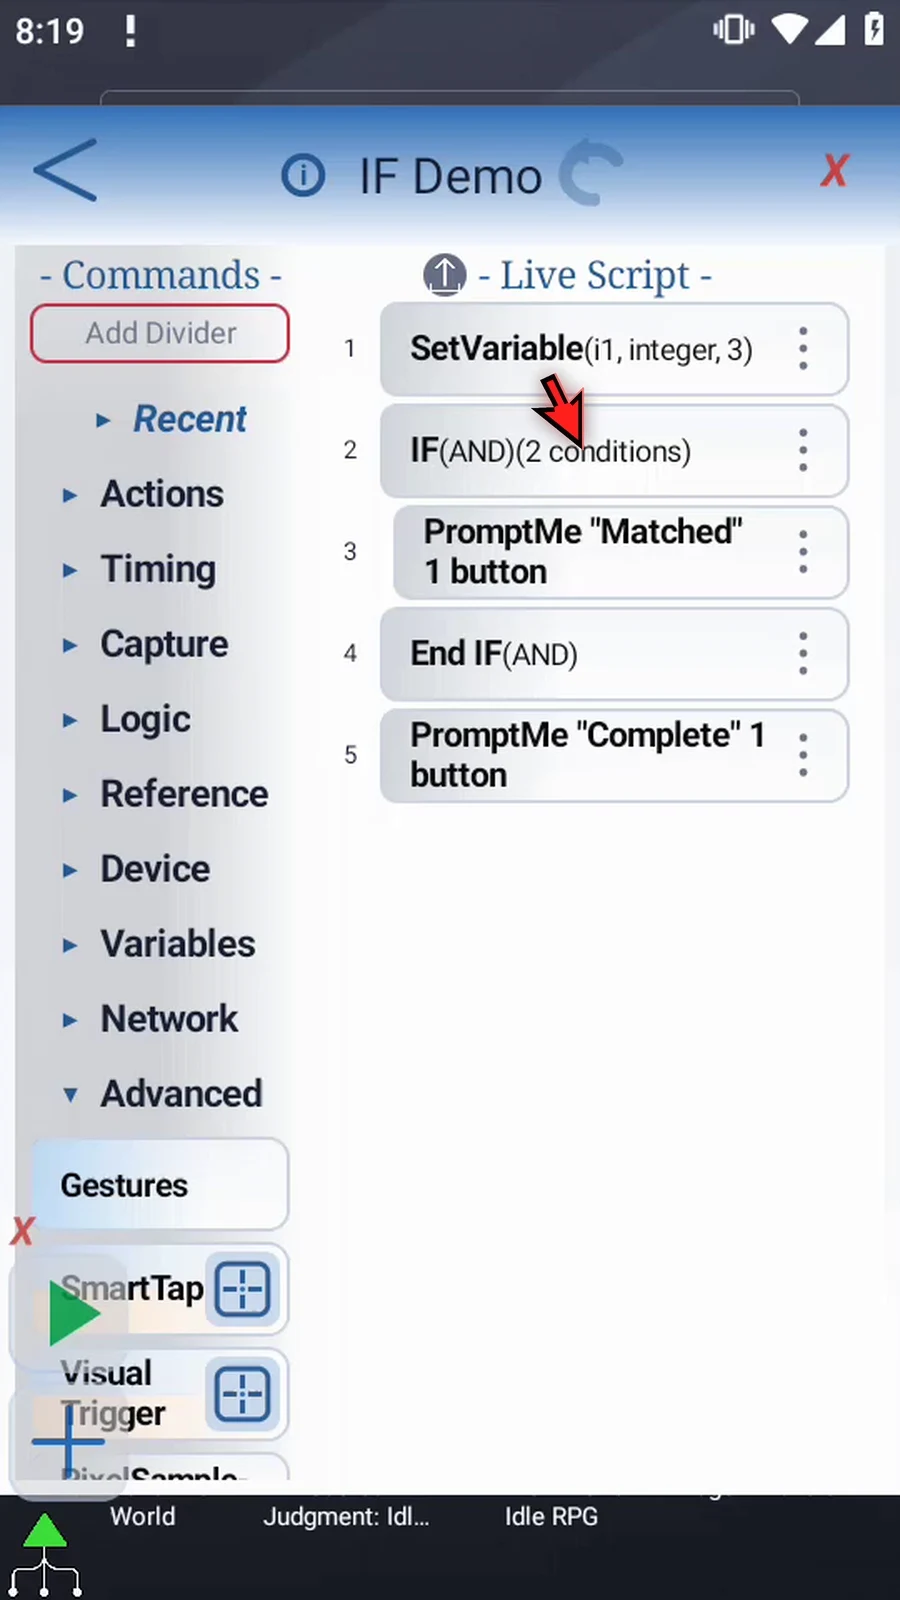
Step 02 Double-tap the IF frame. Open Mode to see the alternatives, then choose XOR.
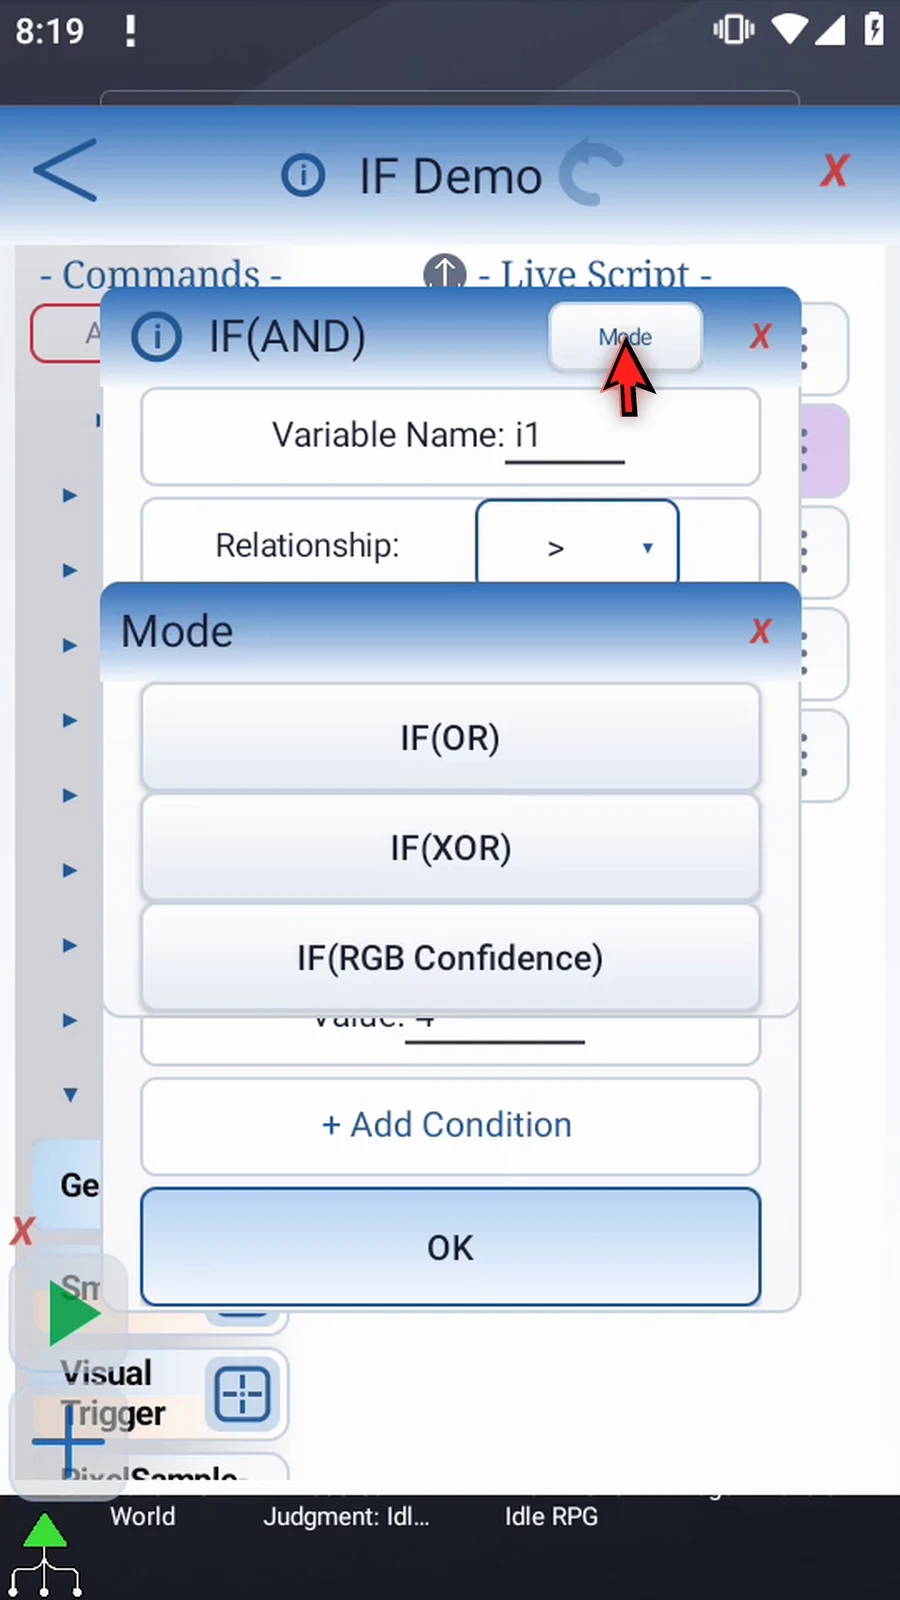
Step 03 For our first test, set the second value to zero and keep its less-than relationship.
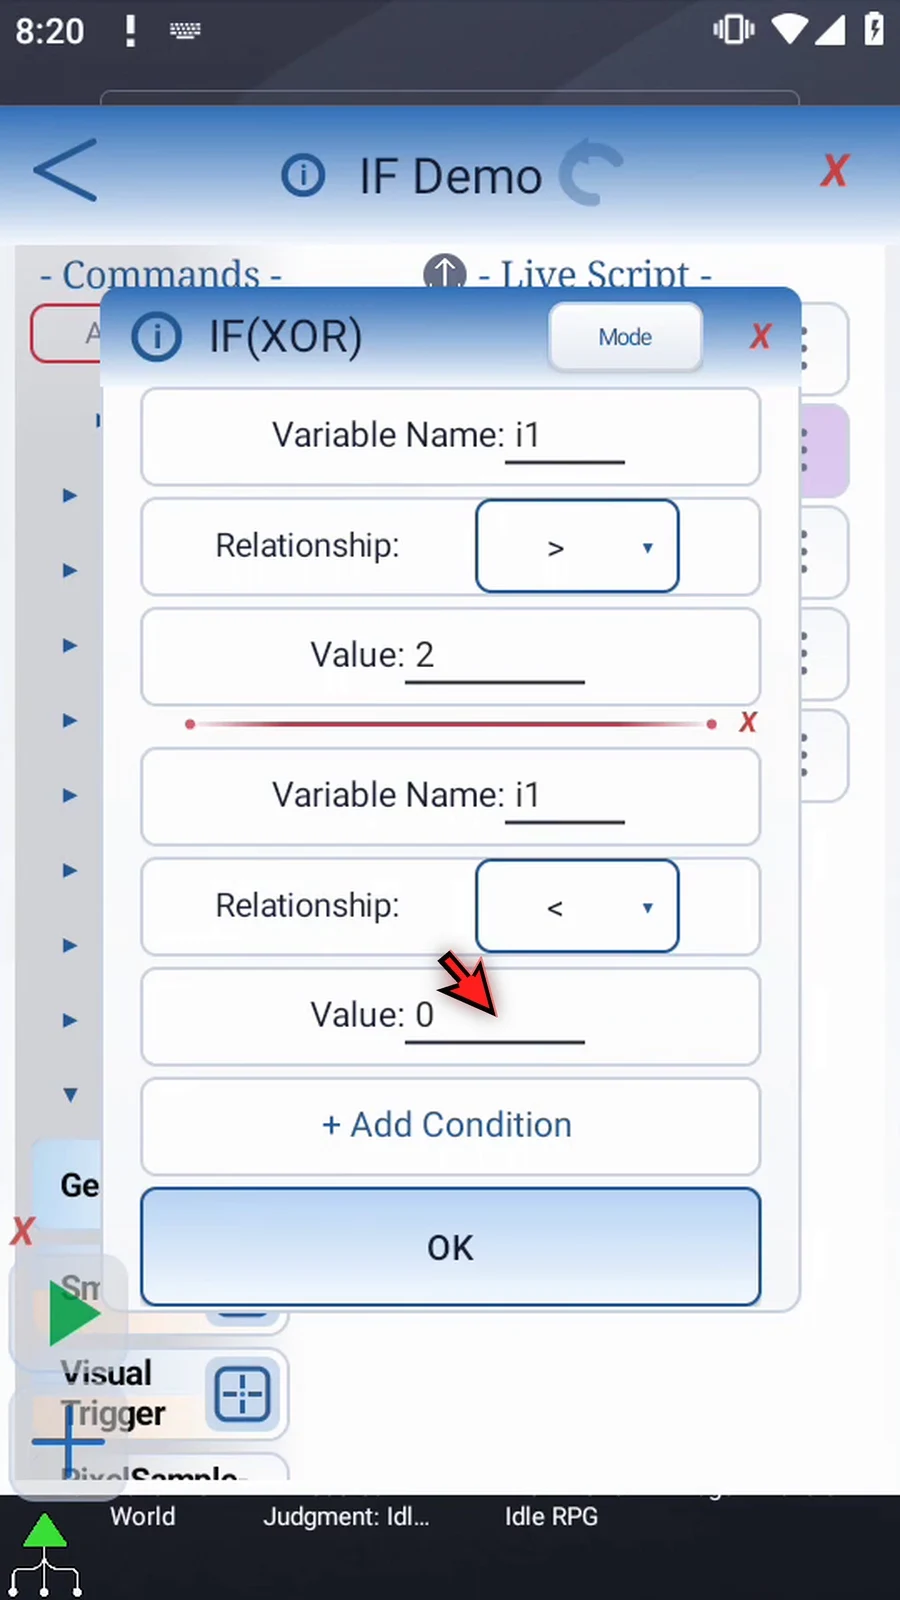
Step 04 The script assigns three to i1. Greater than two is true, but less than zero is false. Exactly one condition is true, so XOR passes. Tap OK to save.
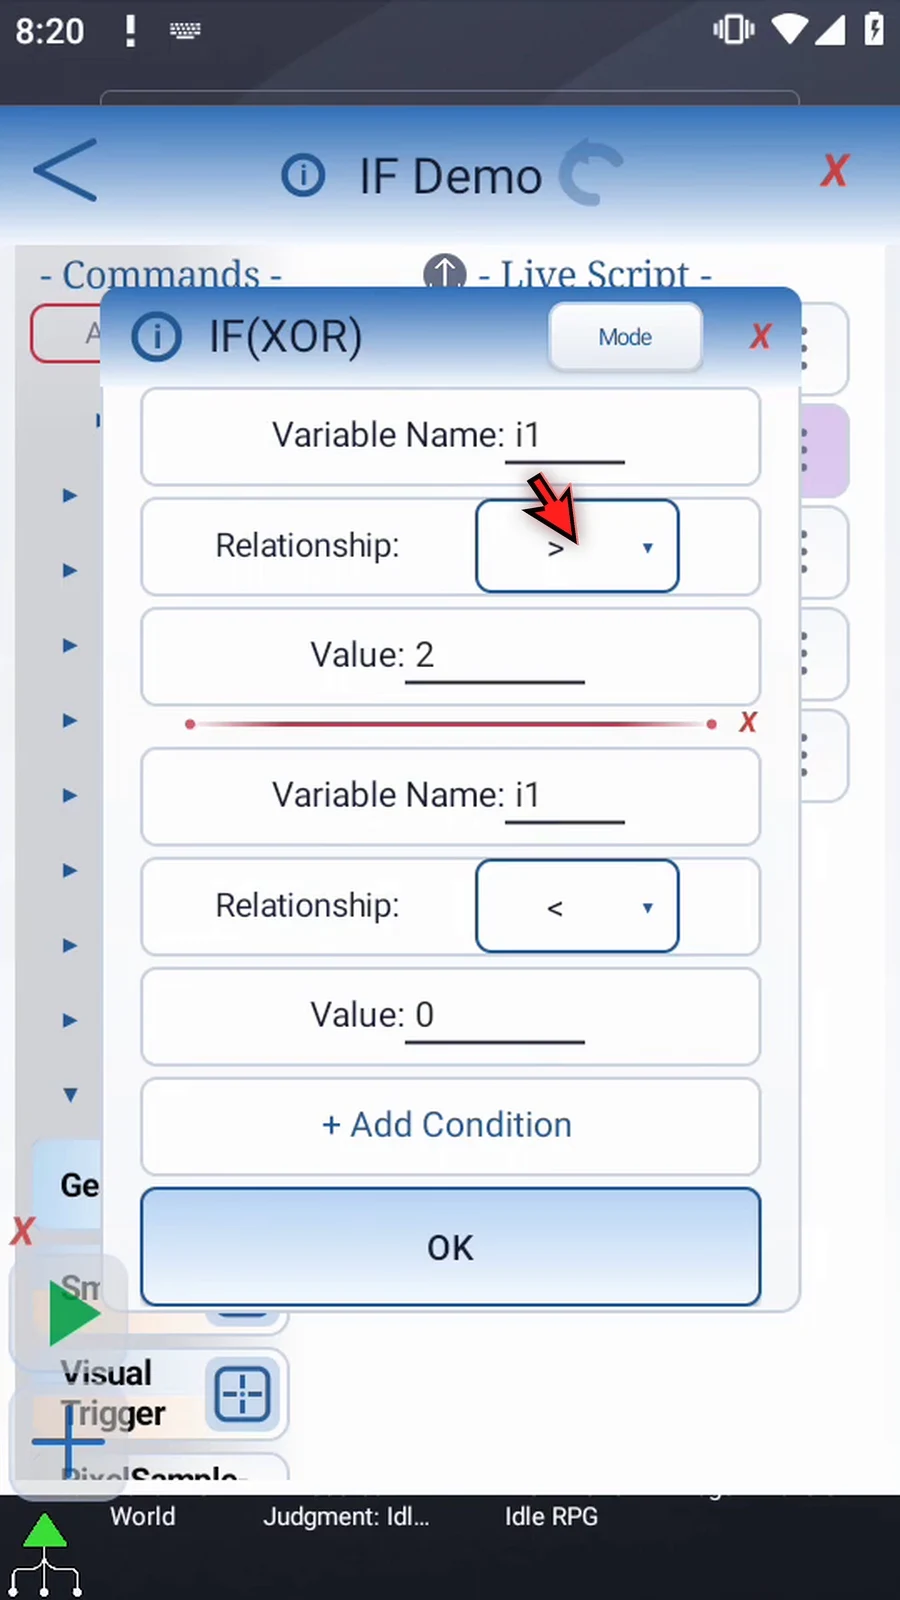
Step 05 Close the editor to run the first test.

Step 06 When the script is complete, simply use the Play button in the main overlay.

Step 07 Matched appears because exactly one condition passed. The message inside IF ran.
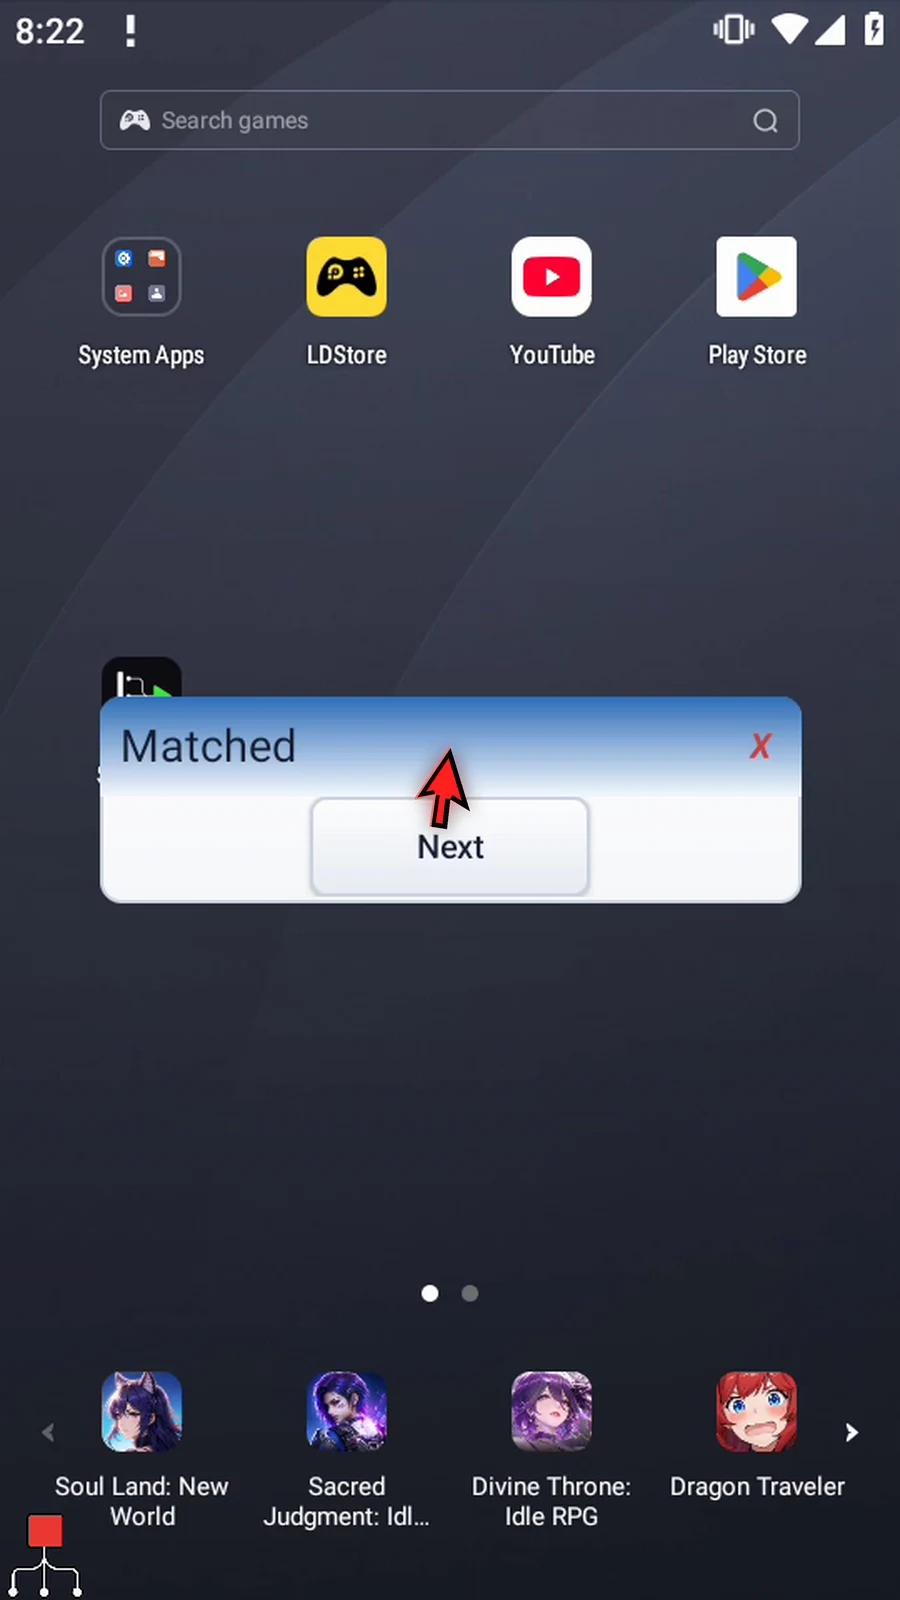
Step 08 Press Next to continue past End IF.
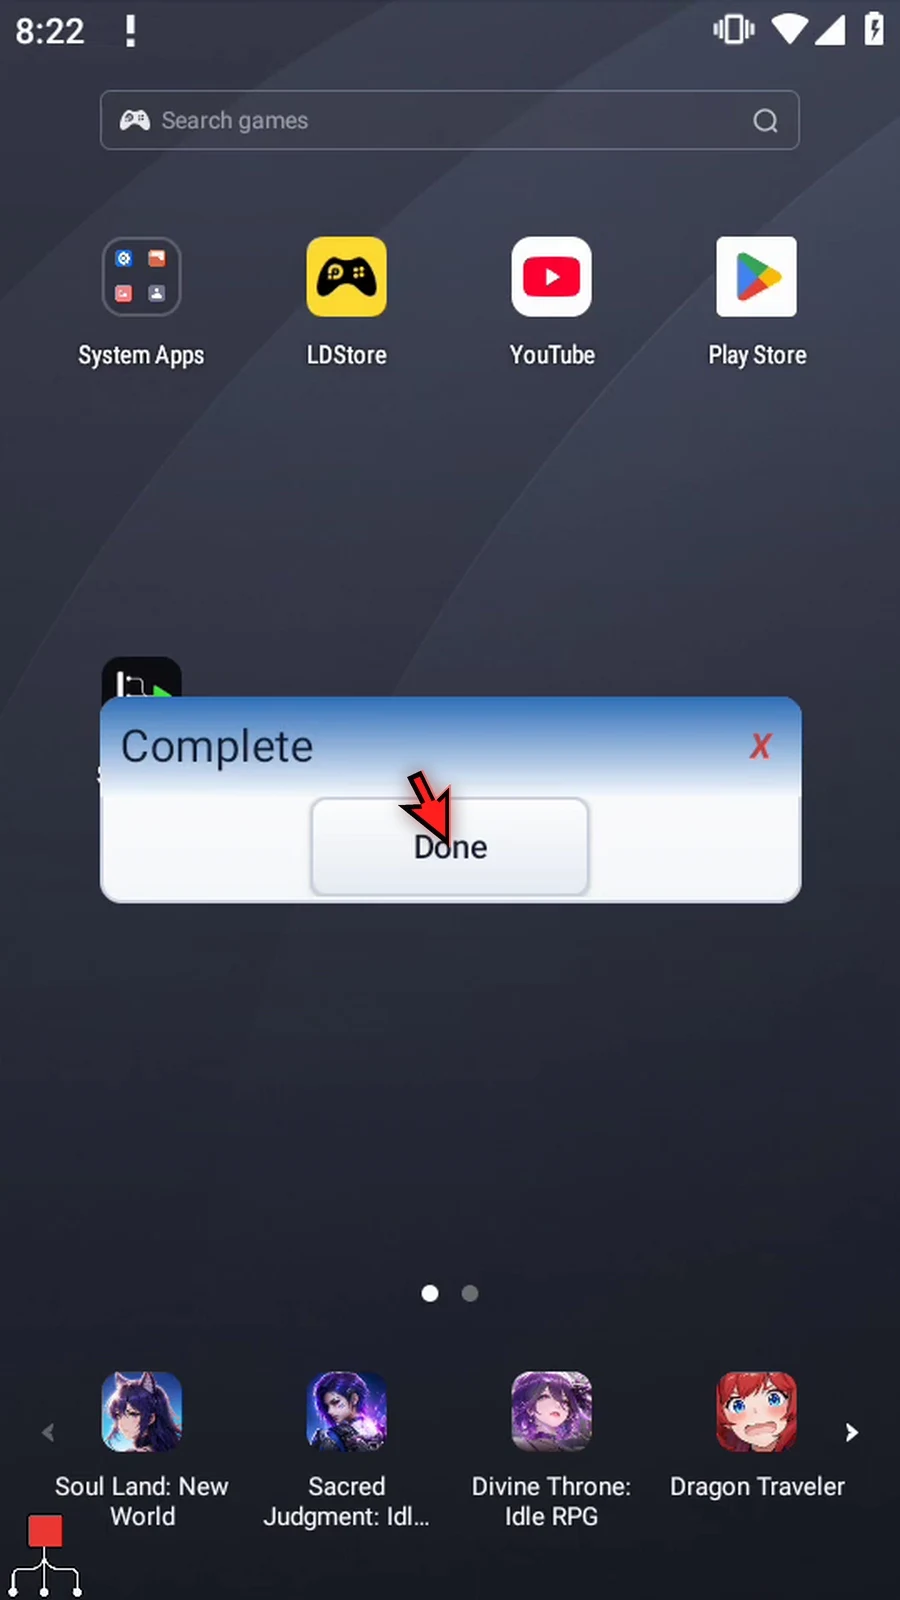
Step 09 Complete confirms that execution continued outside the block.

Step 10 Press Done to finish this run.
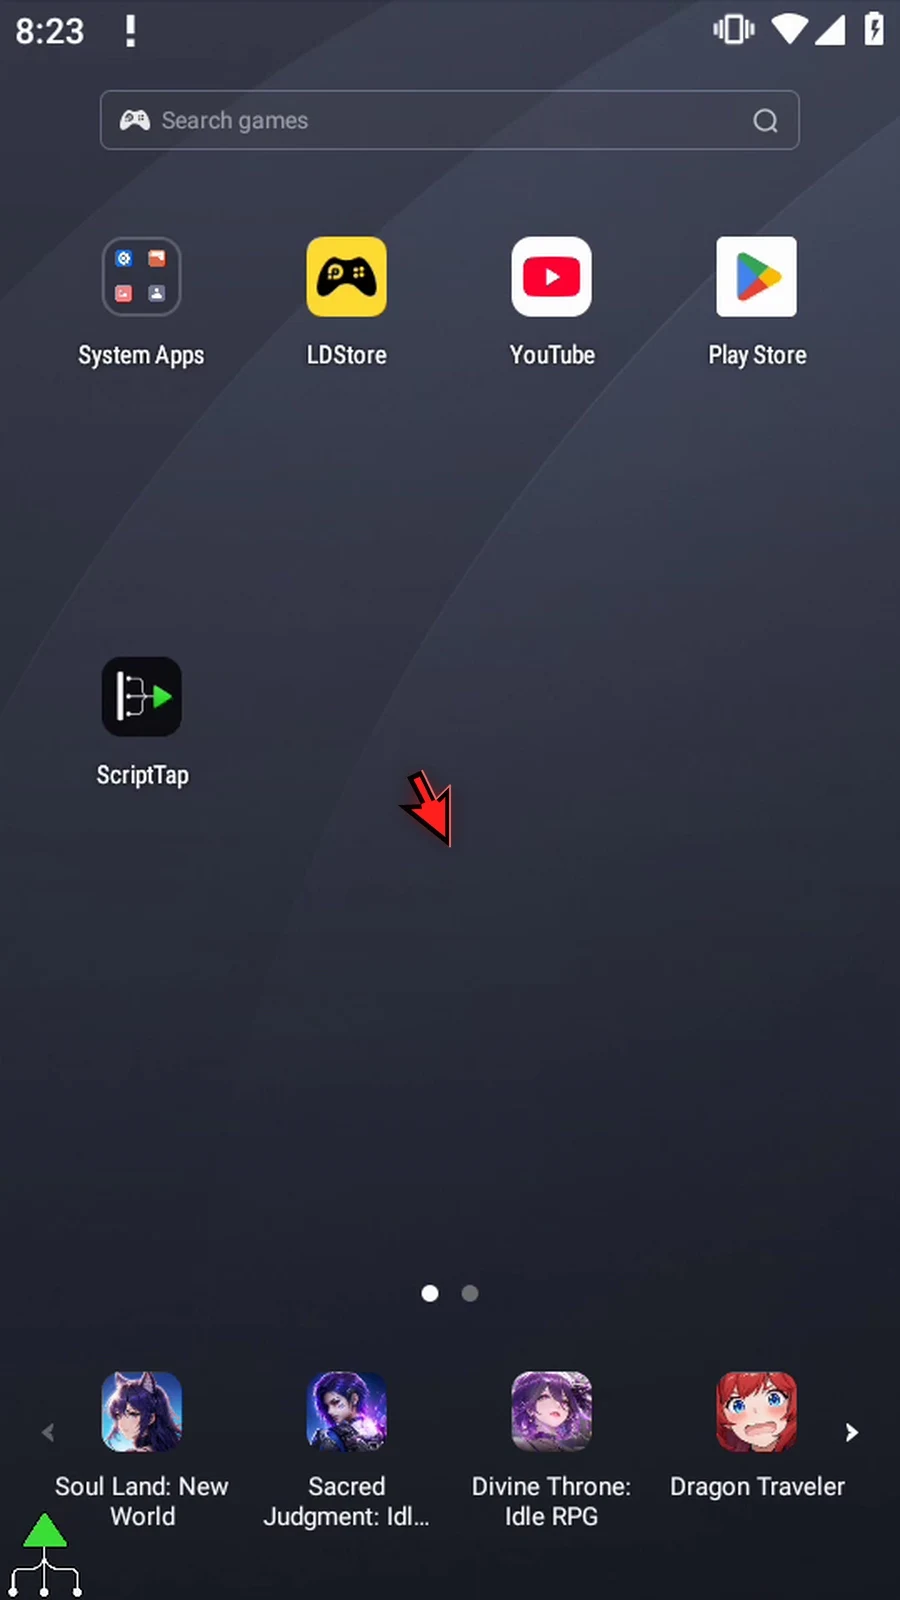
Step 11 Restore the main overlay with the green widget. Expand its controls if needed, then open the editor again.
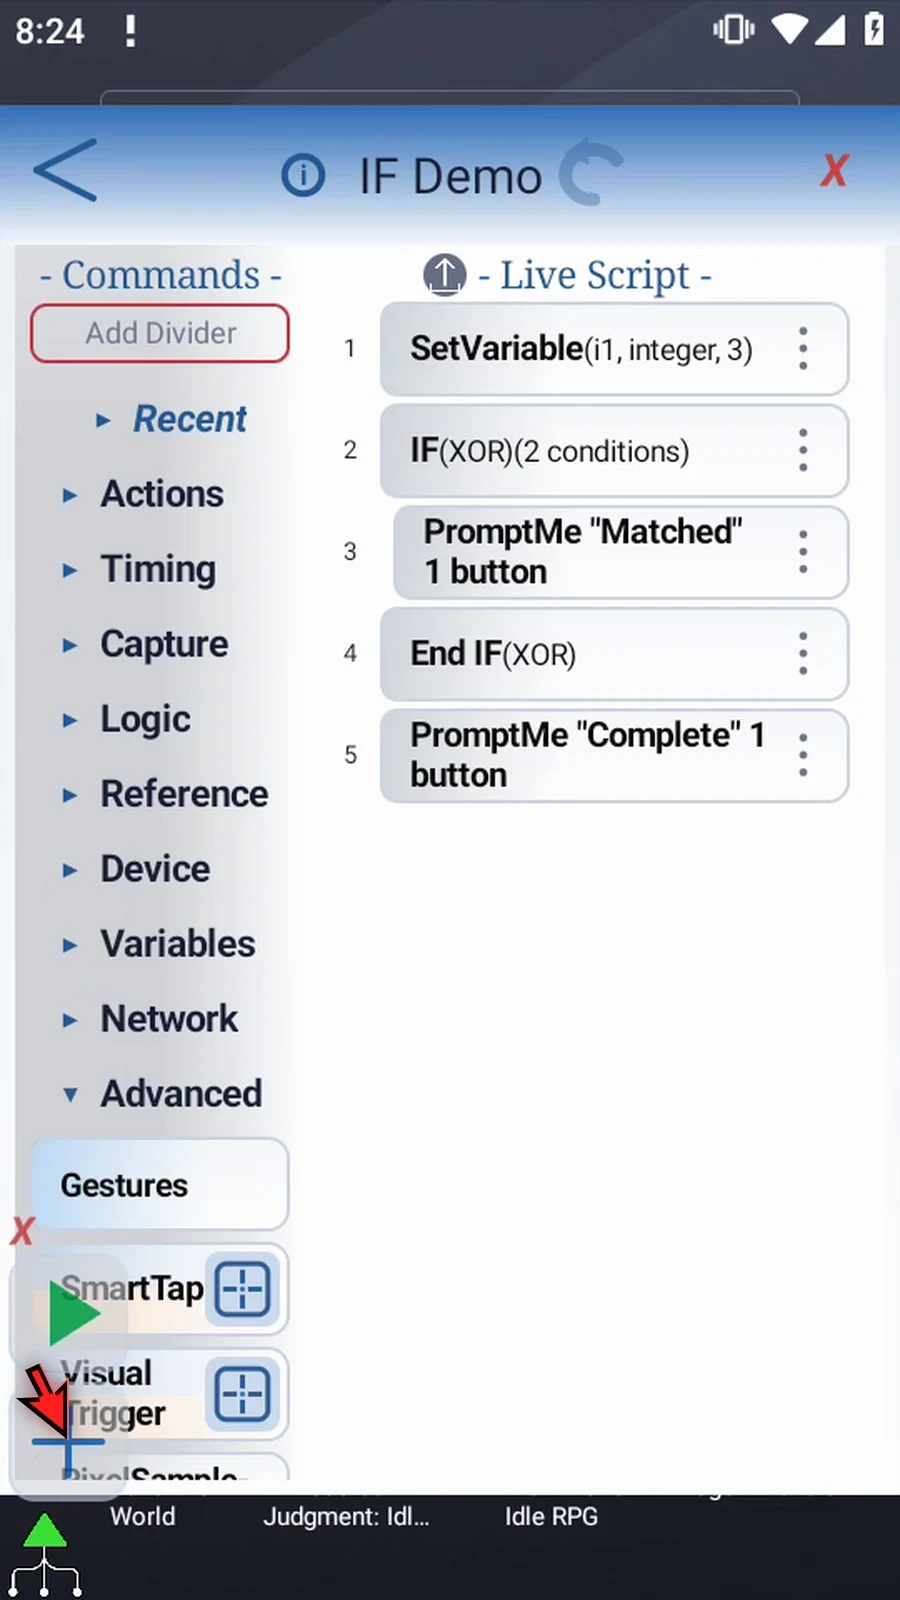
Step 12 Open IF again and change the second value from zero to four. Keep both relationships unchanged.
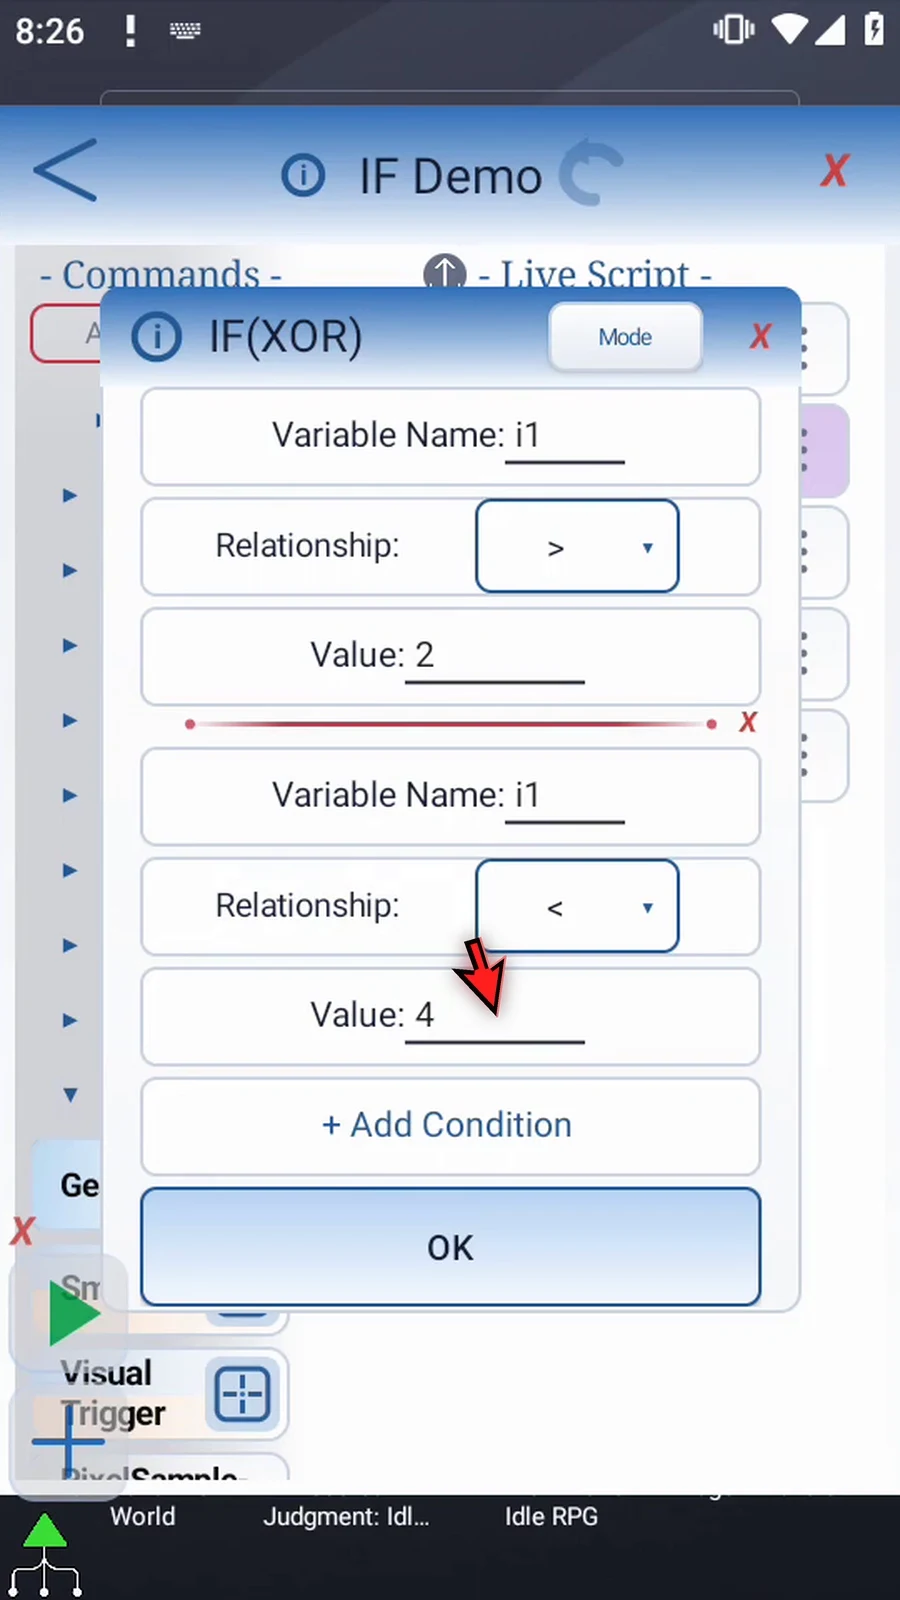
Step 13 Now three is greater than two and less than four. Both conditions are true. OR and AND would pass this example, but XOR fails because more than one condition is true. Tap OK.
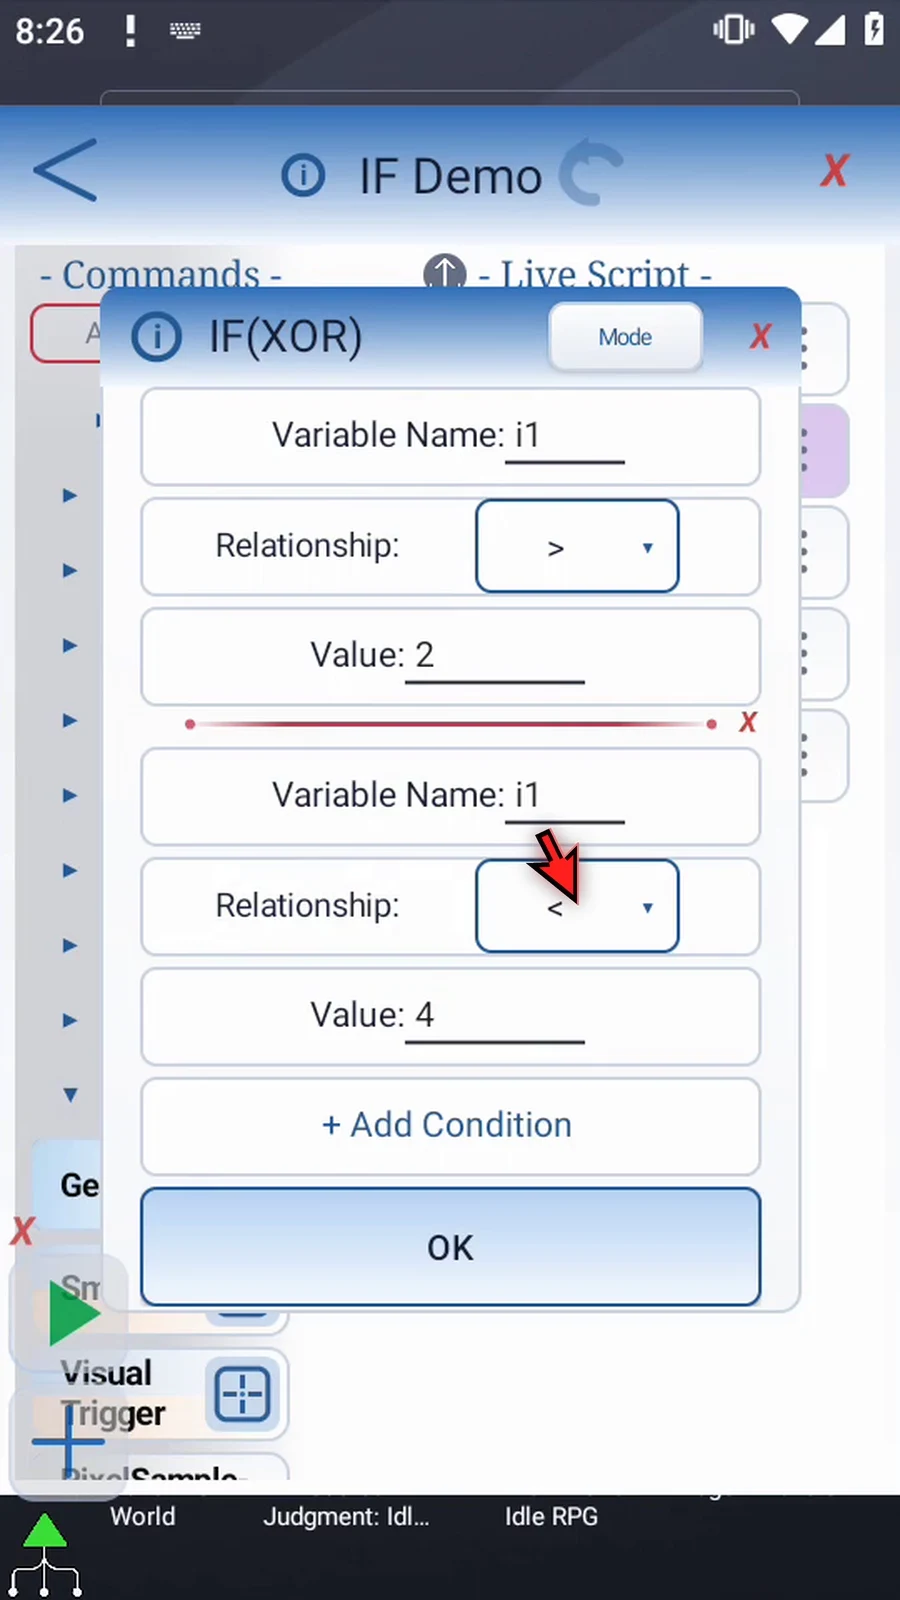
Step 14 Close the editor and test the same script again.

Step 15 When the script is complete, simply use the Play button in the main overlay.

Step 16 Only Complete appears. XOR skipped the inside message because two conditions were true. Execution continued after End IF.
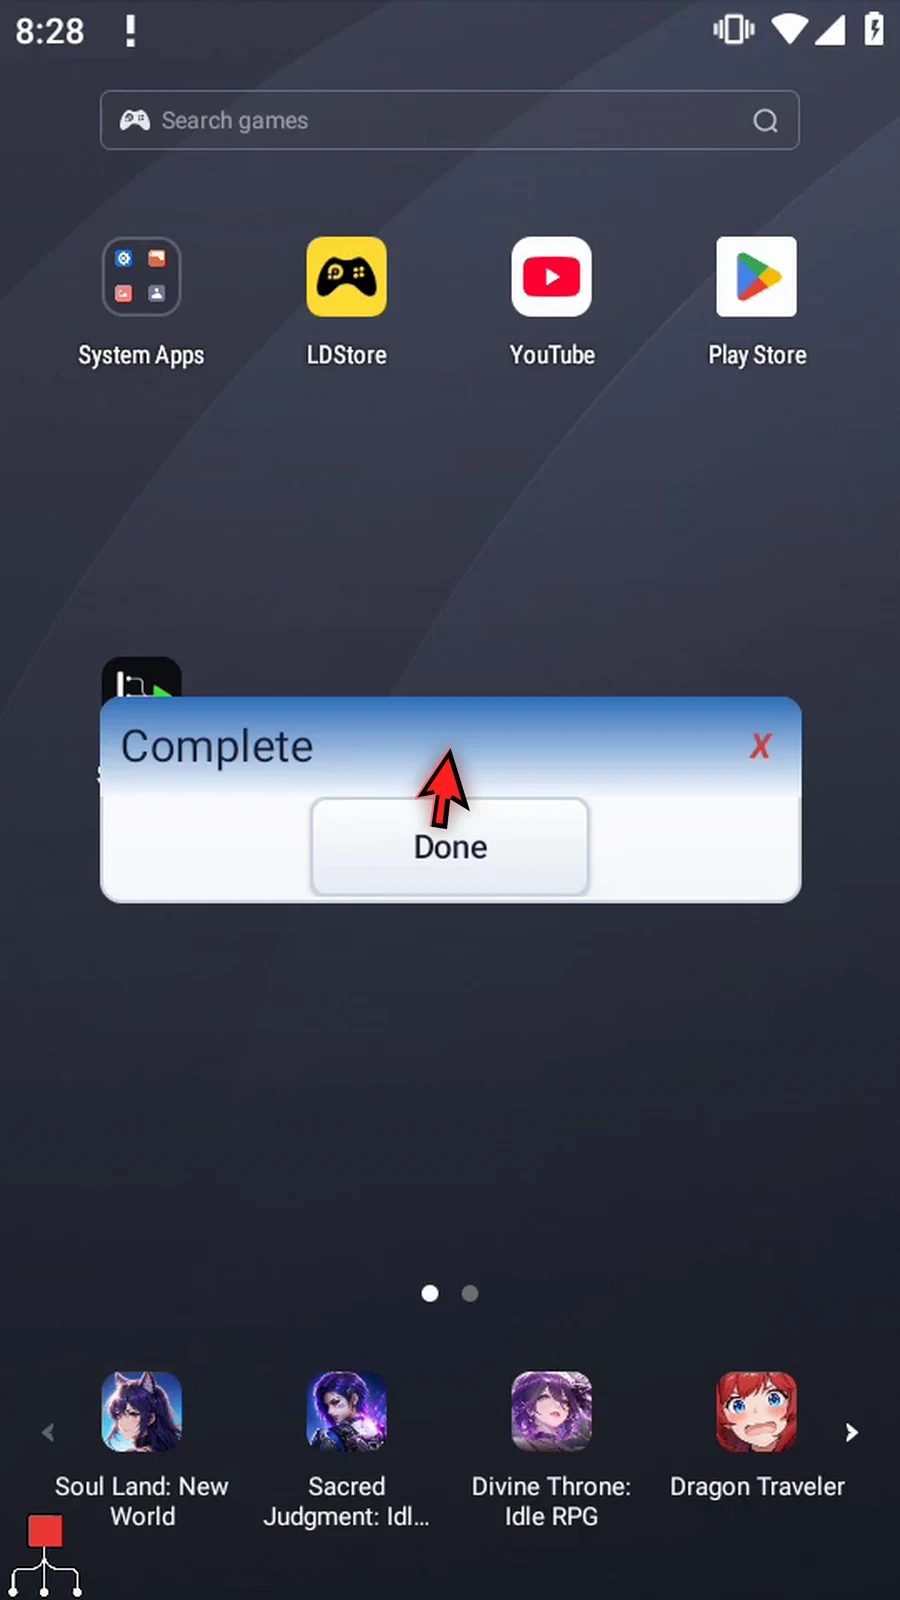
Step 17 Press Done. The script finishes automatically. Use XOR when exactly one of your conditions must be satisfied, and any other number must fail.
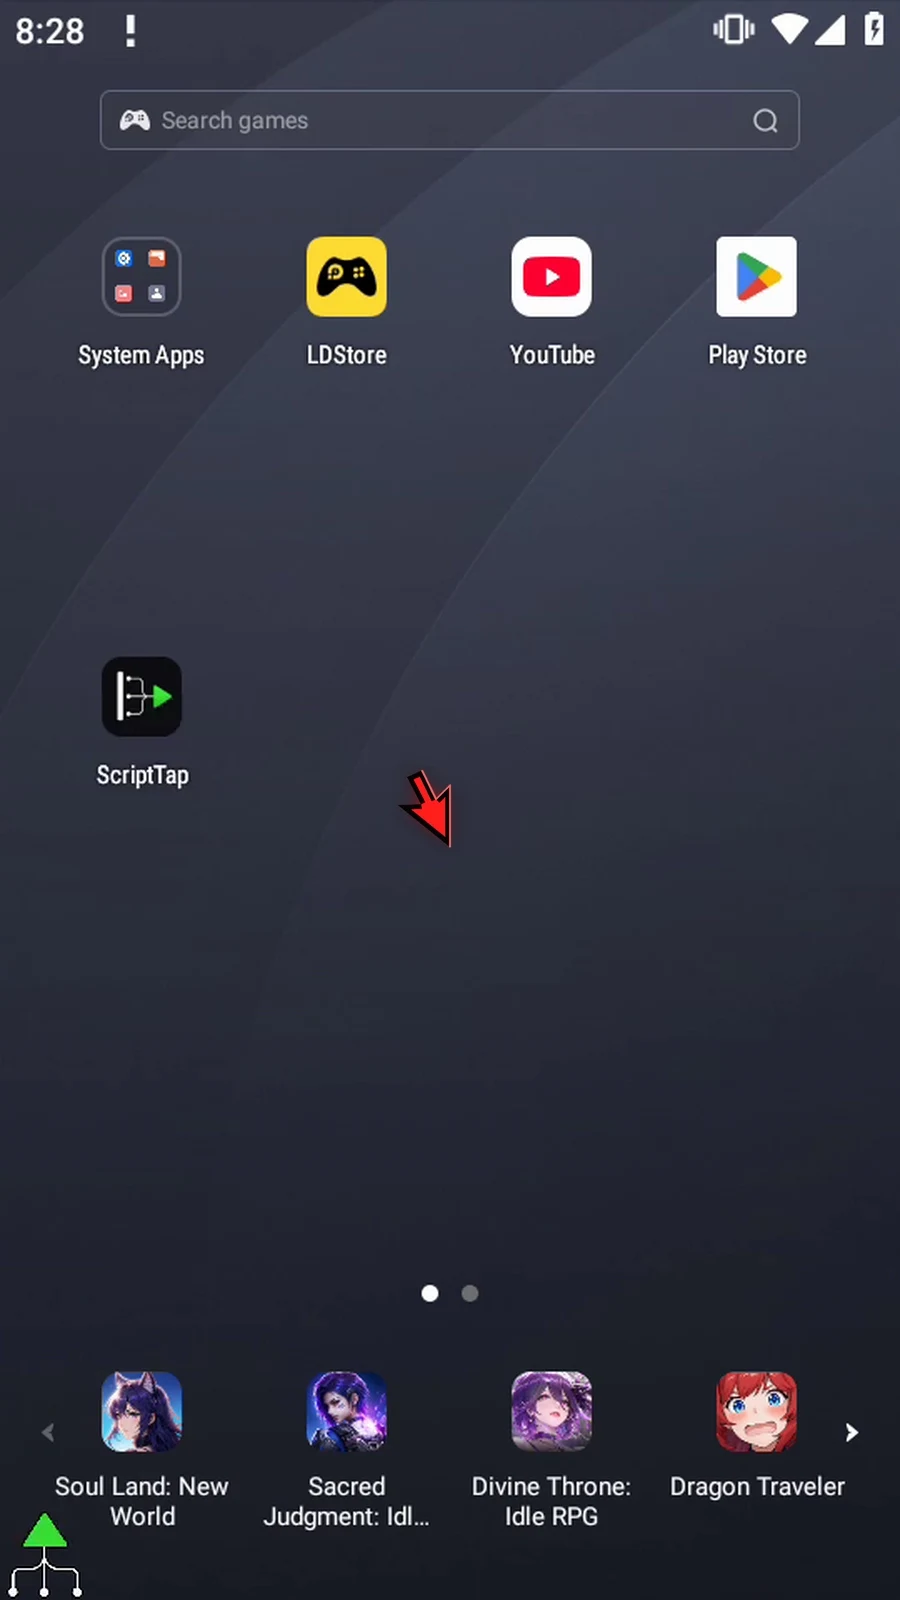
RGB Confidence runs the commands inside IF when a stored Hex color matches a target within the selected per-channel RGB tolerance. It compares color values; it does not search the screen. A common use is checking a color obtained earlier with GetPixelColor or PixelSampleBatch.
Reuse the five-command example from Intro / OR. Open its existing SetVariable, keep Single, choose Hex, rename the variable to h1, and enter 00FF00. Keep This Script Only. This known bright green value makes the demonstration repeatable without another screen-reading command.
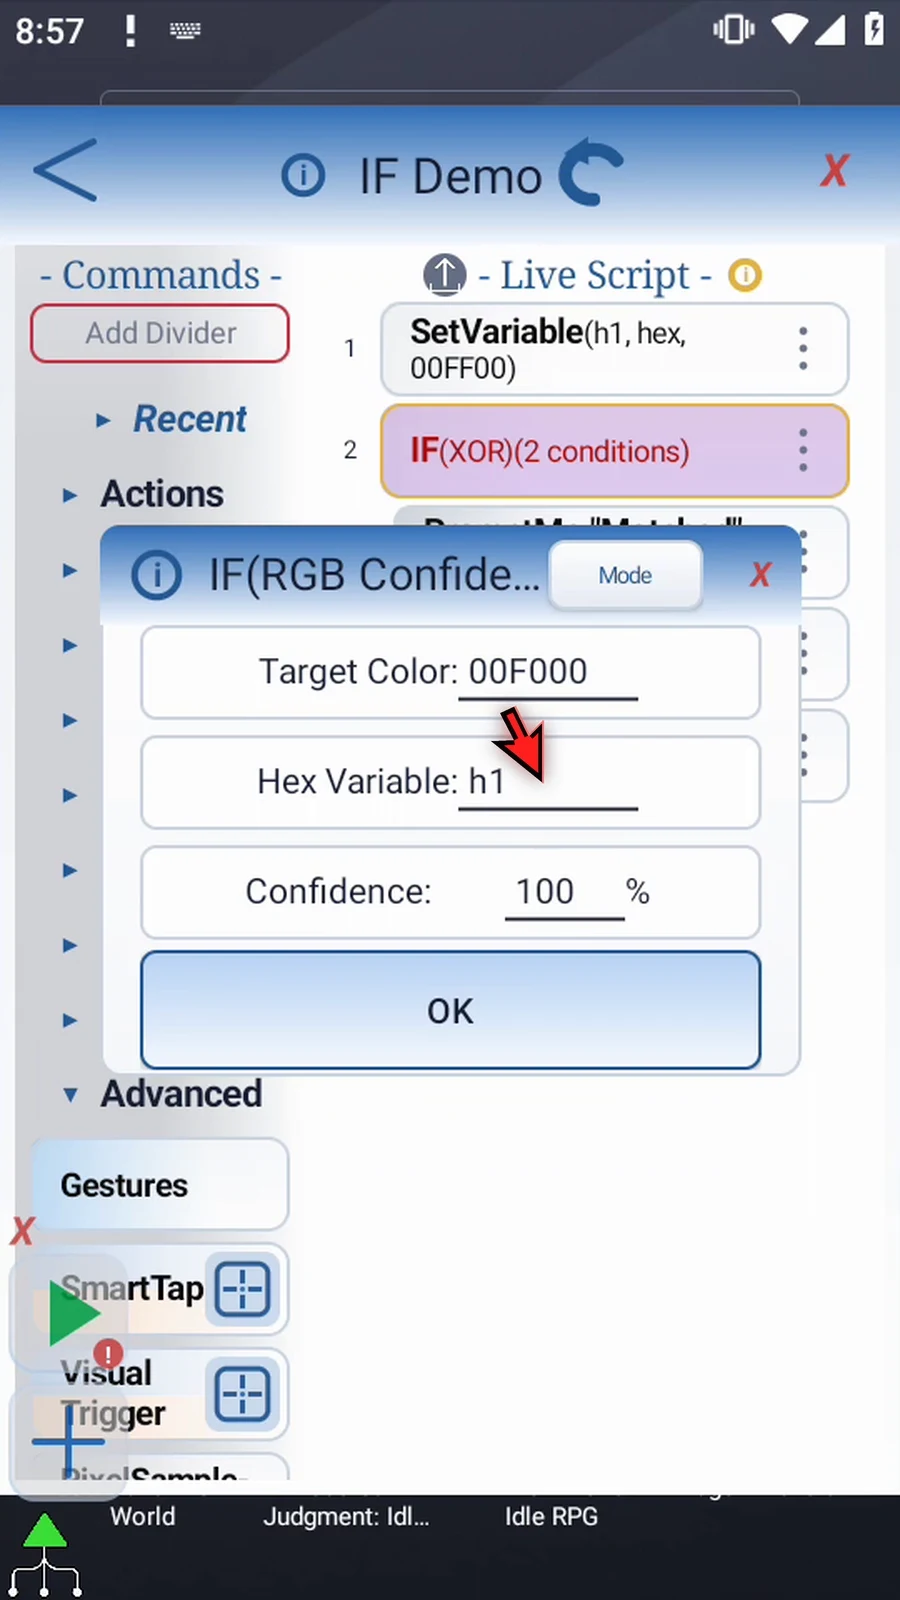
Open the existing IF, select Mode → RGB Confidence, and enter Target Color 00F000, Hex Variable h1, and Confidence 100. Target Color can be a Hex literal or an earlier Hex variable; Hex Variable names the stored color being tested.
Confidence accepts an unsigned whole-number literal from 1 to 100. Enter only the number: no percent sign, decimals, signed values, or variables. 100 is exact matching; lower confidence permits larger differences in each red, green, and blue channel. This is deterministic color math, not an AI likeness score or a probability.
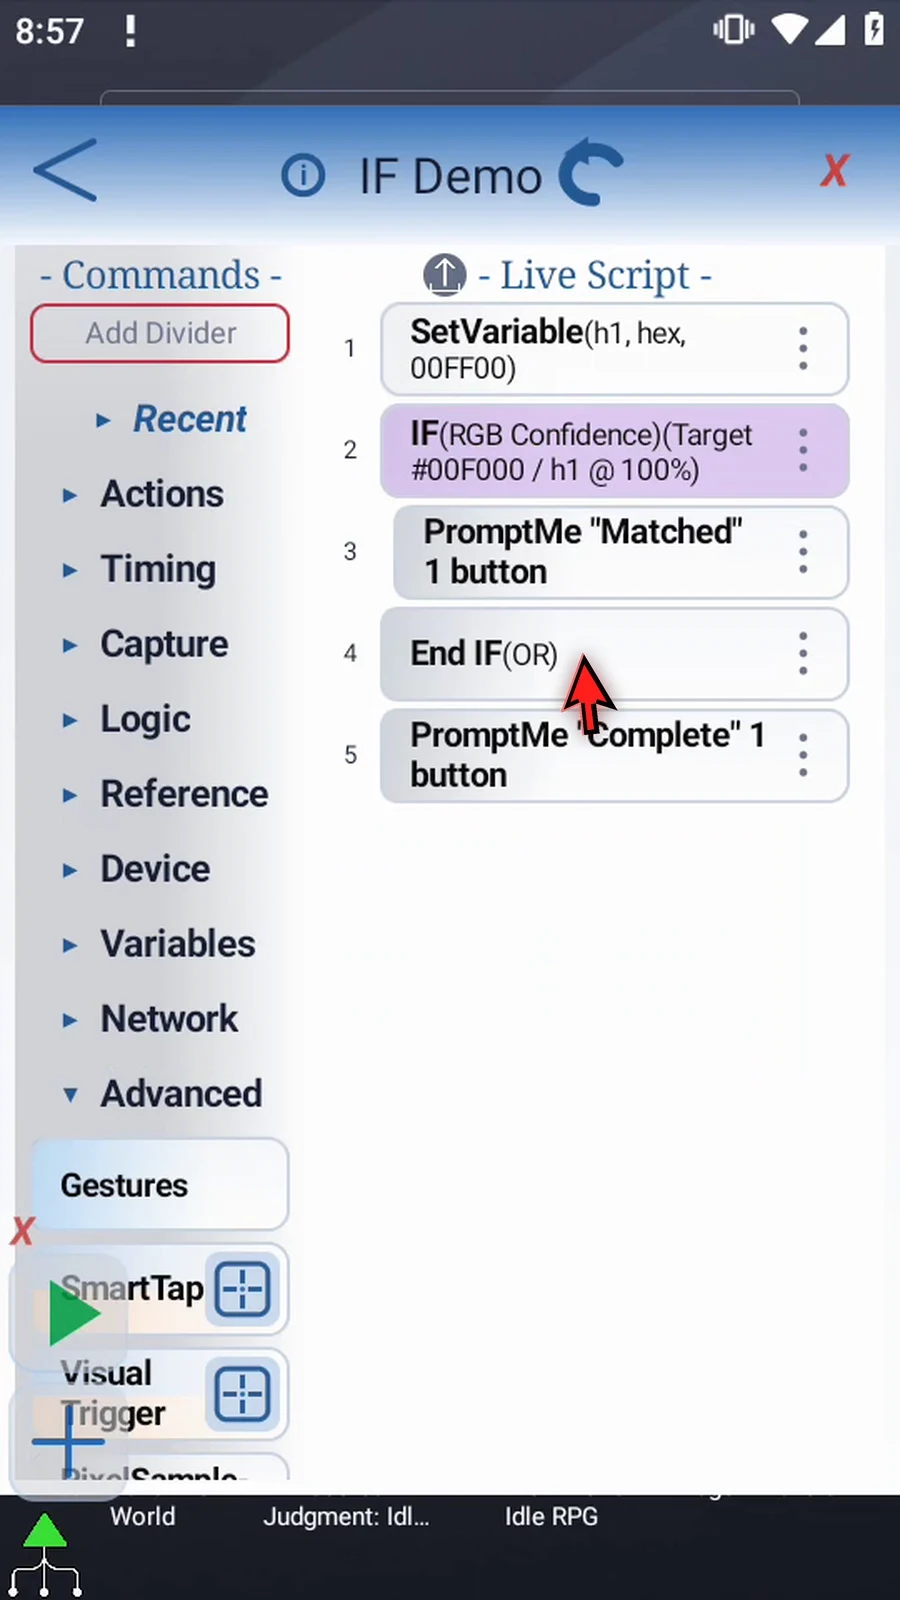
Save with OK. RGB Confidence uses the paired row visibly labeled End IF(OR). The Matched prompt remains inside the block, and Complete remains after End IF. Close the editor and use Play: only Complete appears because 00FF00 and 00F000 are not exactly equal. Press Done to finish.
Restore the overlay, reopen IF, and change only Confidence to 90. Keep both colors and prompts unchanged. Save, close the editor, and use Play again. The small green-channel difference is now allowed: Matched appears, Next continues to Complete, and Done lets the script finish automatically. Choose a confidence appropriate to your colors and test it on your device.
RGB Confidence
Step-by-step guide
Step 01 RGB Confidence lets an IF block run when a stored Hex color matches a target closely enough. This is useful after Get Pixel Color or Pixel Sample Batch. We will use two known green values to show an exact-match failure, then a more tolerant match.
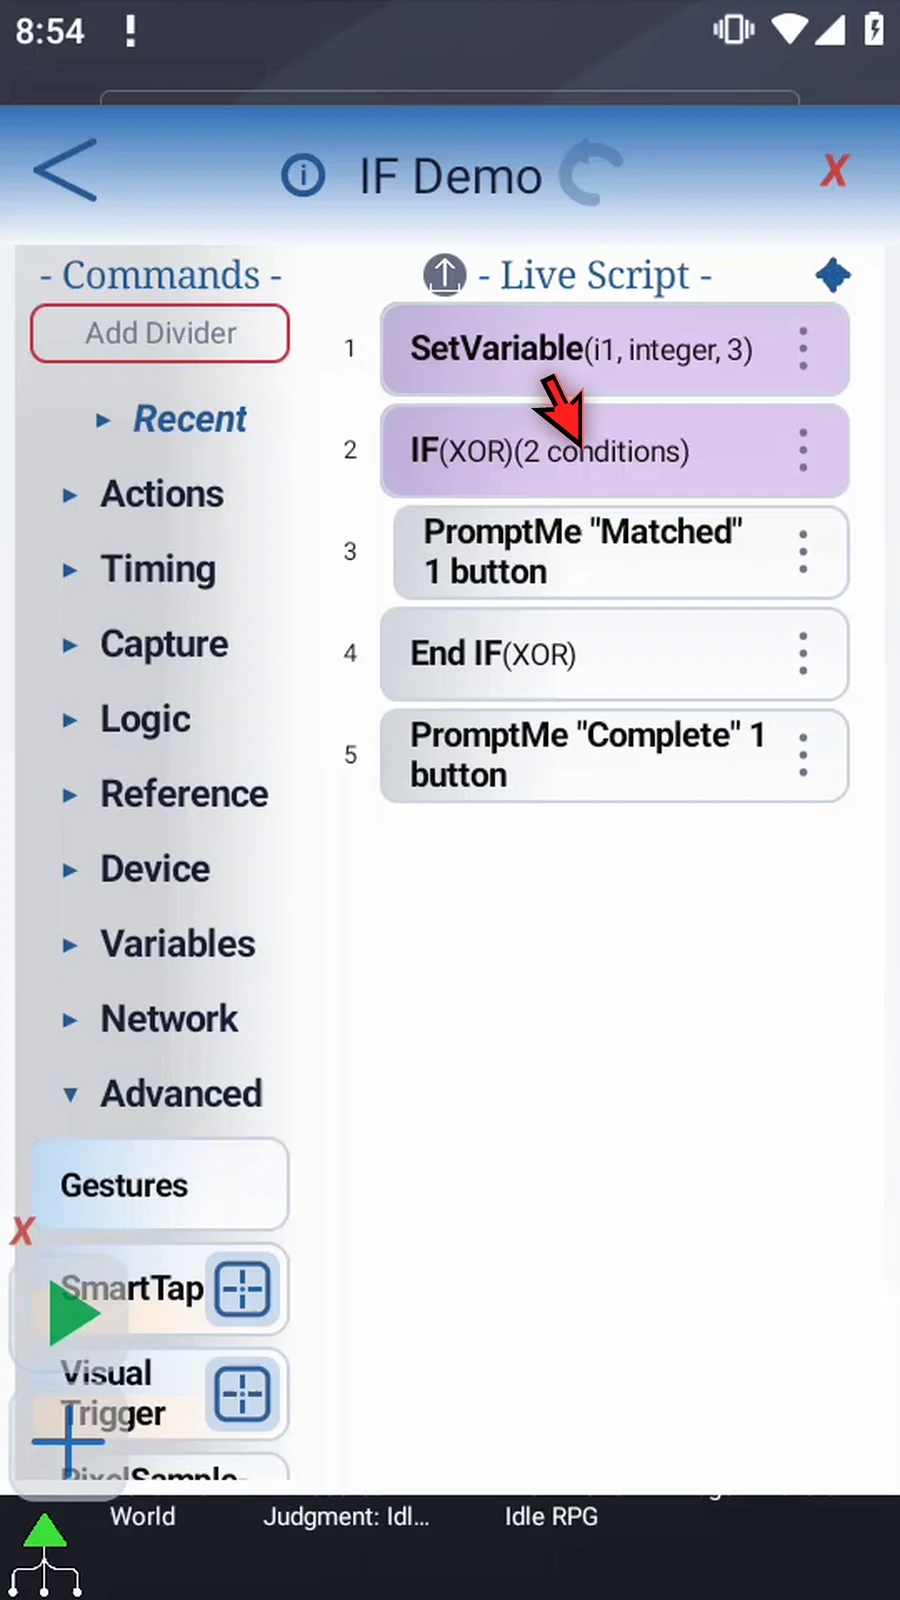
Step 02 Reuse the five-command example from Intro. Open Set Variable and its type menu. We will replace the numeric example with a known color, so the comparison is easy to follow.
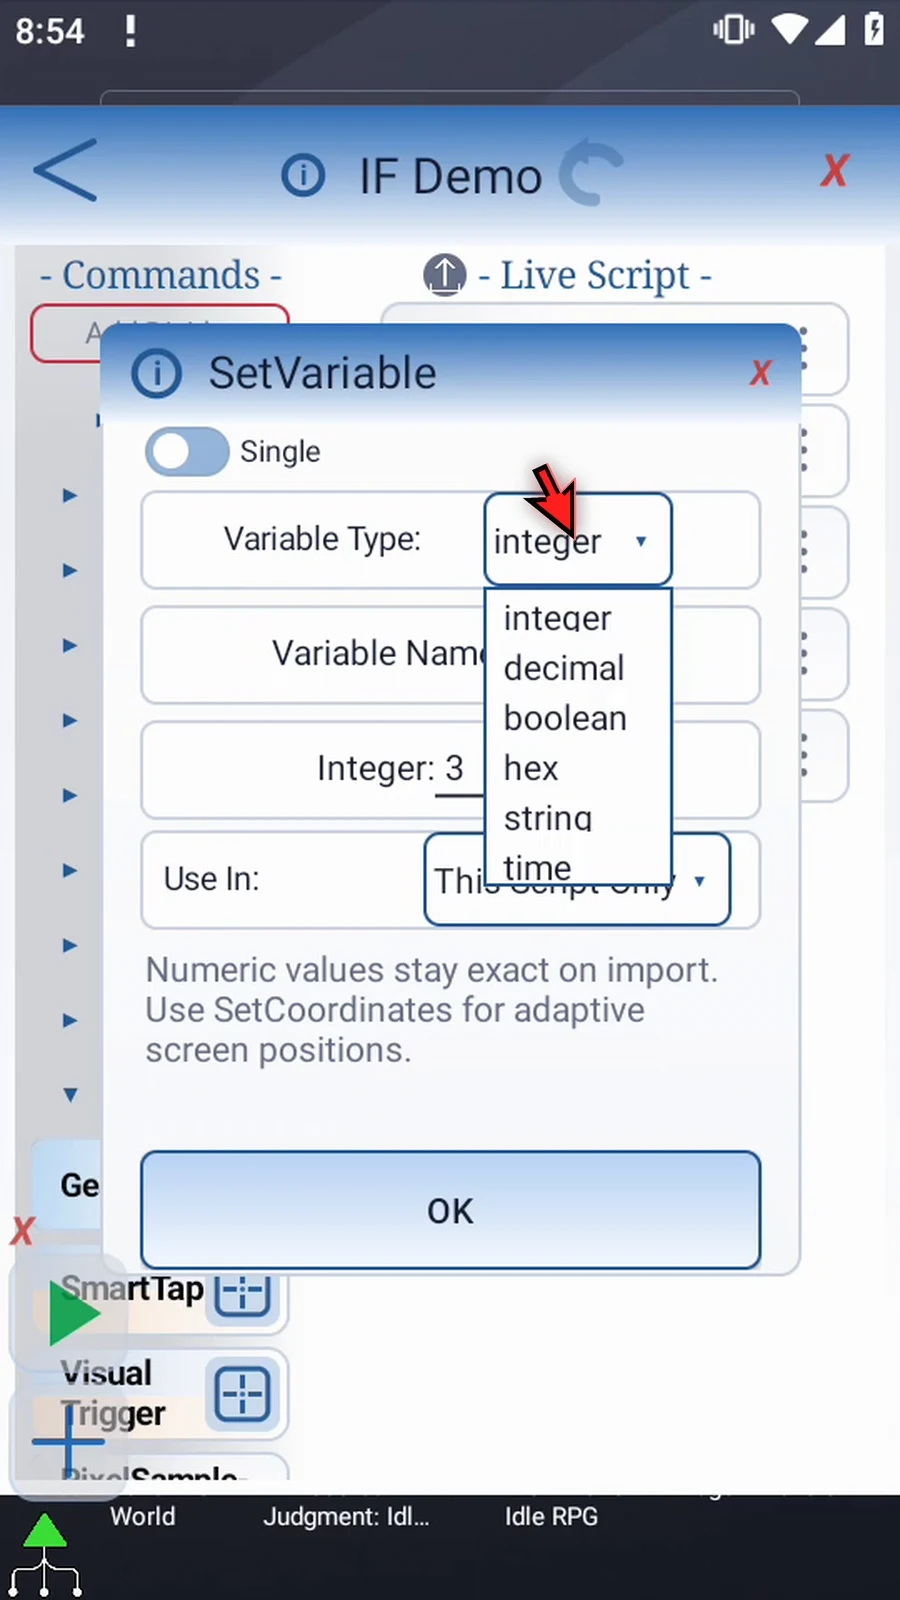
Step 03 Choose Hex and change the variable name to h1. This is the color that IF will read.
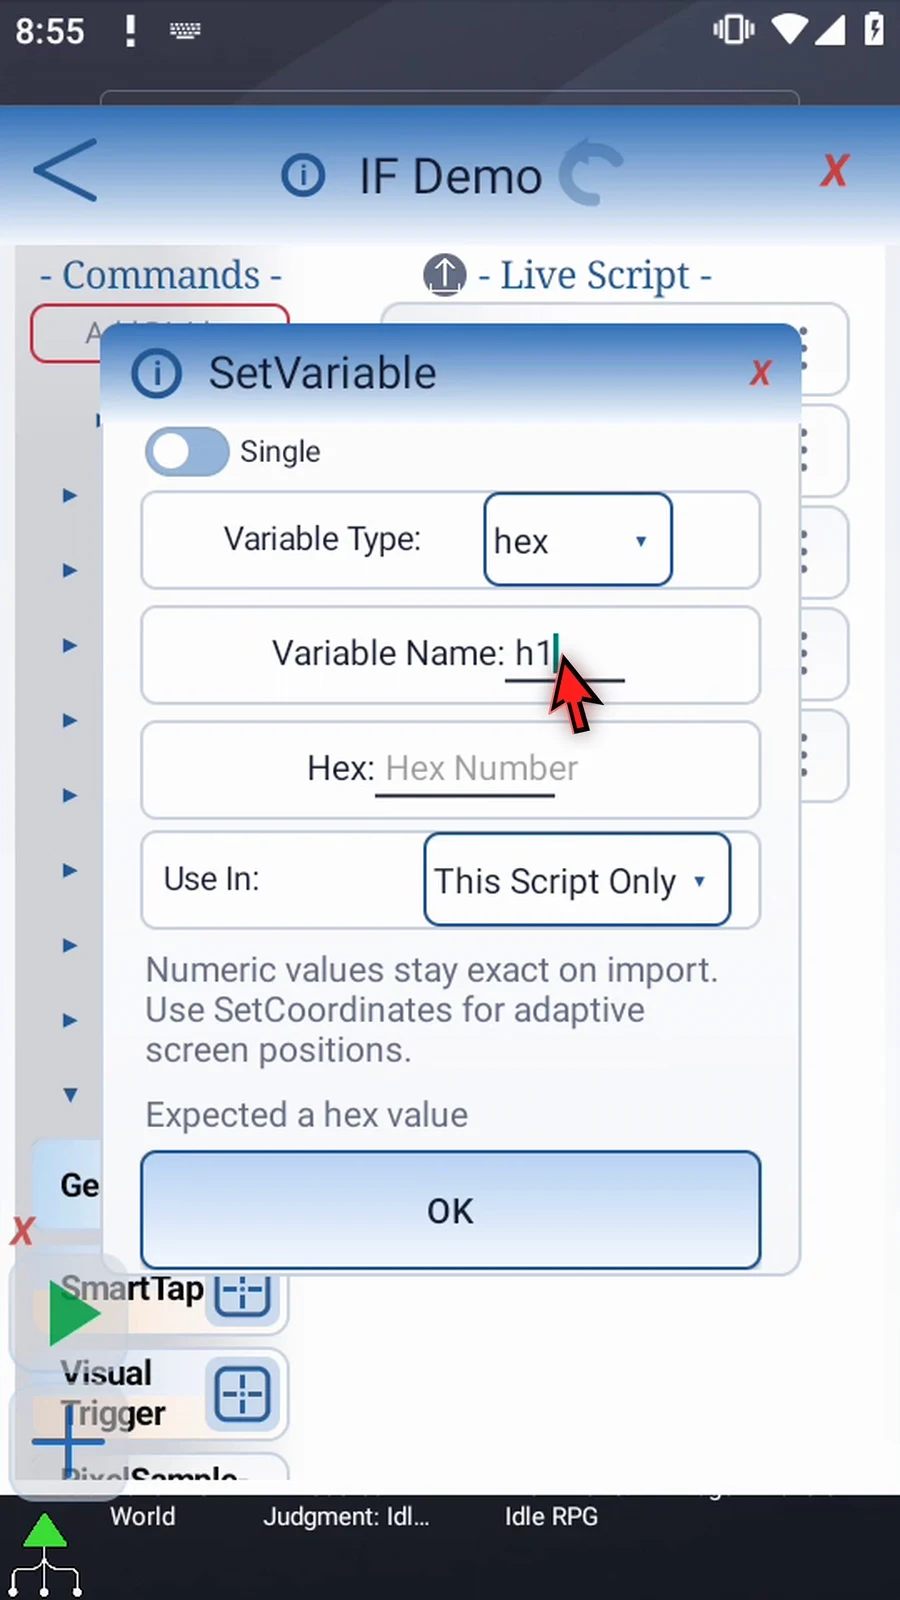
Step 04 Enter the bright green value shown here: zero zero, F F, zero zero. Keep This Script Only, then tap OK. The assignment provides the color before IF checks it.
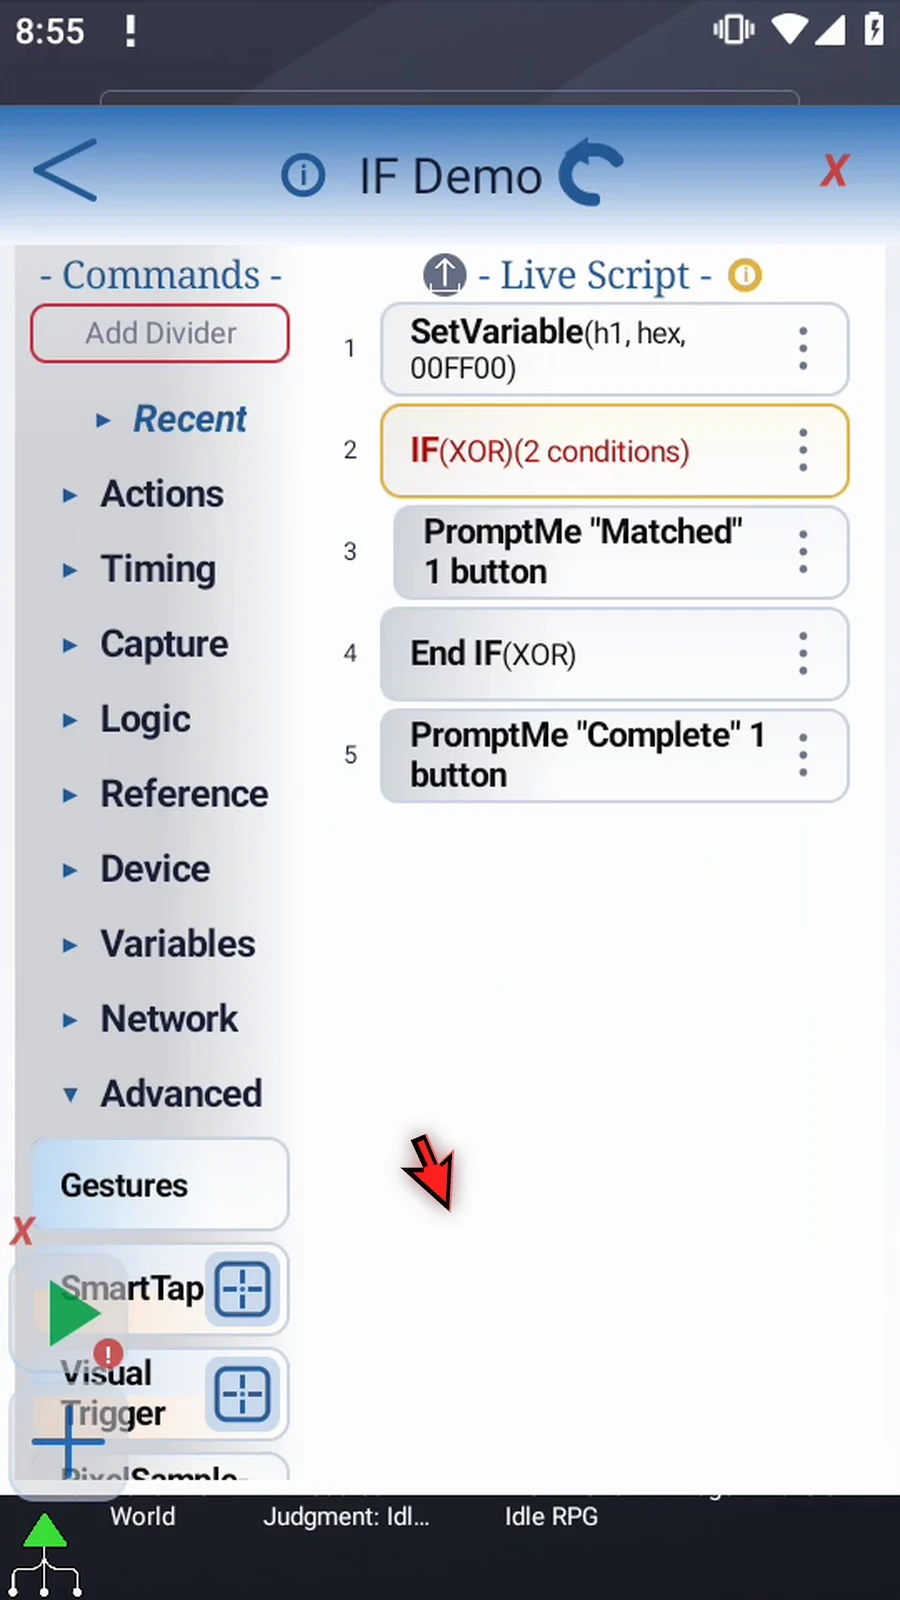
Step 05 Open the IF frame, tap Mode, and choose RGB Confidence. This replaces the numeric condition rows with the color comparison fields.
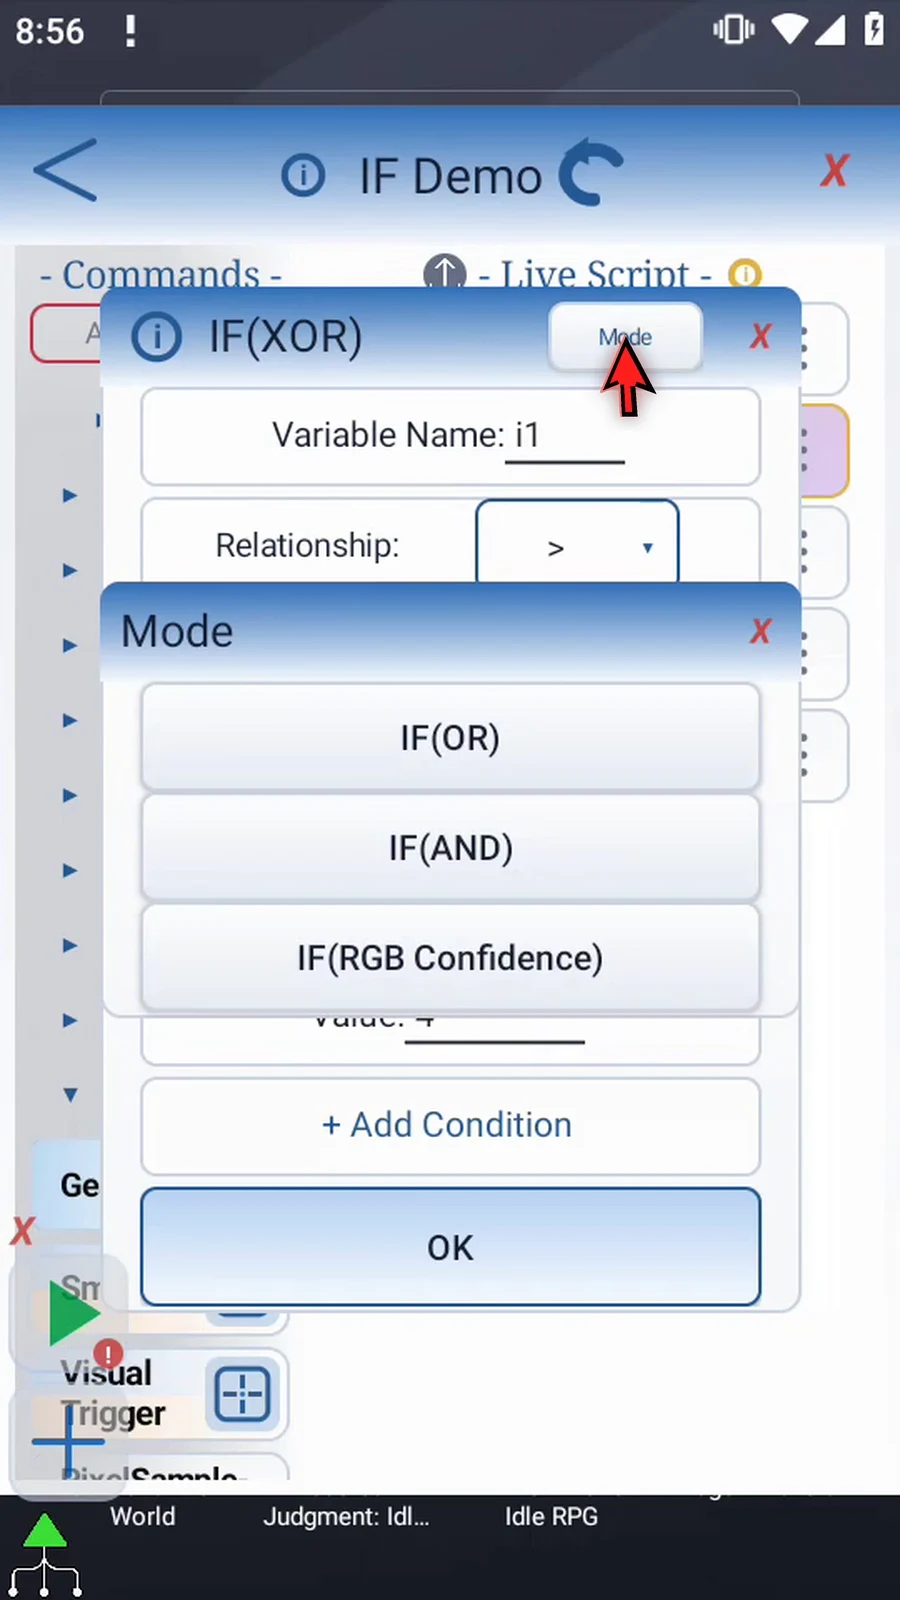
Step 06 For Target Color, enter zero zero, F zero, zero zero. This is a slightly darker green than our stored value. A target can also be an earlier Hex variable instead of a literal color.
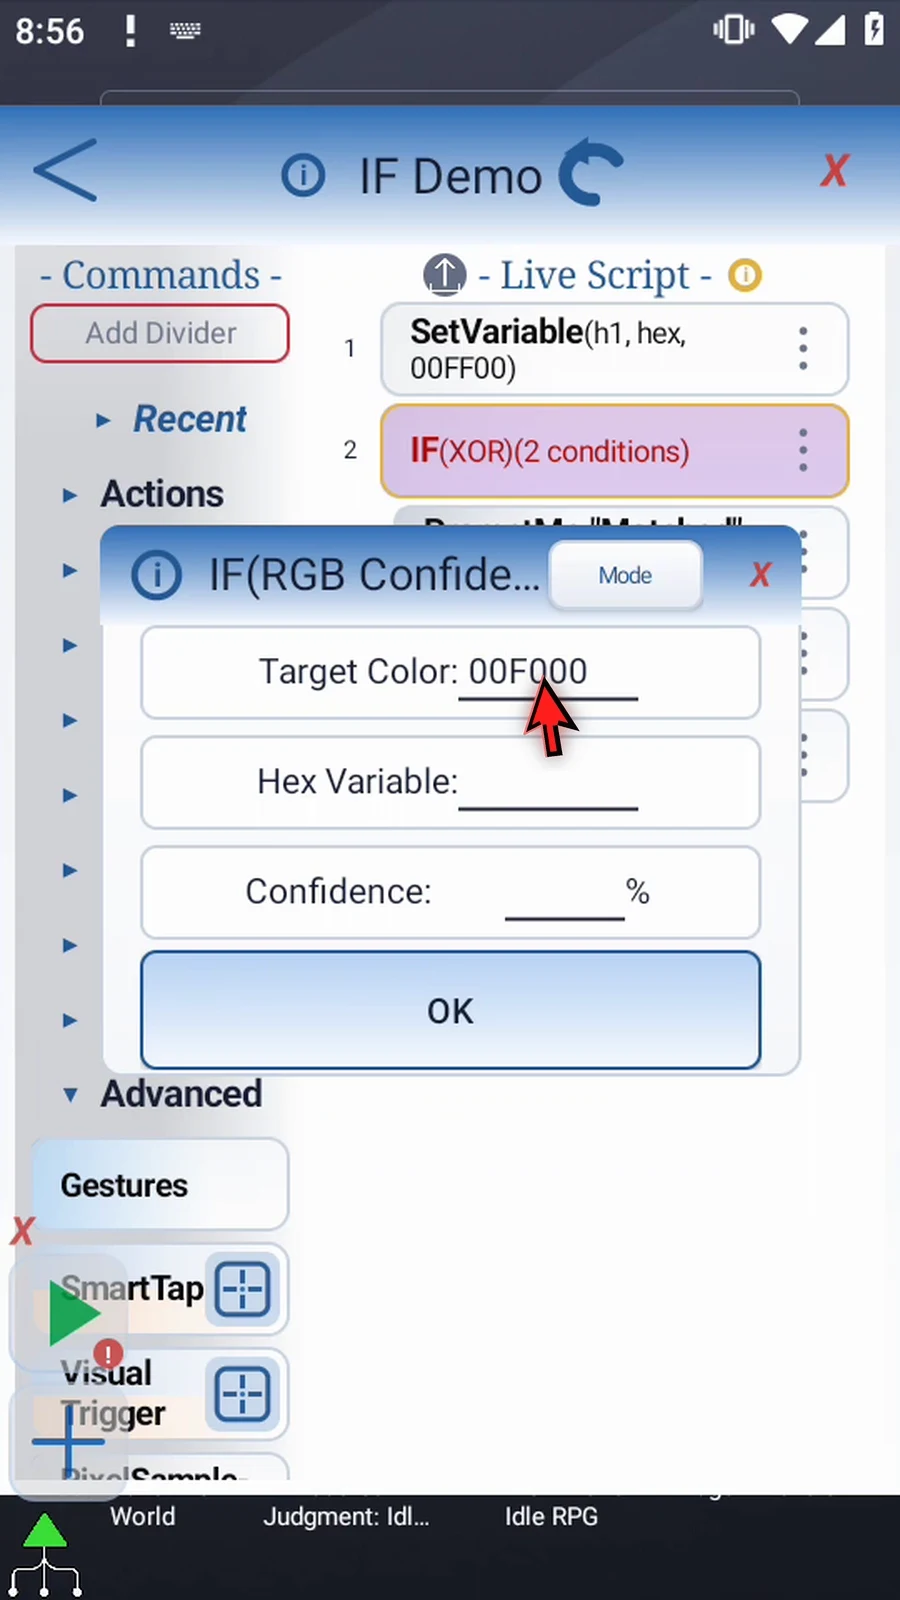
Step 07 Enter h1 as Hex Variable. This field names the stored color to compare; it is not another literal color.
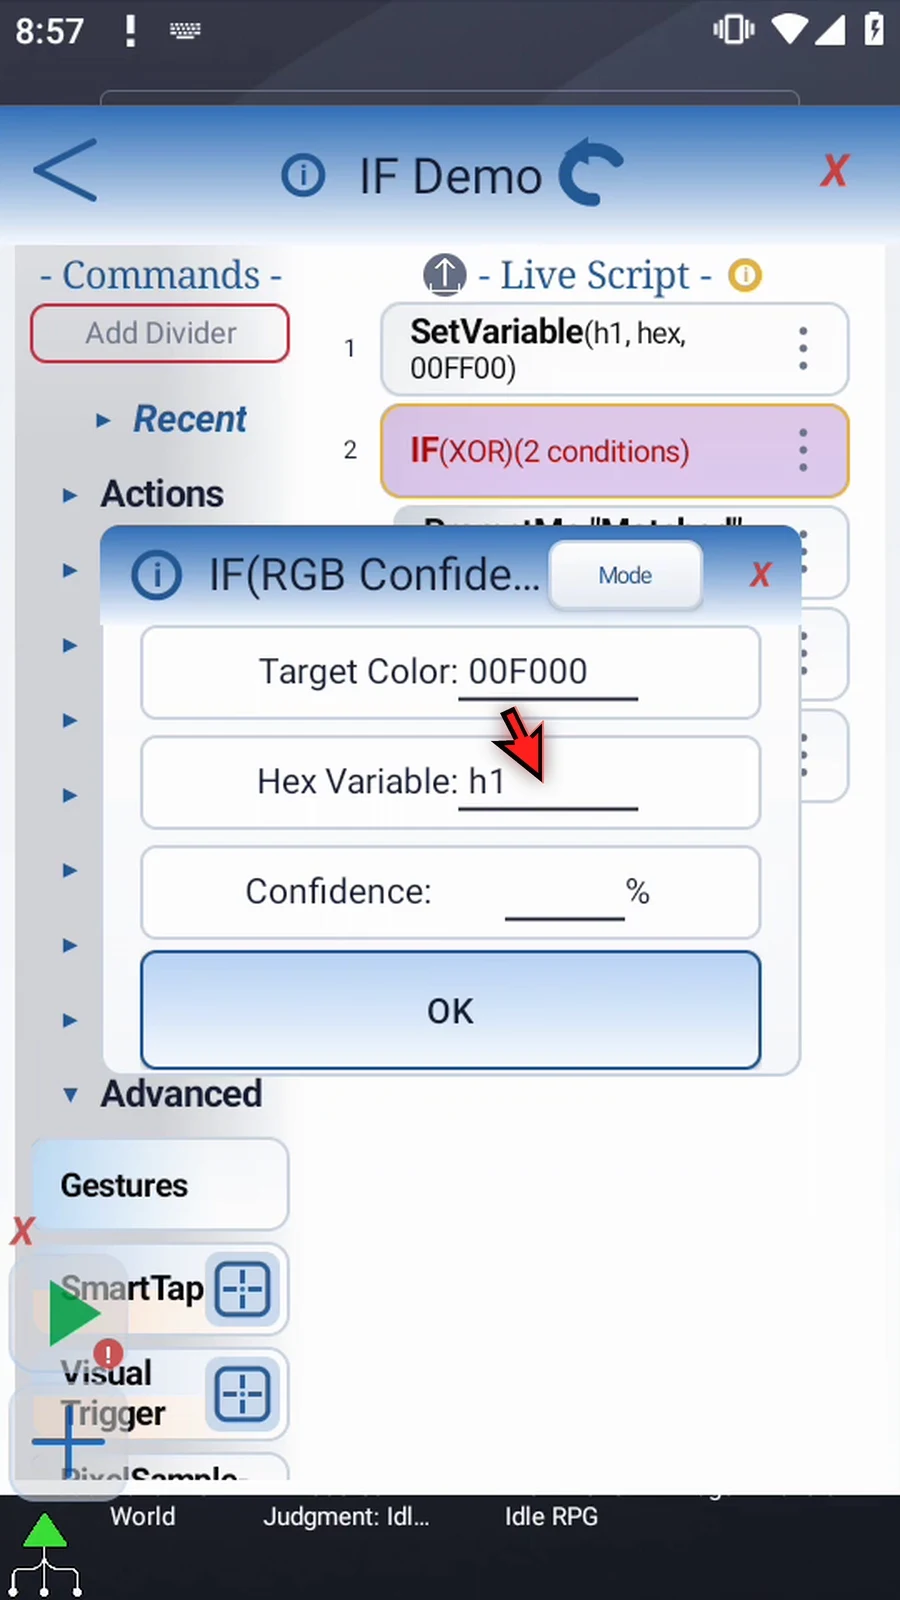
Step 08 Set Confidence to one hundred. This field accepts a whole number from one to one hundred. Type only the number, without the percent sign. Do not use decimals, signed values, or variables here.
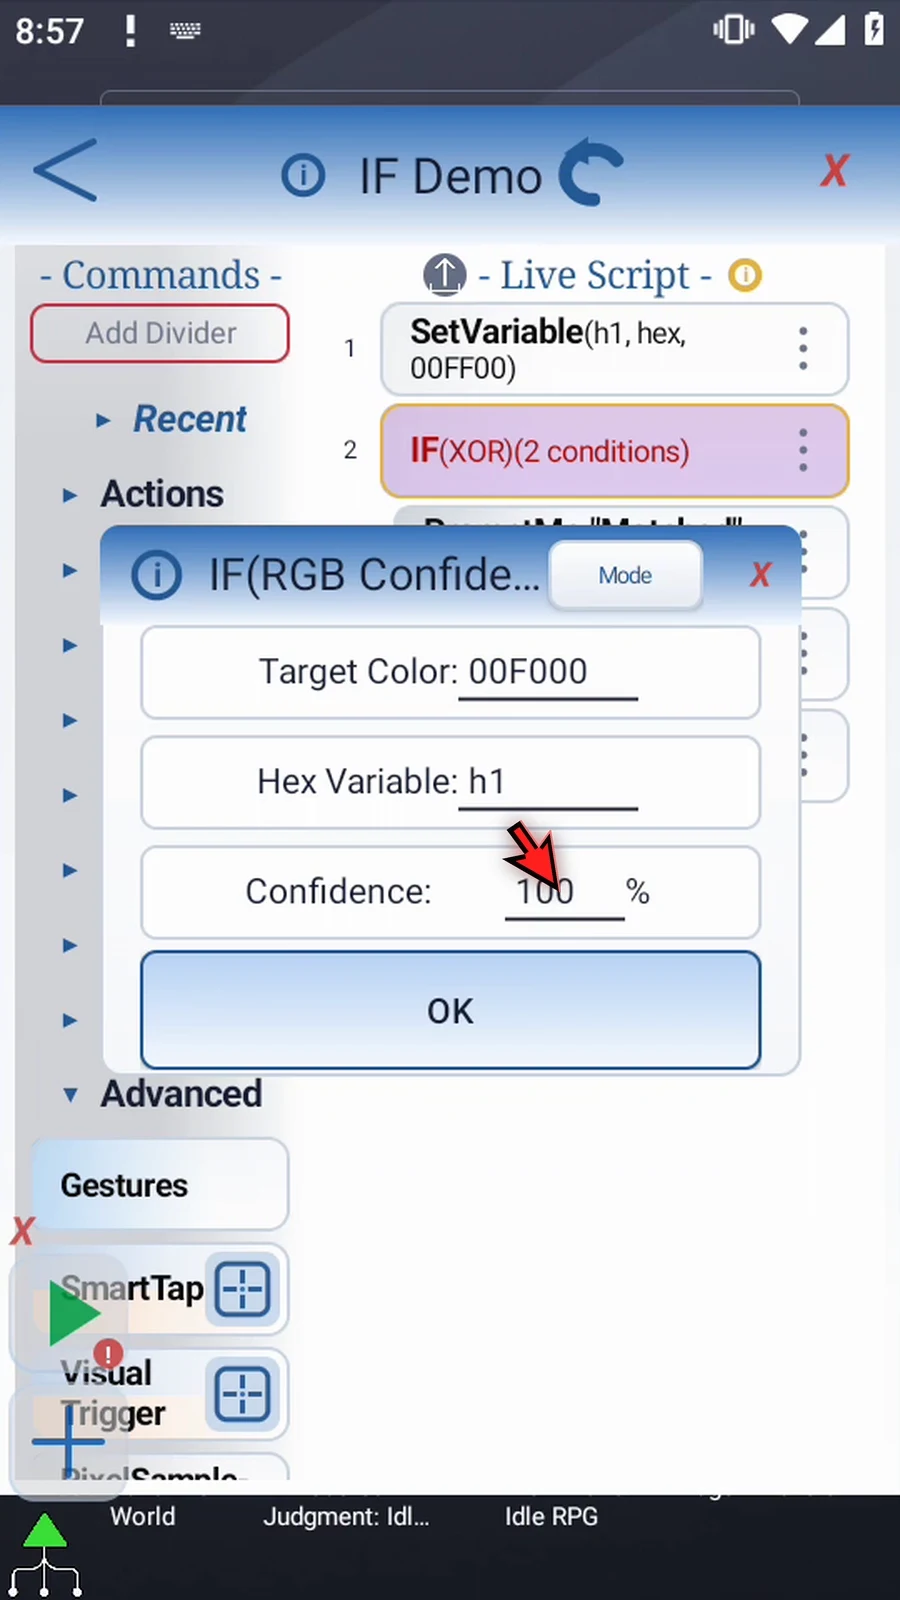
Step 09 One hundred requires an exact match. Lower confidence allows larger differences in the red, green, and blue channels. This is deterministic color matching, not an AI similarity score or a probability. Our two green values differ, so the exact test will fail.
Step 10 Tap OK. RGB Confidence uses the End IF row marked OR. Matched stays inside the block, and Complete stays outside it.
Step 11 Close the editor to test the exact comparison.

Step 12 When the script is complete, simply use the Play button in the main overlay.

Step 13 Only Complete appears. The colors were not exactly equal, so IF skipped the inside Matched prompt and continued after End IF.
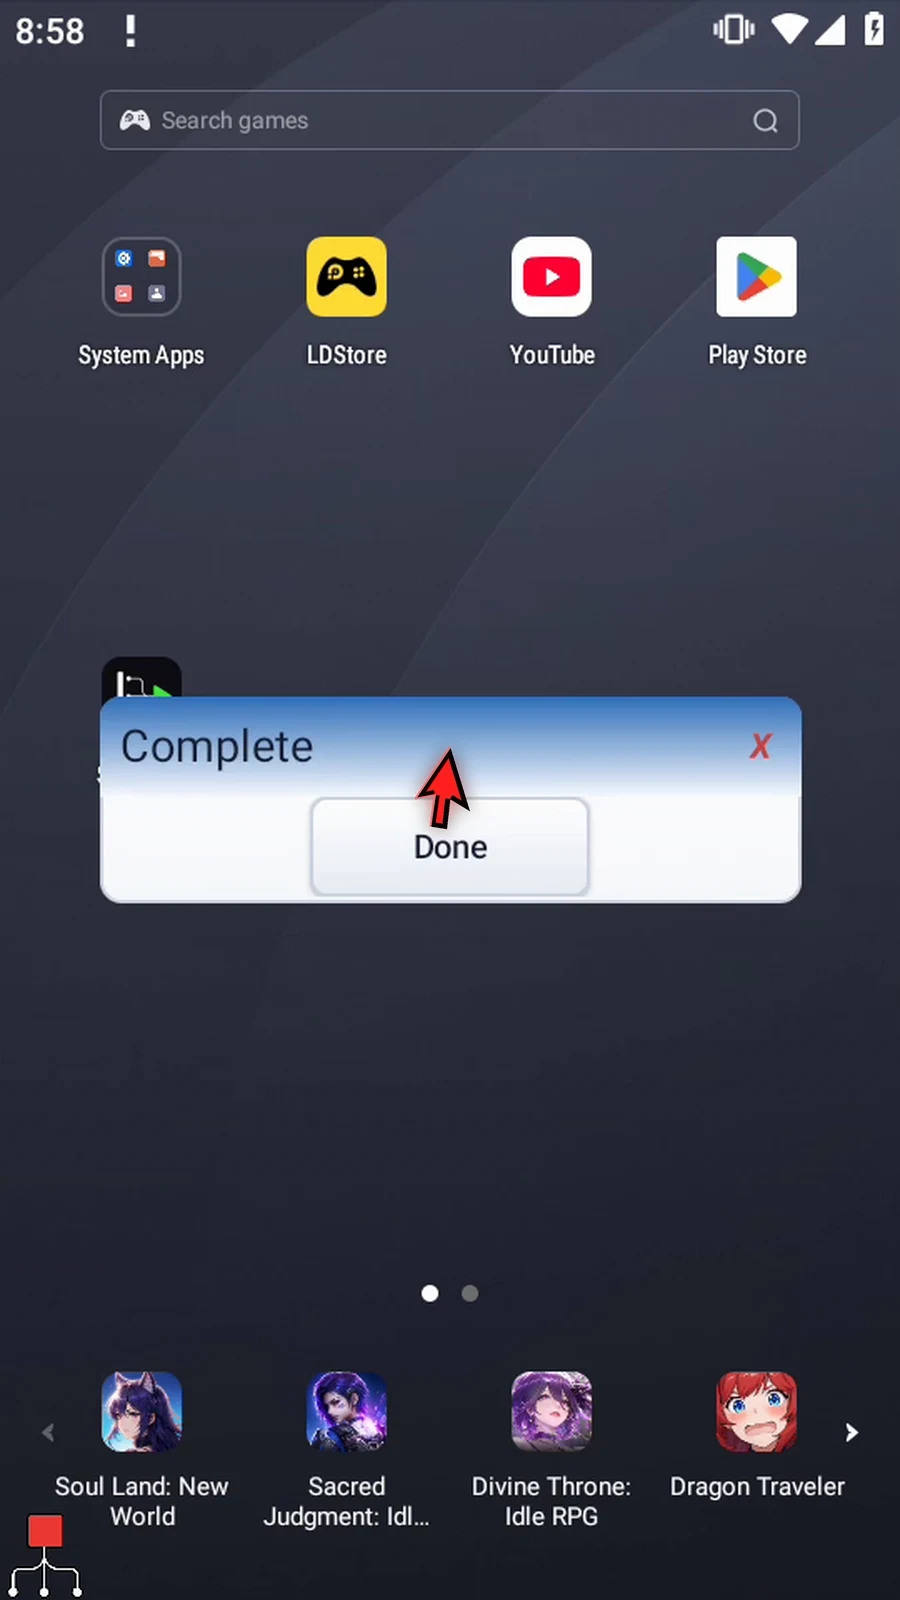
Step 14 Press Done to finish this run.
Step 15 Restore the main overlay with the green widget. Expand its controls if needed, then open the editor again.
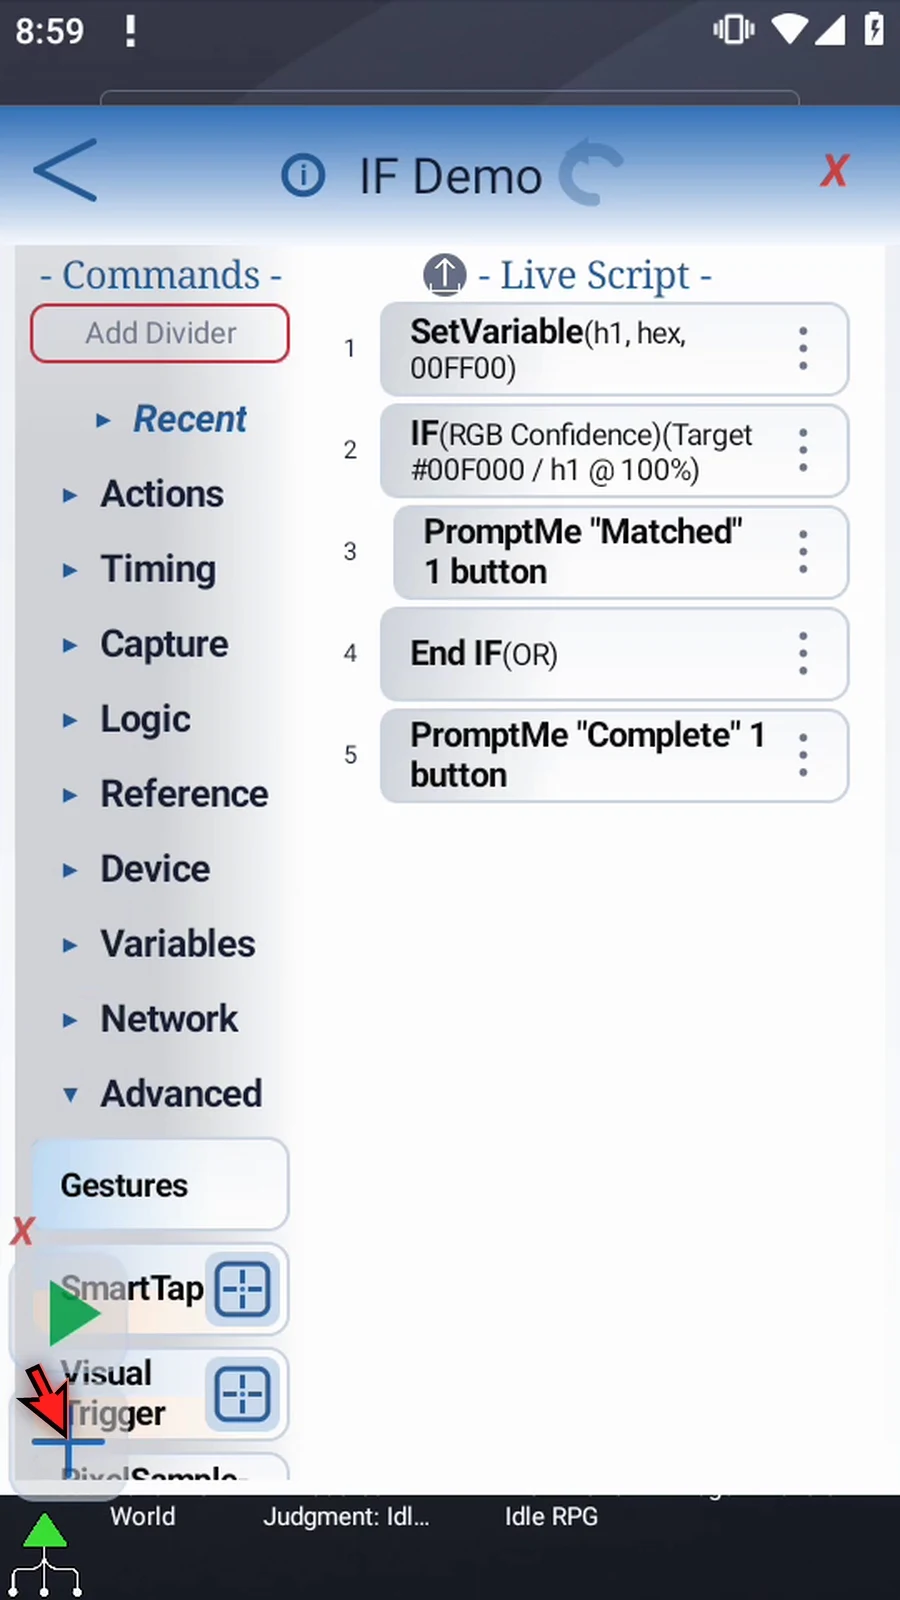
Step 16 Open IF again. Change only Confidence from one hundred to ninety. Keep the target and Hex variable unchanged.
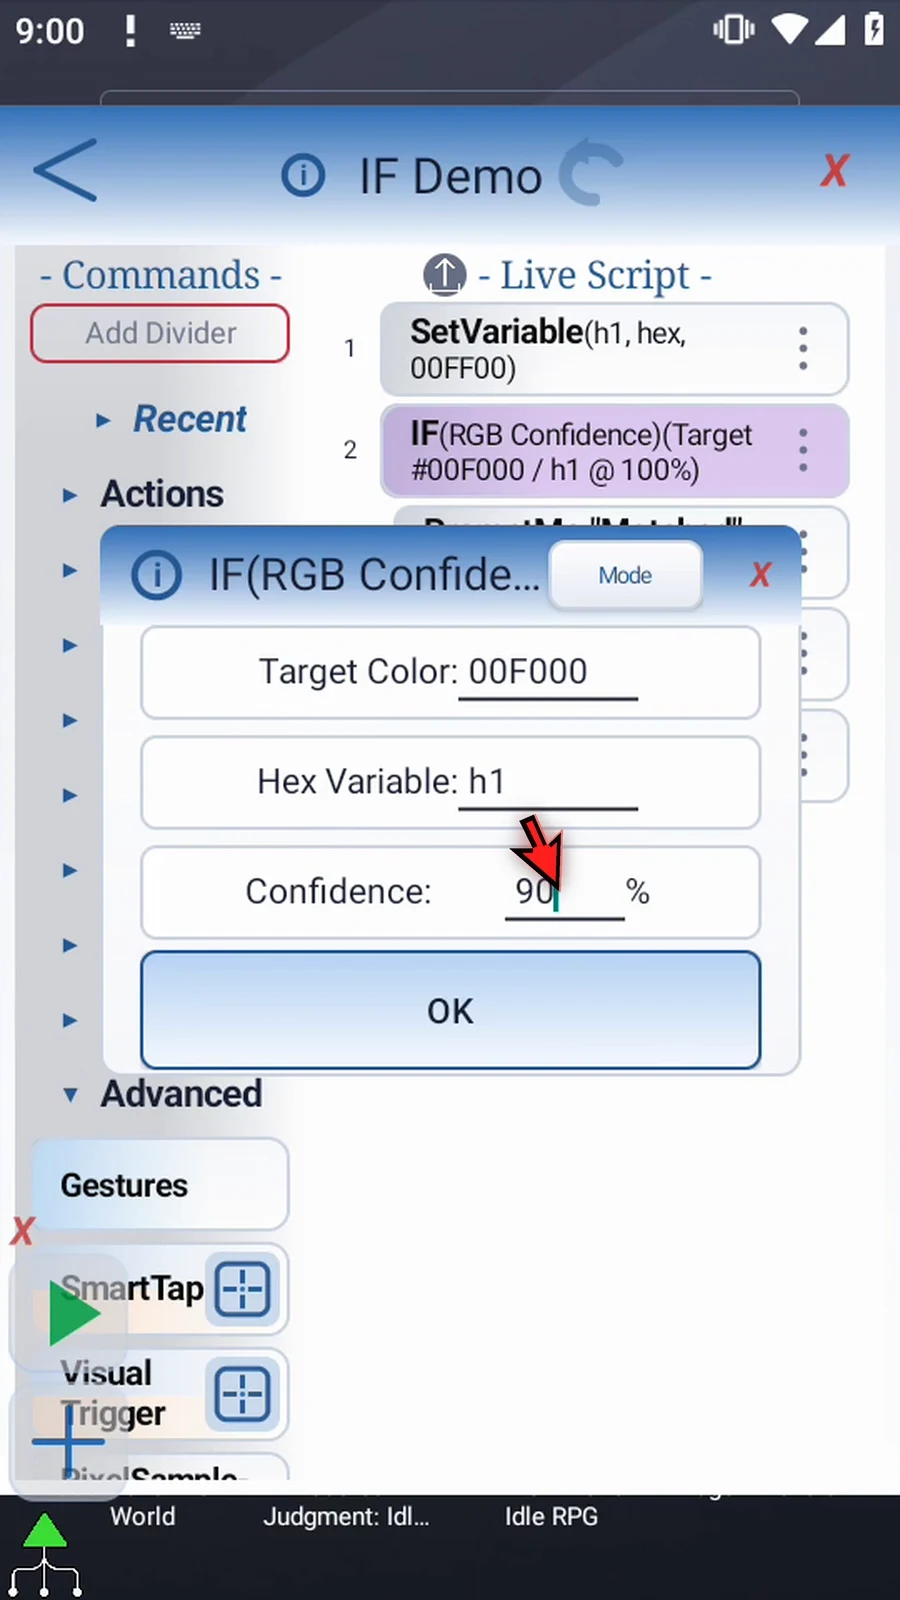
Step 17 Ninety allows the small green-channel difference in this example. The command still compares actual color values; it does not search the screen. Use a suitable confidence for your colors, and test it on your device. Tap OK.
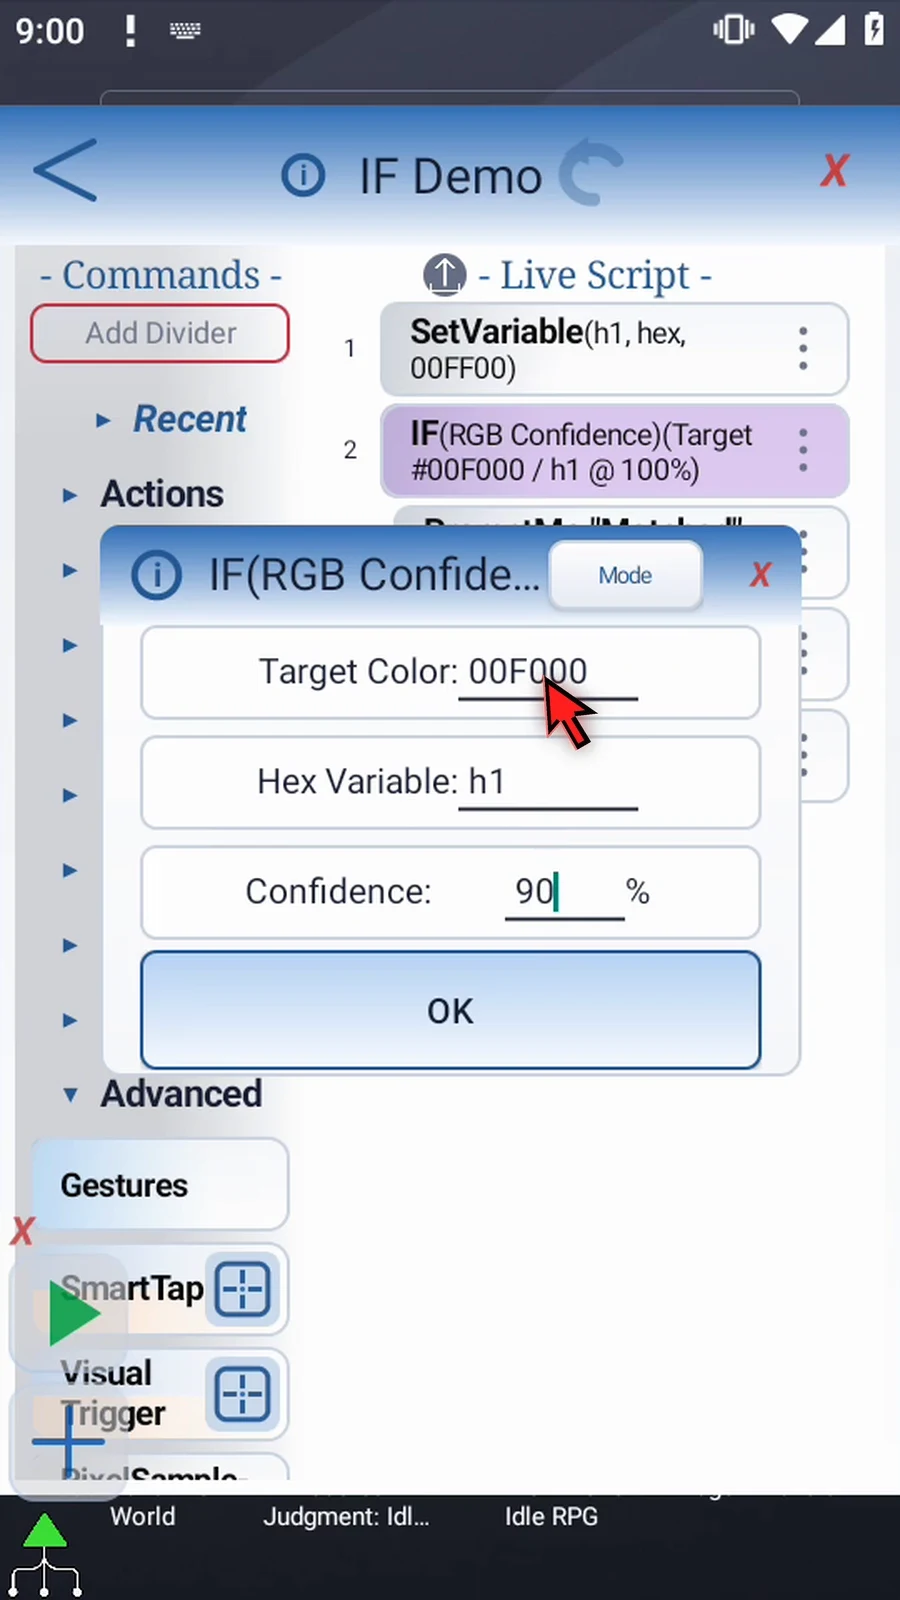
Step 18 Close the editor and test the same script again.

Step 19 When the script is complete, simply use the Play button in the main overlay.

Step 20 Matched now appears. At ninety confidence, the two green values are close enough, so the command inside IF runs.
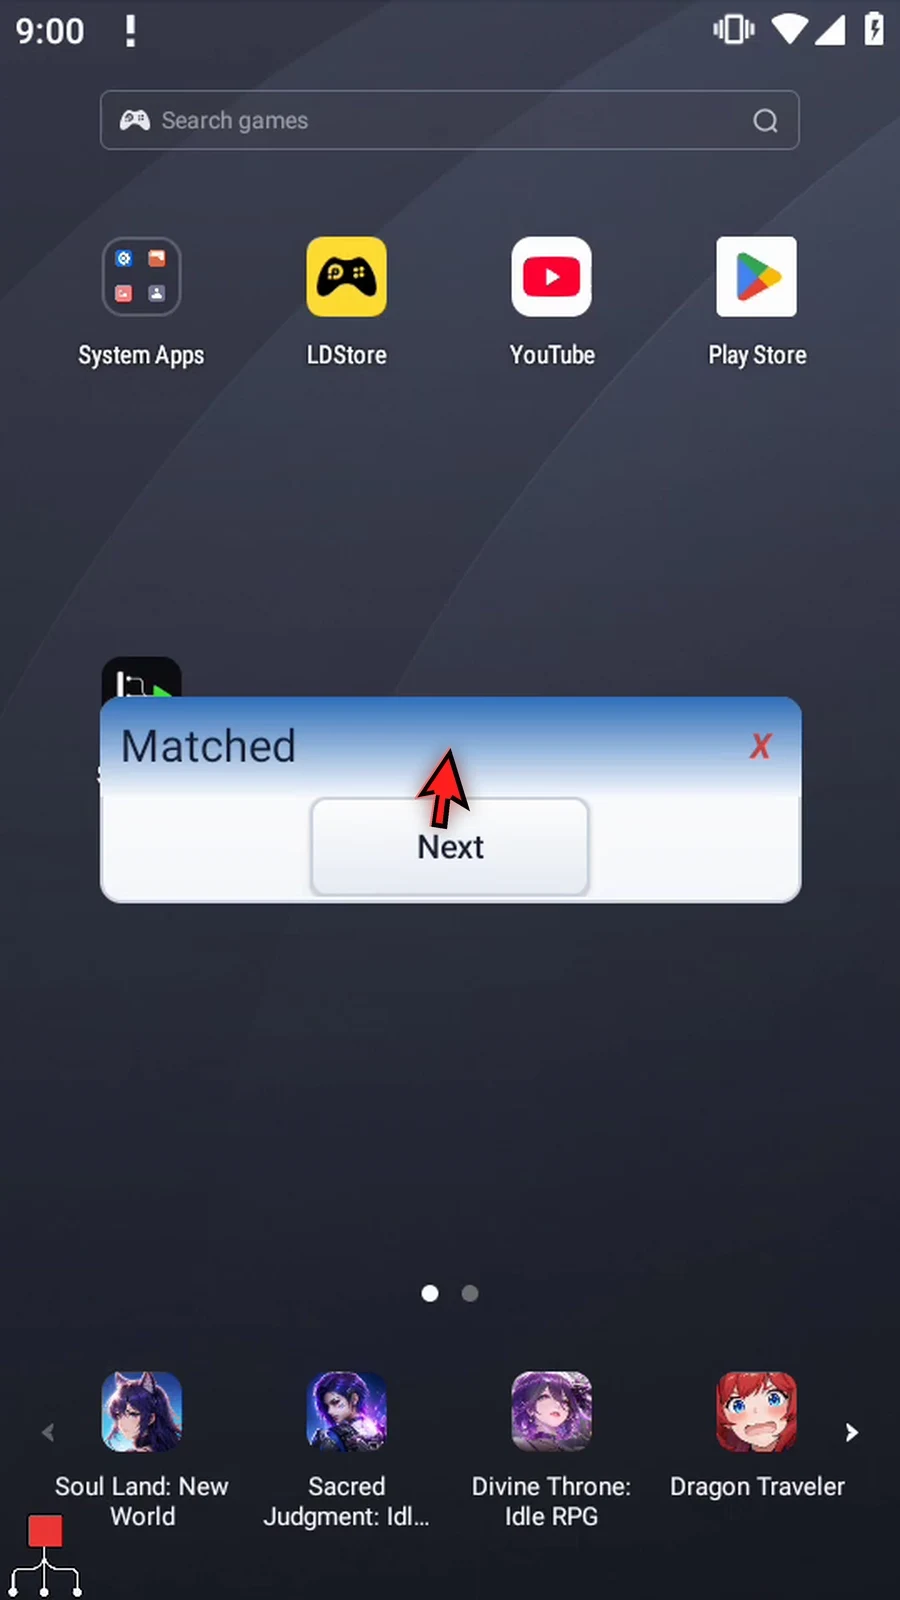
Step 21 Press Next to continue past End IF.
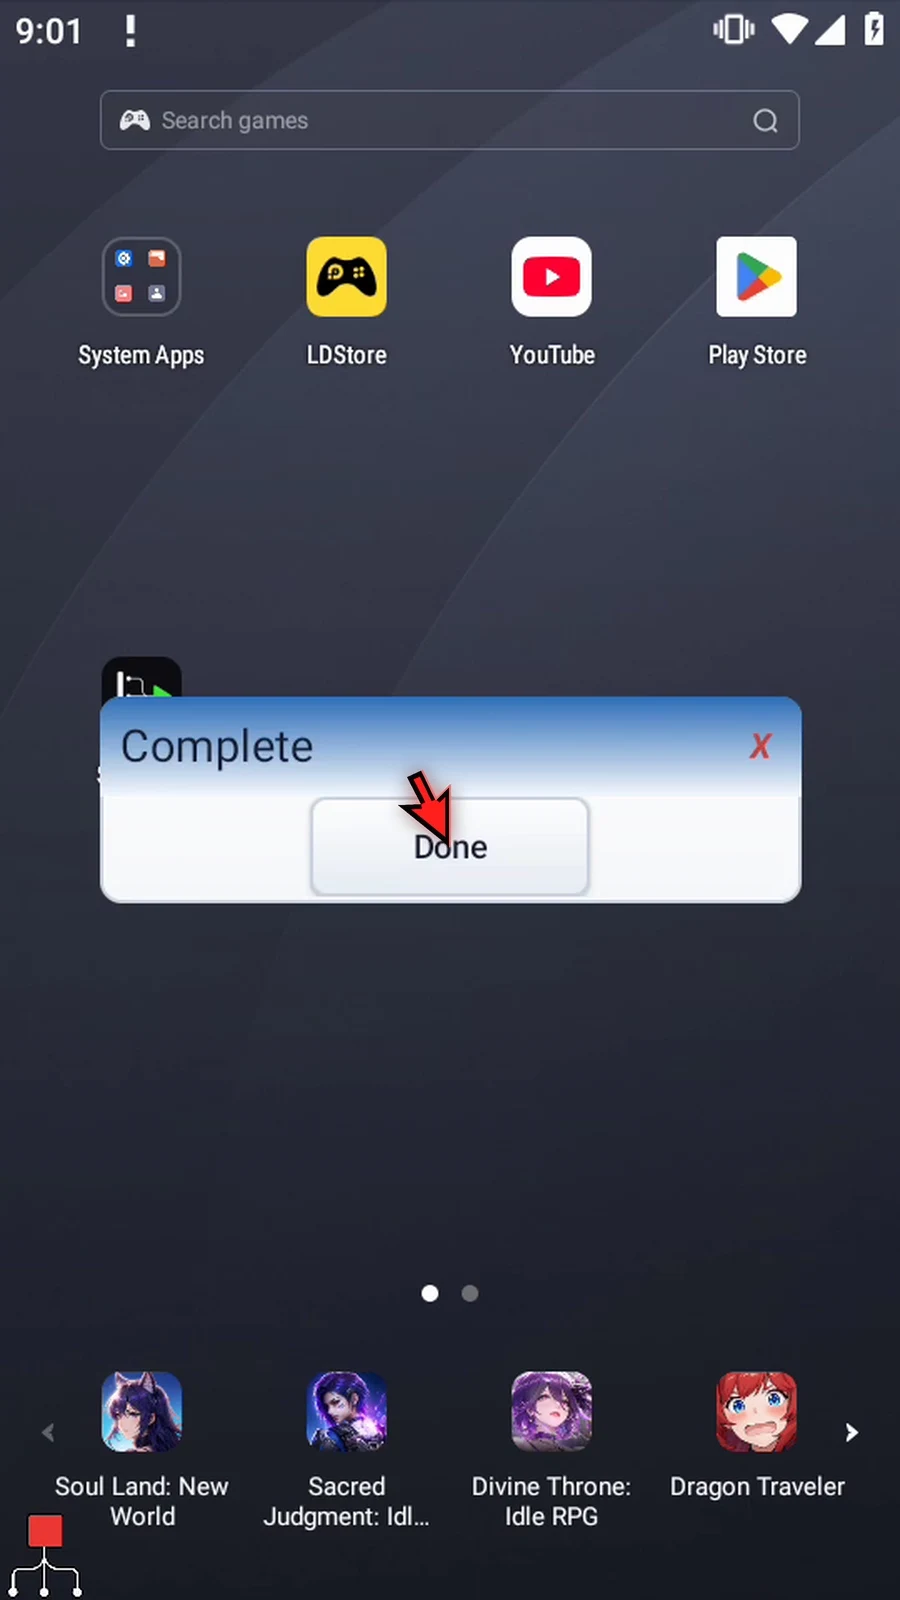
Step 22 Complete confirms that execution continued outside the block.

Step 23 Press Done. The script finishes automatically. Use RGB Confidence when later actions should depend on a stored color matching your target, with the amount of color variation you choose.