Command video guide
Display
Display shows a message or a variable value over the current app. It does not type into that app and has no output variable.
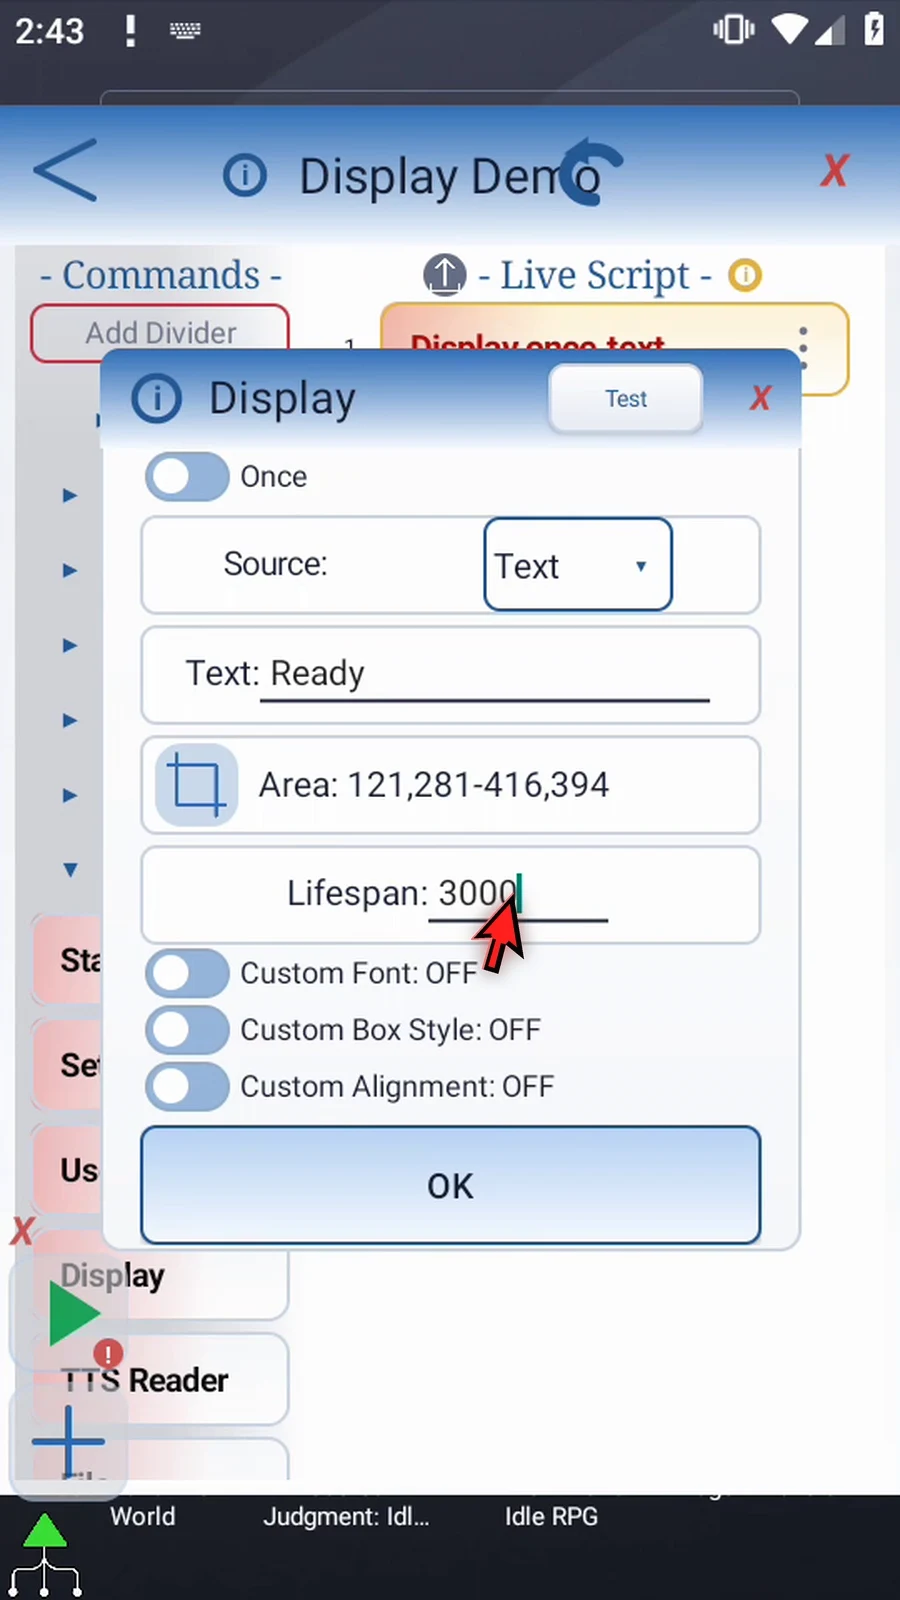
Once takes one snapshot of its source, keeps the current branch waiting for a positive lifespan in milliseconds, then removes its message and continues. This example uses Ready for 3000 ms, followed by a Standard PromptMe confirmation.
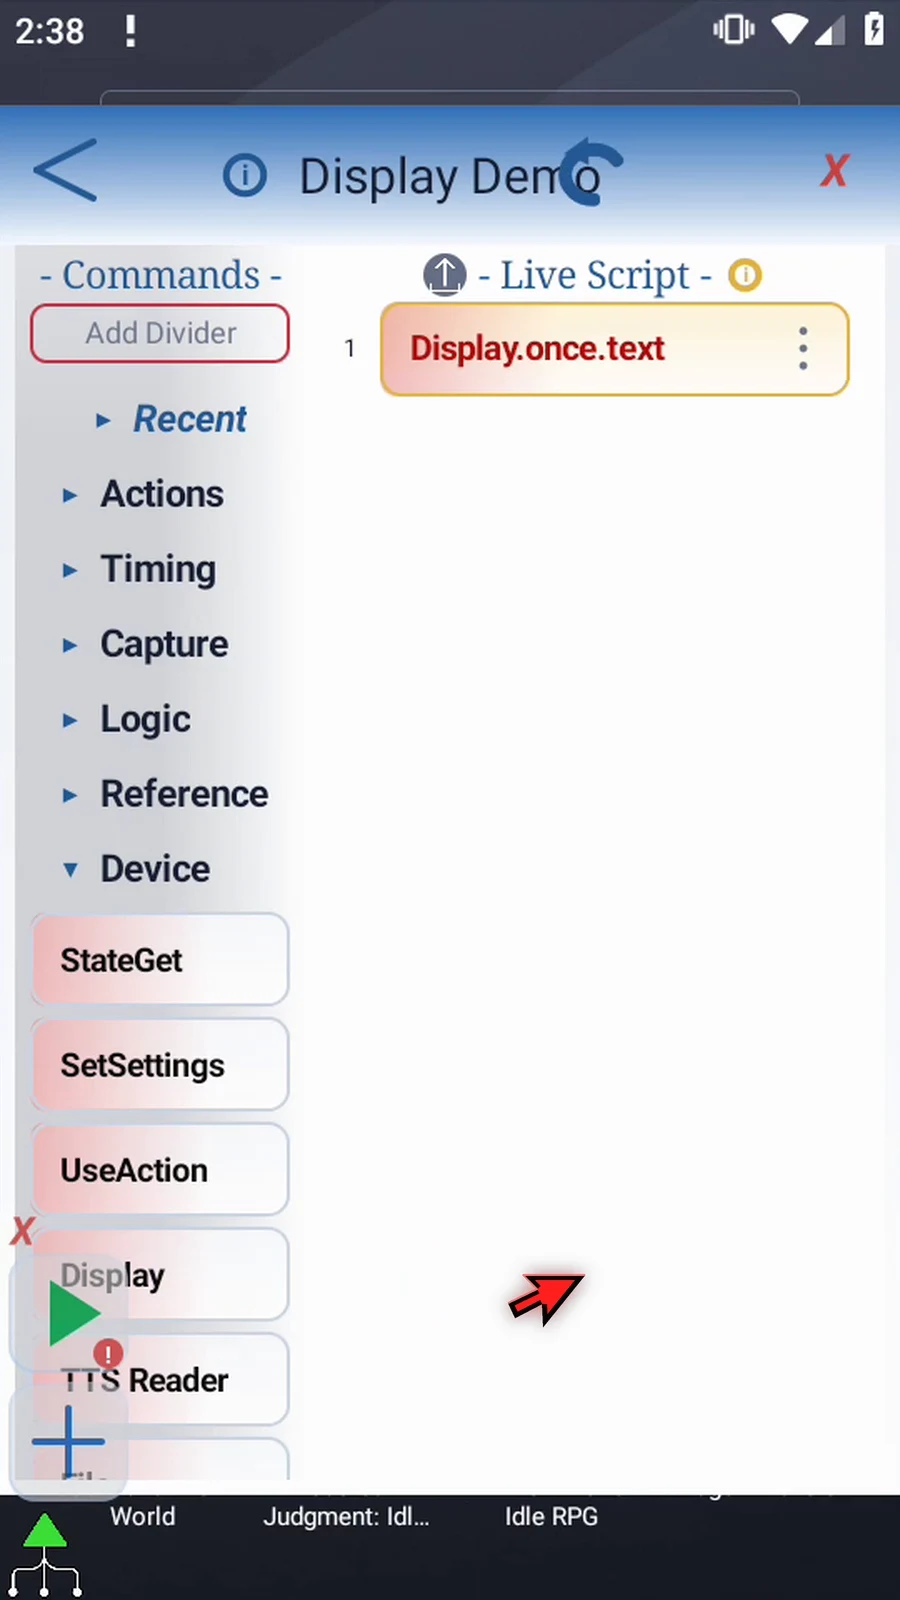
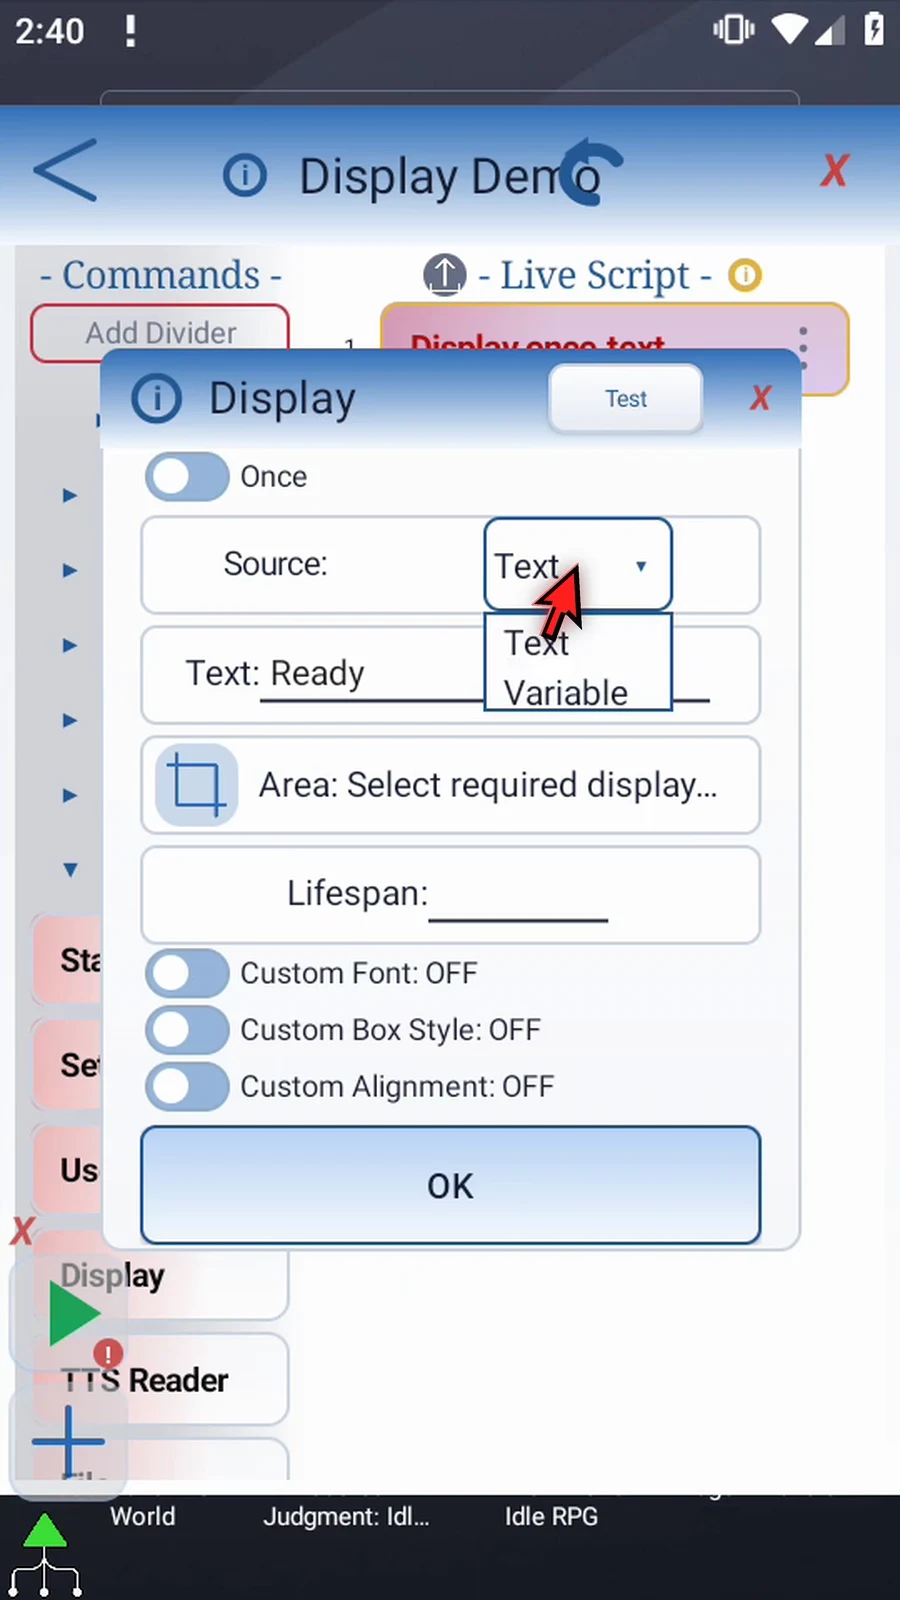
Create and name a new script. Expand Device and manually drag Display into the script, releasing at the blue insertion line. Open it, keep Once and select Text. Variable can instead read any supported variable type created earlier in the script.
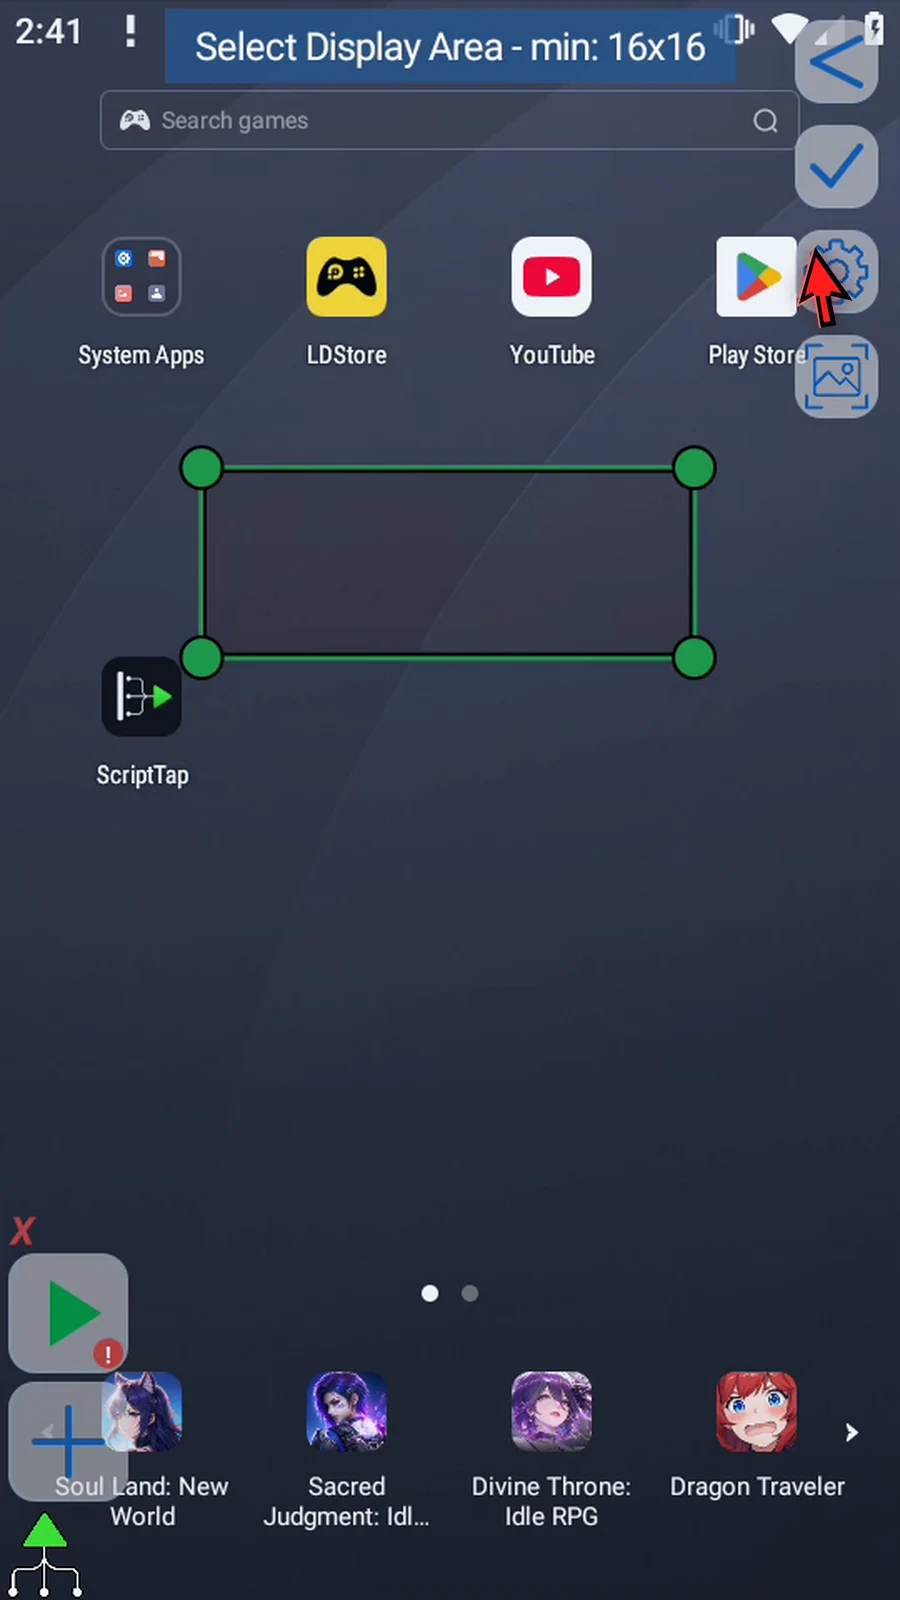
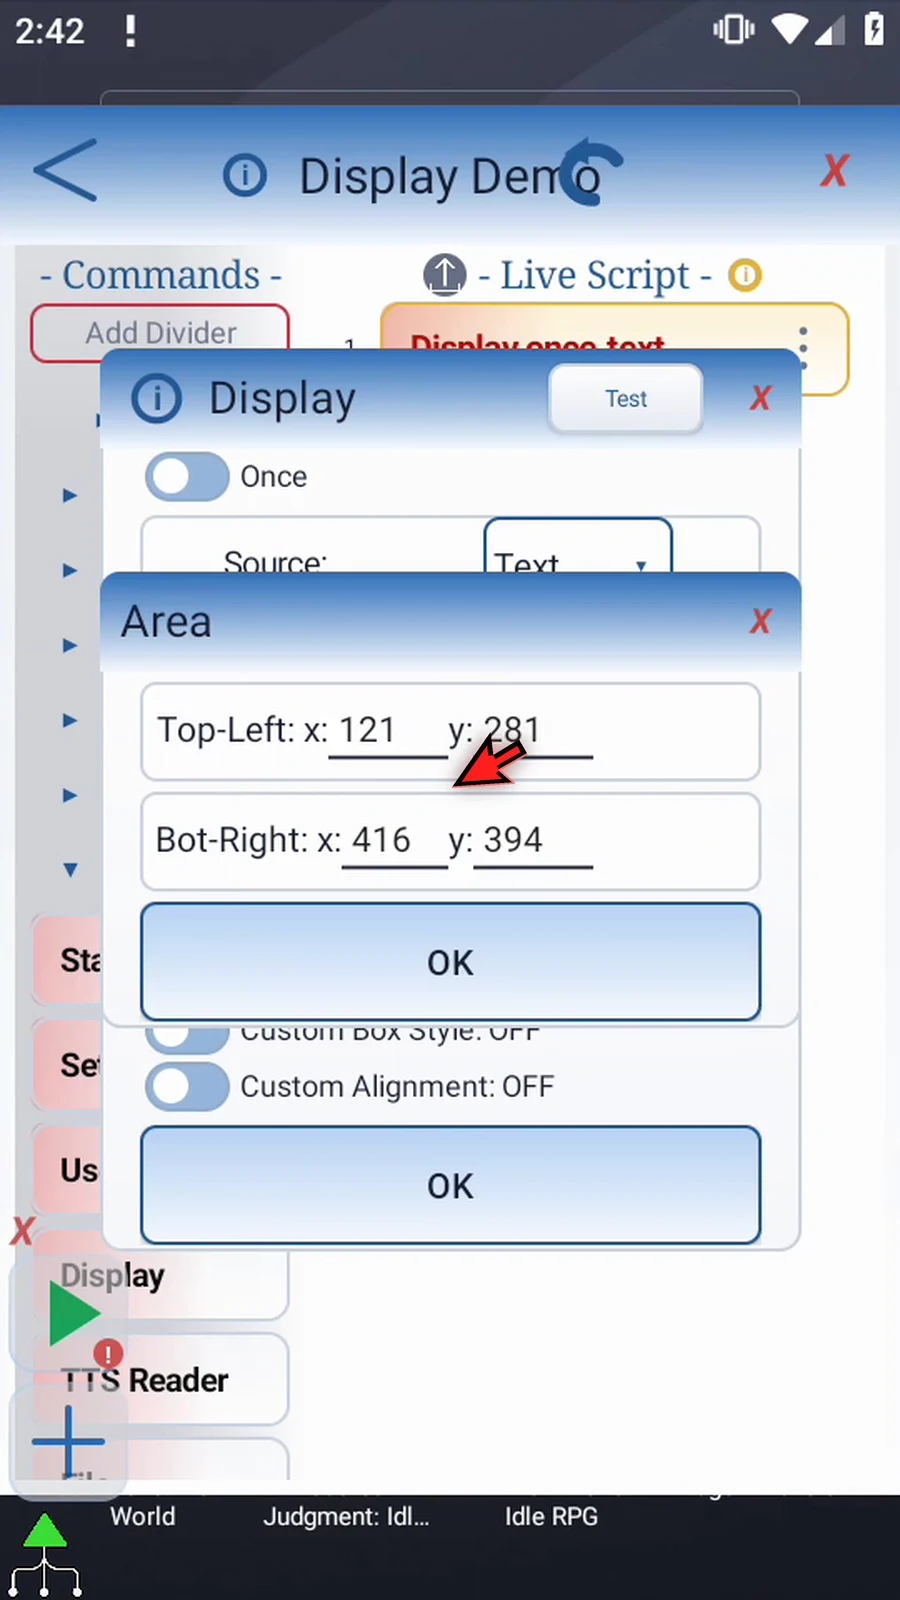
Use the Area selector to resize the message bounds. If Android asks, allow screen capture. Tap the coordinate text for manual top-left and bottom-right fields; each accepts a literal number or a prior Integer variable.
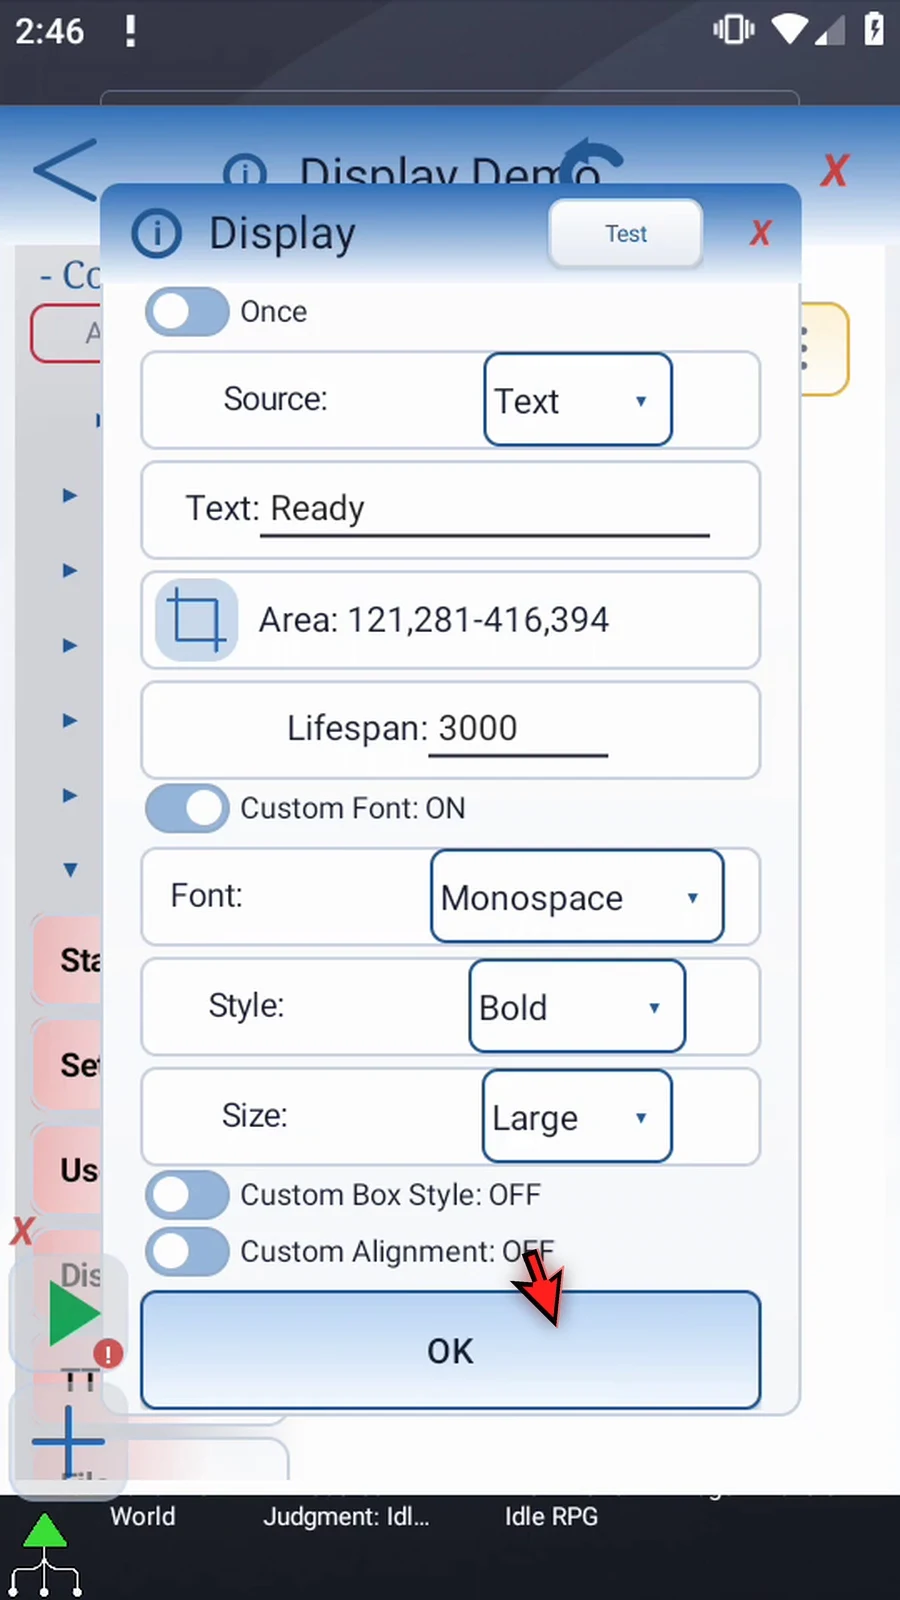
- Custom Font: choose an Android system font, style and size. No font asset is required. The example uses Monospace, Bold and Large.
- Custom Box Style: choose text/background colors, opacity and border. The example uses Yellow on Navy, 85% opacity and a border. With custom styling off, the default is soft-white text on opaque black.
- Custom Alignment: place text horizontally and vertically within the area. The example centers both. With it off, the defaults are horizontal left and vertical center.
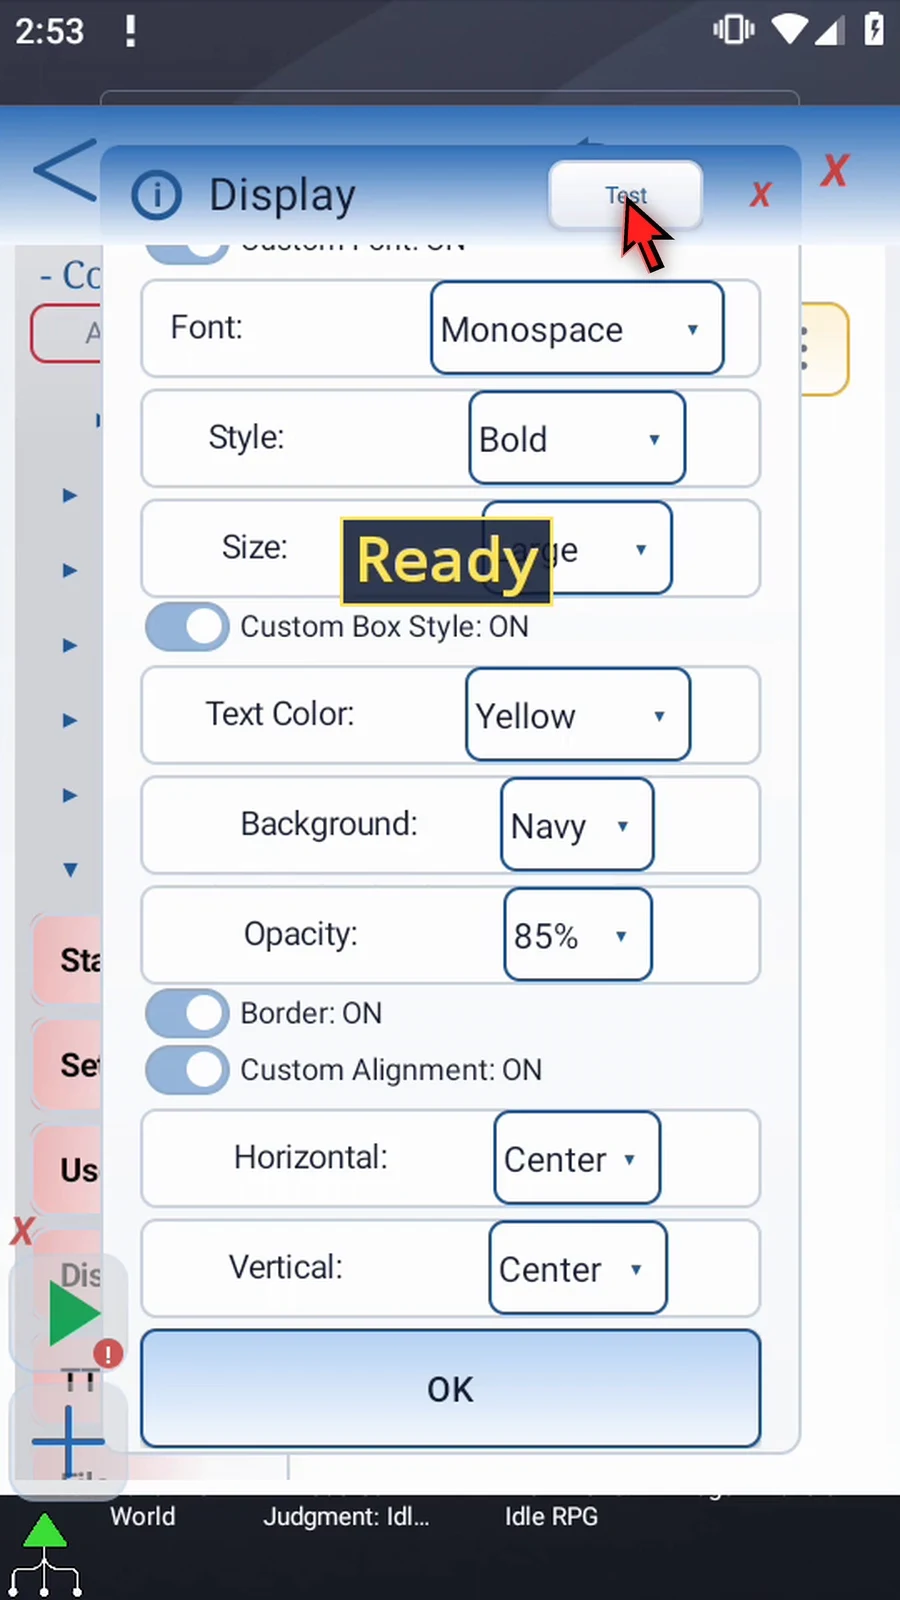
Test previews the appearance for five seconds without saving or playing the script. Its preview duration is separate from Once's lifespan. The box fits the text within its bounds; the preview is above the editor, while runtime Display is below ScriptTap controls.
Save Display, then manually drag PromptMe underneath from Advanced. Keep Standard, add header Continue and one Done button with Boolean output b1. This makes the next command's arrival visible. Close the editor and use Play: Ready remains for three seconds, then the confirmation appears. Tap Done to finish.
Display is touch-through: it does not consume the underlying app's taps, close when tapped, or move by dragging during Play. Boxes are removed when the run ends or stops. Use Concurrent for an updating message while later commands run; its guide continues this same demonstration script.
Once — timed message
Step-by-step guide
Step 01 Display shows a message or a variable's value over the current app. It does not type into the app. In Once mode, it keeps this branch waiting for a chosen time, then removes the message and continues.
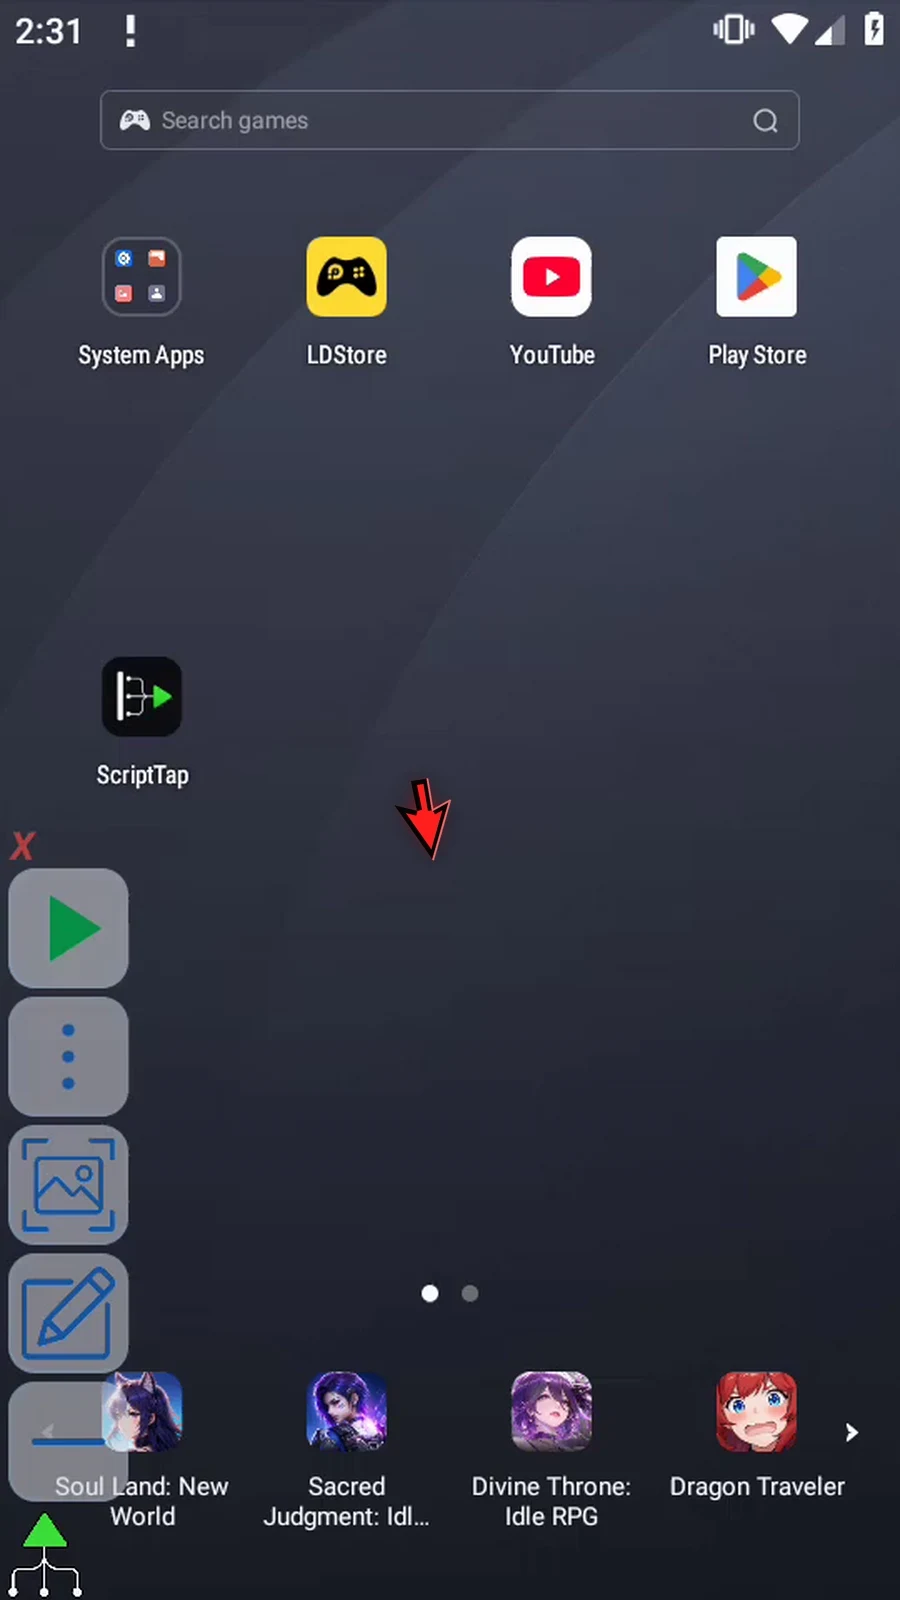
Step 02 Create a new script for this example.
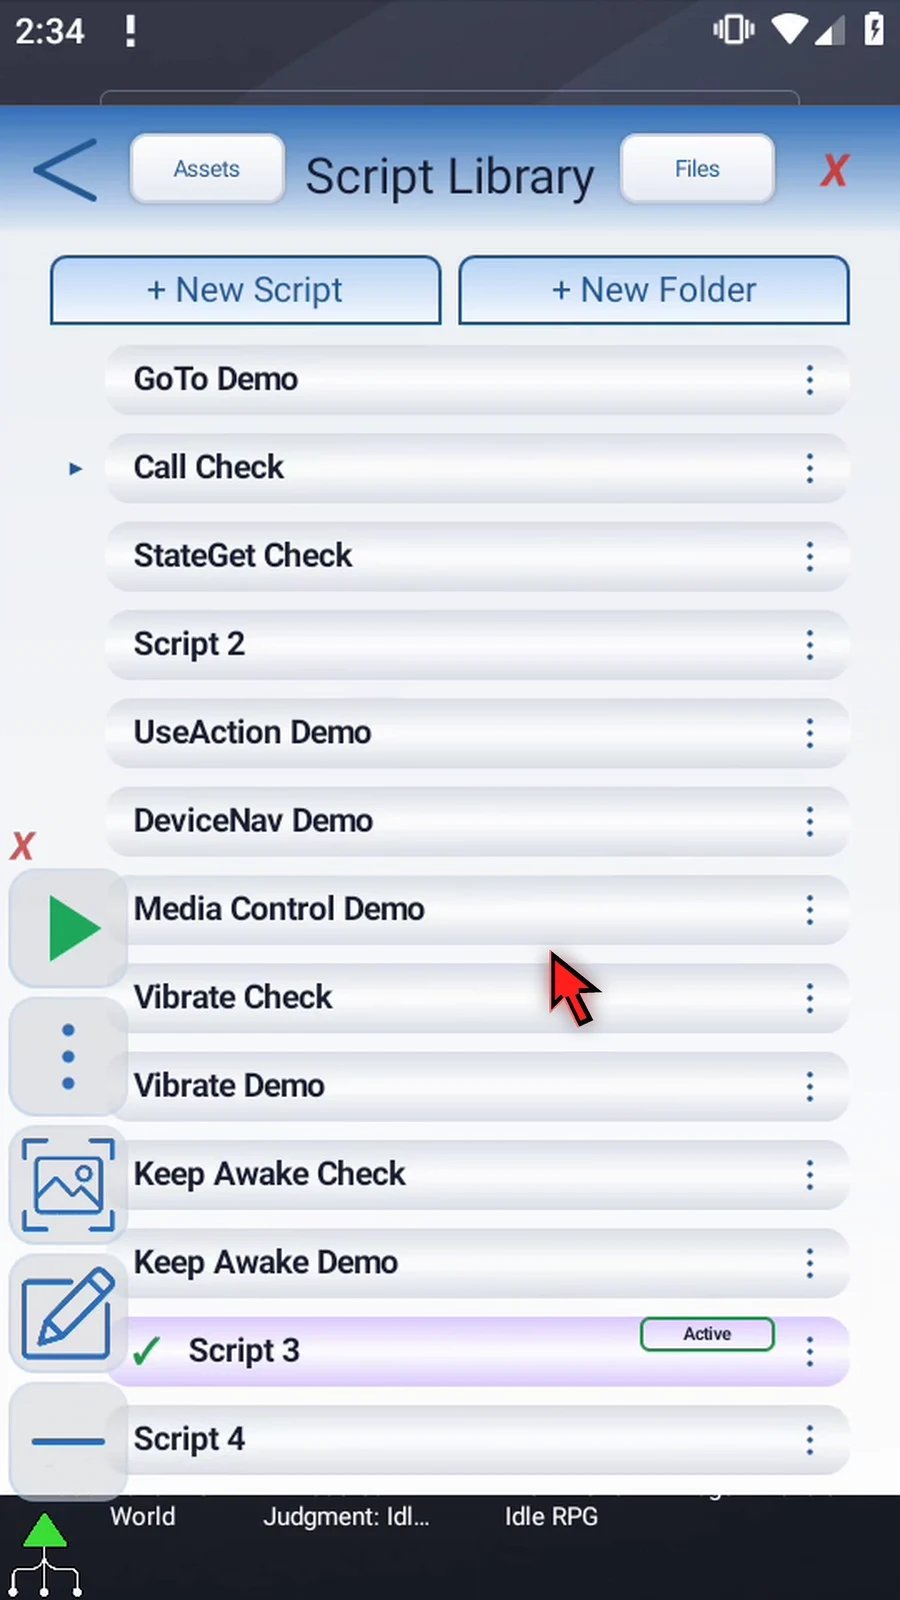
Step 03 Give the script a clear name, then open it in the editor.
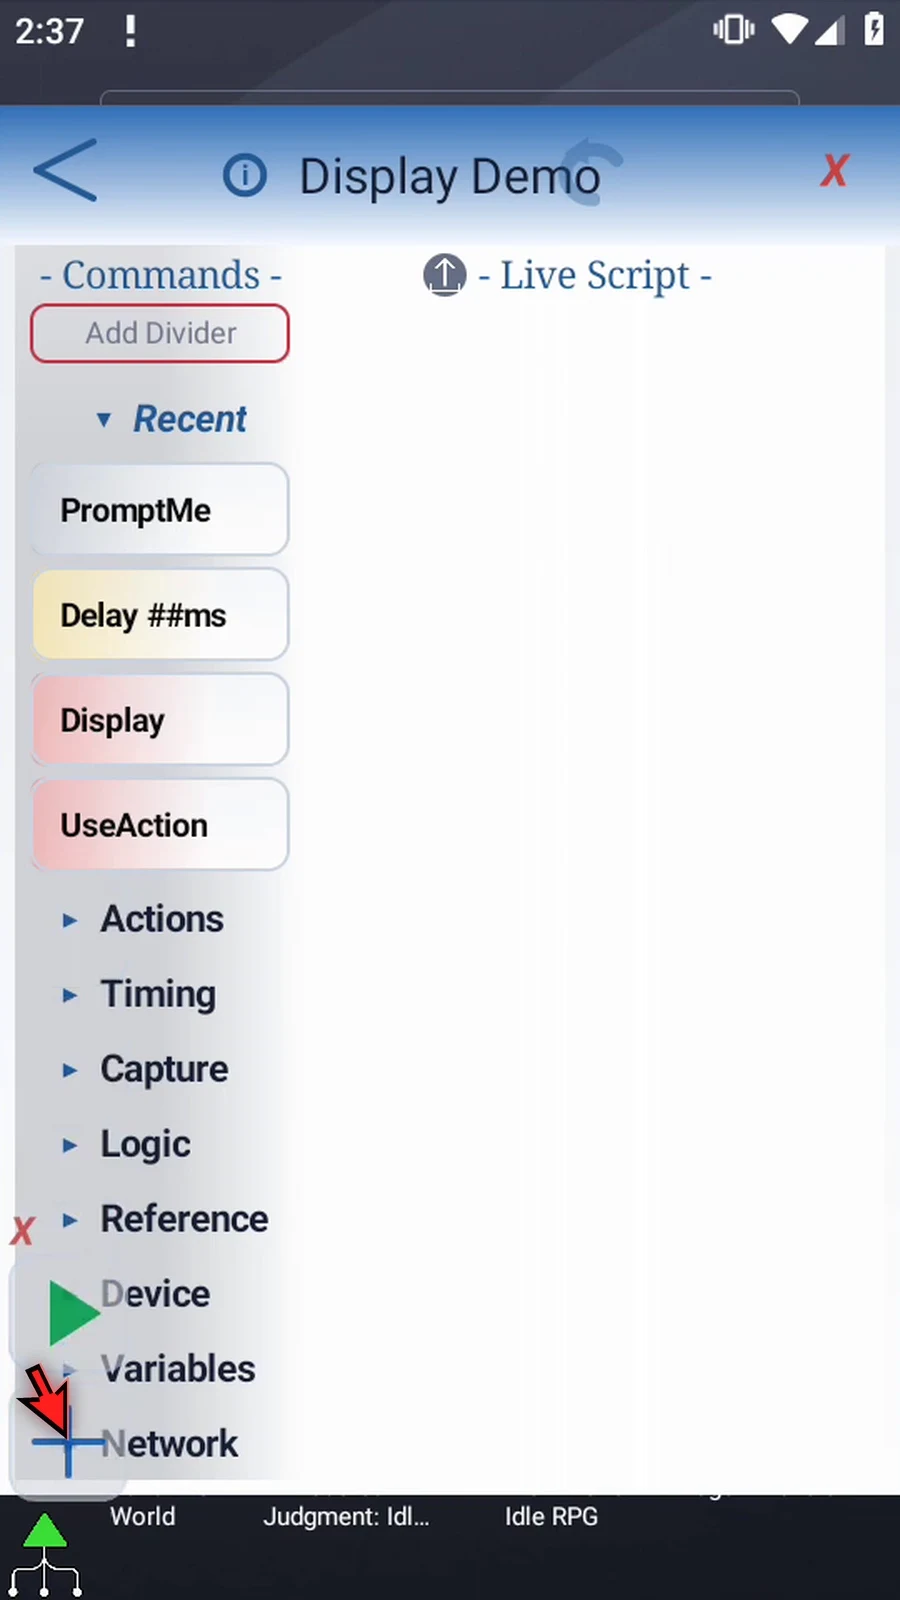
Step 04 Expand Device to find Display.
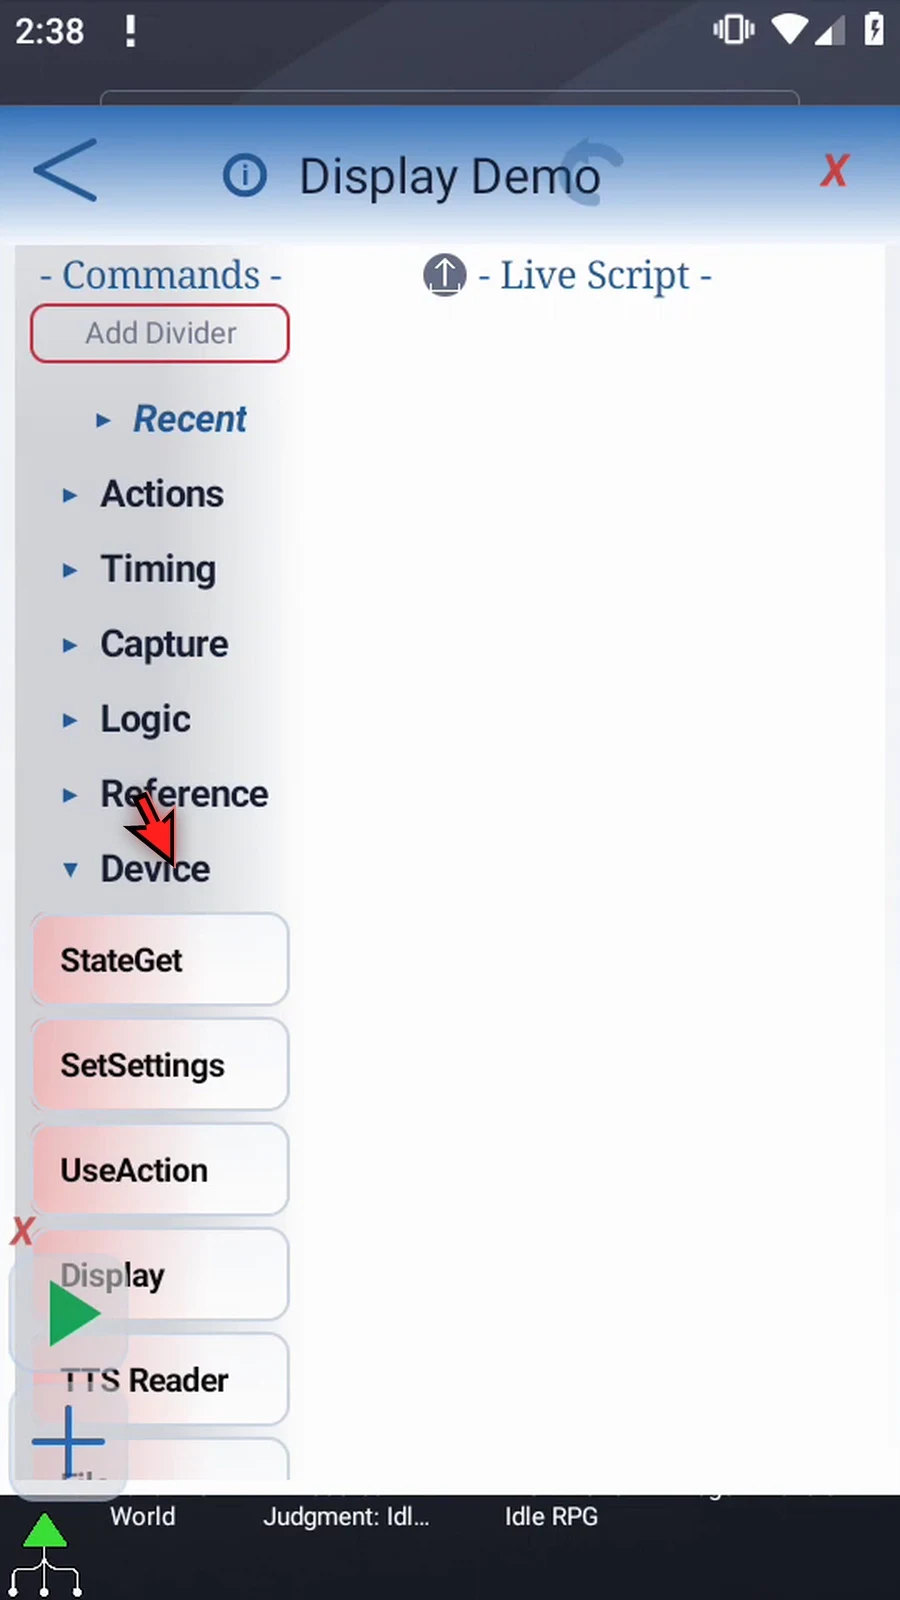
Step 05 Drag Display into the script. Release when the blue insertion line appears.
Step 06 Open Display and keep Once mode. Leave Source on Text and enter Ready as our message.
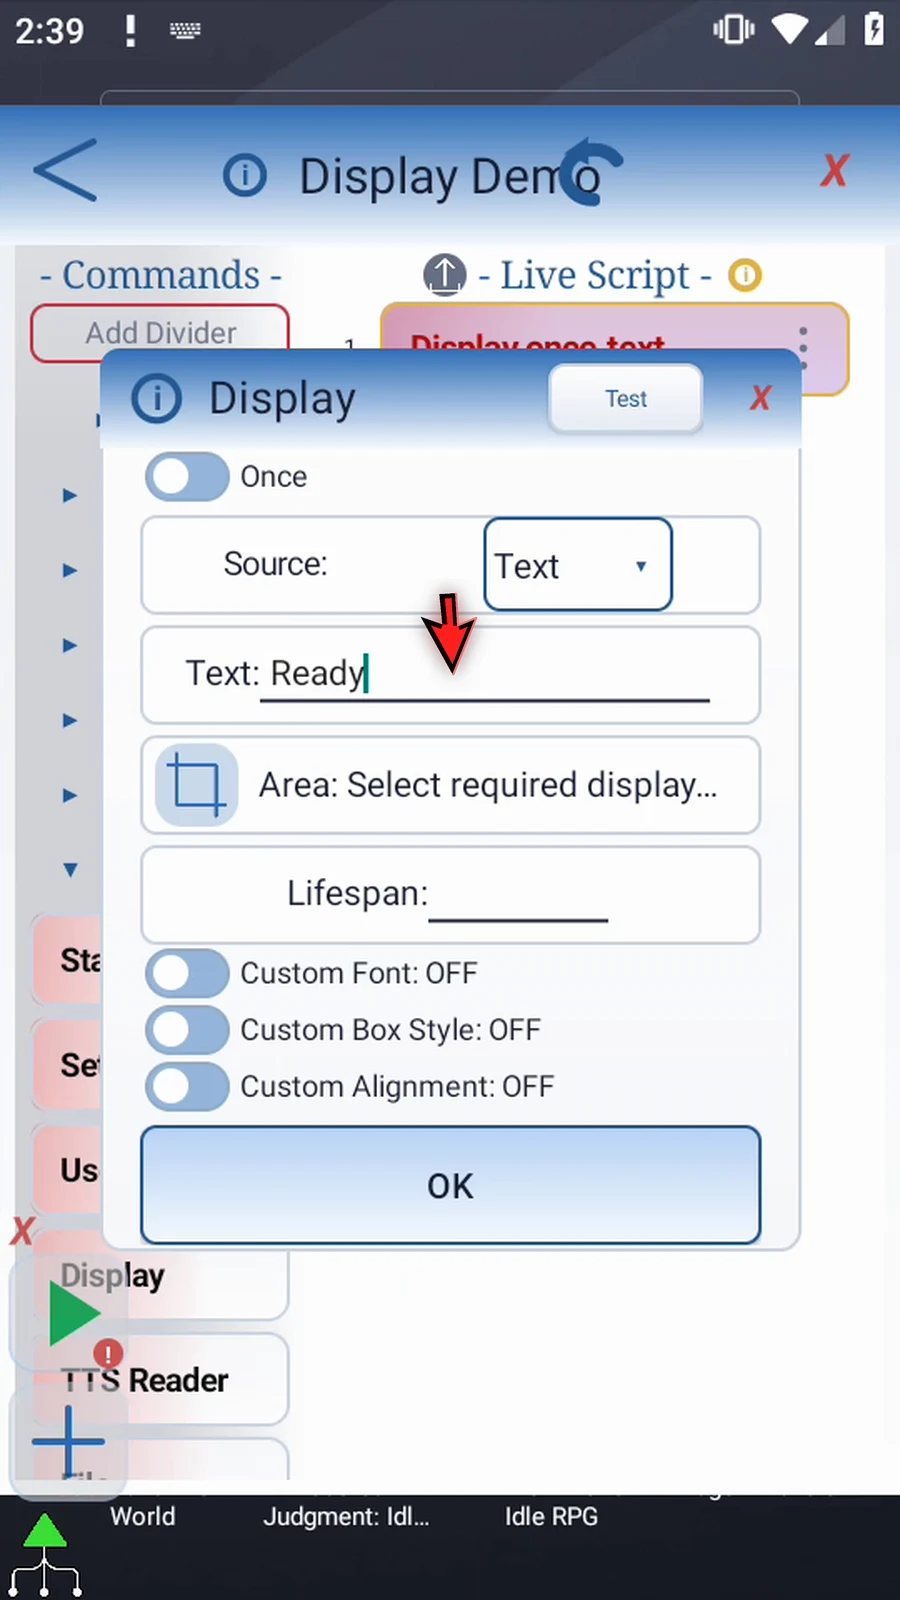
Step 07 Source can also read a variable created earlier in the script, of any supported type. Once reads that value only when it starts. We'll keep Text for this example.
Step 08 Use the Area selector and resize the rectangle to choose where the message can appear. If Android asks, allow screen capture. Confirm the selection with the checkmark.
Step 09 You can also tap the coordinates to edit the area's top-left and bottom-right corners. Each coordinate accepts a number or a prior Integer variable. We'll keep our selected area.
Step 10 Enter a positive lifespan in milliseconds. We'll use three thousand, which is three seconds.
Step 11 Test previews the appearance for five seconds without saving or playing the script. That preview length is separate from the Once lifespan.
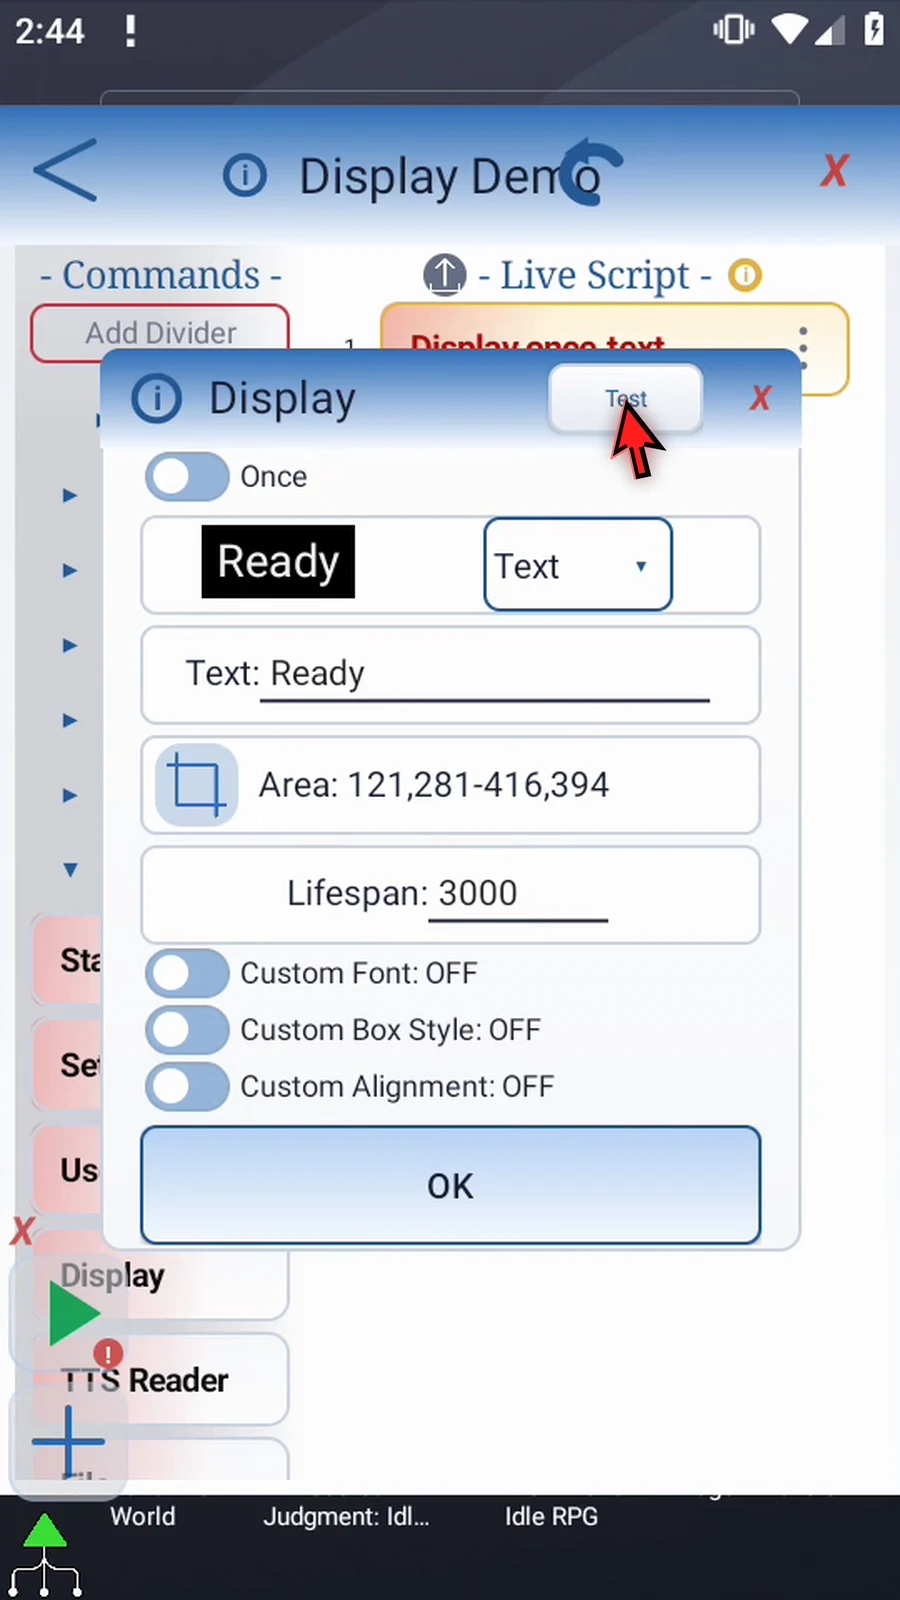
Step 12 Turn on Custom Font to choose the font, style, and size. These are Android system fonts; no font asset is needed. We'll choose Monospace.
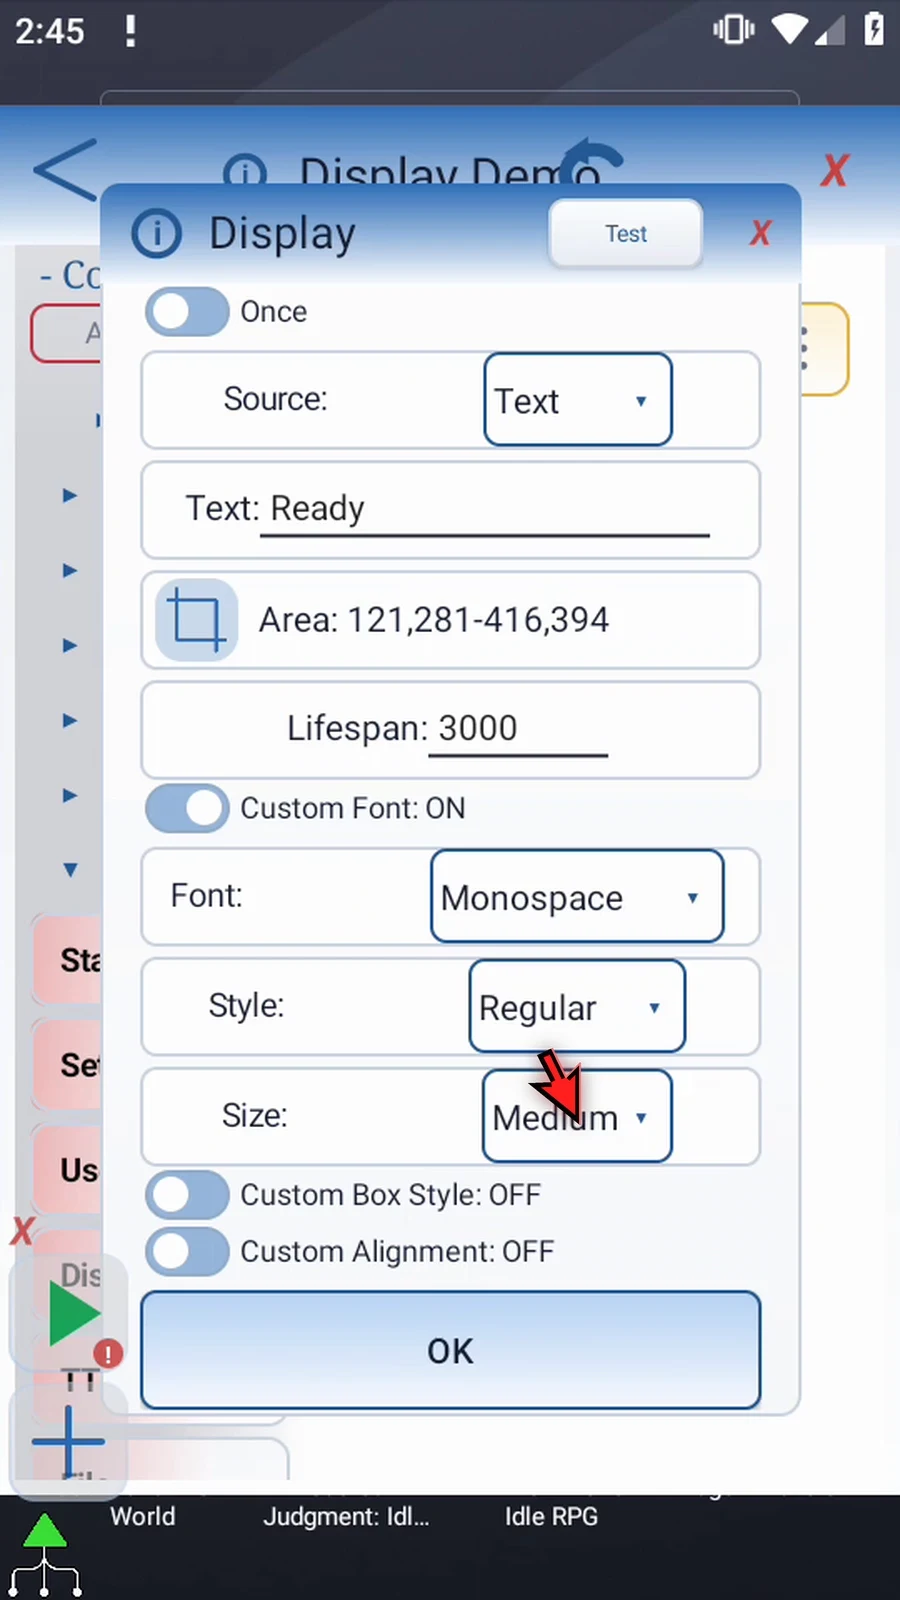
Step 13 Choose Bold and Large to make this short message easy to read.
Step 14 Custom Box Style controls the text color, background, opacity, and border. We'll use yellow text on navy.
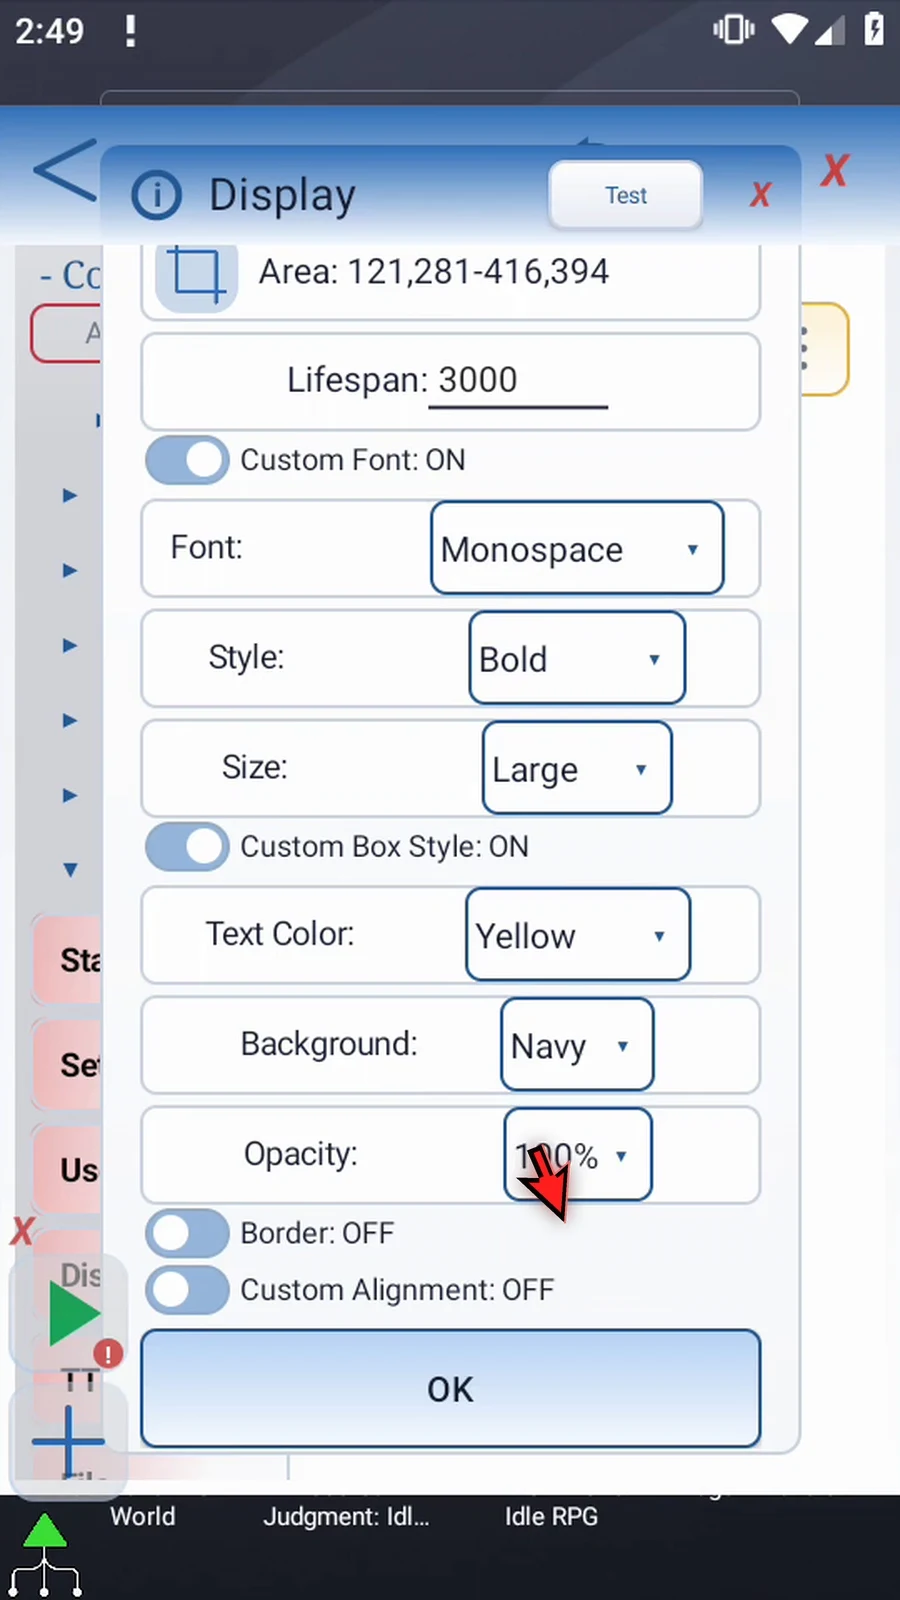
Step 15 Set the background to eighty-five percent opacity and turn the border on. With custom styling off, Display uses soft-white text on a fully opaque black background around the text.
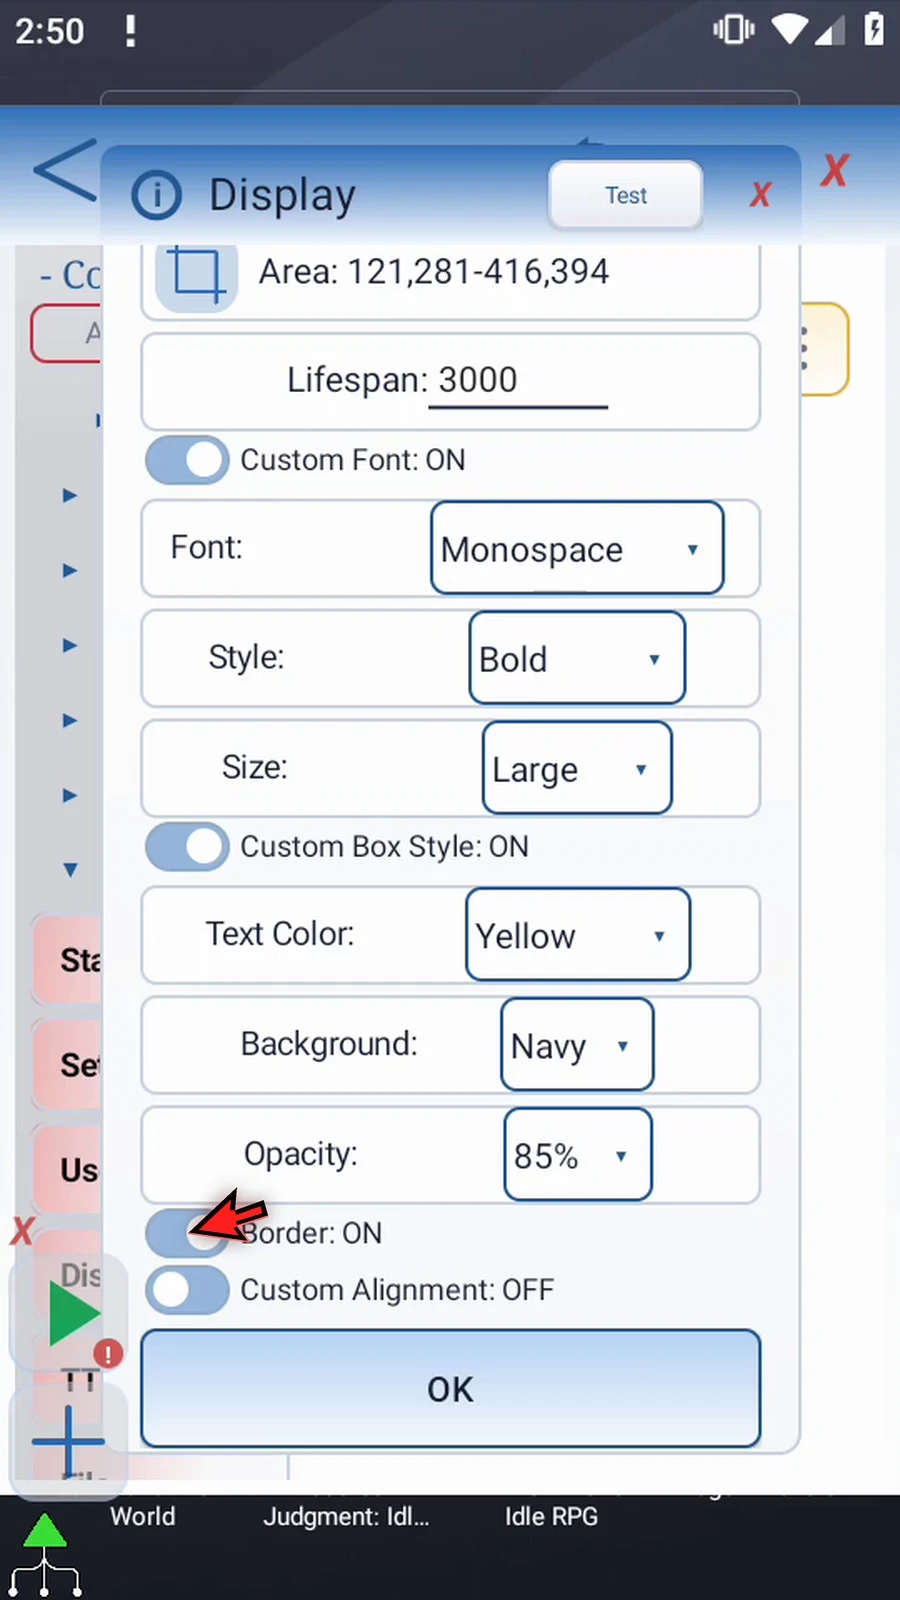
Step 16 Custom Alignment places the text horizontally and vertically within the selected area. Choose Center for both. With it off, the defaults are left and vertical center.
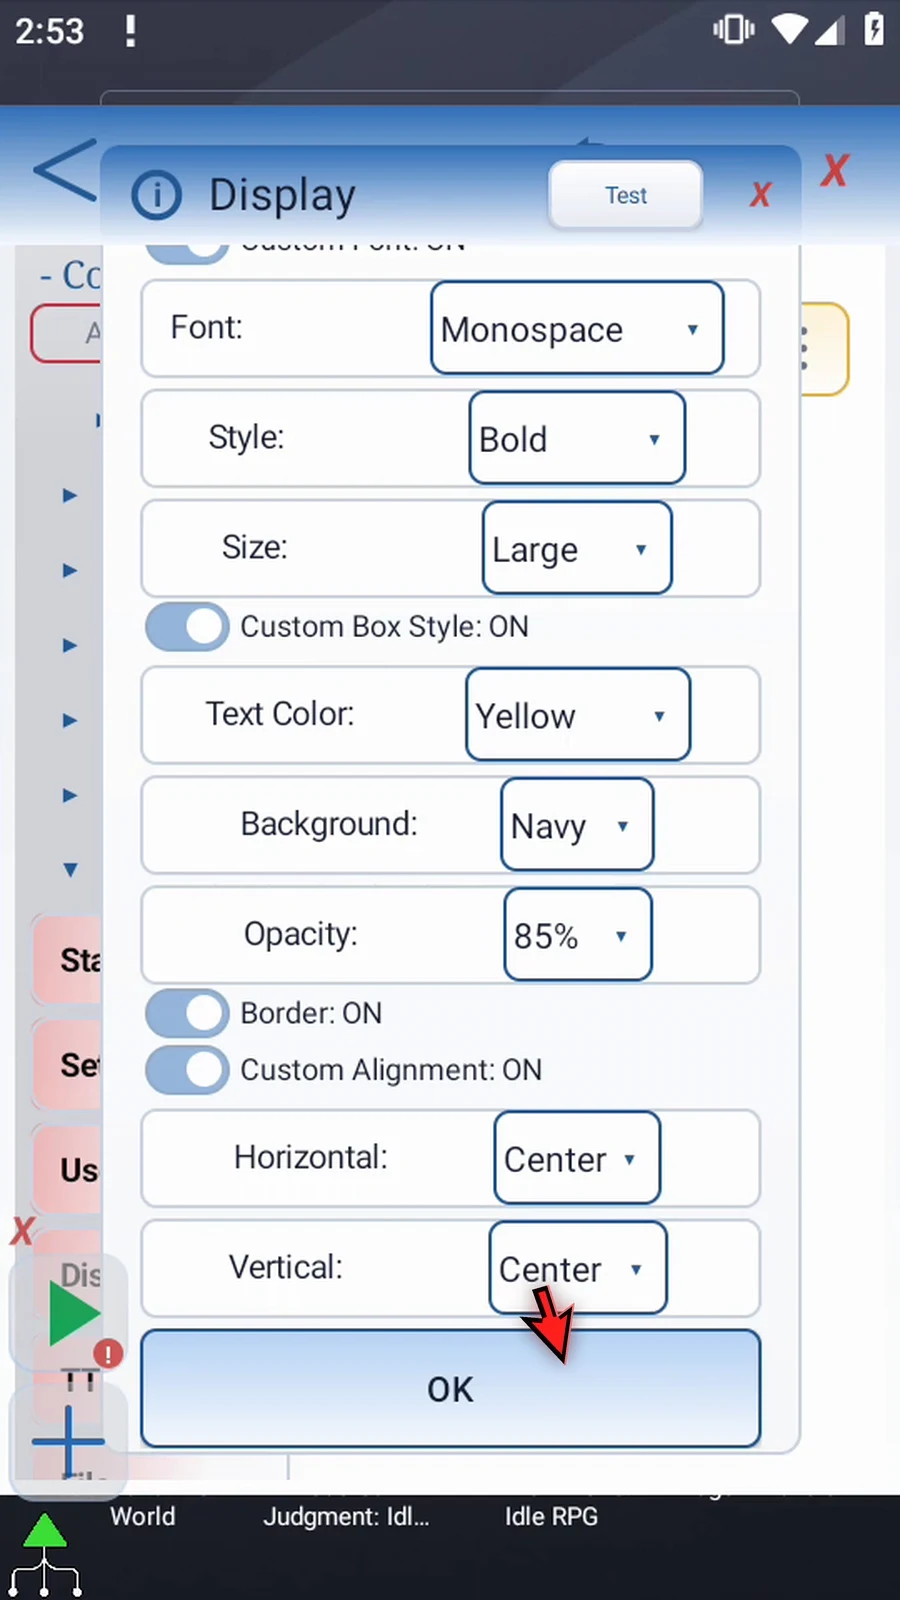
Step 17 Test the finished appearance. The background fits the text within your selected bounds. The preview sits above the editor; during Play, Display sits below ScriptTap's controls.
Step 18 Tap OK to save Display.
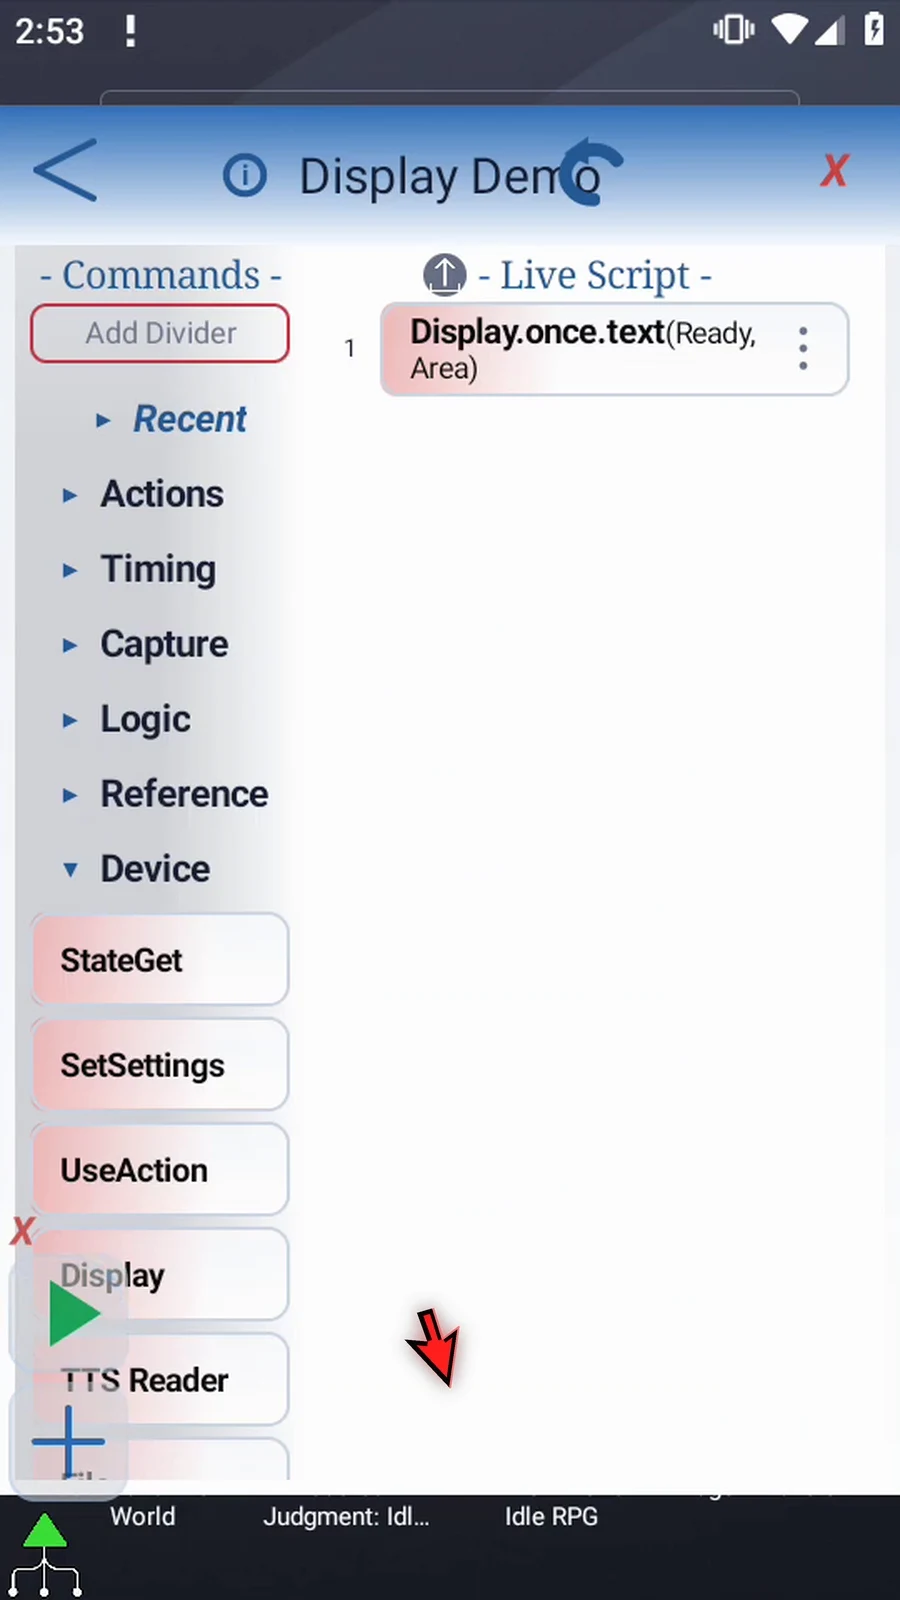
Step 19 Drag PromptMe underneath from Advanced. This supporting command will show that Display has finished waiting and the script has continued.
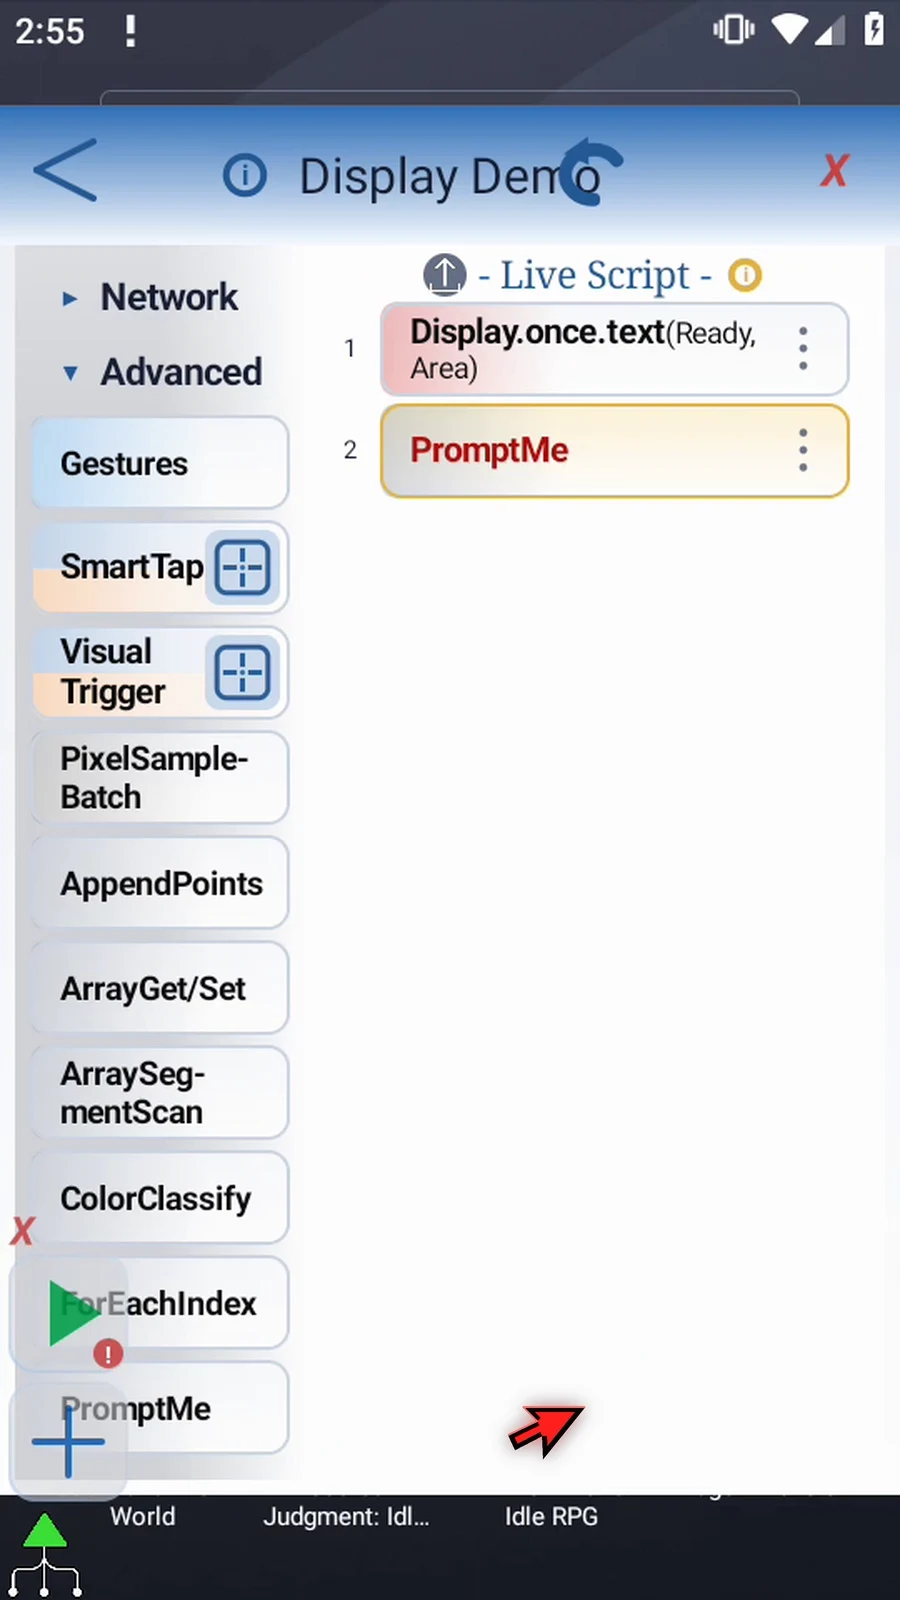
Step 20 Open PromptMe in Standard mode and give it a Continue header.
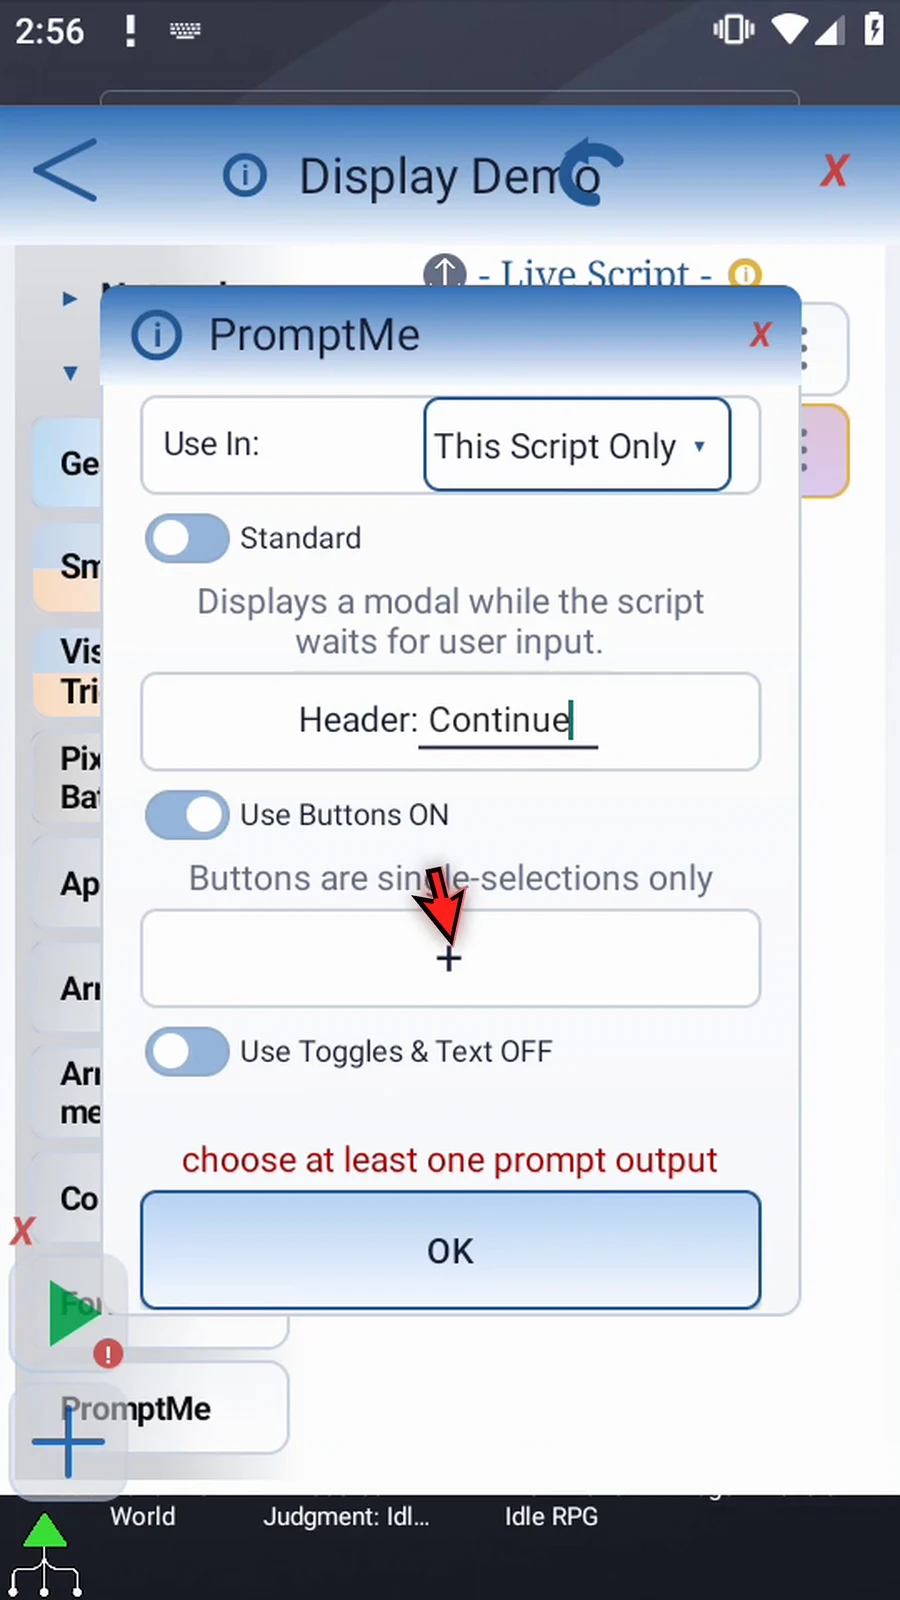
Step 21 Add a Done button with Boolean output b1, then save it. This button lets us finish the example visibly.
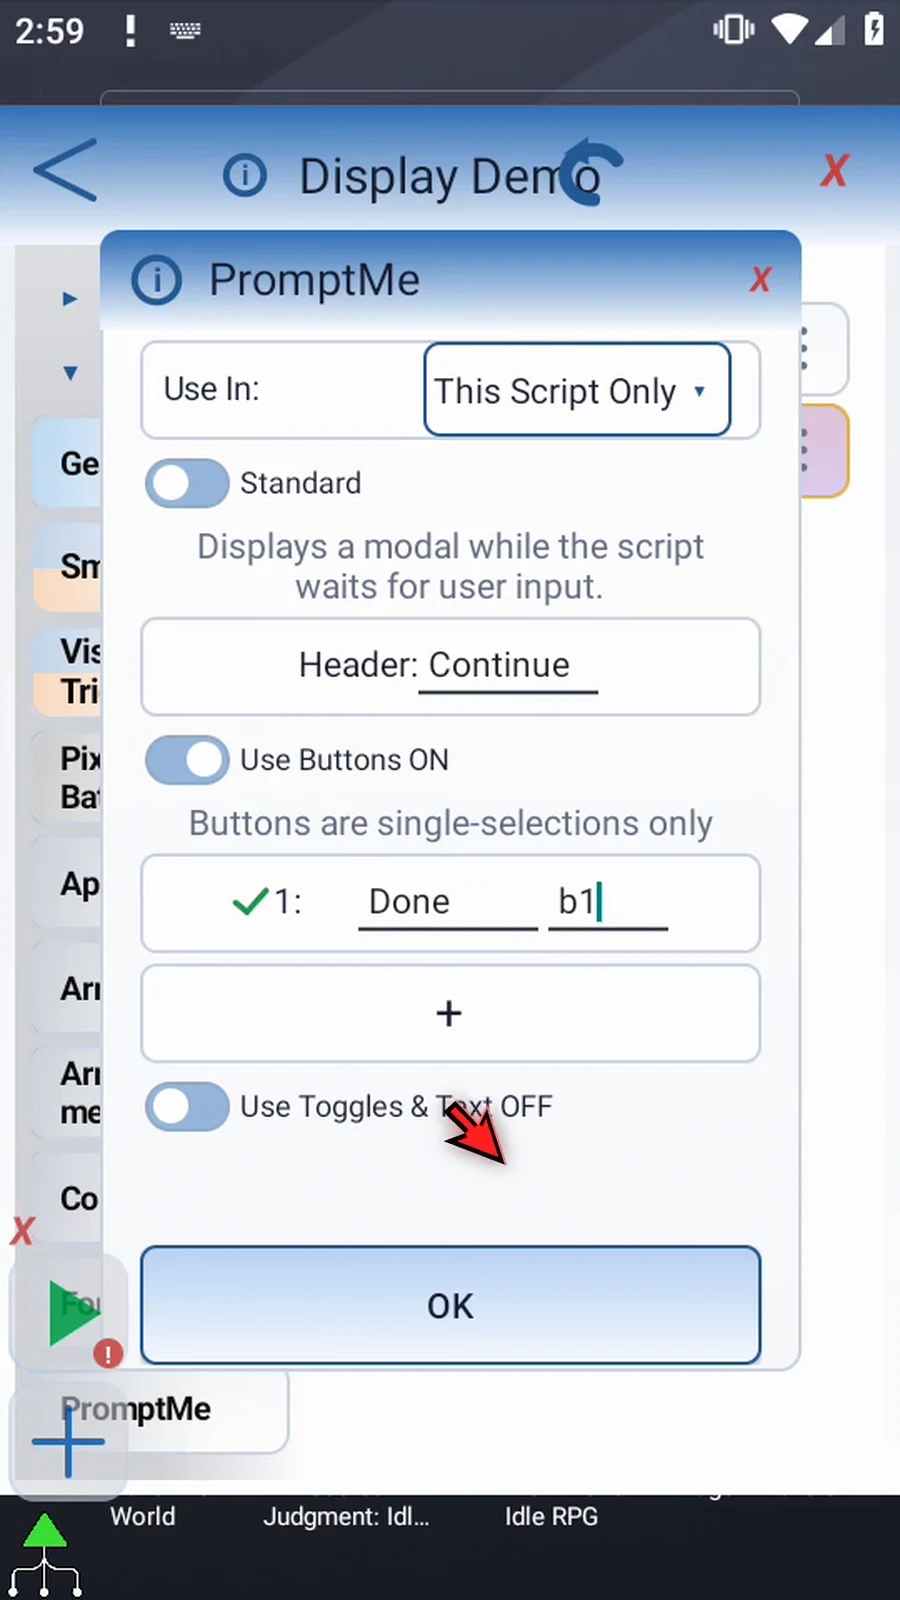
Step 22 The script shows Ready for three seconds, then reaches the confirmation. Display has no output variable and does not change the app underneath it.
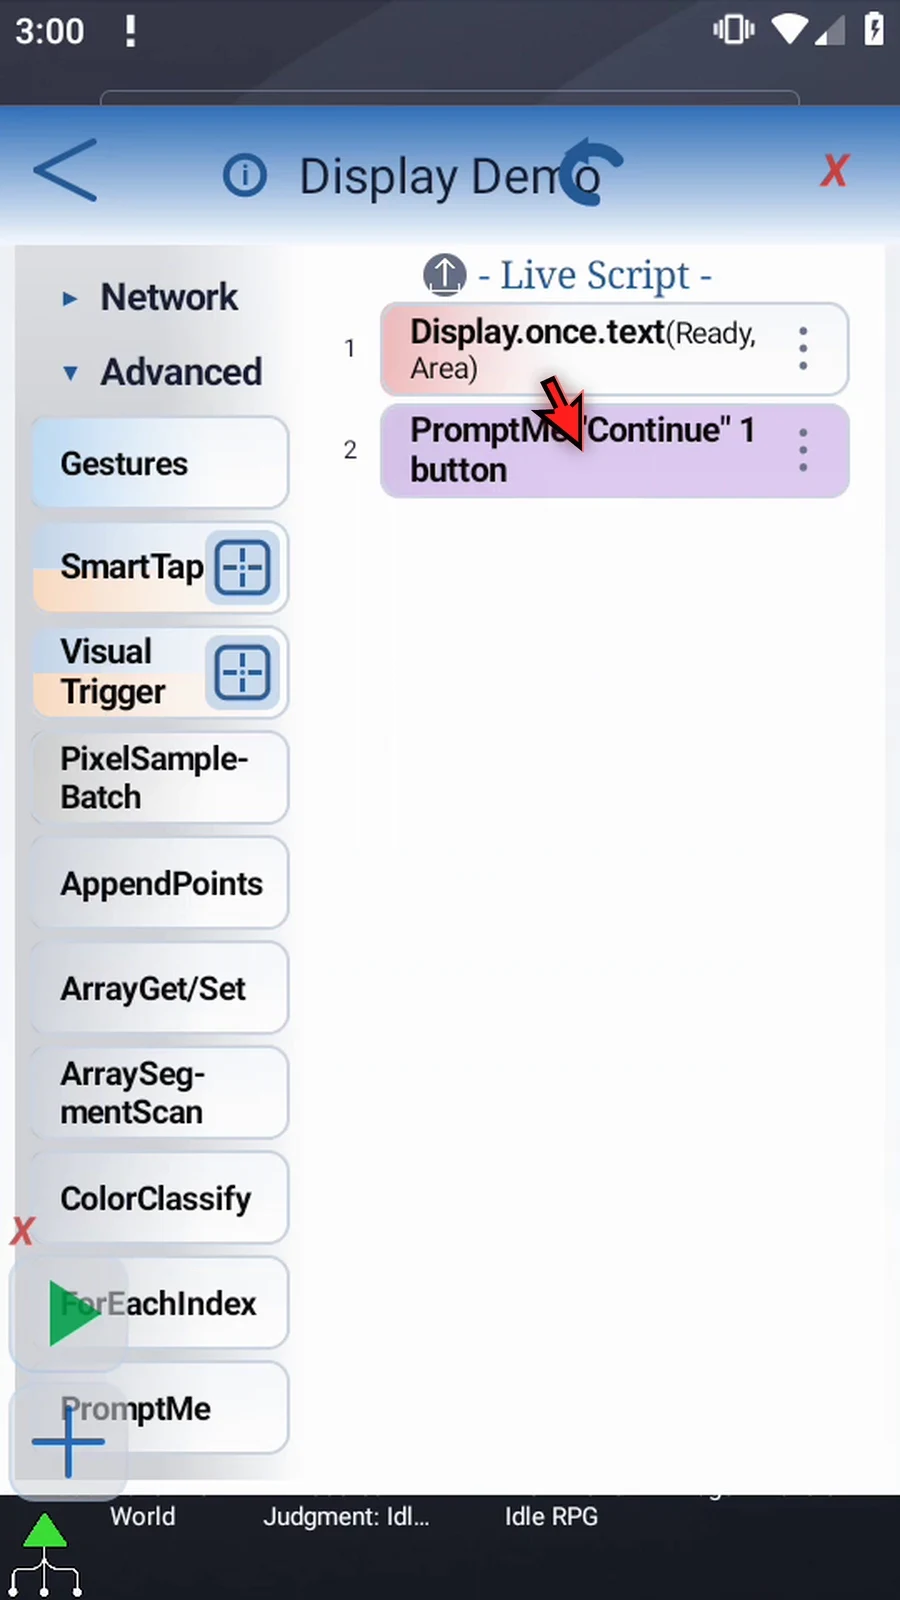
Step 23 Close the editor to see the result on the home screen.
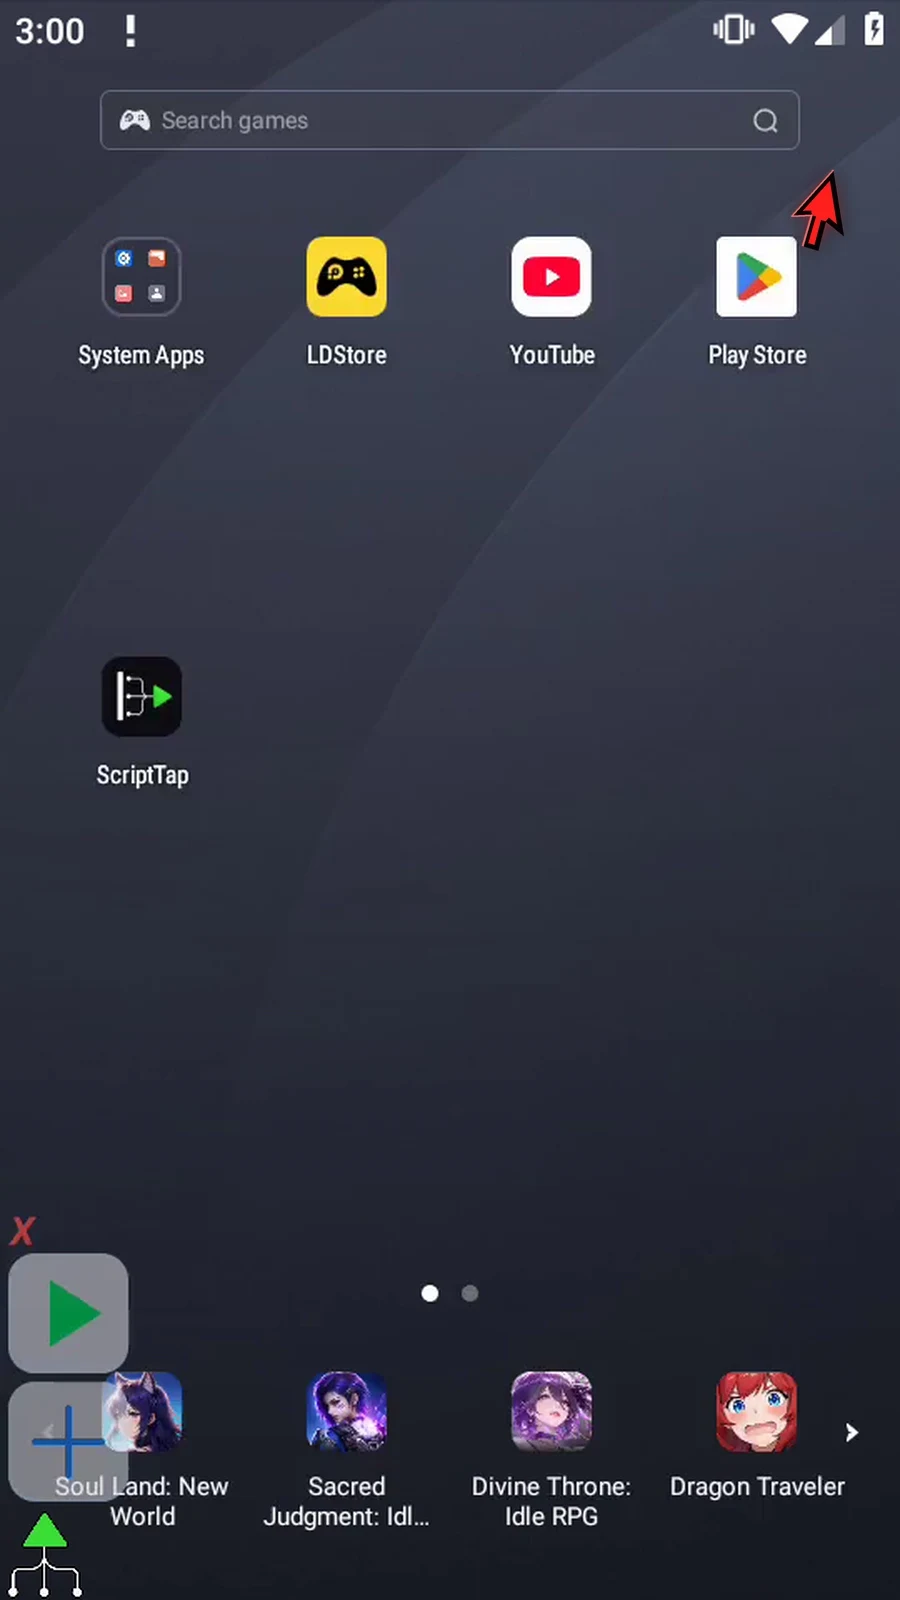
Step 24 When the script is complete, simply use the Play button in the main overlay.
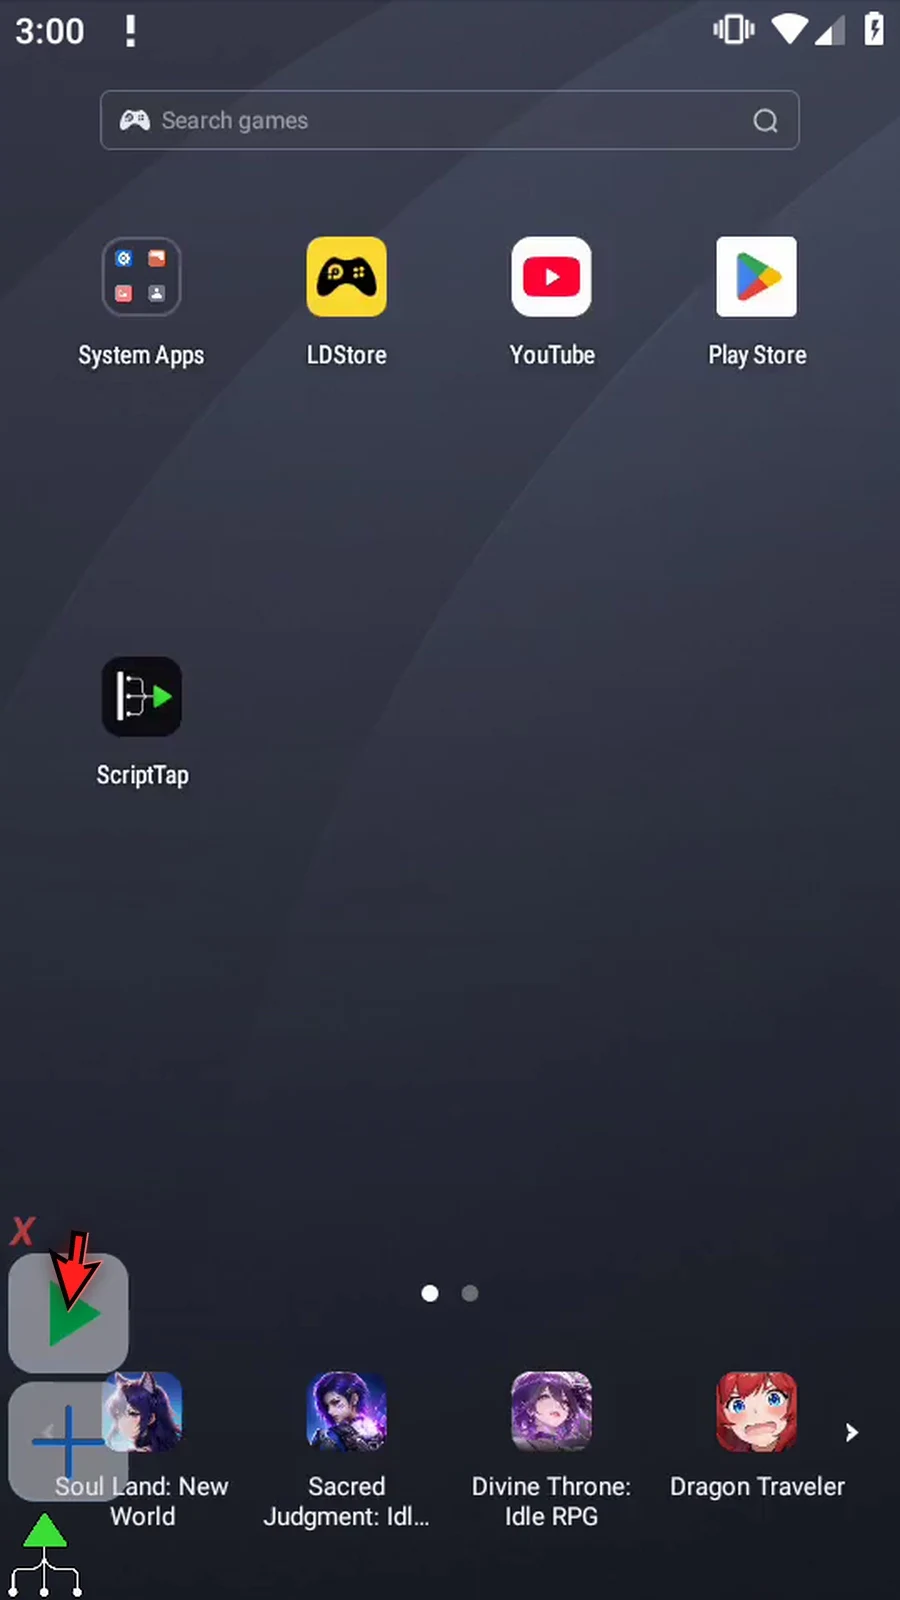
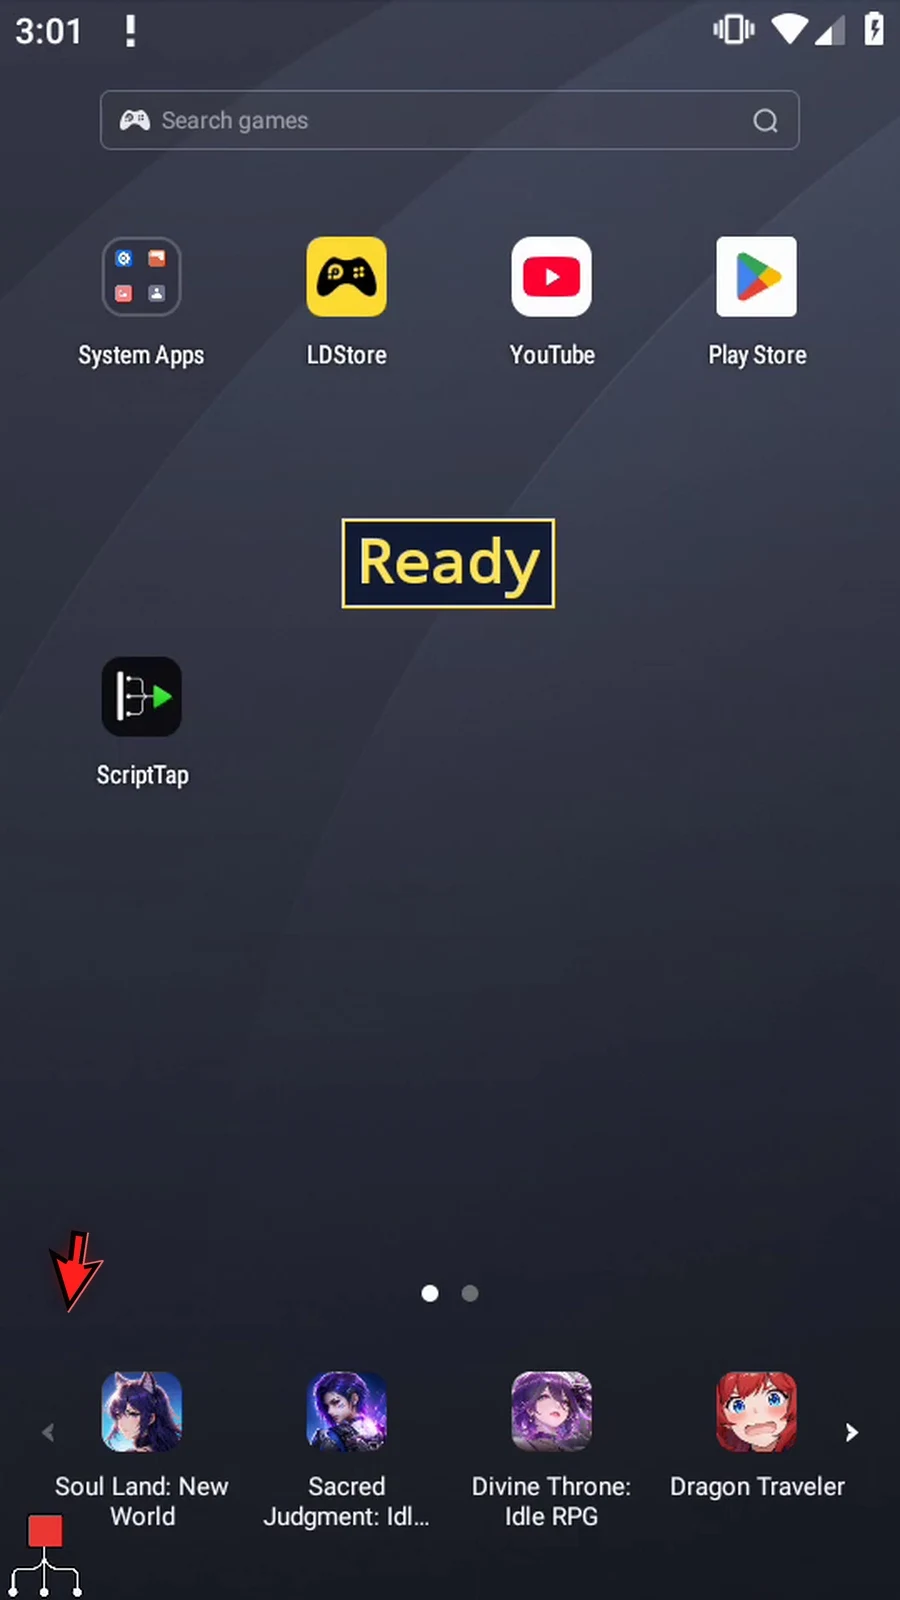
Step 25 Ready stays visible while this branch waits. After three seconds, the box disappears and PromptMe appears.
Step 26 Tap Done, and the script finishes automatically.
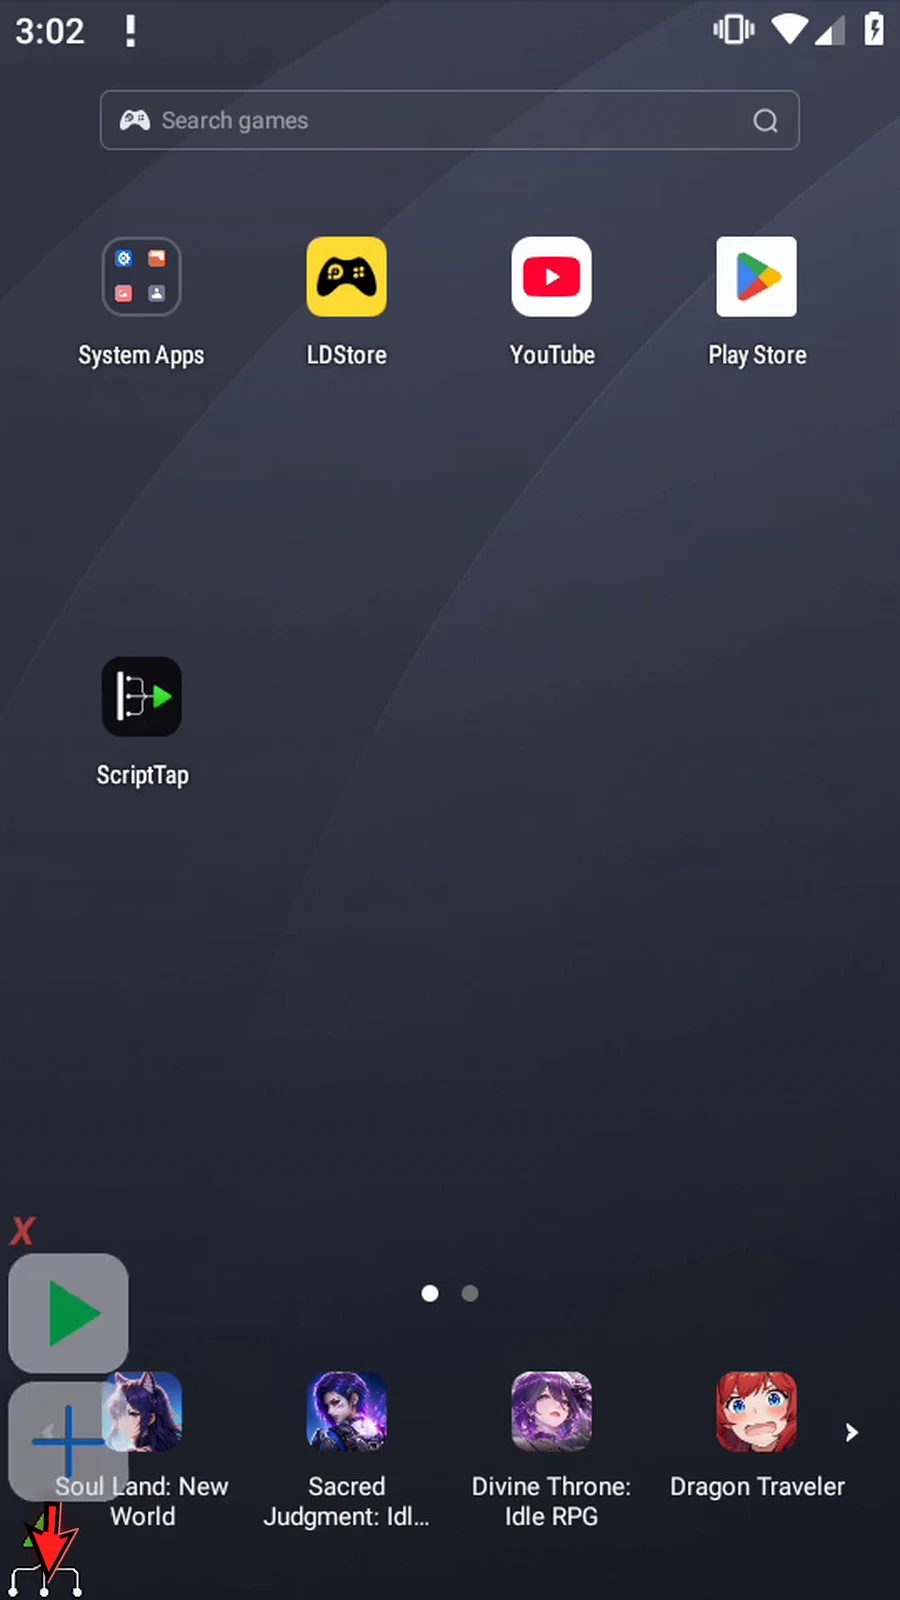
Step 27 Display is touch-through: it does not consume the app's taps, close when tapped, or move by dragging during Play. Use Concurrent when a message needs to update while later commands run. Display boxes are removed when the run ends or stops.
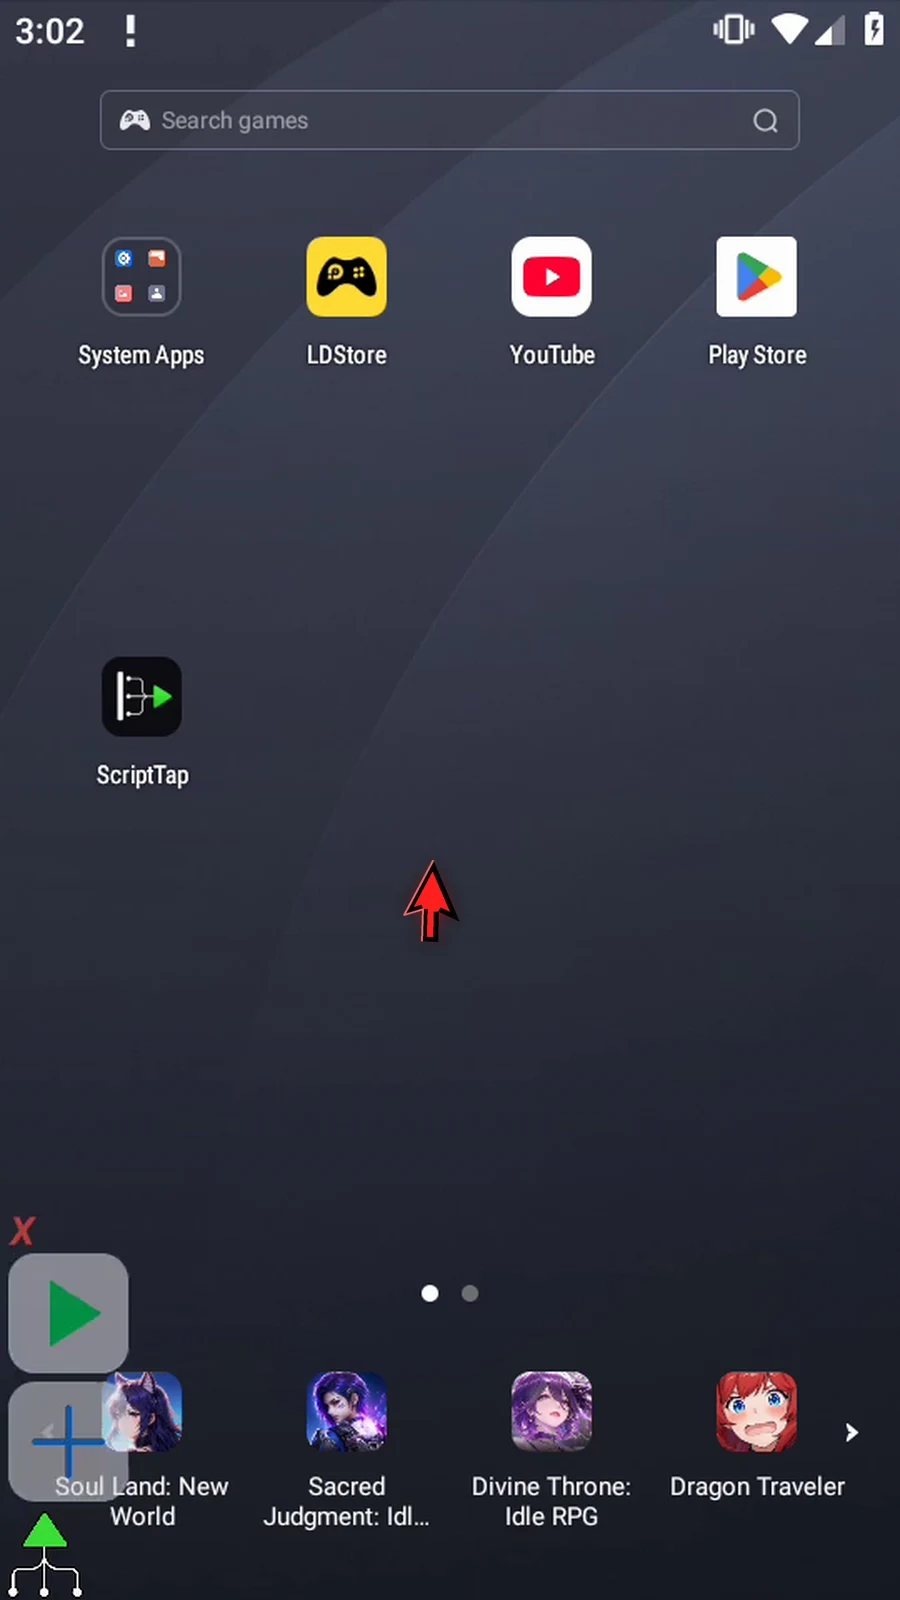
Concurrent Display keeps a message visible while later commands continue. It refreshes a variable or shows a rolling history of changes without blocking the current branch.
This guide continues the fresh Display Demo script from the Once guide. Its area, font, box style and alignment controls work in both modes.
Manually drag another PromptMe from Advanced and move it before Display. Select Mini → Toggles → Persistent ON, leave the header on and name it Inputs. Add Status → b1 and Hide → b2. This small panel supplies values during Play without blocking later commands. Save it.
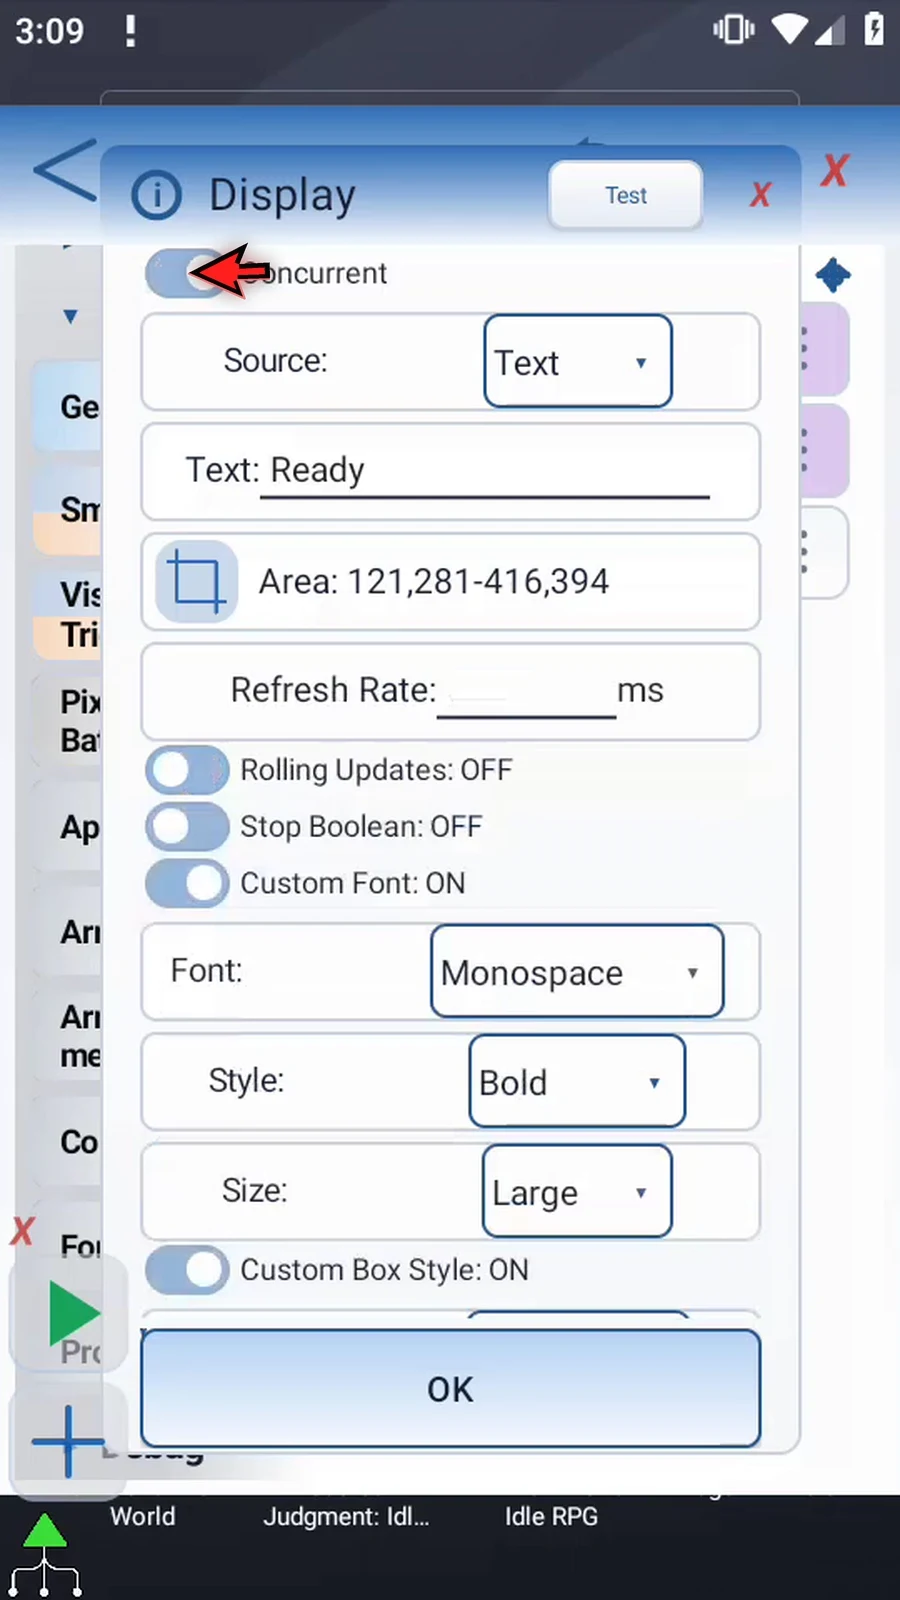
Open Display, choose Concurrent, set Source to Variable and enter b1. Any supported prior variable type can be displayed. Extend the area's bottom edge to 500 for history, enter 100 ms in Refresh Rate, leave Rolling Updates off, and enable Stop Boolean → b2. Change the final Standard PromptMe's Done output to b3 so it remains separate from the test toggles.
- Refresh Rate: interval for checking the source, minimum 100 ms. Blank, malformed or smaller values leave the command incomplete.
- Rolling Updates OFF: the latest value replaces the previous text. Unchanged values do not keep rebuilding the box.
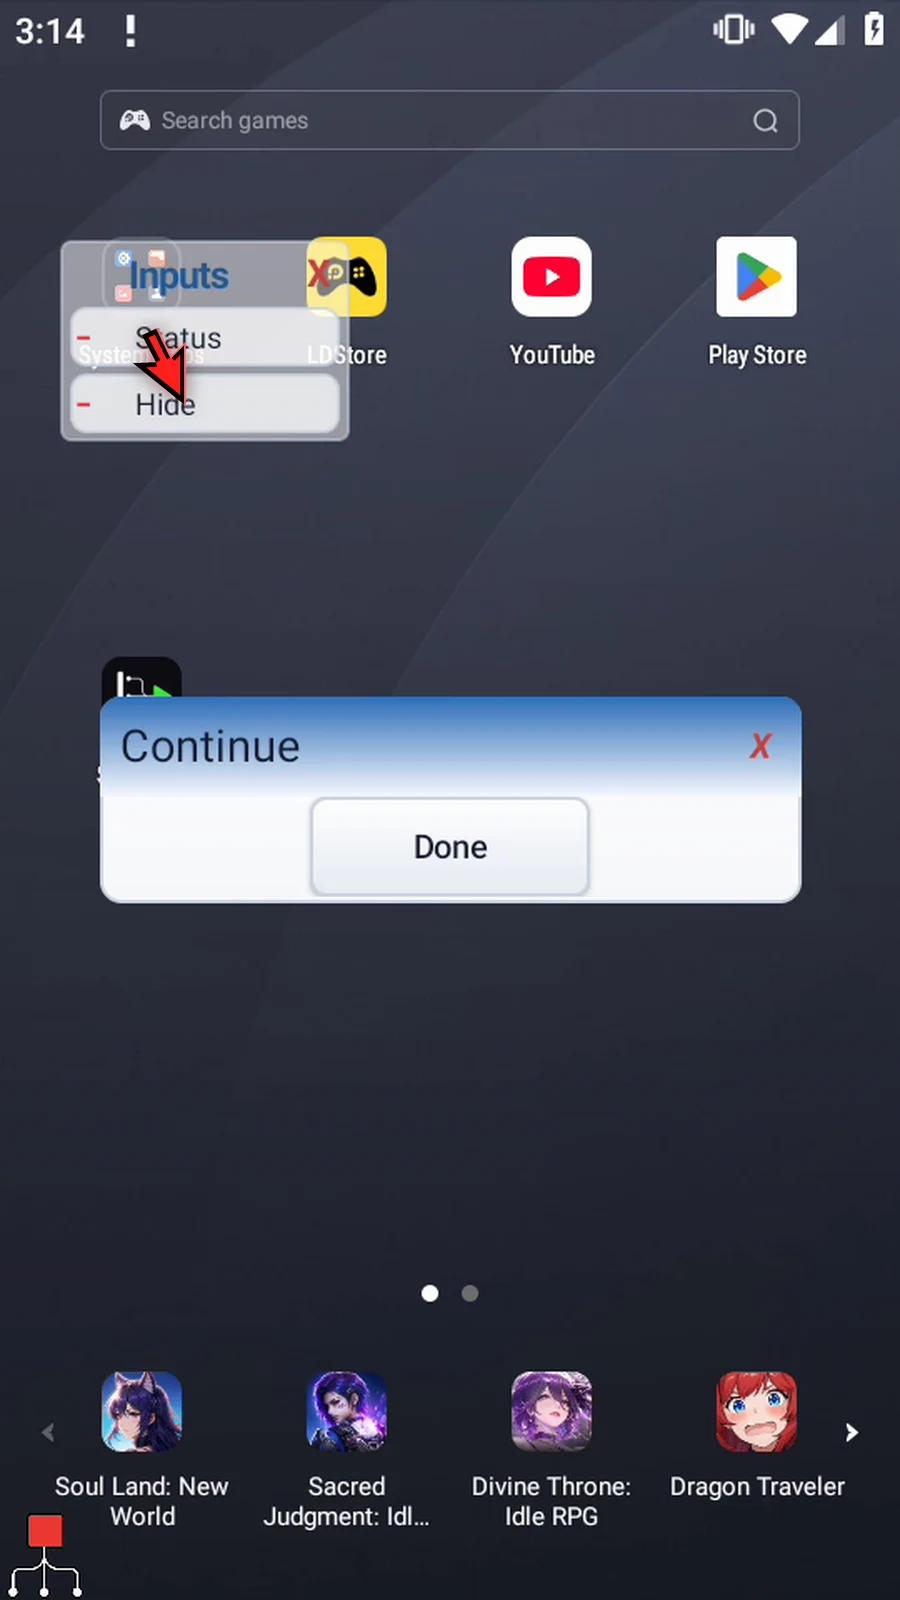
- Stop Boolean: when the selected Boolean is true, that Display box is removed while the script continues. Returning false alone does not recreate it; the Display command must be reached again.
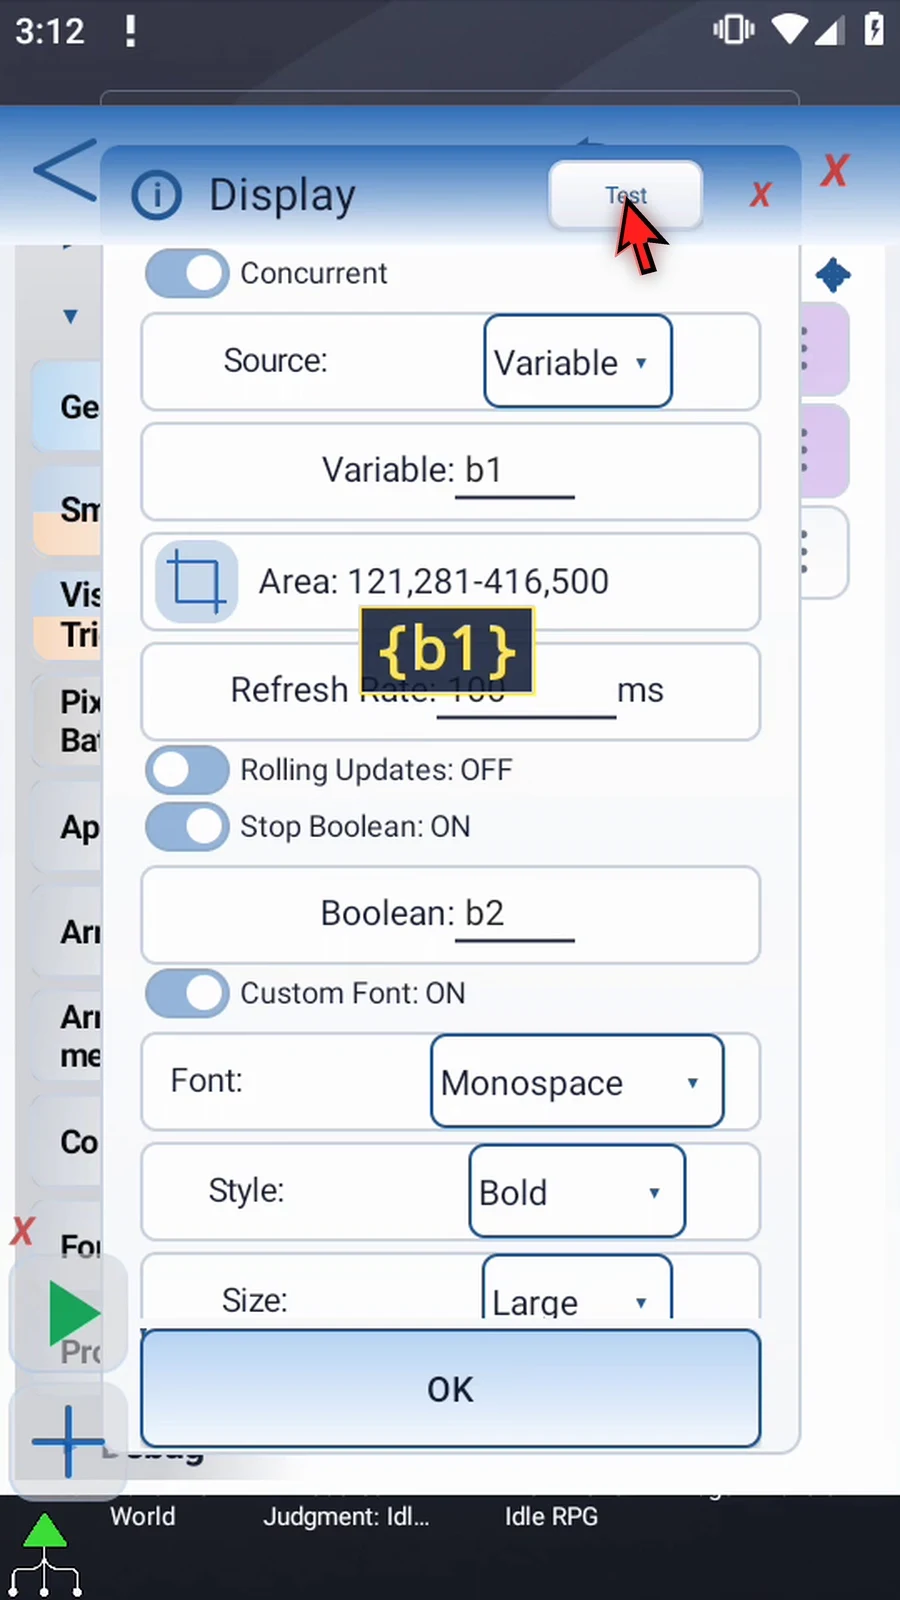
Test still provides a five-second editor preview, without creating runtime history. A variable with no available preview value appears in braces, such as {b1}.
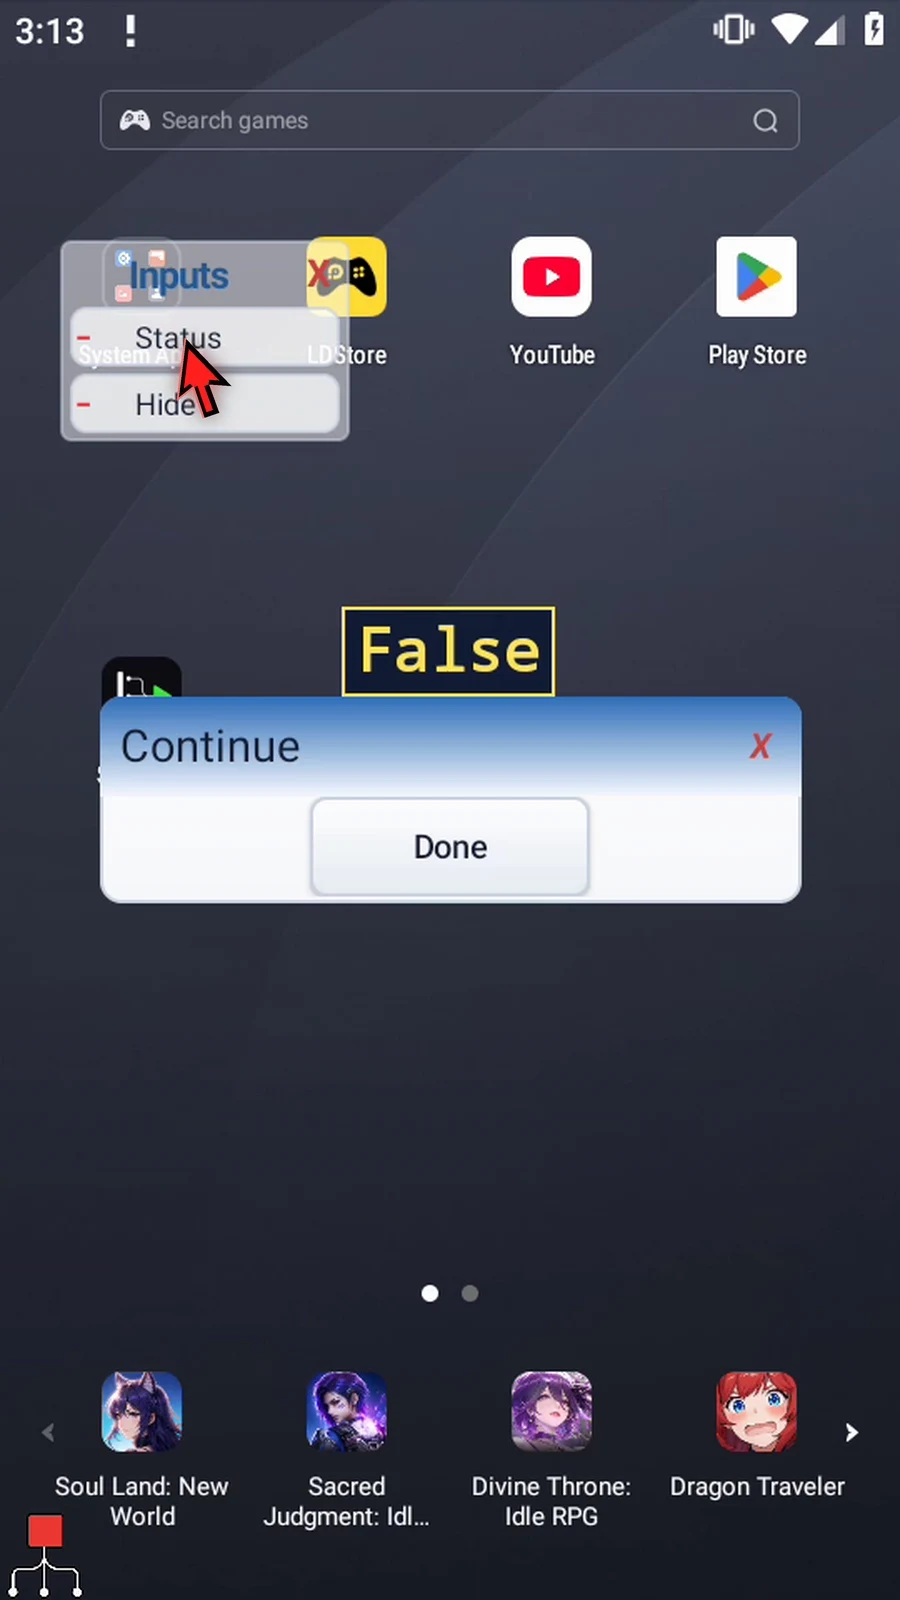
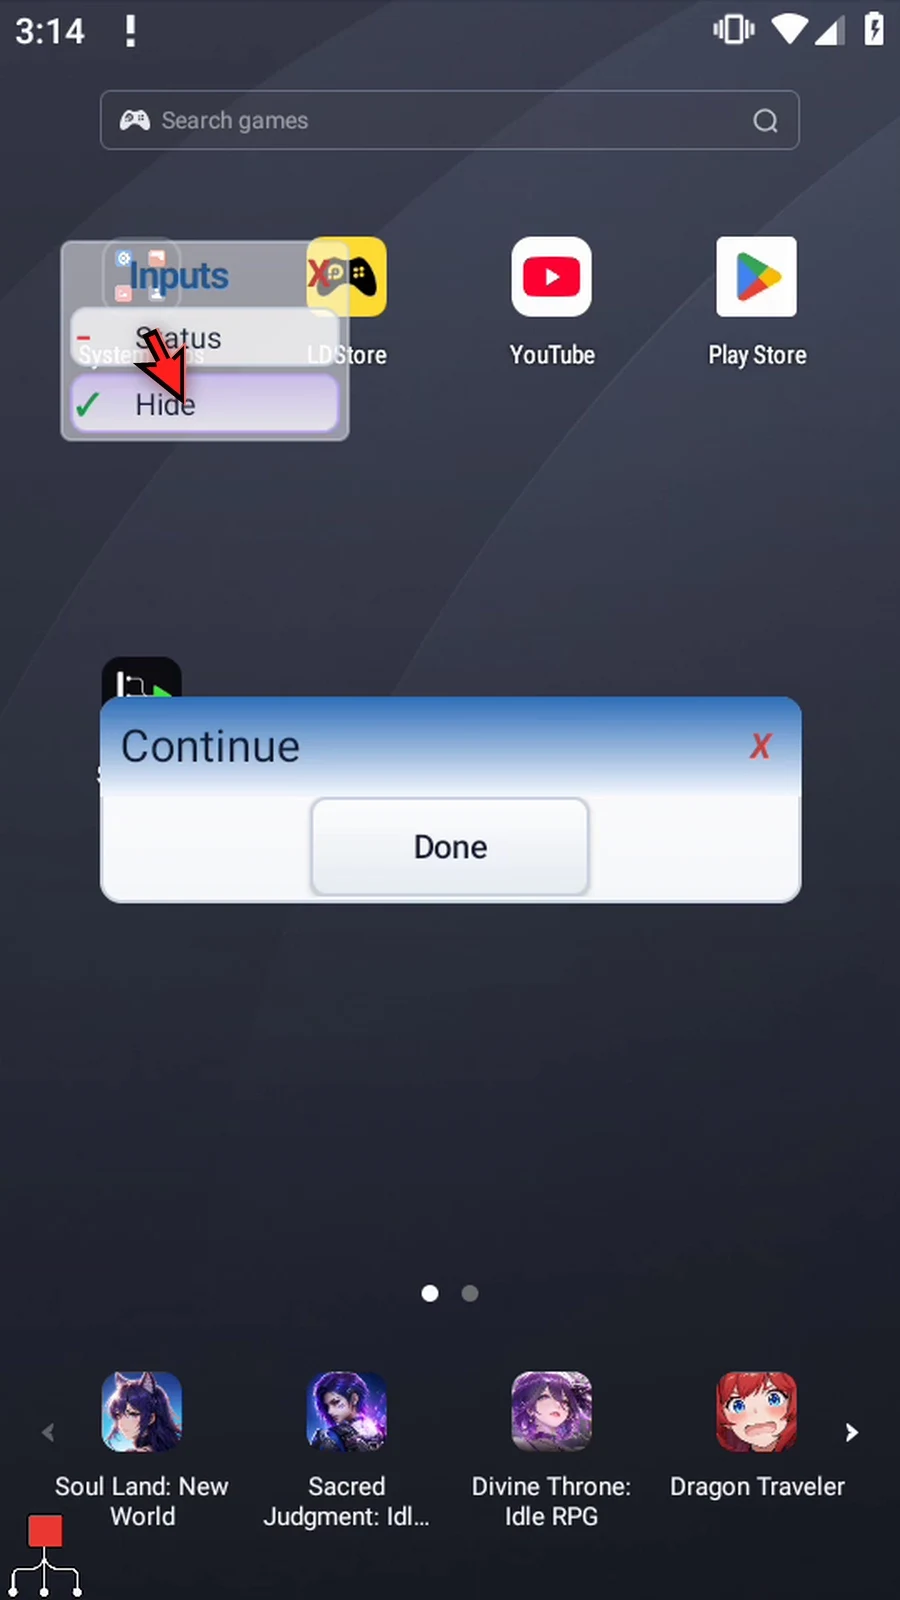
During Play, the final Continue confirmation appears immediately alongside Inputs. Tap Status to show True, then False. Tap Hide to remove Display; turn it off to see that the box stays removed. Done finishes the run.
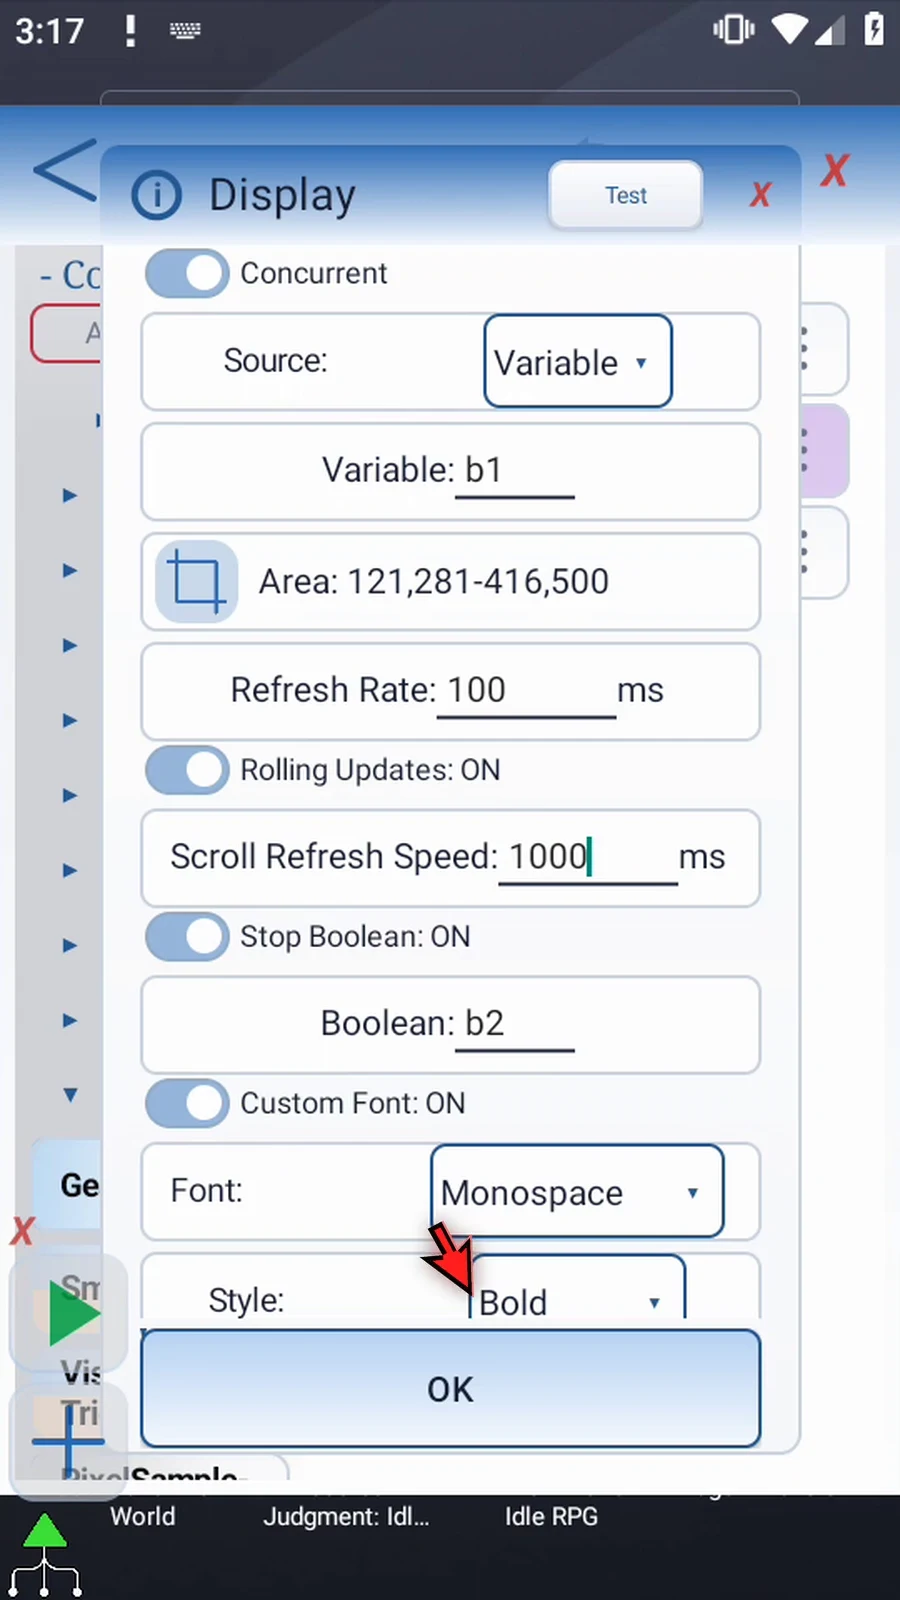
For the second run, enable Rolling Updates and set Scroll Refresh Speed to 1000 ms. This is the history's scroll-animation duration, separate from source checking, and also has a 100 ms minimum. Turning Rolling Updates off preserves that setting.
Play again and drag the confirmation lower by its header. Display itself is not draggable. Three Status taps build True → False → True, with new entries at the bottom. Blank values and consecutive unchanged values are ignored without clearing previous entries.
The history is bounded, not a permanent log. Fast update bursts share the fixed scroll duration rather than building an animation backlog. The active box keeps its area and styling; reaching the same Concurrent Display again in a loop reuses its box. It remains above the app and below ScriptTap controls. Stop Boolean can remove it early, and run finish or Stop clears it normally.
Concurrent
Step-by-step guide
Step 01 Display Concurrent keeps a message visible while later commands continue. It can refresh a variable's value, or show a rolling history of changes. We'll continue the script from the Once guide and use two Mini toggles to make those changes visible.
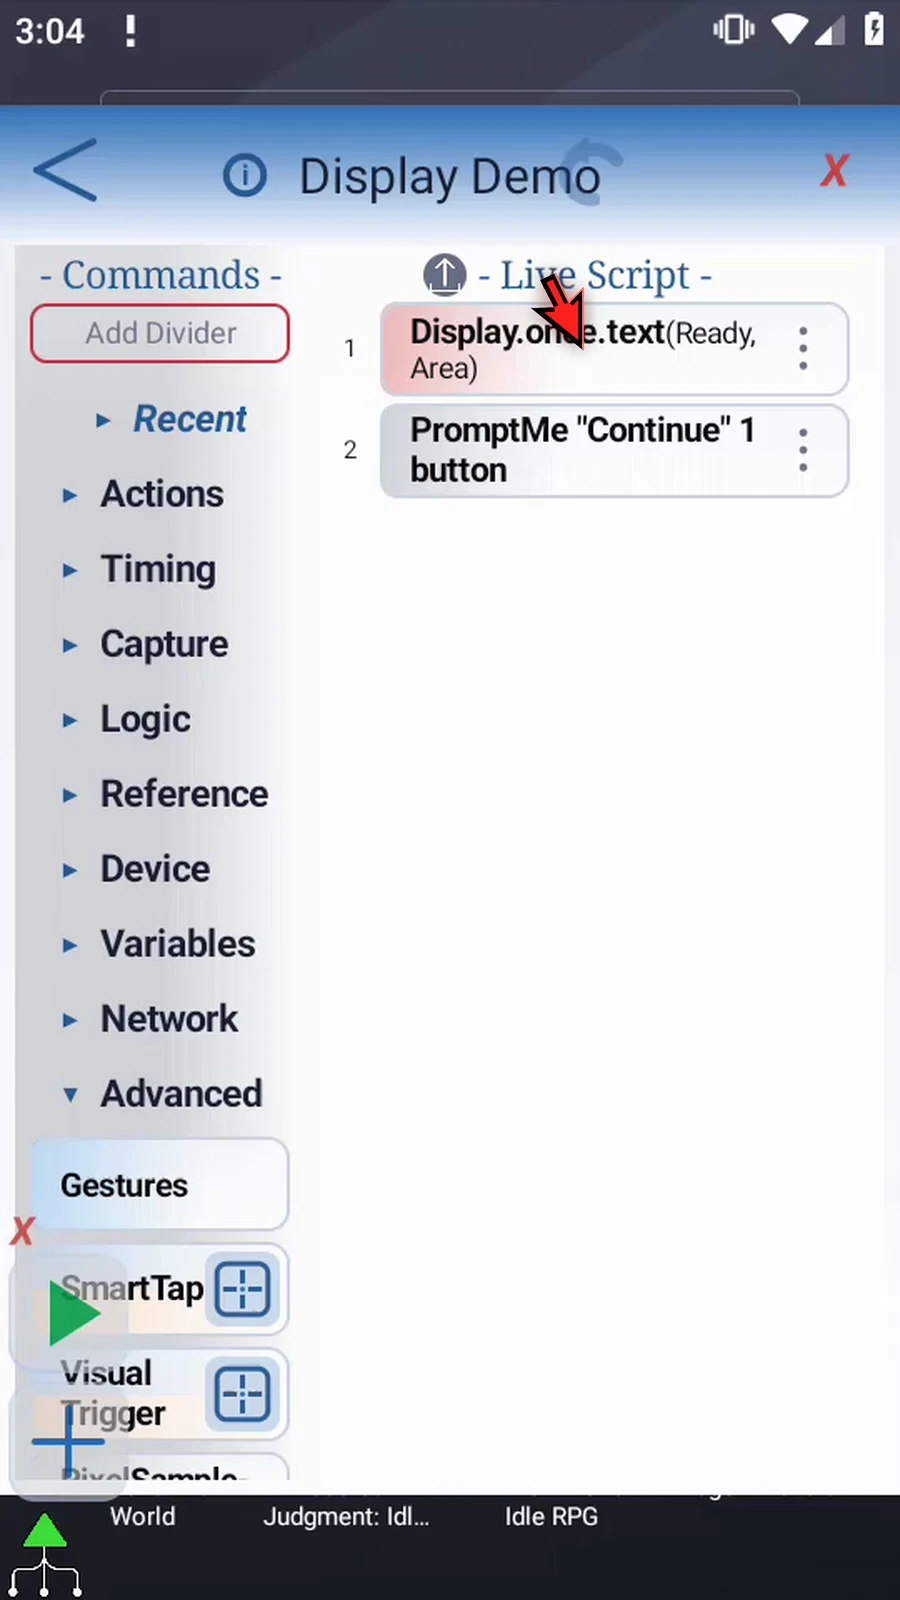
Step 02 Drag another PromptMe into the script, then move it before Display. This supporting Mini prompt will supply our test variables.
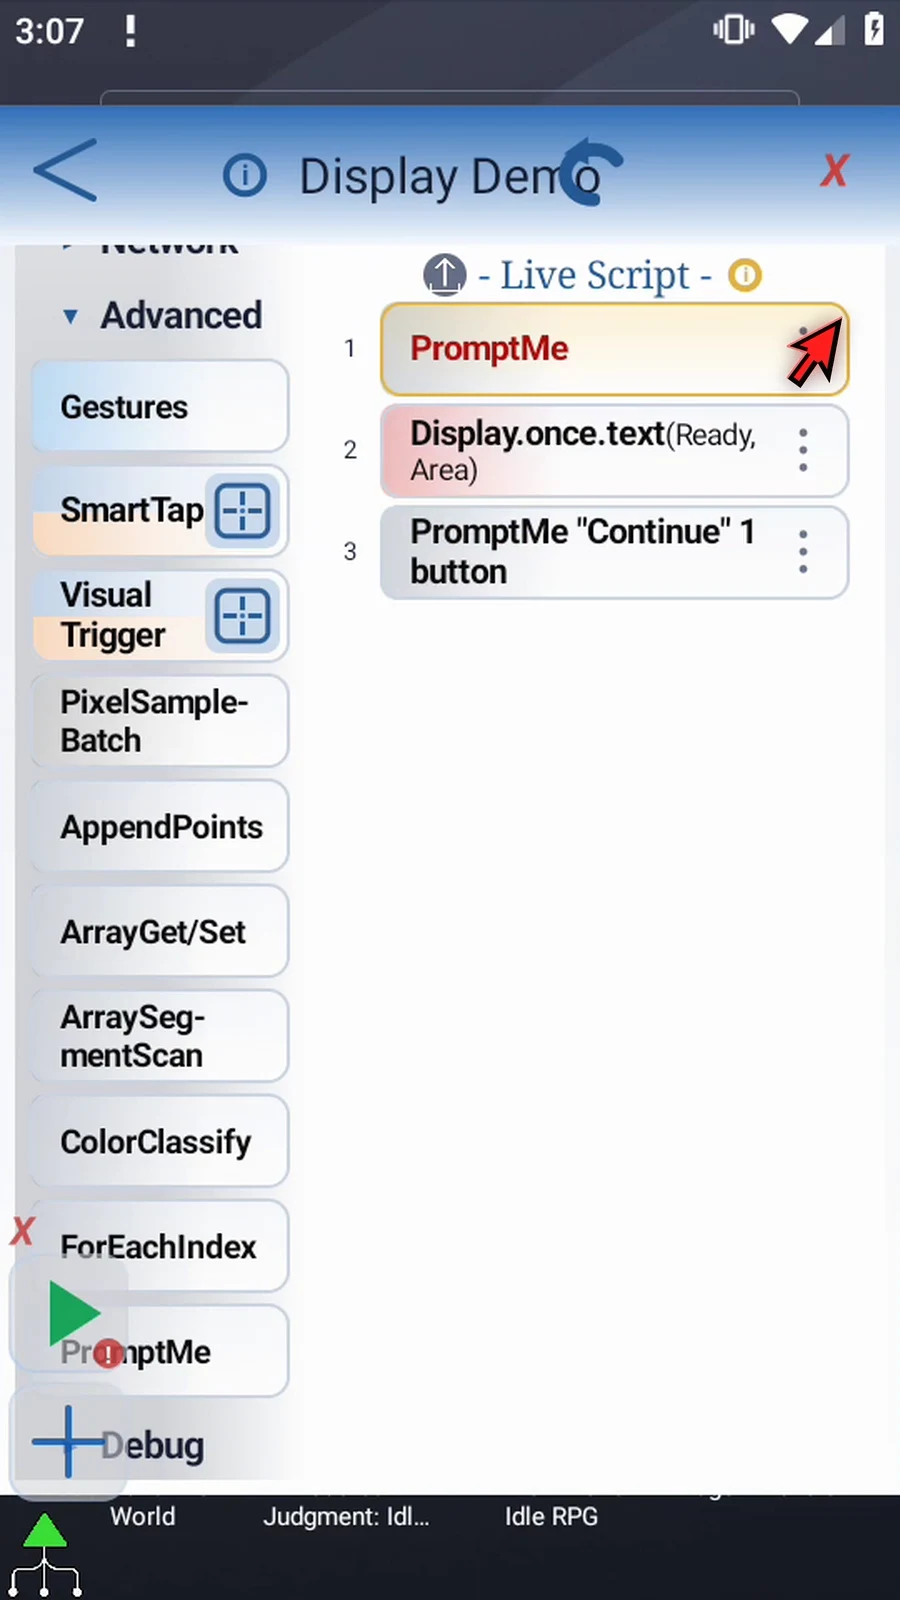
Step 03 Open it, select Mini, choose Toggles, and turn Persistent on. Persistent lets the script continue while the Mini controls remain available.
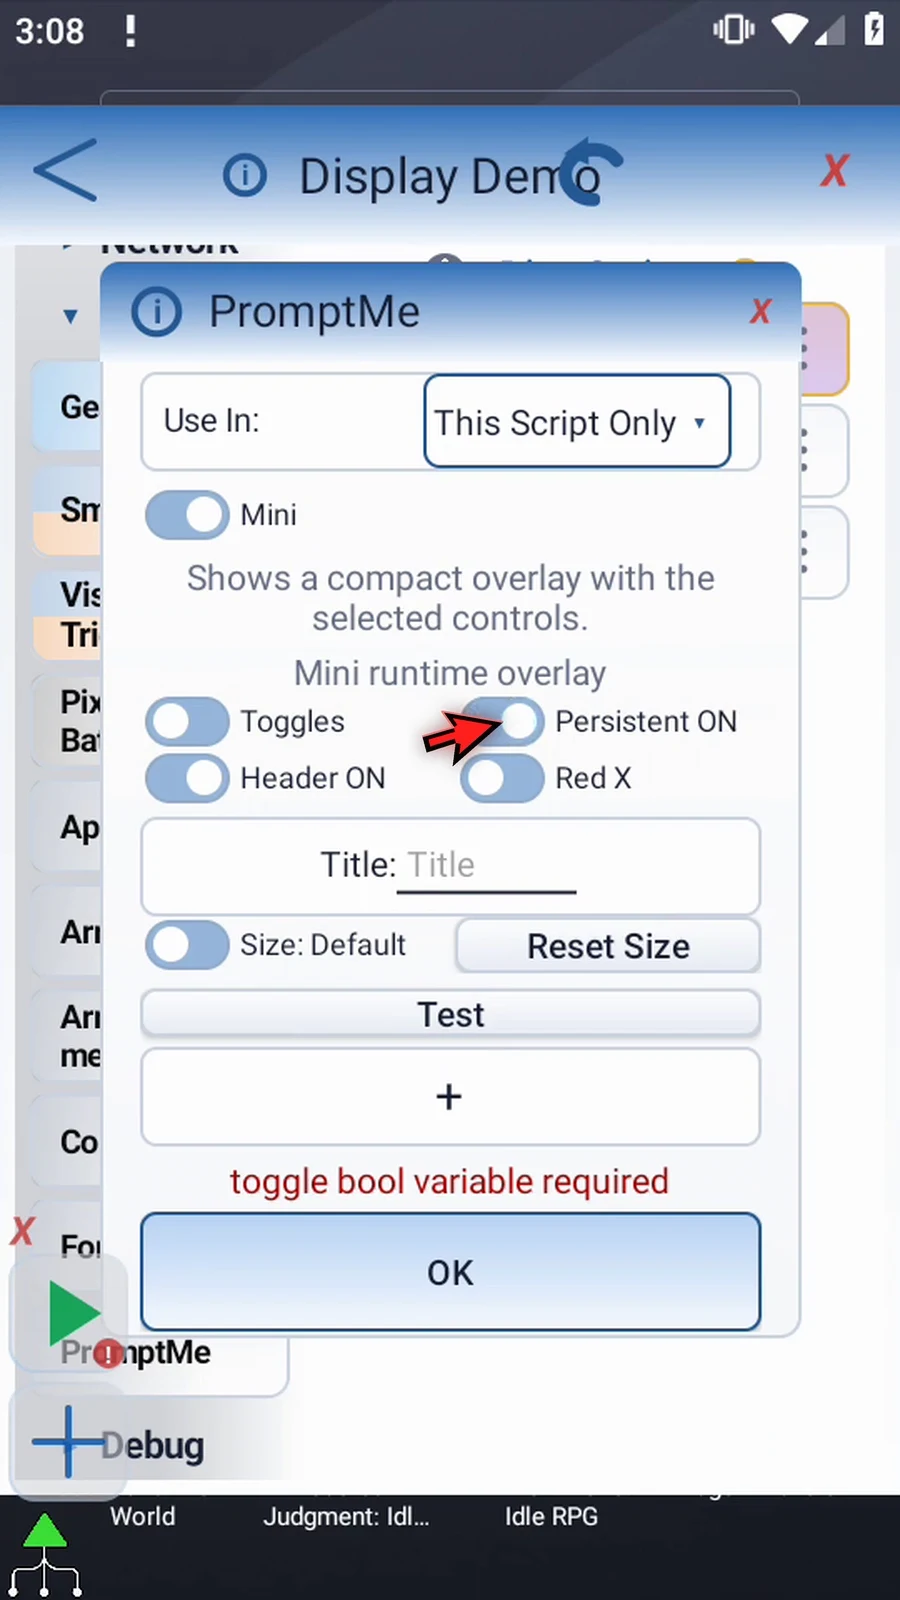
Step 04 Keep the header on and name this small control panel Inputs.
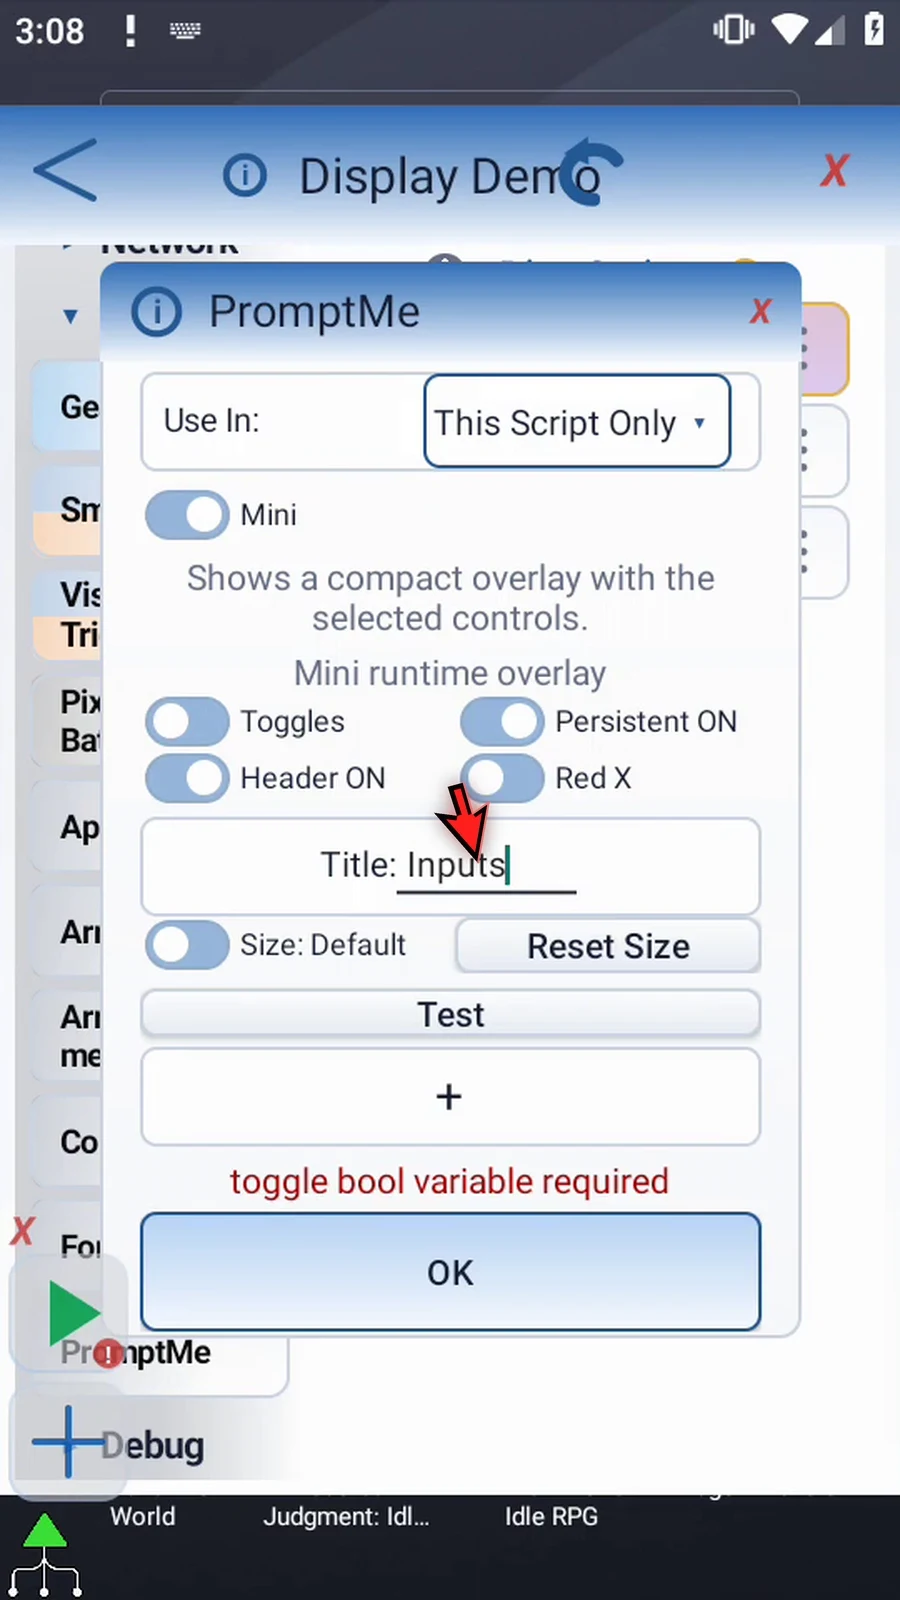
Step 05 Add a Status toggle with Boolean output b1. We'll display that value and change it during Play.
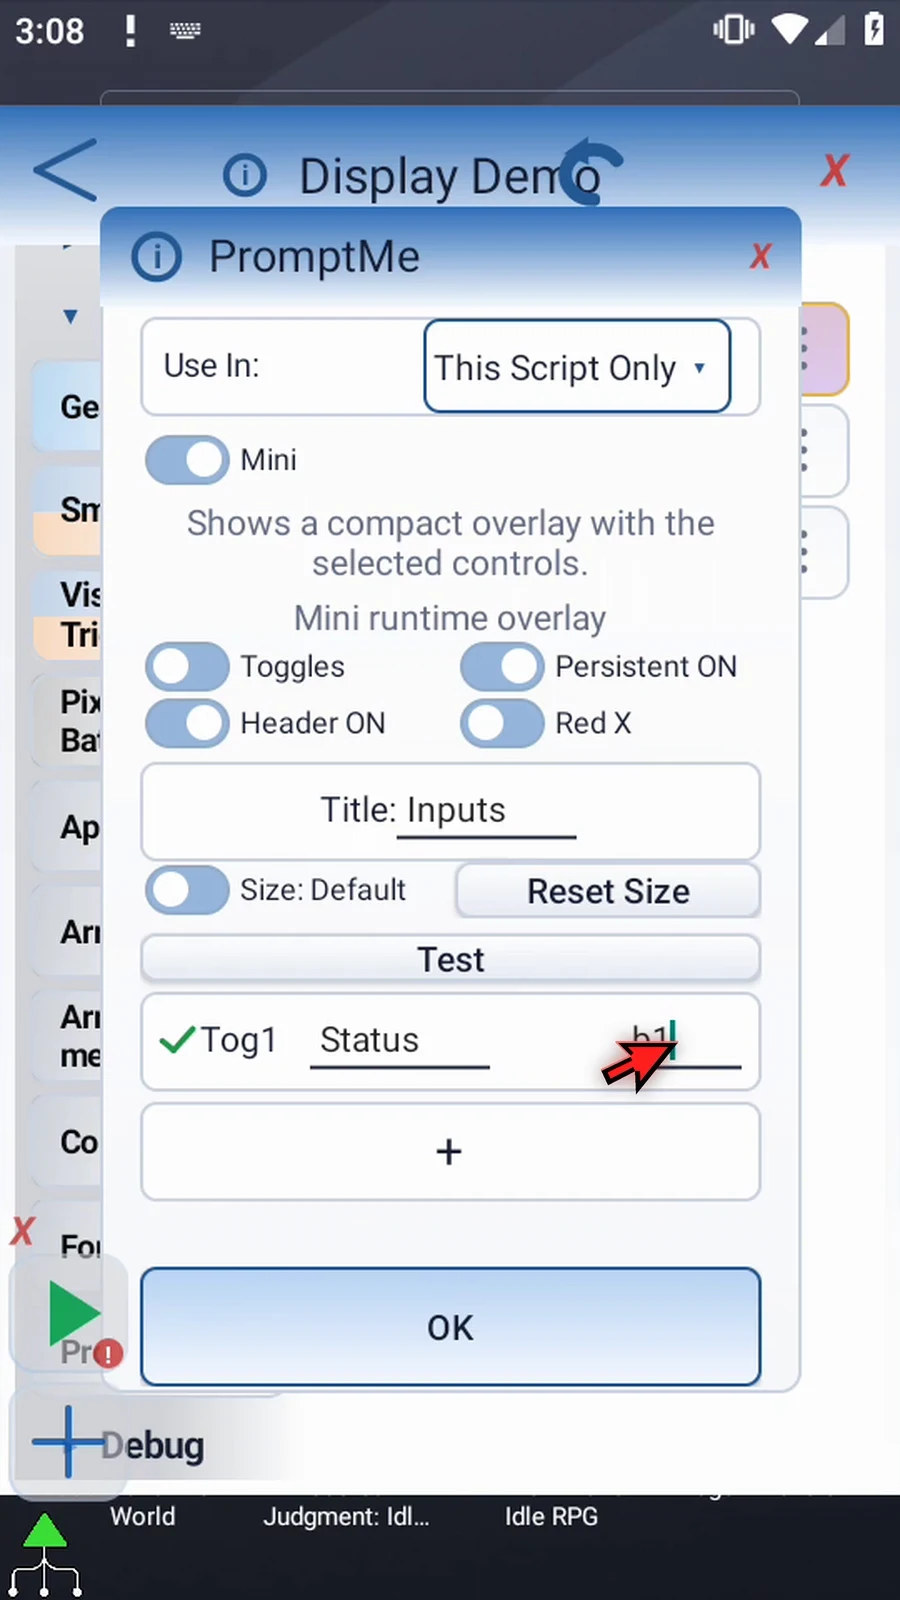
Step 06 Add a Hide toggle with Boolean output b2, then save. We'll use it to remove Display without stopping the script.
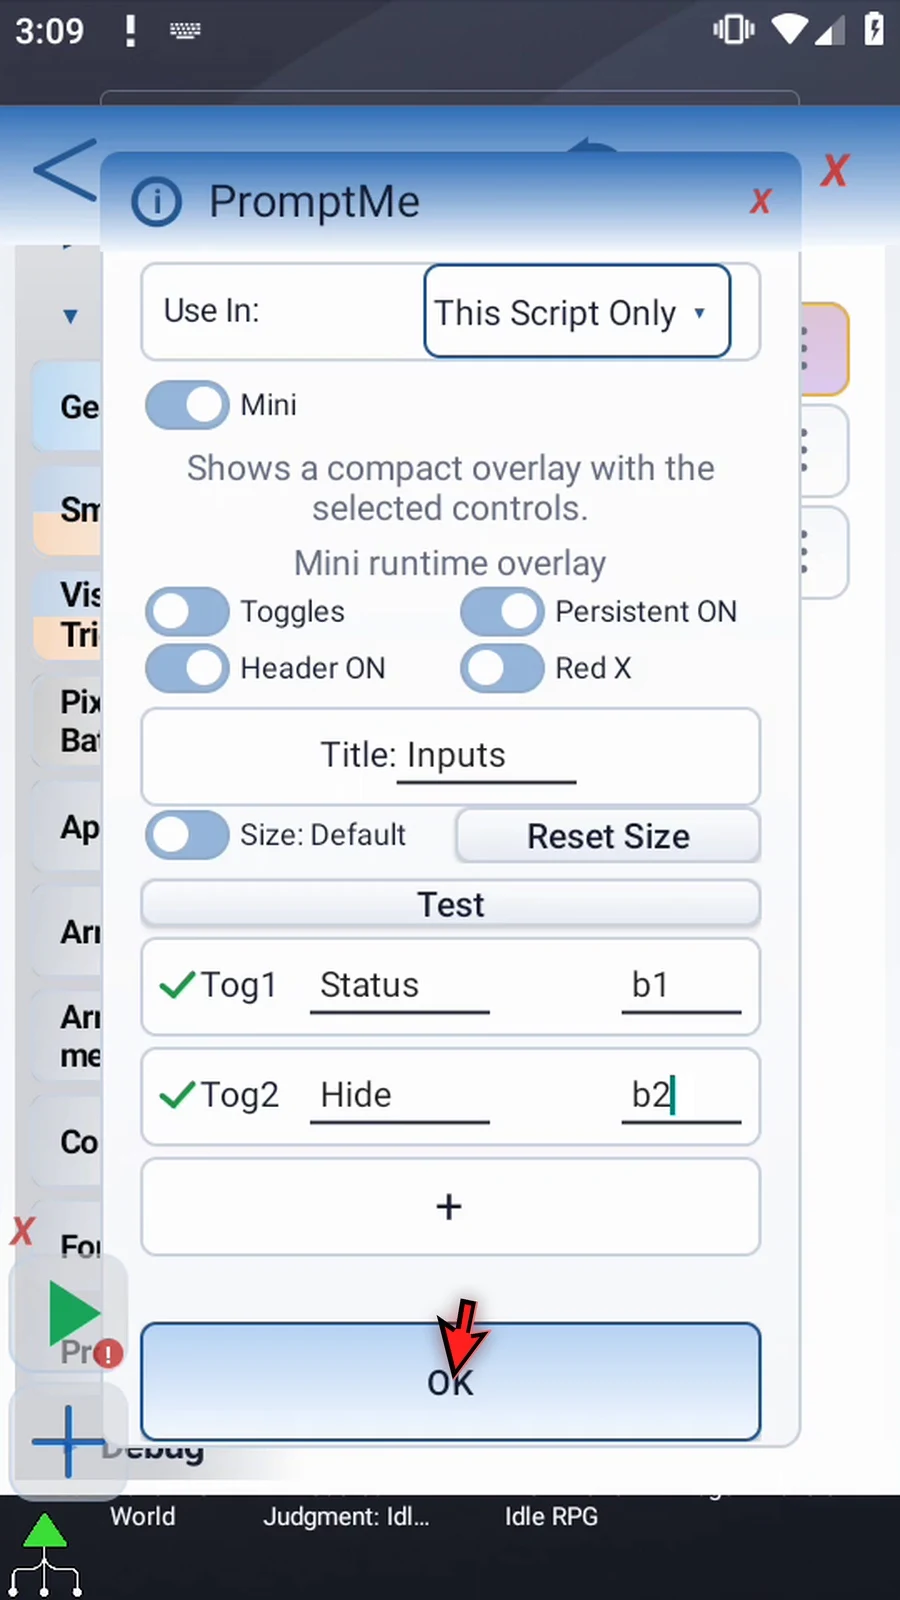
Step 07 Open Display and switch from Once to Concurrent. Concurrent does not wait for a lifespan; it returns immediately to the next command.
Step 08 Choose Variable as the source and enter b1. Display accepts any supported prior variable type; our Boolean makes the changes easy to see.
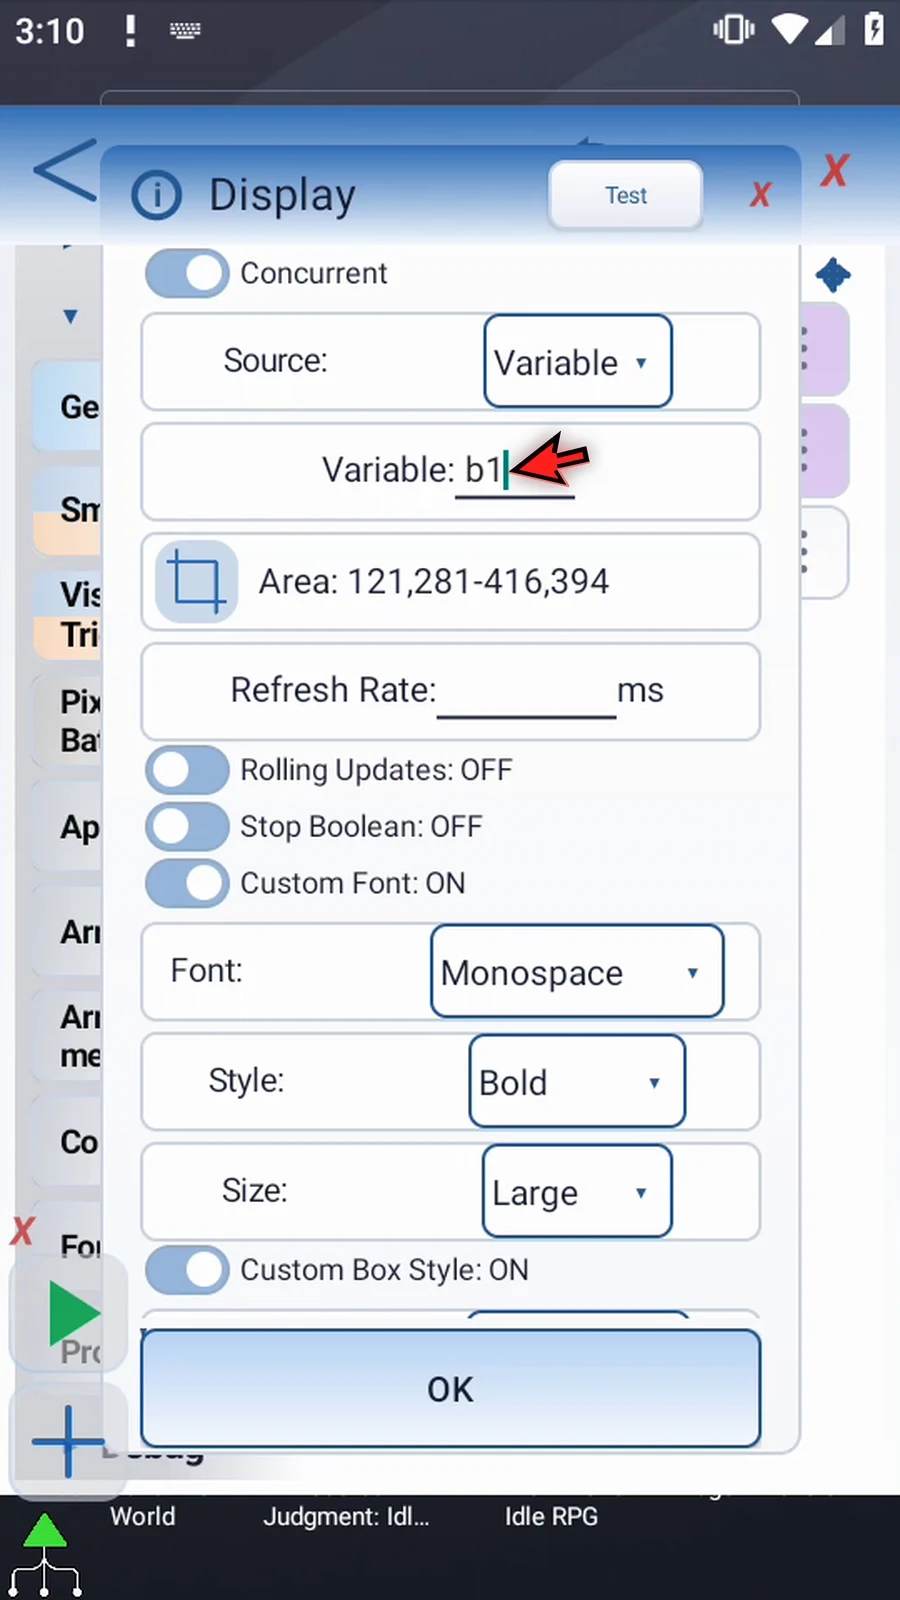
Step 09 Keep the same area, but extend its bottom edge to leave room for history later. The font and box styling work in both modes.
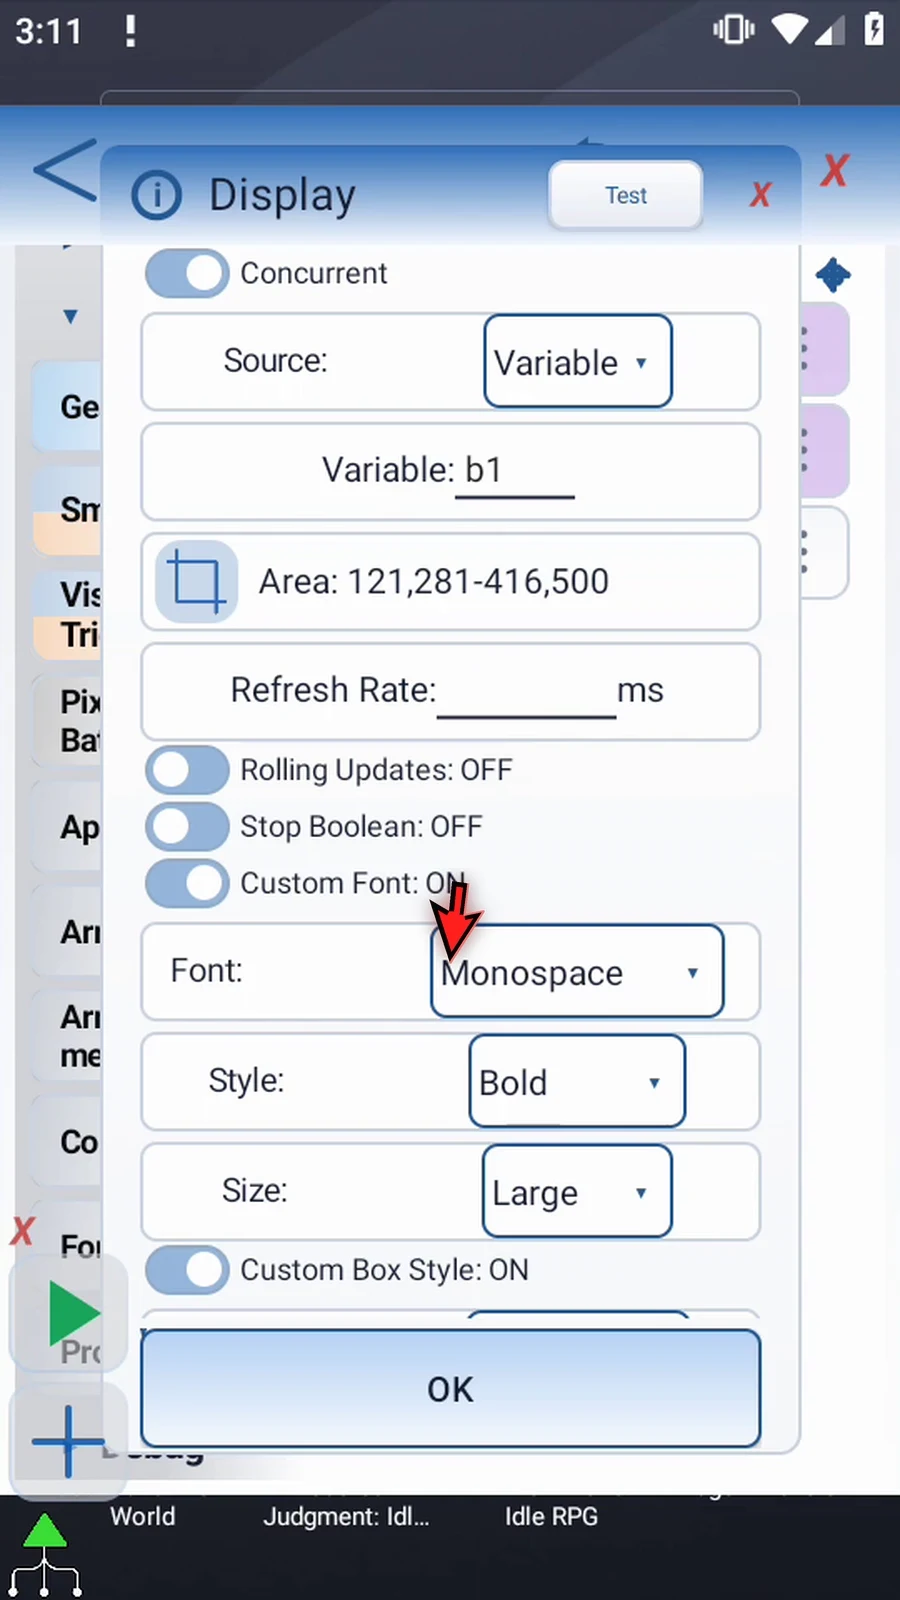
Step 10 Set Refresh Rate to one hundred milliseconds. This is the interval for checking the source. The minimum is one hundred; a blank, malformed, or smaller value leaves the command incomplete.

Step 11 Leave Rolling Updates off for now. Enable Stop Boolean and enter b2. When that Boolean becomes true, this Display box is removed; the script itself keeps running.
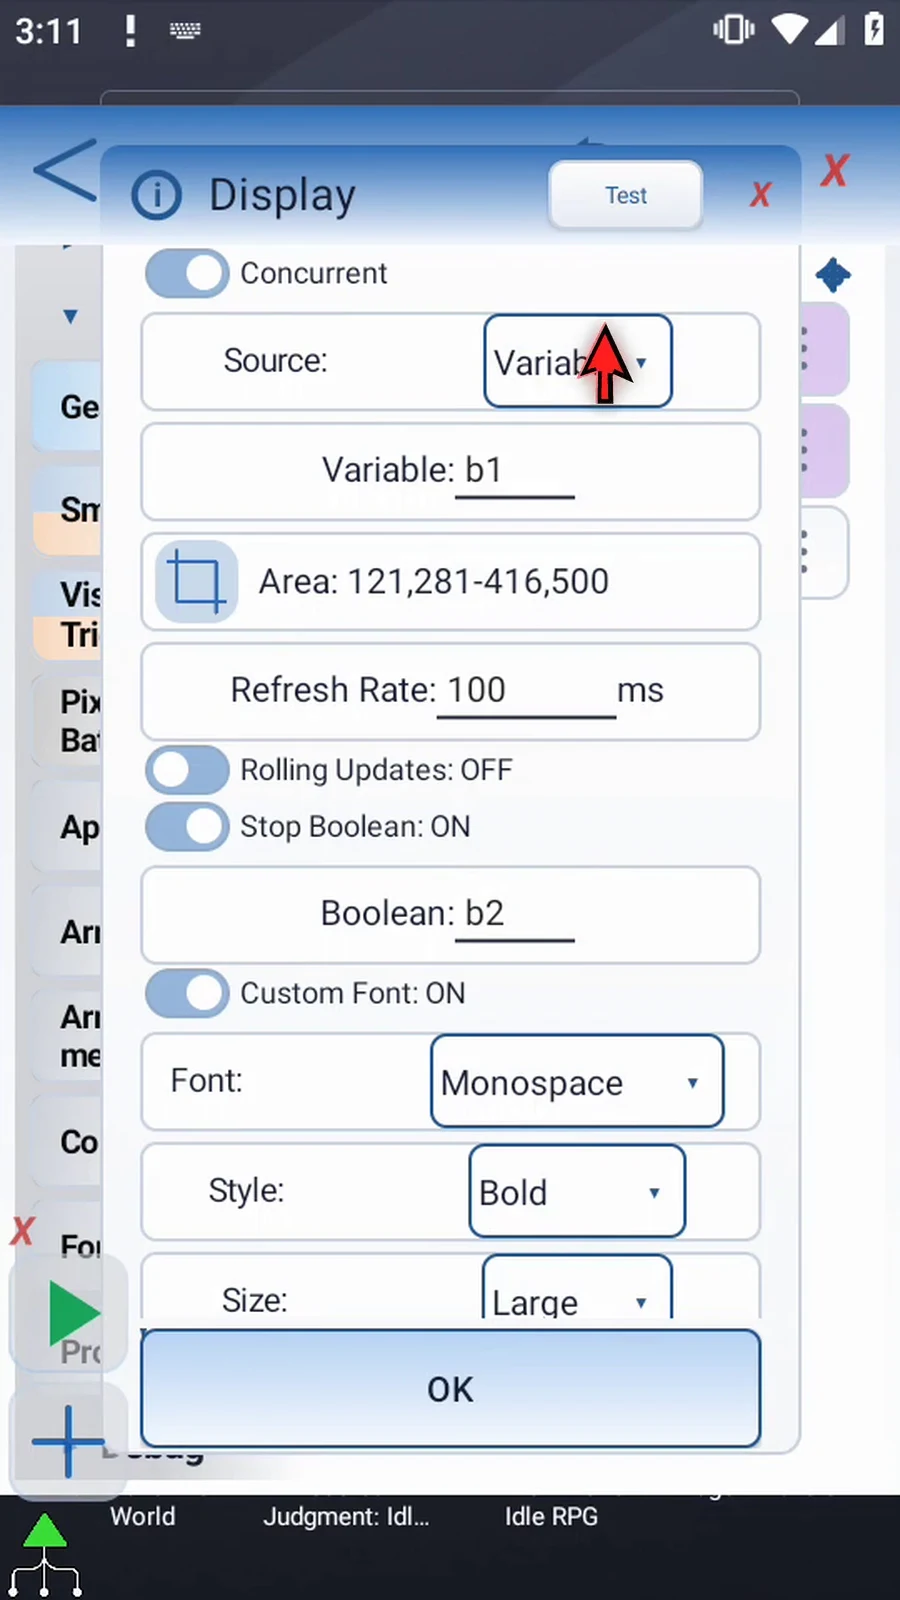
Step 12 Test still previews for five seconds. A variable with no preview value appears as its name in braces. This is only an editor preview, not rolling runtime history. Tap OK to save.
Step 13 In the final PromptMe, change Done's Boolean output to b3. This keeps the confirmation separate from our two test toggles.
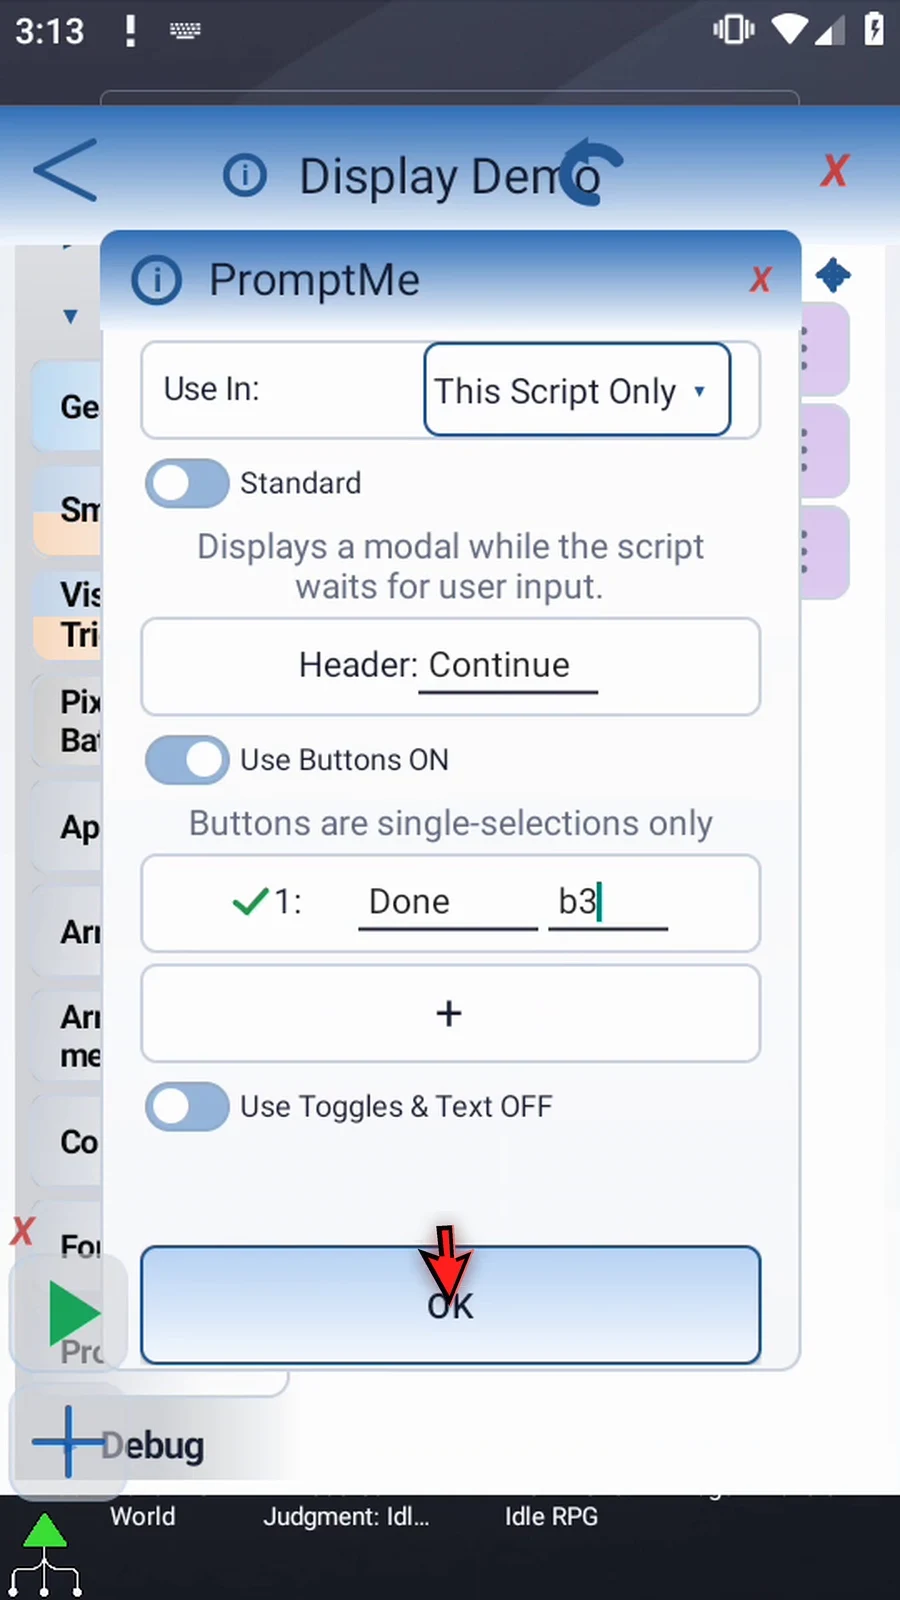
Step 14 Inputs provides the variables, Concurrent Display watches b1, and the final PromptMe waits for Done. Reaching that final prompt immediately will show that Display is non-blocking.
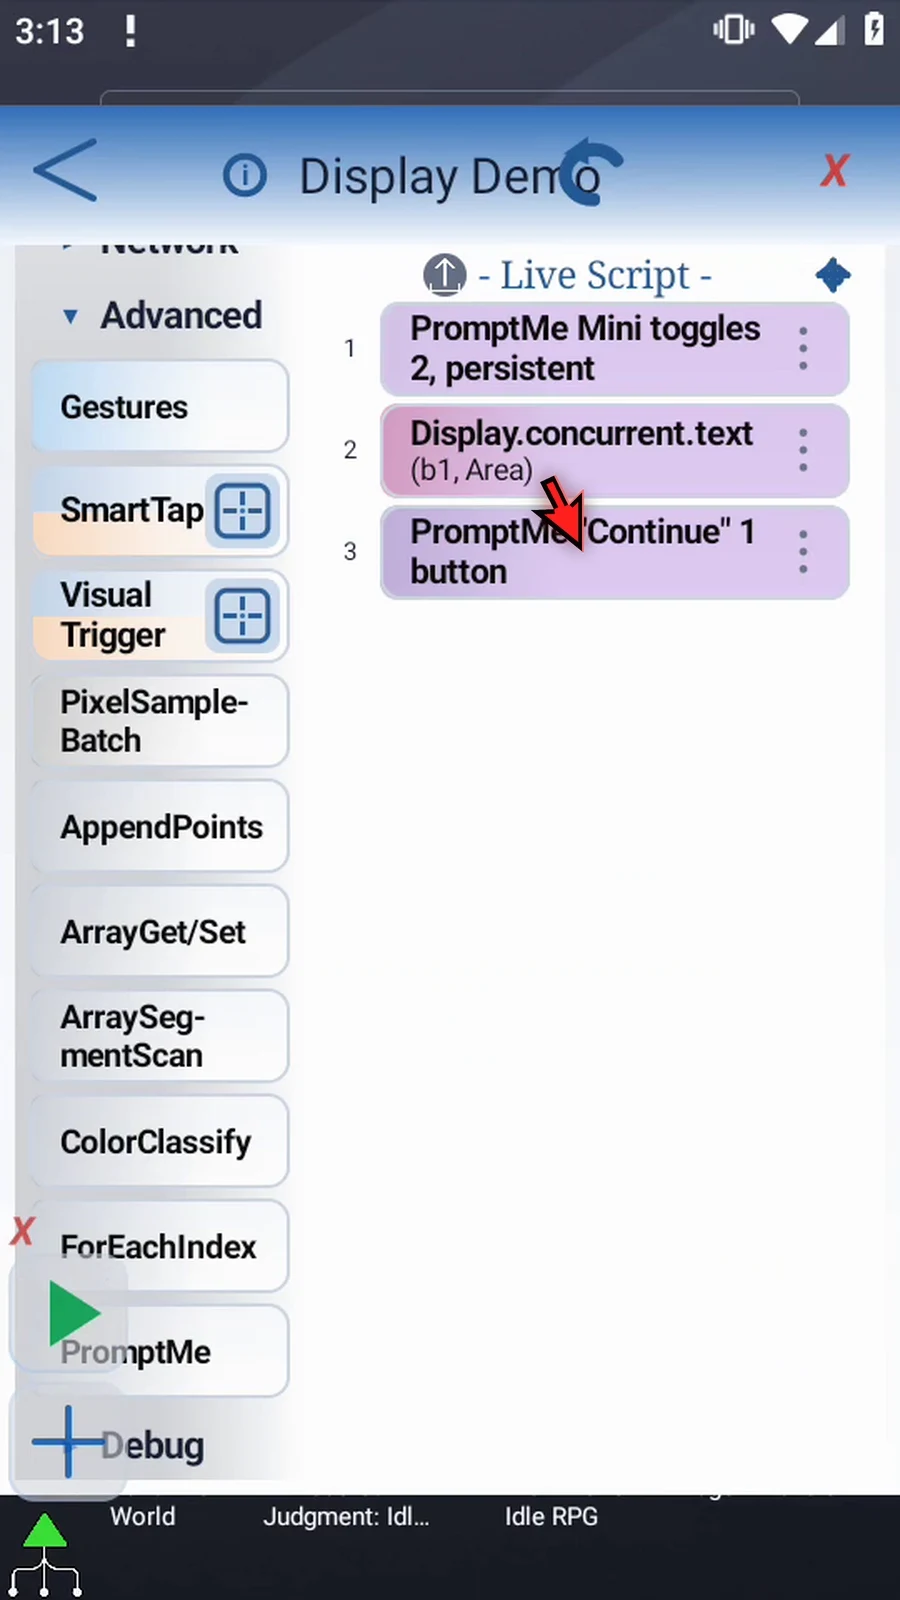
Step 15 Close the editor to run the example on the home screen.
Step 16 When the script is complete, simply use the Play button in the main overlay.
Step 17 The confirmation is already waiting. Tap Status: b1 becomes true and Display refreshes to True. Before the first toggle, this example has no written value to display.
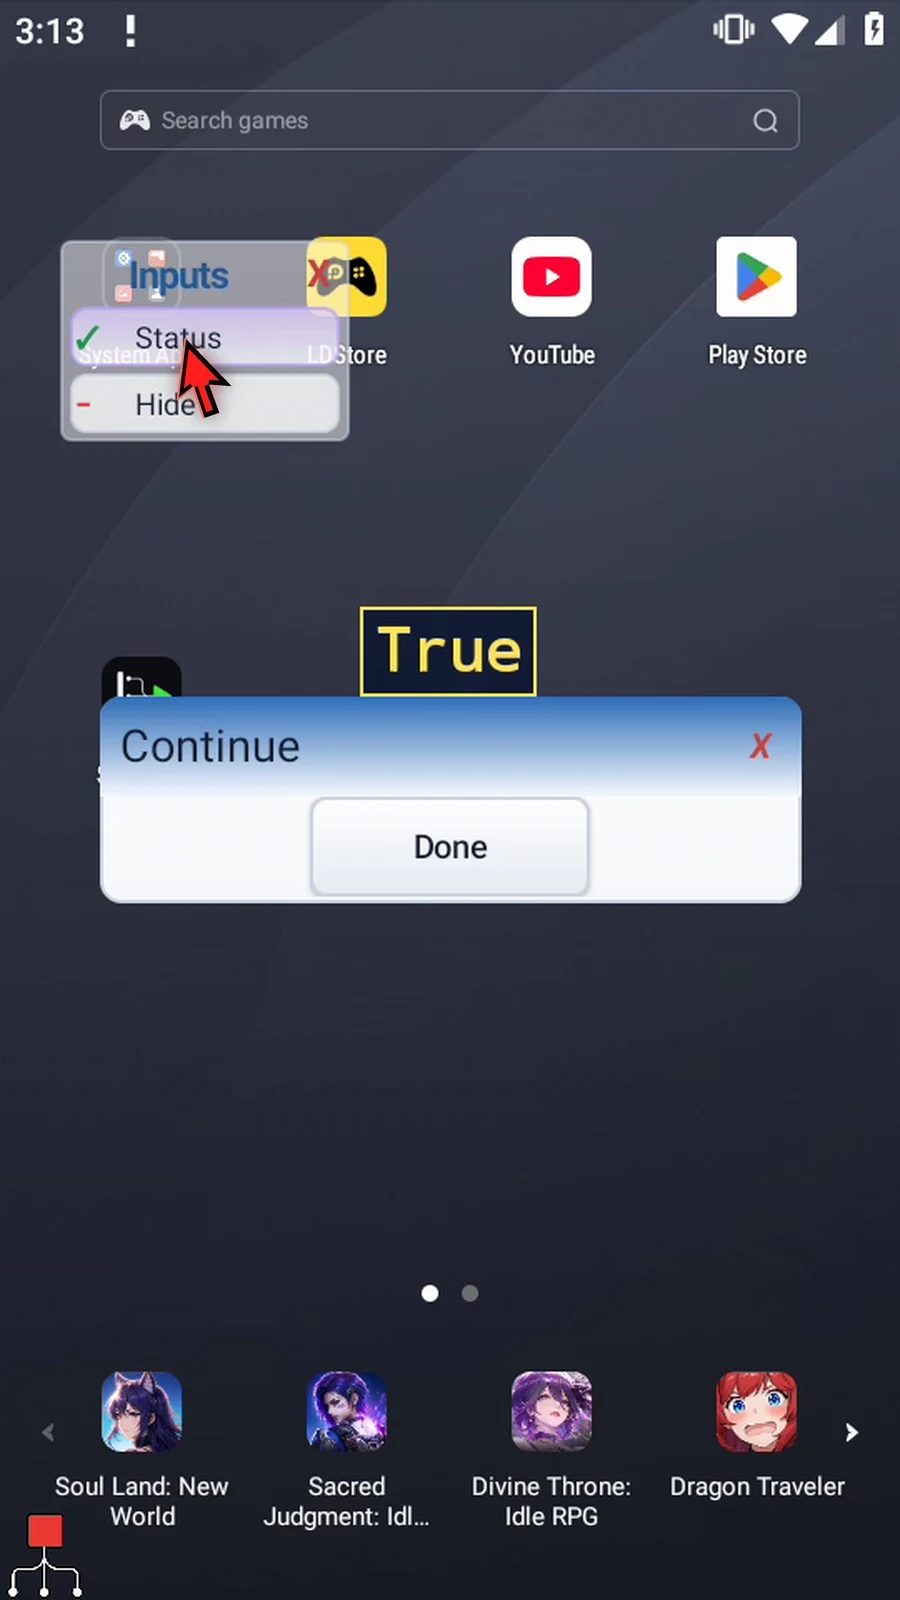
Step 18 Tap Status again. With Rolling Updates off, False replaces the previous text. Unchanged values do not keep rebuilding the box.
Step 19 Tap Hide. Its true value removes Display, while both prompts and the script remain active.
Step 20 Turning Hide off does not recreate a removed box. The Display command must be reached again to create one.
Step 21 Tap Done to finish this run. ScriptTap removes the remaining runtime overlays.
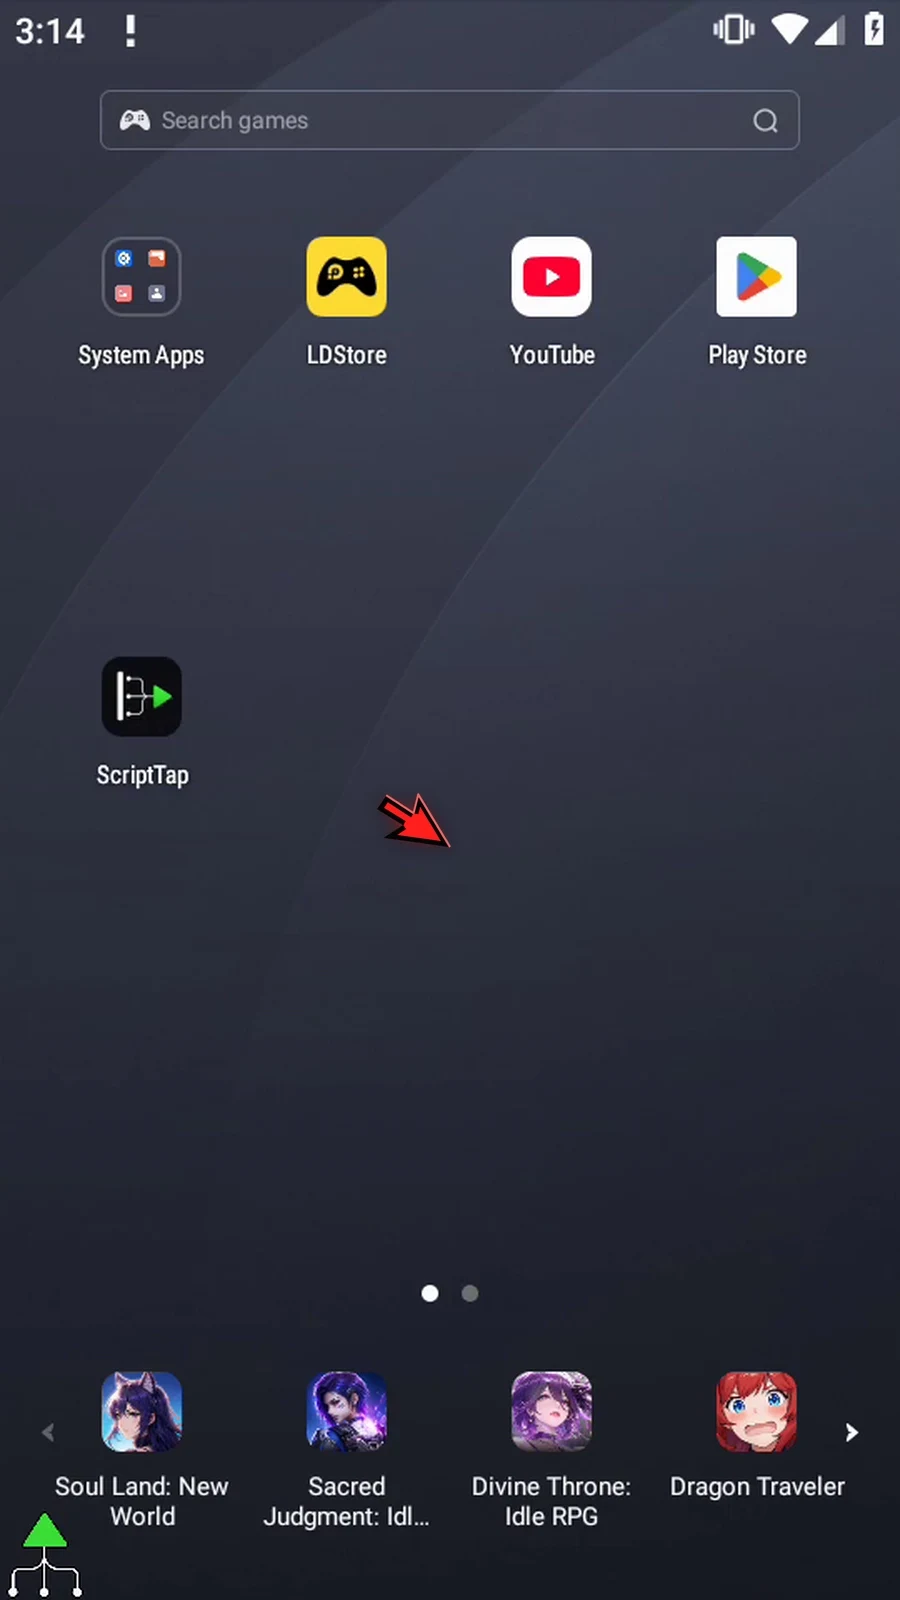
Step 22 Now reopen the same Display command and turn Rolling Updates on.
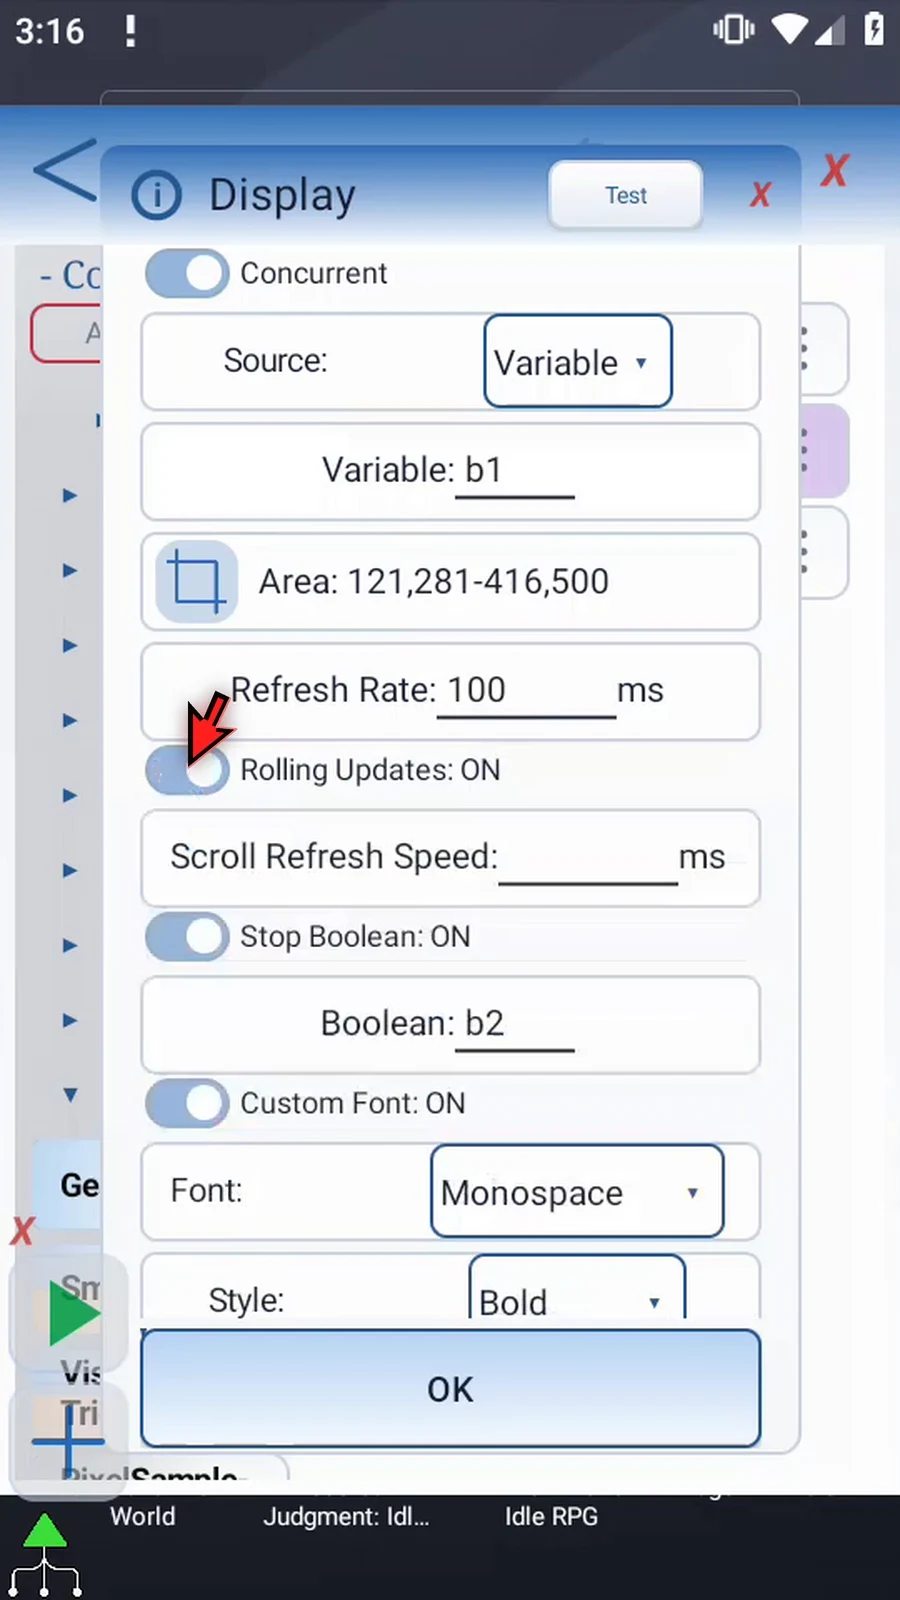
Step 23 Set Scroll Refresh Speed to one thousand milliseconds. This controls the history's scroll animation, separately from source checking. It also has a one-hundred-millisecond minimum. Turning Rolling Updates off preserves this setting.
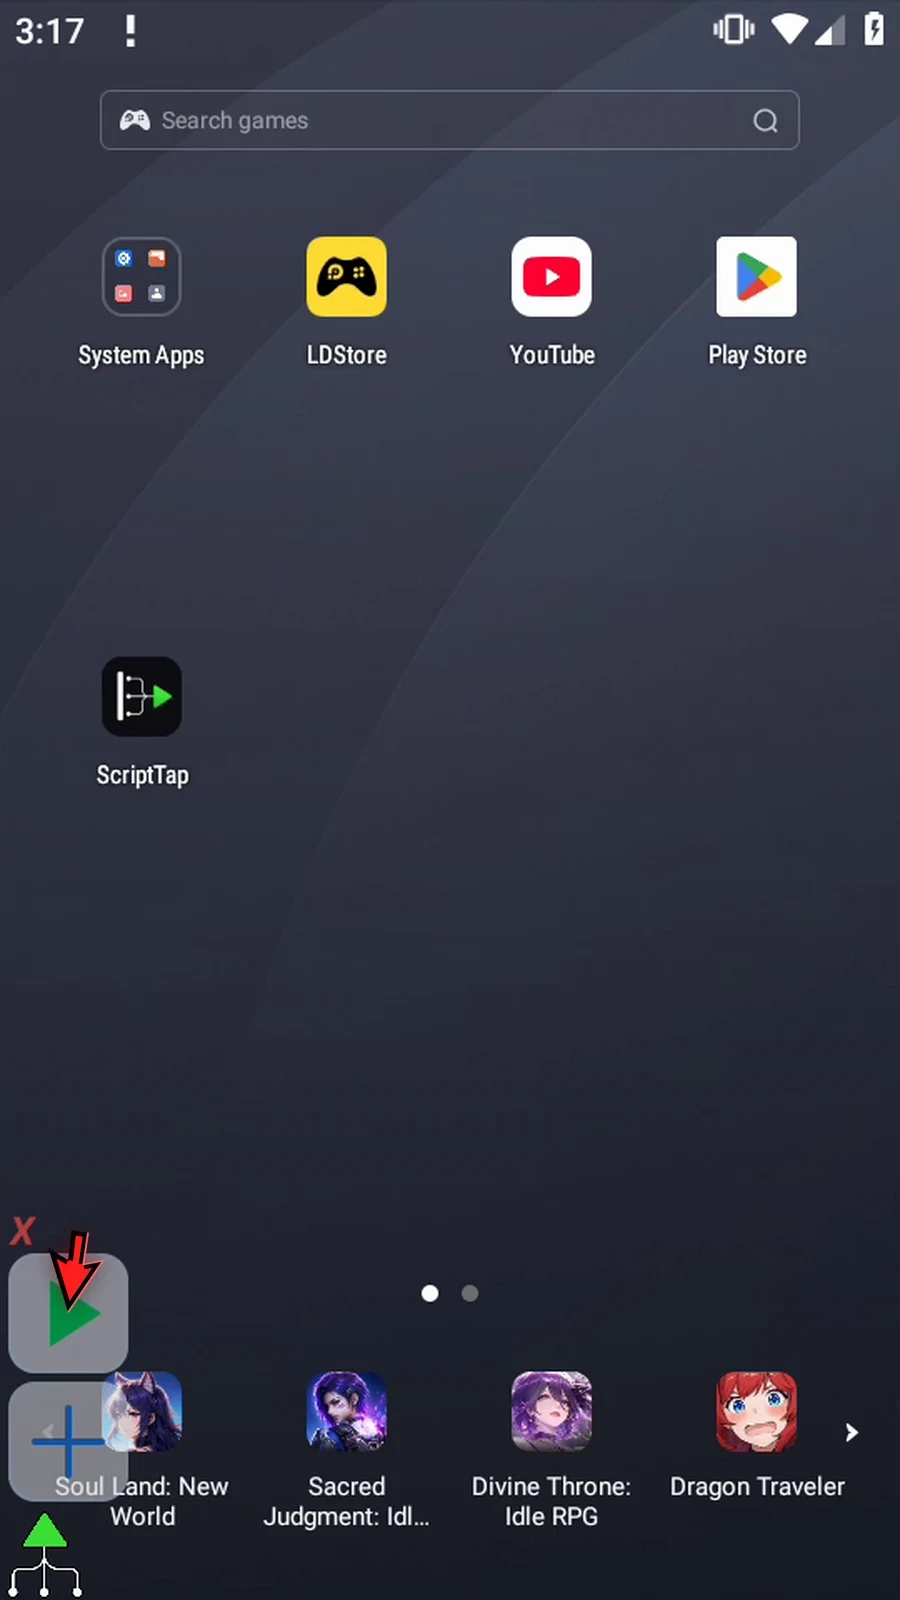
Step 24 When the script is complete, simply use the Play button in the main overlay.
Step 25 Drag the confirmation lower so the history remains easy to see. Display itself is not draggable.
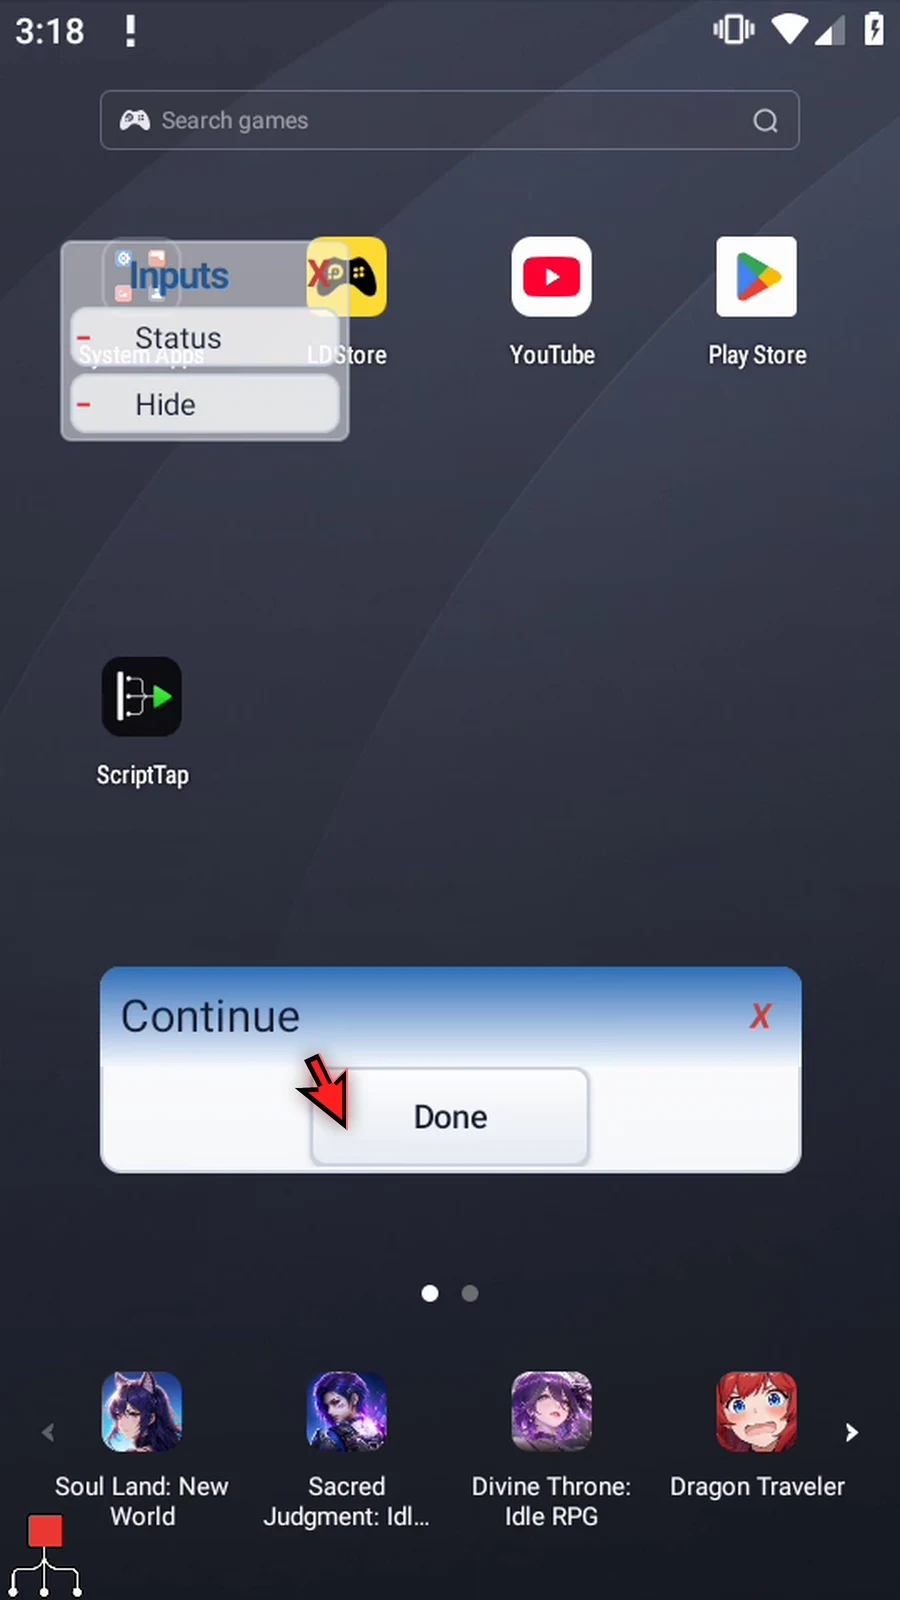
Step 26 Tap Status to add the first value. New entries appear at the bottom of the history.
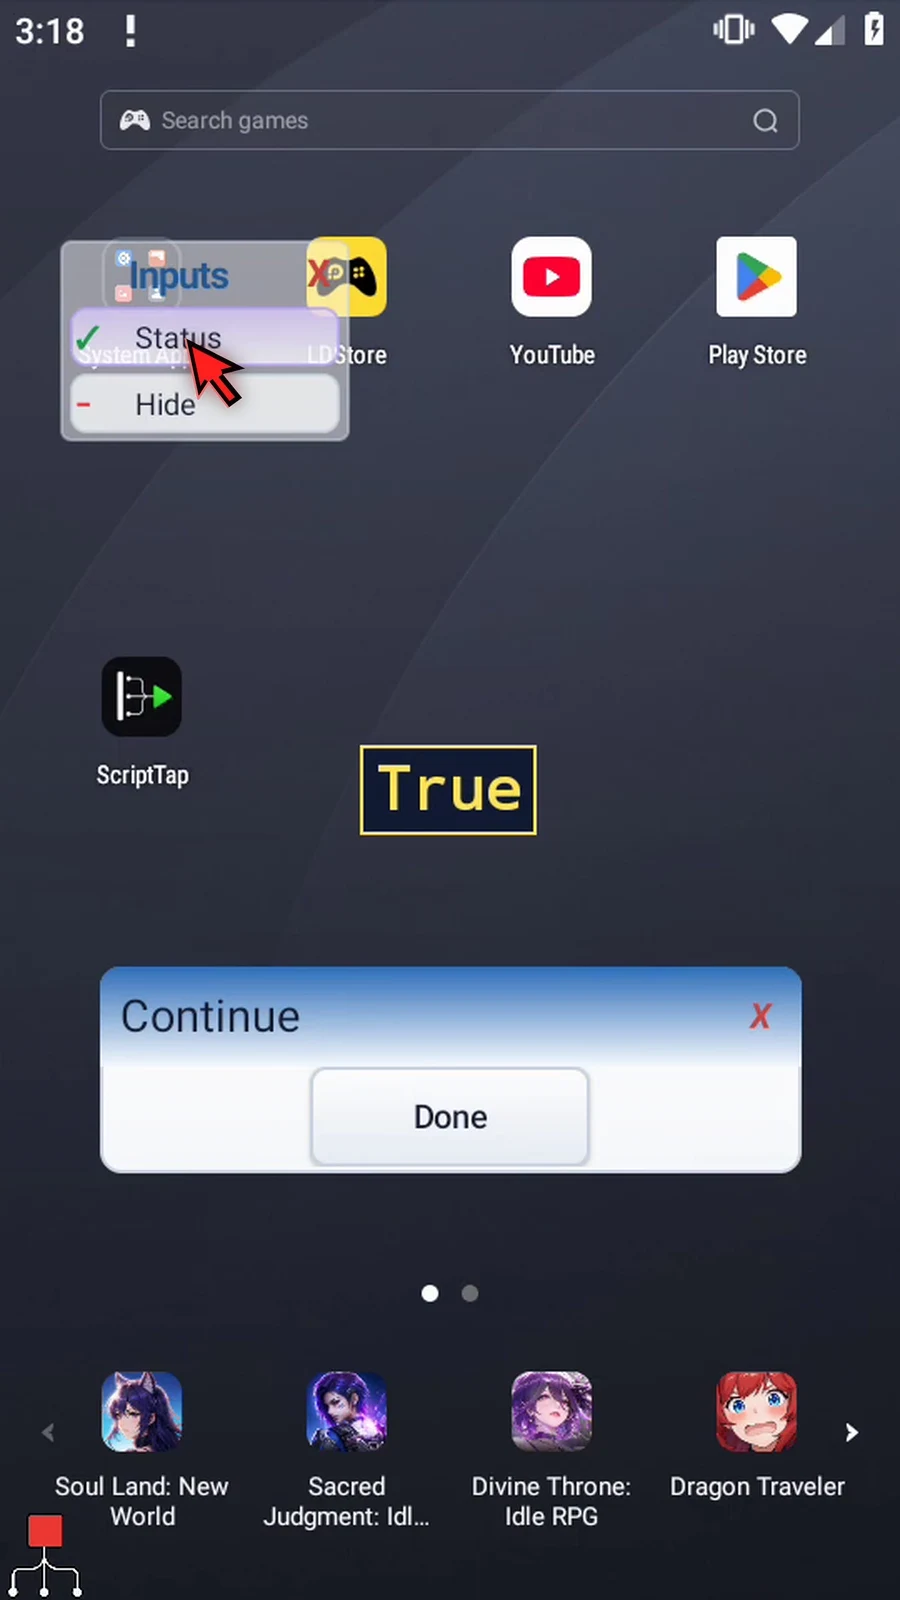
Step 27 Tap again. False is added below True instead of replacing it.
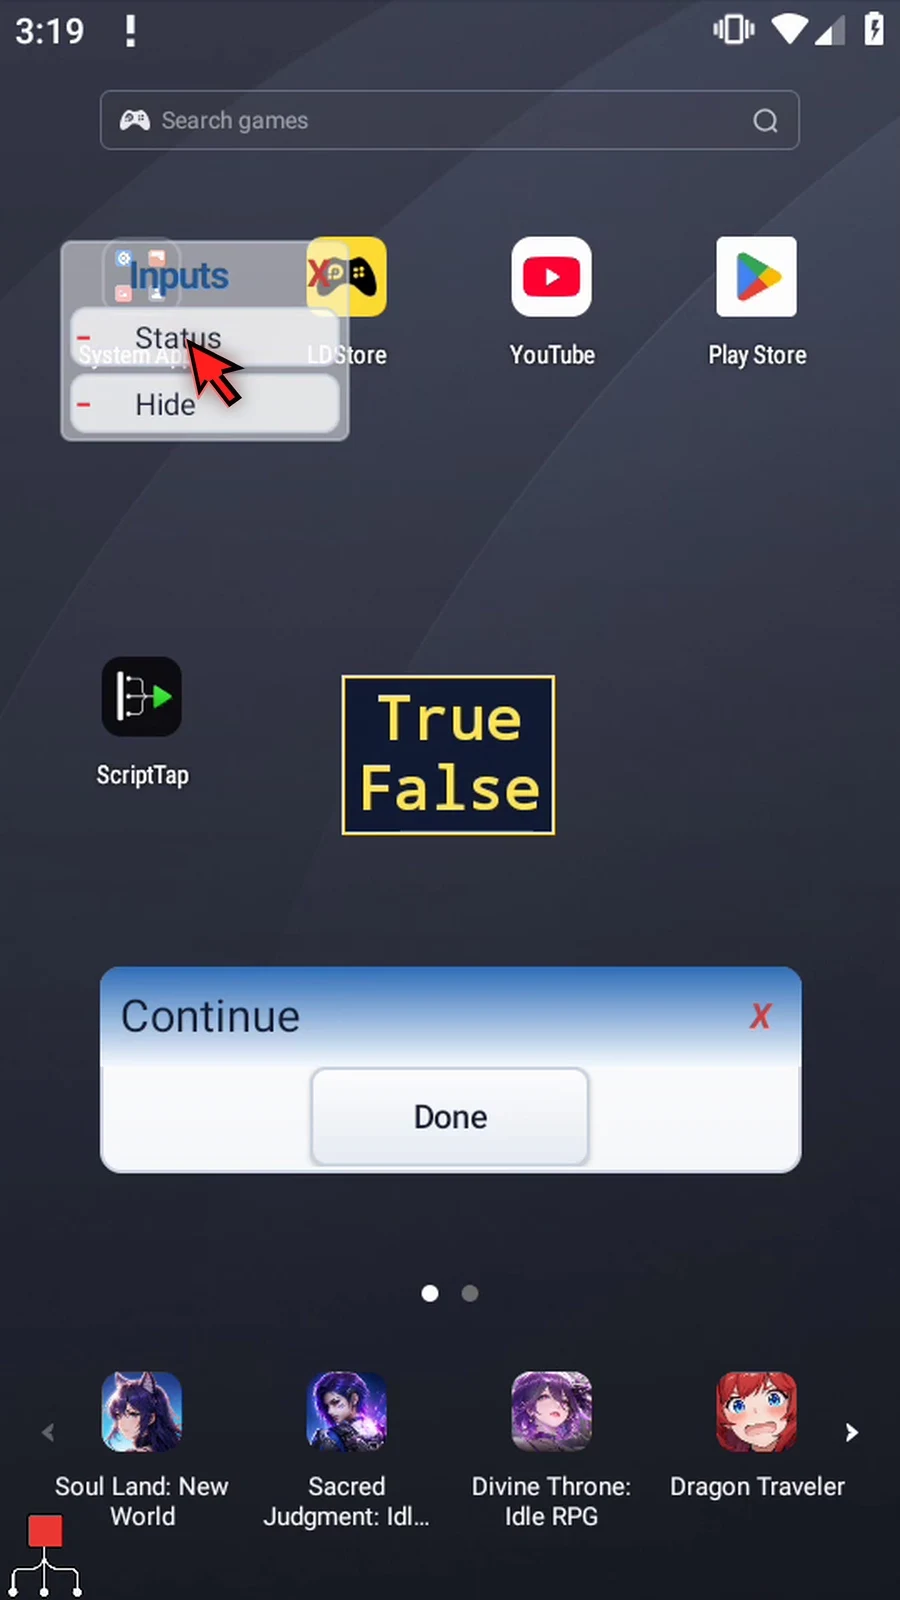
Step 28 Tap once more. True becomes a new entry because it differs from the last value. Blank values and consecutive unchanged values are ignored without clearing previous entries.
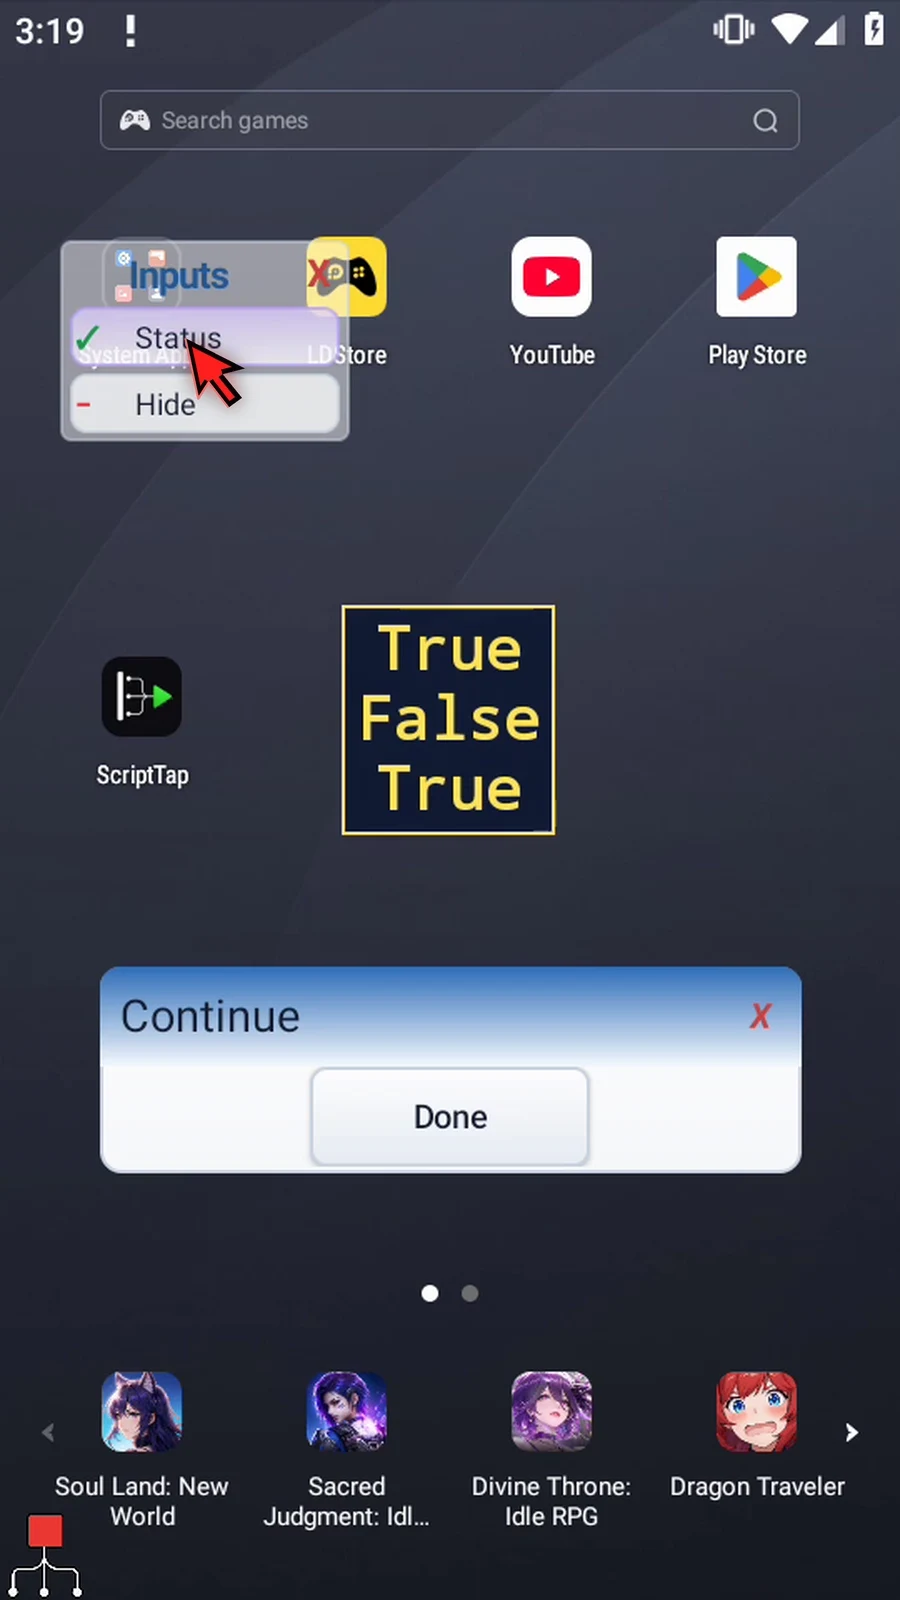
Step 29 The visible history is bounded, not a permanent log. Fast update bursts share the fixed scroll duration instead of building an animation backlog. Tap Done to finish and clear the box.
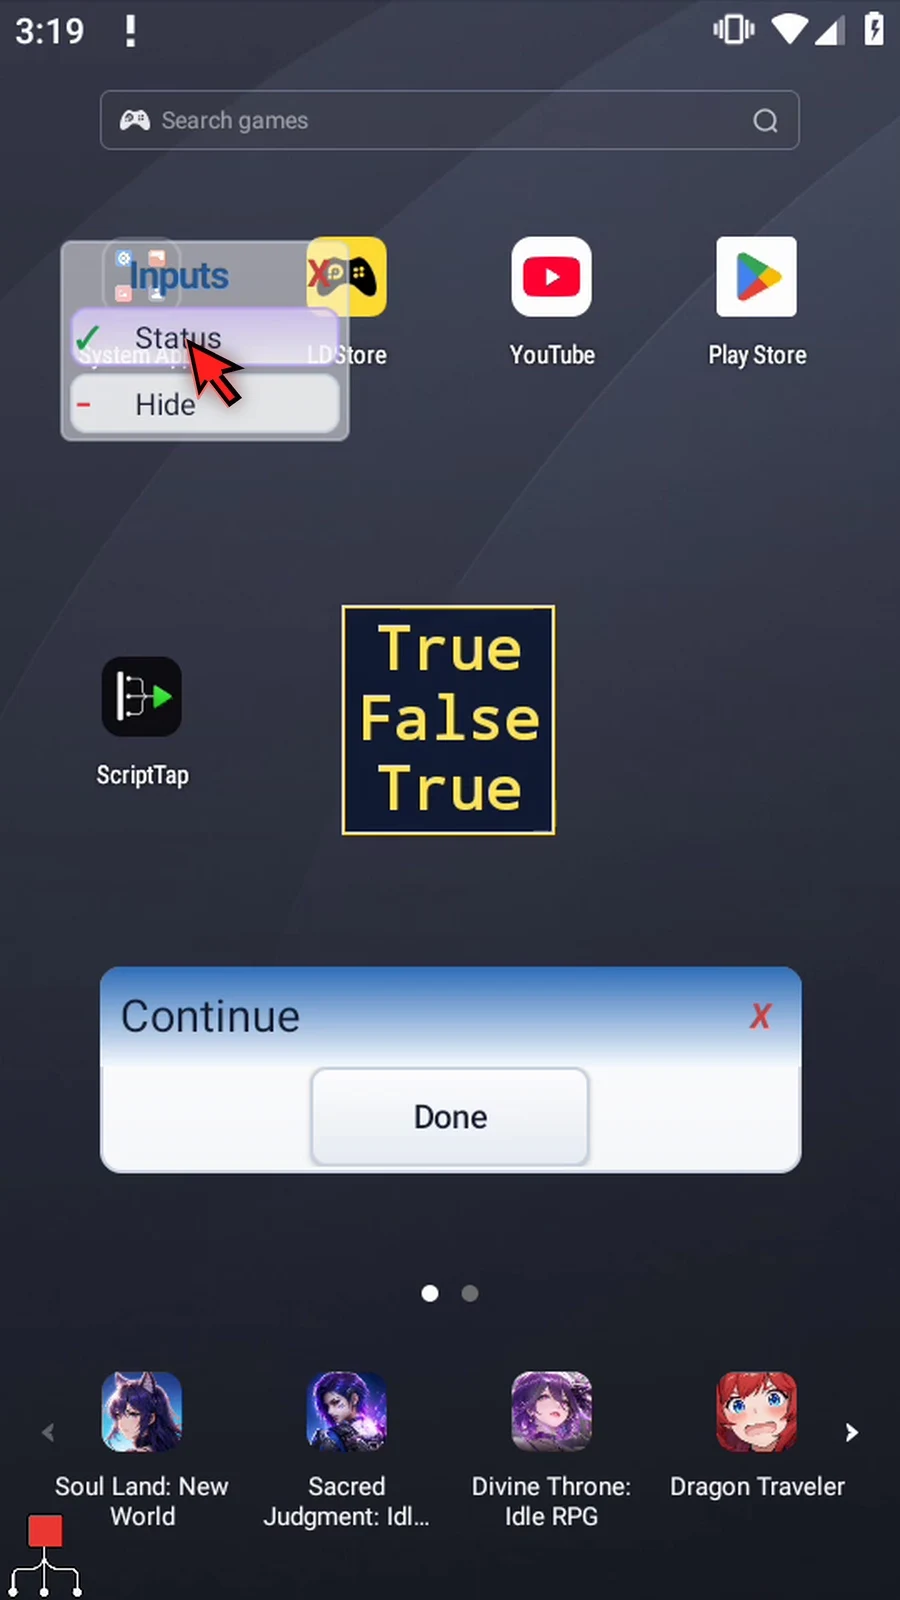
Step 30 The active box keeps its area, font, alignment, and style. Reaching the same Concurrent Display again in a loop reuses its box. Use Stop Boolean for an early removal, or let the run's normal cleanup remove it. Display stays above the app and below ScriptTap's controls.