Command video guide
Label
Label marks a named destination inside the current script. GoTo performs the jump to that marker; Label itself does not tap the screen or wait.
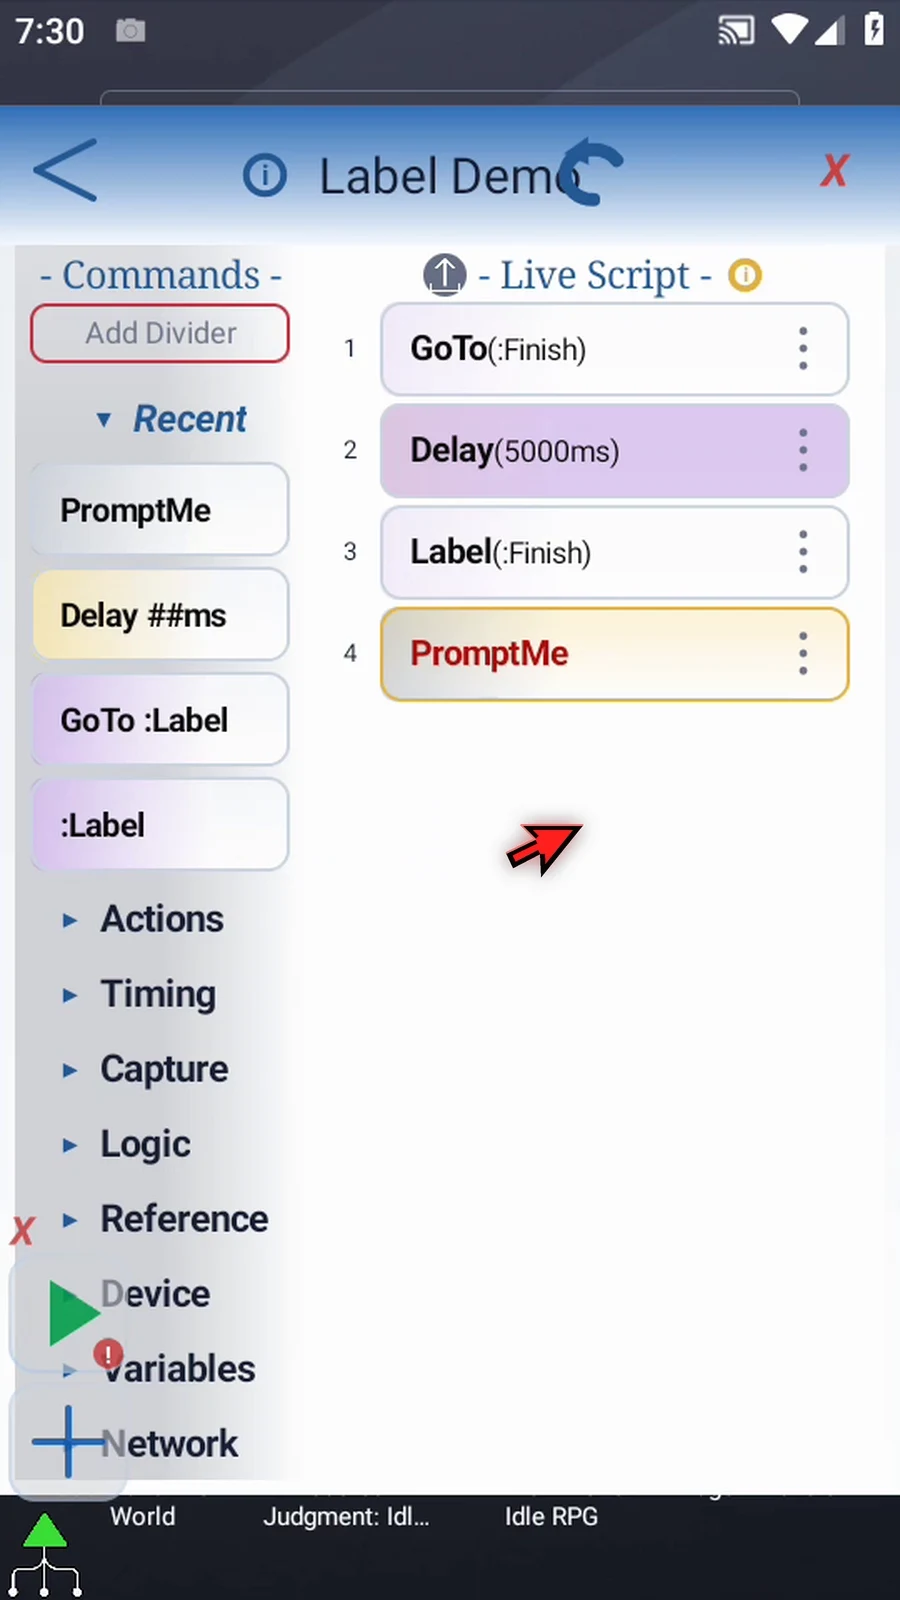
Build this short example with genuine palette drags: GoTo(:Finish), Delay(5000ms), Label(:Finish), and a Reached PromptMe. GoTo skips the delay and continues at the Label, so the confirmation appears immediately.
- Give each destination a clear, unique name within the script. ScriptTap adds the displayed colon.
- Select the destination from GoTo's list of labels in the same script.
- Renaming Finish to Complete updates the linked GoTo automatically, as shown in the guide.
- Label is a single marker, not a block. It does not need an end command.
- Place the actions that should run at the destination after its Label.
The Done button is only the visible confirmation. After it is pressed, this example finishes automatically.
Watch the walkthrough
Step-by-step guide
Step 01 Label marks a named destination inside a script. GoTo can jump to that destination, so you can choose where execution continues. A Label does not tap the screen or add a delay by itself.
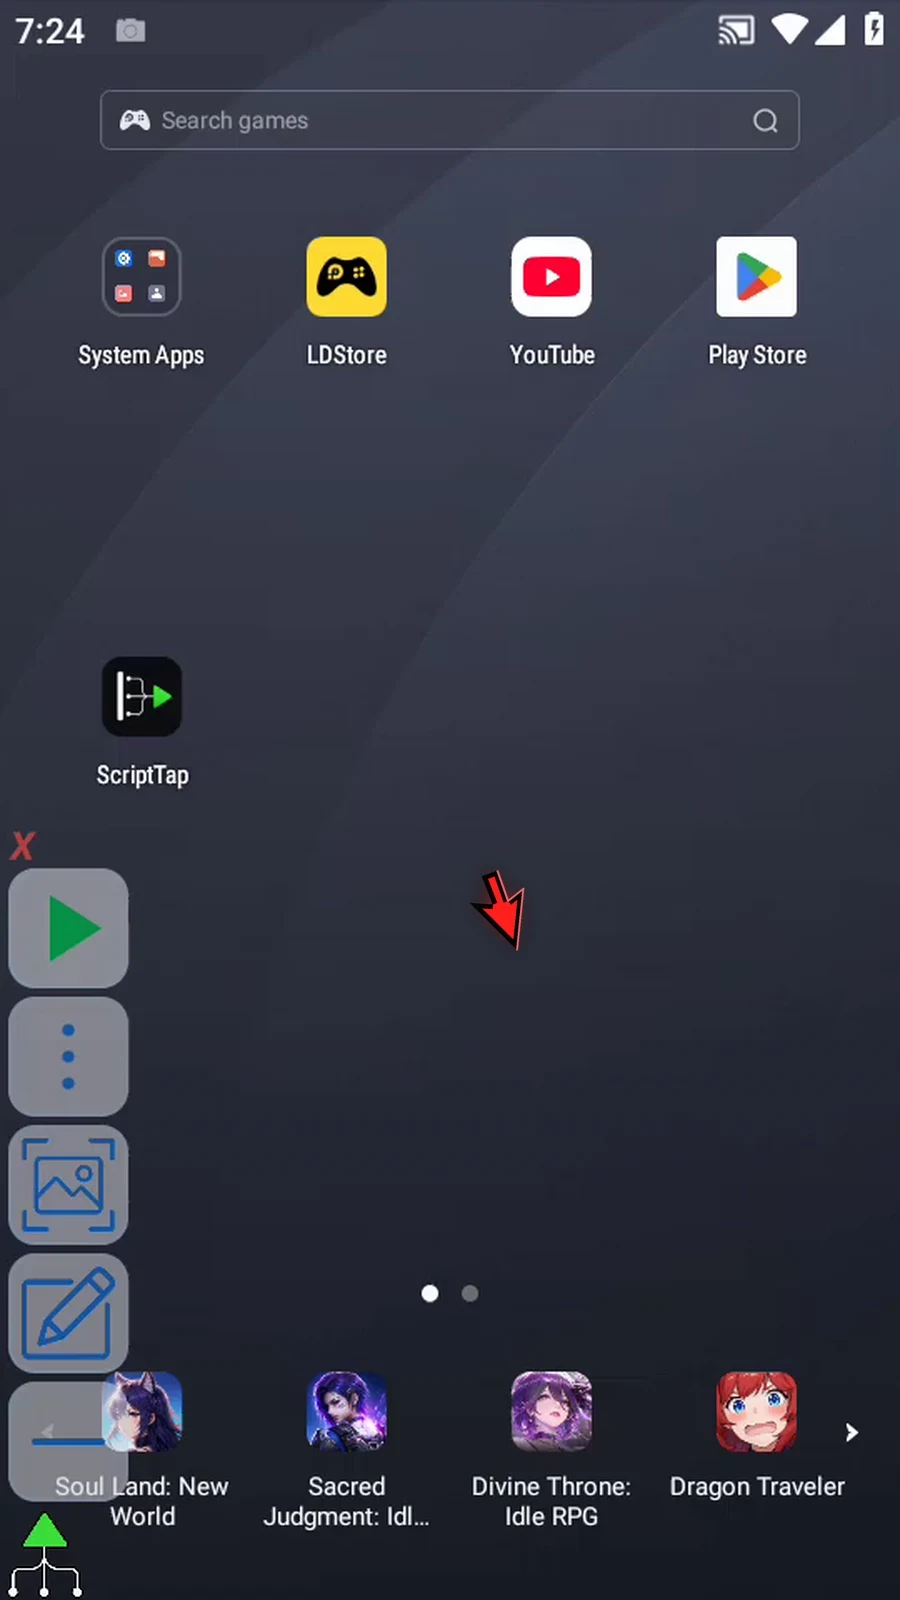
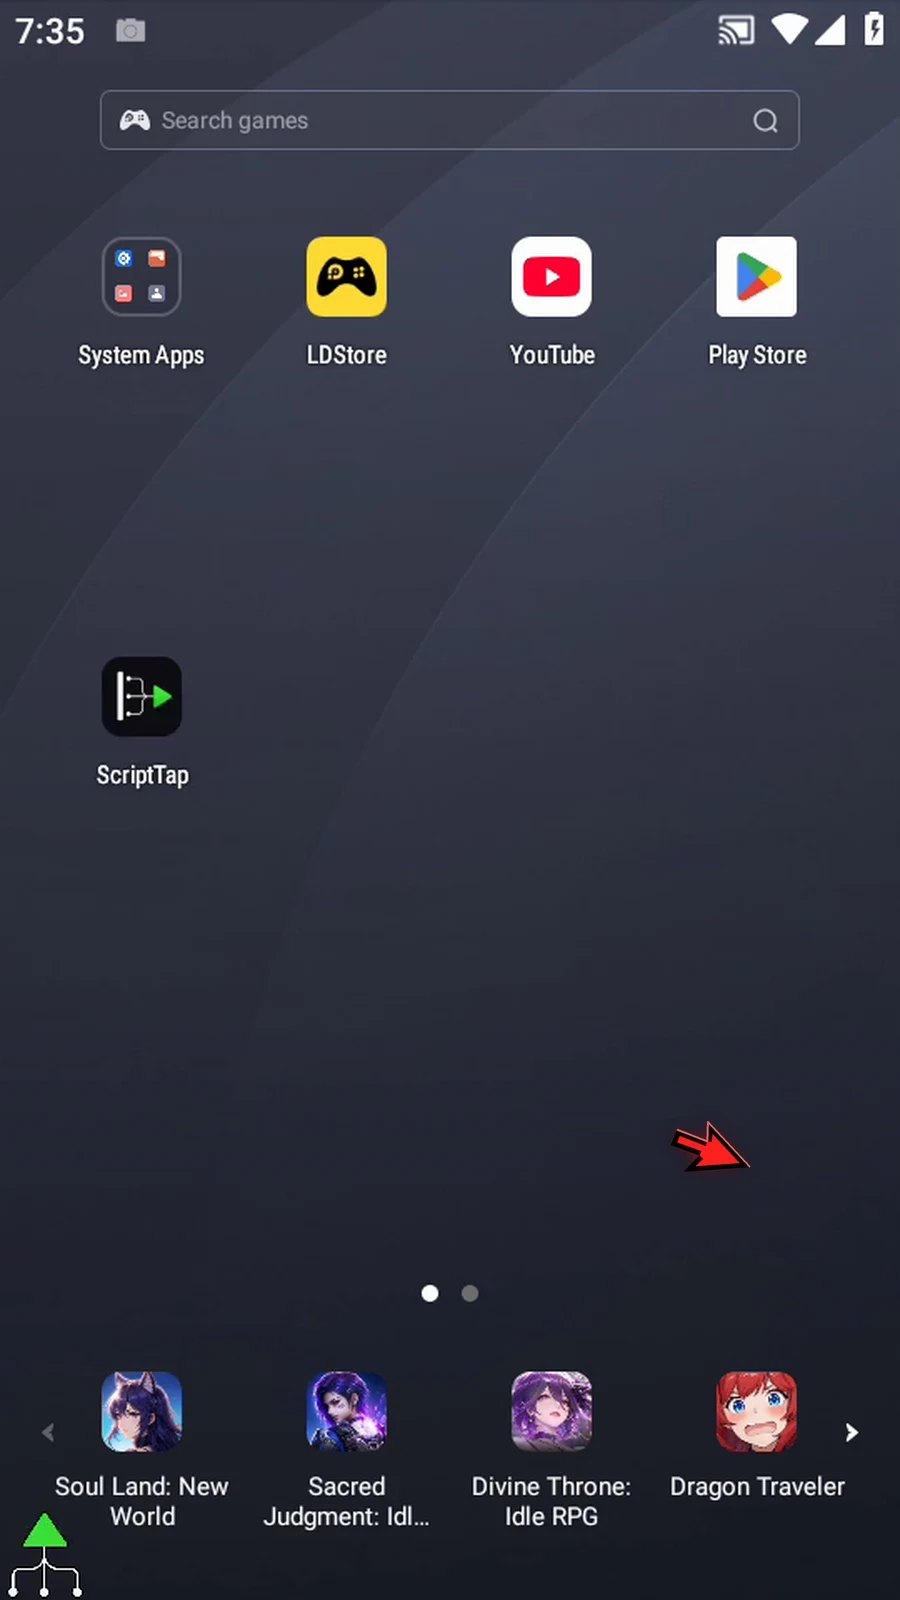
Step 02 Open Scripts from the main menu. Use New Script and choose Blank Script to create a separate example.

Step 03 Open the new script's menu and choose Rename. Pick a name for your script, confirm, and select it.
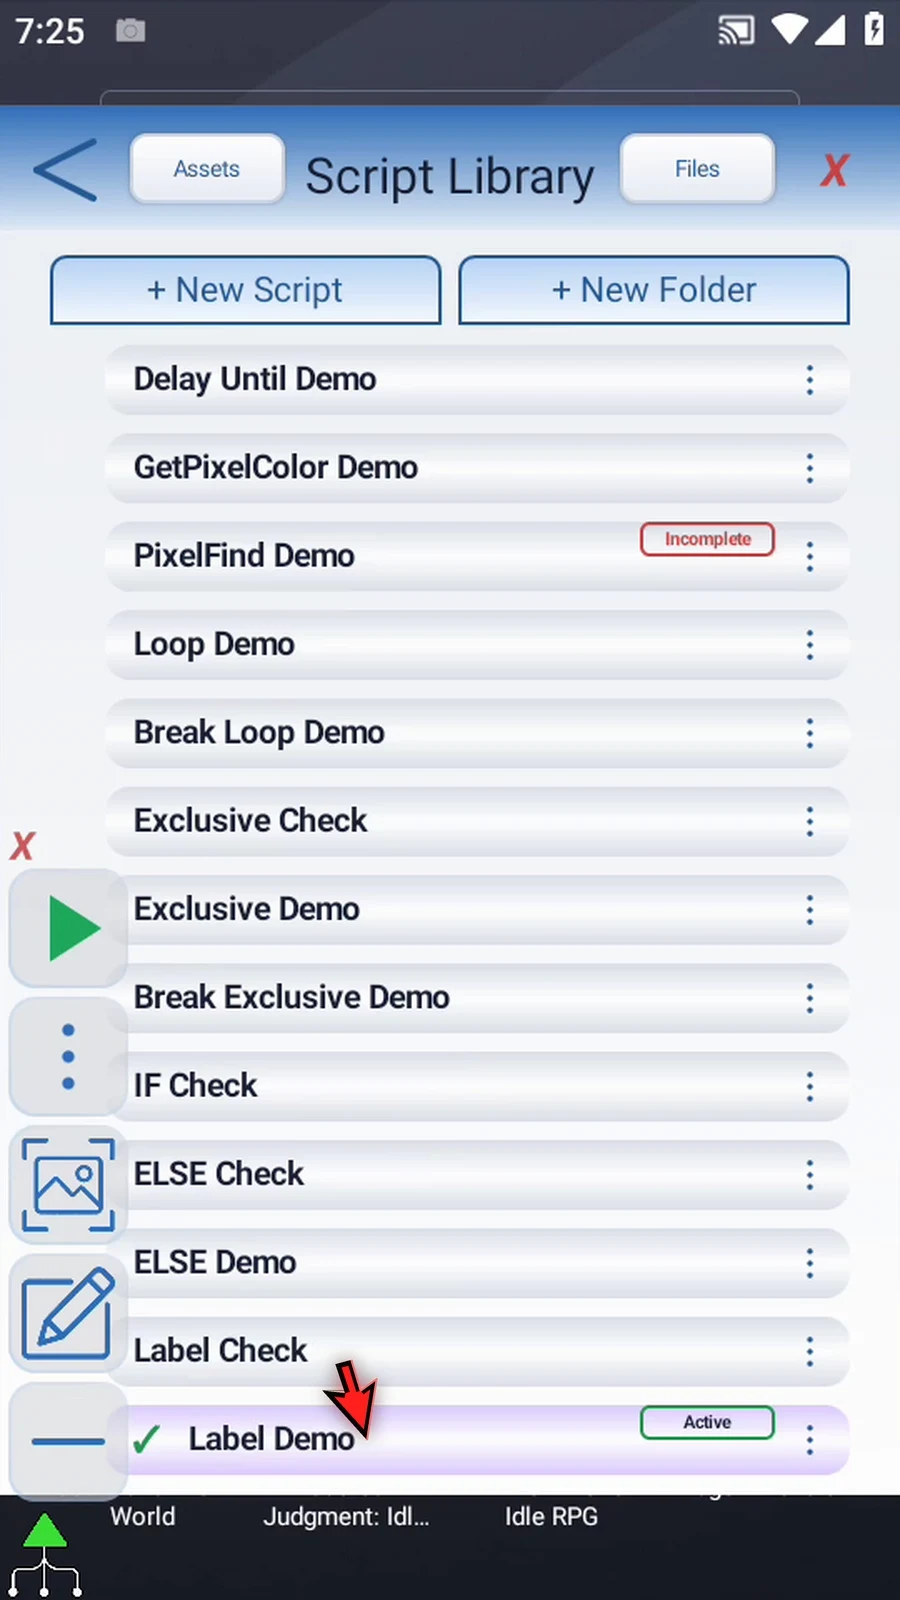
Step 04 Open the Script Editor and collapse the extra overlay controls.
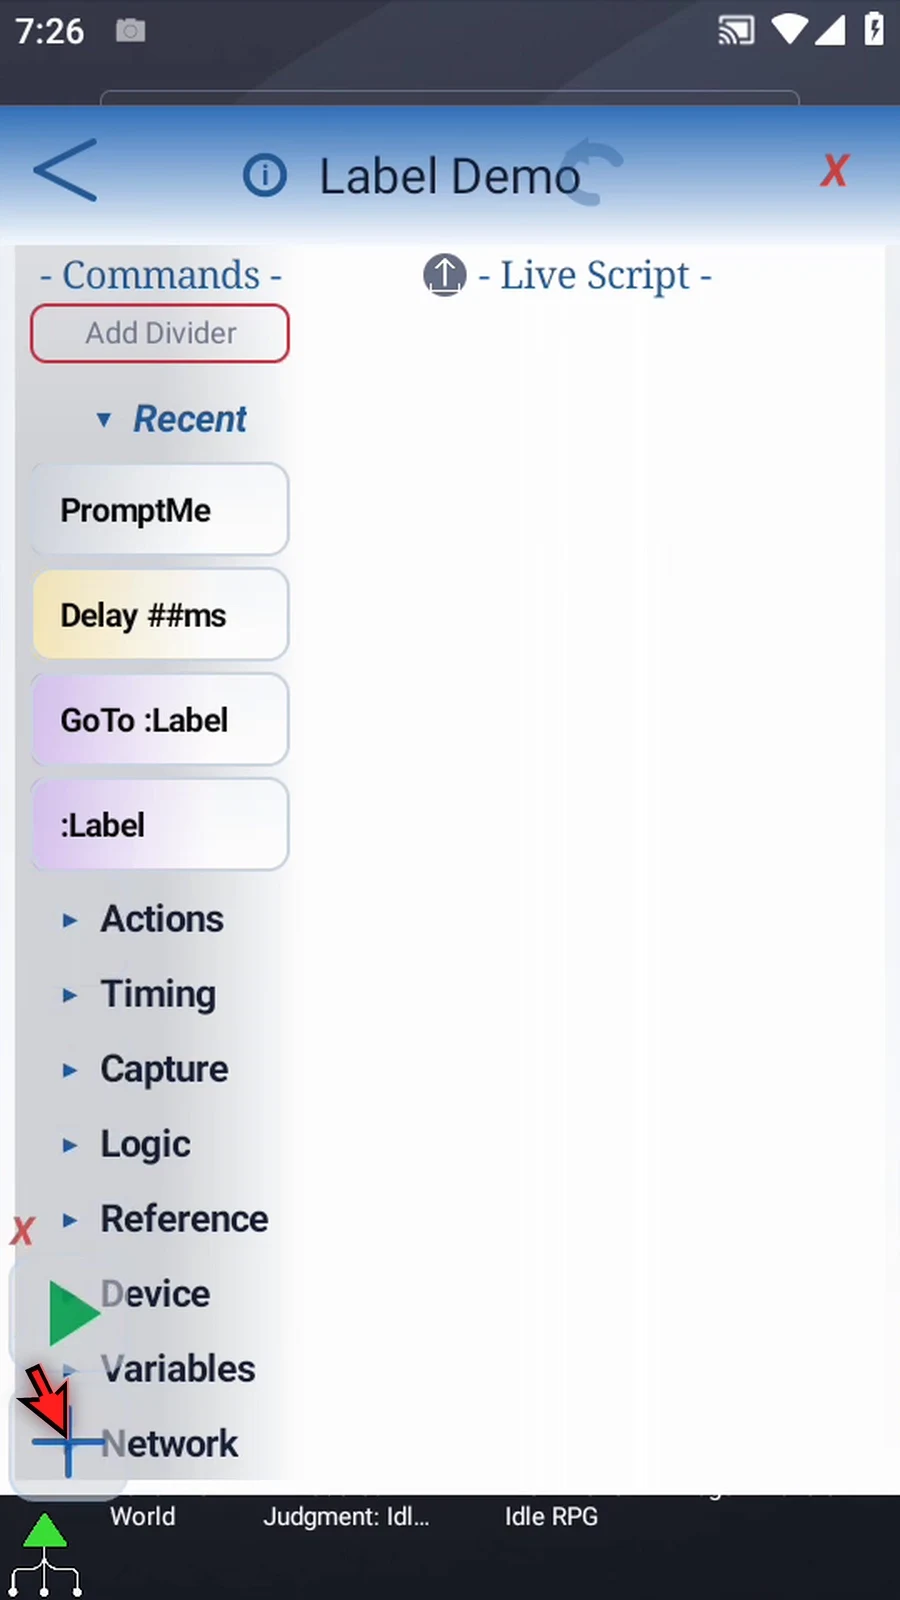
Step 05 Collapse Recent and expand Reference. Label and GoTo are both in this group.
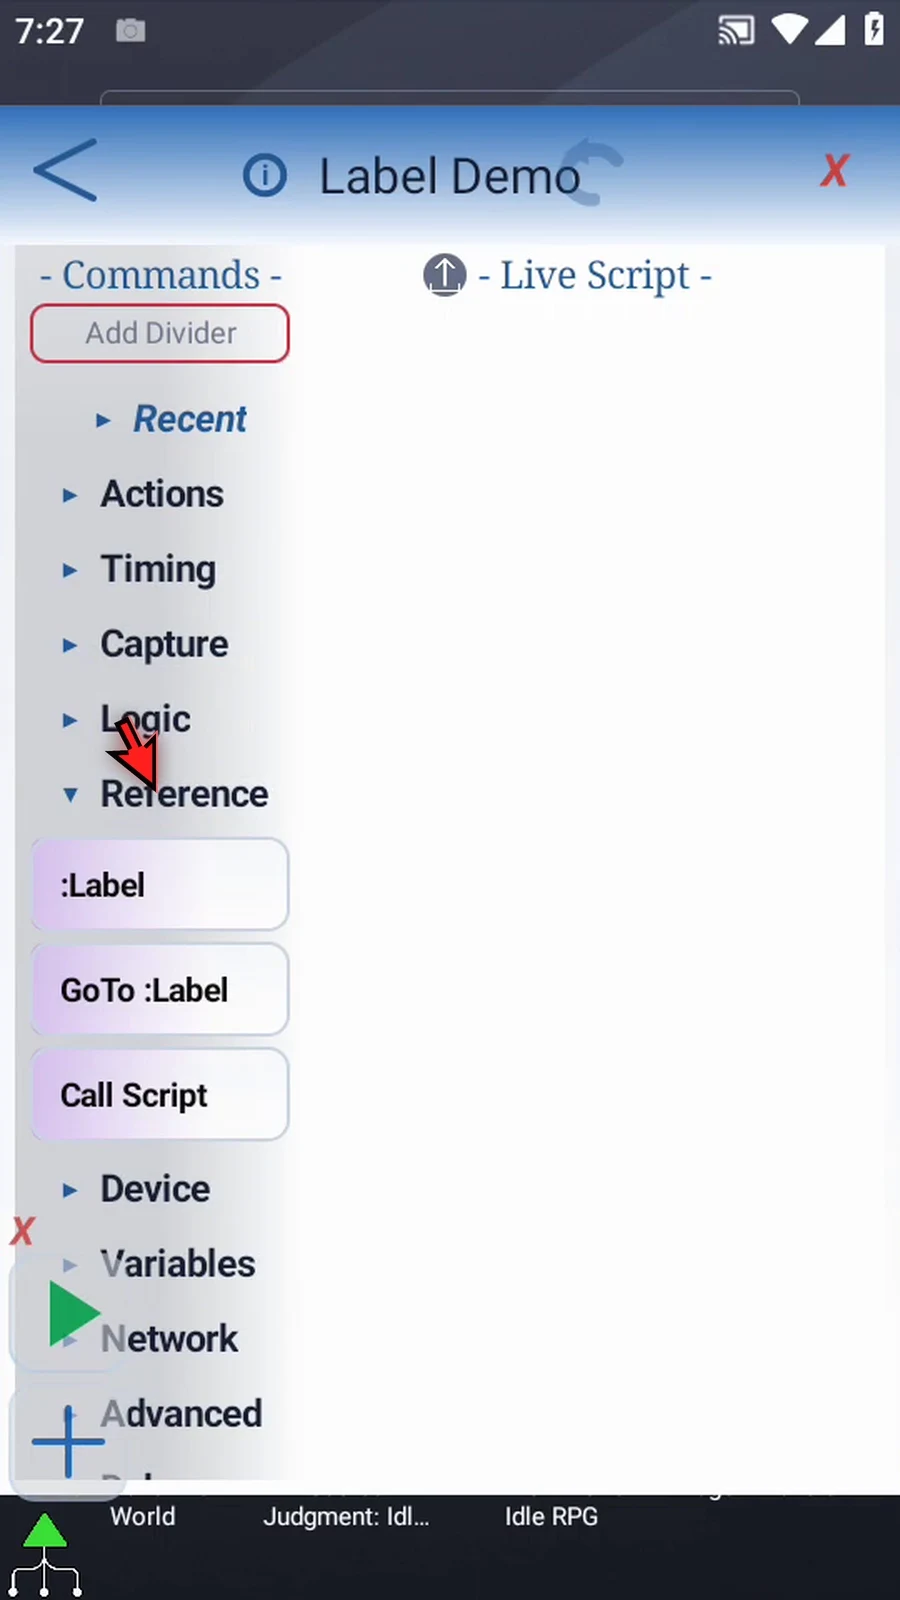
Step 06 Drag Label into the empty script. Watch the blue insertion line as you release it.
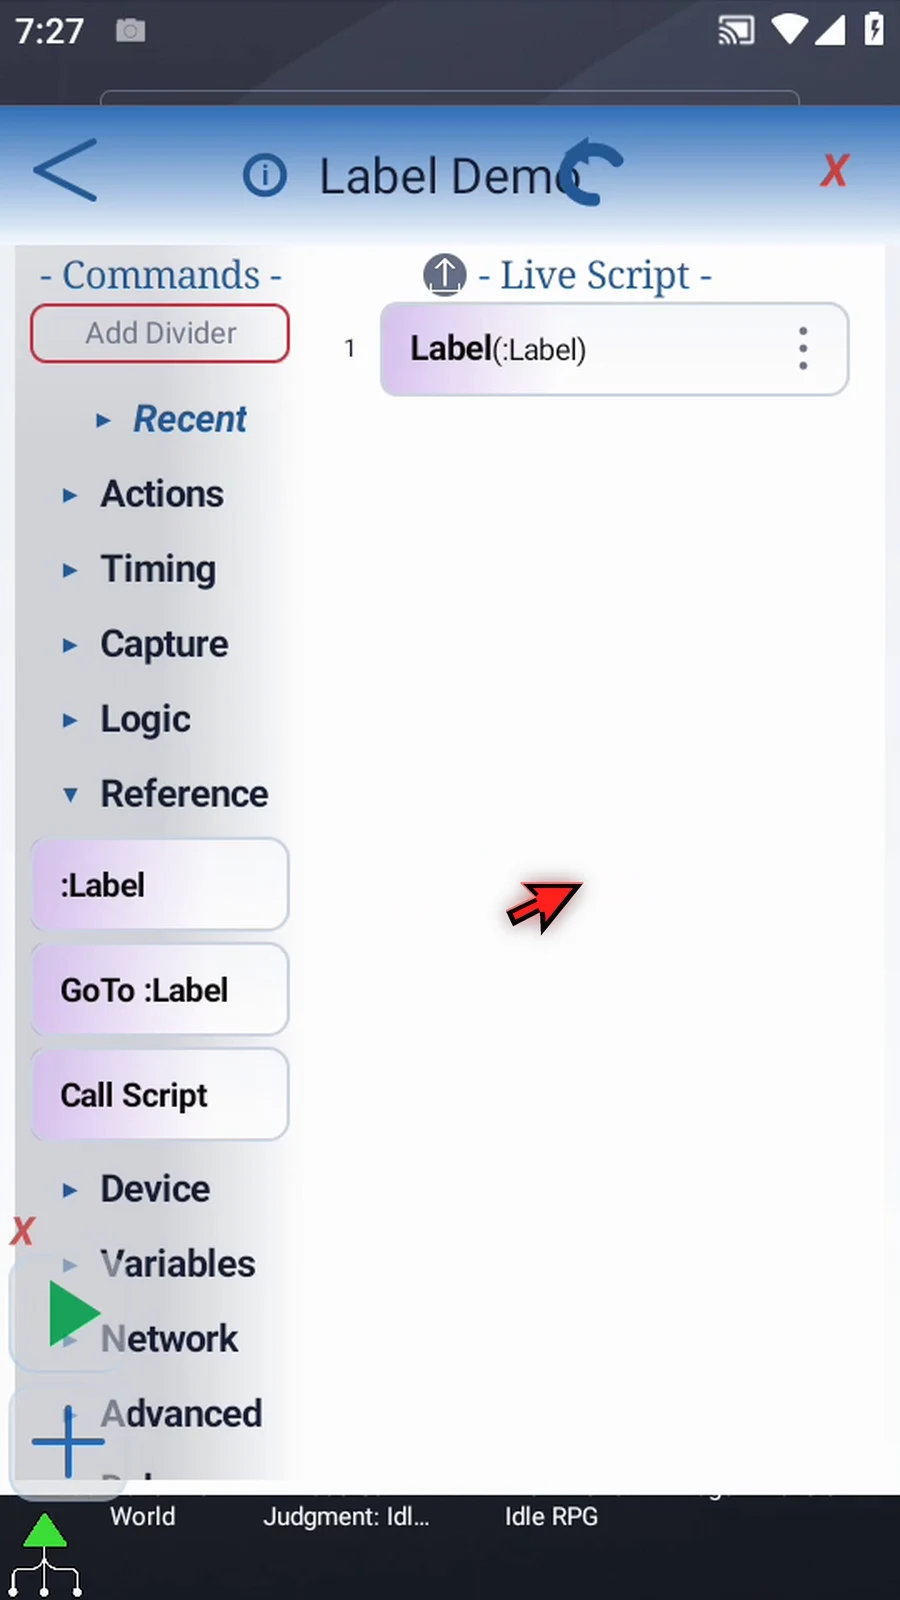
Step 07 Open Label and name the destination Finish. Choose a clear, unique name within this script. Confirm to save it. ScriptTap adds the colon shown in the command row.
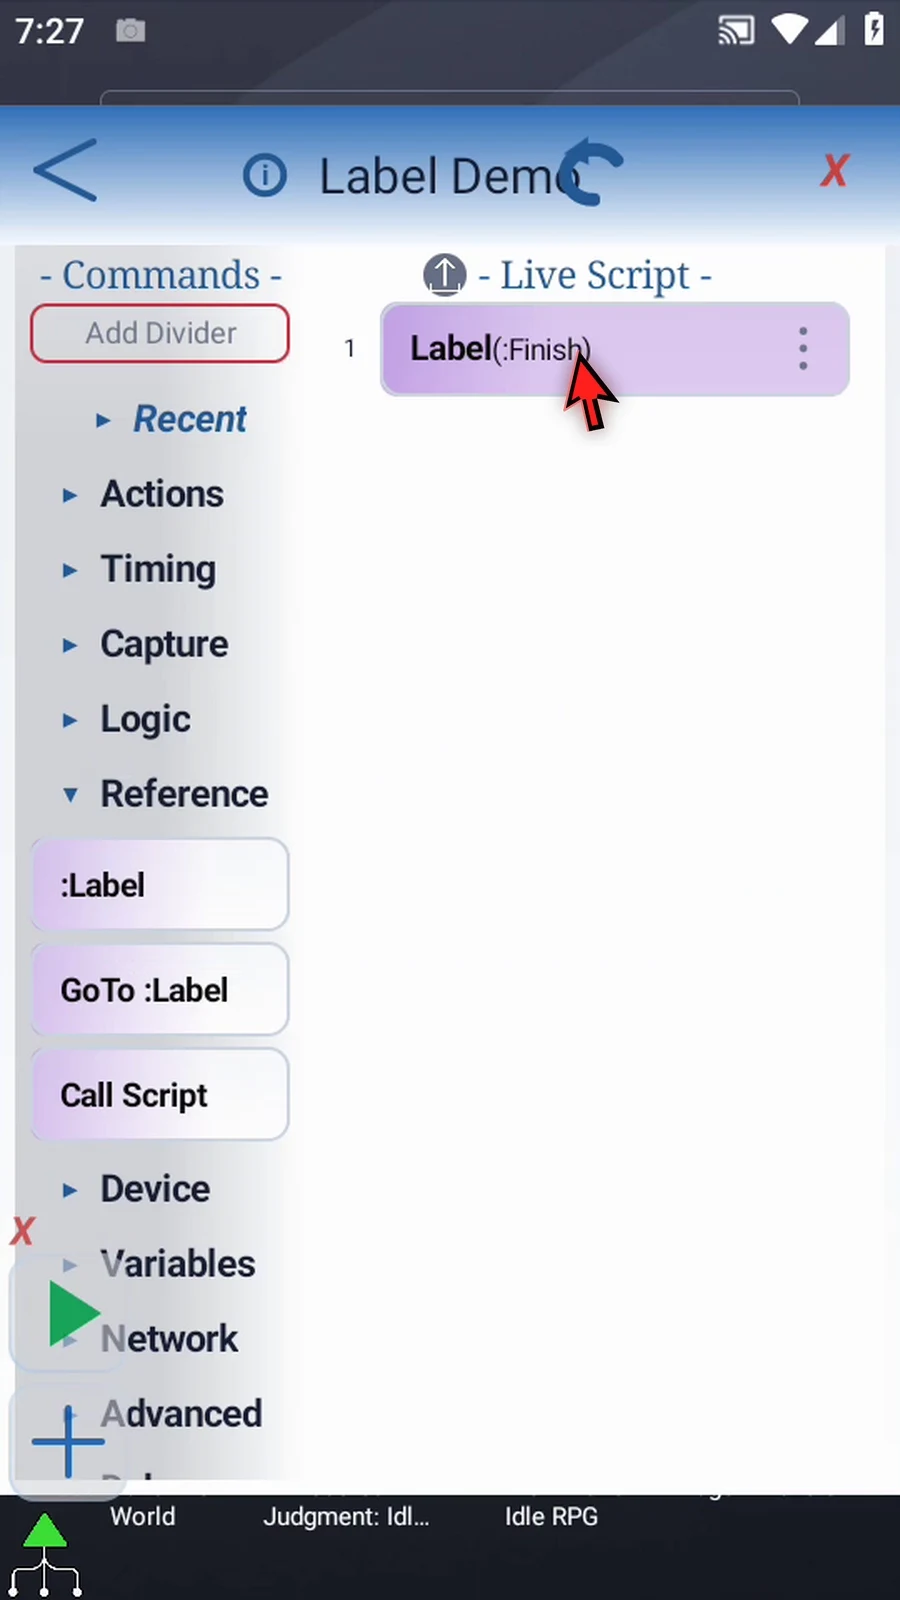
Step 08 Drag GoTo into the script. GoTo will perform the jump; Label is the marker it will use.
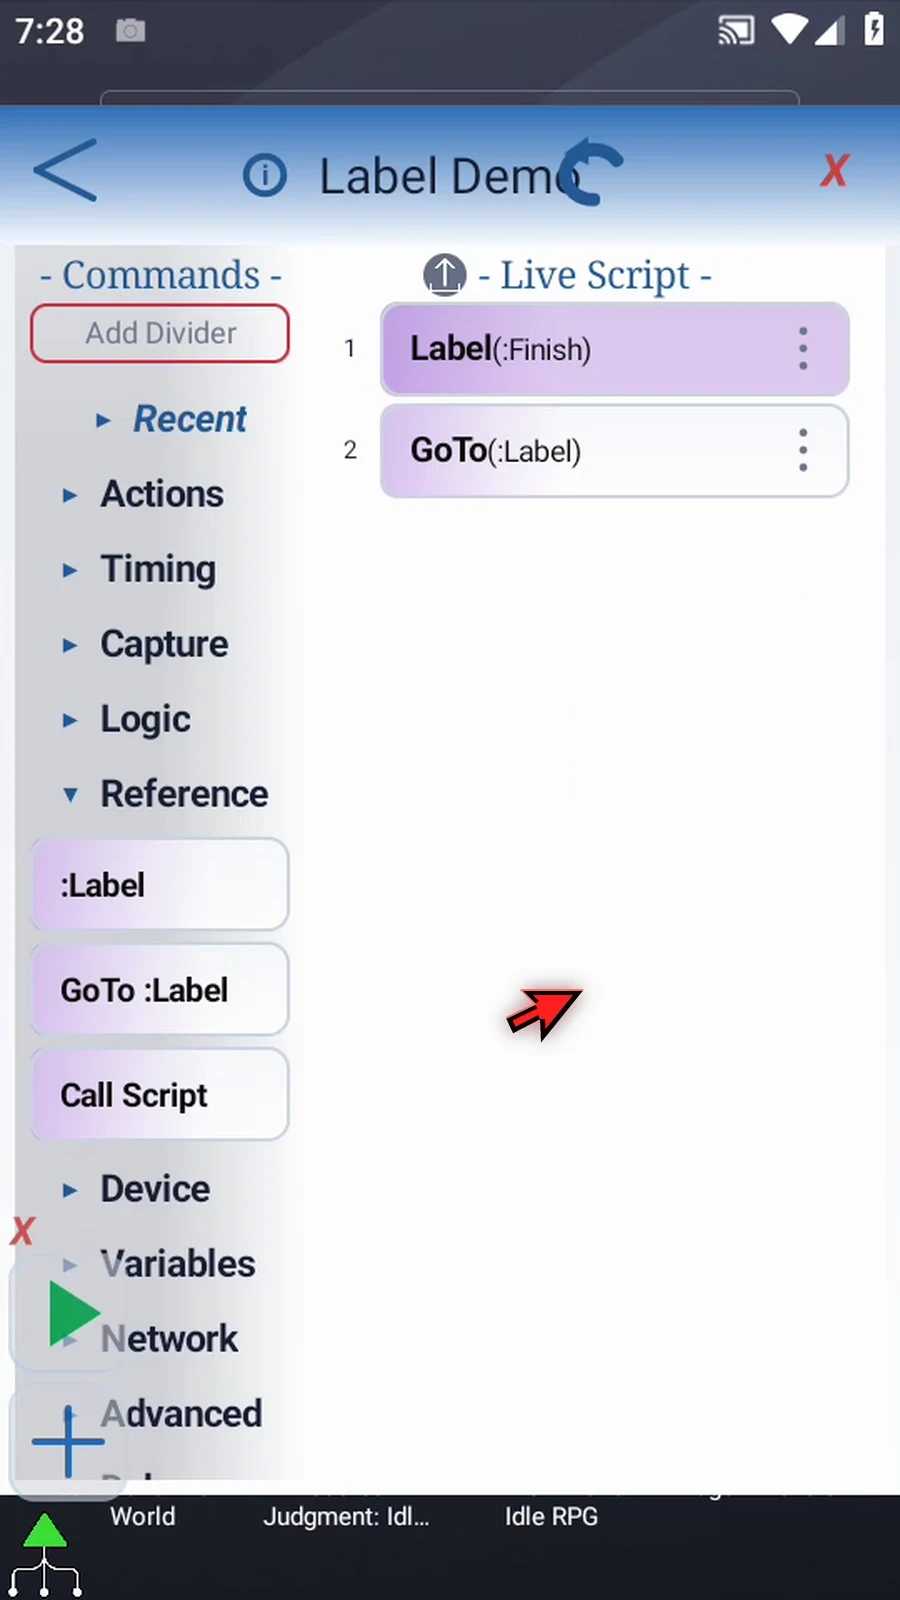
Step 09 Move GoTo above Label so that the jump happens before the destination is reached.
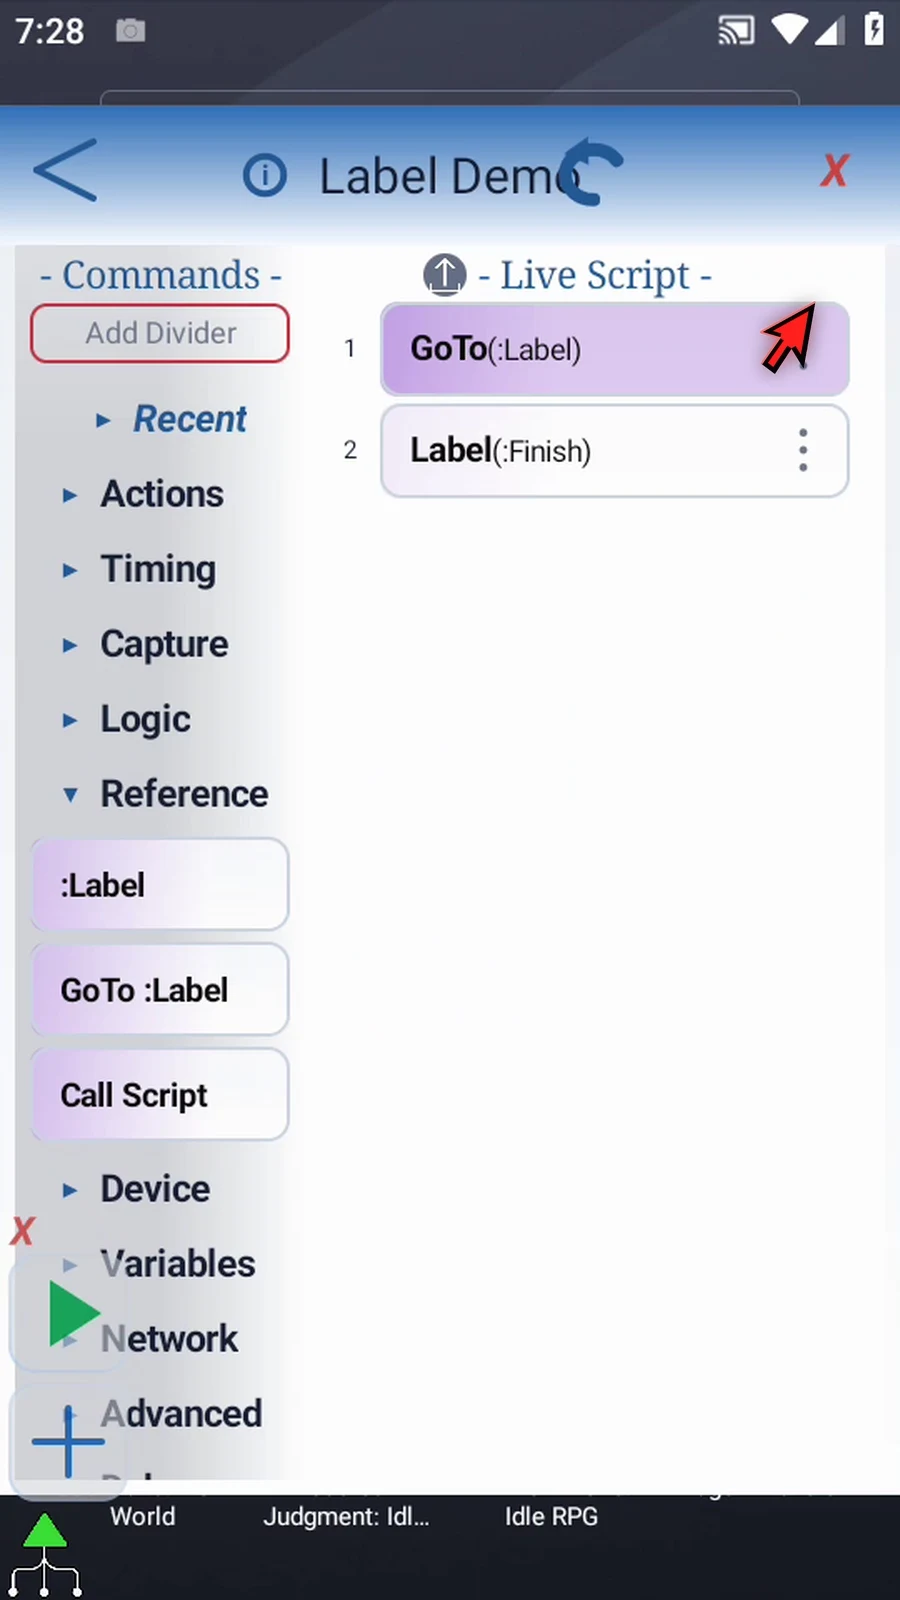
Step 10 Open GoTo and choose Finish from the script's labels. The destination must be in this same script.
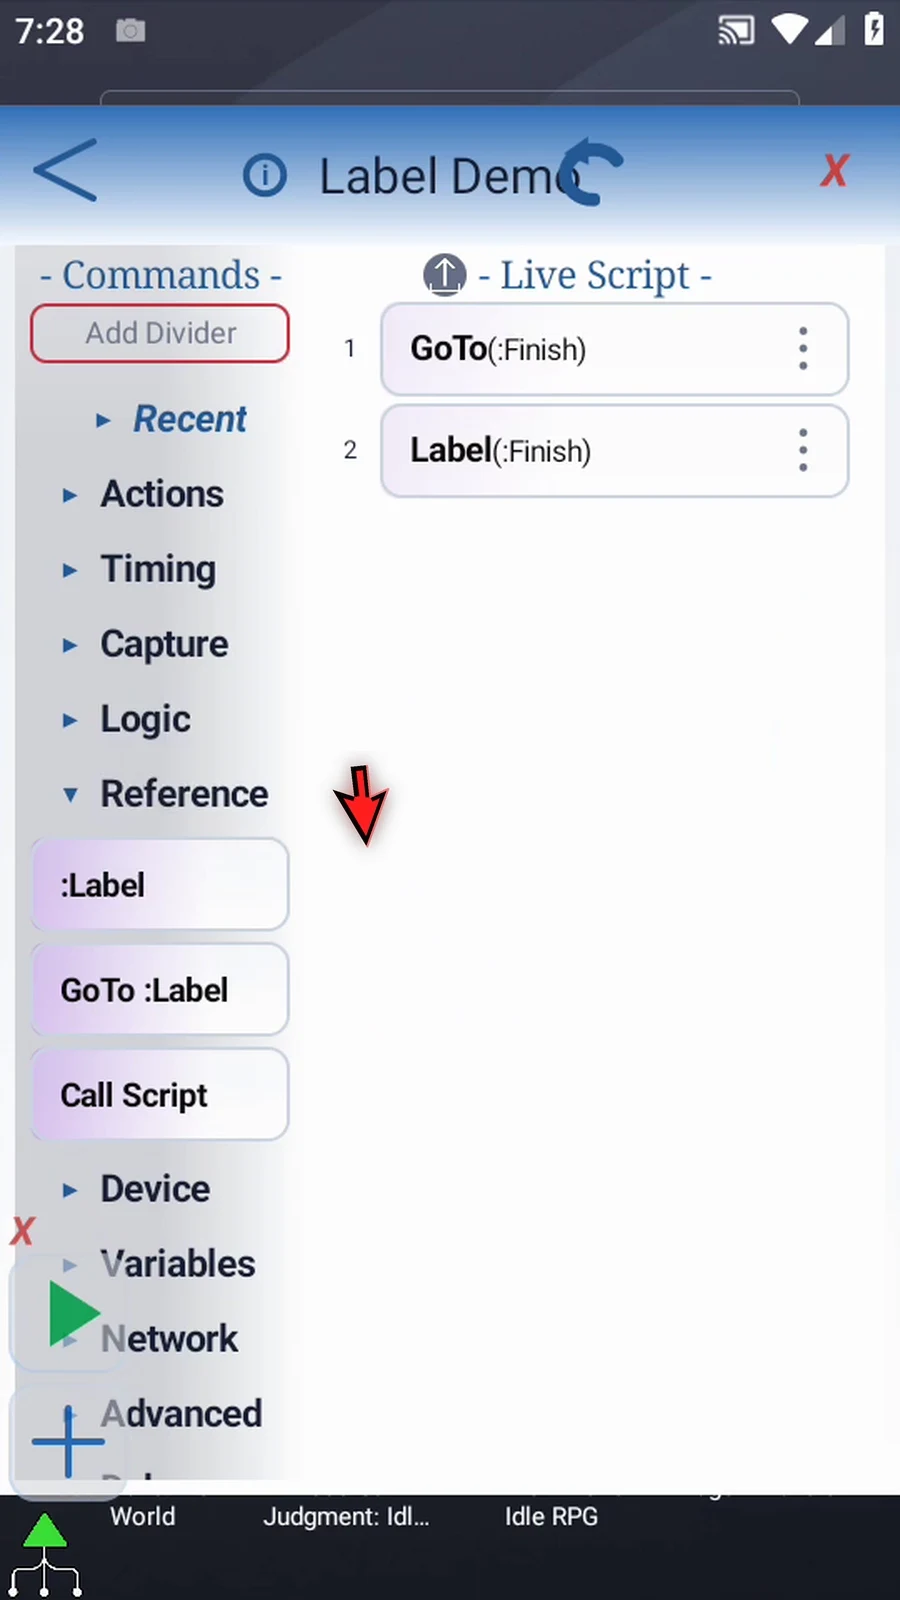
Step 11 Now we will make the jump visible. Expand Timing and drag a Delay between GoTo and Label.
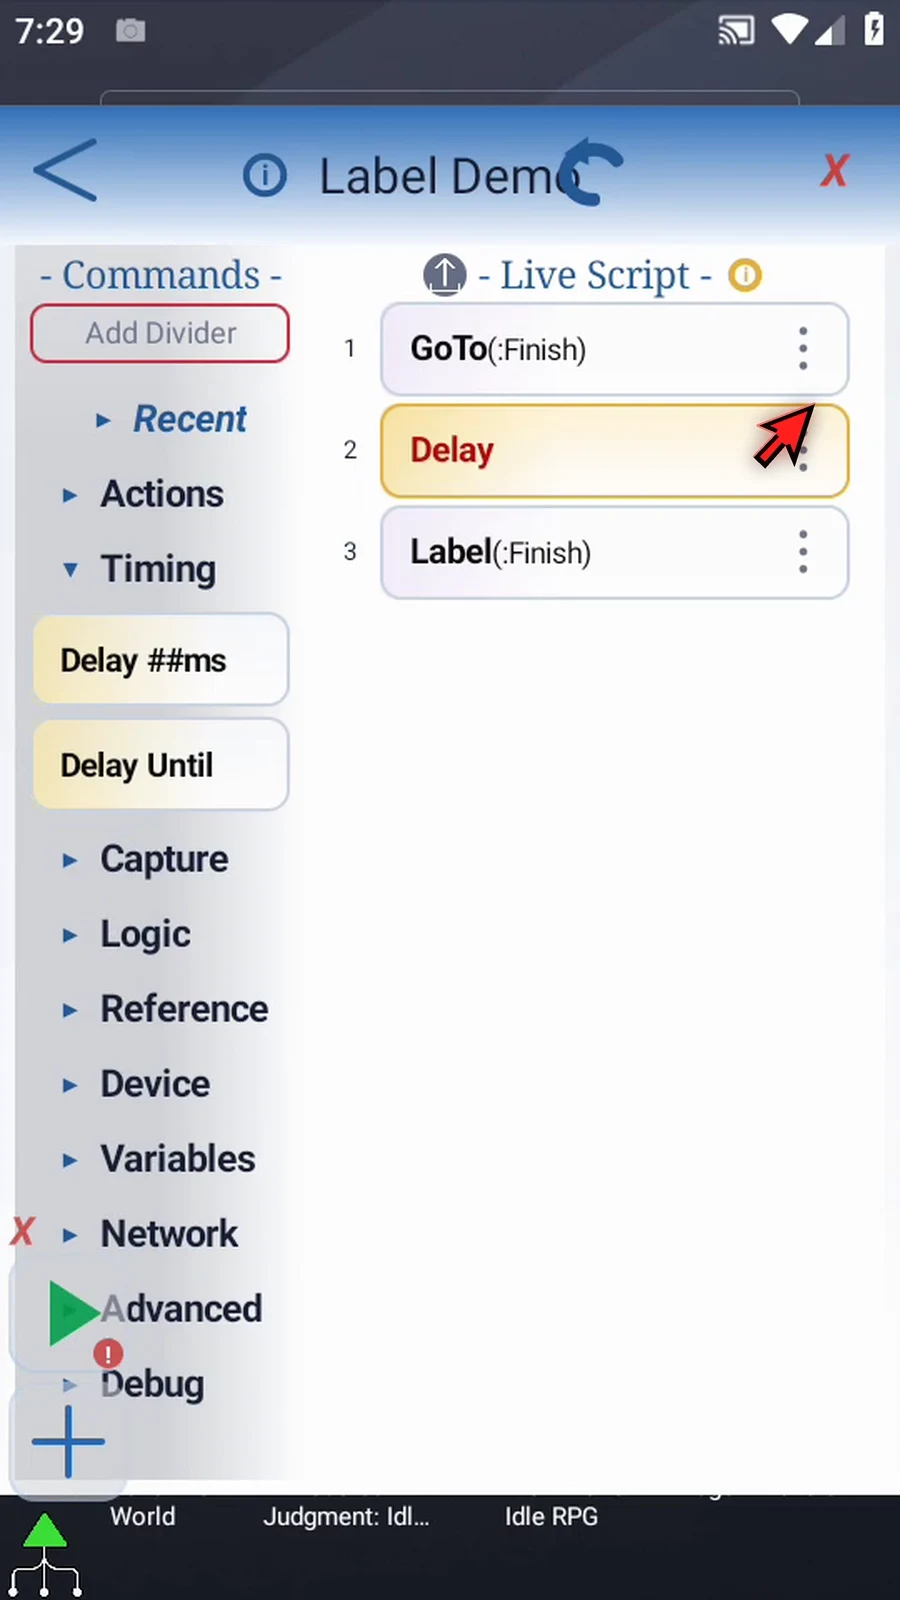
Step 12 Set Delay to five thousand milliseconds, or five seconds. If execution passed through this command, it would wait. Our jump will skip it.
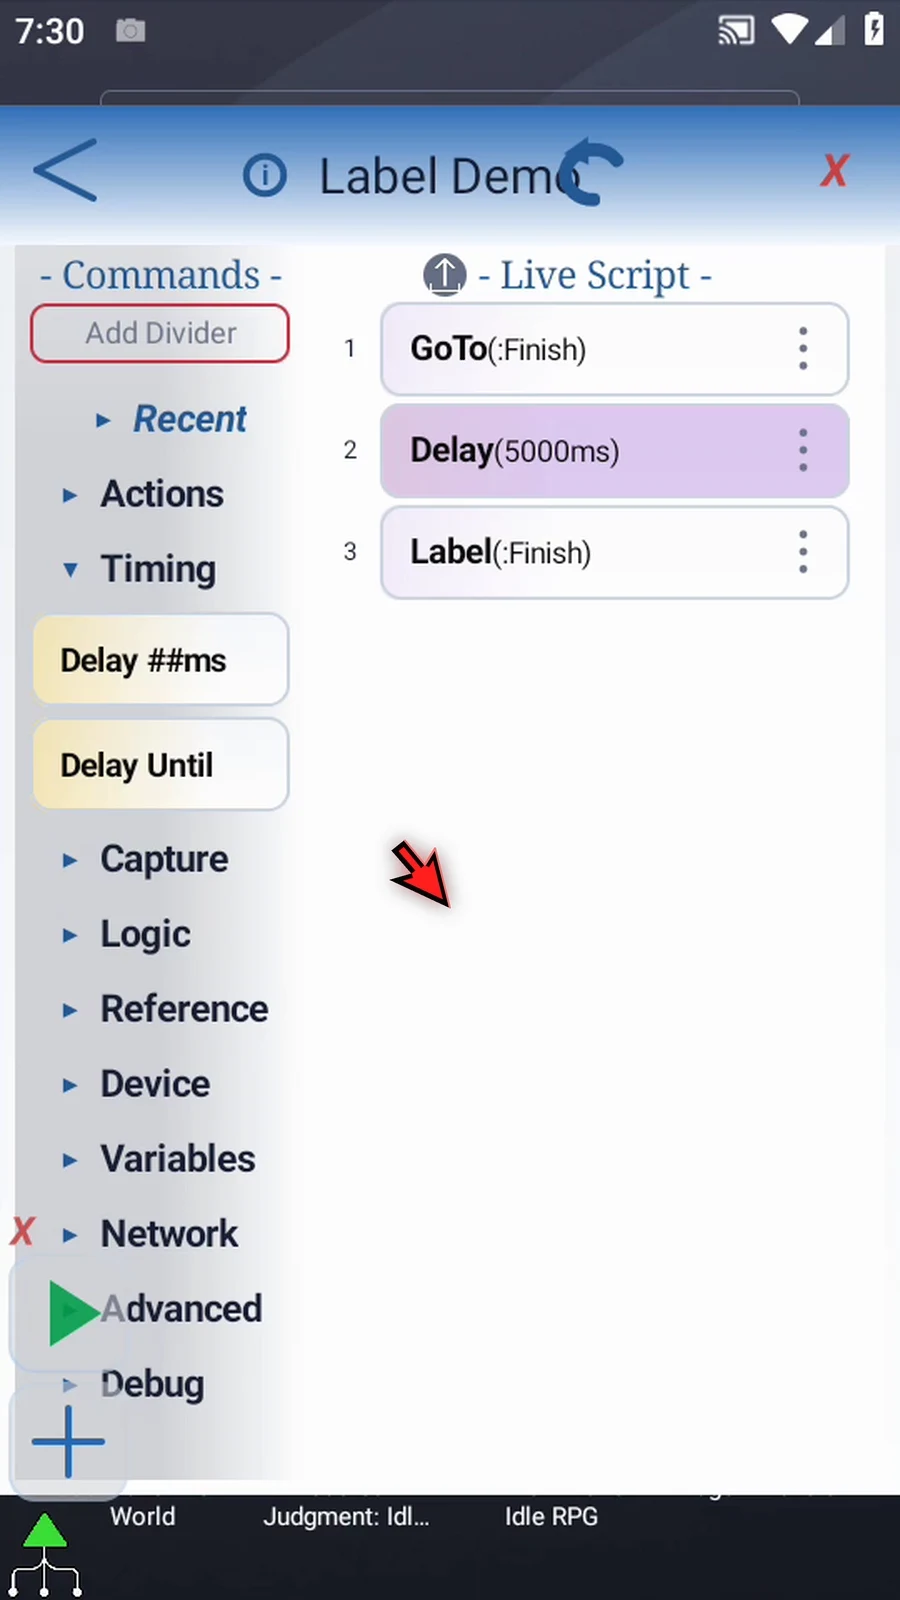
Step 13 Expand Recent and drag PromptMe after Label. It will confirm that execution reached the destination.
Step 14 Open the prompt, keep its regular style, and set the header to Reached. Add a button with the caption Done.
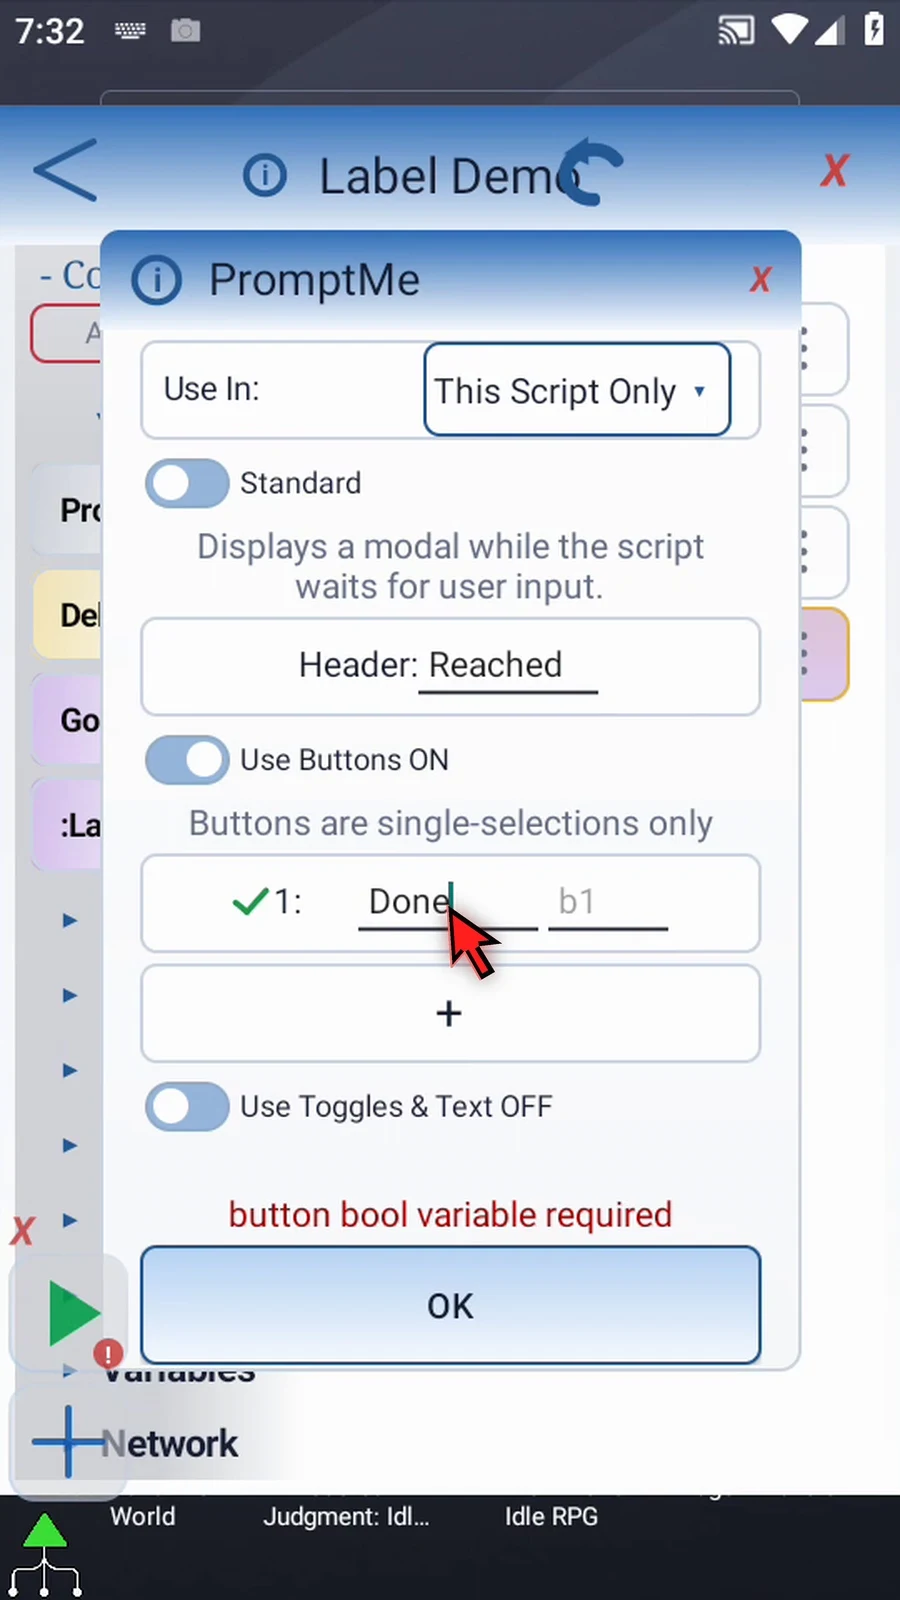
Step 15 Assign that button to Boolean b one and confirm. This is only the demonstration's confirmation button; it does not control the jump.

Step 16 The script now starts with GoTo, followed by Delay, Label, and our confirmation. GoTo targets Finish, so it skips the delay and continues at the matching Label. The prompt then appears.
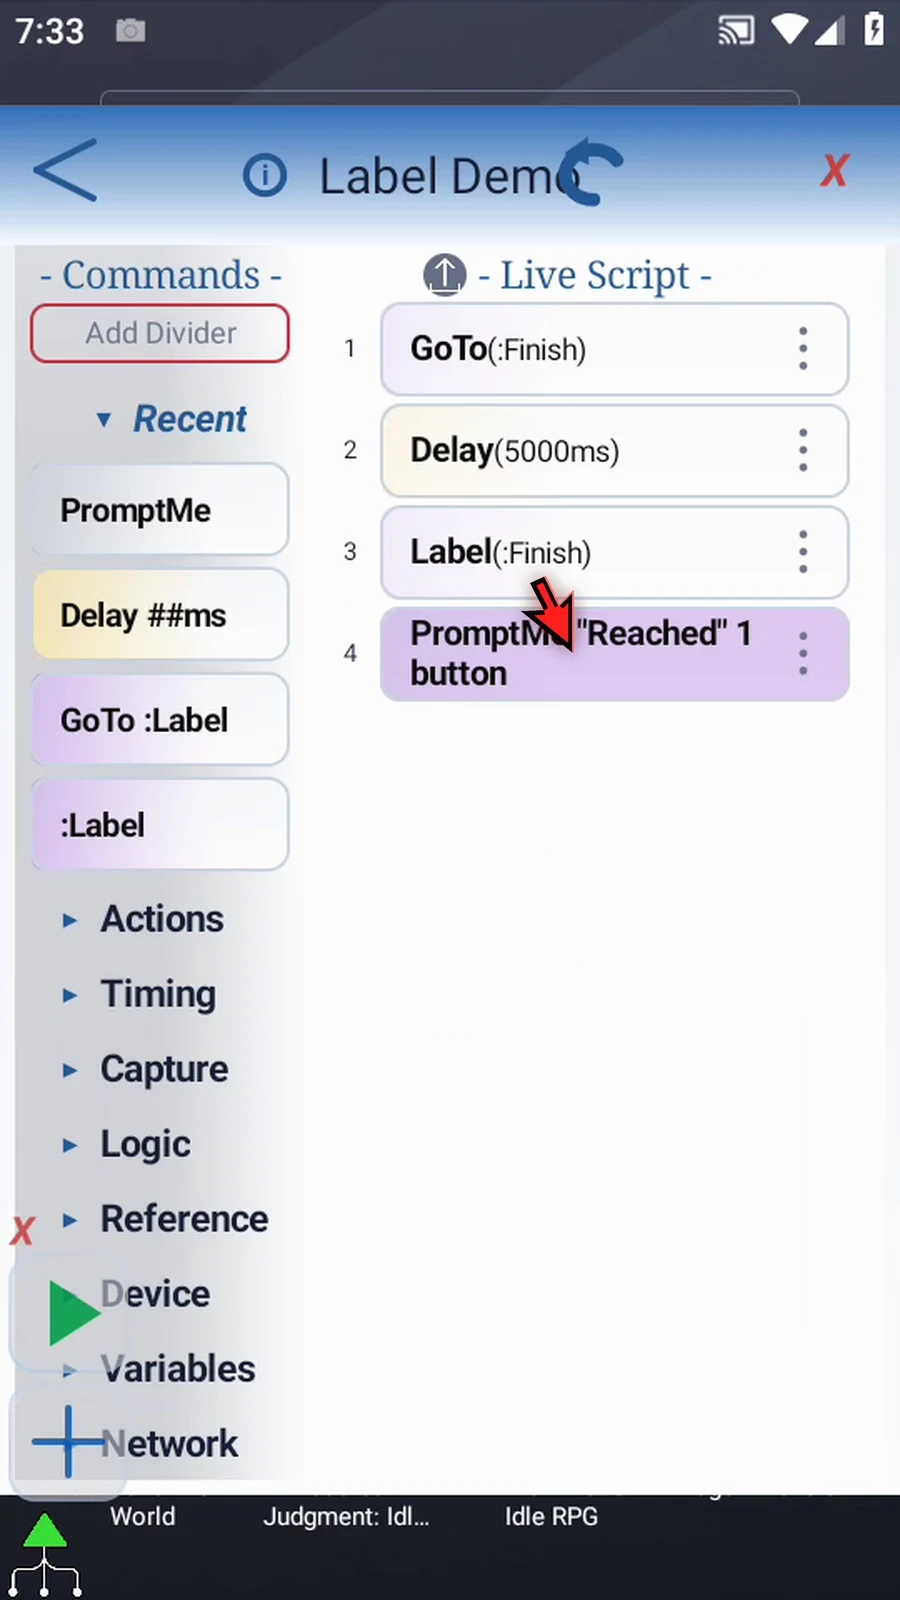
Step 17 You can also rename a destination. Open Label again and change Finish to Complete, then confirm.
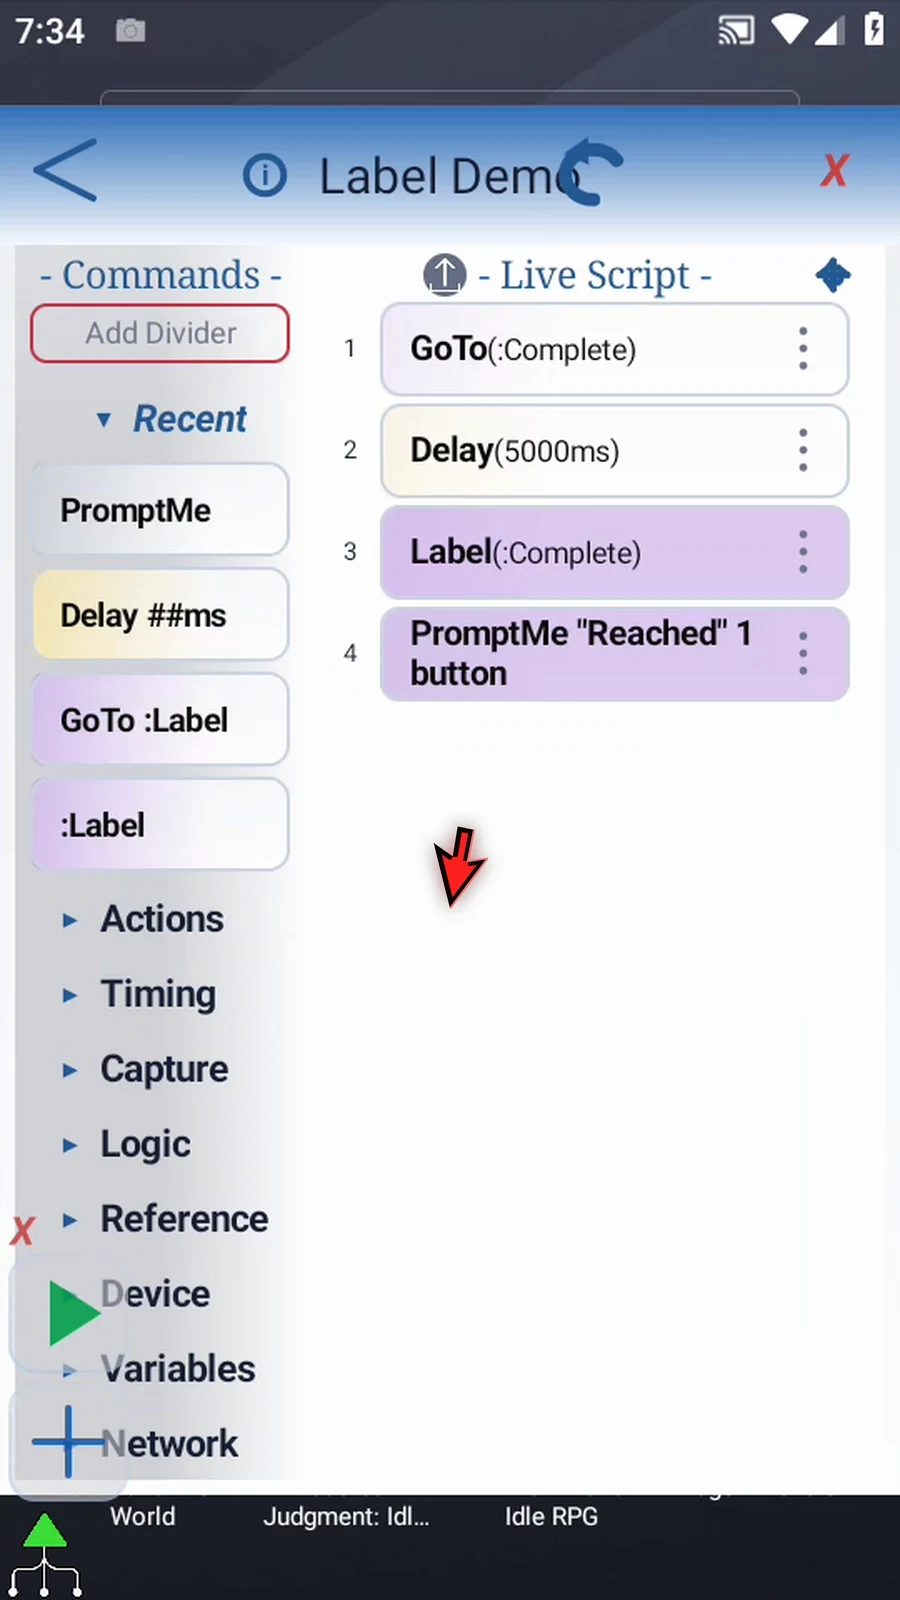
Step 18 Notice that the linked GoTo updates to Complete as well. Both commands still refer to the same destination. Label is a single marker, not a block that needs an end command.
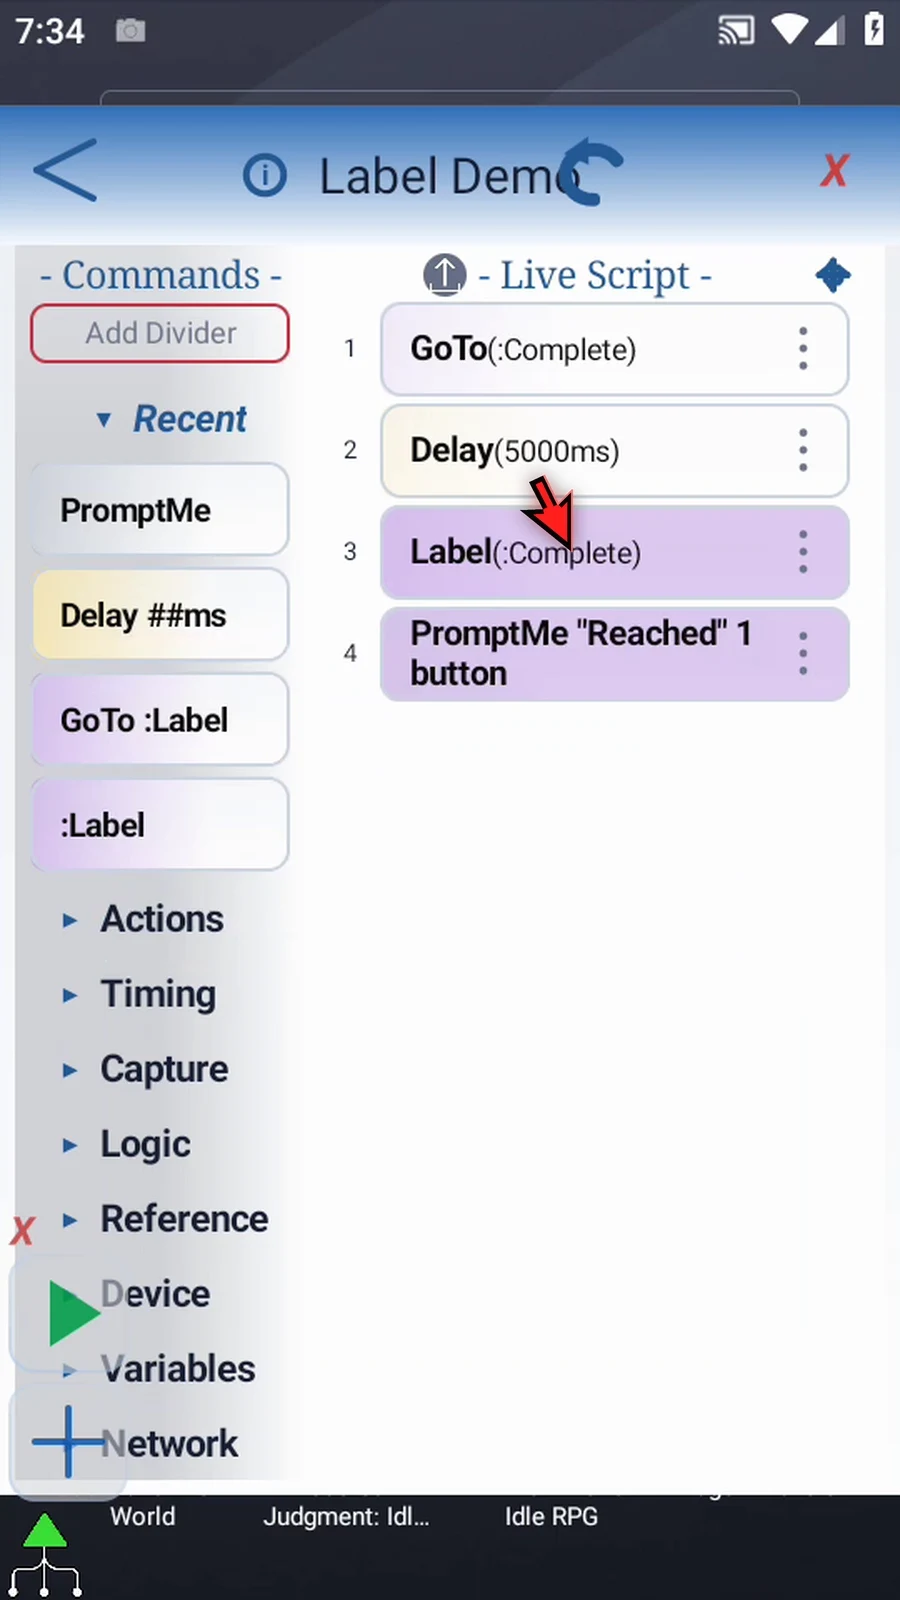
Step 19 When the script is complete, simply use the Play button in the main overlay.
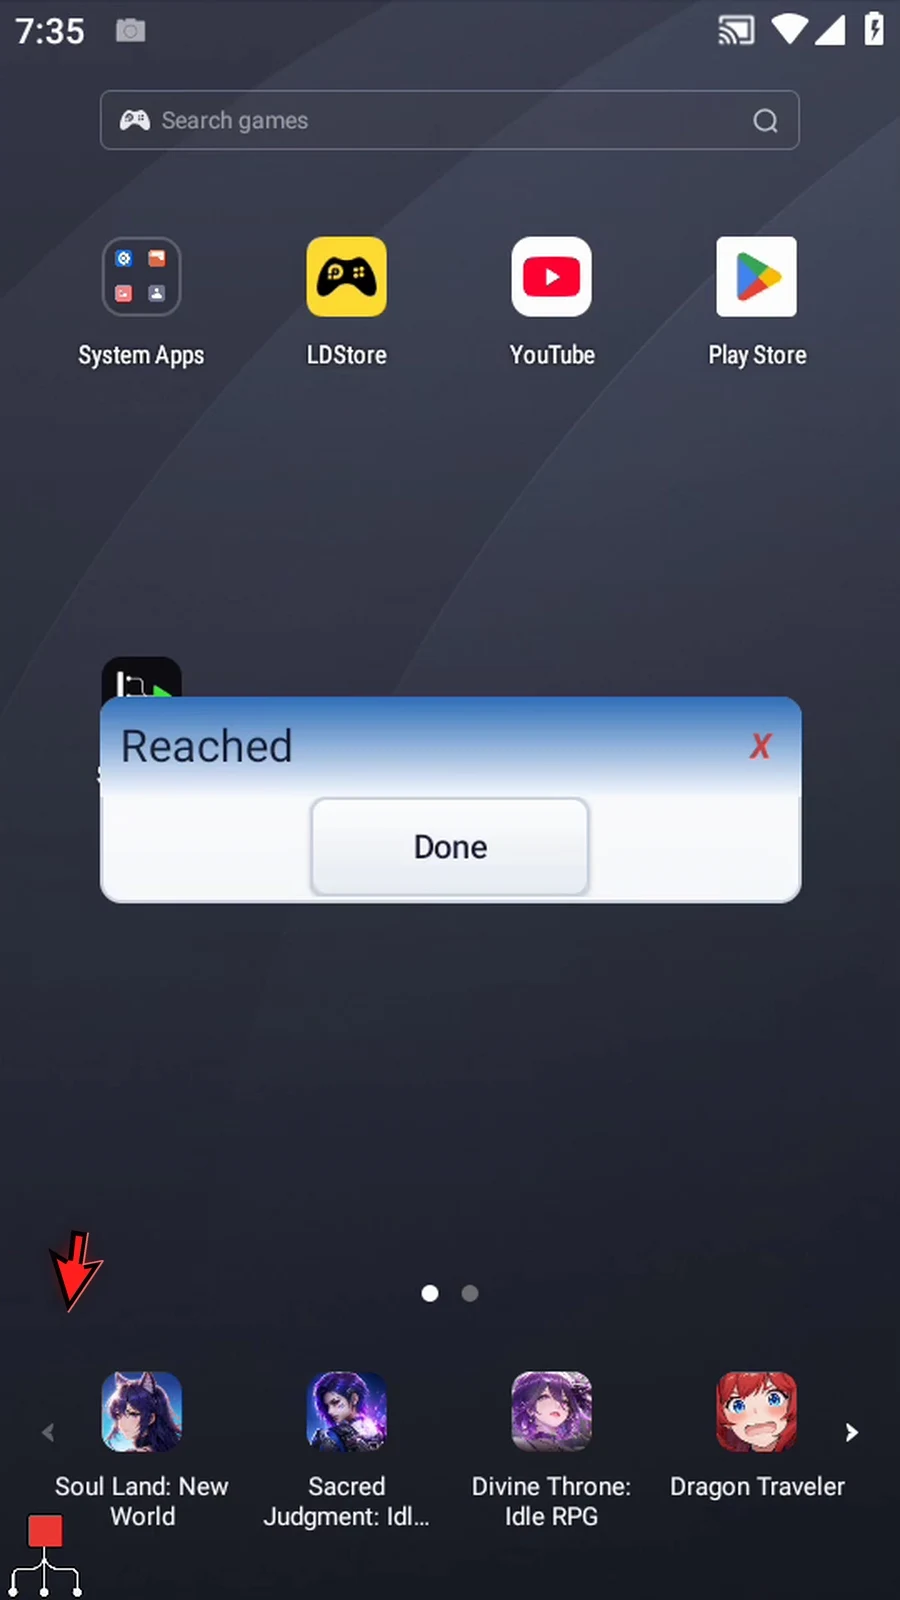
Step 20 Reached appears immediately, without the five-second wait. GoTo jumped to Complete, and execution continued with PromptMe after that Label.
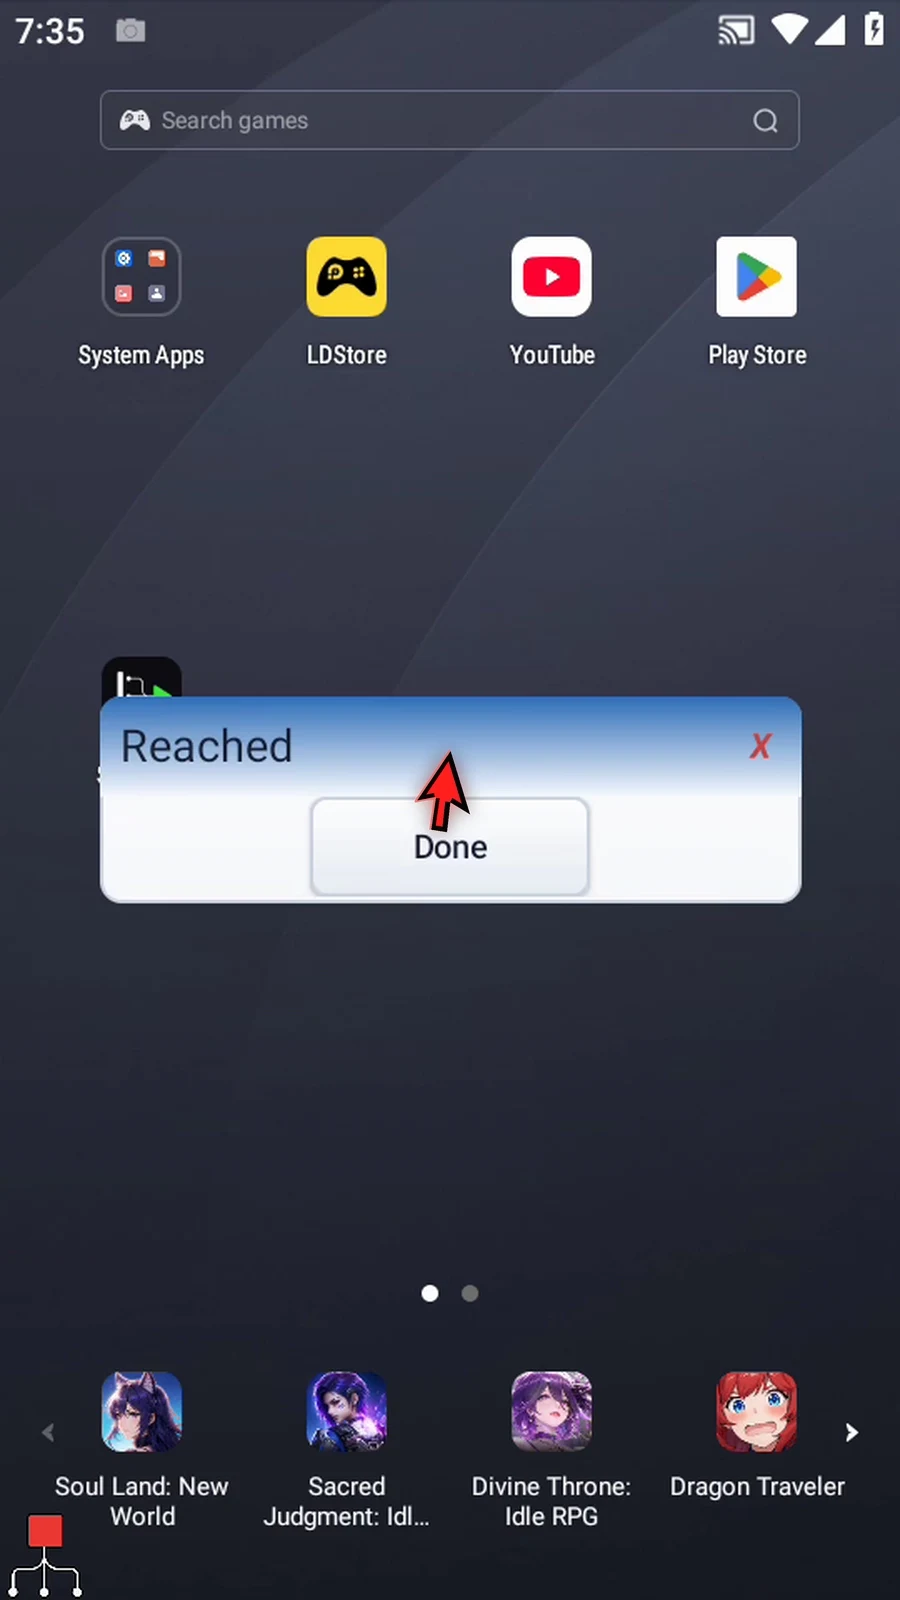
Step 21 Tap Done. The script finishes automatically. Use a Label wherever a GoTo needs a clear destination in the current script, and place the actions you want to run after that marker.