Command video guide
UseAction
UseAction performs a built-in device action: open an app or link, prepare a message, control media, or use another supported device action. Choose the action first, then configure its settings.
This introductory video demonstrates Open App. It creates a separate tutorial script and launches Play Store using one UseAction command. The installed-app picker supplies the app package and readable label; no tap coordinates are needed.
- Manually drag UseAction from the Device group into the script.
- Select Open App, then choose an installed app.
- Changing the selected action clears settings that belong only to the previous action.
- Open App sends one launch request; it does not verify that the app is fully loaded.
If subsequent commands need to wait for the target app, see Delay Until — Active App. Choose any additional wait required by your workflow.
Intro & Open App
Step-by-step guide
Step 01 UseAction performs a built-in device action, such as opening an app, preparing a message, or controlling media. Choose the action you need, then configure its settings. This introduction demonstrates Open App.
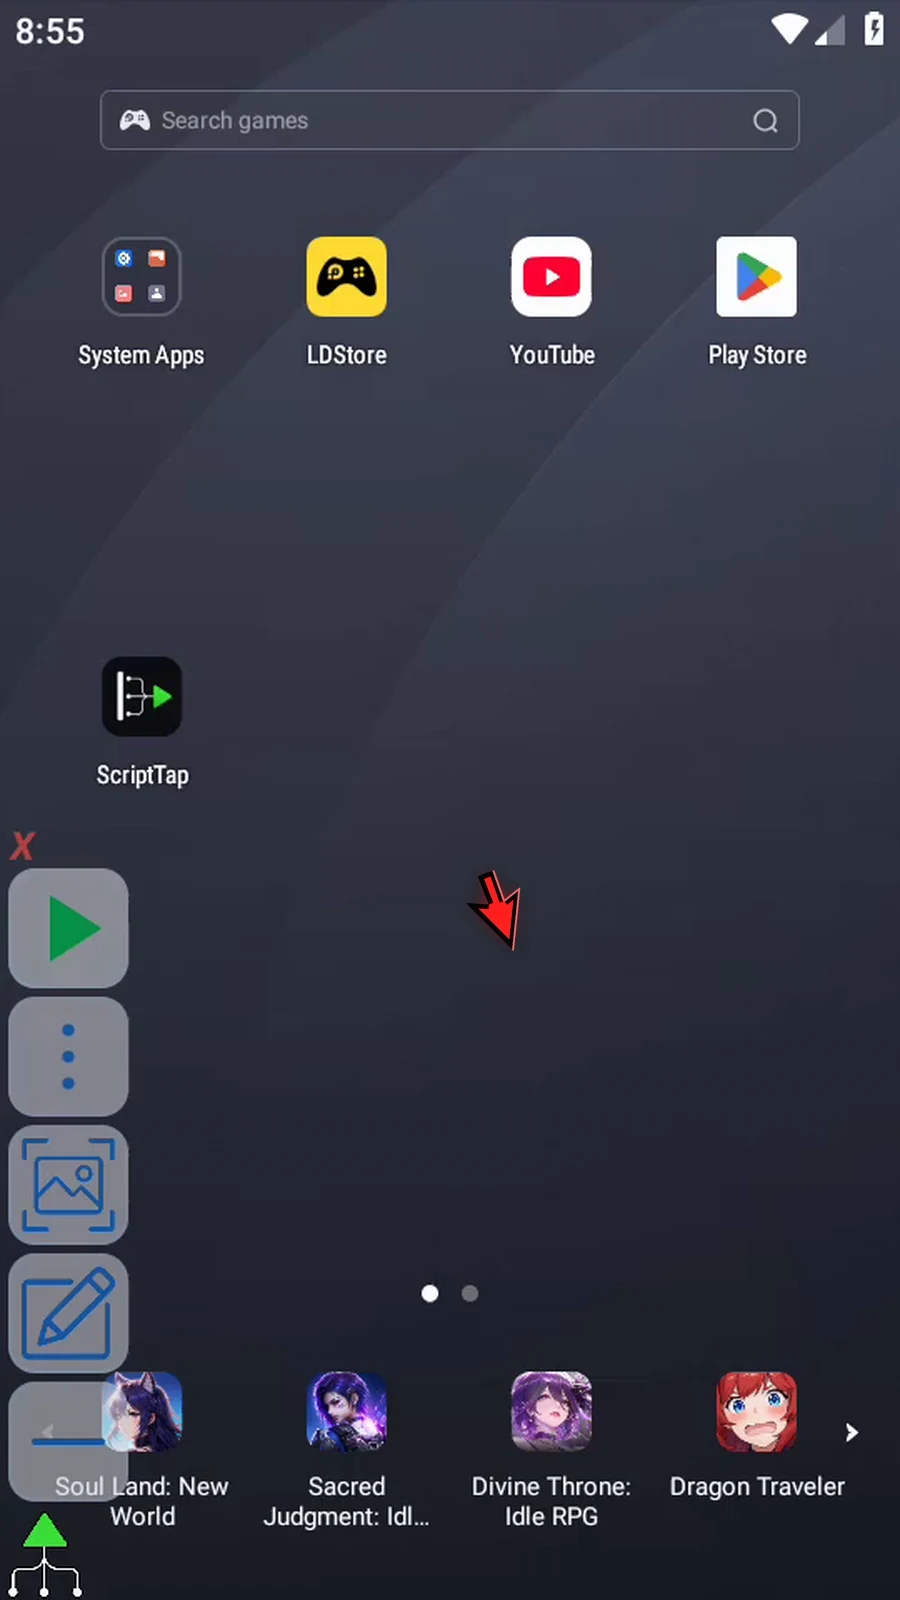
Step 02 Open the main menu and choose Scripts. Use New to create a separate script for this example.
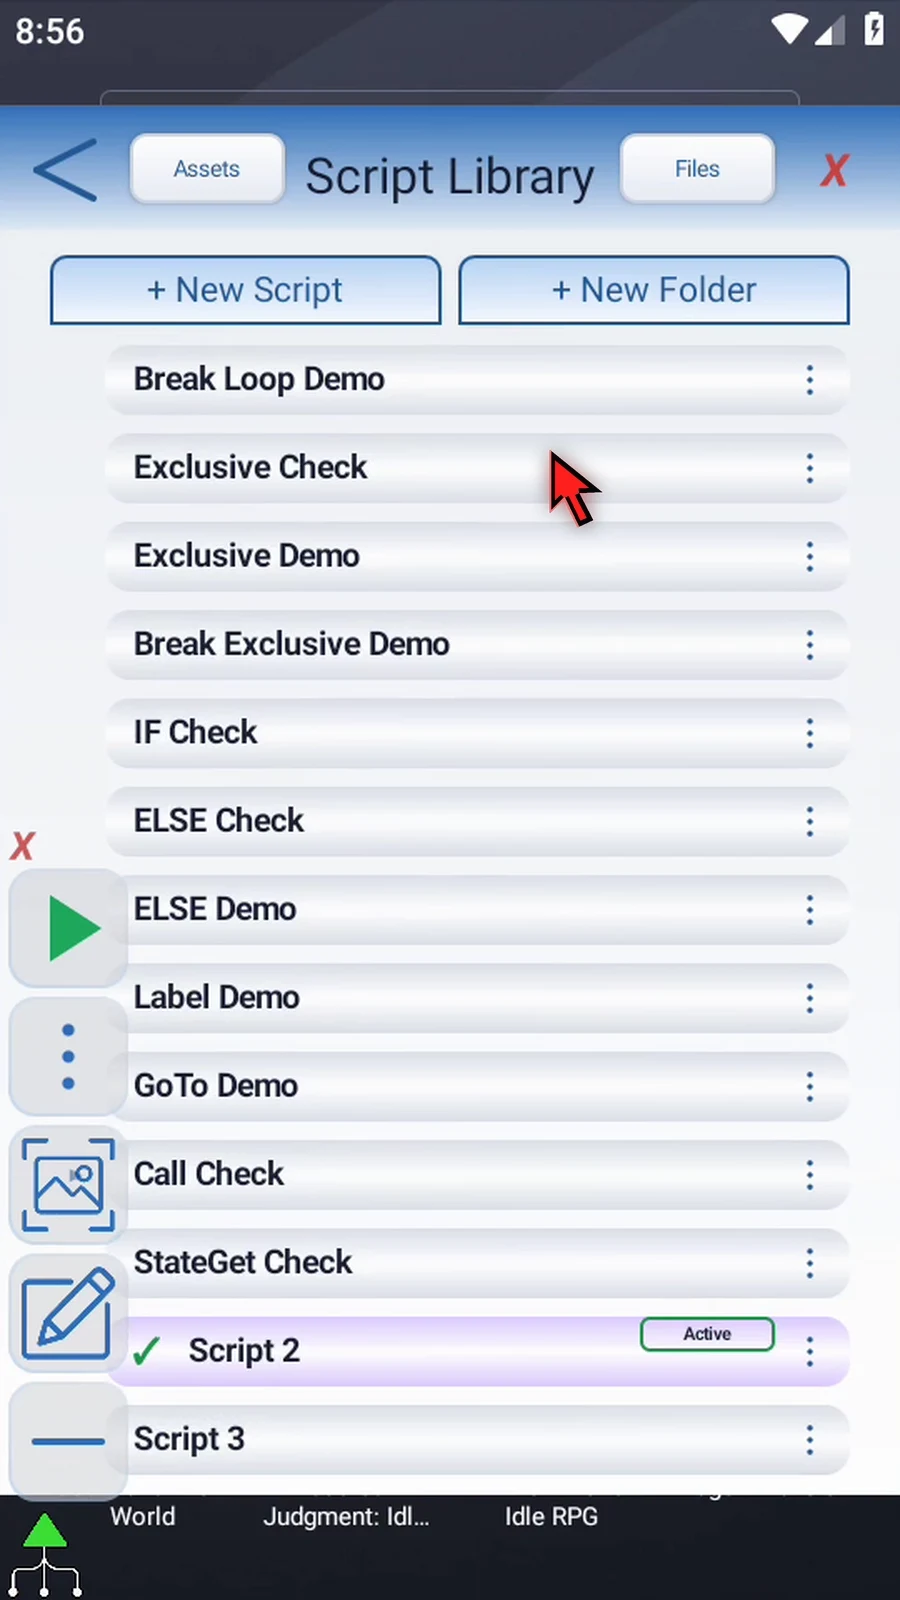
Step 03 Open the new script's menu and choose Rename. Pick a name, confirm it, and select the script.
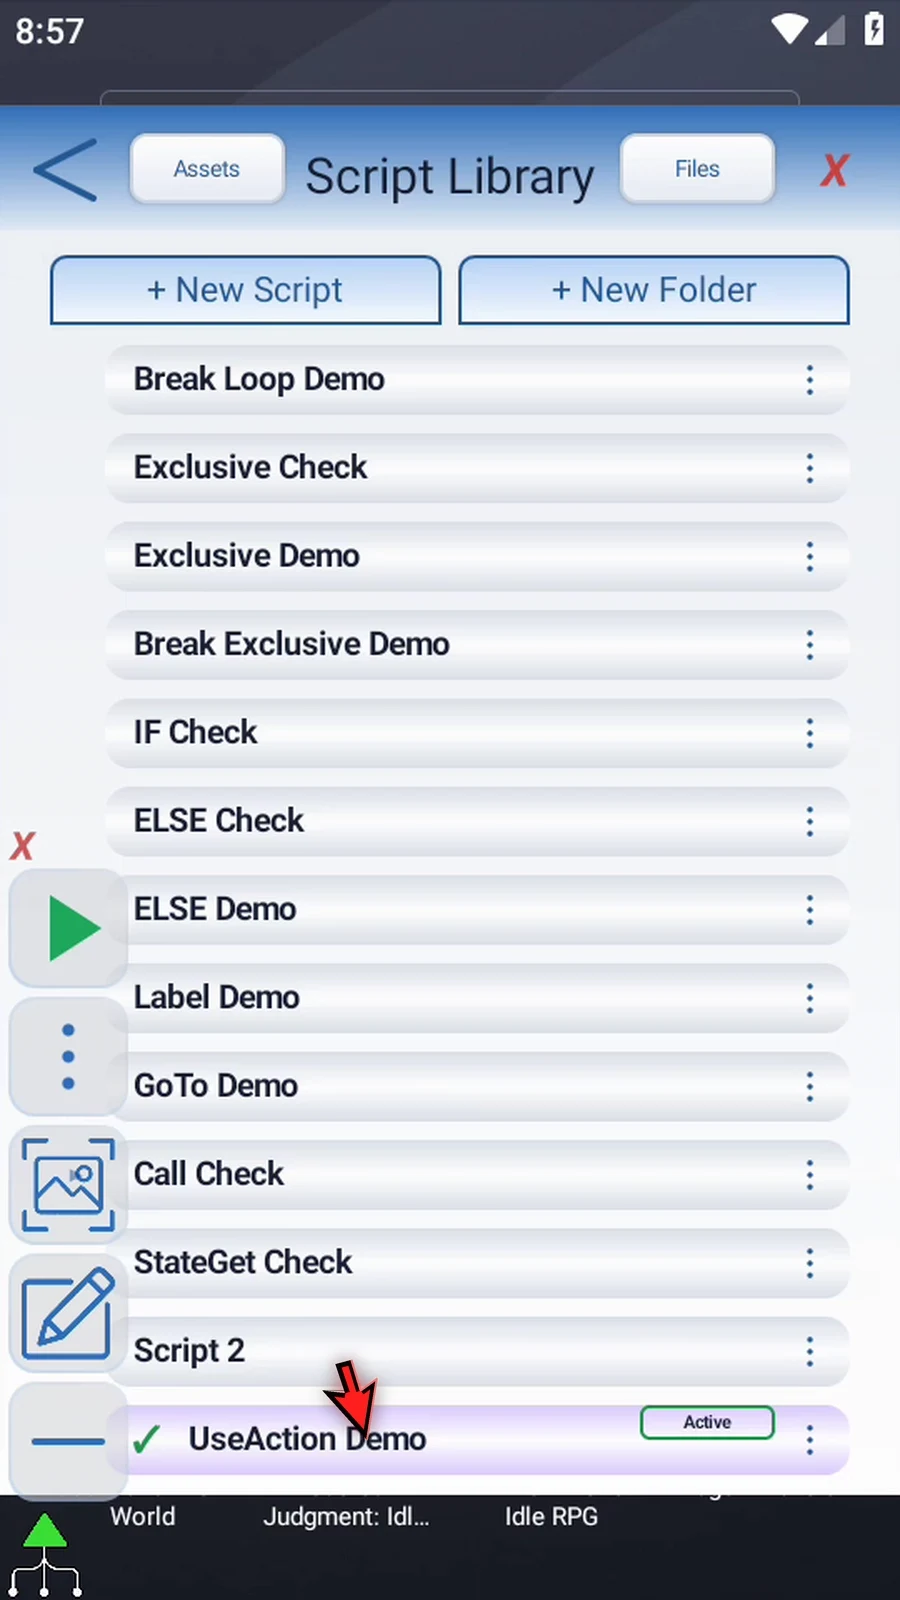
Step 04 Open the Script Editor and collapse the extra overlay controls.
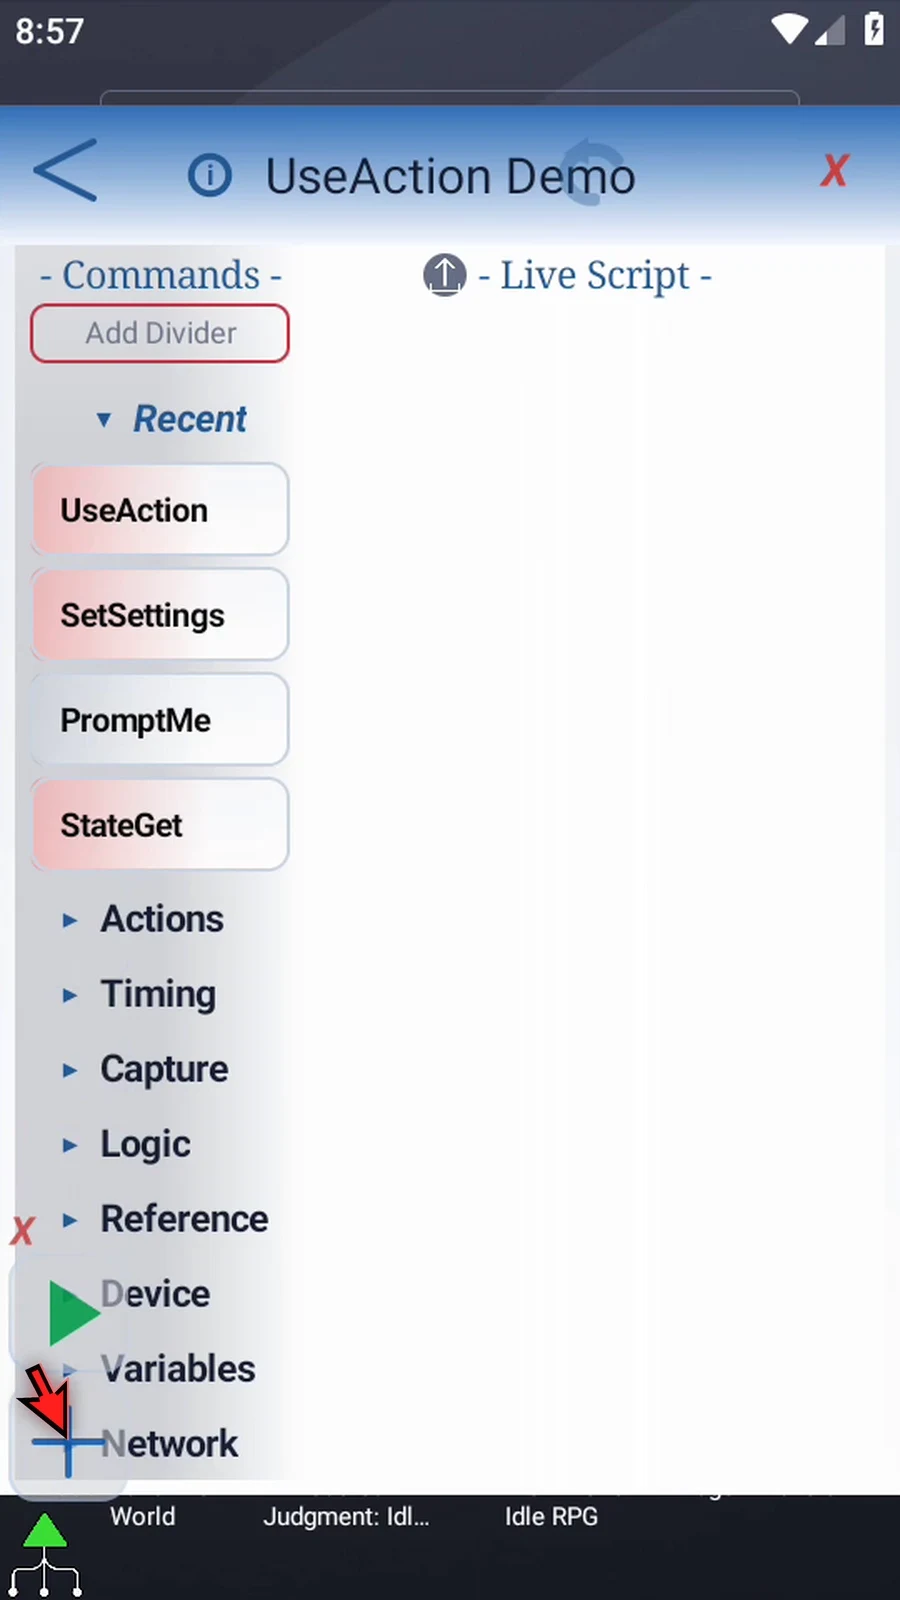
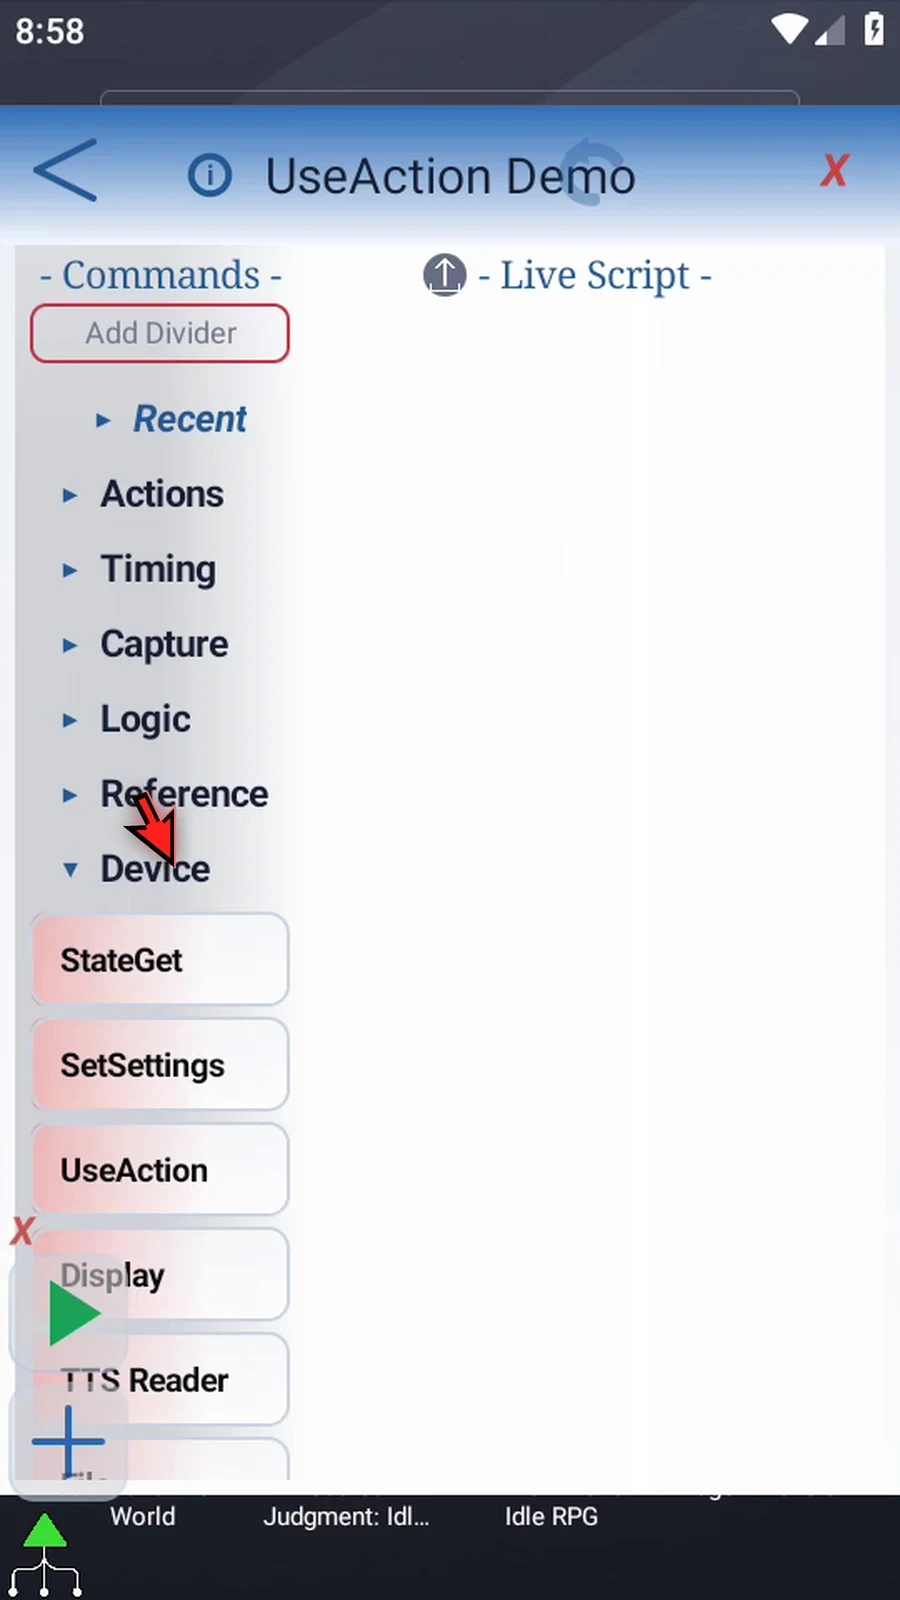
Step 05 UseAction is in the Device group. Open that group and find the command.
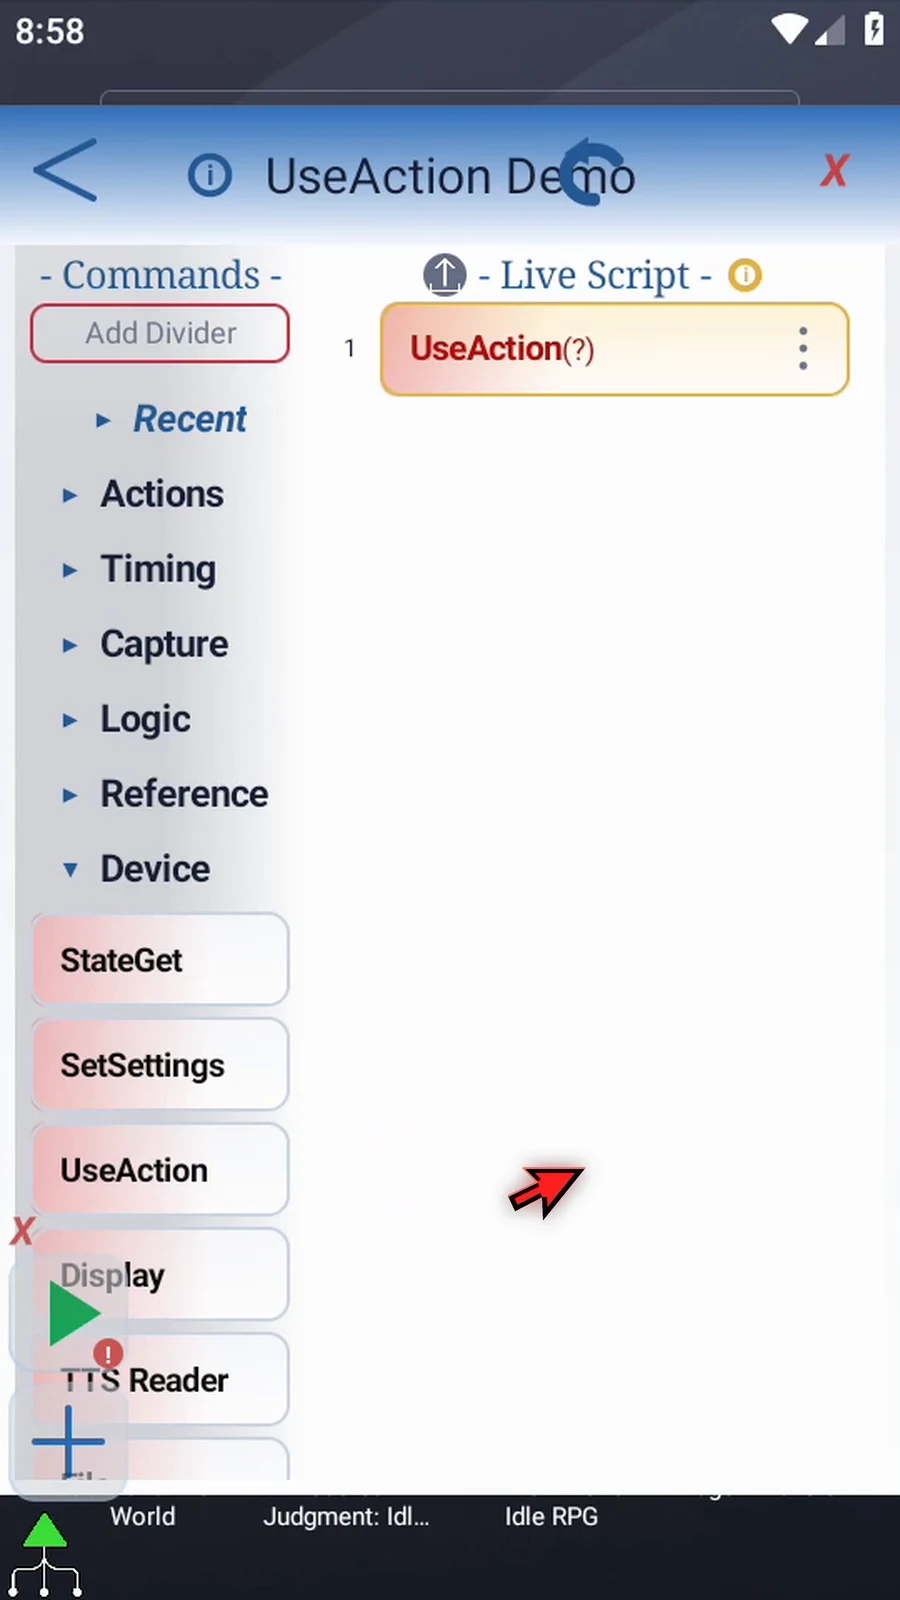
Step 06 Drag UseAction from the palette into the script. Watch the blue insertion line before releasing it.
Step 07 Open the command. The Action selector chooses what UseAction will do. Select Open App for this example.
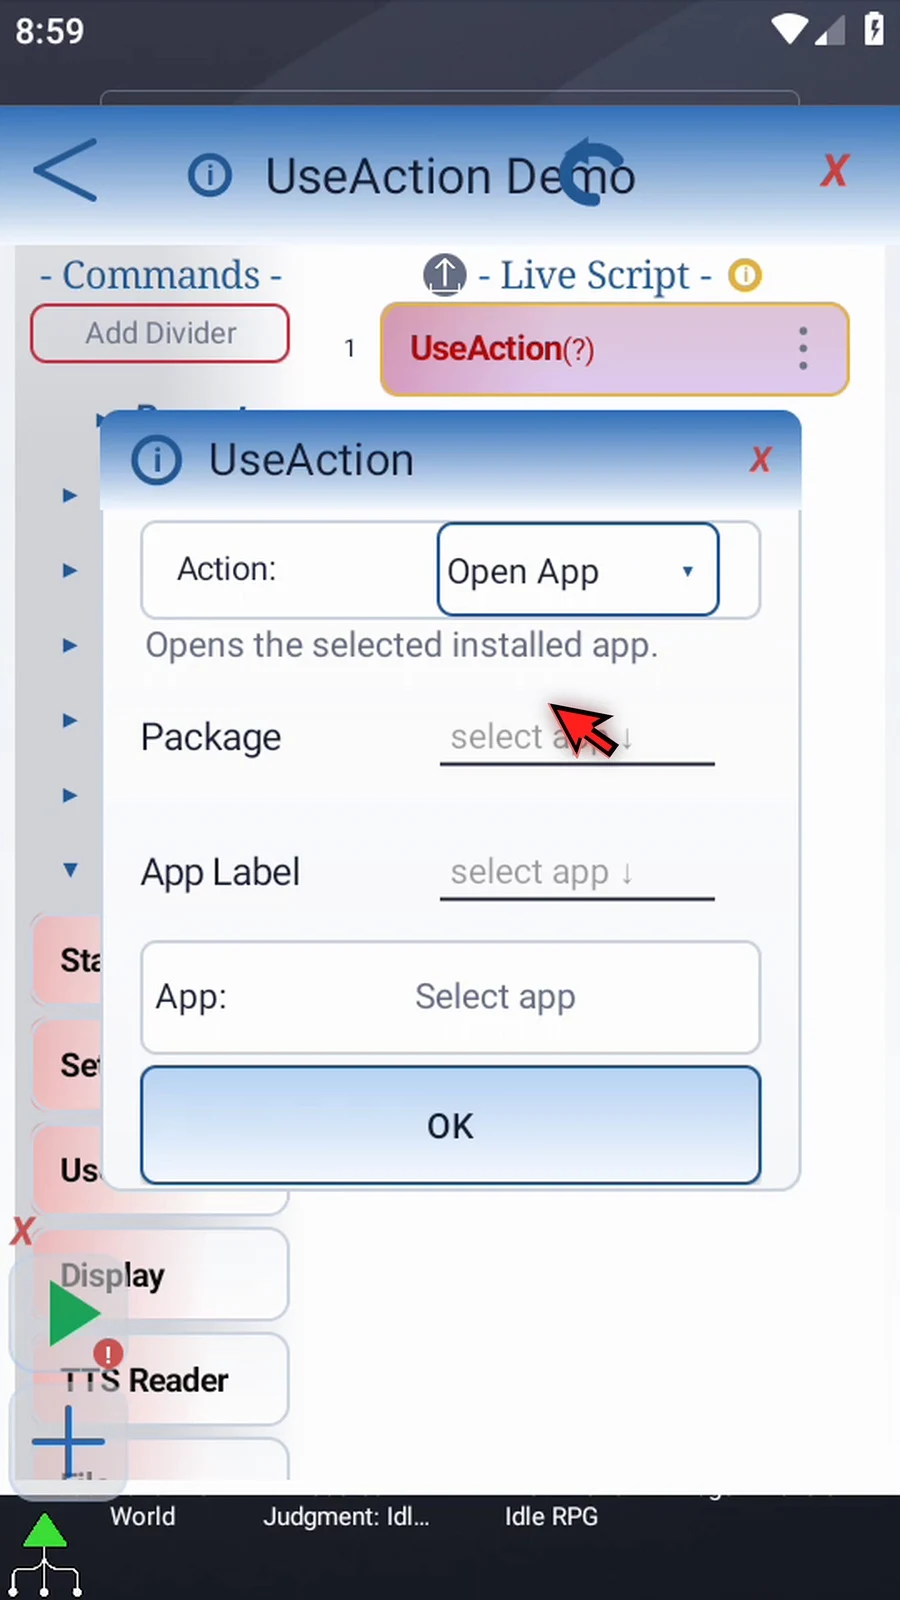
Step 08 The other UseAction choices have their own settings. Changing the selected action clears settings that belong only to the previous action, so choose the action before filling in its details.
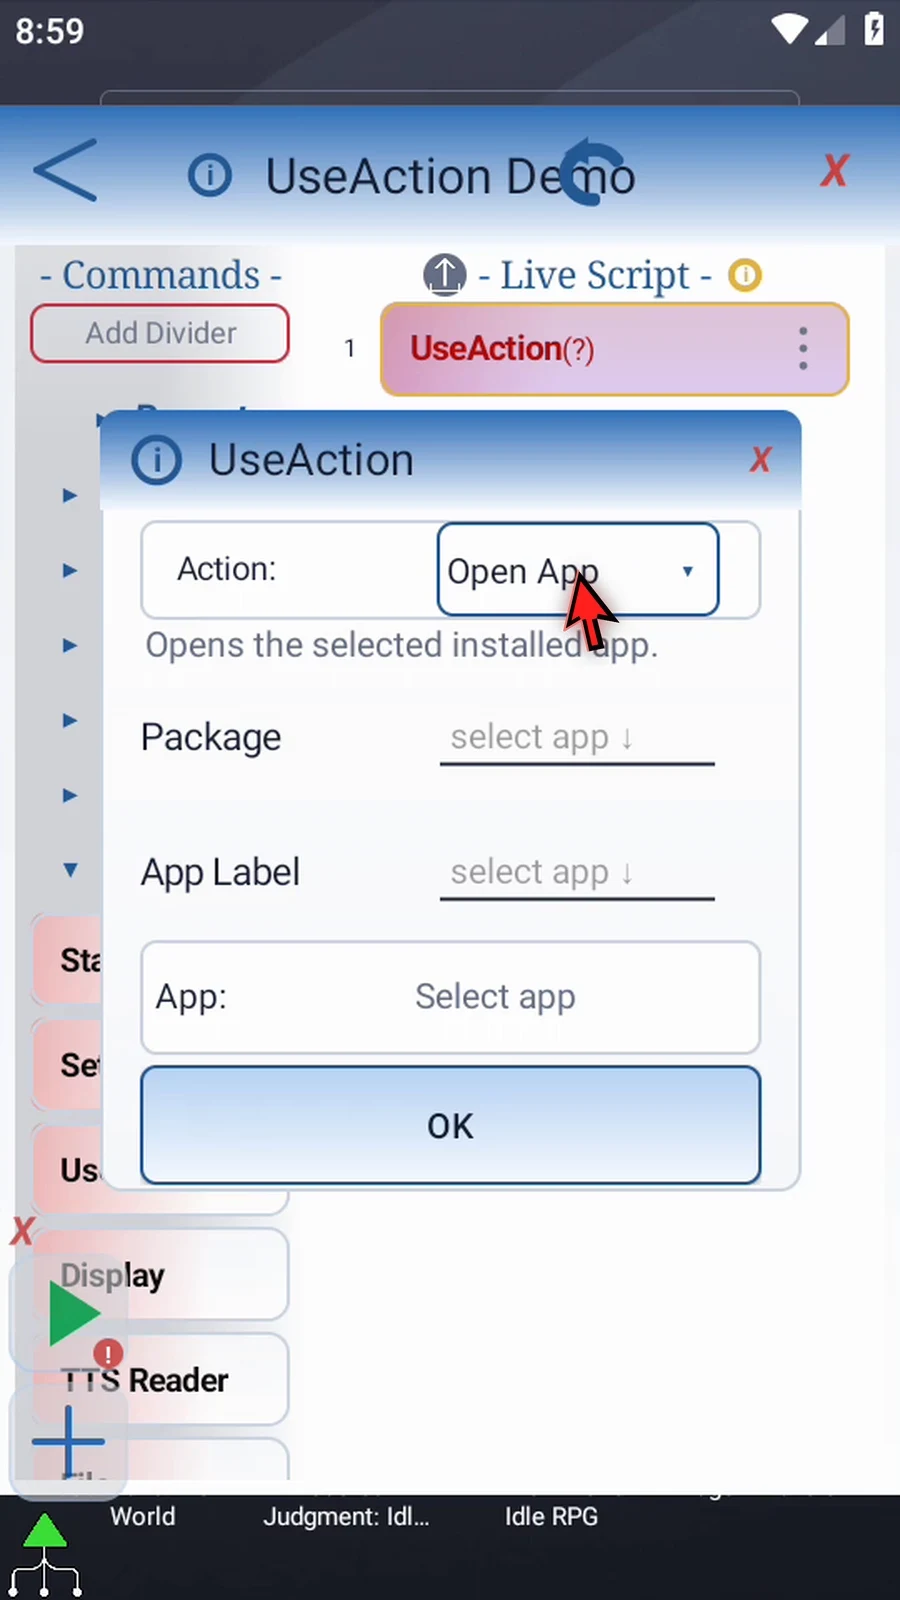
Step 09 Tap Select app to open the list of installed apps. Scroll until Play Store is fully visible. Choose its row to use it as the target.
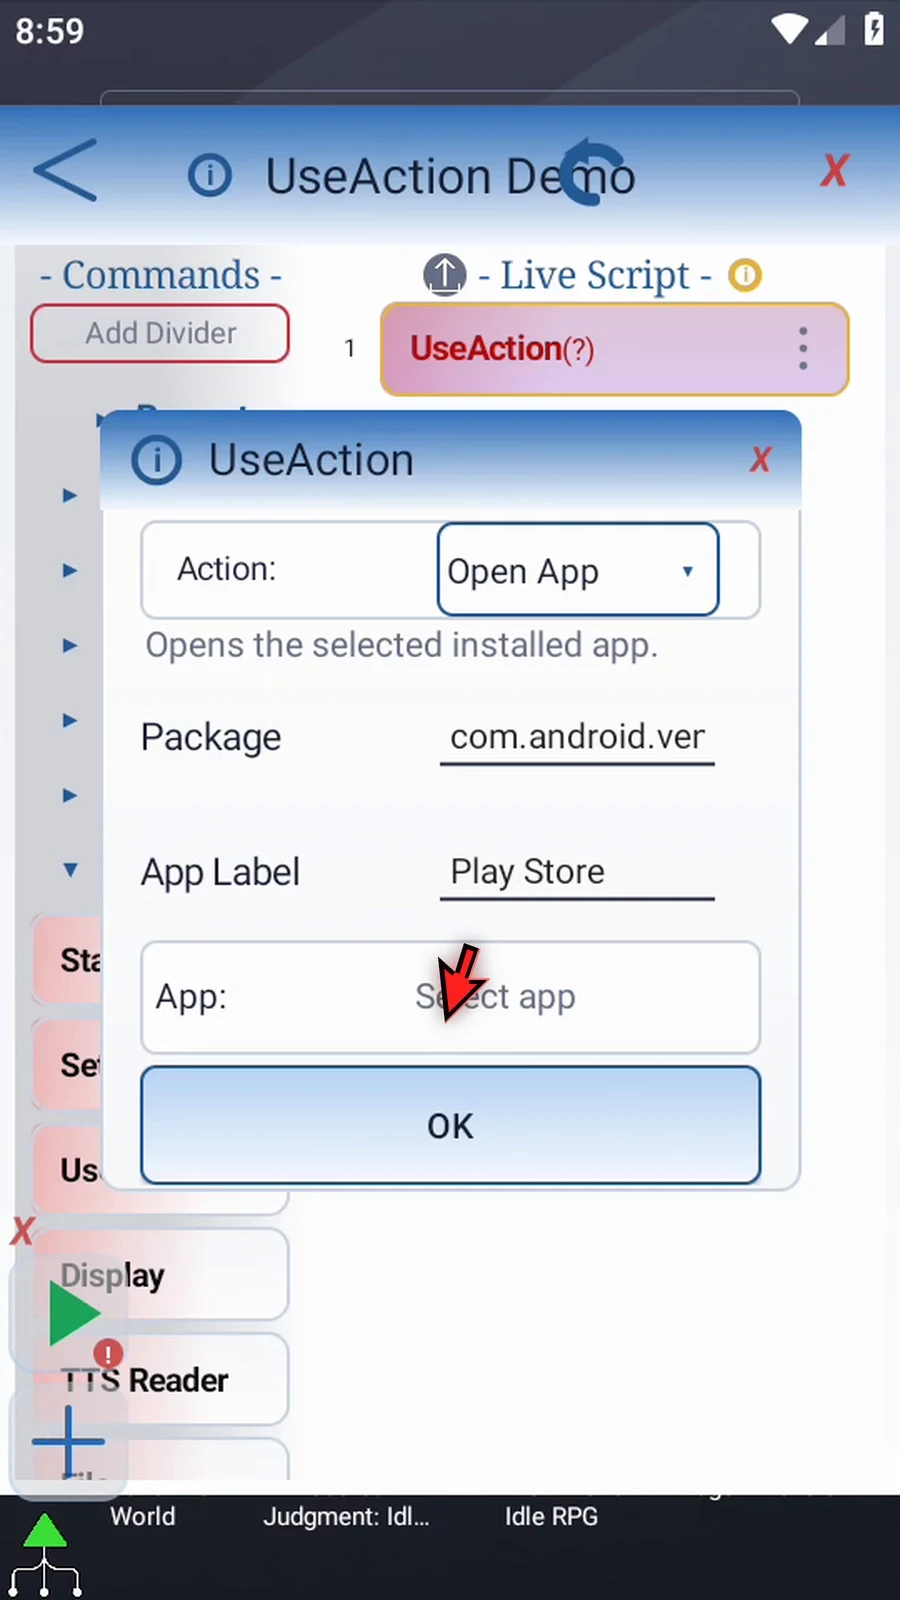
Step 10 ScriptTap fills in the app's package name and readable label. The package identifies which app to launch. Choosing the app from this list avoids having to type its package name yourself.
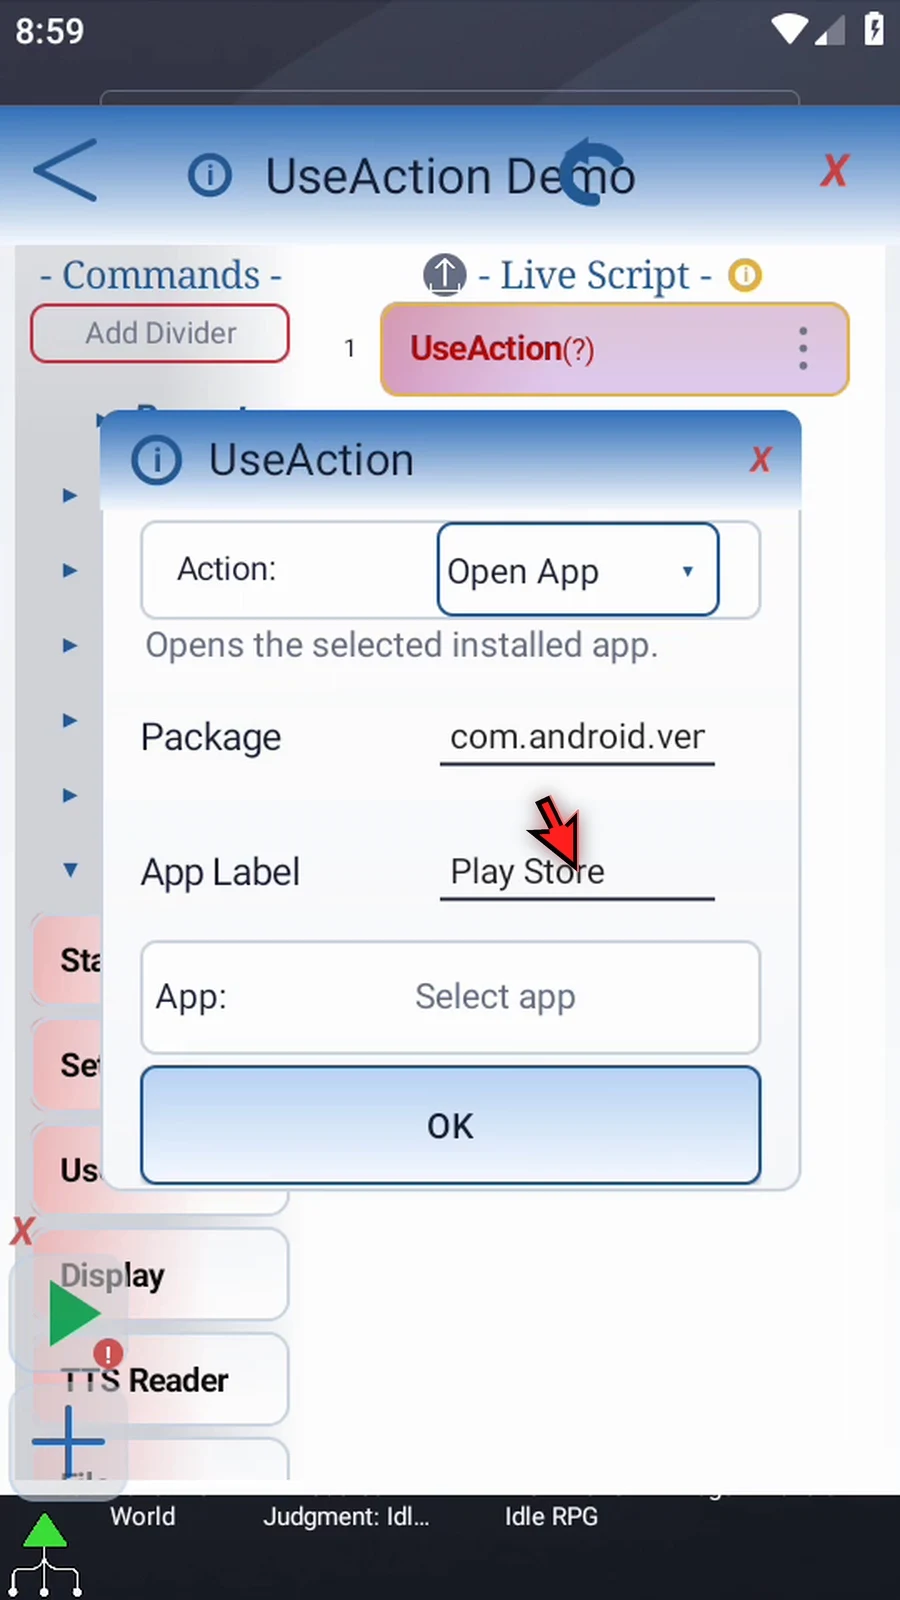
Step 11 Tap OK to save. This example needs only one command because opening Play Store is the result we want to show.
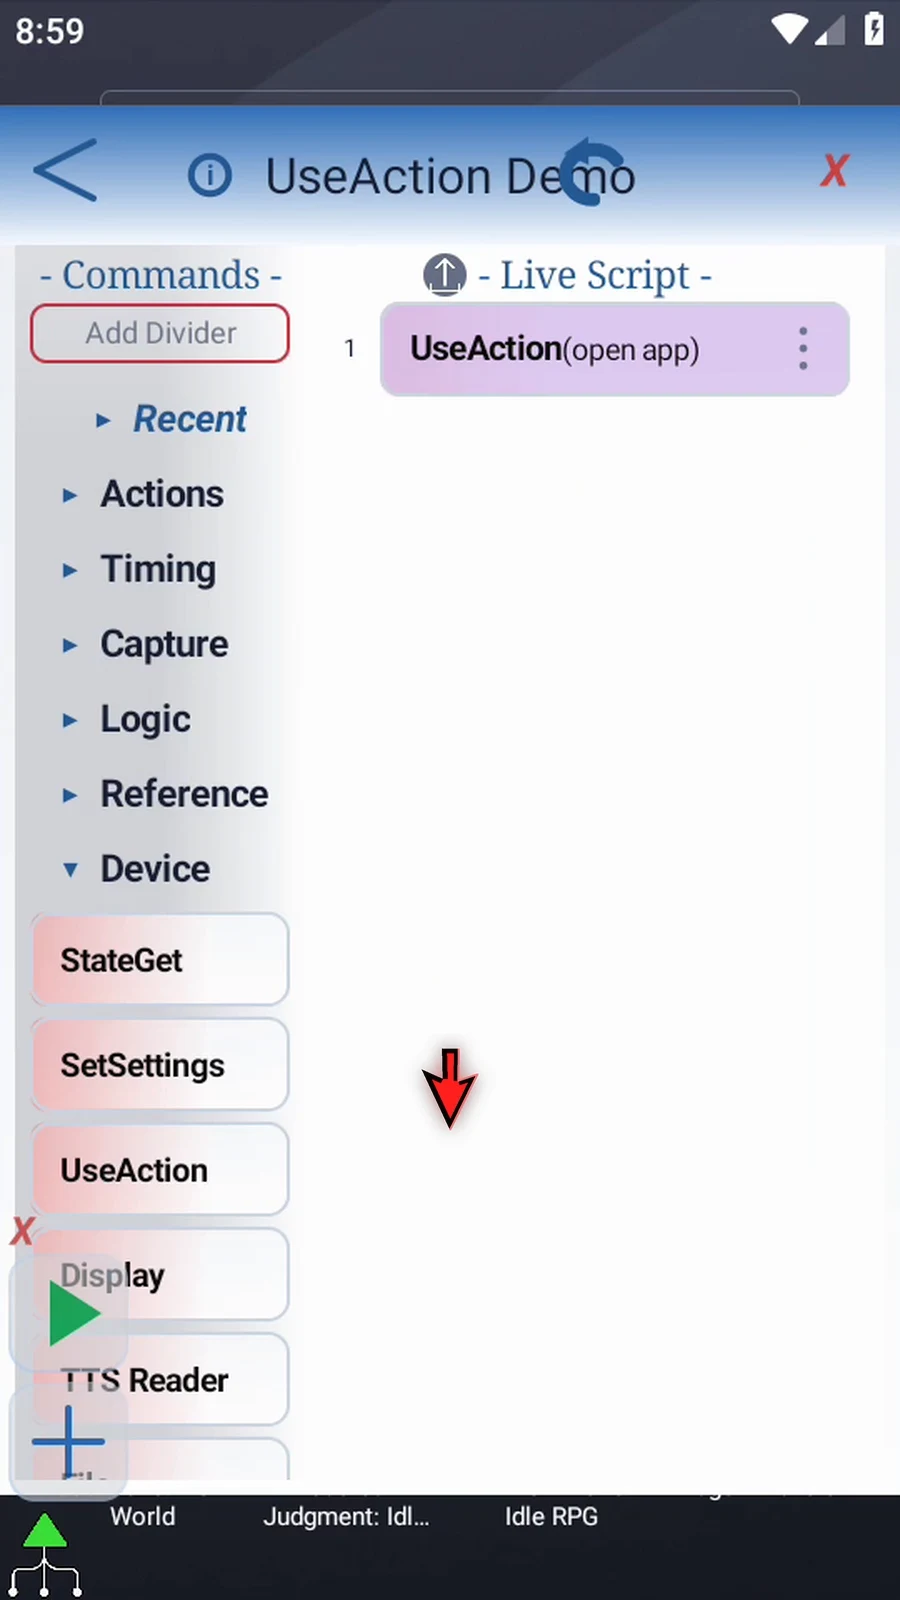
Step 12 Open App sends one launch request. It does not wait for the app to finish loading. If later commands need the app ready, add an appropriate wait, such as Delay Until with Active App.
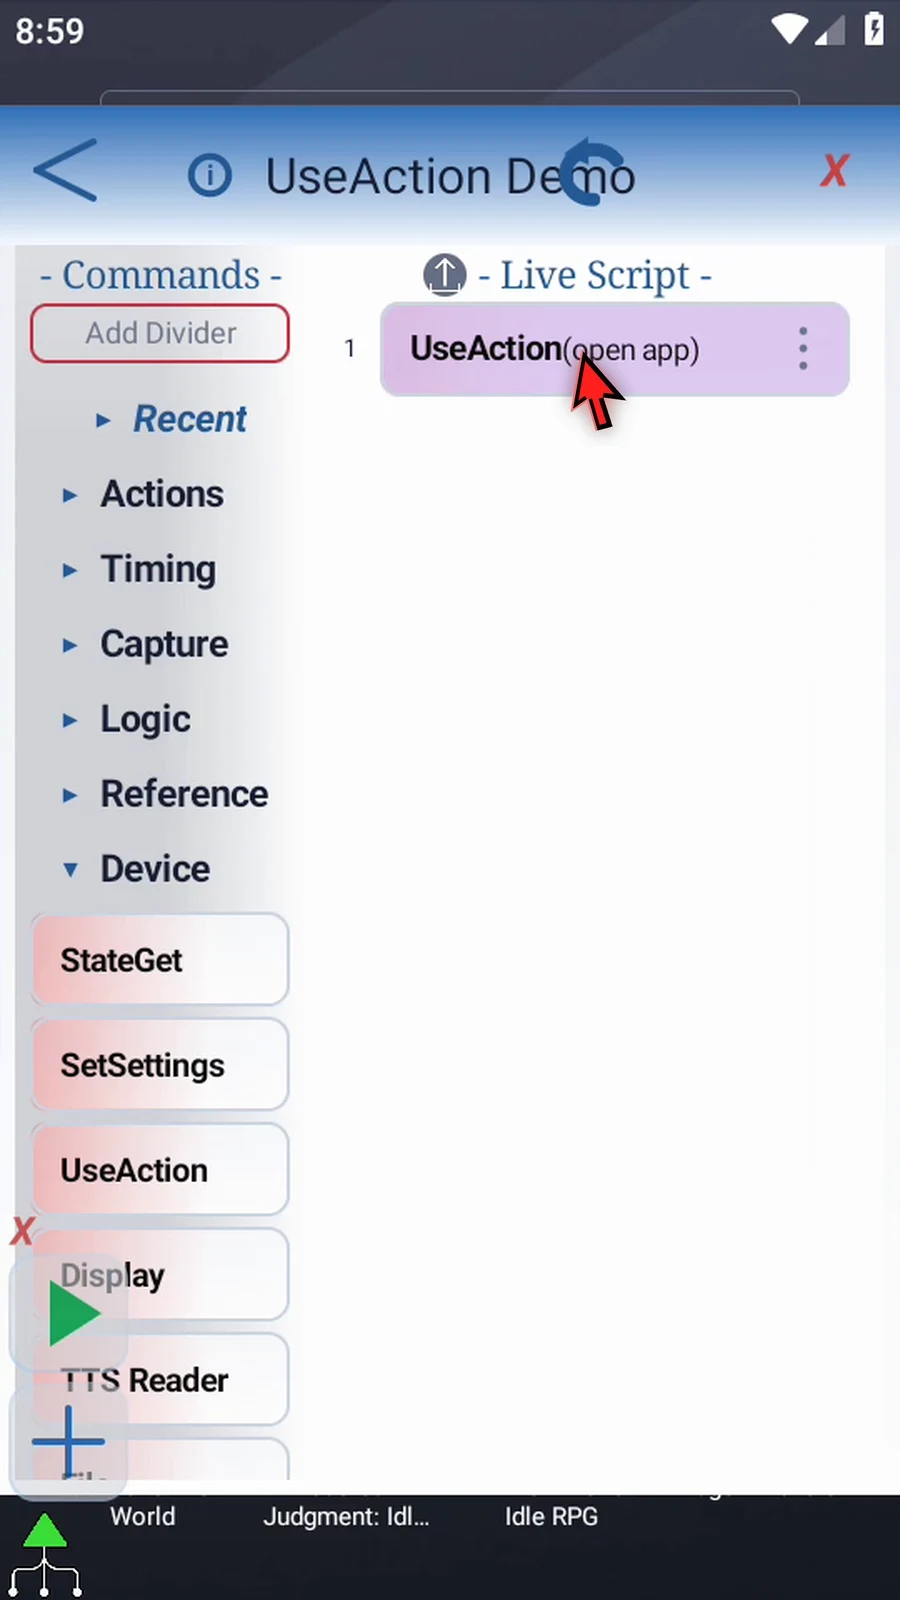
Step 13 When the script is complete, simply use the Play button in the main overlay.
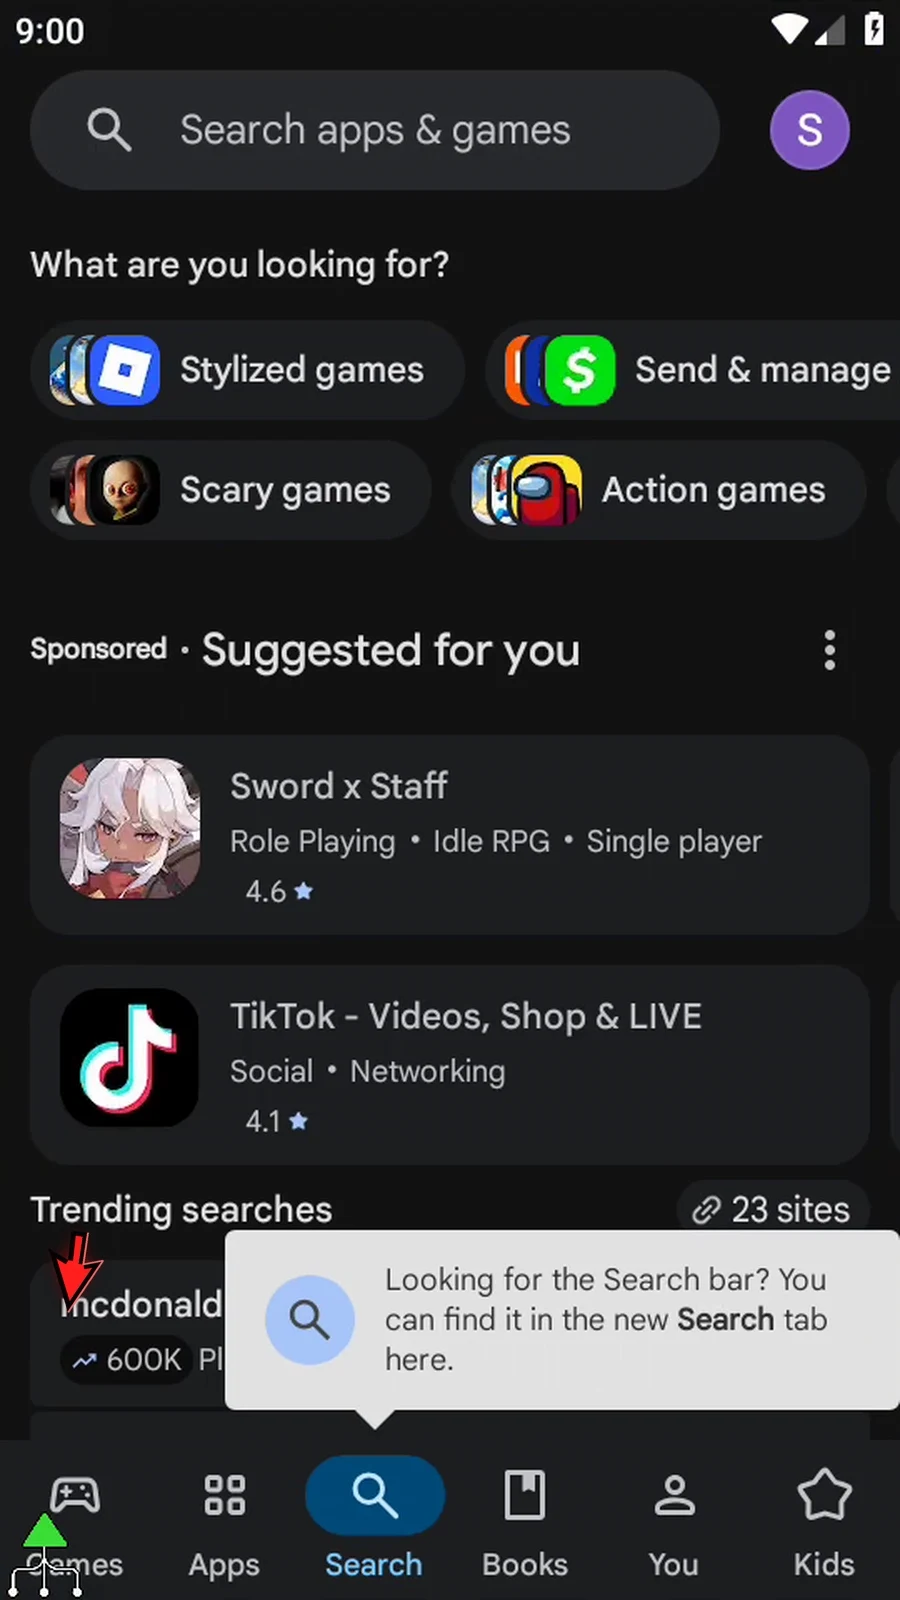
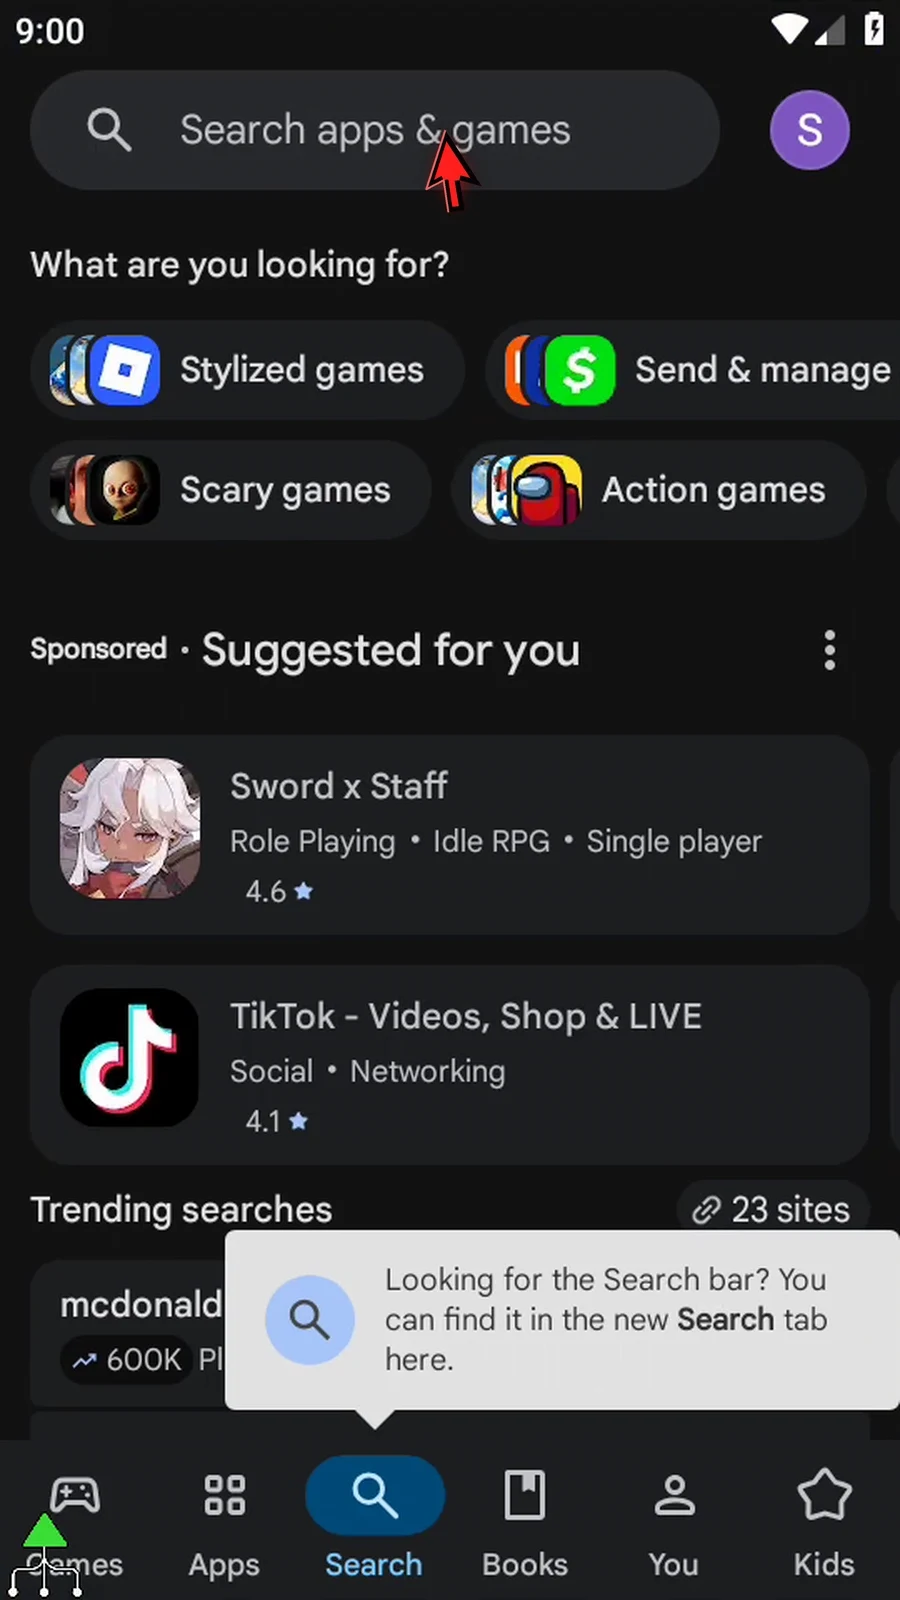
Step 14 Play Store opens, and the script finishes automatically. No screen-coordinate tap was needed to open the app.
View URI opens a web address or another supported link using Android's default handler. Use it to show a page or pass a link to an installed app.
Start with the command created in Intro & Open App, choose View URI, and enter https://scripttap.com. This example opens the website in Chrome on the demonstration device.
- Enter a complete URI, including its prefix.
- Other link schemes require an installed app that can handle them.
- This action sends one request. It does not verify the destination or wait for loading to finish.
Add an appropriate wait before later commands interact with the destination. See Delay Until for waiting options.
View URI
Step-by-step guide
Step 01 View URI opens a web address or another supported link in Android's default app. Use it when a script needs to show a page or hand a link to an app.
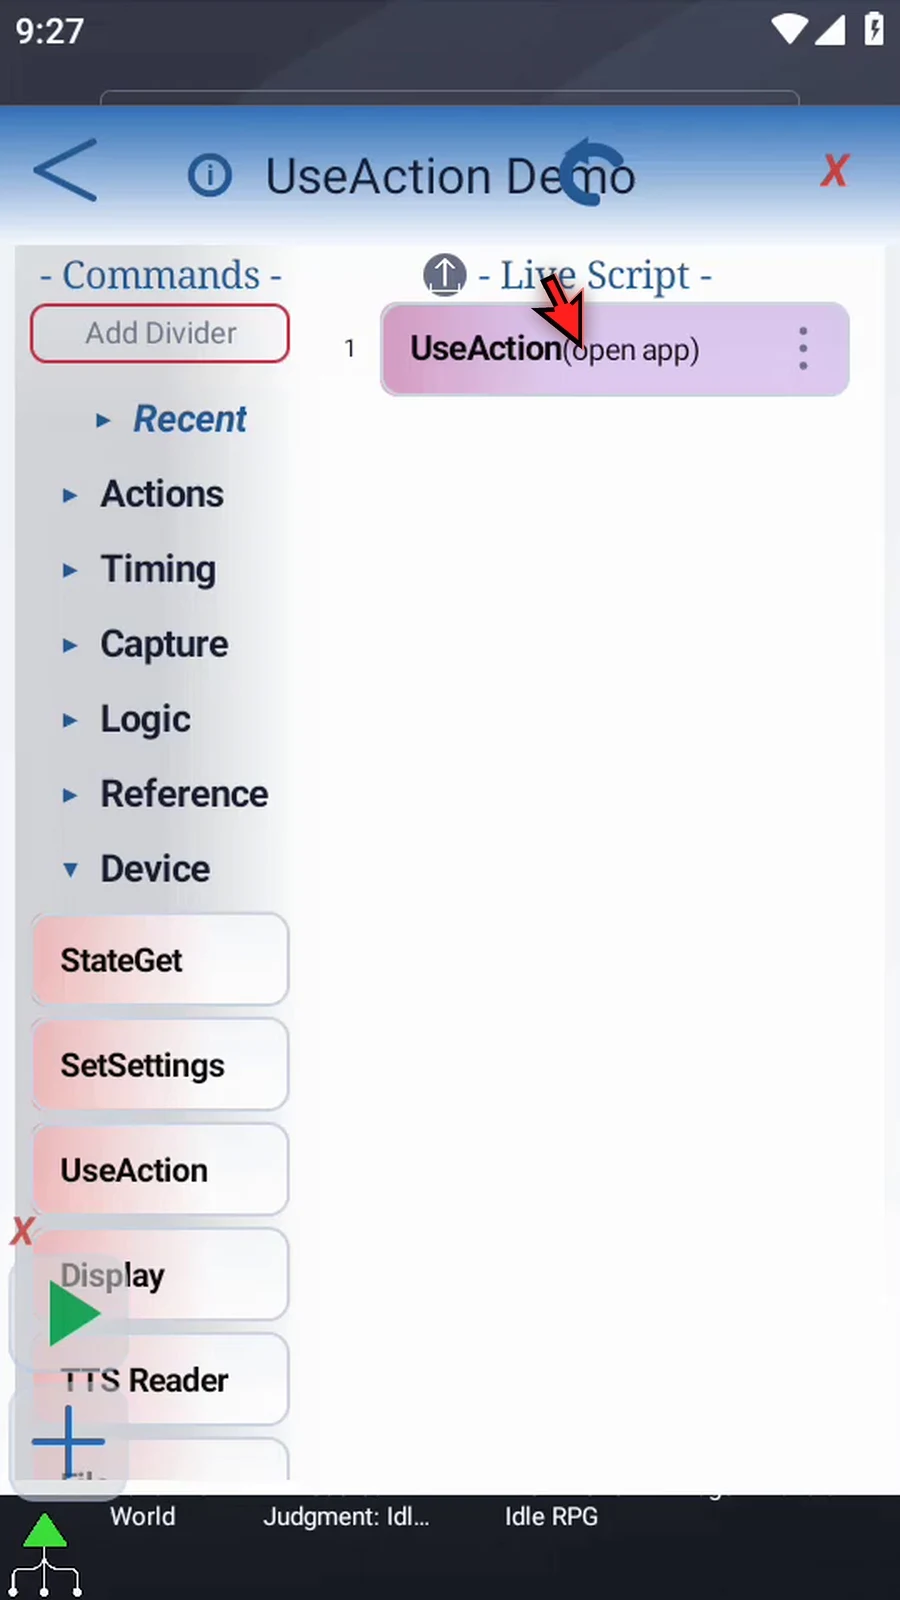
Step 02 We will continue with the script from the introduction. Open the existing UseAction command.
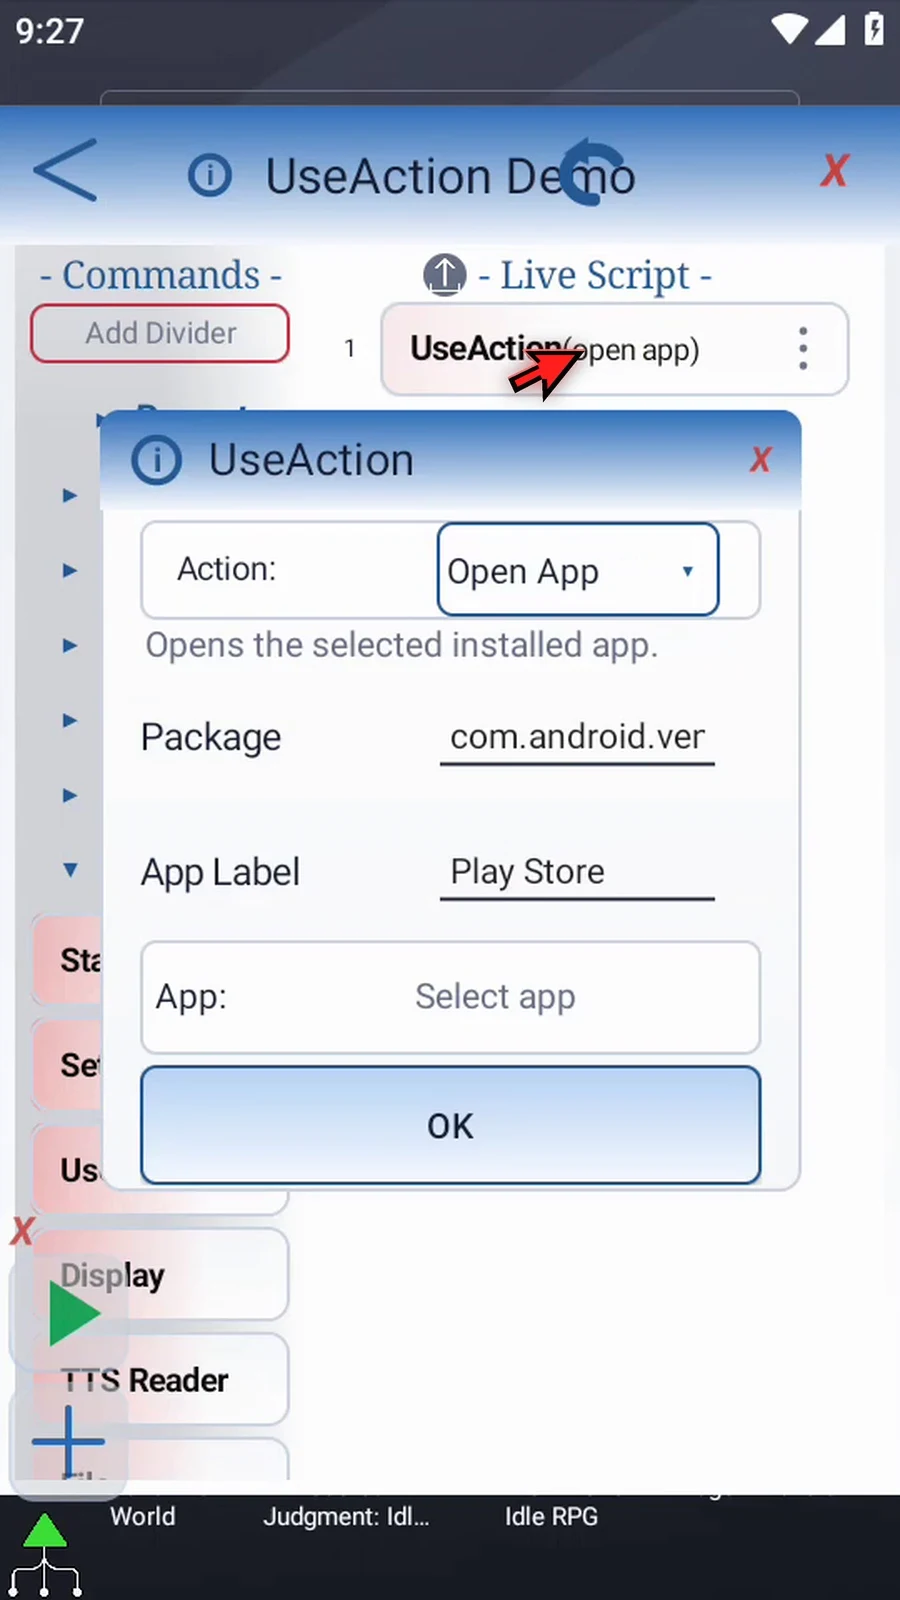
Step 03 Open the Action list and choose View URI. The URI field replaces the app-selection fields.
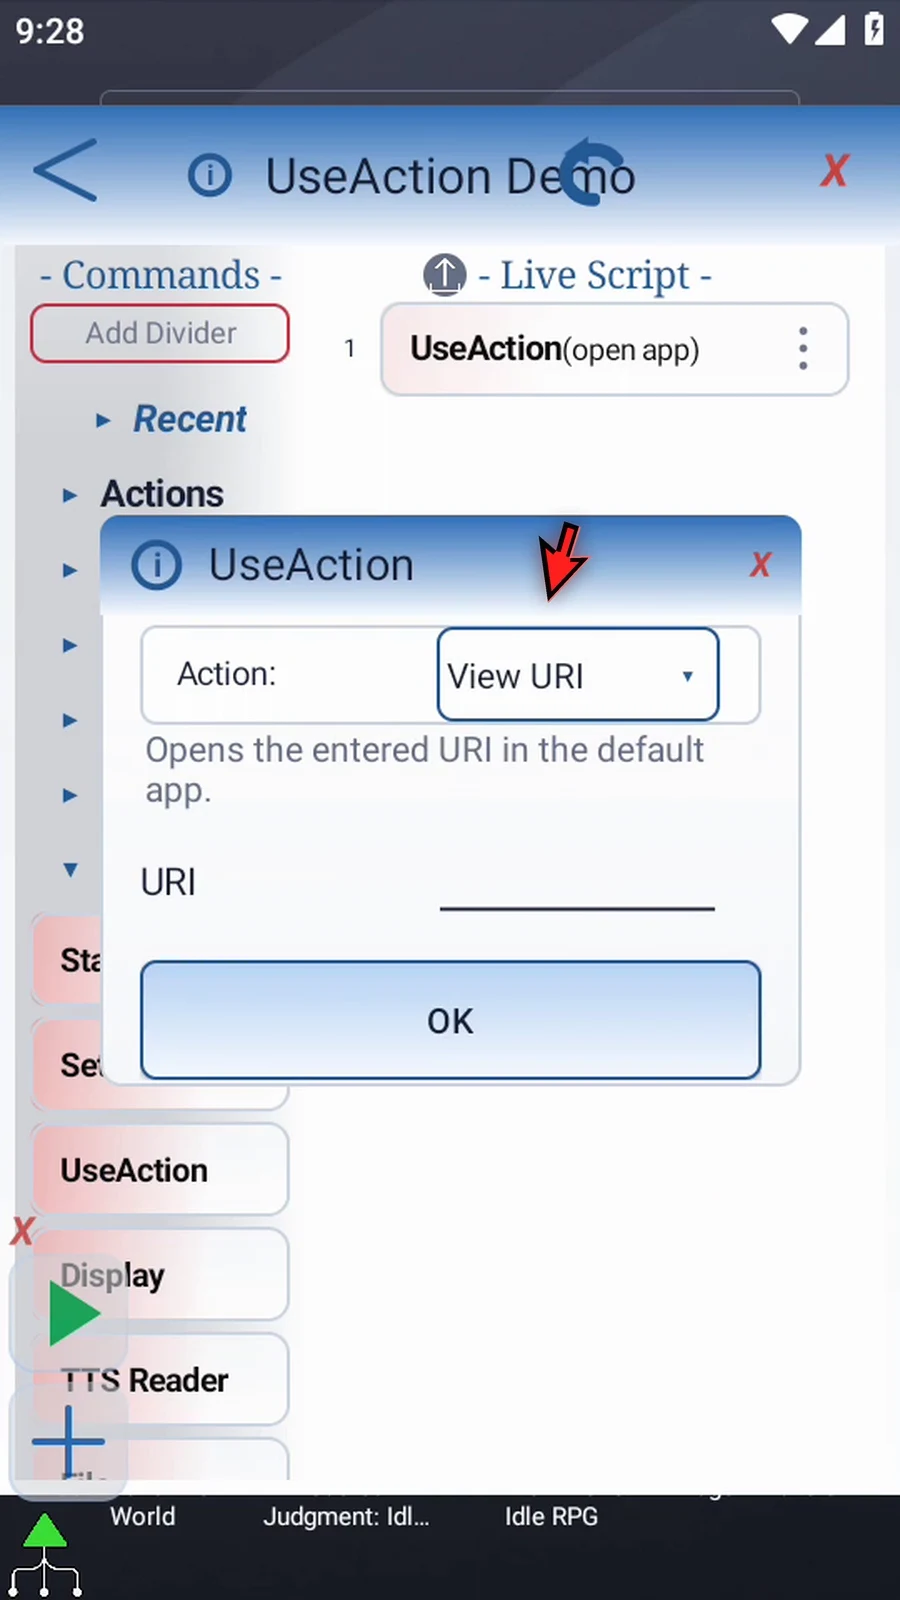
Step 04 Enter a complete web address, including its prefix. We will use the ScriptTap website in this example.
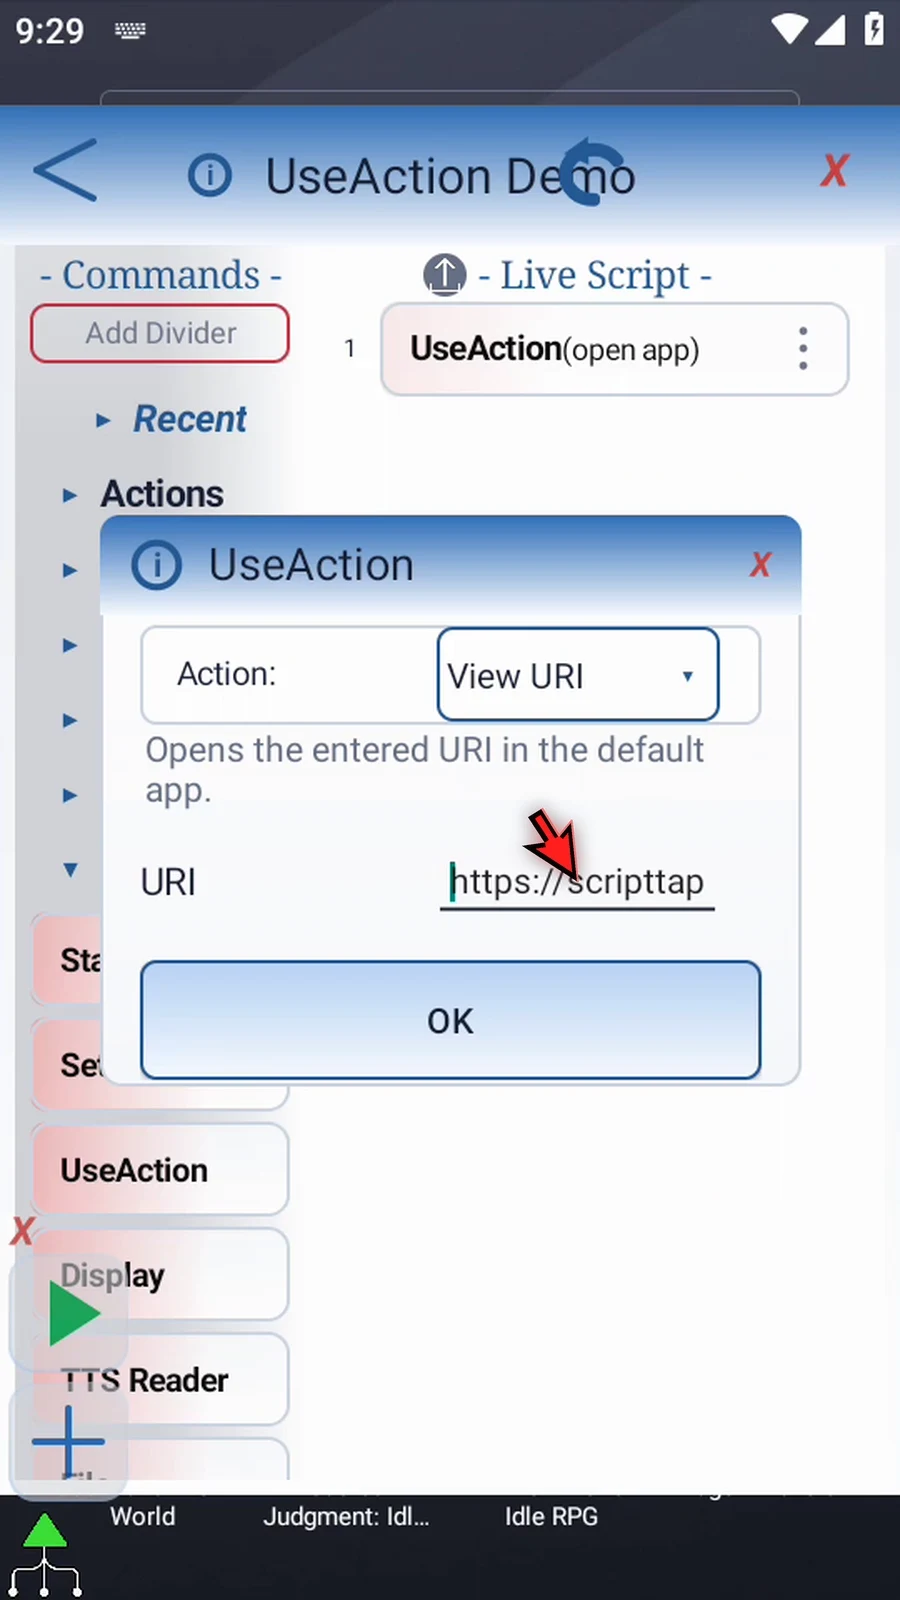
Step 05 This example uses a web link. Other link schemes need an installed app that can handle them. View URI uses Android's default handler rather than choosing an app here.
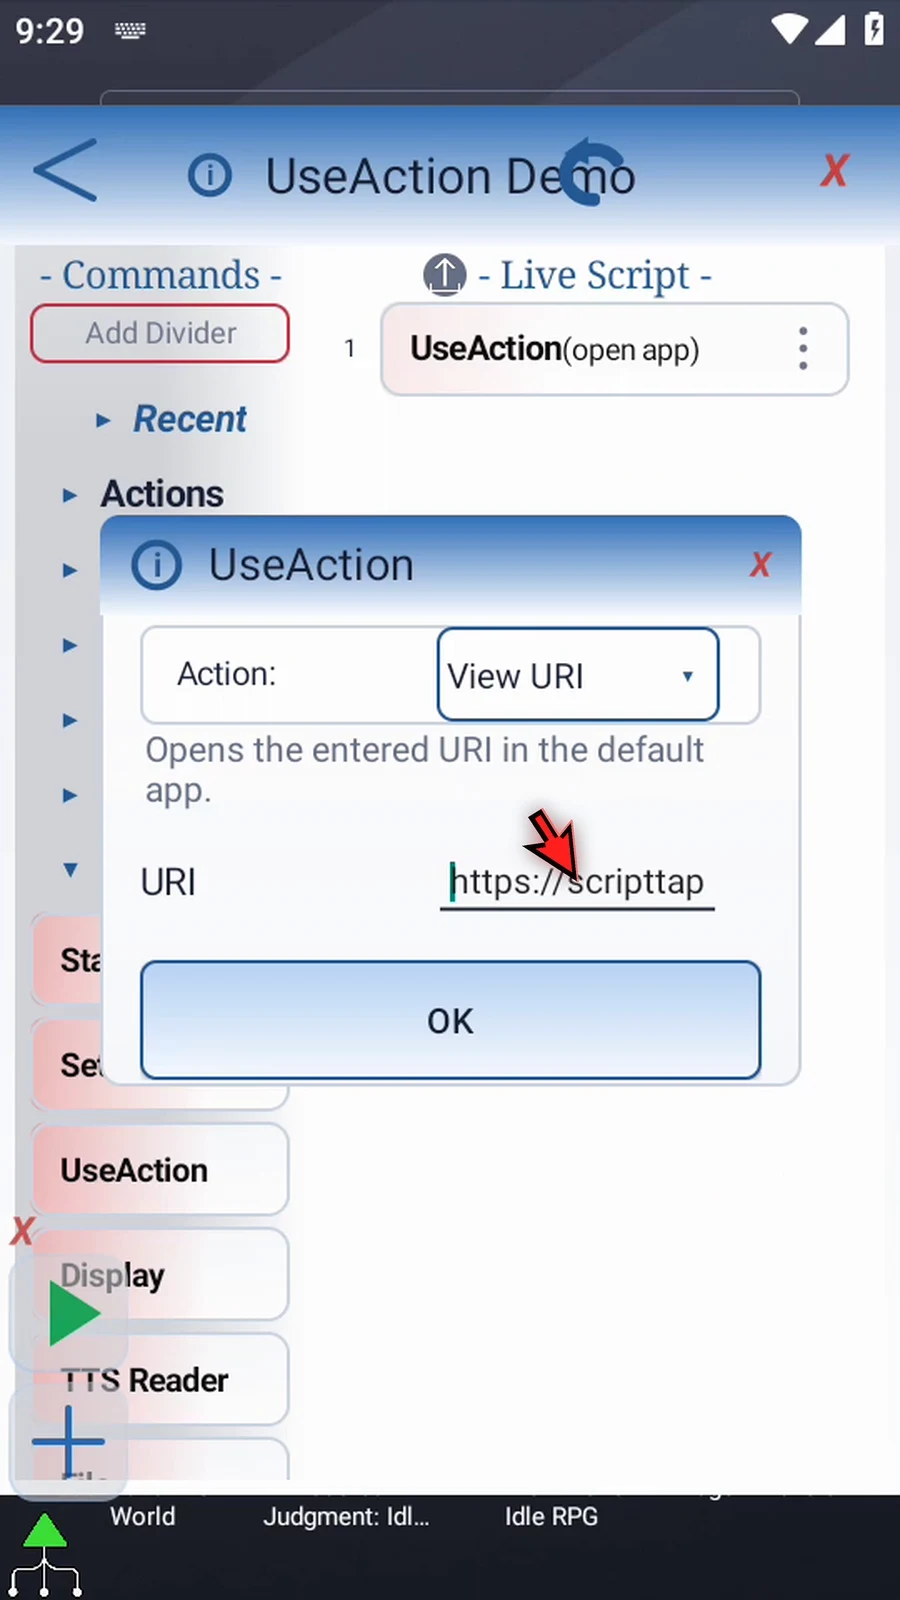
Step 06 Tap OK. The script now contains one View URI action.
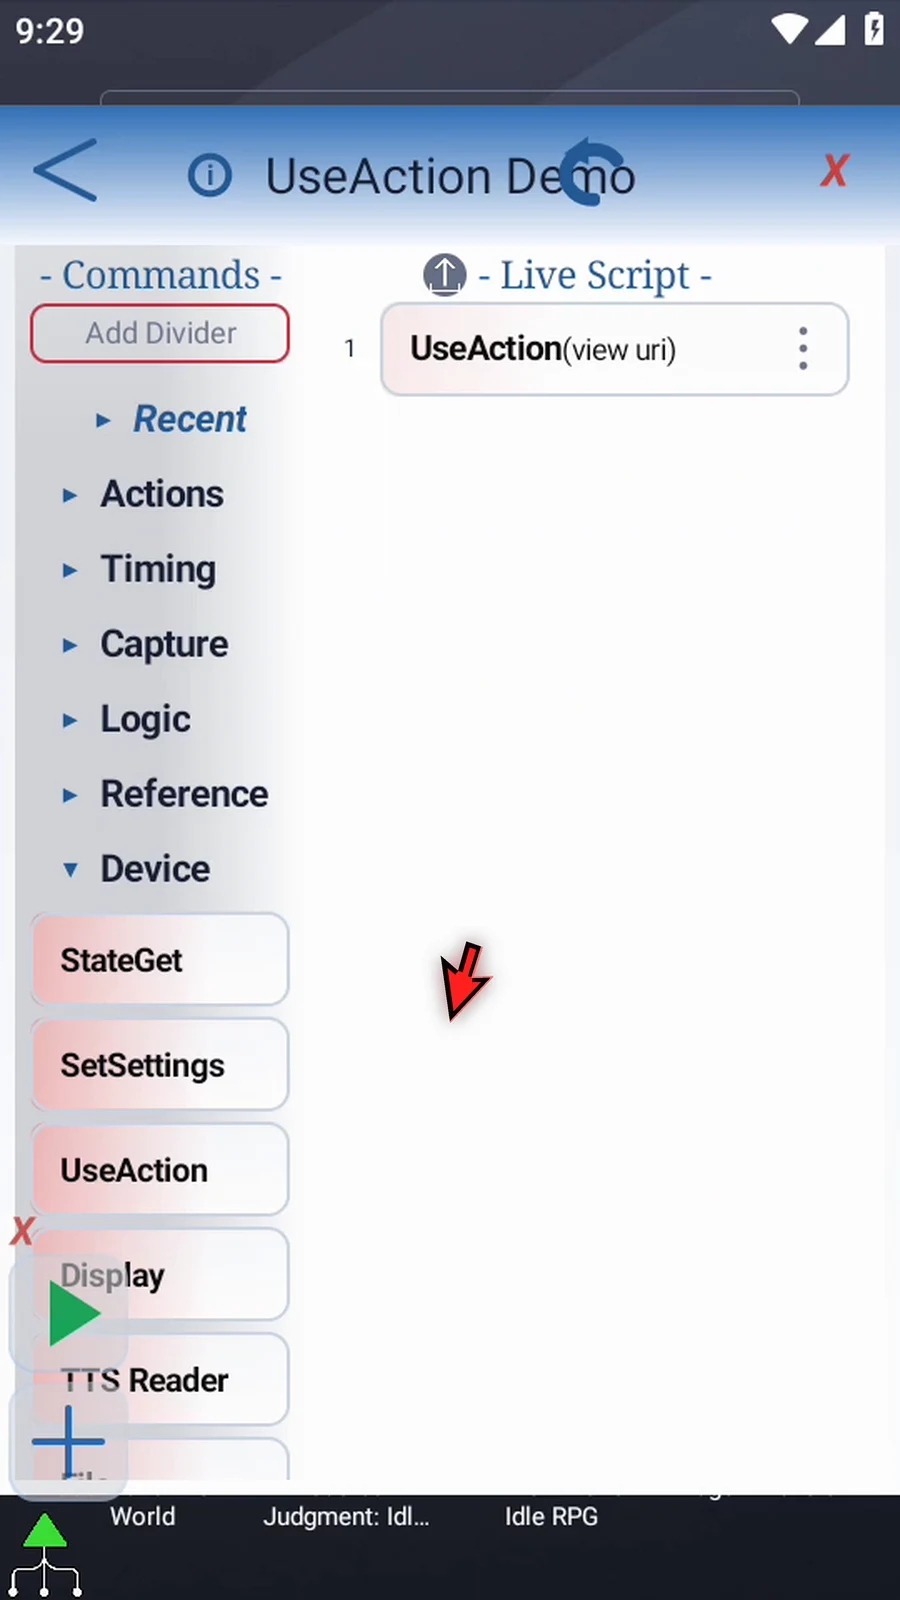
Step 07 View URI sends the request once. It does not wait for the page to finish loading or check that it opened. Add an appropriate wait before commands that interact with the destination.
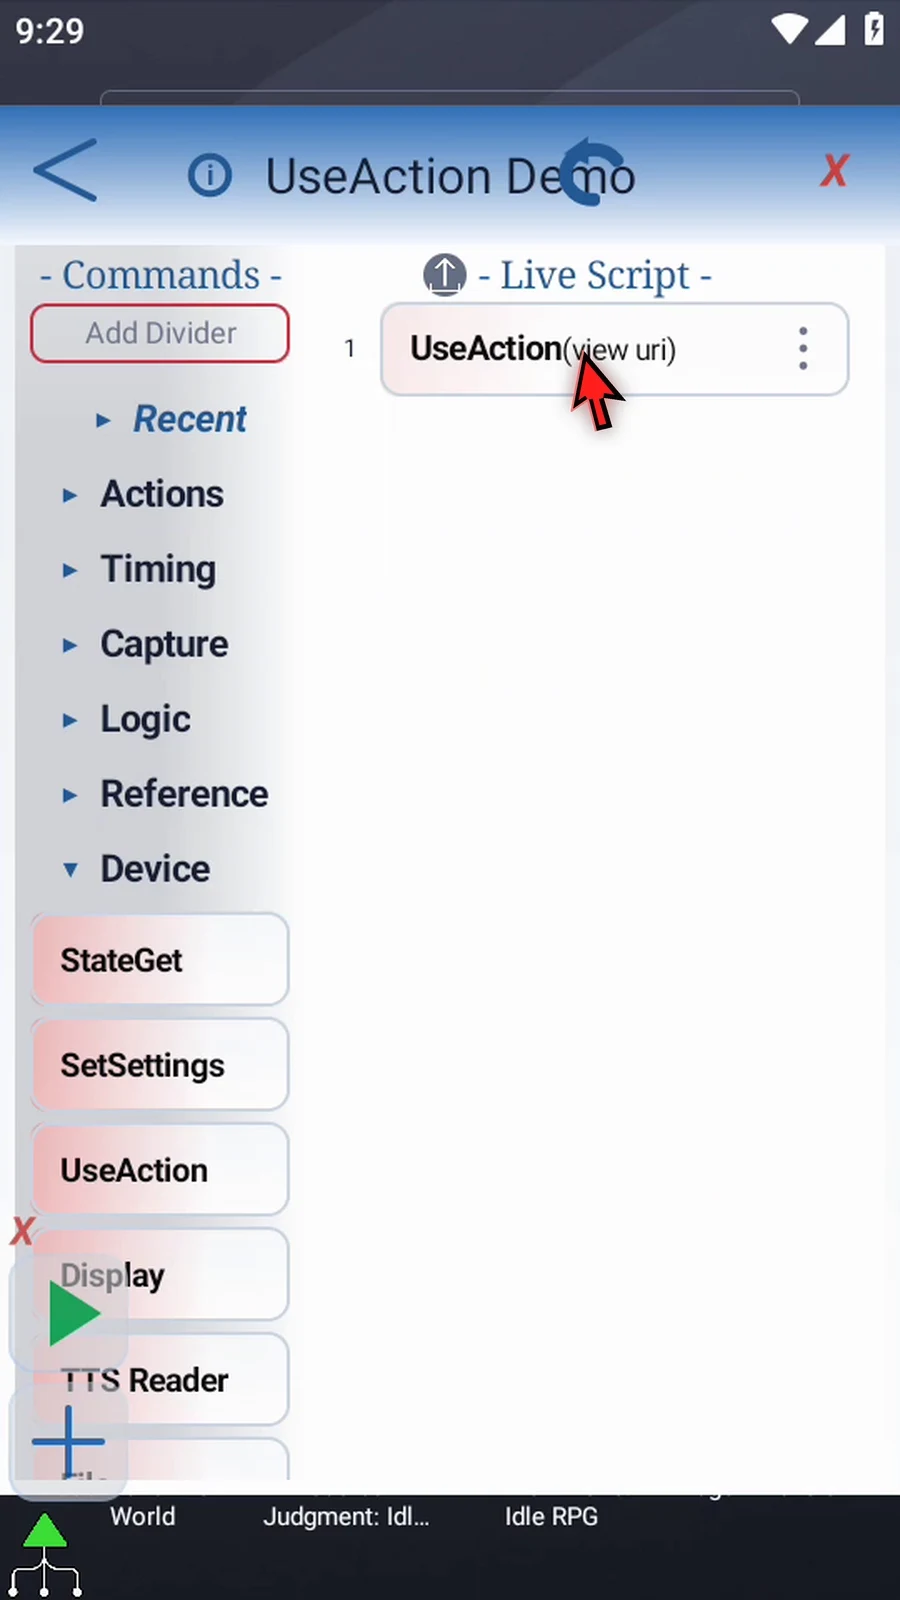
Step 08 When the script is complete, simply use the Play button in the main overlay.
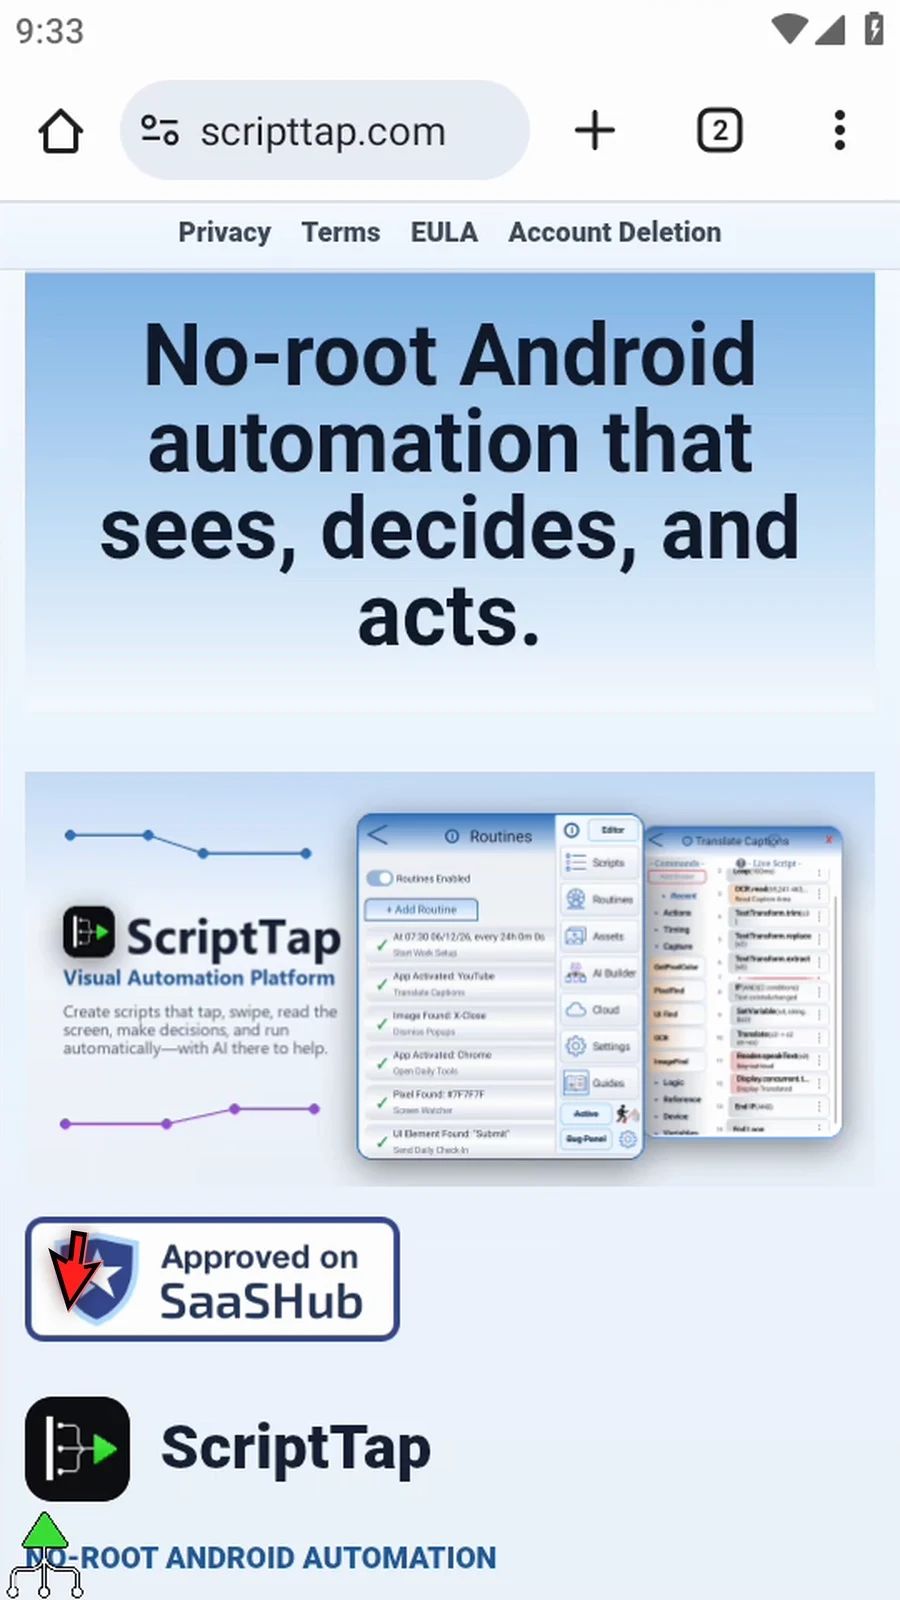
Step 09 The ScriptTap website opens in Chrome on this device. The script finishes automatically after sending the request.
Map URI opens a map link so a script can show a place, search result, or directions. The link determines the requested map operation and location.
Reuse the command from Intro & Open App, select Map URI, and enter this complete example link:
https://www.google.com/maps/search/?api=1&query=Eiffel+Tower+Paris+FranceThis Google Maps search requests the Eiffel Tower in Paris, France. A supported Google Maps web link can open in the Maps app or a browser; this demonstration uses Chrome because the Maps app is not installed. See Google's Maps URL documentation.
- Use a complete link with its scheme and the parameters required by your provider.
- Encode special characters correctly. In this example, plus signs represent spaces in the search text.
- A map-only link such as
geo:needs a compatible installed app. See Android's map-intent guide. - Map URI sends one request. It does not verify the map result or wait for loading to finish.
Add an appropriate wait before later commands interact with the destination. See Delay Until for waiting options.
Map URI
Step-by-step guide
Step 01 Map URI opens a map link so a script can show a place, search result, or directions. In this example, we will search for the Eiffel Tower in Paris.
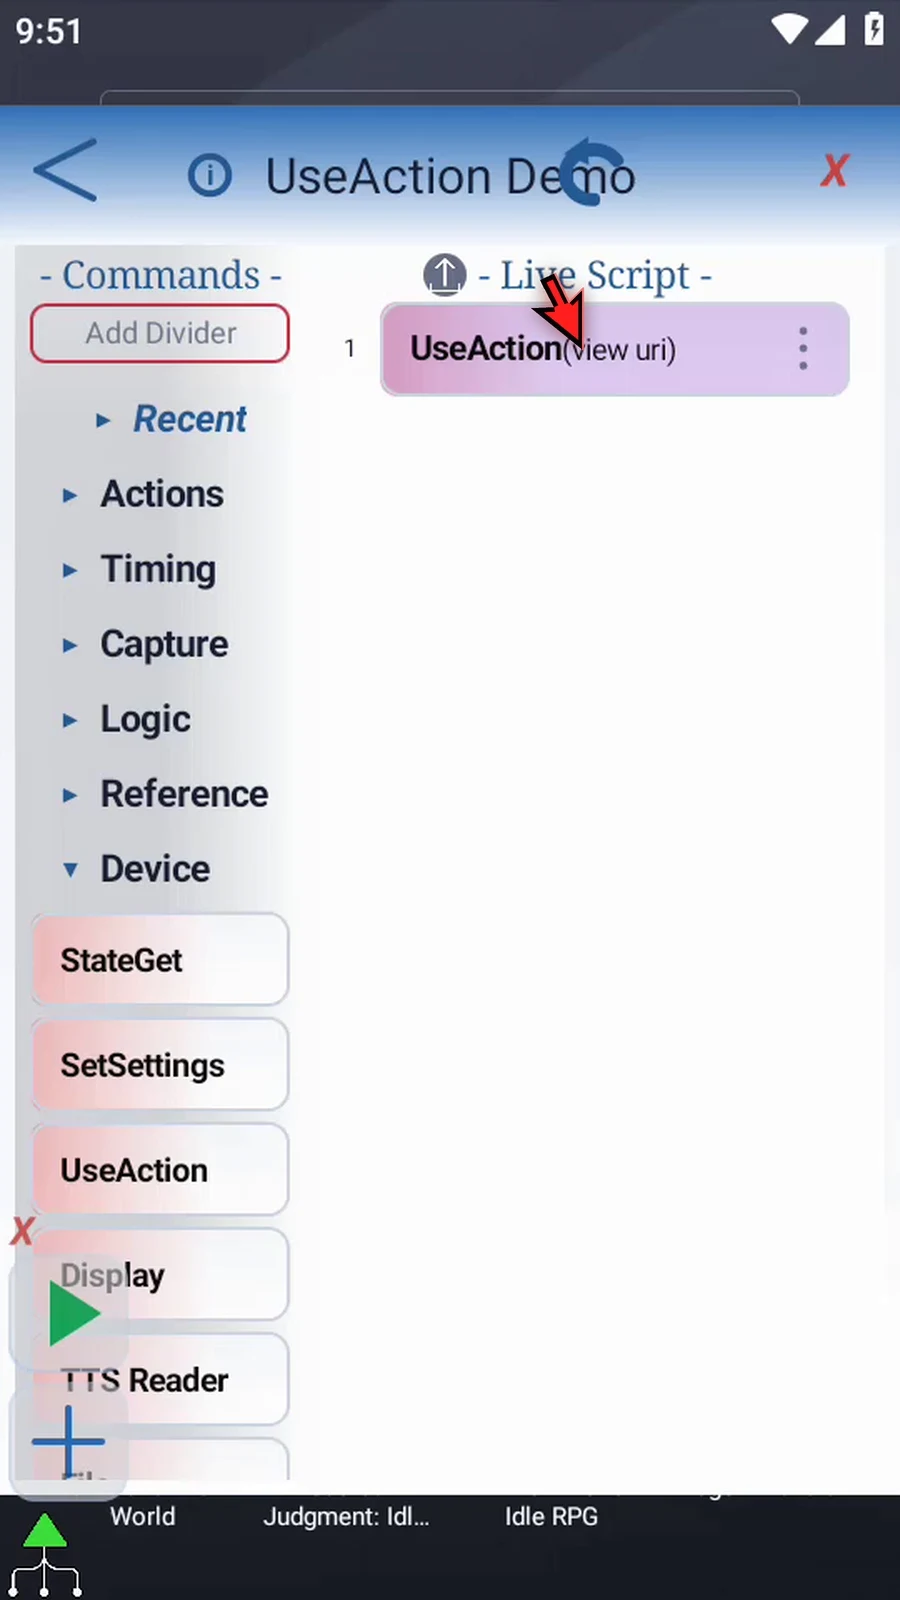
Step 02 We will reuse the command from the introduction. Open the existing UseAction command.
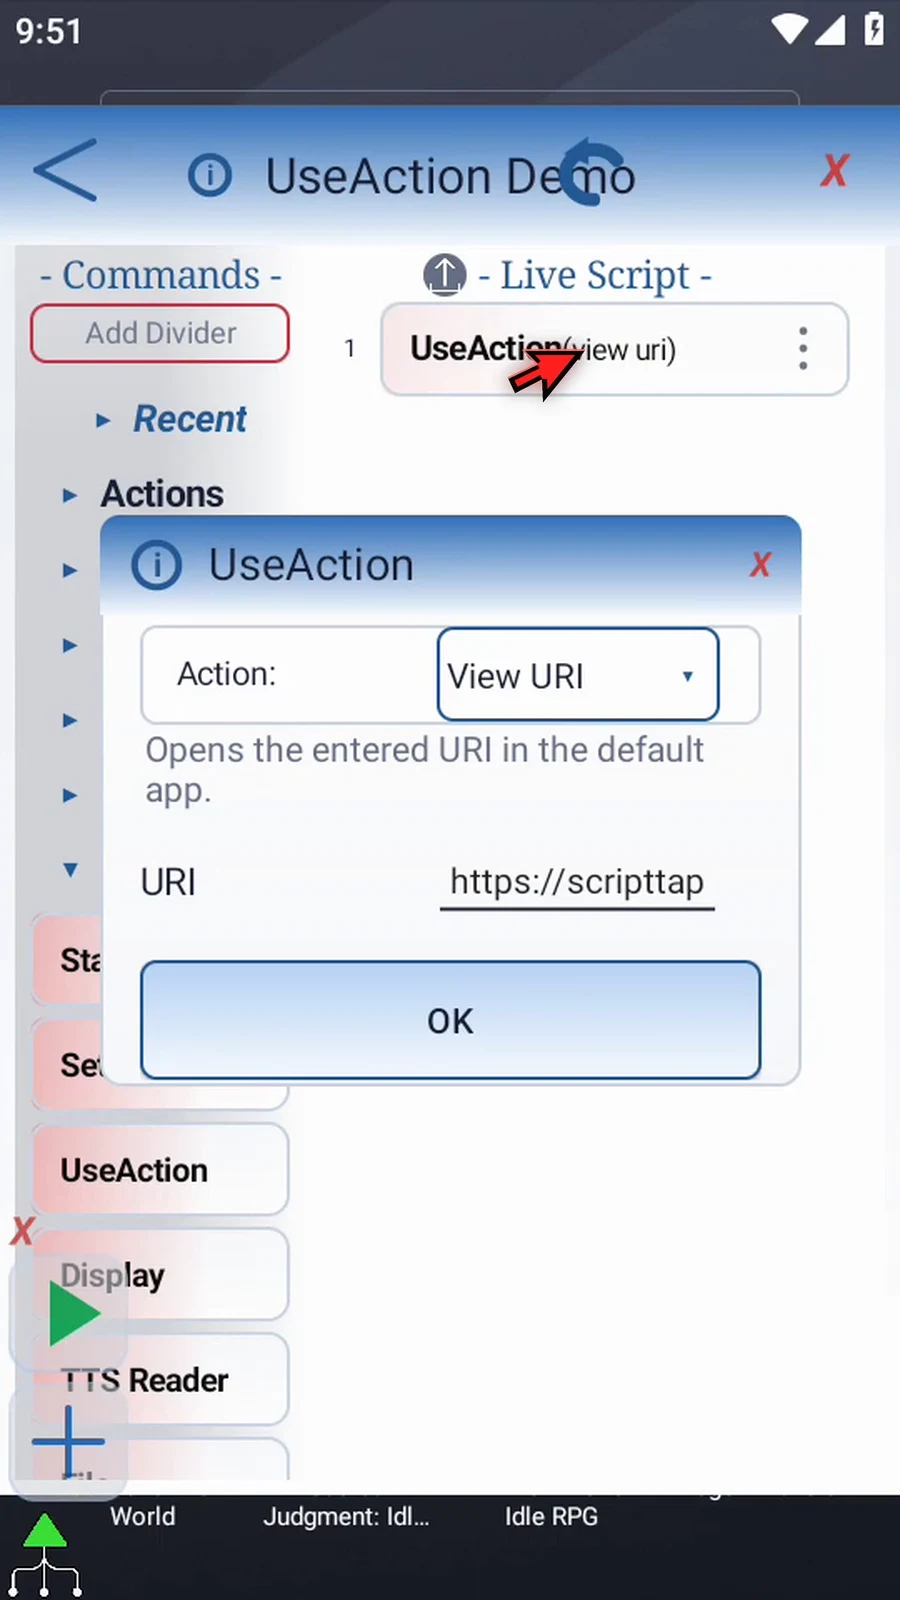
Step 03 Open the Action list and choose Map URI. The URI field is where you put the map link.
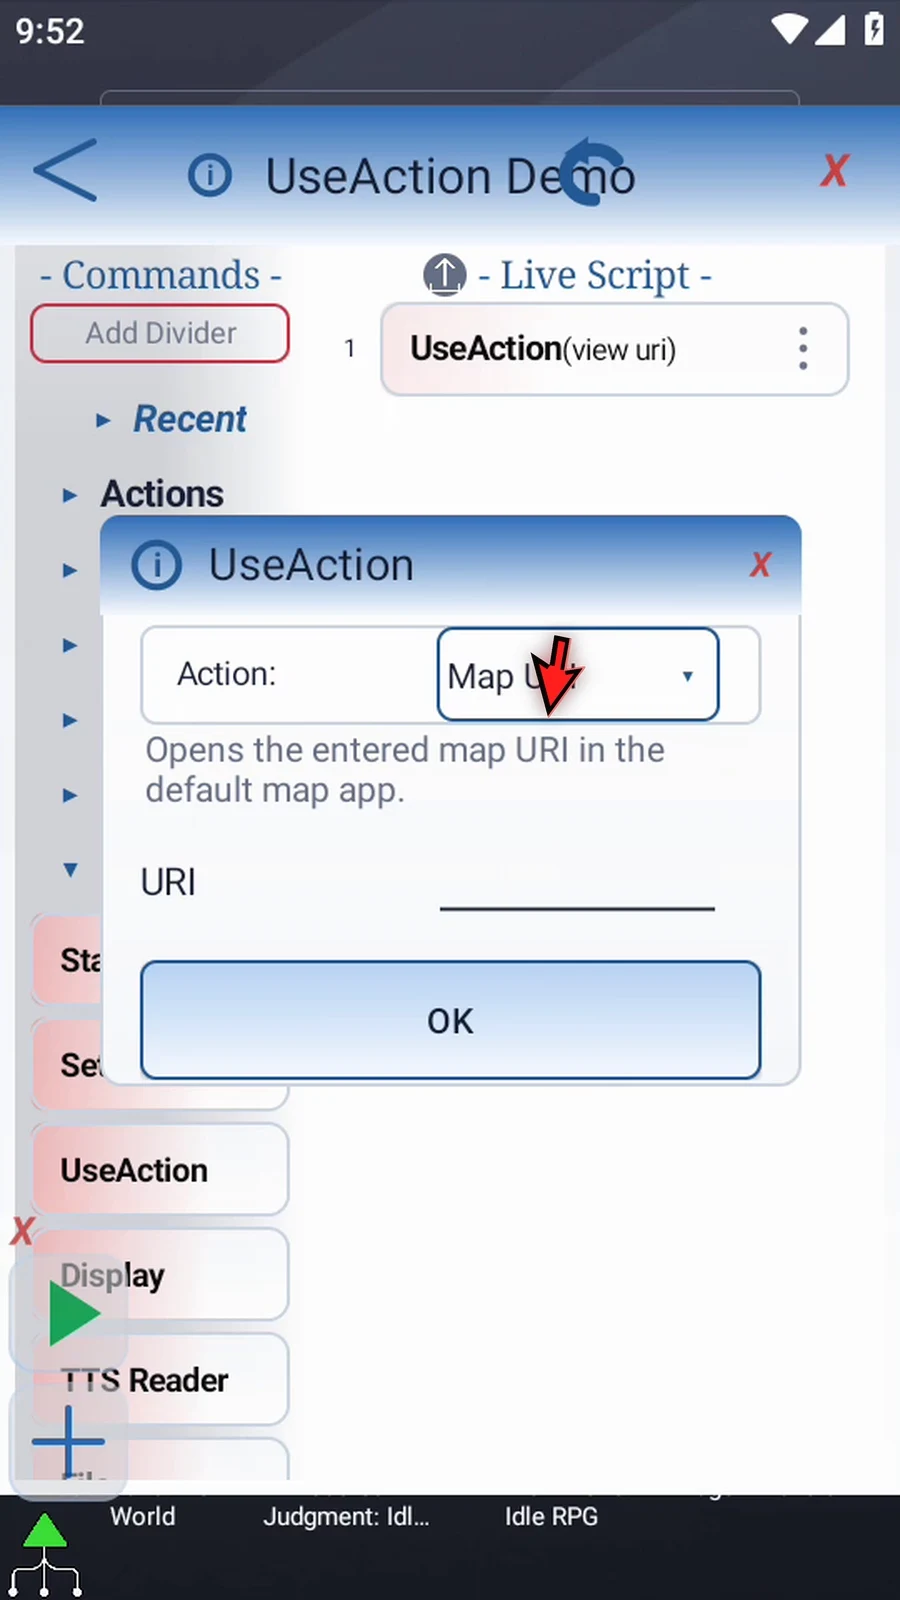
Step 04 Enter the complete map link. This Google Maps link searches for the Eiffel Tower in Paris, France. You can copy the full example link from this guide page.
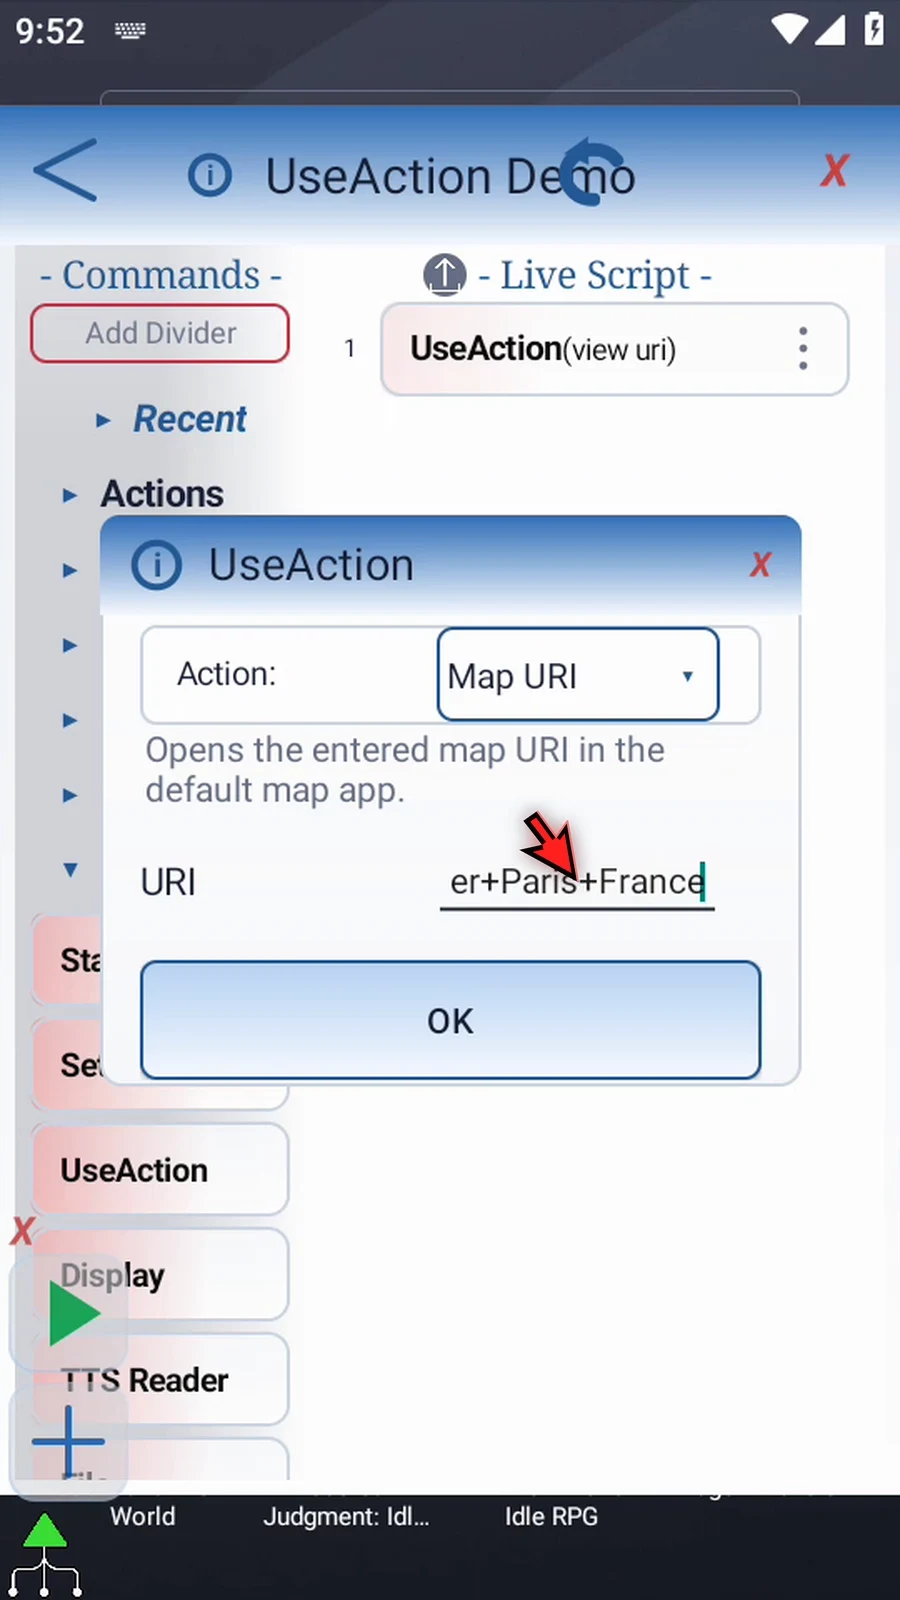
Step 05 The link decides which map operation and location to request. Use a format supported by your map provider, and encode special characters correctly. In this example, plus signs stand for spaces in the search text.
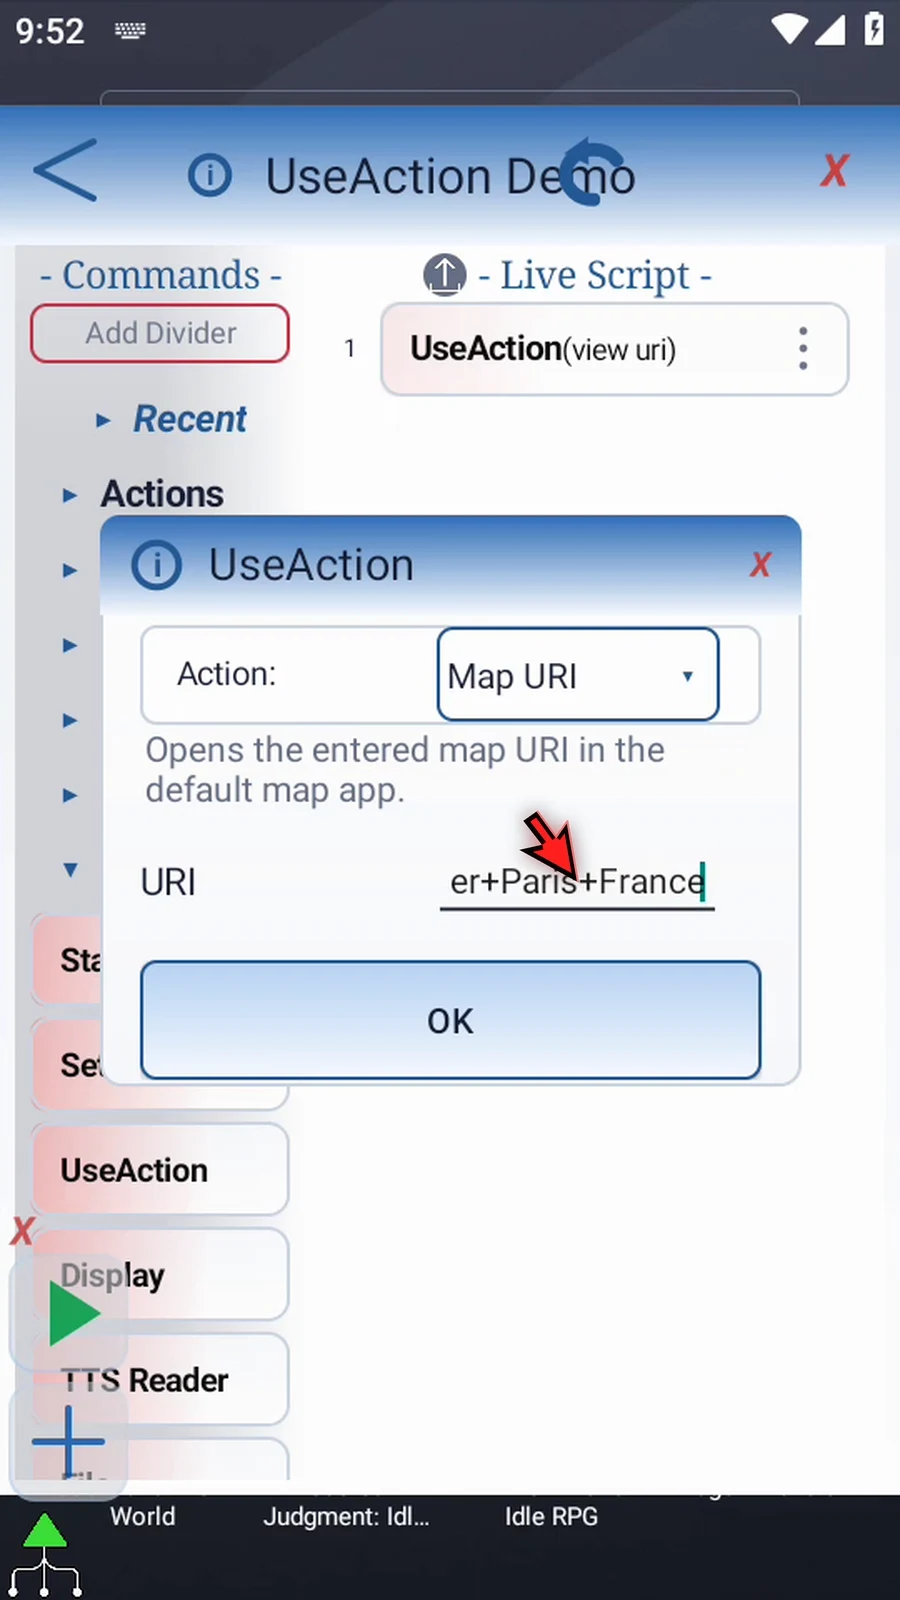
Step 06 A map-only link, such as one beginning with geo, needs a compatible installed app. A web map link can also work in a browser.
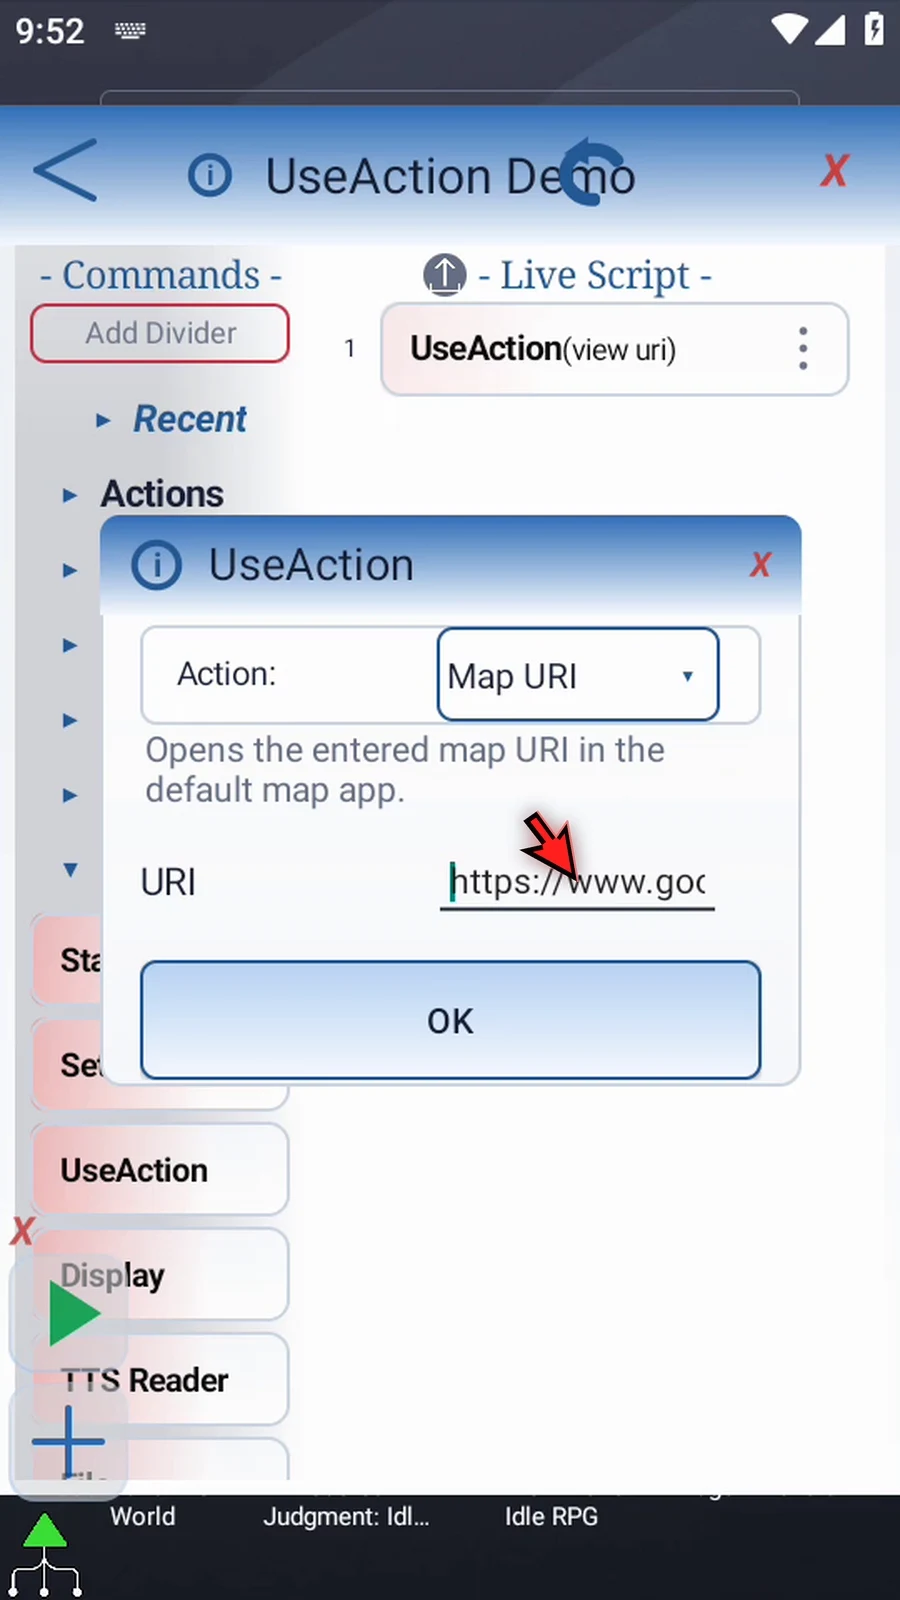
Step 07 Tap OK. The script now contains one Map URI action.
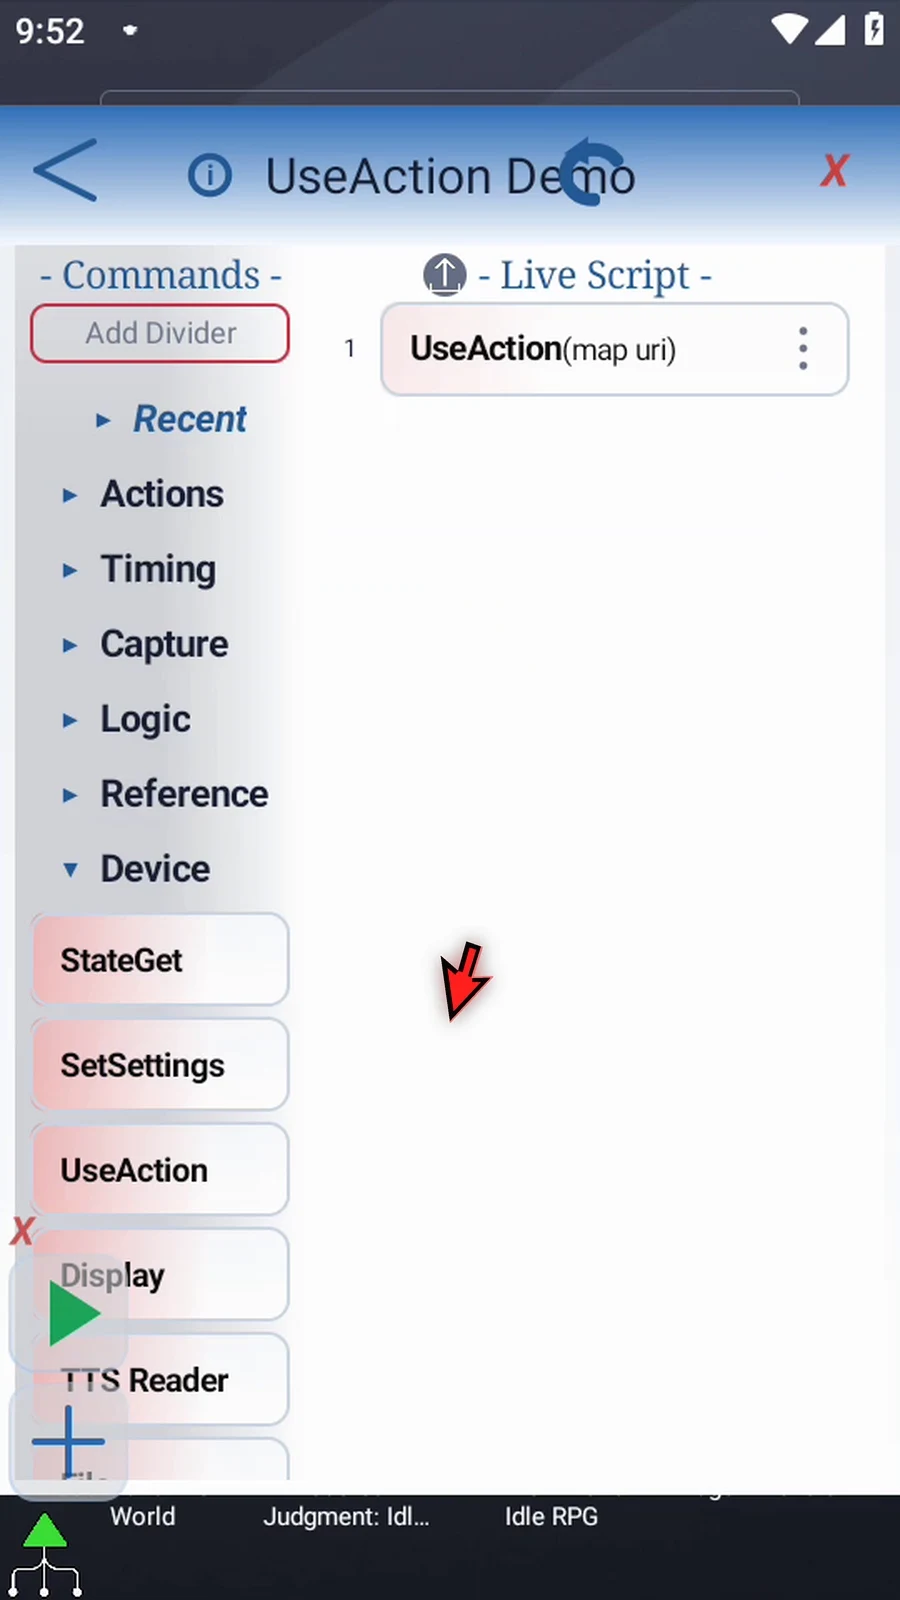
Step 08 Map URI sends the request once. It does not check the map result or wait for loading to finish. Add an appropriate wait before later commands interact with the destination.
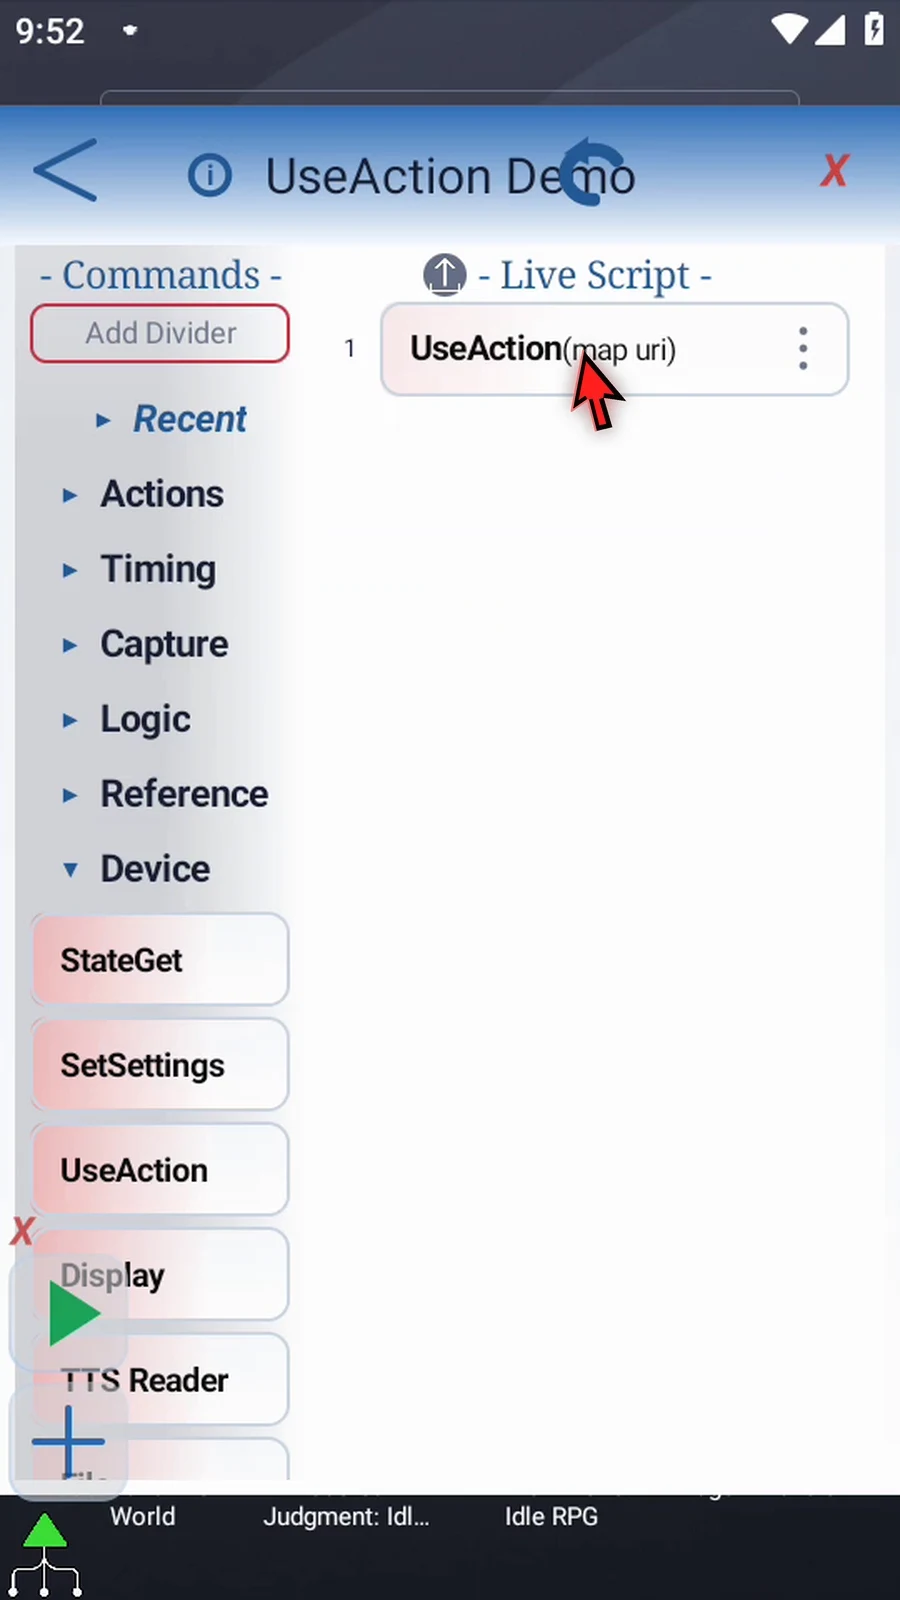
Step 09 When the script is complete, simply use the Play button in the main overlay.
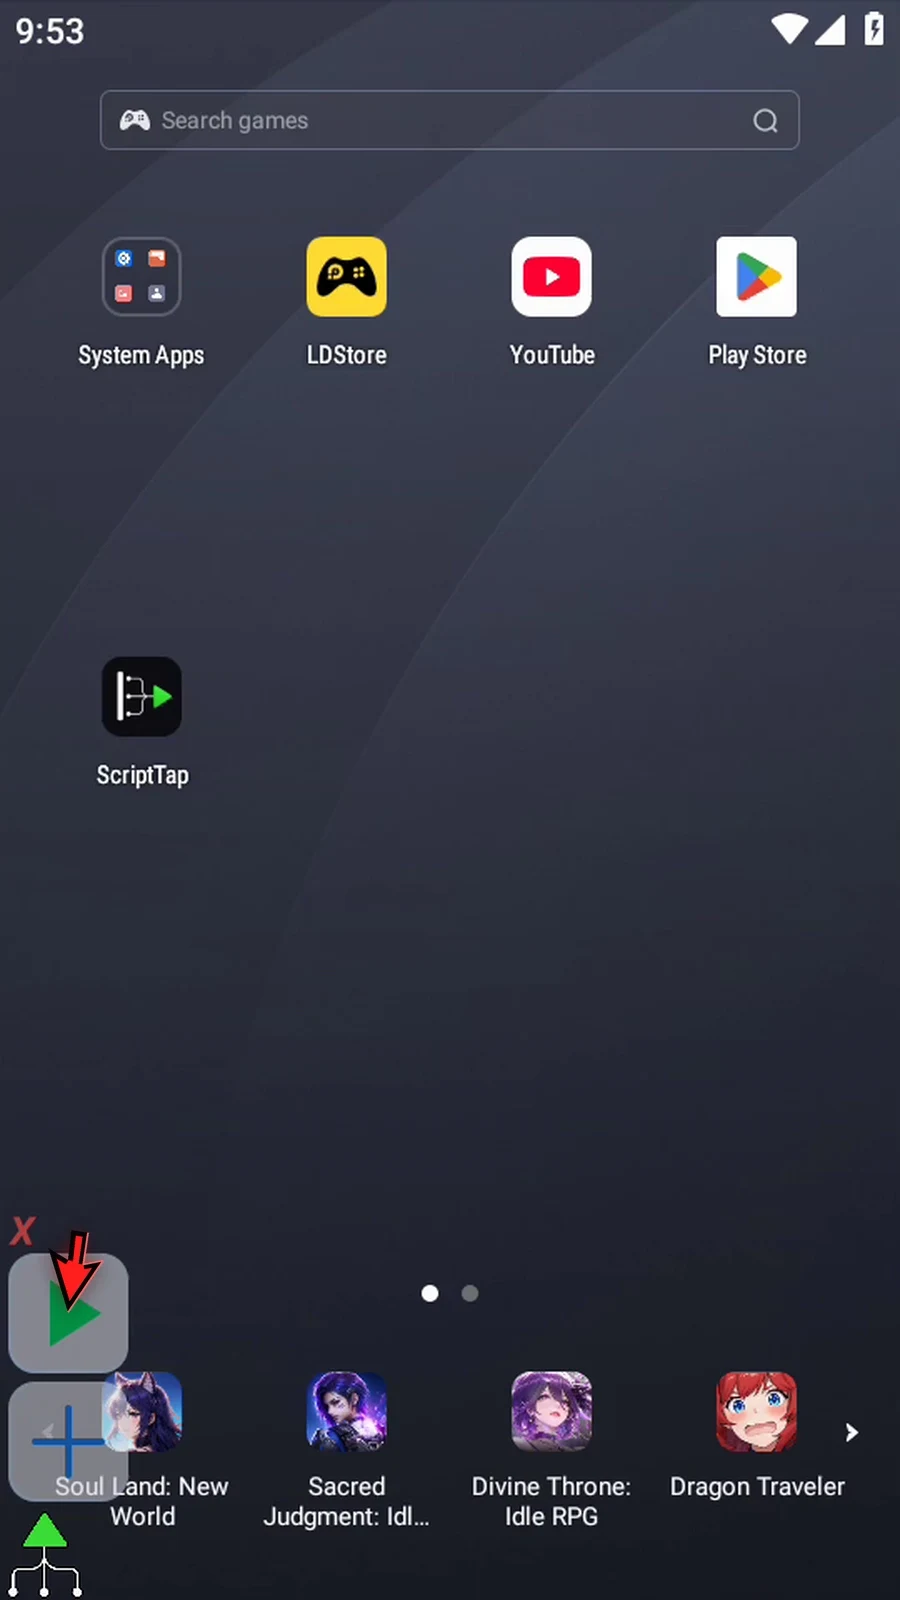
Step 10 Which app opens depends on the link and the apps installed. On this device, Google Maps opens in Chrome because the Maps app is not installed.
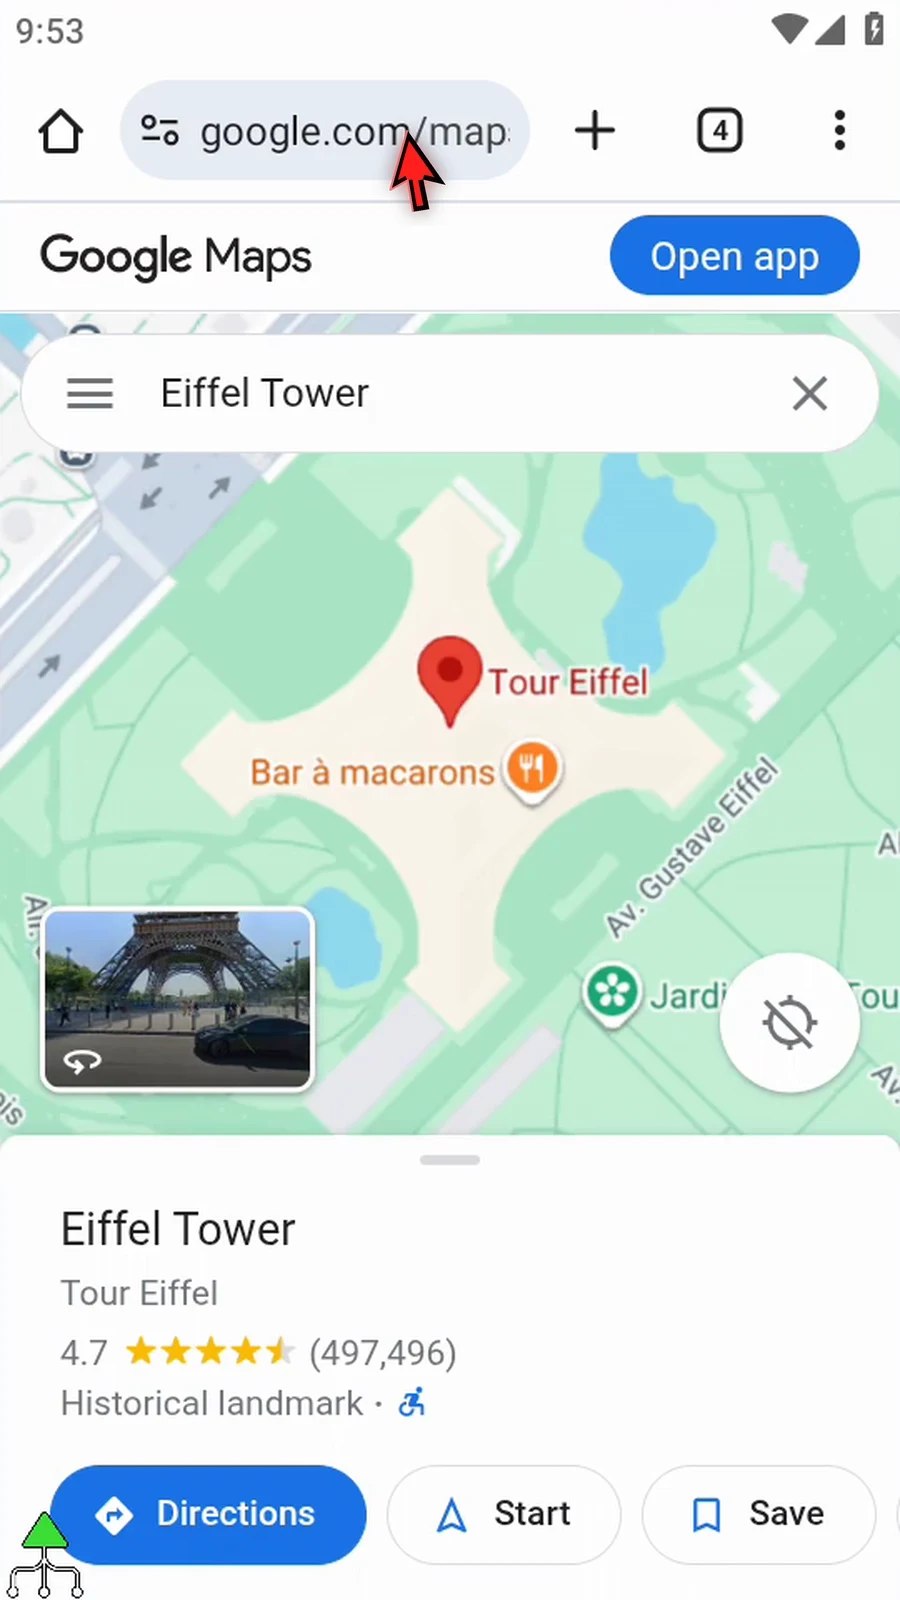
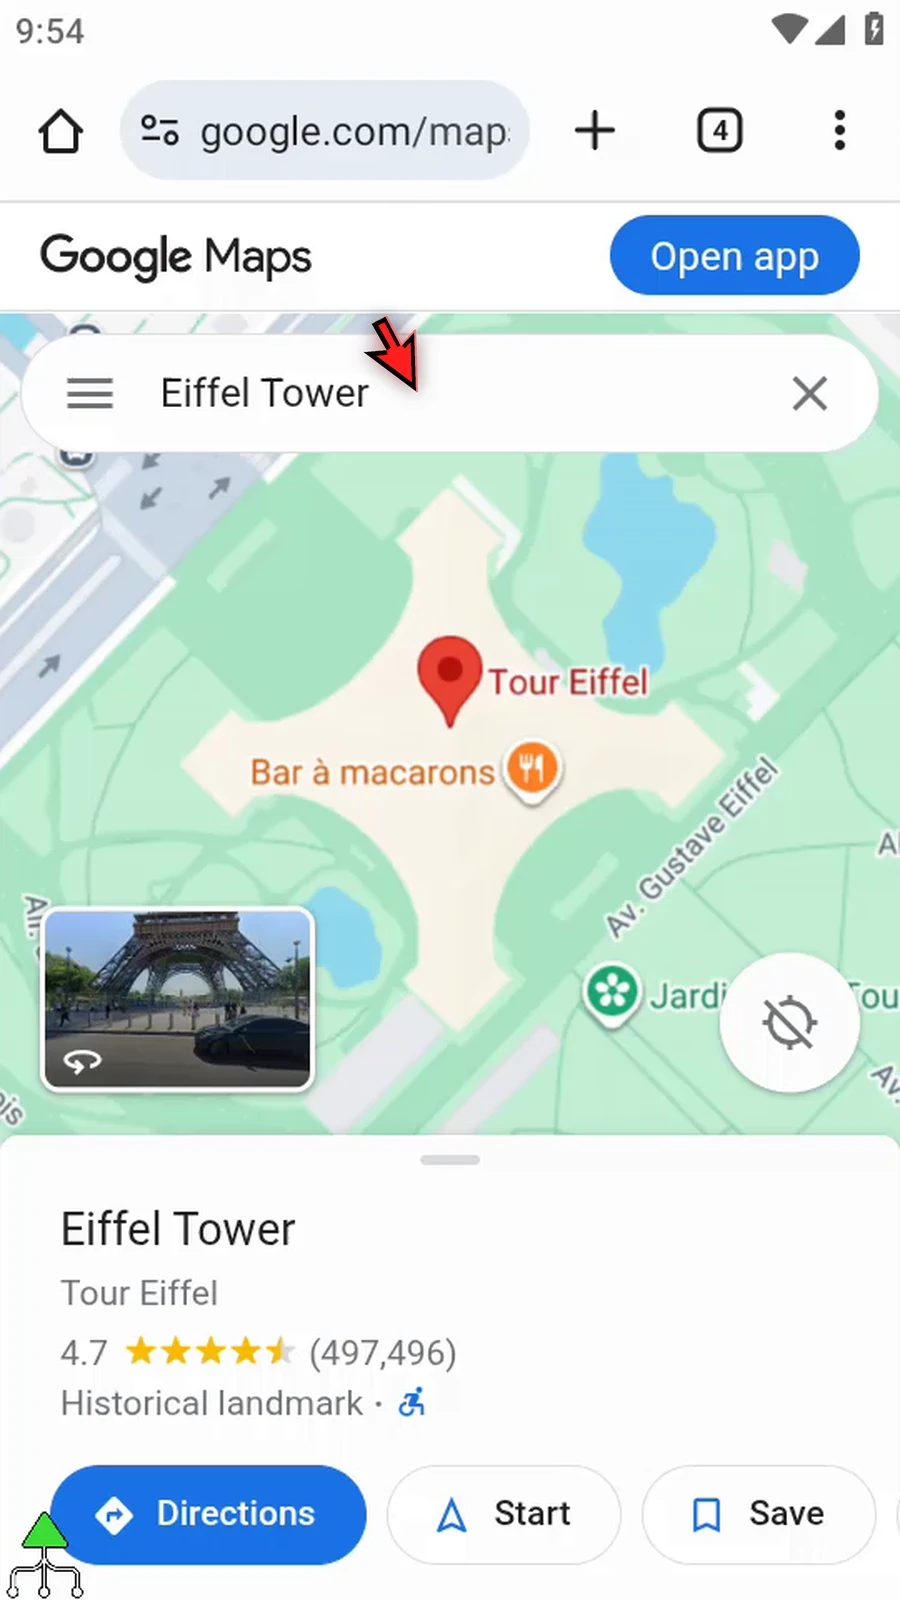
Step 11 Google Maps shows the Eiffel Tower result in Chrome. The script finishes automatically after sending the link request.
App Details opens Android's information and settings page for a selected app. It reaches that system page directly instead of launching the app itself.
Reuse the command from Intro & Open App, select App Details, then use Select app to choose an installed app. This example selects Play Store.
- ScriptTap fills in the app's package name and display label. The package identifies the target; the label helps you recognize it.
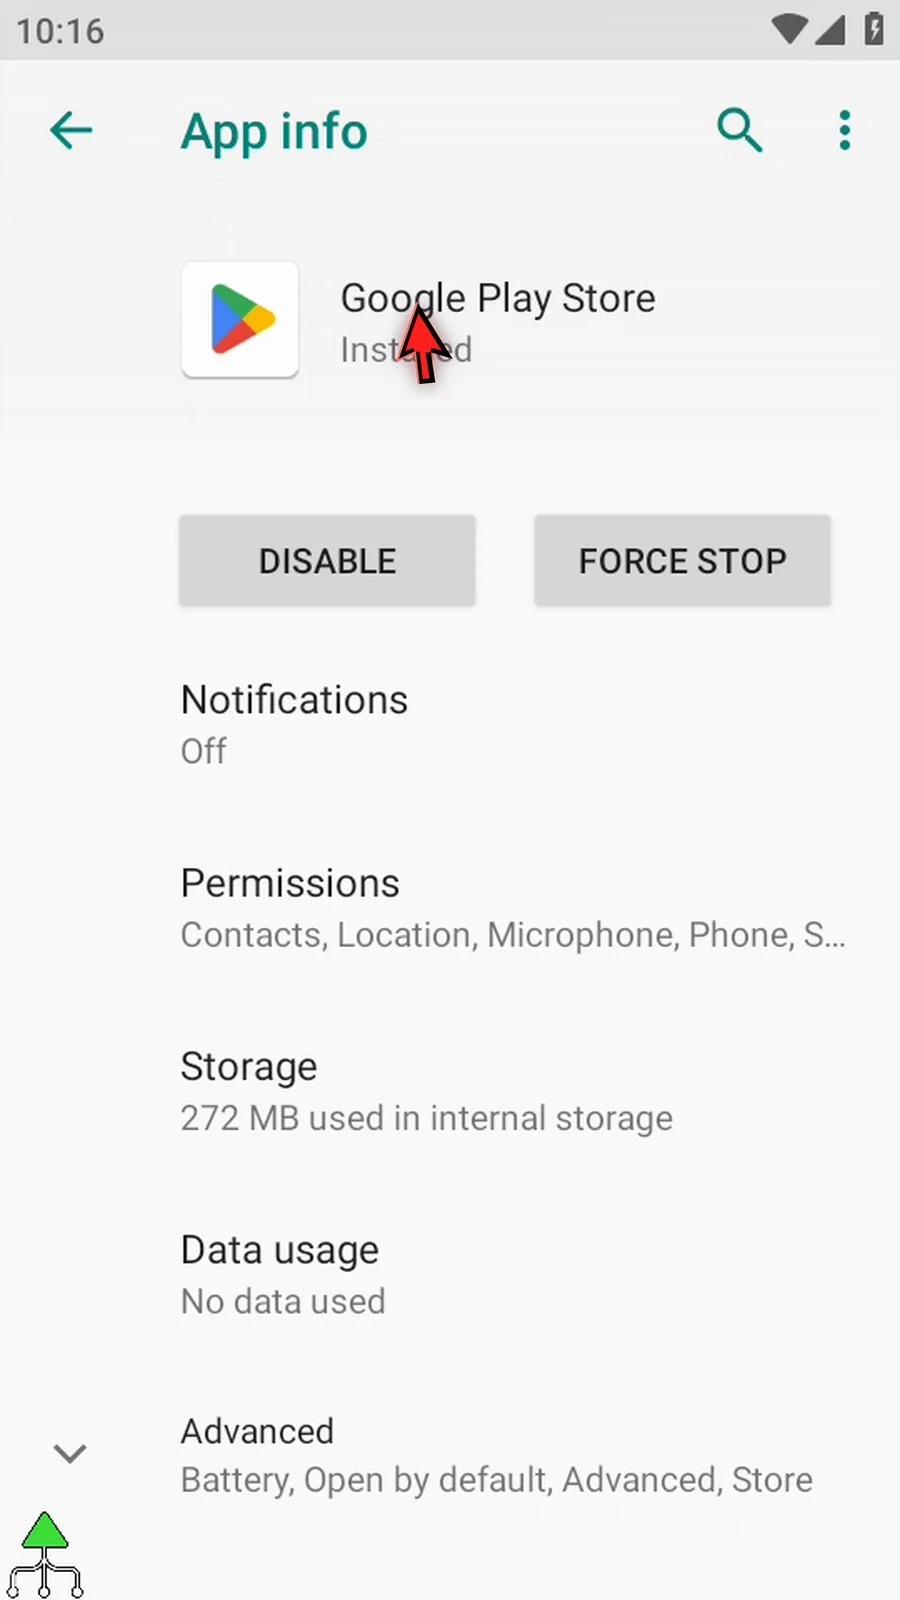
- The one-command example opens the actual Google Play Store App info page.
- App Details sends one request. It does not change permissions, disable or force-stop the app, or verify the external result.
- The script finishes after dispatch. Add an appropriate wait before later commands interact with the destination page.
See Delay Until for waiting options.
App Details
Step-by-step guide
Step 01 App Details opens Android's information and settings page for a selected app. Use it to reach that system page directly instead of launching the app itself.
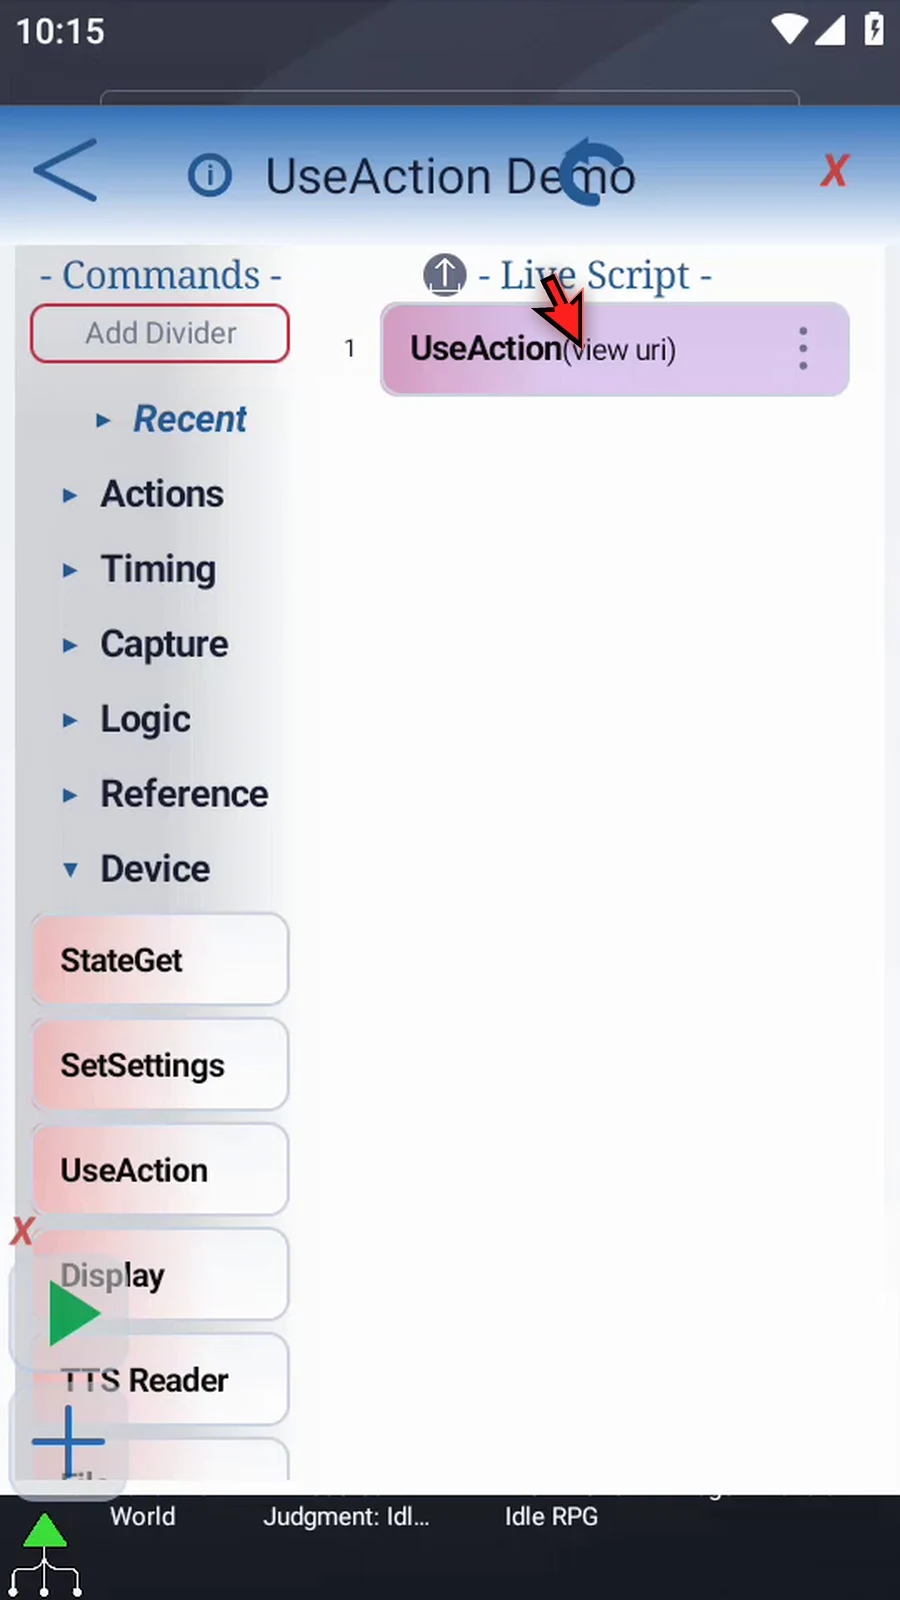
Step 02 Open the existing UseAction command in the tutorial script.
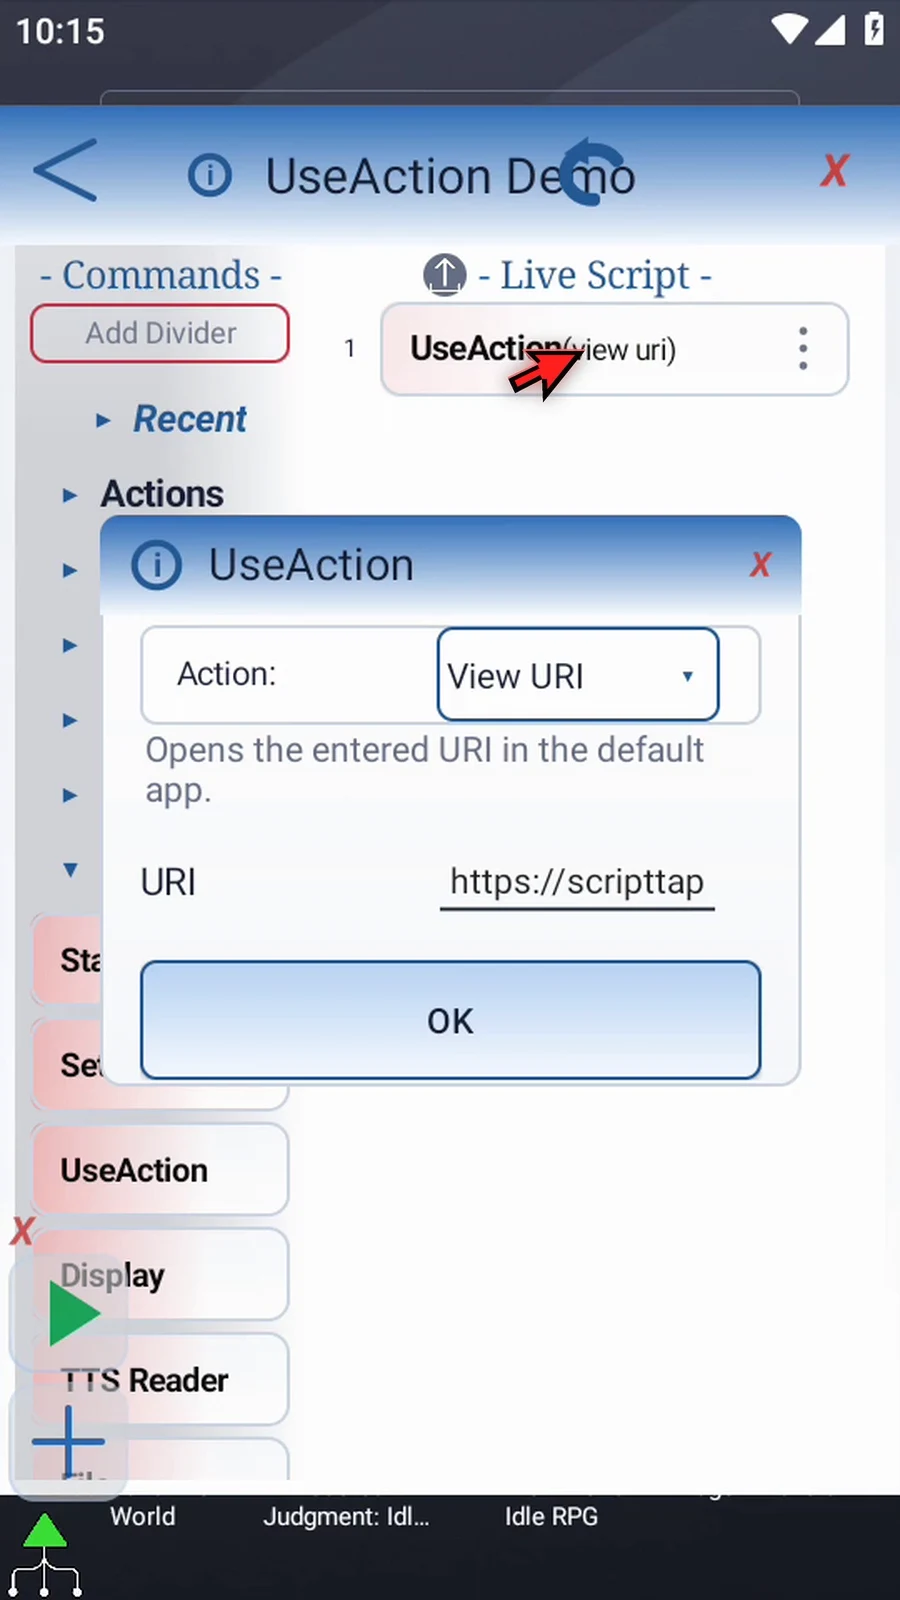
Step 03 Open Action and choose App Details. Now choose the app whose details you want to open.
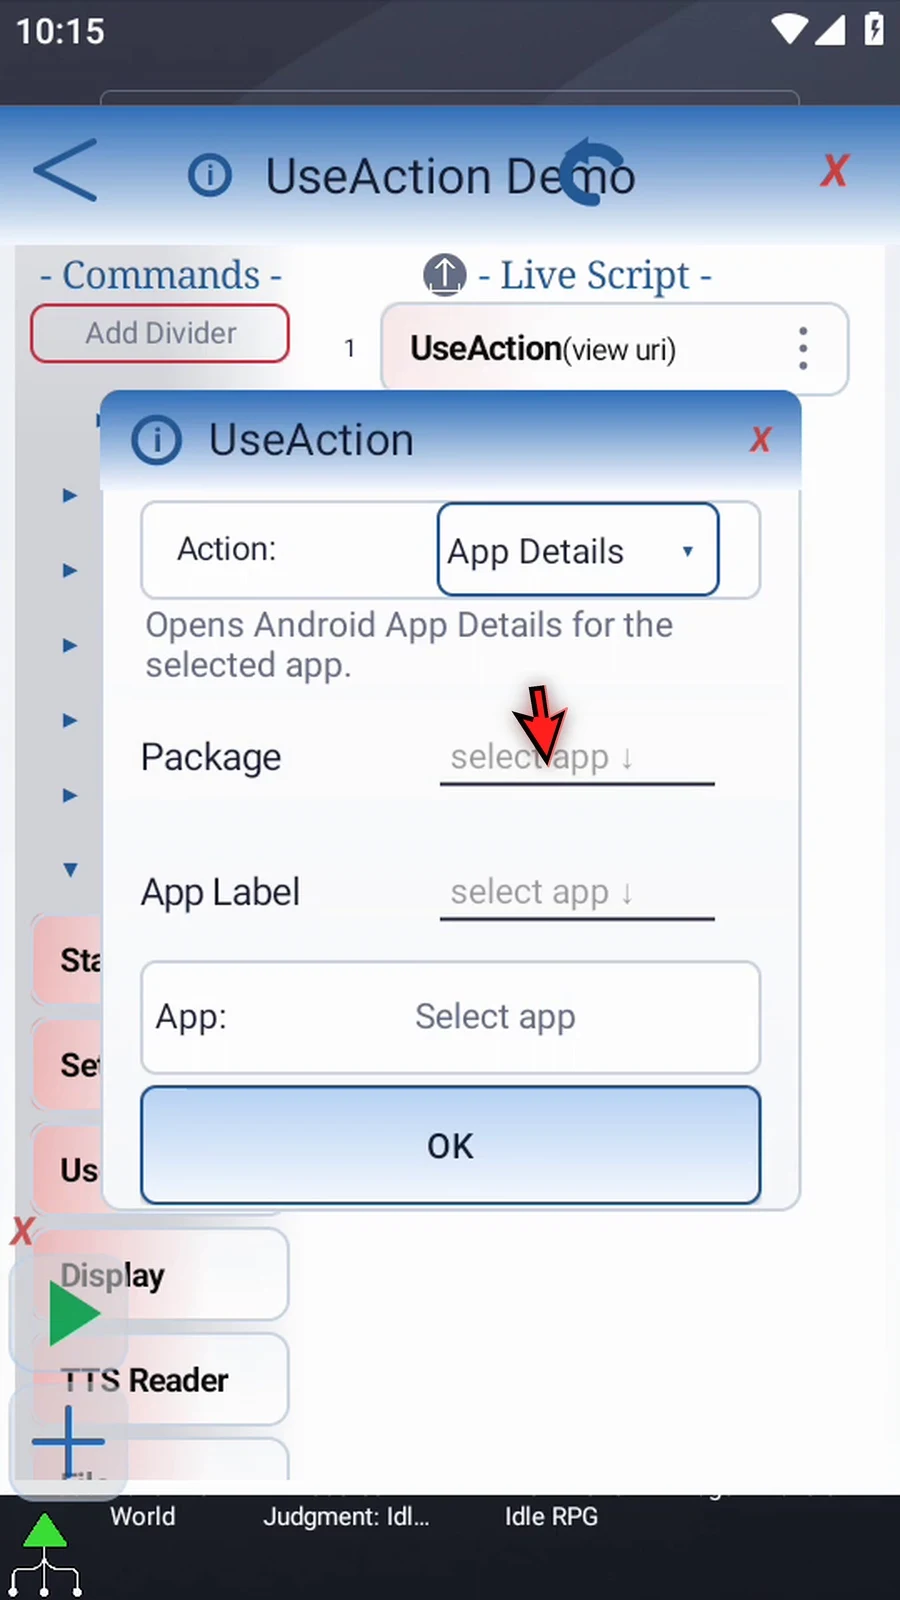
Step 04 Tap Select app to see installed apps. Scroll until Play Store is fully visible, then choose it for this example.
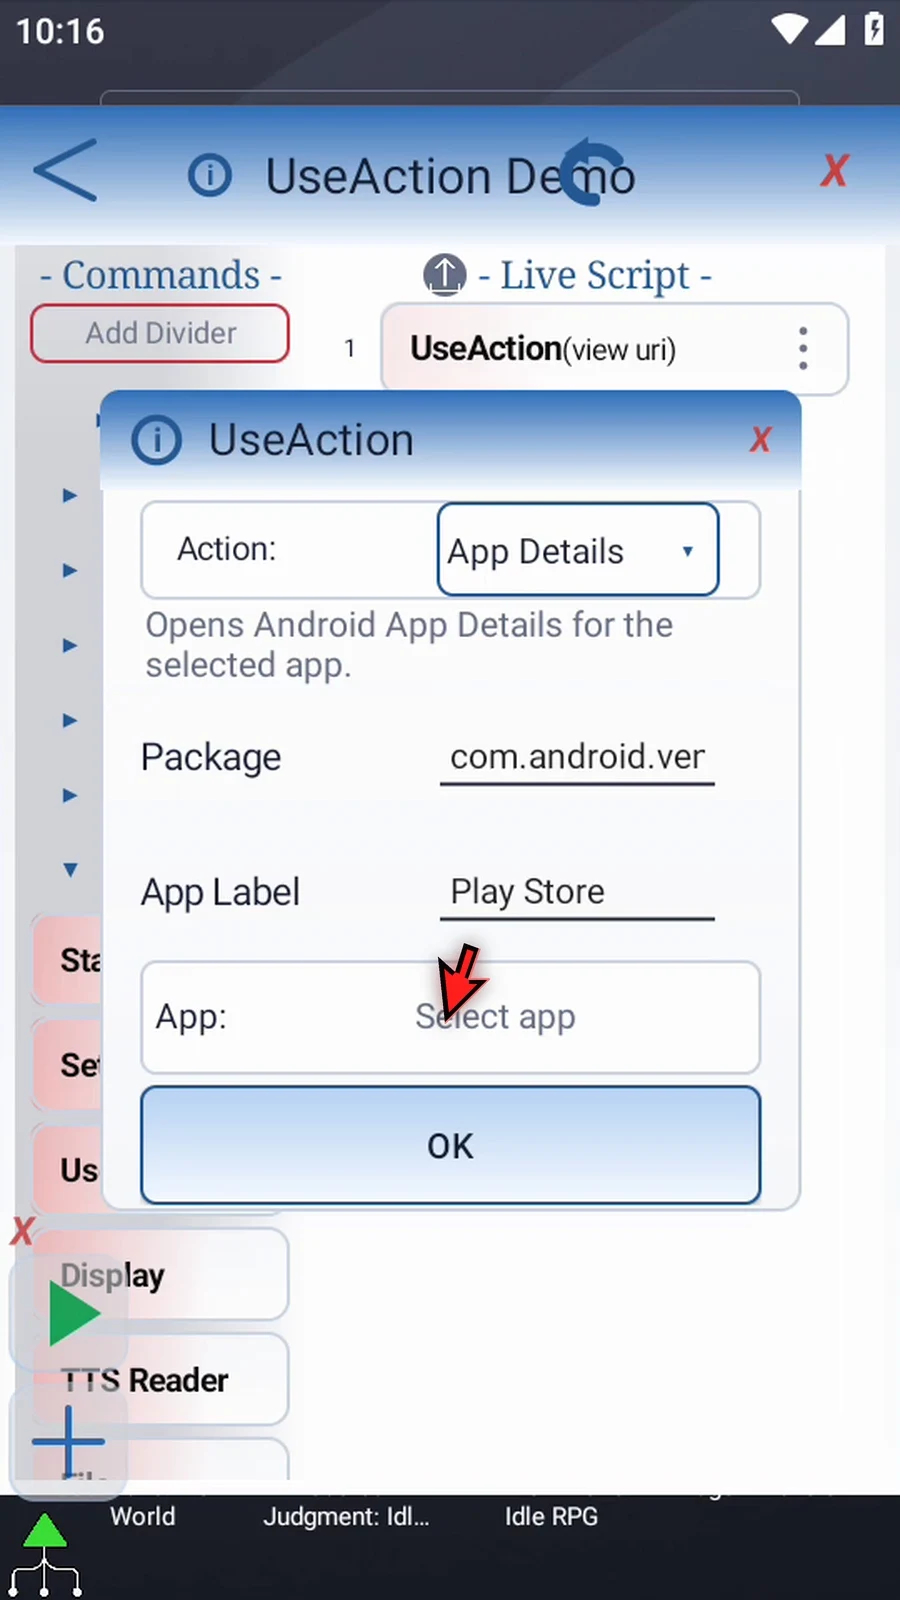
Step 05 ScriptTap fills in the package name and app label. The package identifies the app; the label makes the target easier to recognize.
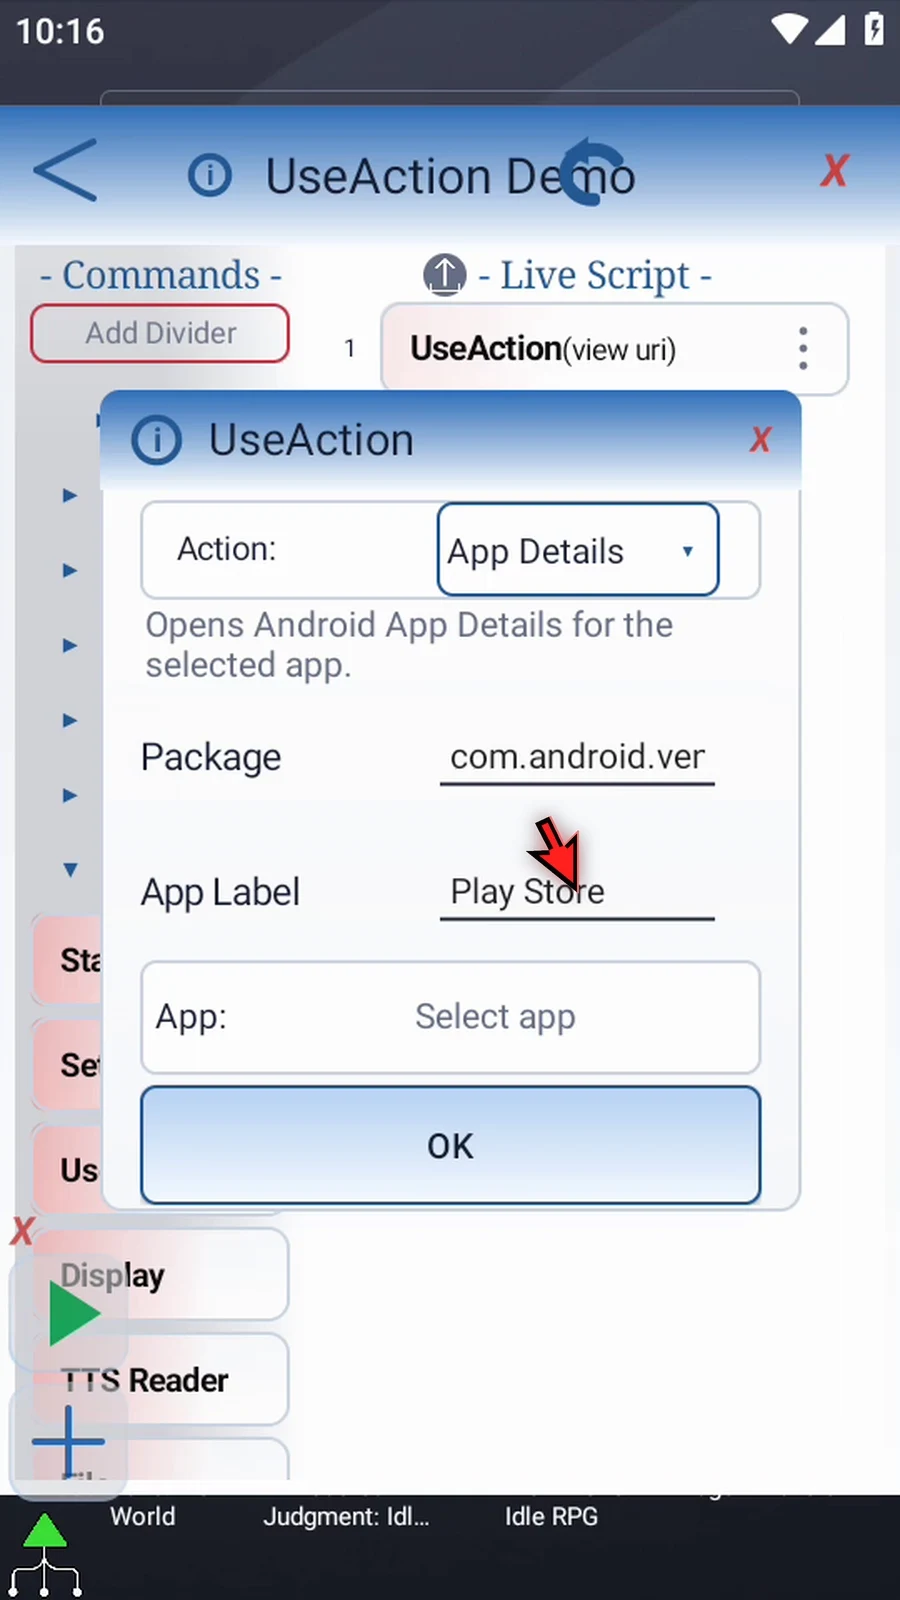
Step 06 Tap OK to save the command. This example needs only one UseAction.
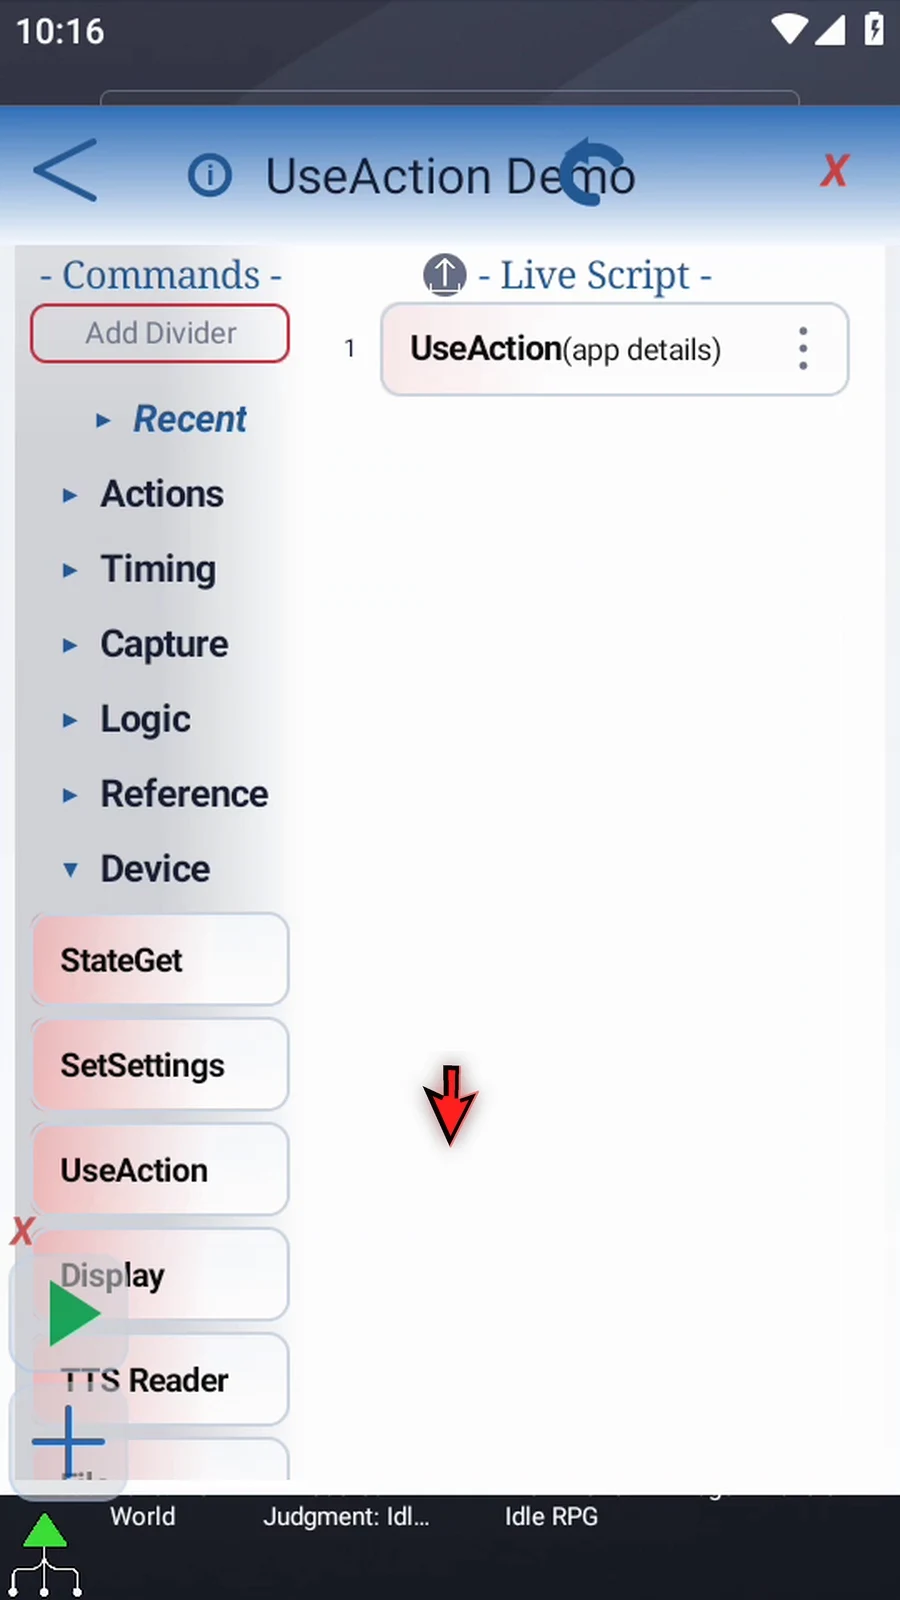
Step 07 When the script is complete, simply use the Play button in the main overlay.
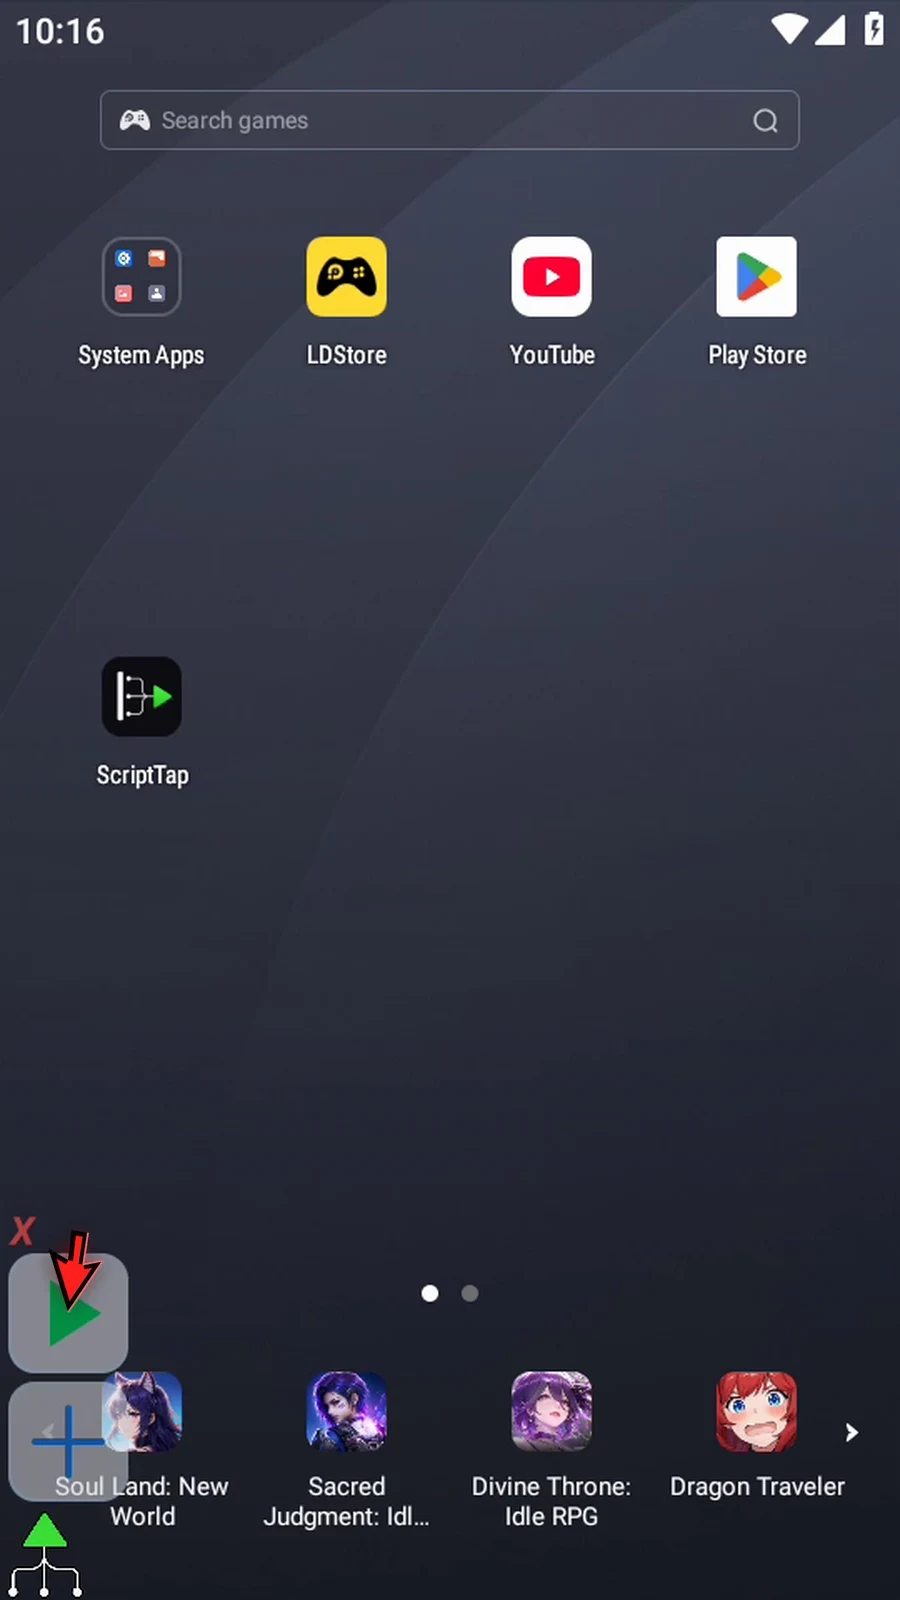
Step 08 Android opens the App info page for Google Play Store. The script finishes automatically after sending the request.
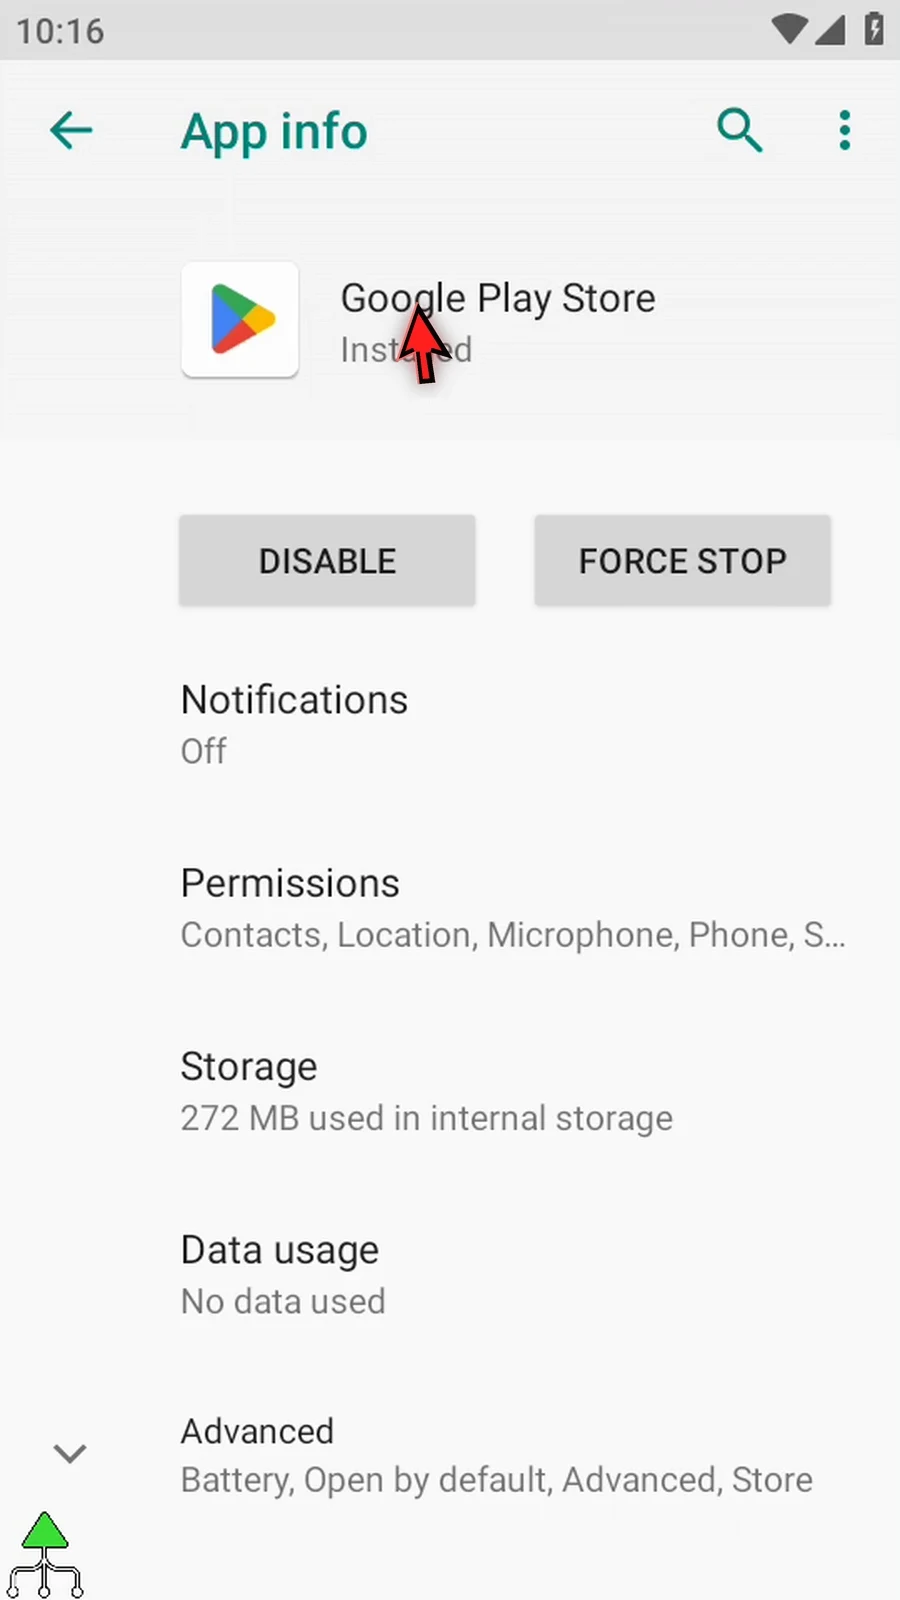
Step 09 App Details only opens this page. It does not change permissions, disable the app, or force it to stop. If later commands interact with the page, add an appropriate wait before those commands.
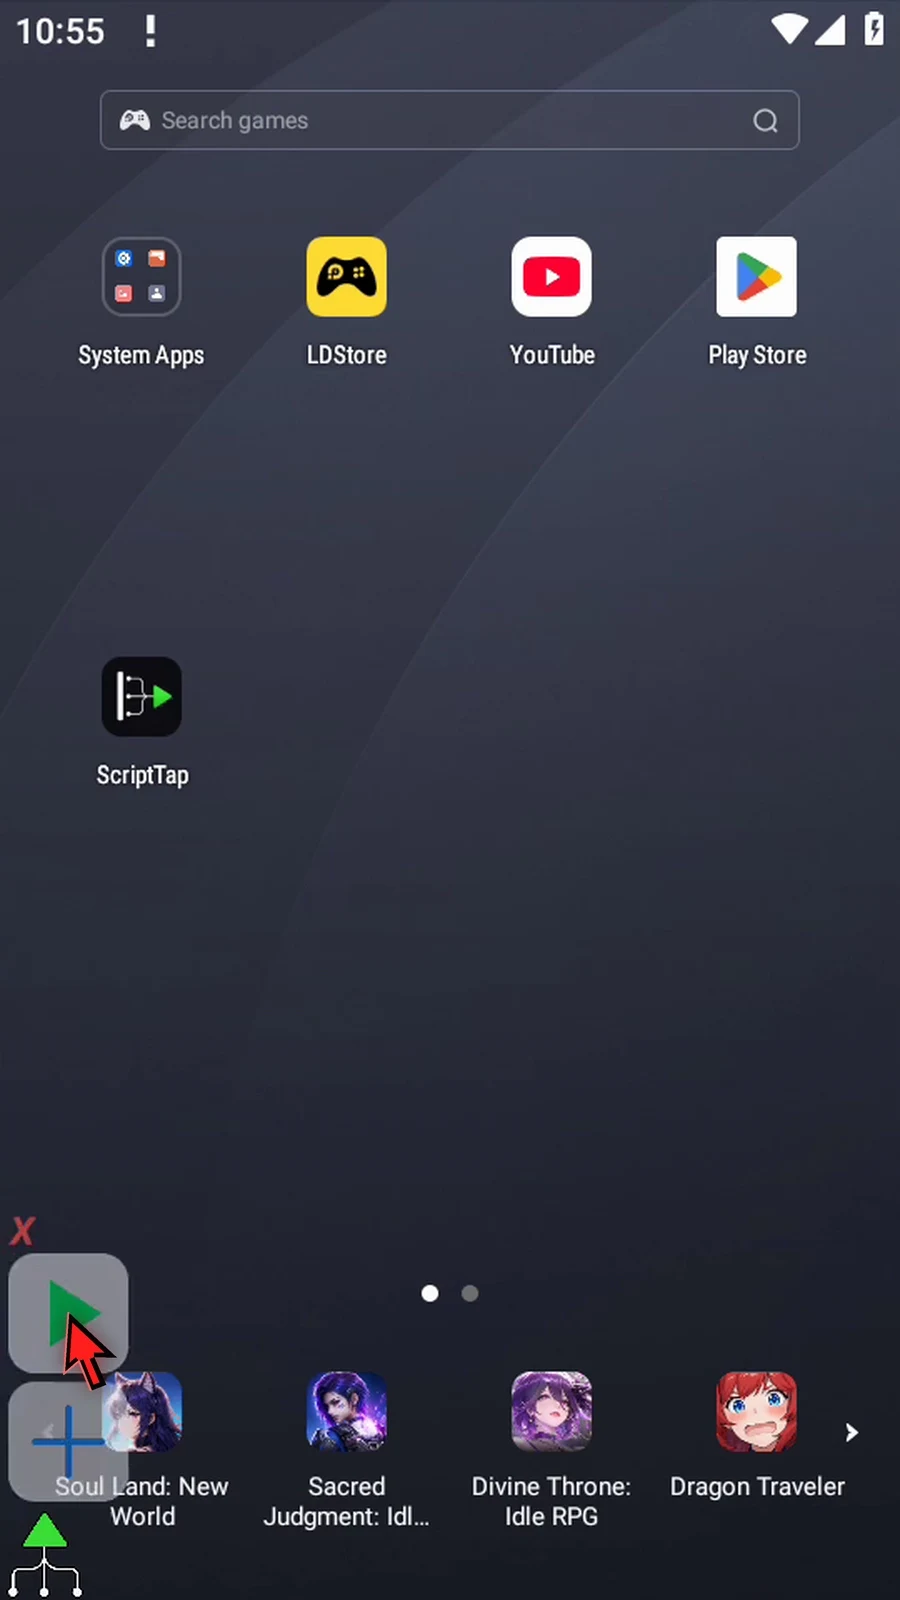
DeviceNav performs one selected Android navigation operation without tapping a fixed screen coordinate. This guide explains every choice, then demonstrates Home returning from Google Play.
Create a separate tutorial script, manually drag UseAction from the Device palette, choose DeviceNav, then select the operation in the second Action dropdown.
- Back follows the current app's back navigation. Home opens Android Home. Recents opens the recent-apps overview.
- Notifications and Quick Settings open their system panels; they do not change settings.
- Escape also uses Android's Back action. It is not an Enter or Search key command.
- Scroll Top and Scroll Bottom move a compatible active scrollable view to its boundary. They are not coordinate-based swipes.
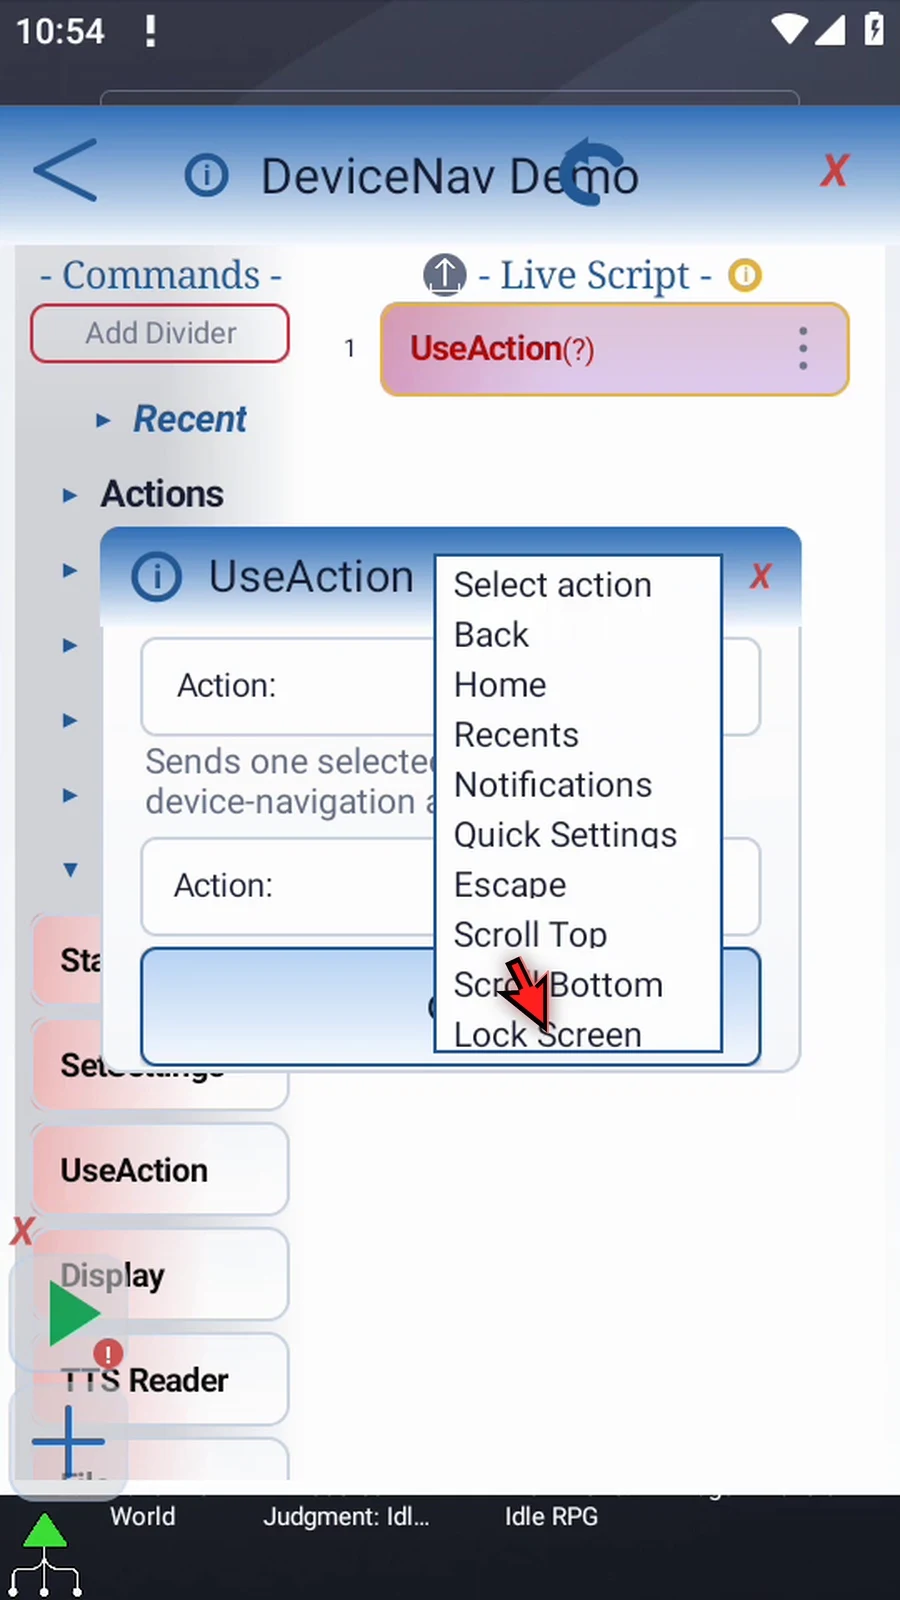
- Lock Screen requests the system lock action on Android 9 or later. It does not unlock, bypass security or wake the device.
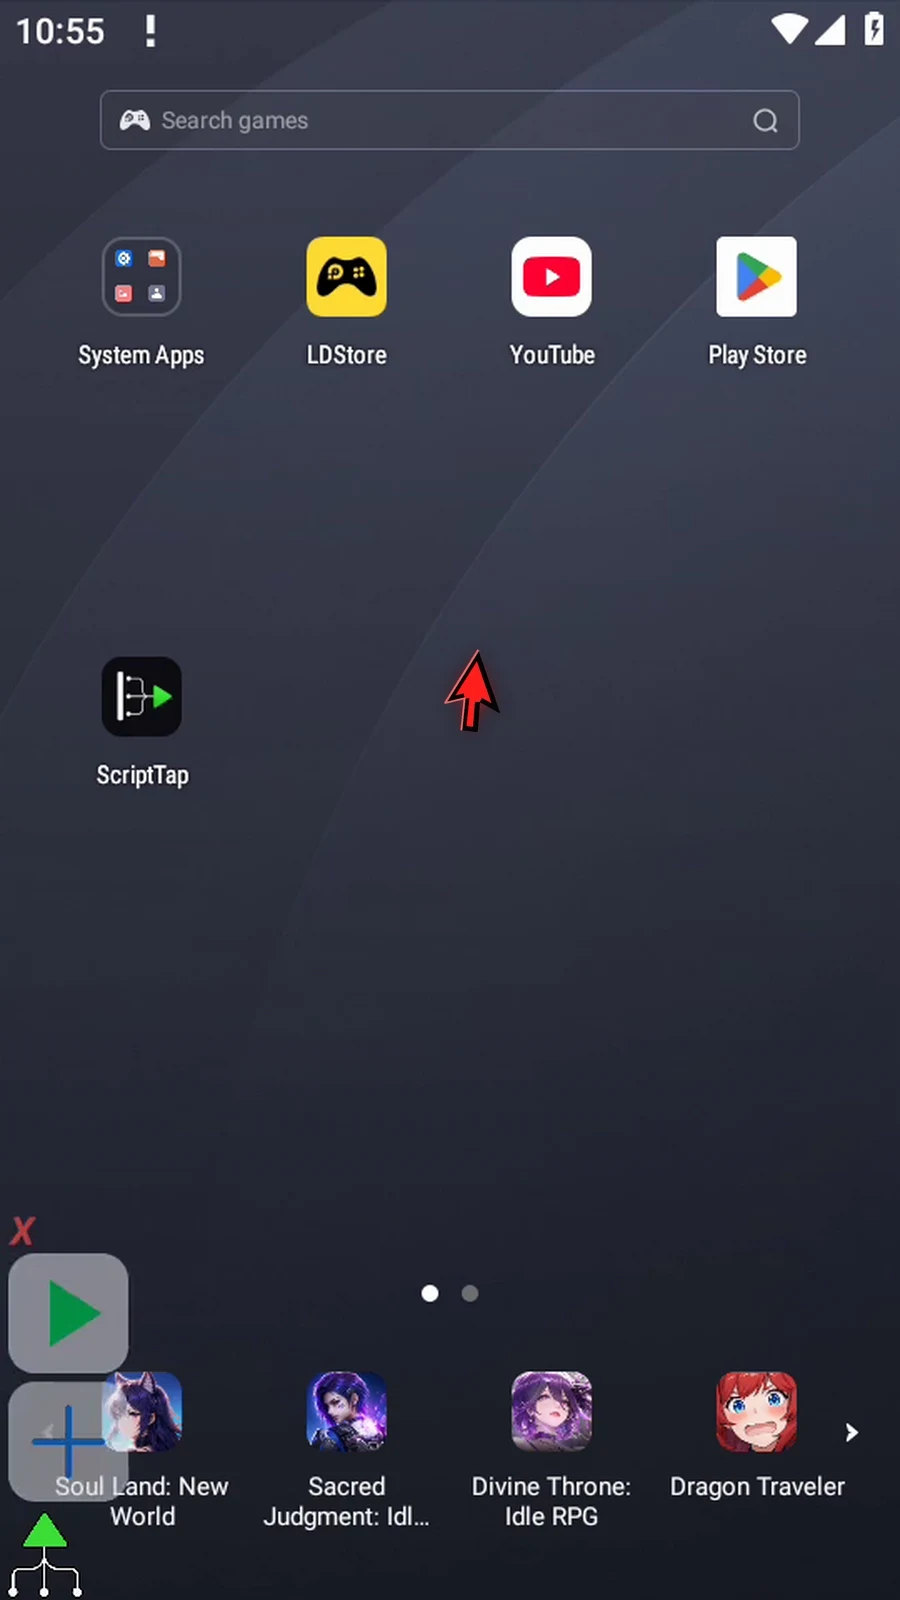
The example needs only one UseAction. Open Play Store manually and press Play; DeviceNav returns to Home and the script finishes automatically. Each UseAction dispatches one operation without waiting for the destination to finish loading or verifying the result. Add an appropriate wait before subsequent screen interactions; see Delay Until.
DeviceNav
Step-by-step guide
Step 01 Device Nav performs an Android navigation action without tapping a fixed screen coordinate. Use it to go Home, go Back, open system panels, or navigate supported scrollable screens.
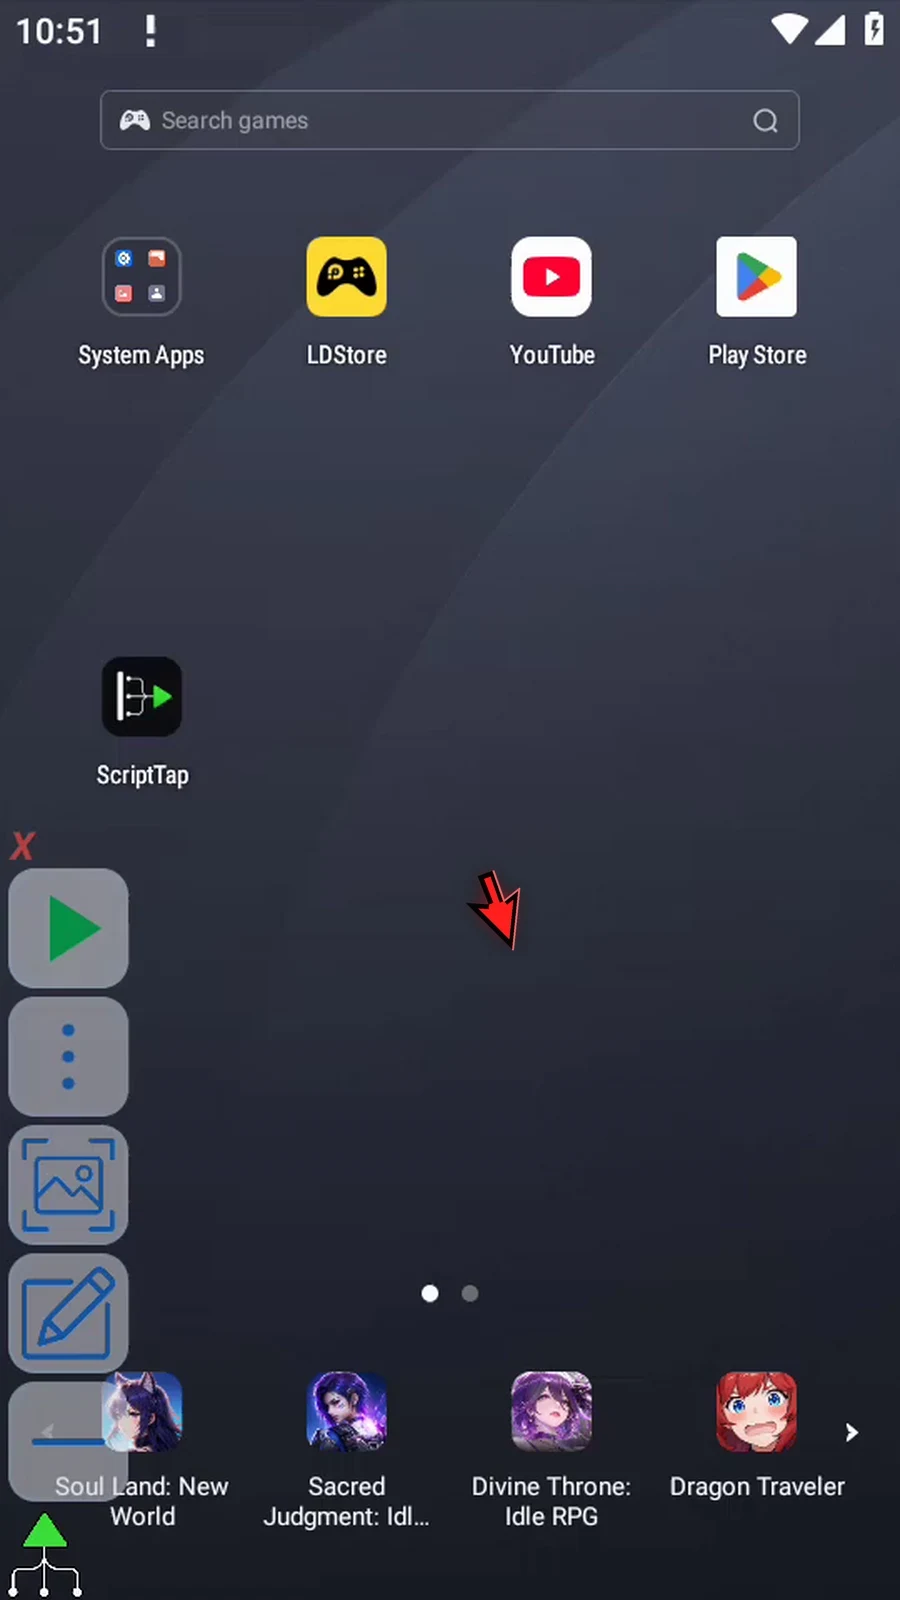
Step 02 Create a separate tutorial script so your existing scripts stay unchanged.
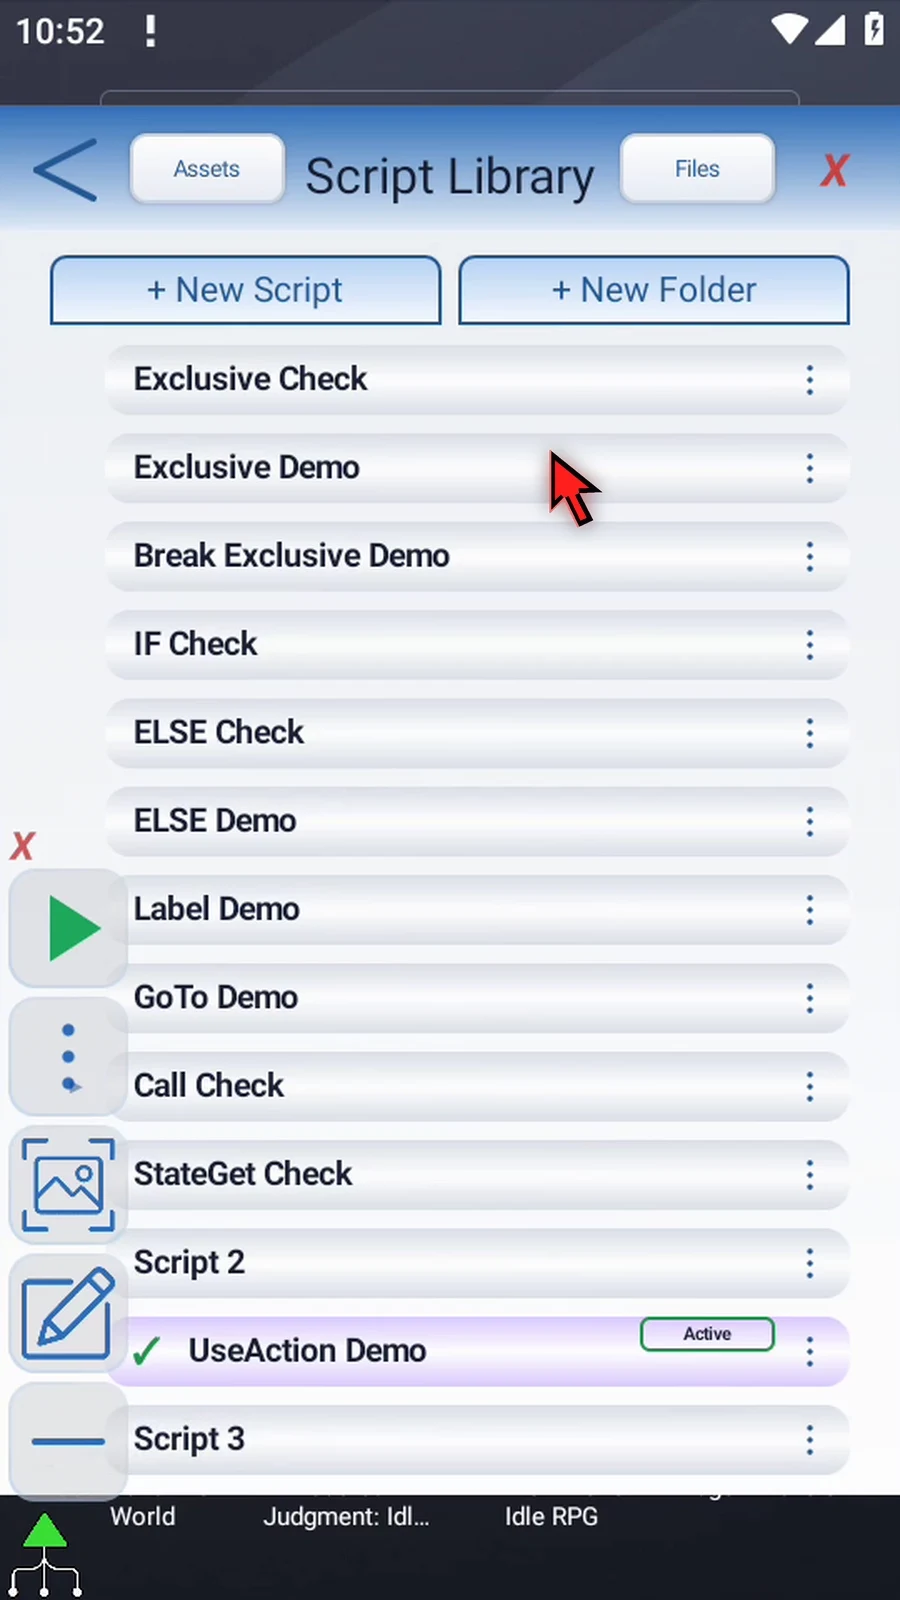
Step 03 Give the new script a recognizable name, then select it.
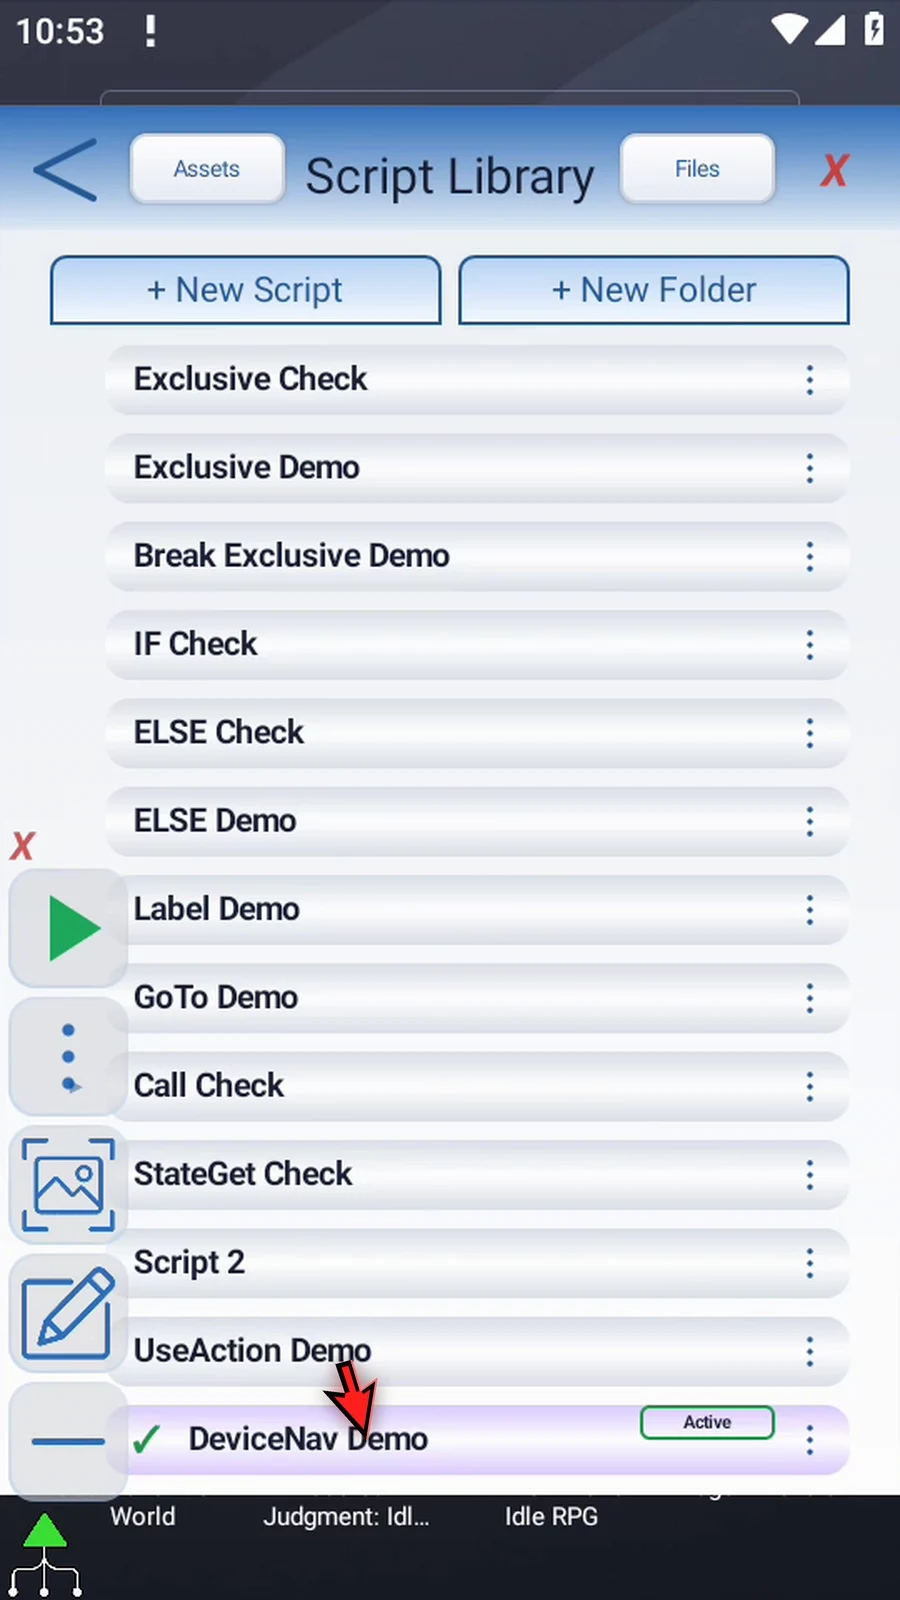
Step 04 Open the script editor and collapse the main overlay with the minus button.
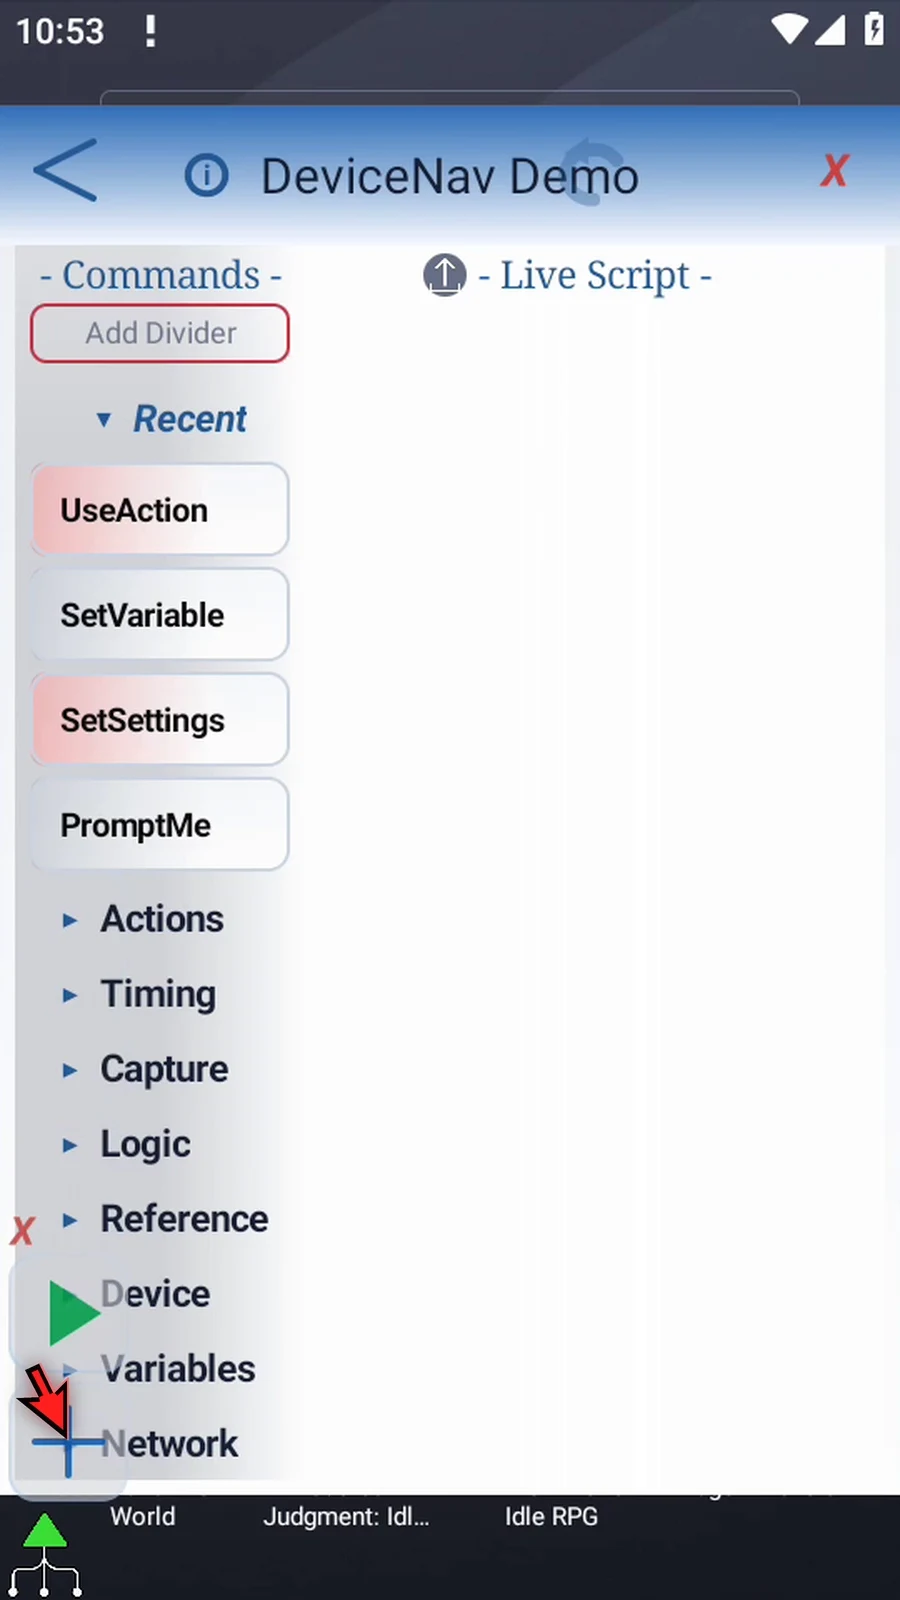
Step 05 Open the Device group in the command palette.
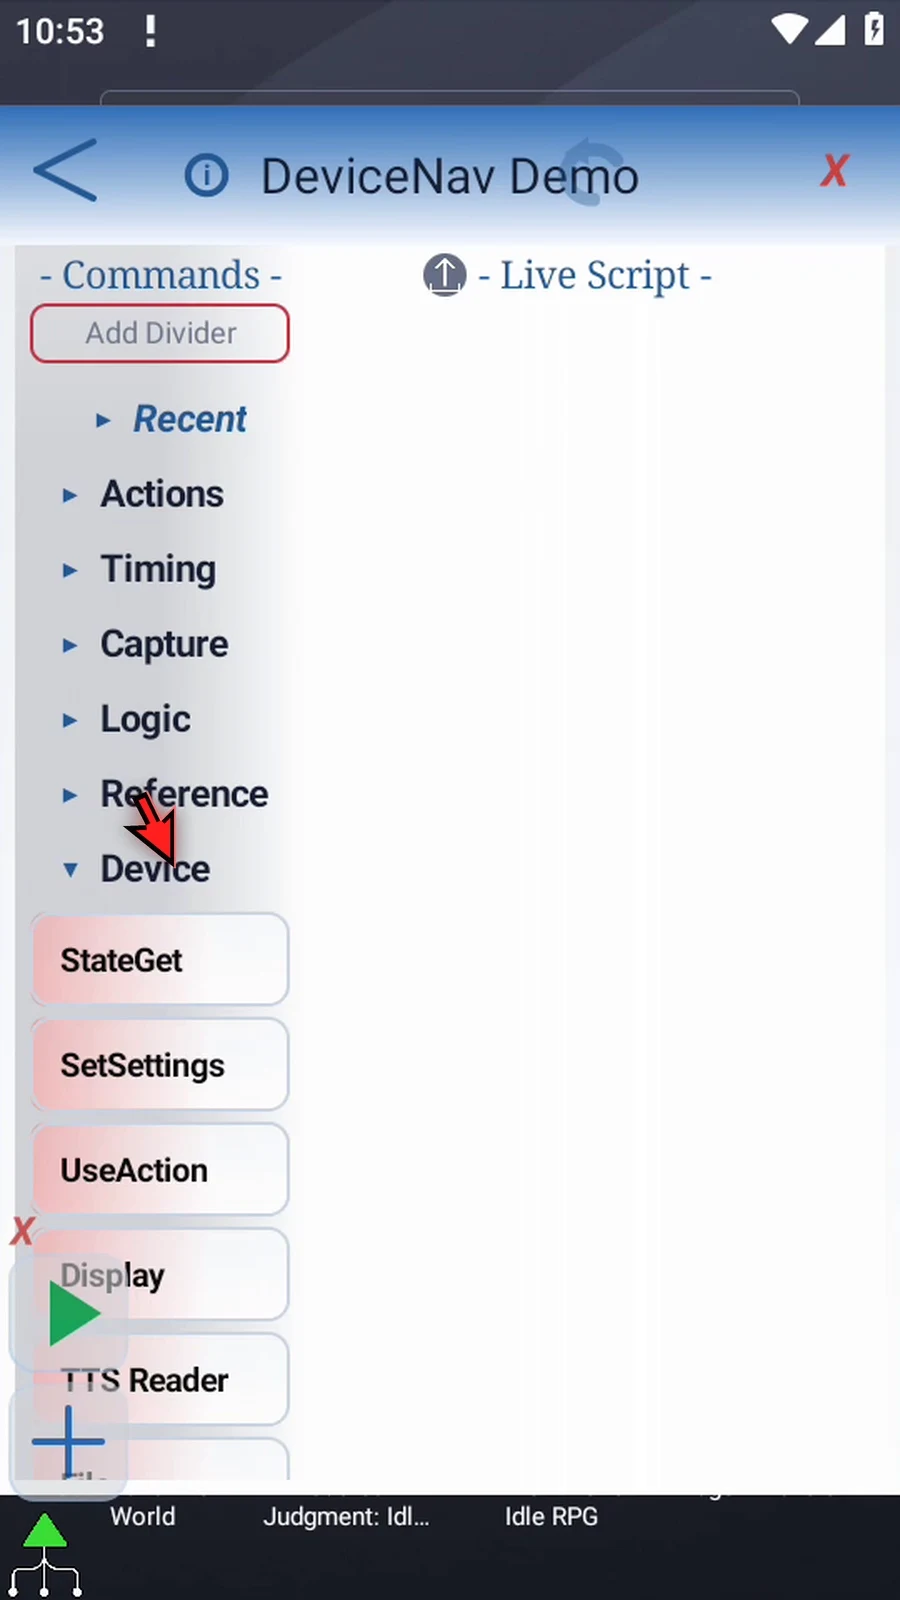
Step 06 Drag UseAction from the palette into the script.
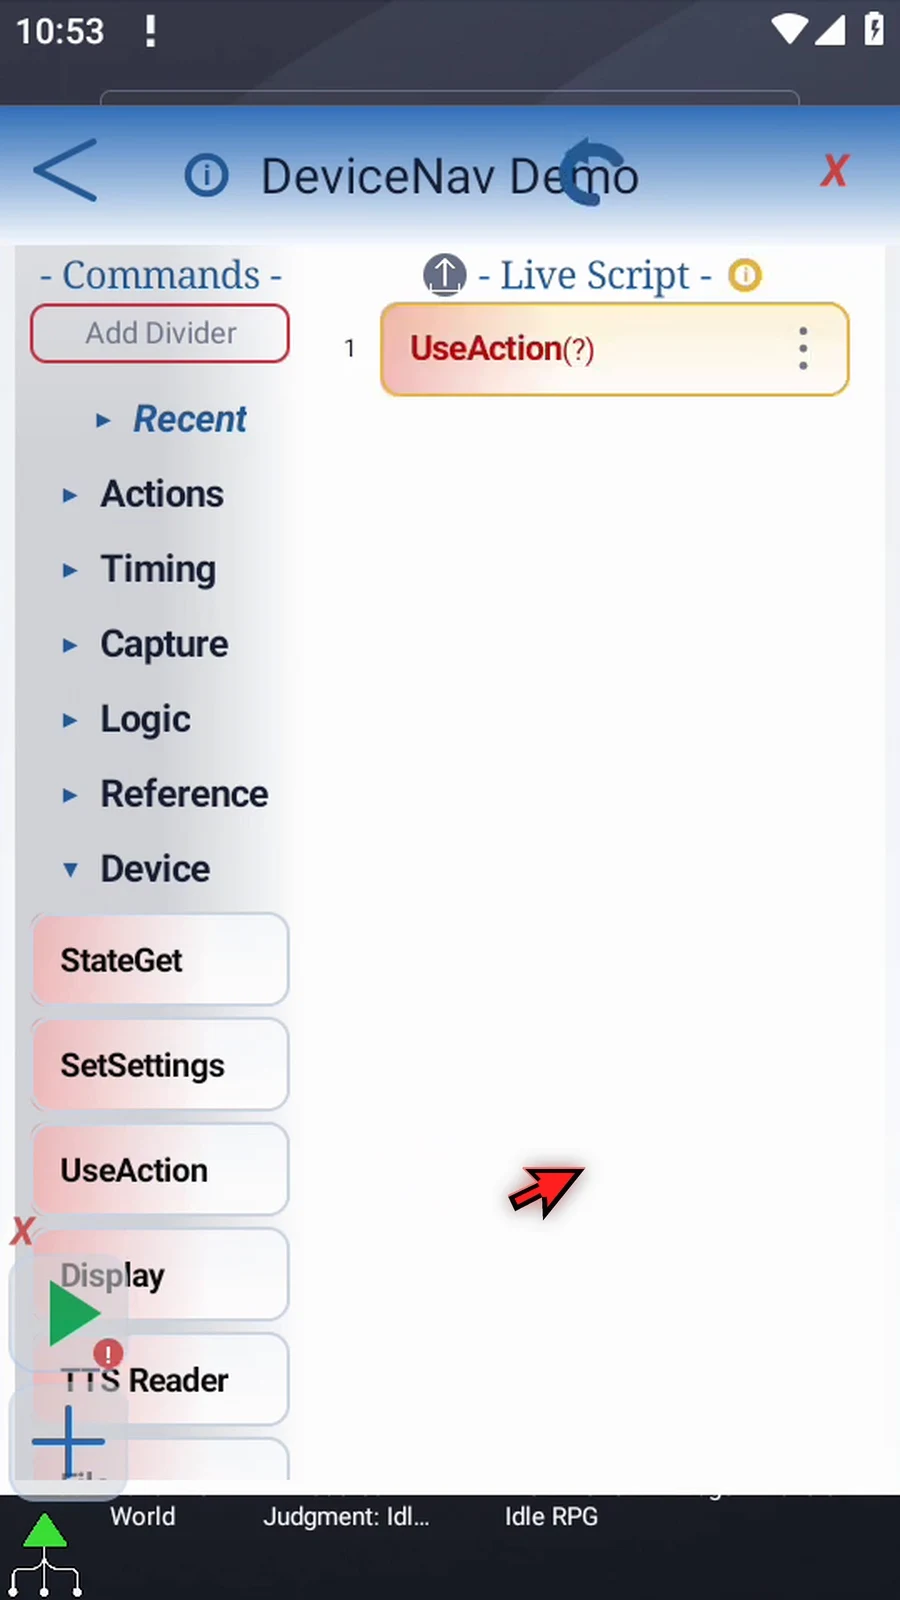
Step 07 Open the command, open Action, and choose Device Nav.
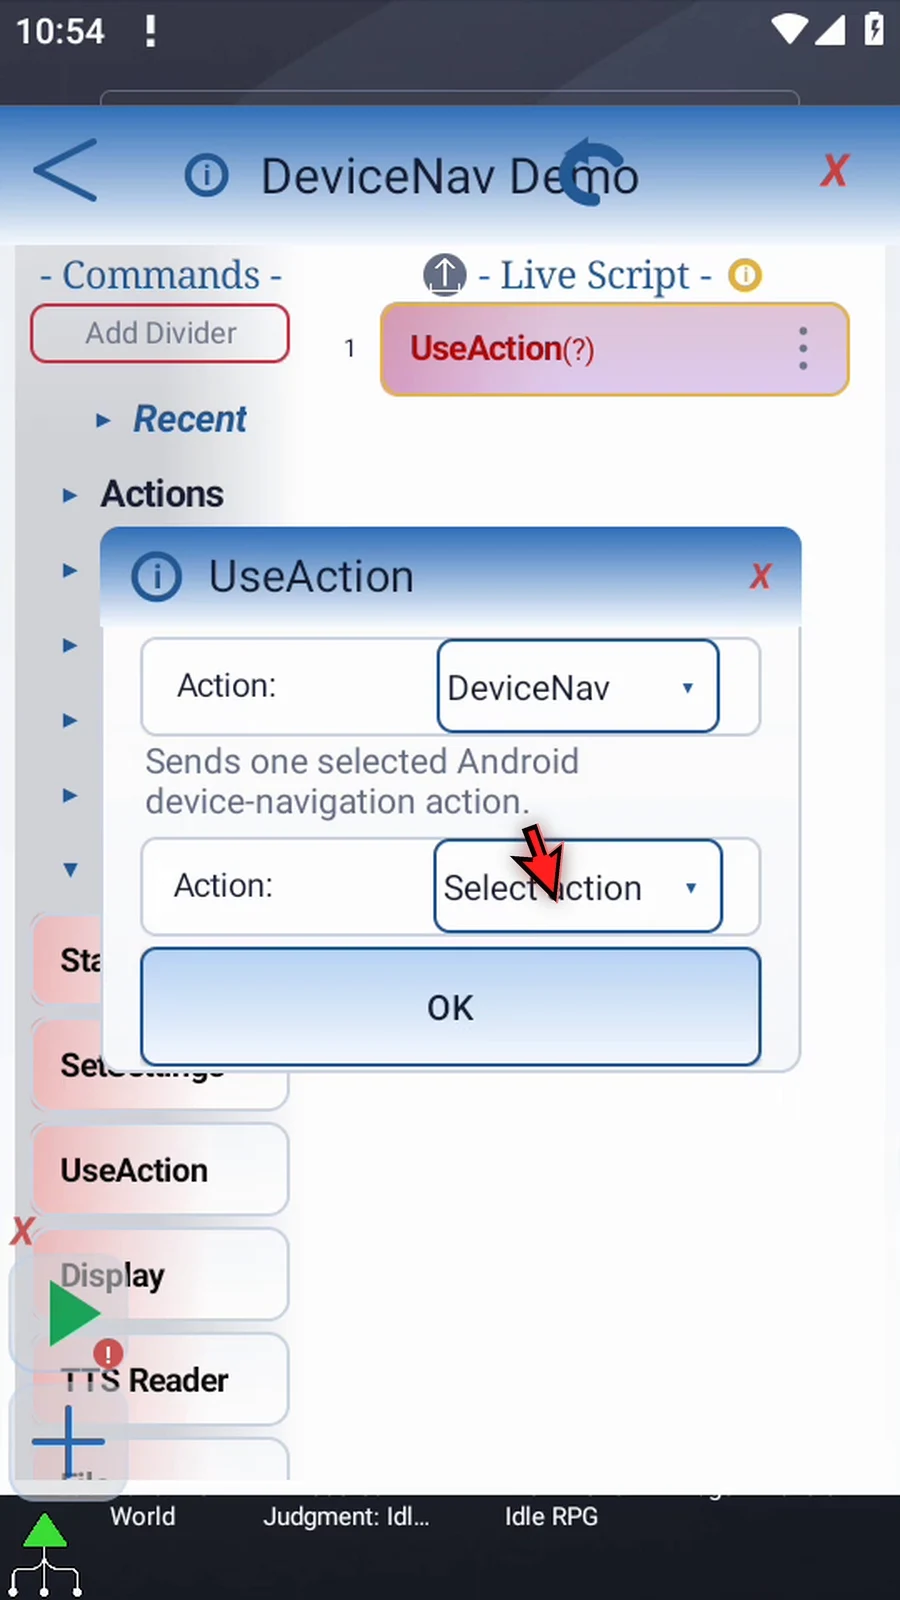
Step 08 Use the second Action dropdown to choose the navigation operation.
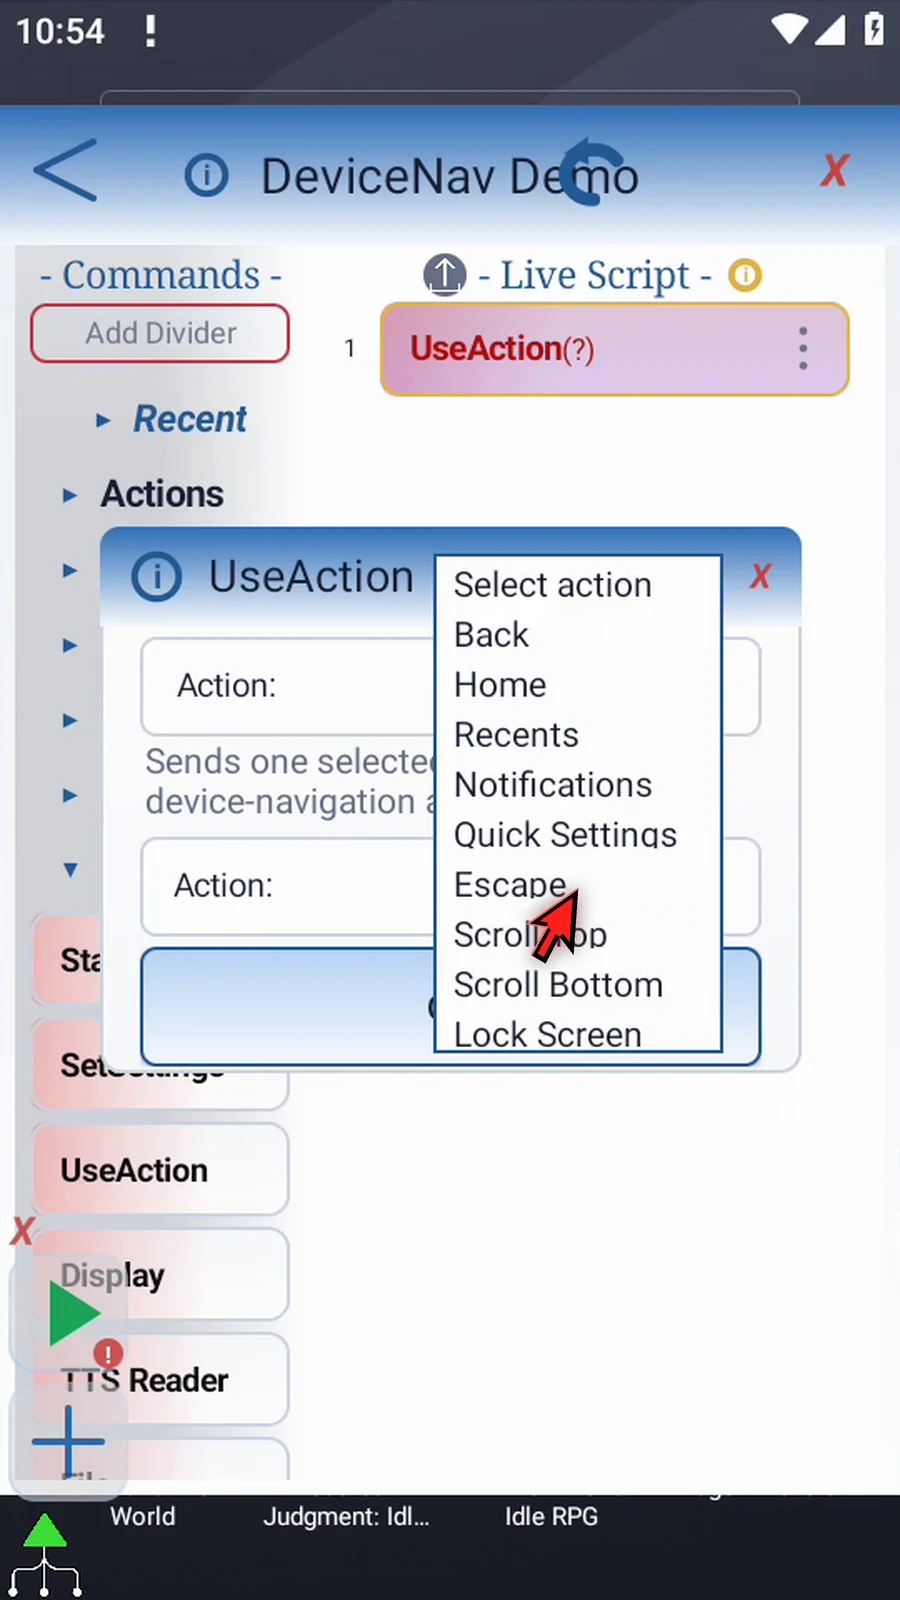
Step 09 Back returns through the current app's navigation history. Home opens the Android home screen. Recents opens the recent-apps overview.
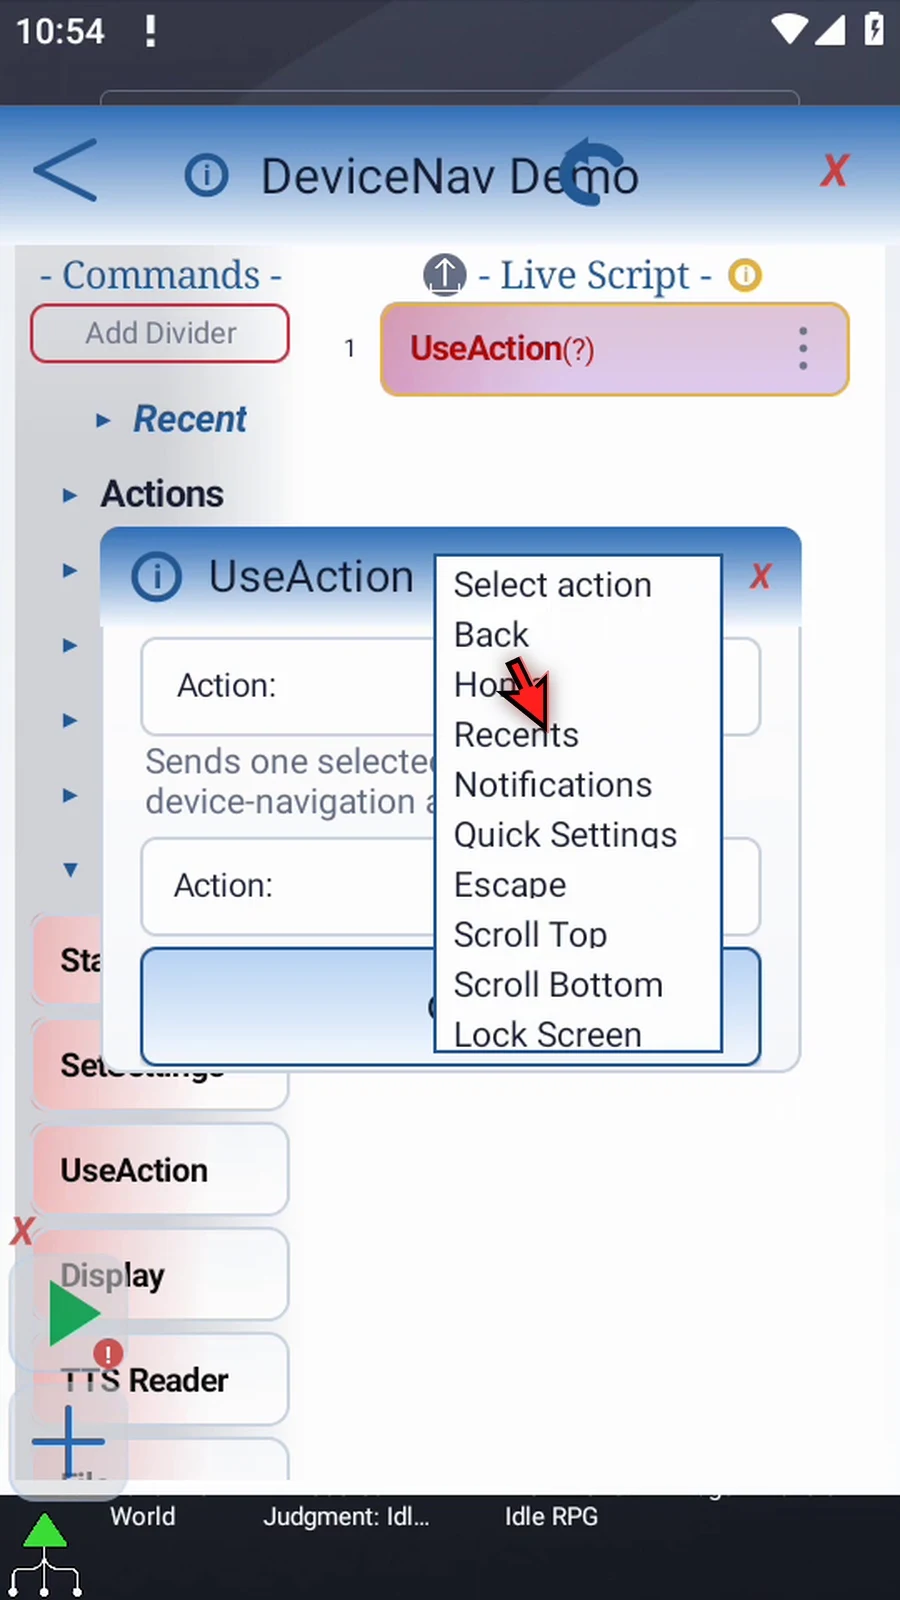
Step 10 Notifications opens the notification panel. Quick Settings opens Android's quick-settings panel. These actions open the panels; they do not change their settings.
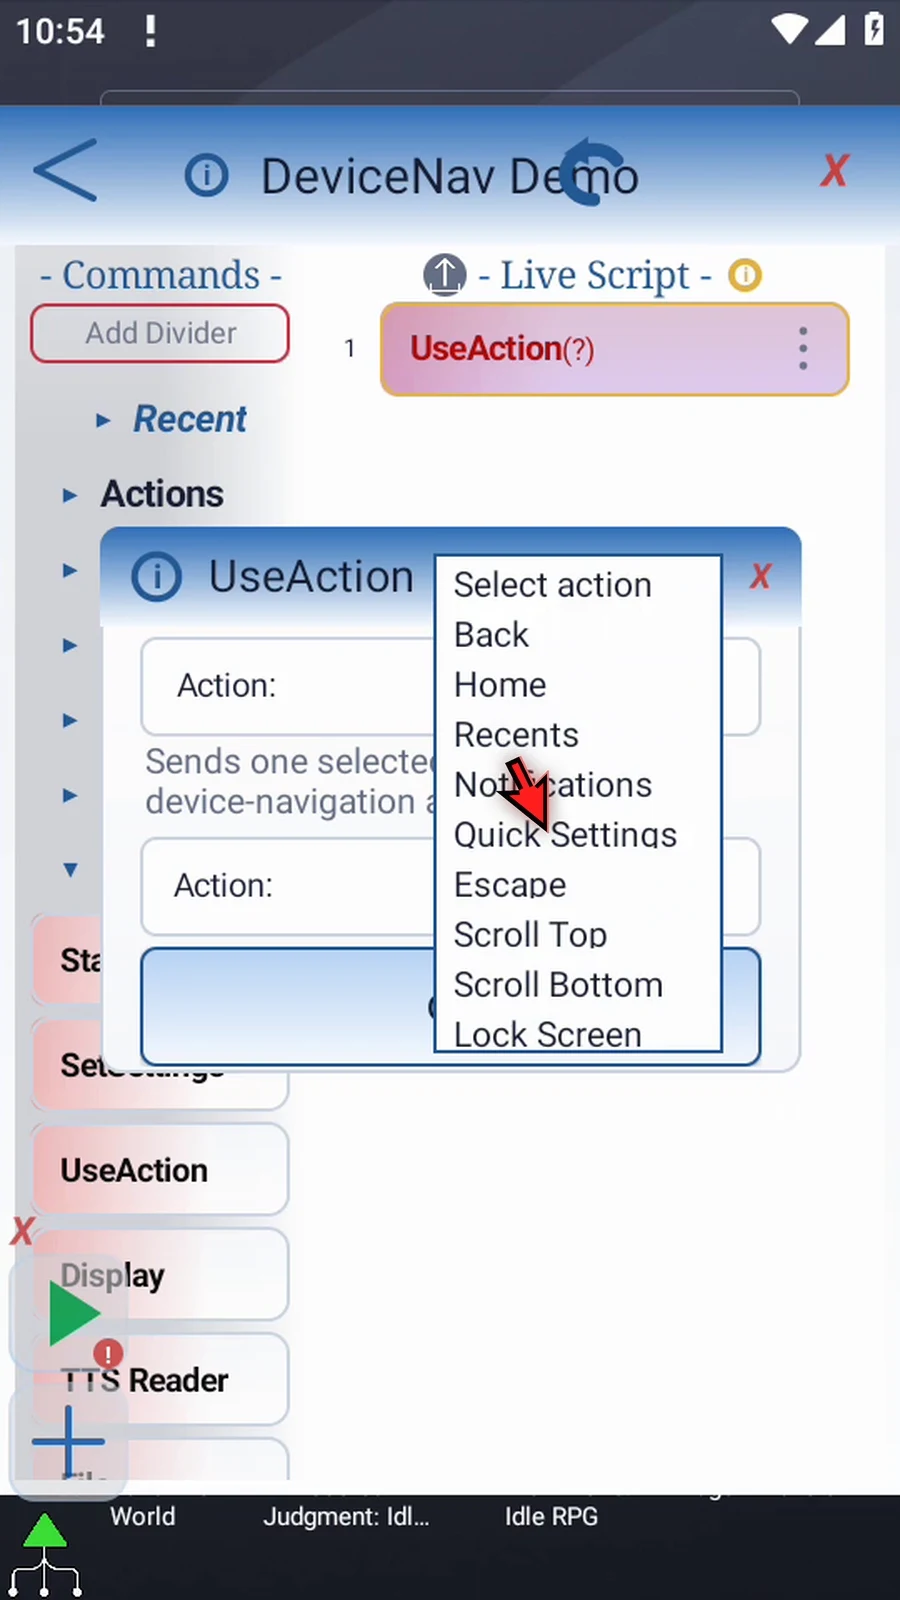
Step 11 Escape uses Android's Back action too. It is not an Enter or Search key command.
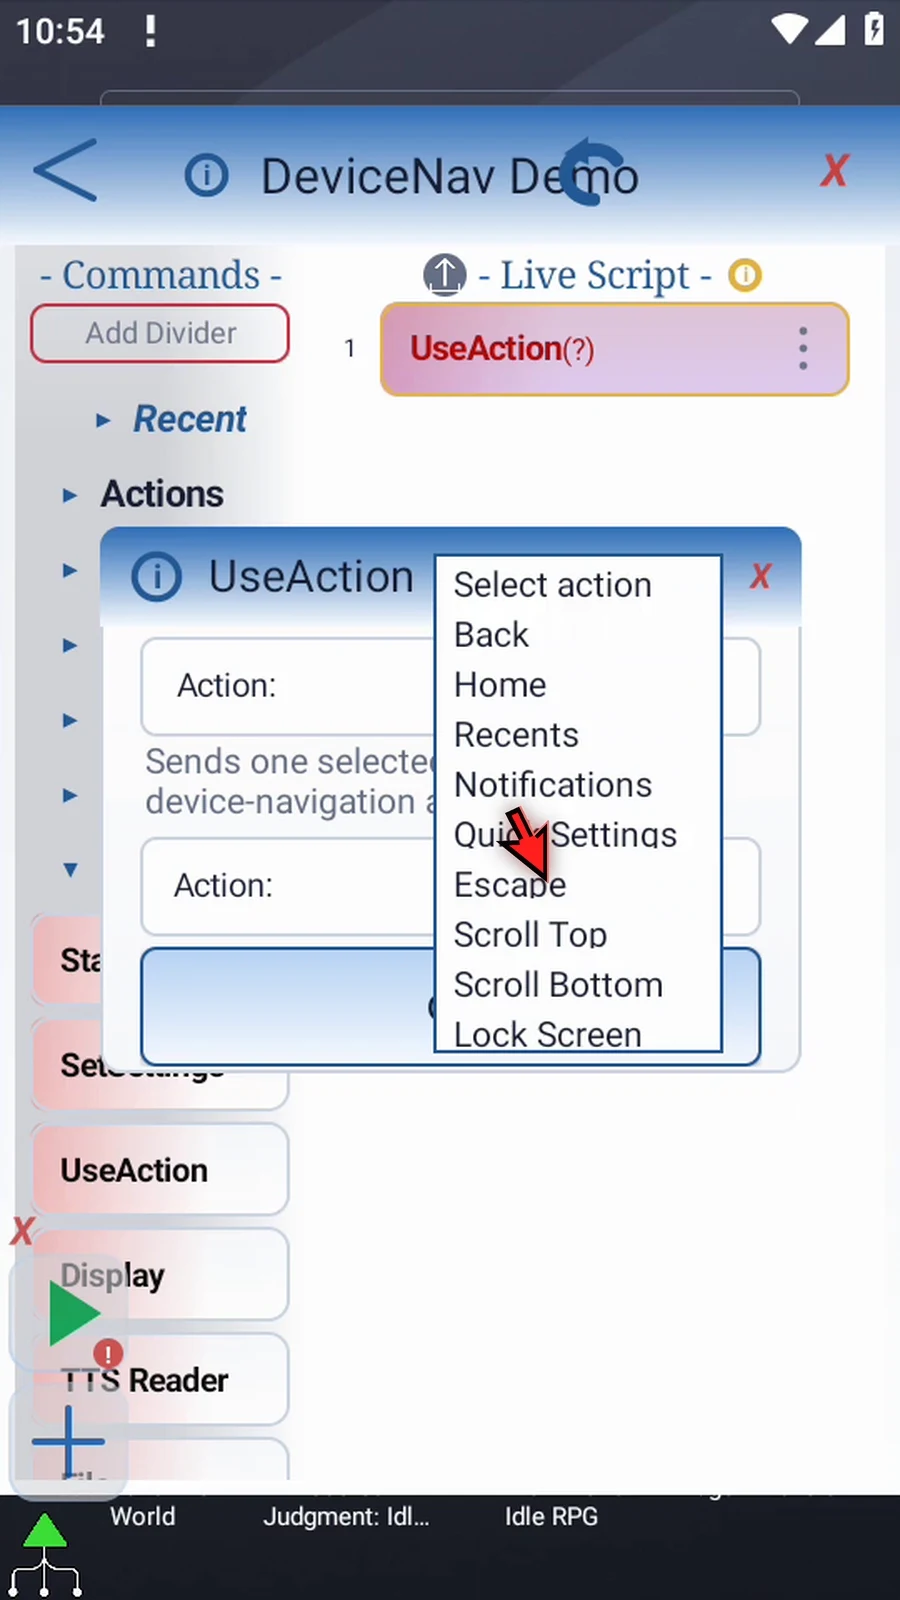
Step 12 Scroll Top and Scroll Bottom move a supported active scrollable view to its boundary. They need a compatible scrollable target; they are not coordinate-based swipe gestures.
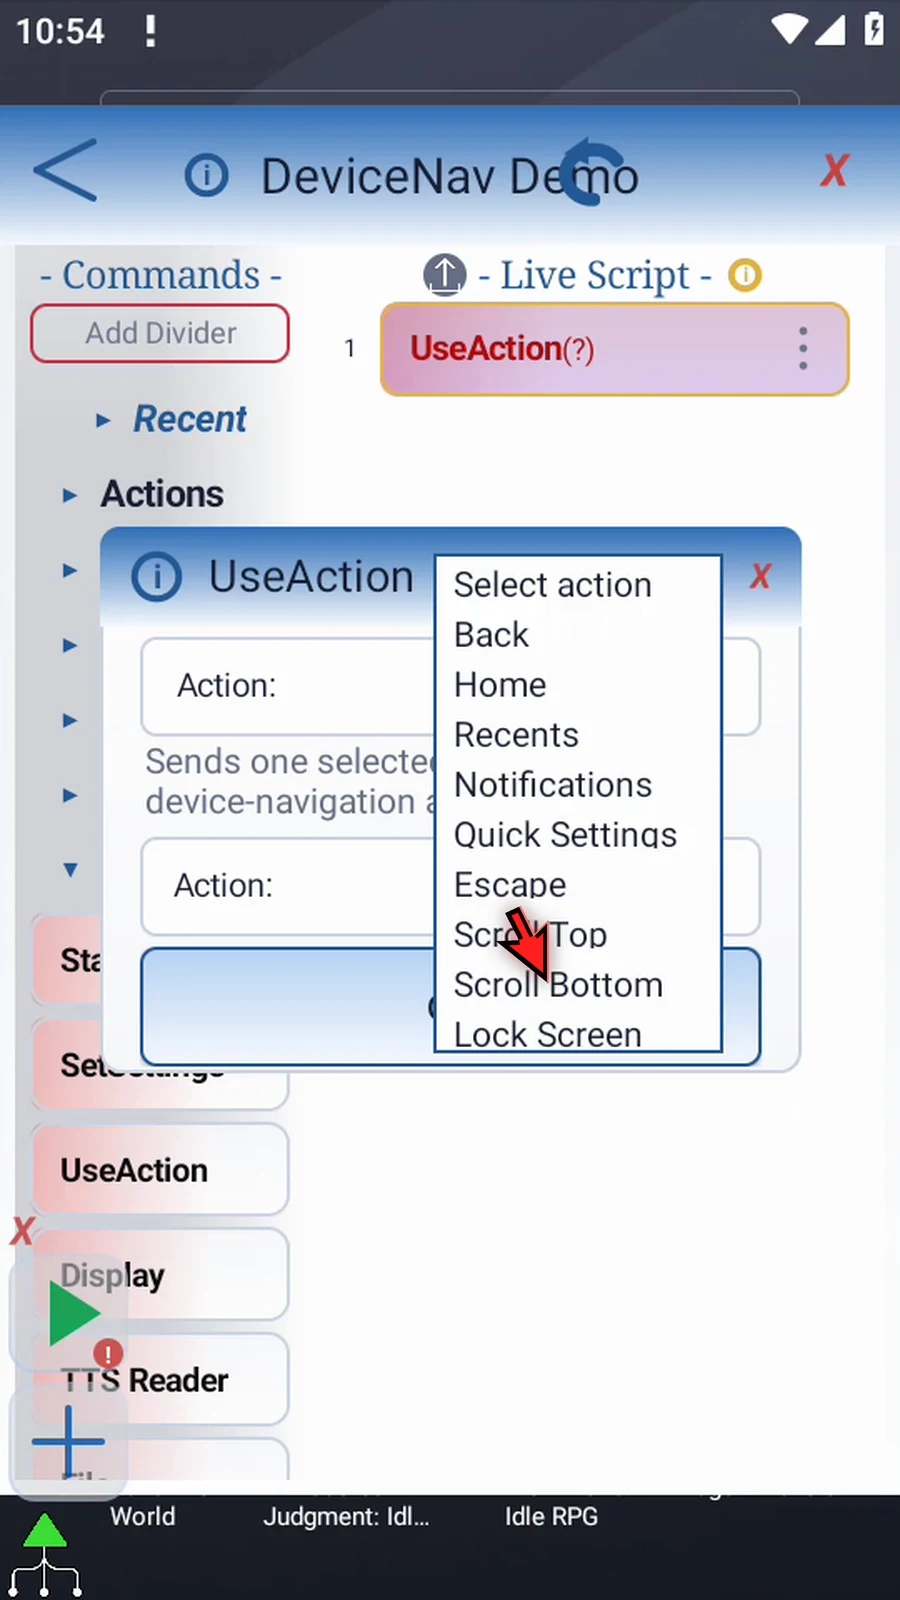
Step 13 Lock Screen requests Android's system lock action and requires Android nine or later. It does not unlock the device, bypass security, or wake it again.
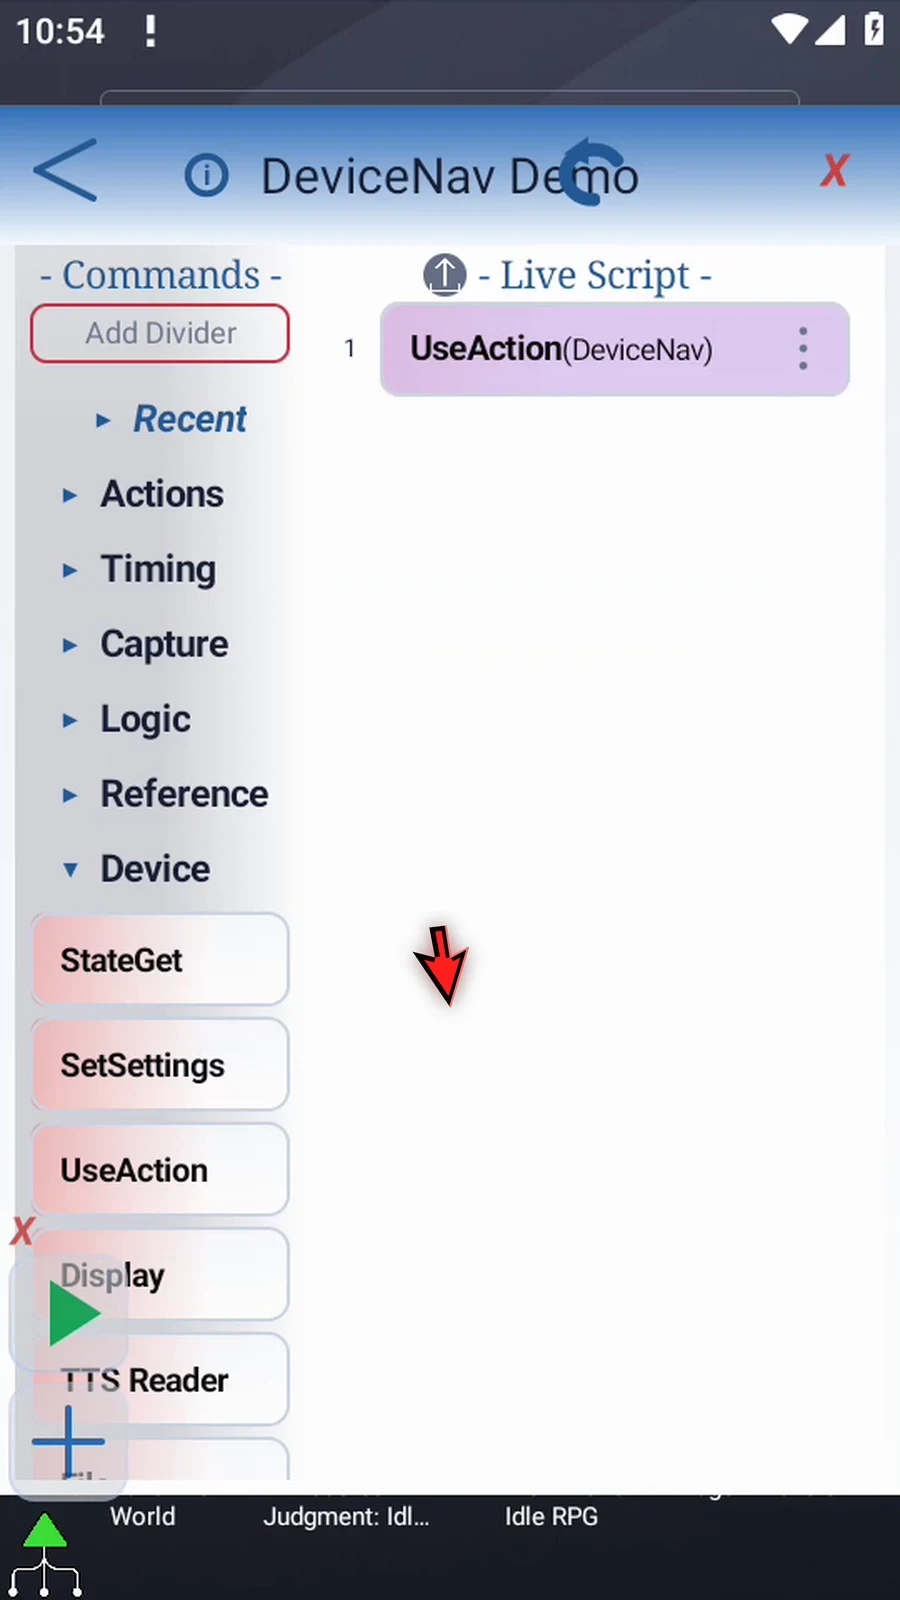
Step 14 For this example, choose Home, then tap OK. The script needs only this one UseAction.
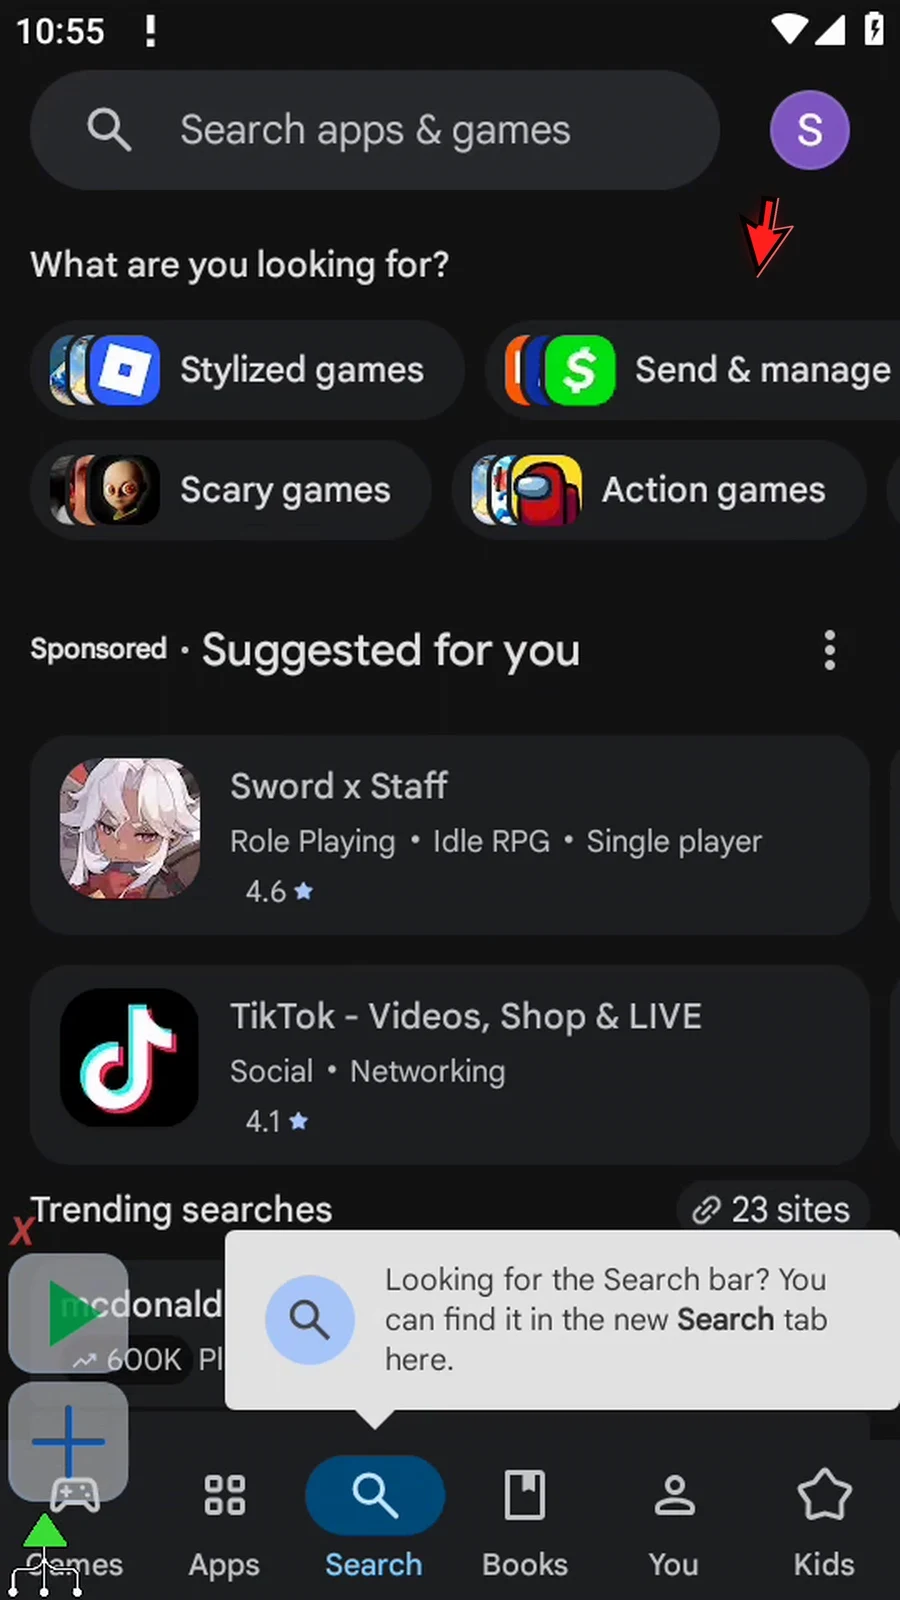
Step 15 Close the editor and open Play Store manually, so the navigation result will be easy to see.
Step 16 When the script is complete, simply use the Play button in the main overlay.
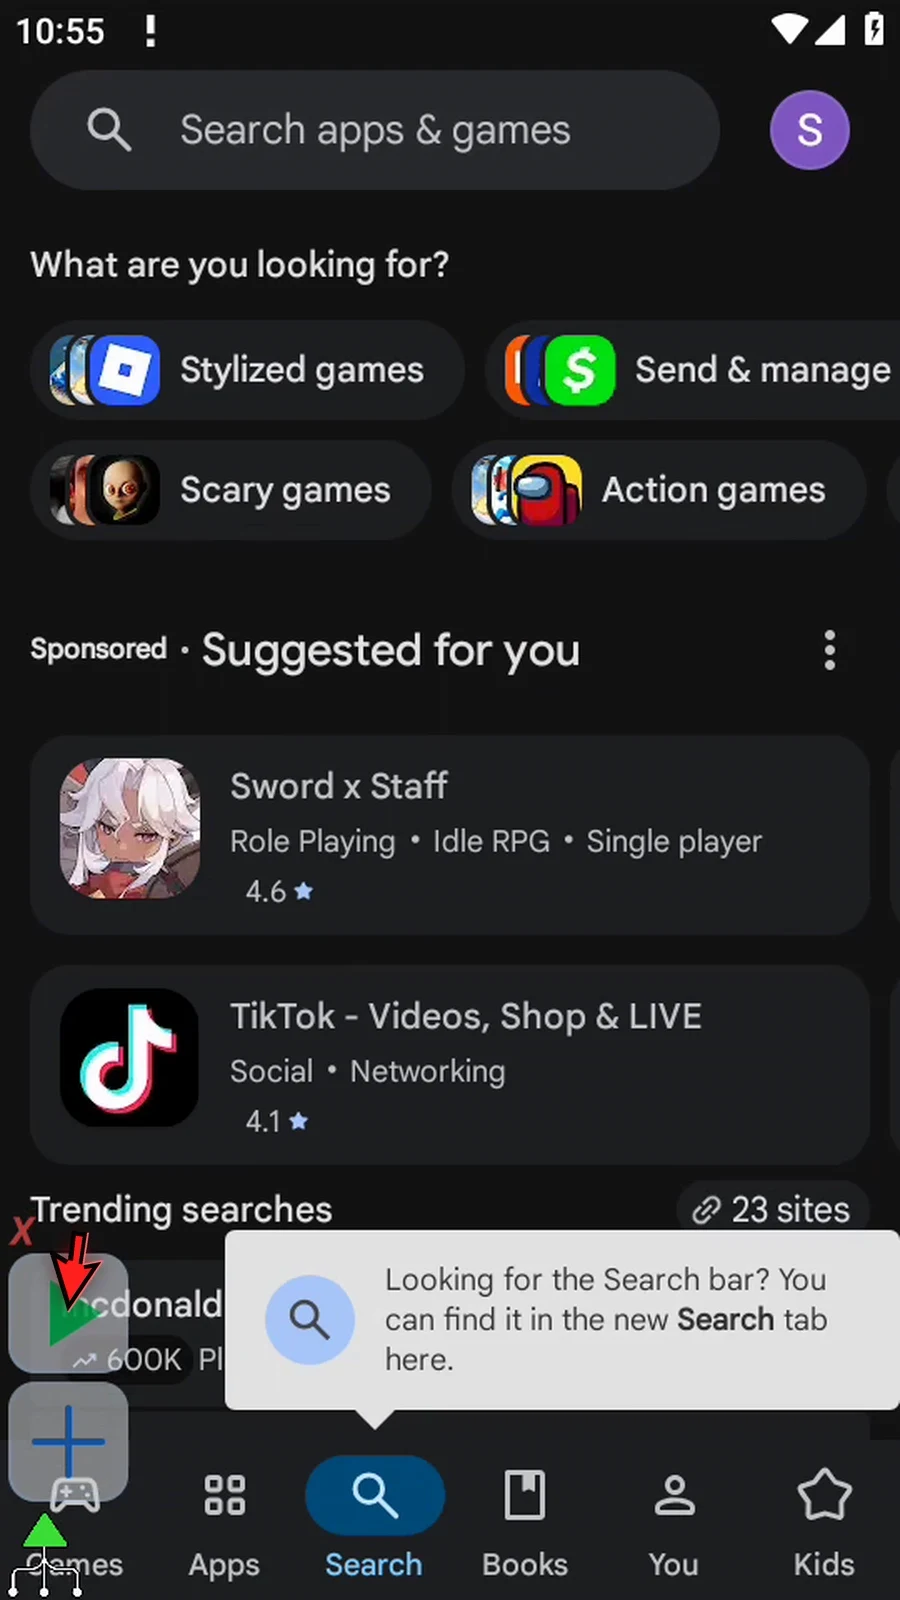
Step 17 Device Nav returns to the Android home screen. The script finishes automatically after dispatching the navigation action.
Step 18 Each UseAction sends one selected operation. It does not wait for the destination to finish loading or verify the result. Add an appropriate wait before later commands interact with the new screen.
Media Control sends a playback request to Android's current media-button consumer. It can pause or resume media without locating the player's on-screen buttons.
Create a script, drag UseAction from the Device palette, then select Media Control. The second Action list contains six choices:
- Play requests playback. Pause requests a paused state.
- Play/Pause toggles between playing and paused; its result depends on the current state.
- Stop requests that playback stop.
- Next and Previous request another item in the player's queue.
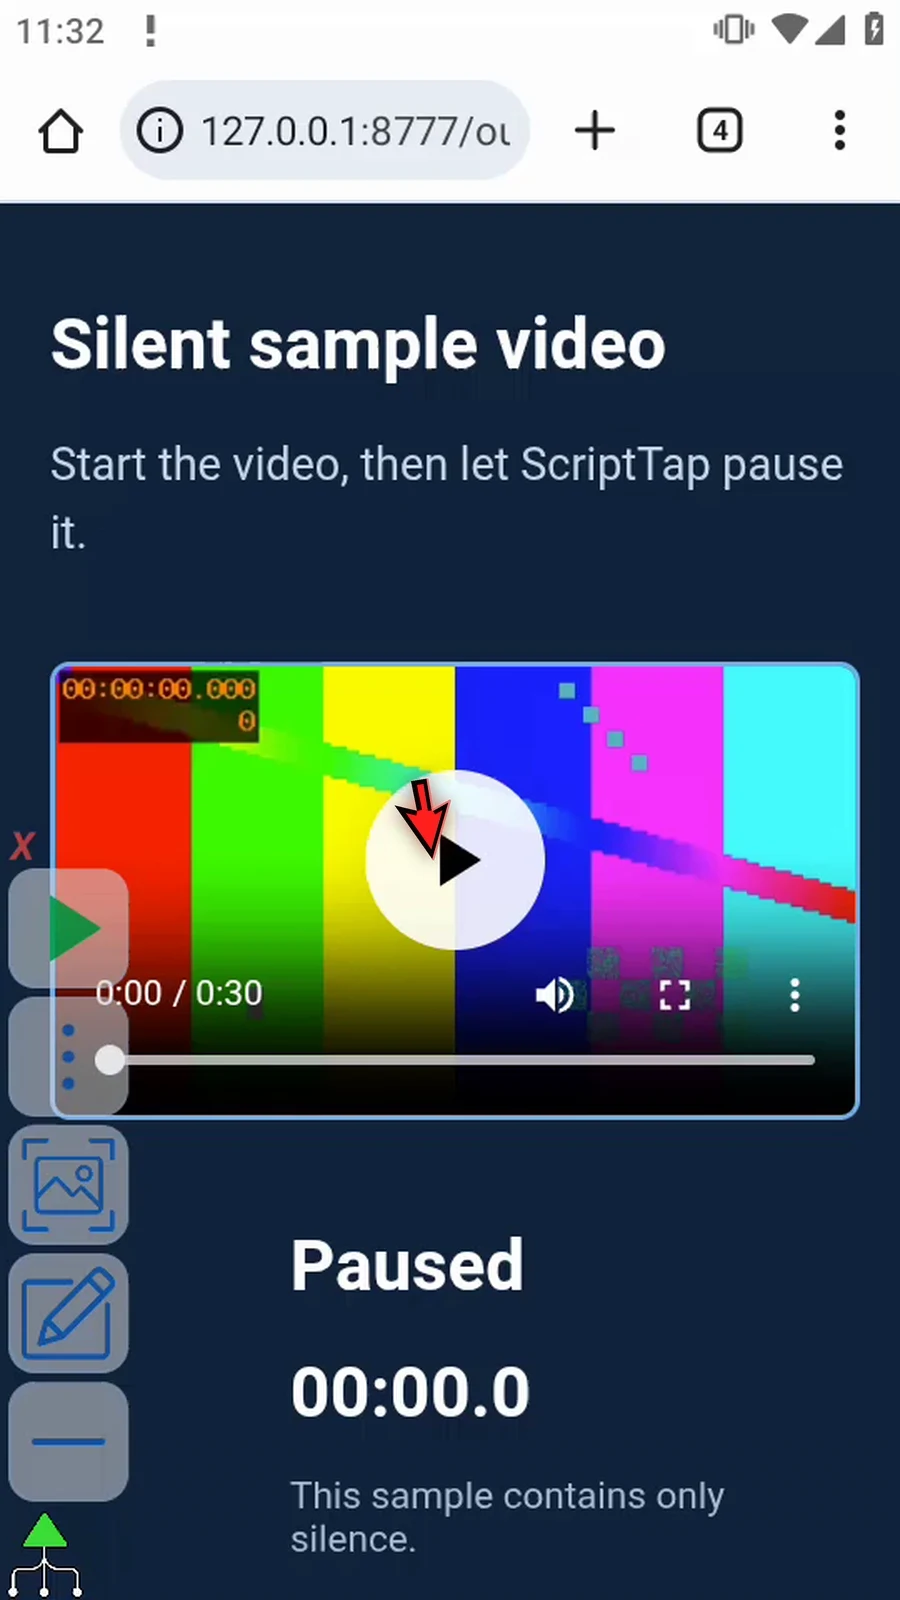
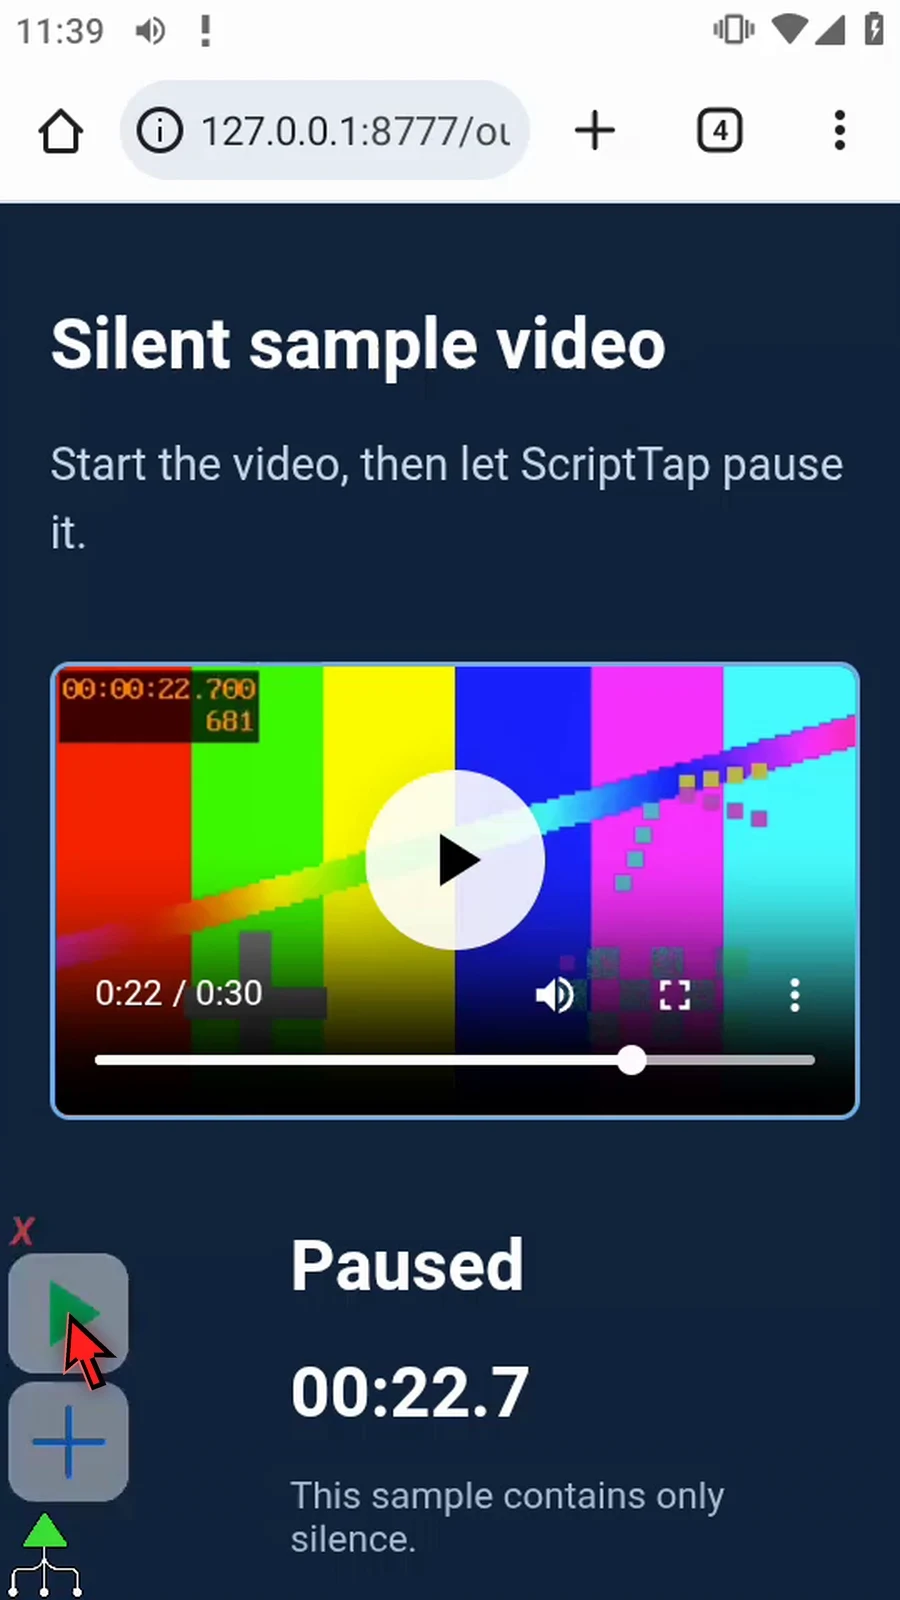
The example selects Pause, starts a silent sample video in Chrome, and uses ScriptTap's Play button. The actual video pauses and its timer stops.
Prepare a media player first. Media Control does not select an app or load media, and support for each request depends on the player. ScriptTap dispatches once without verifying the player's response or waiting for the media to finish.
Android API: media-button dispatch.
Media Control
Step-by-step guide
Step 01 Media Control sends a playback command to Android's current media app. Use it to pause or resume media without finding that app's playback buttons.
Step 02 Open the script library and create a new script for this example.
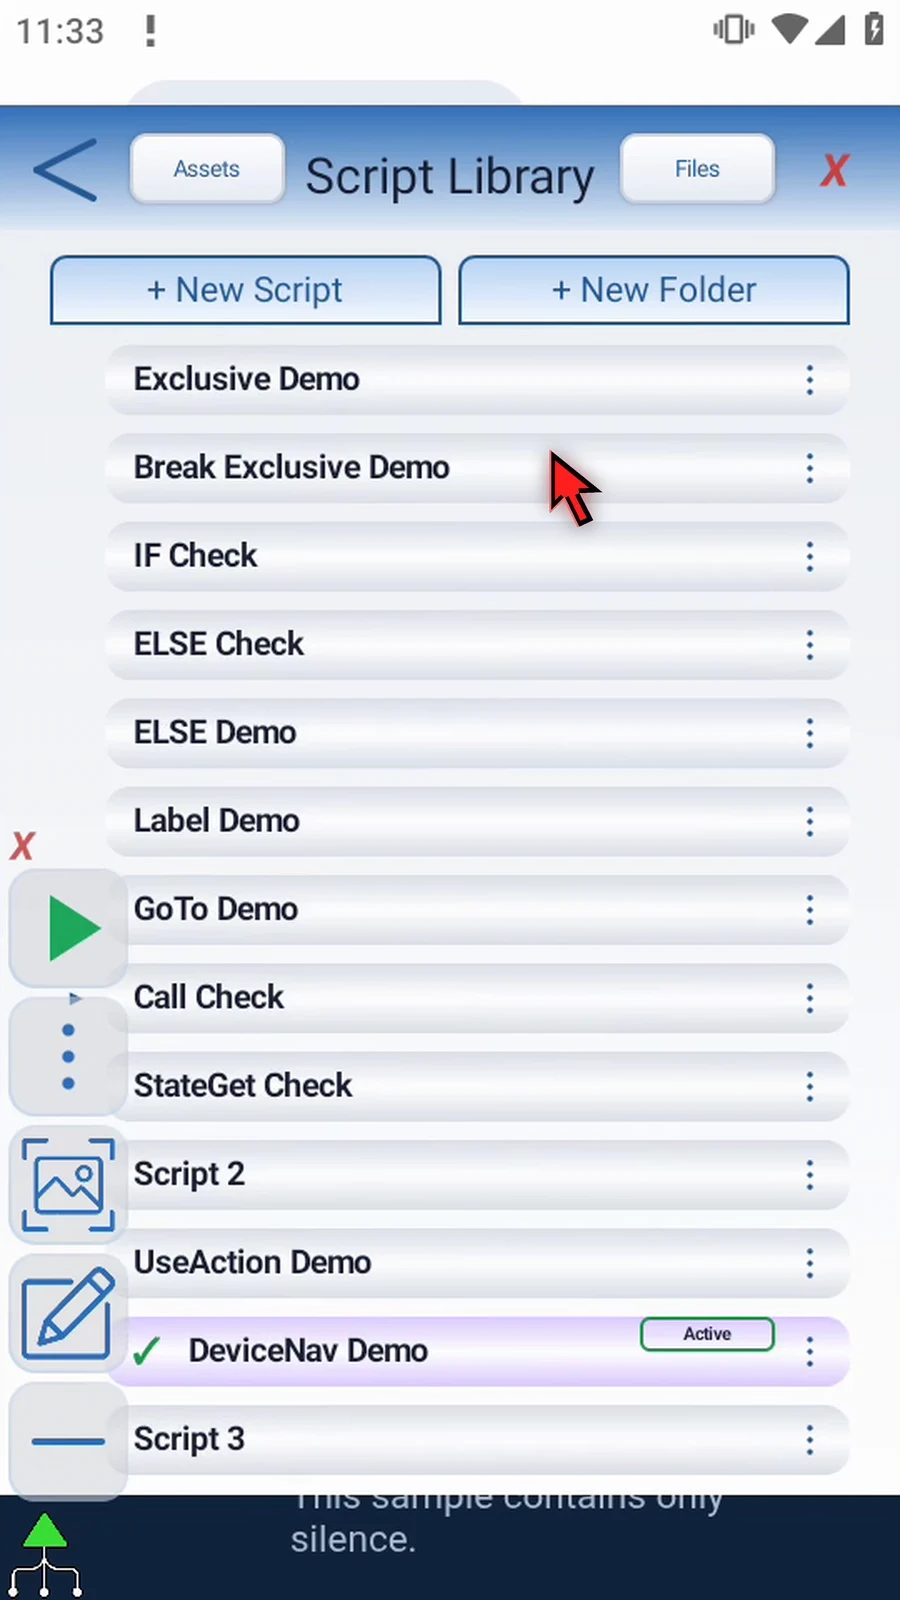
Step 03 Give your script a clear name, then open it in the editor.
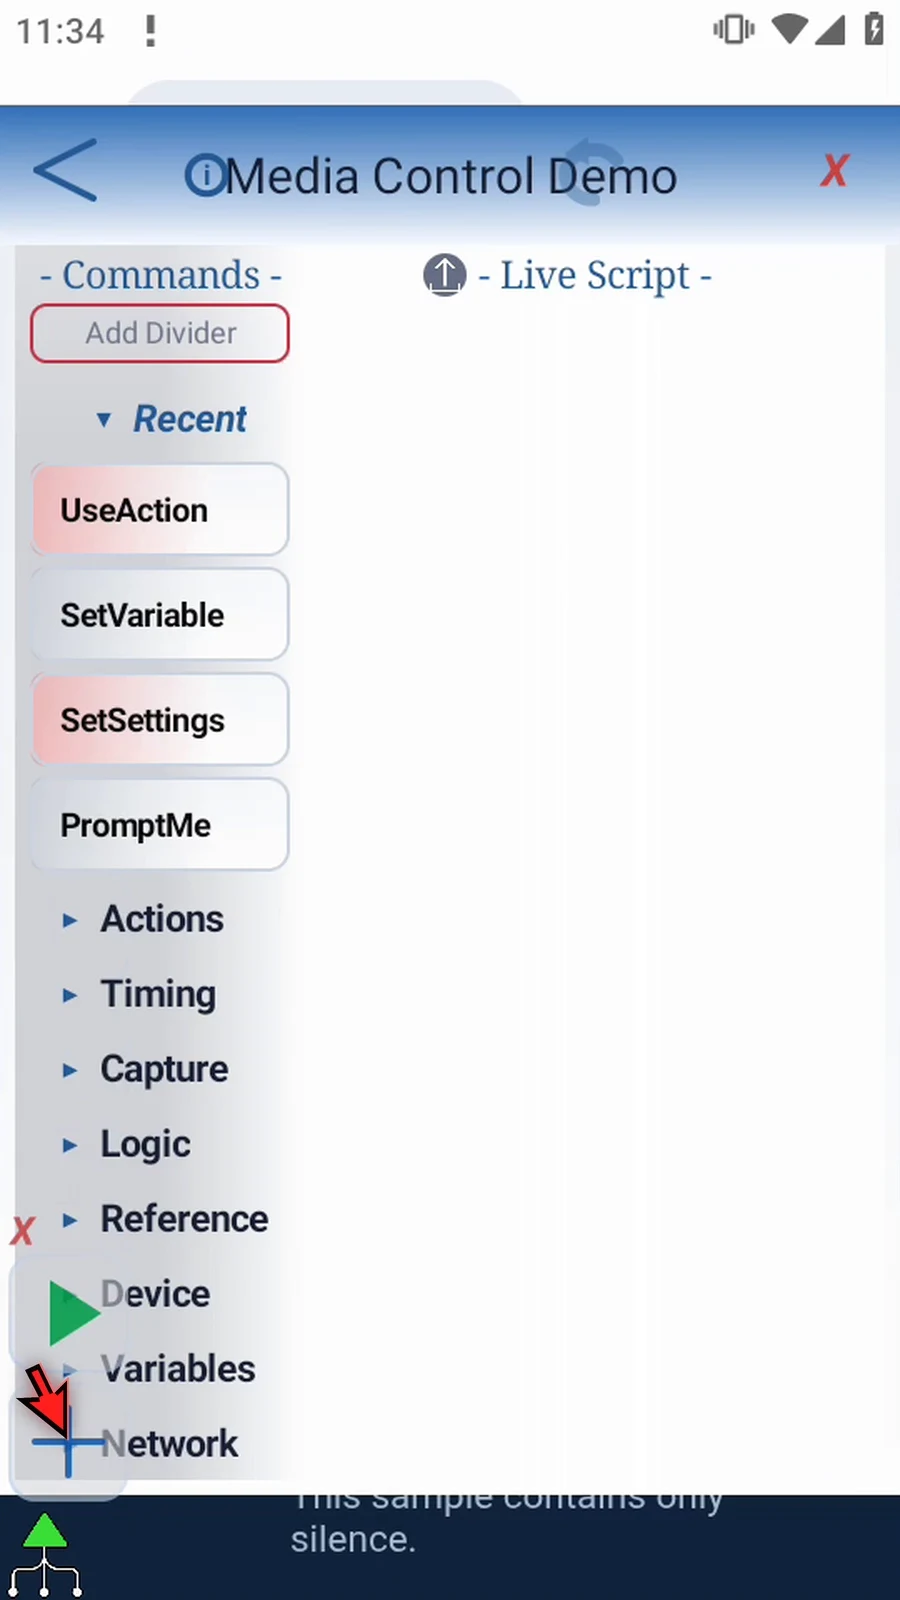
Step 04 Expand the Device category to find UseAction.
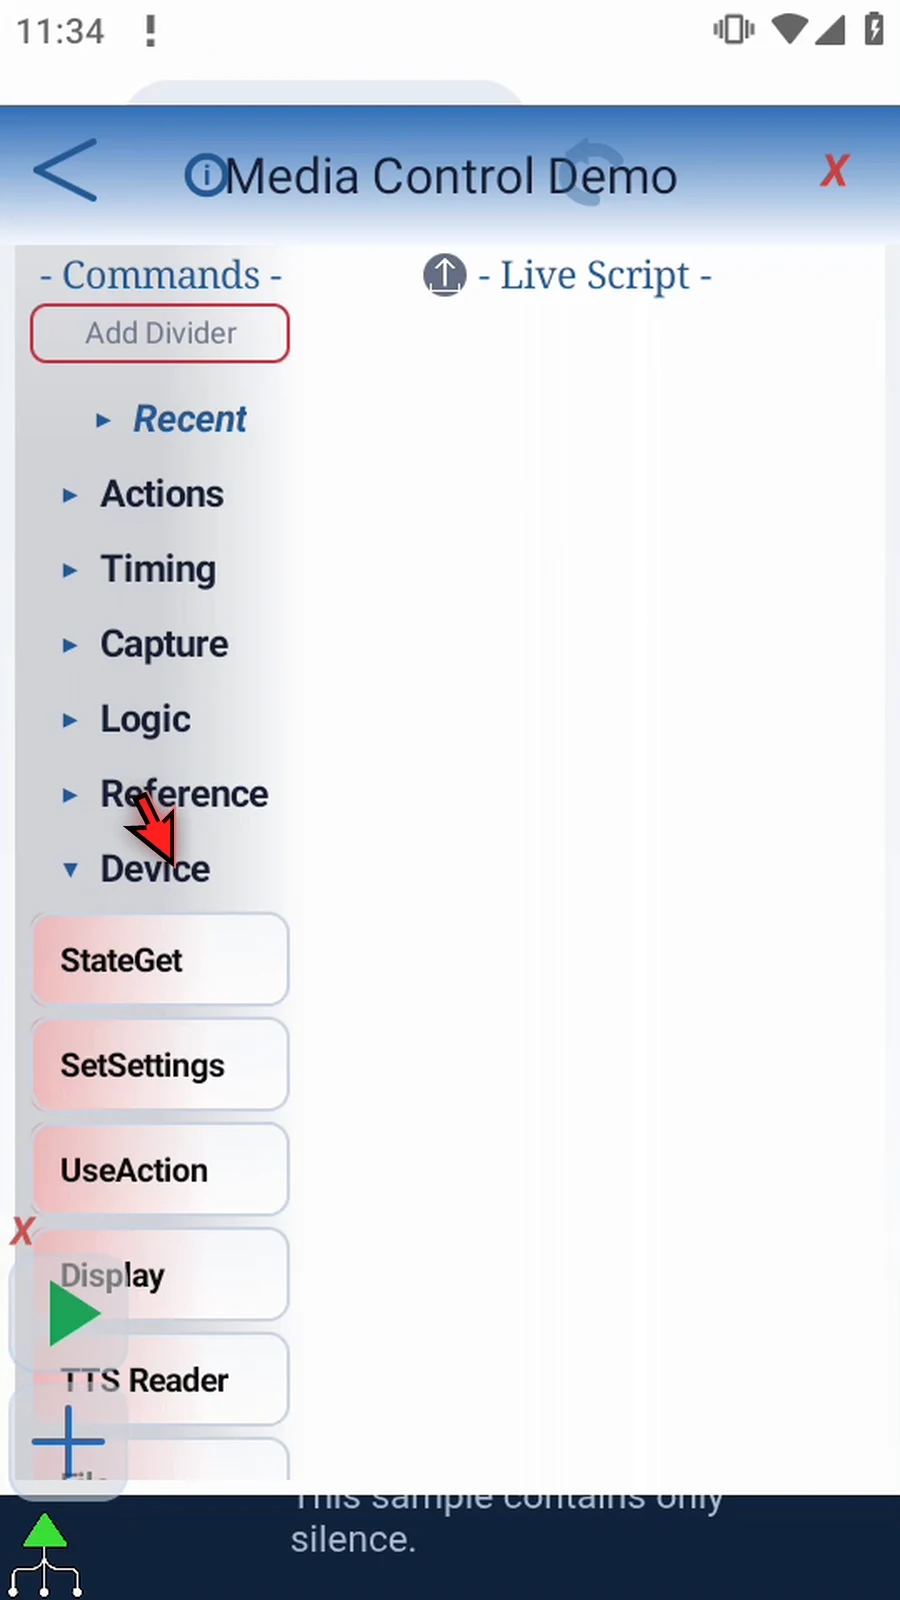
Step 05 Drag UseAction from the palette into the script. Watch the blue insertion line, then release.
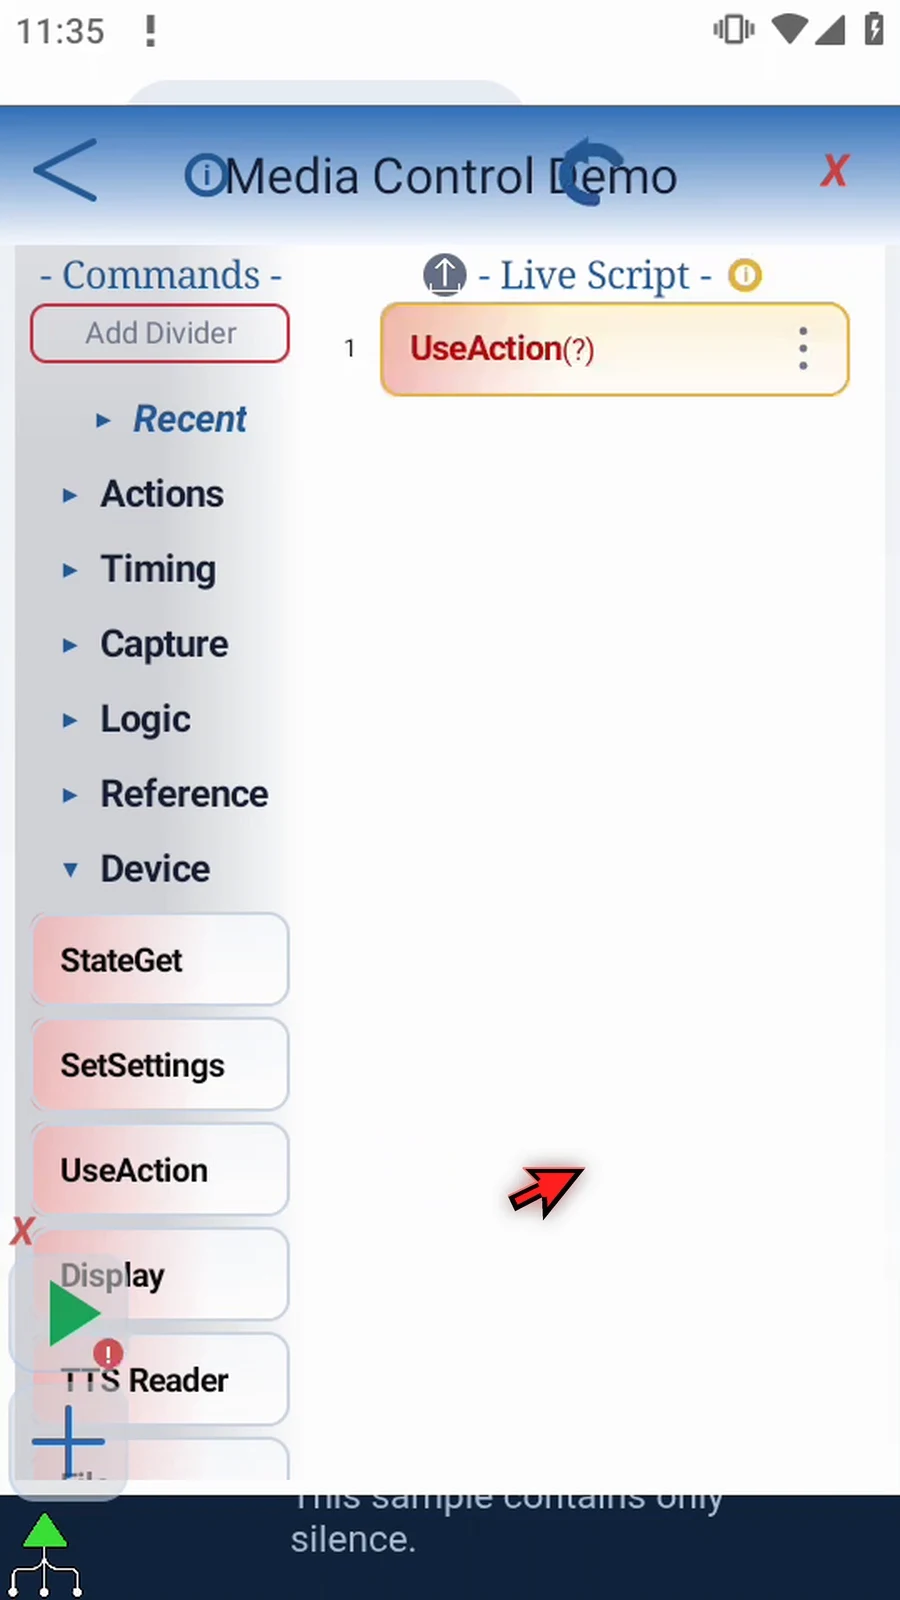
Step 06 Open the command. In the Action list, scroll down and choose Media Control.
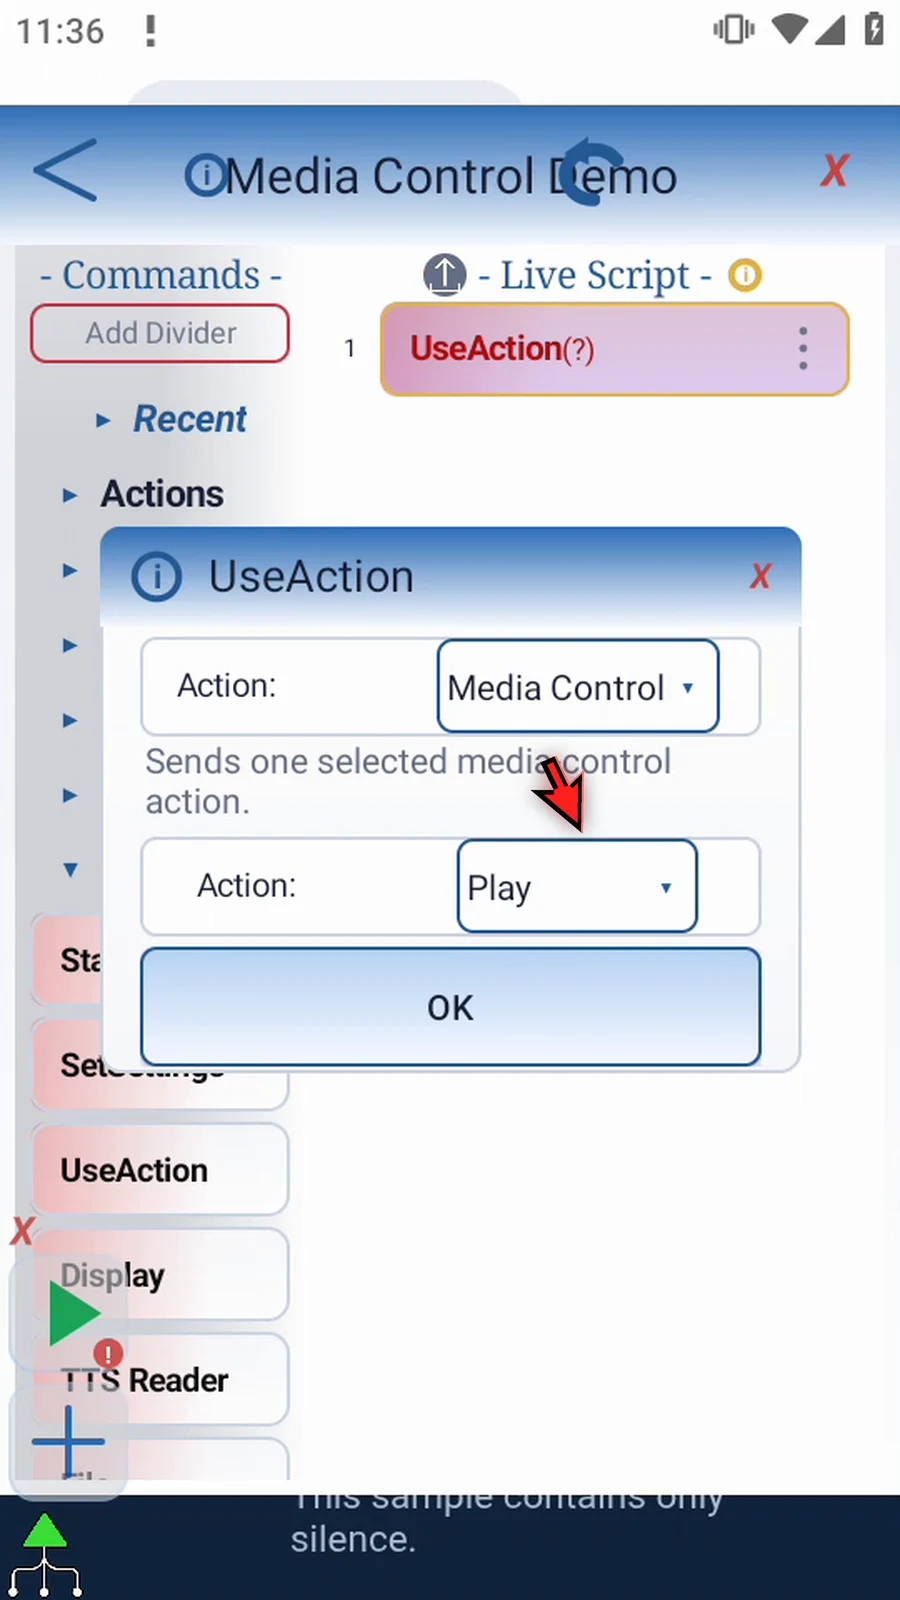
Step 07 Open the second Action list. Play requests playback; Pause requests a pause. Play slash Pause toggles between those states, so its result depends on whether media is already playing.
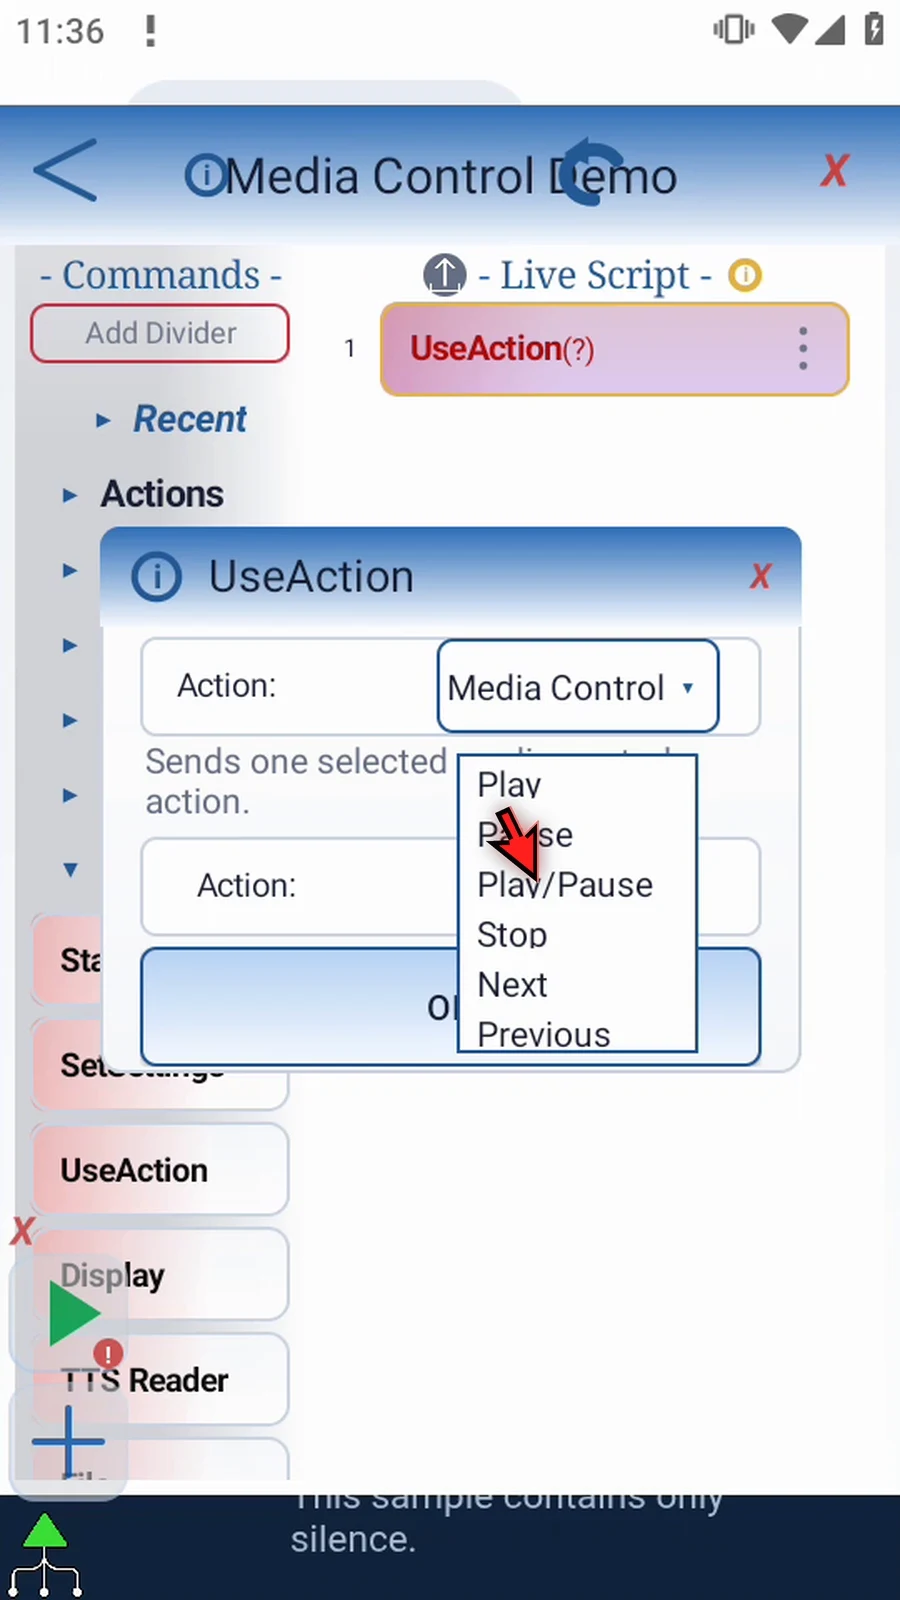
Step 08 Stop requests that playback stop. Next and Previous request another item in the player's queue. The media app decides which requests it supports.
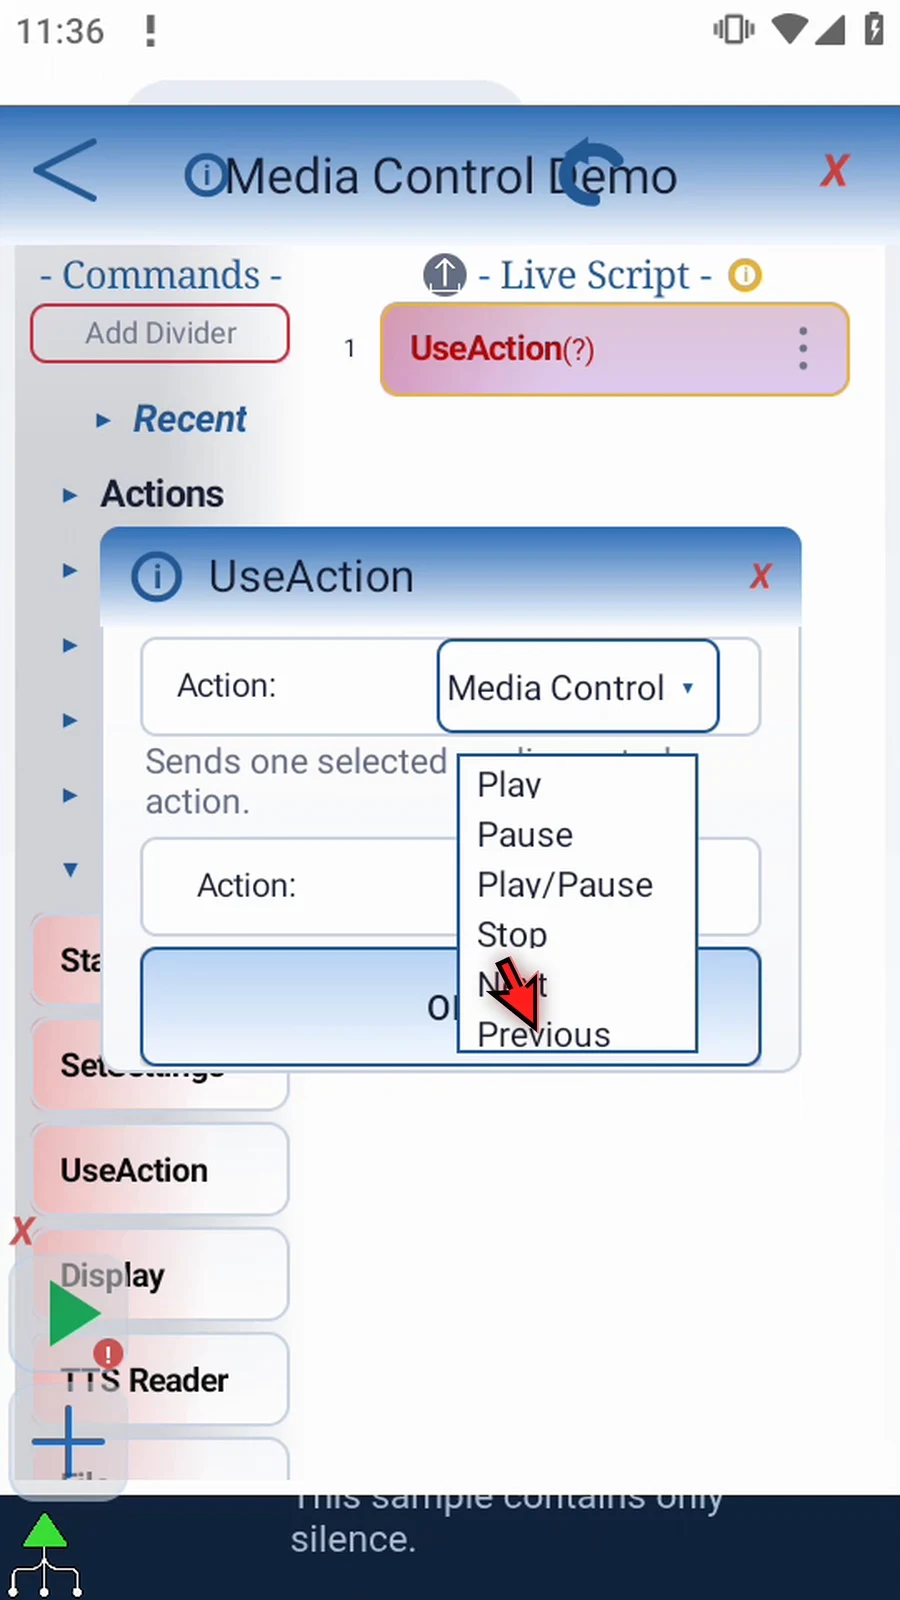
Step 09 Choose Pause for this example. Unlike a toggle, Pause asks for a paused state even if the media is already paused.
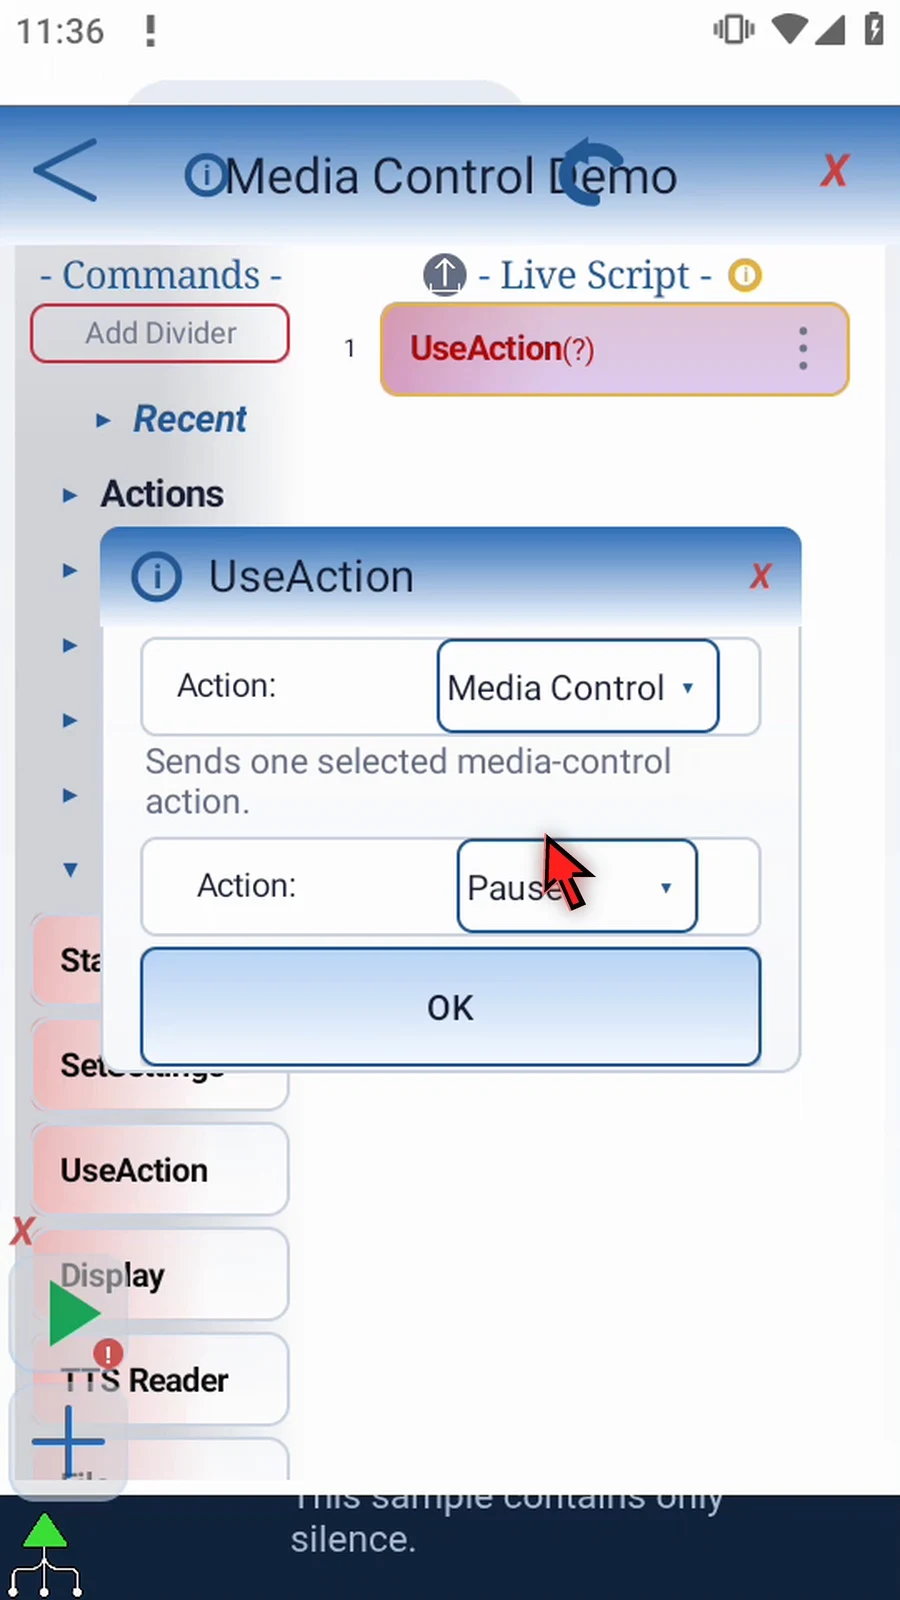
Step 10 Tap OK to save. Our script needs only this one command.
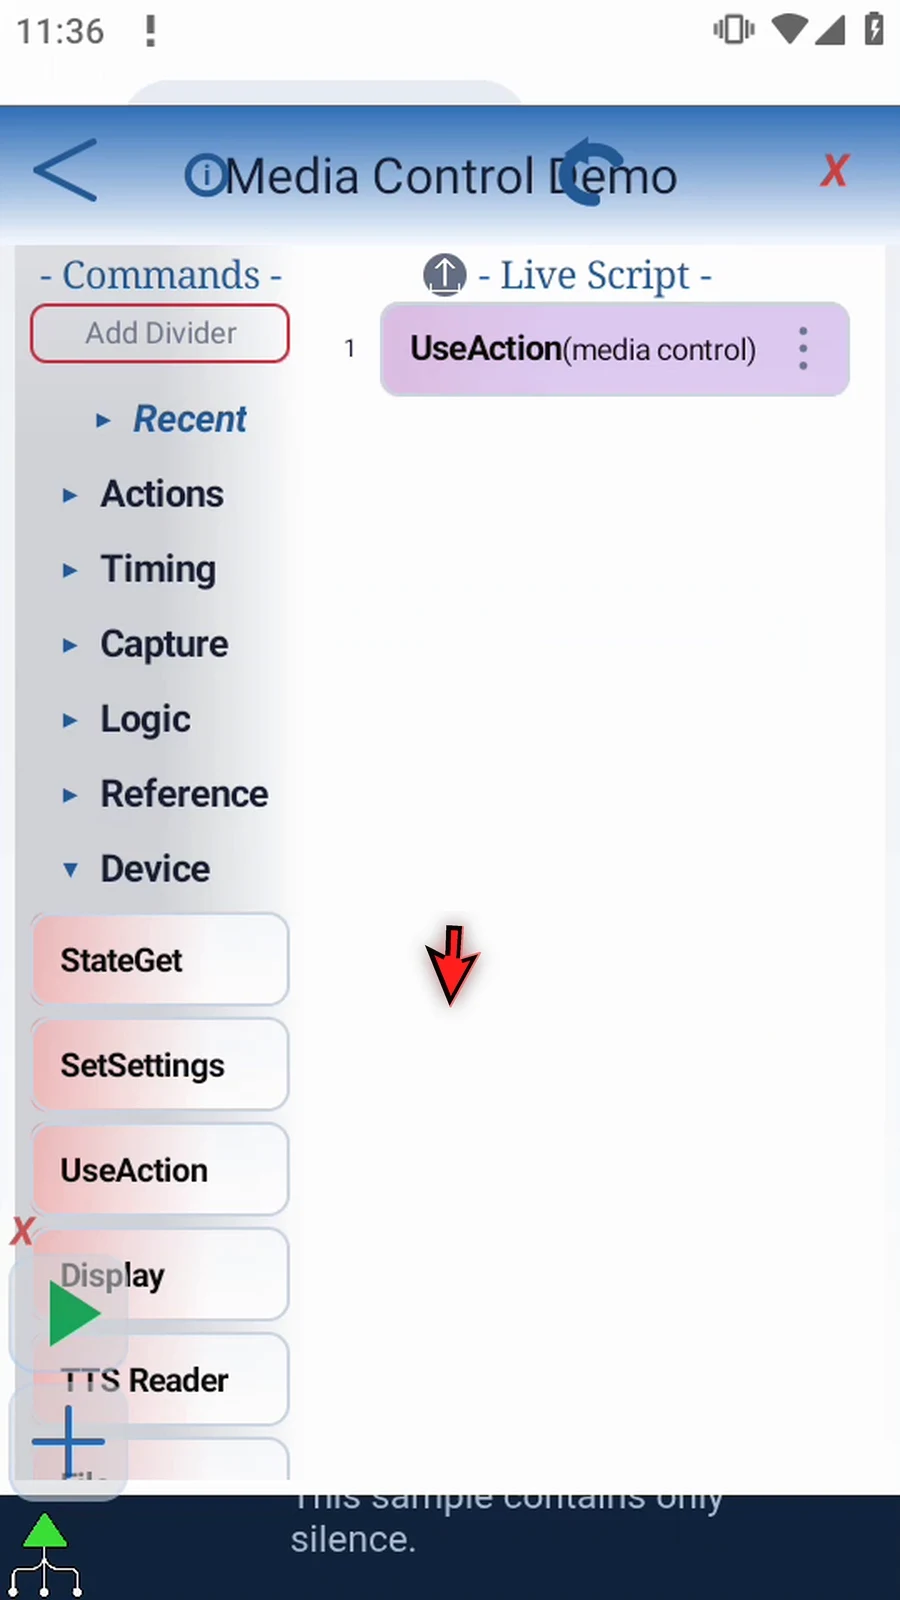
Step 11 Close the editor and return to your media app. We have prepared a silent sample video in Chrome so the result is easy to see.
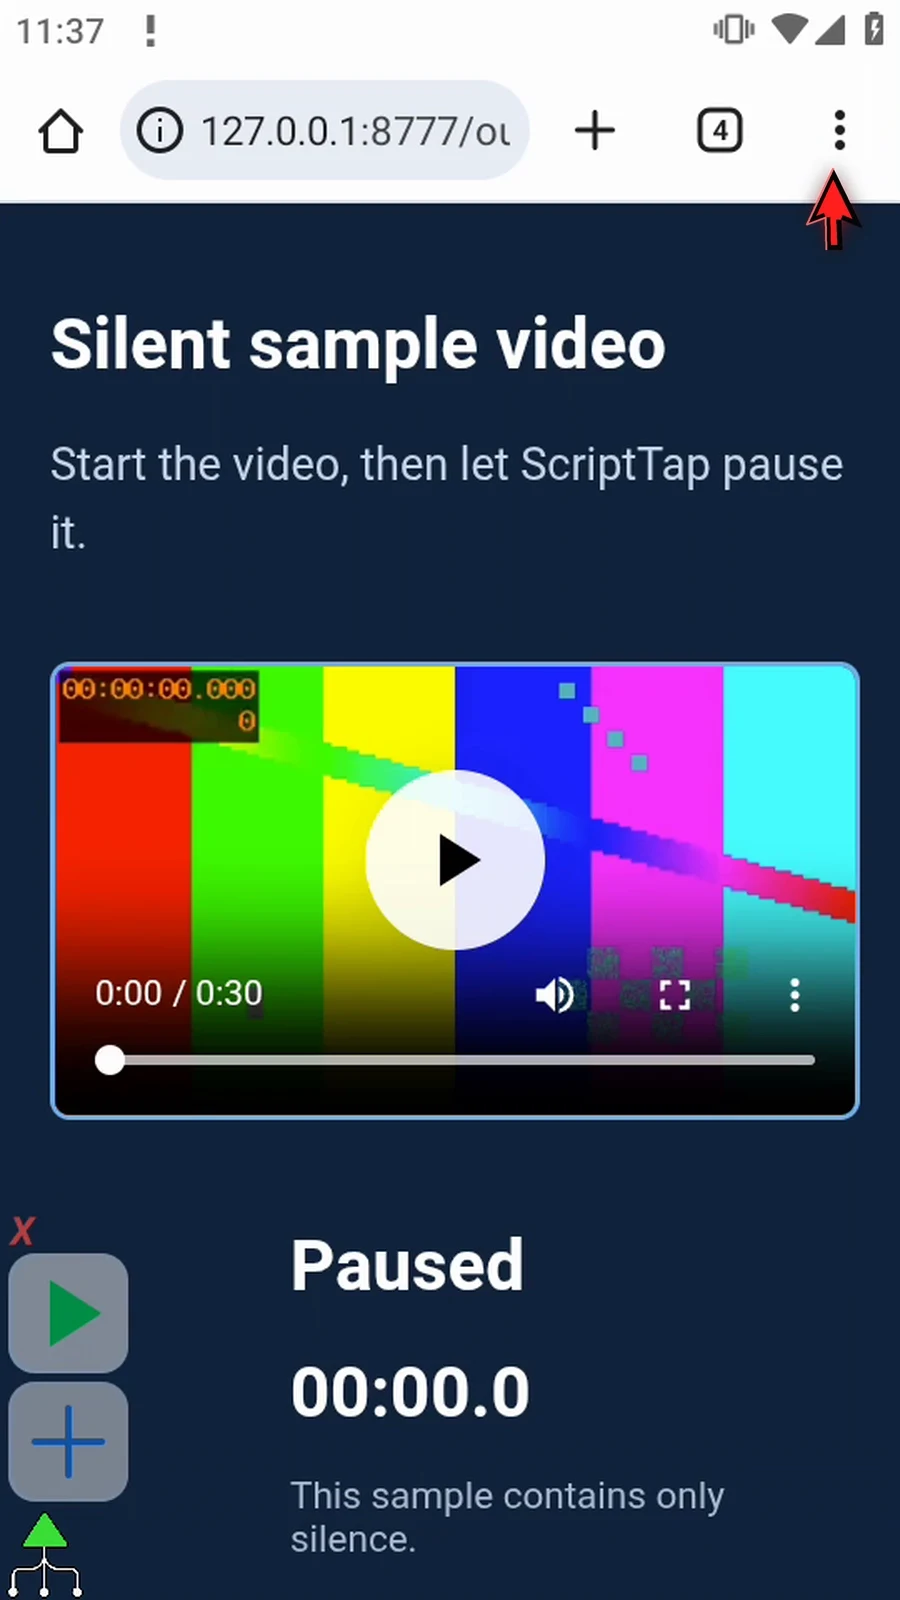
Step 12 Start the sample video first. The moving picture and advancing timer confirm that it is playing. Leave the video running while you use the ScriptTap overlay. You do not need to press the player's own Pause button: the command will send that request through Android.
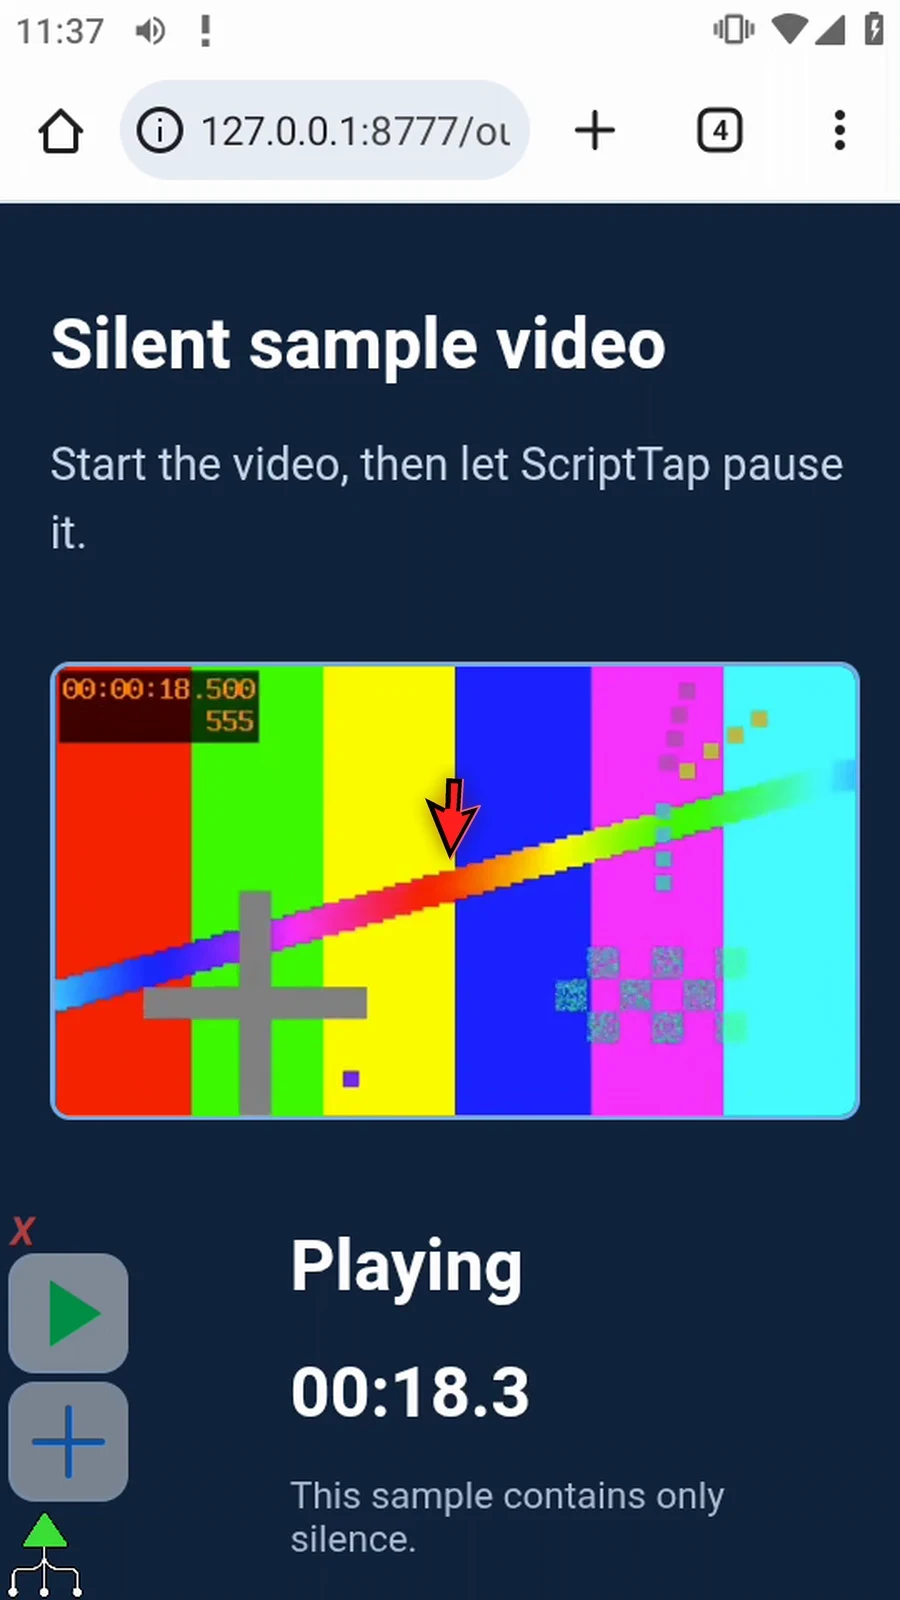
Step 13 When the script is complete, simply use the Play button in the main overlay.
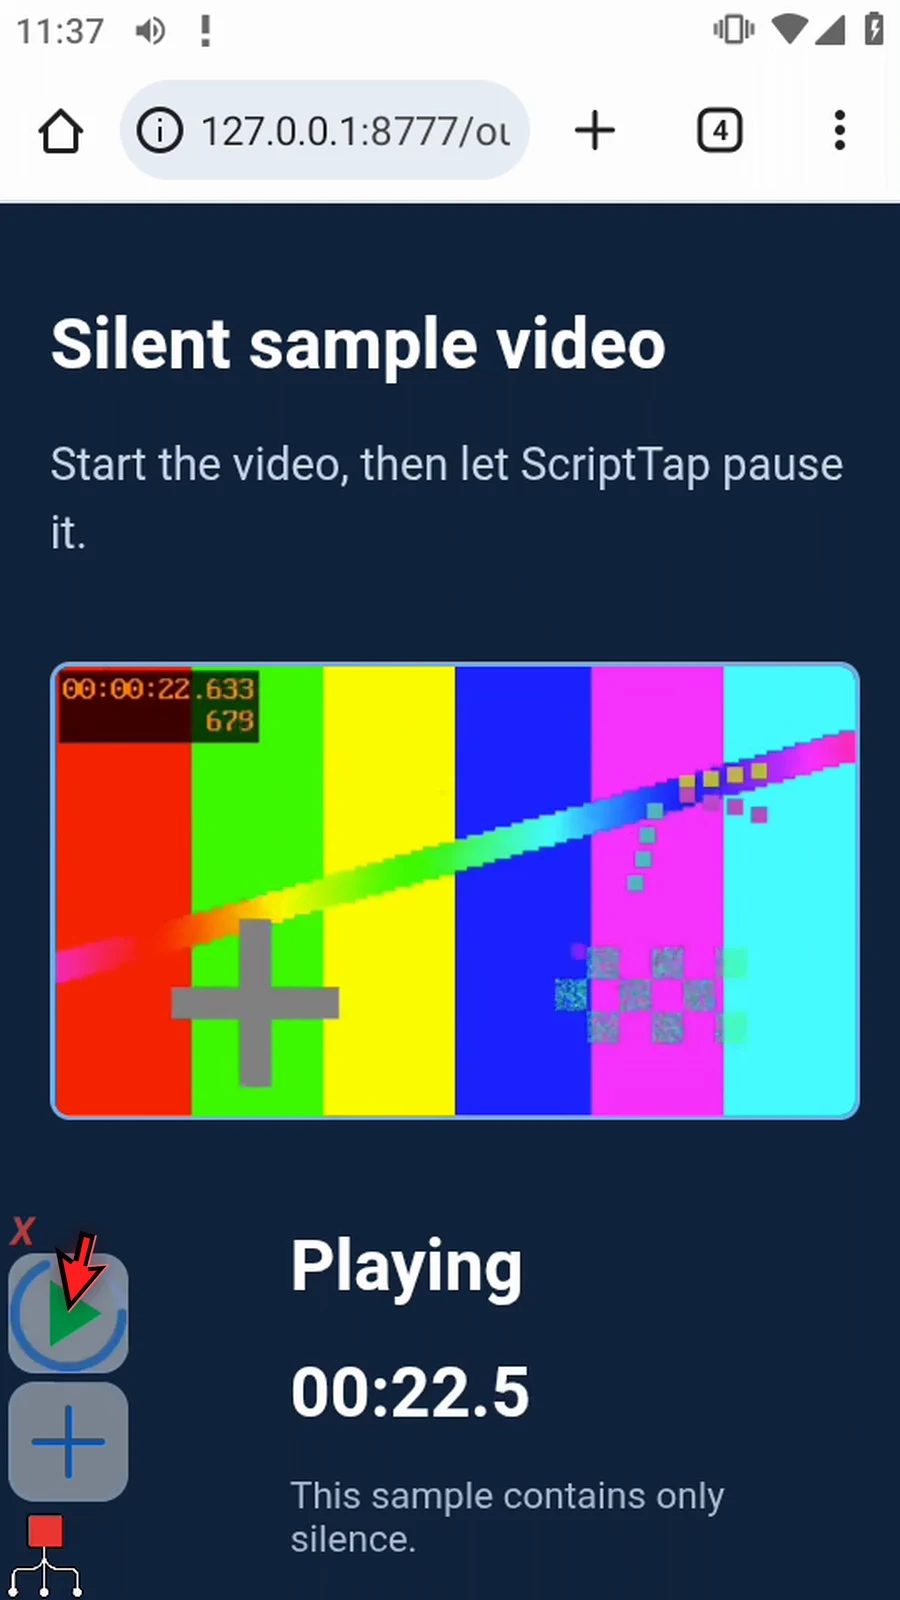
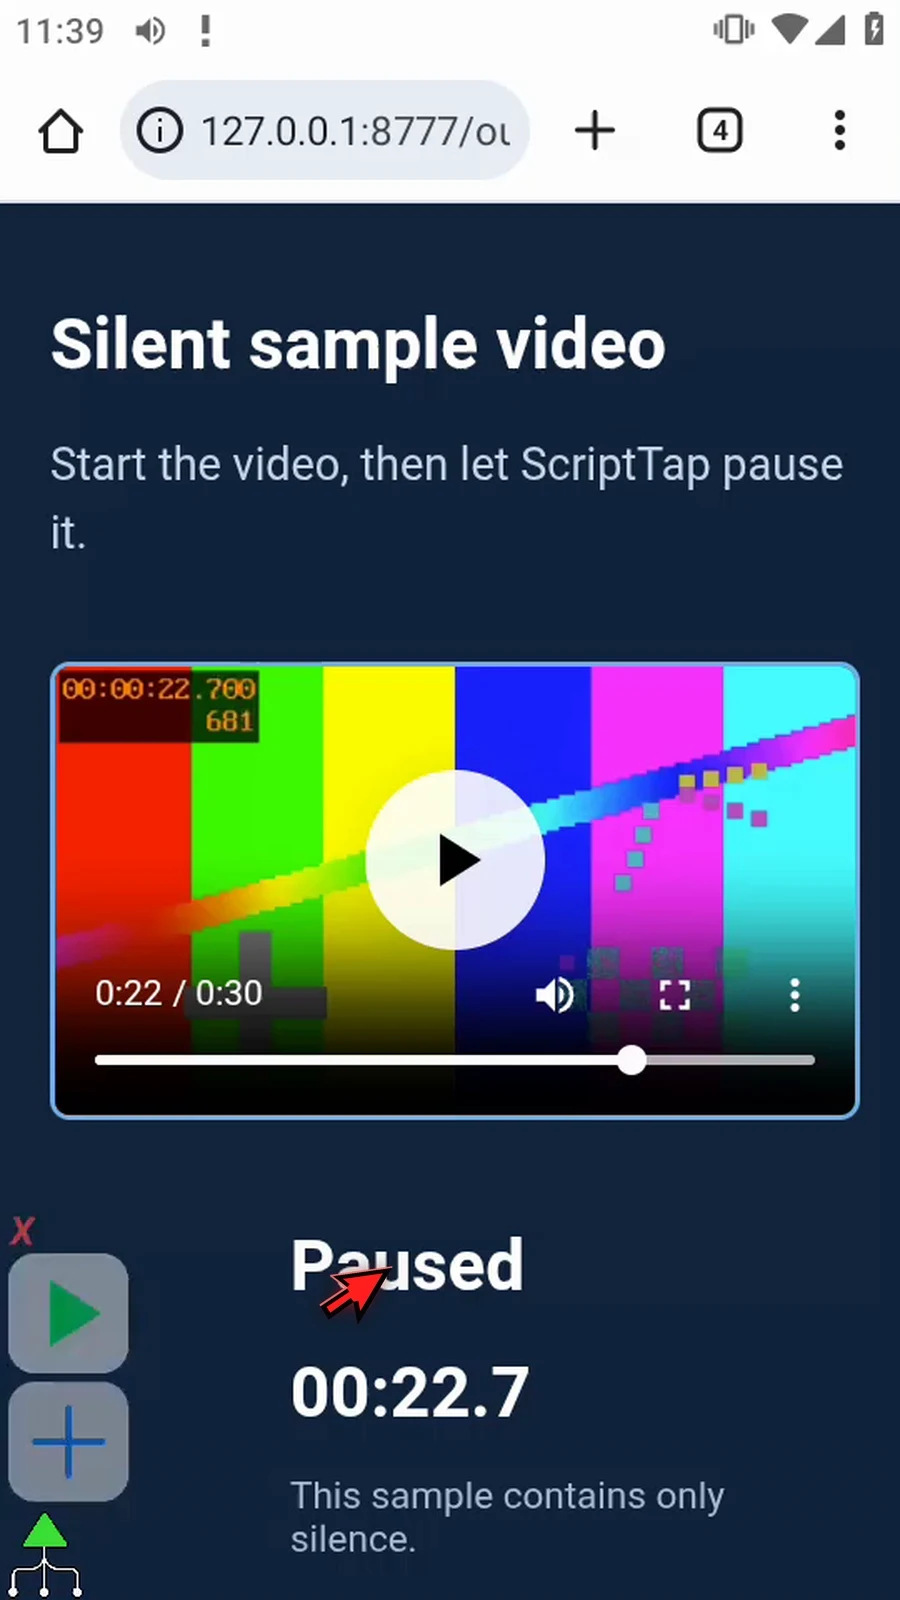
Step 14 The video pauses and its timer stops. ScriptTap finishes automatically after sending the request; it does not wait for the video to end.
Step 15 Media Control does not choose an app or load a song or video. Prepare a media player first, and test your script with that app. ScriptTap sends the request once without checking that the player obeyed it.
Vibrate gives a script a touch-based signal at an important step. Choose one continuous vibration or a timed pattern.
Create a script, manually drag UseAction from Device, then select Vibrate in the Action list.
- Once: one continuous vibration lasting 1–60,000 milliseconds. The guide first enters 500 ms: half a second.
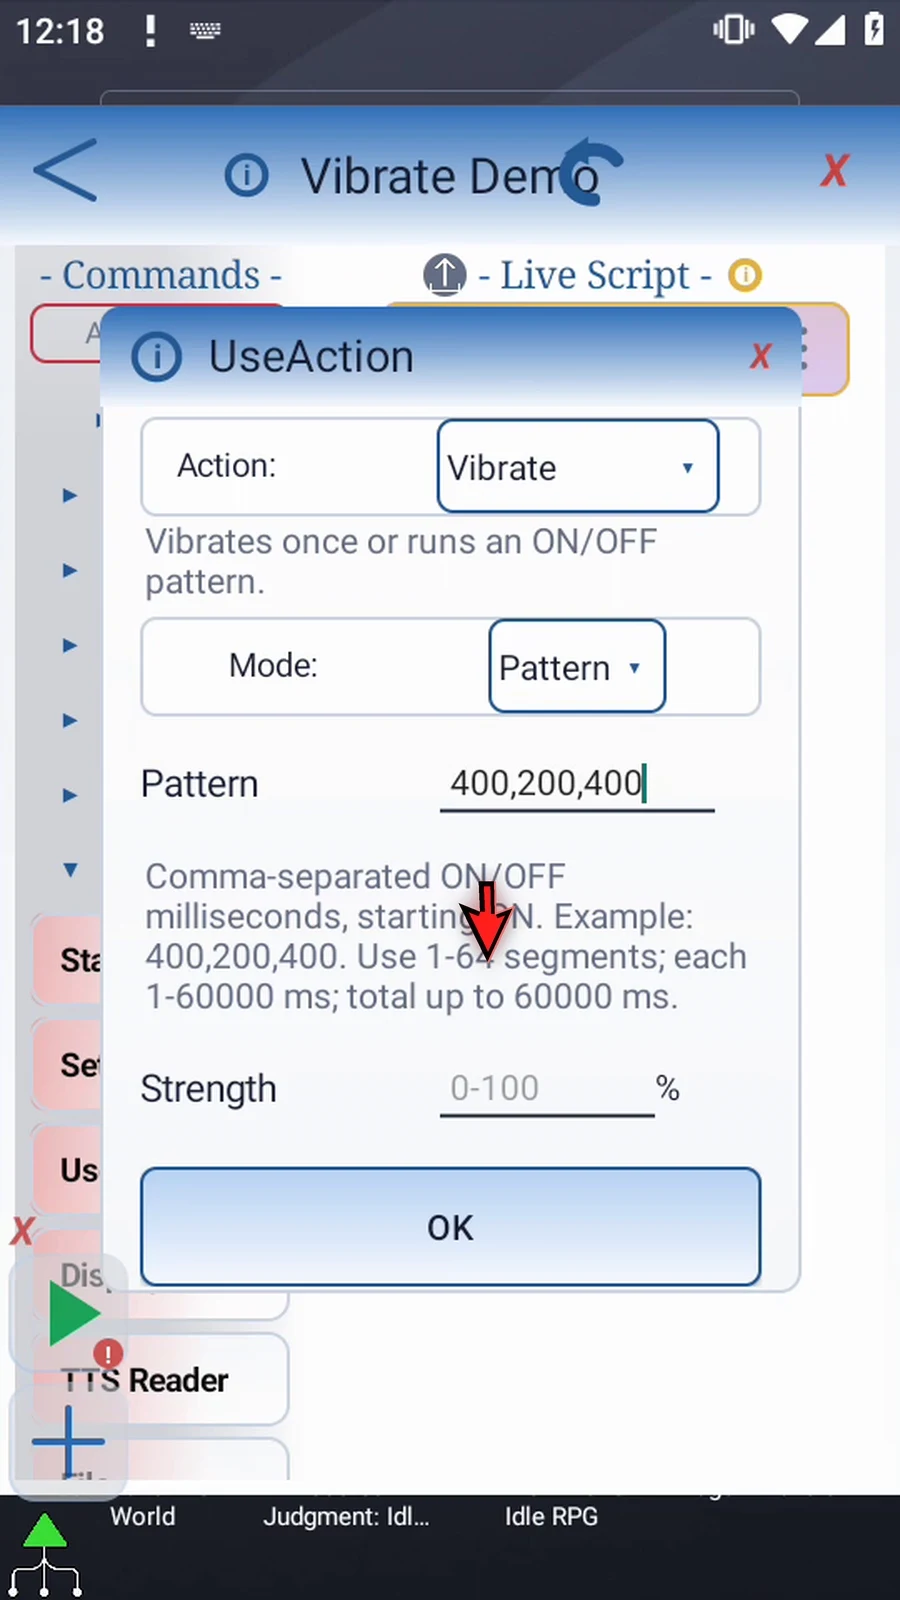
- Pattern: comma-separated durations alternate ON and OFF, starting ON. Use 1–64 positive durations; each entry and the whole pattern must be no more than 60,000 ms. The example
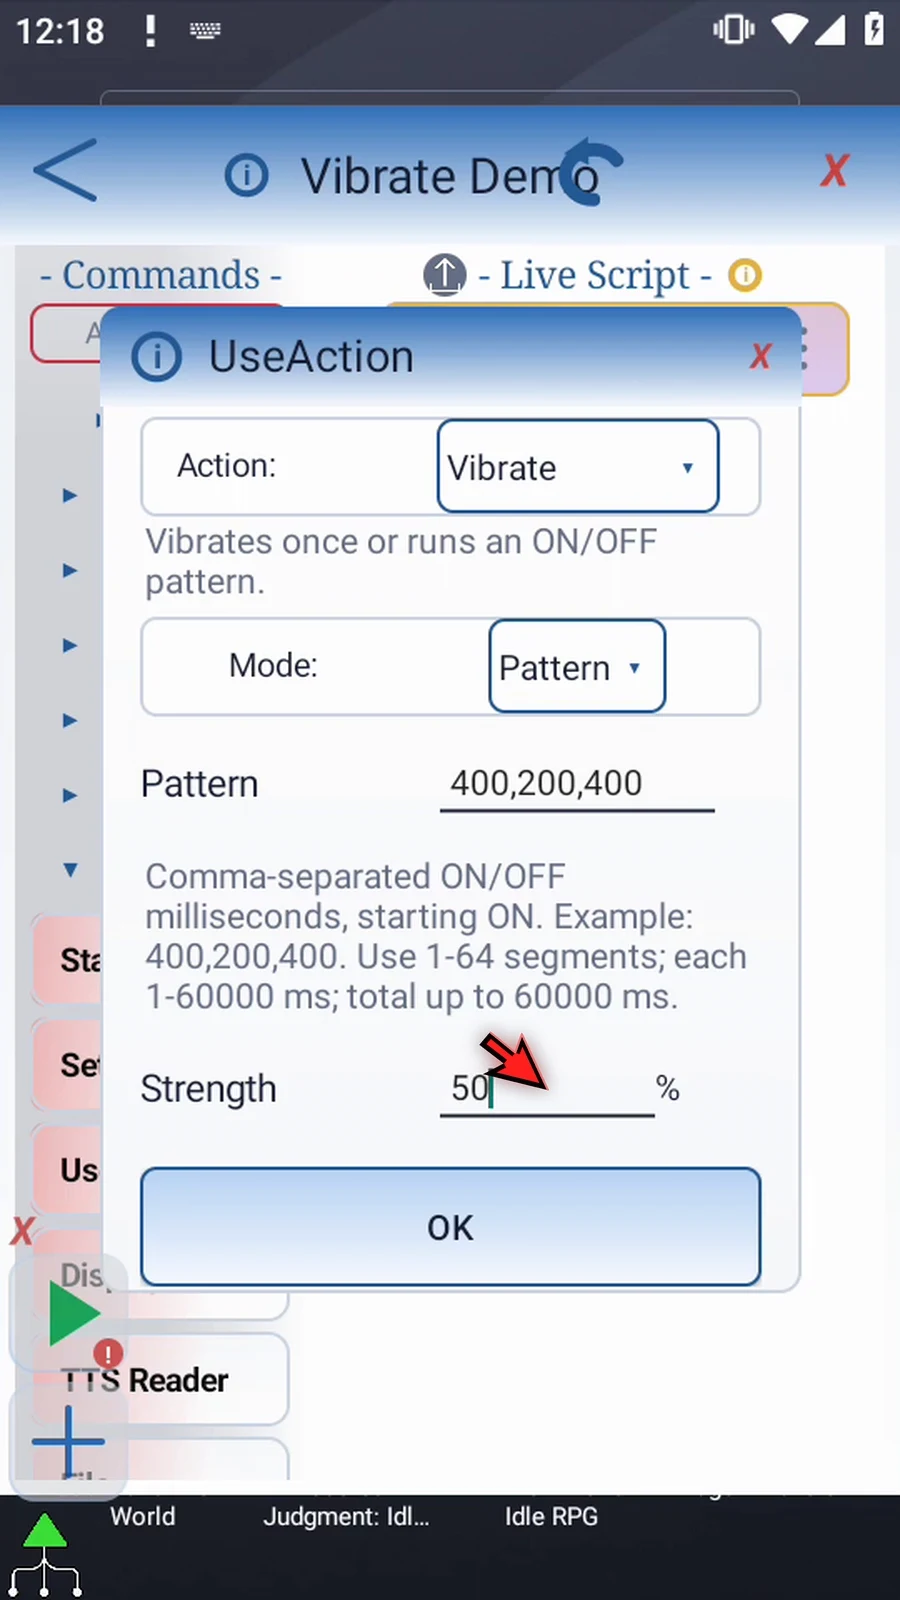
400,200,400gives two 400 ms pulses separated by a 200 ms pause. - Strength: 0–100 percent. Zero skips vibration. If the device cannot adjust amplitude, Android's default intensity is used.
Changing modes replaces their timing fields. Set the selected mode's values before saving.
The example manually adds Delay 1000 and a Standard PromptMe with header Vibrate and a Done button. The button's Boolean output is b1. These supporting commands make the timing and script progress visible.
Vibrate dispatches its request without waiting for completion. Delay waits for the pattern's one-second total; it does not verify physical vibration. The prompt confirms that the script reached its next step, not that the motor worked. Tap Done and the script finishes automatically.
Vibration hardware is required. Test the pattern and strength on each target device; support can differ.
Android APIs: vibration timing and amplitudes; amplitude support.
Vibrate
Step-by-step guide
Step 01 UseAction Vibrate gives your script a touch-based signal when it reaches an important step. Choose one continuous vibration or a timed pattern. We'll build a two-pulse example with an on-screen confirmation.
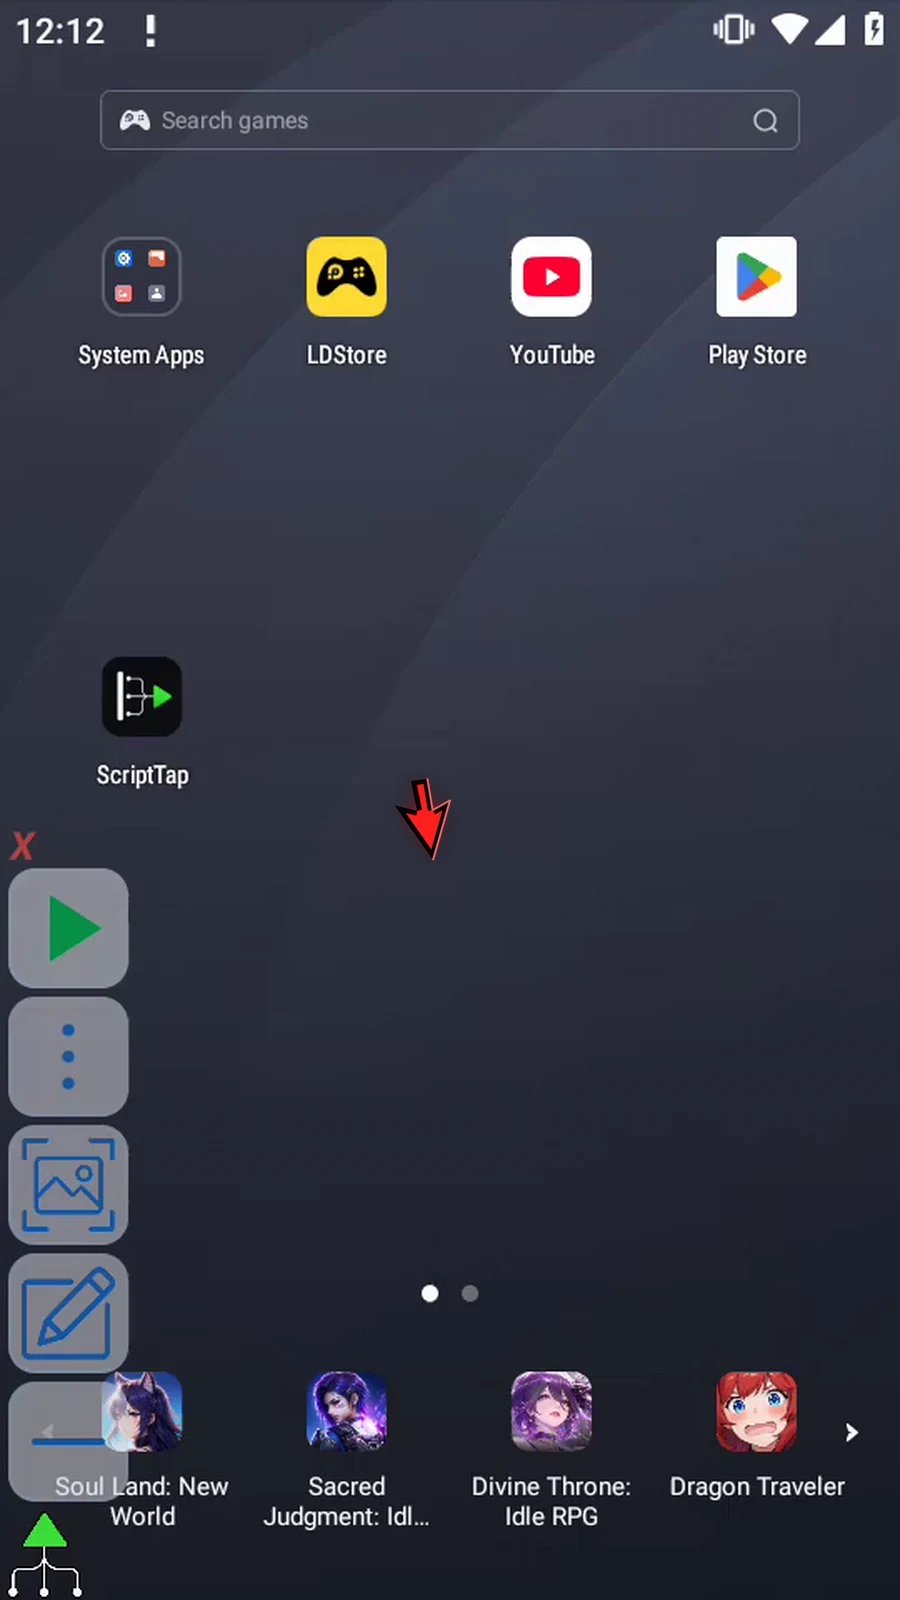
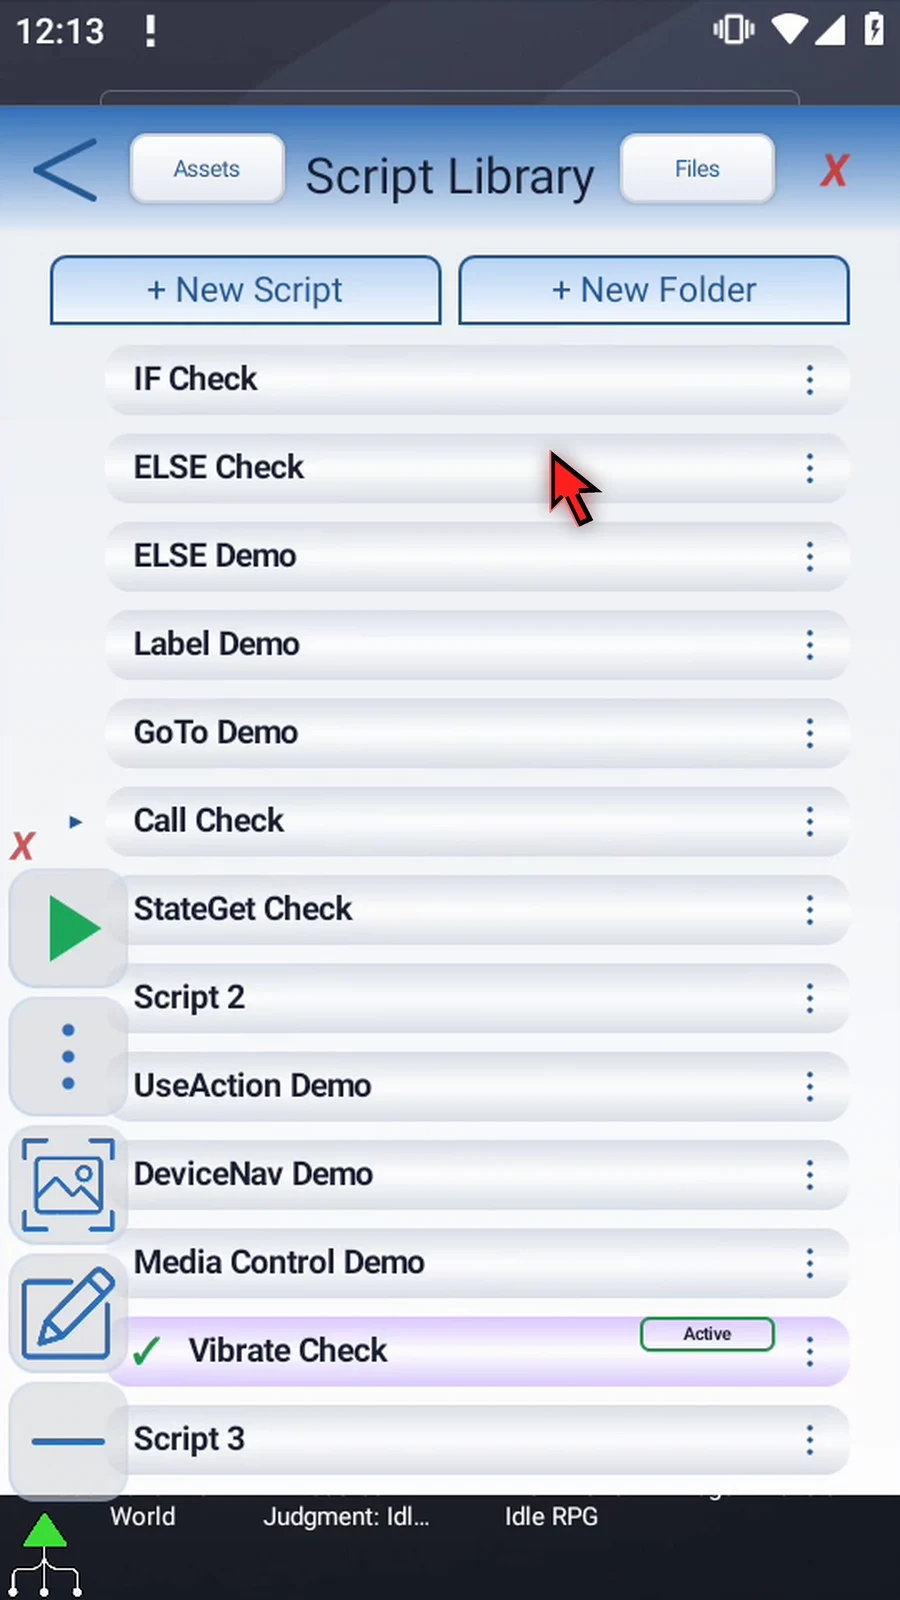
Step 02 Open the script library and create a new script for this example.
Step 03 Give your script a clear name, then open it in the editor.
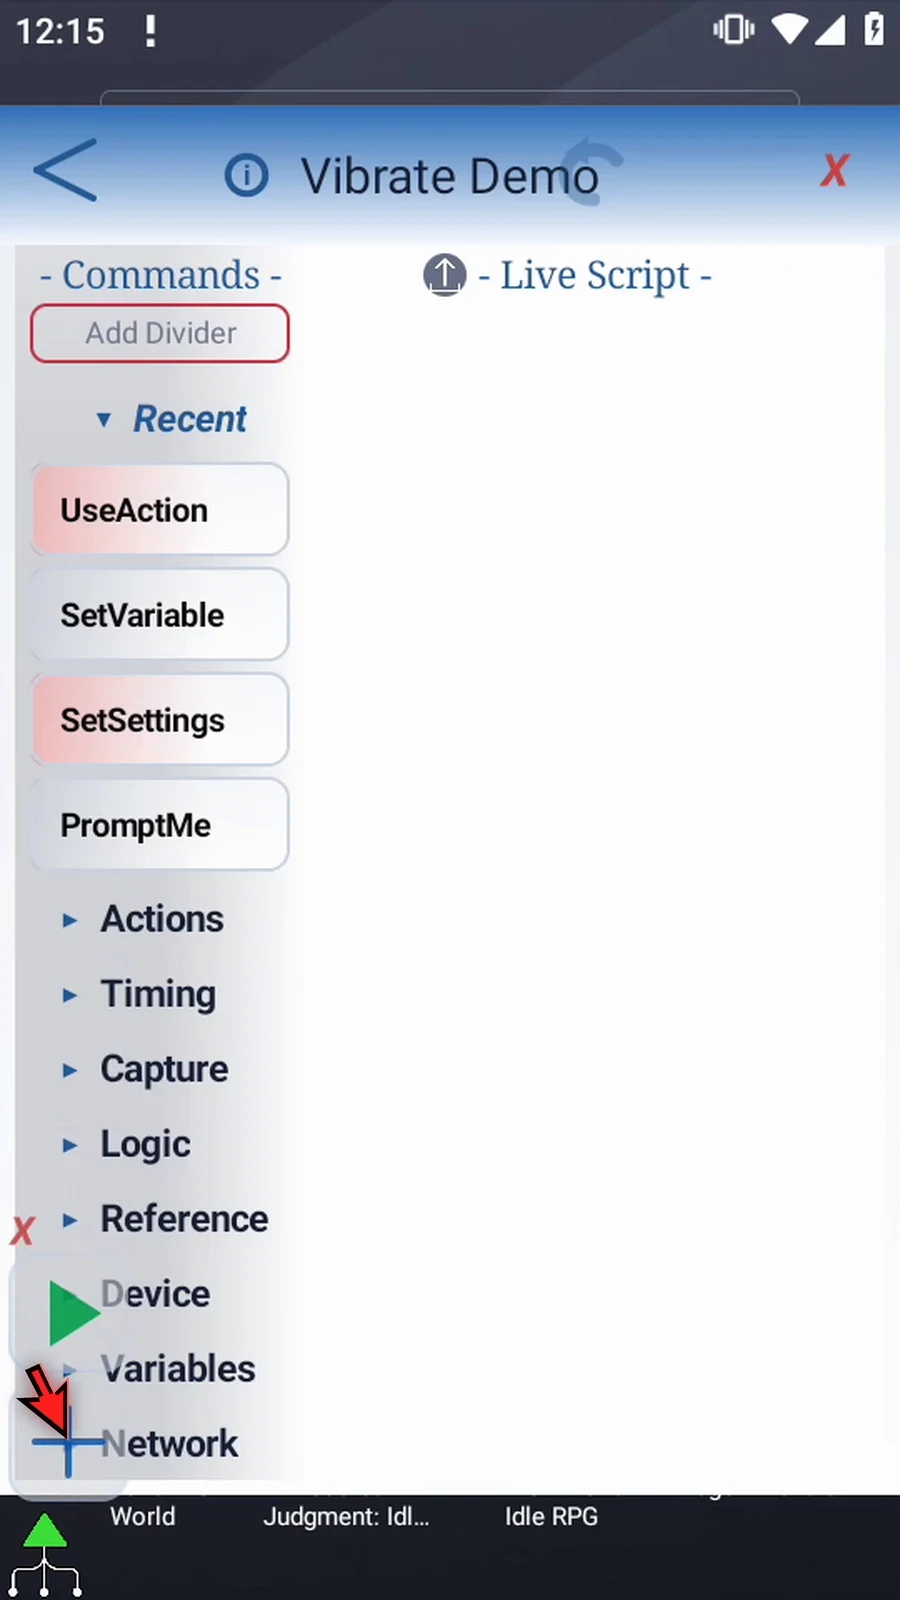
Step 04 Expand the Device category to find UseAction.
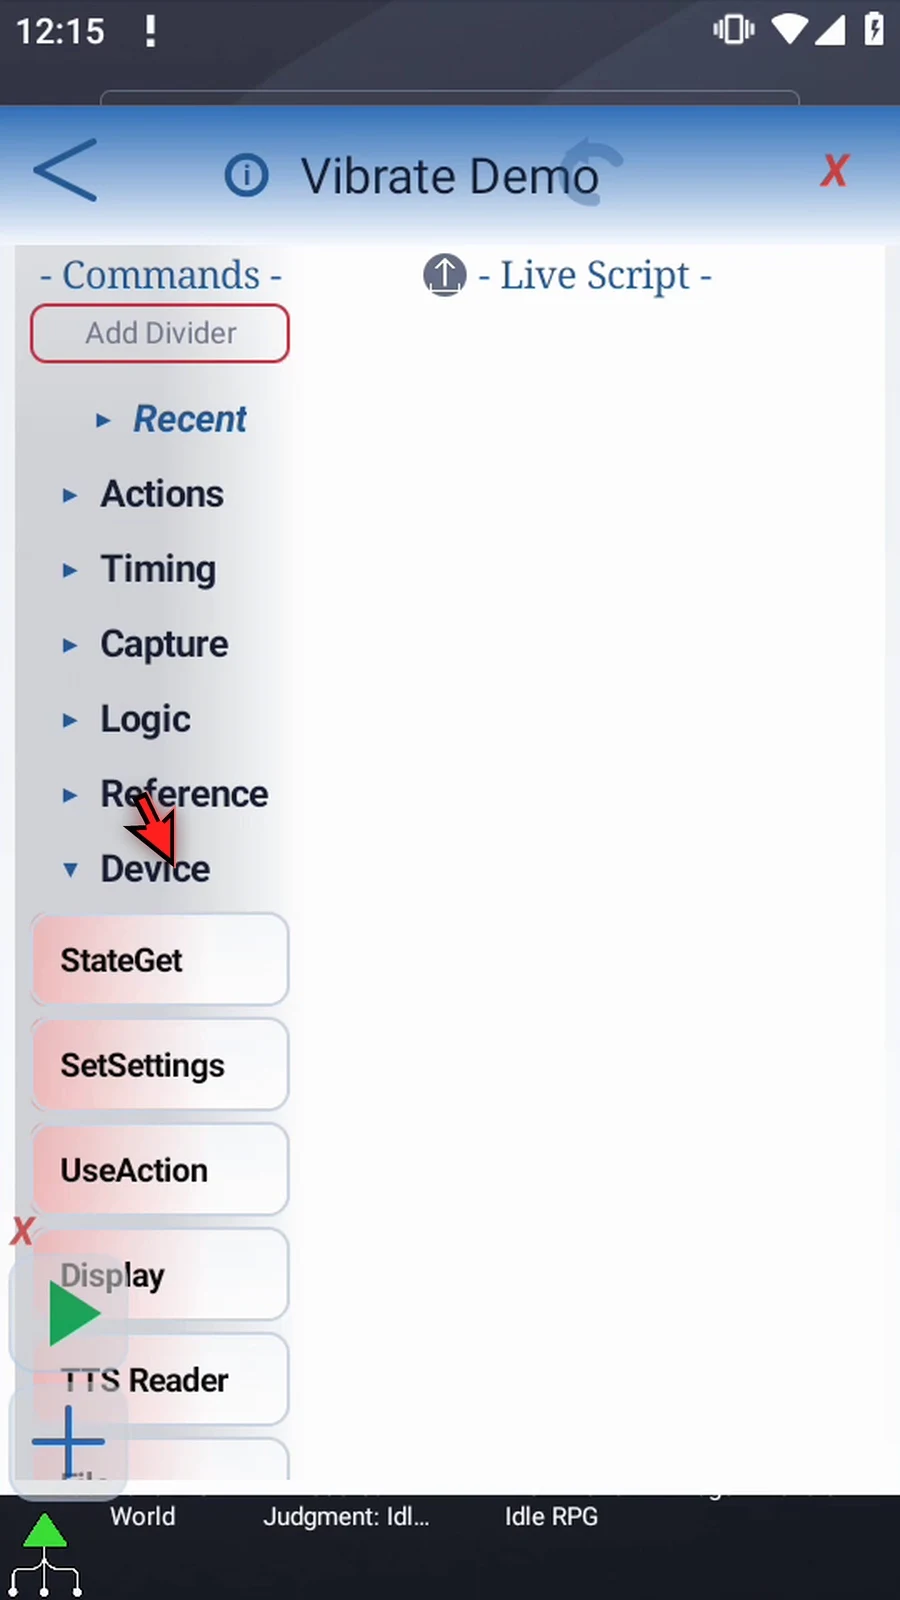
Step 05 Drag UseAction into the script. Watch the blue insertion line, then release.
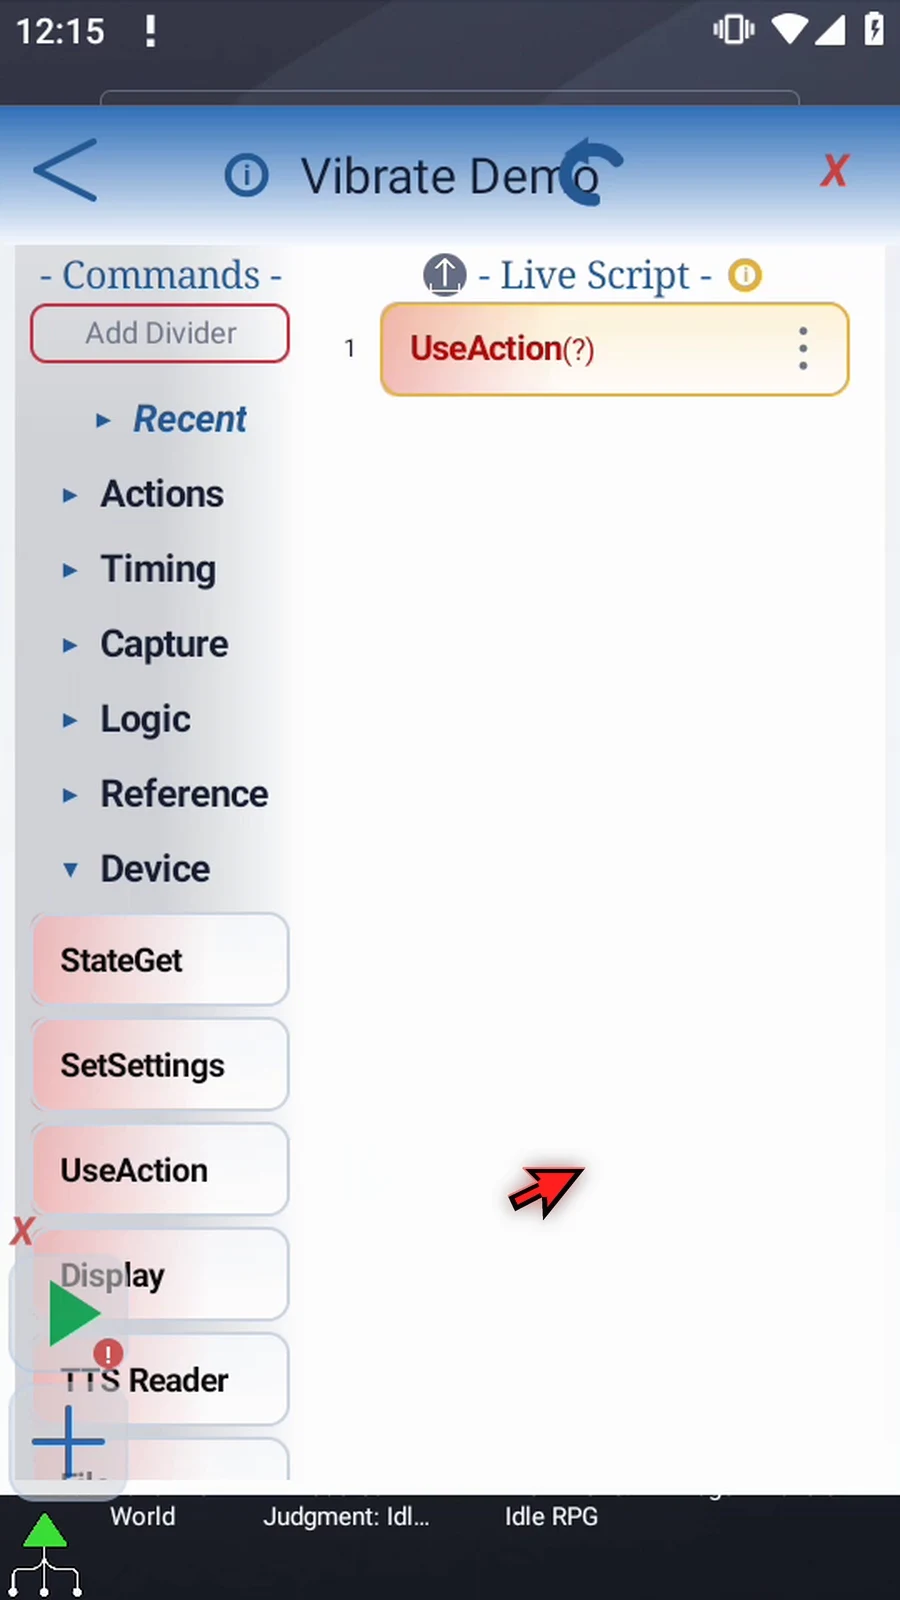
Step 06 Open the command. In the Action list, scroll down and choose Vibrate.
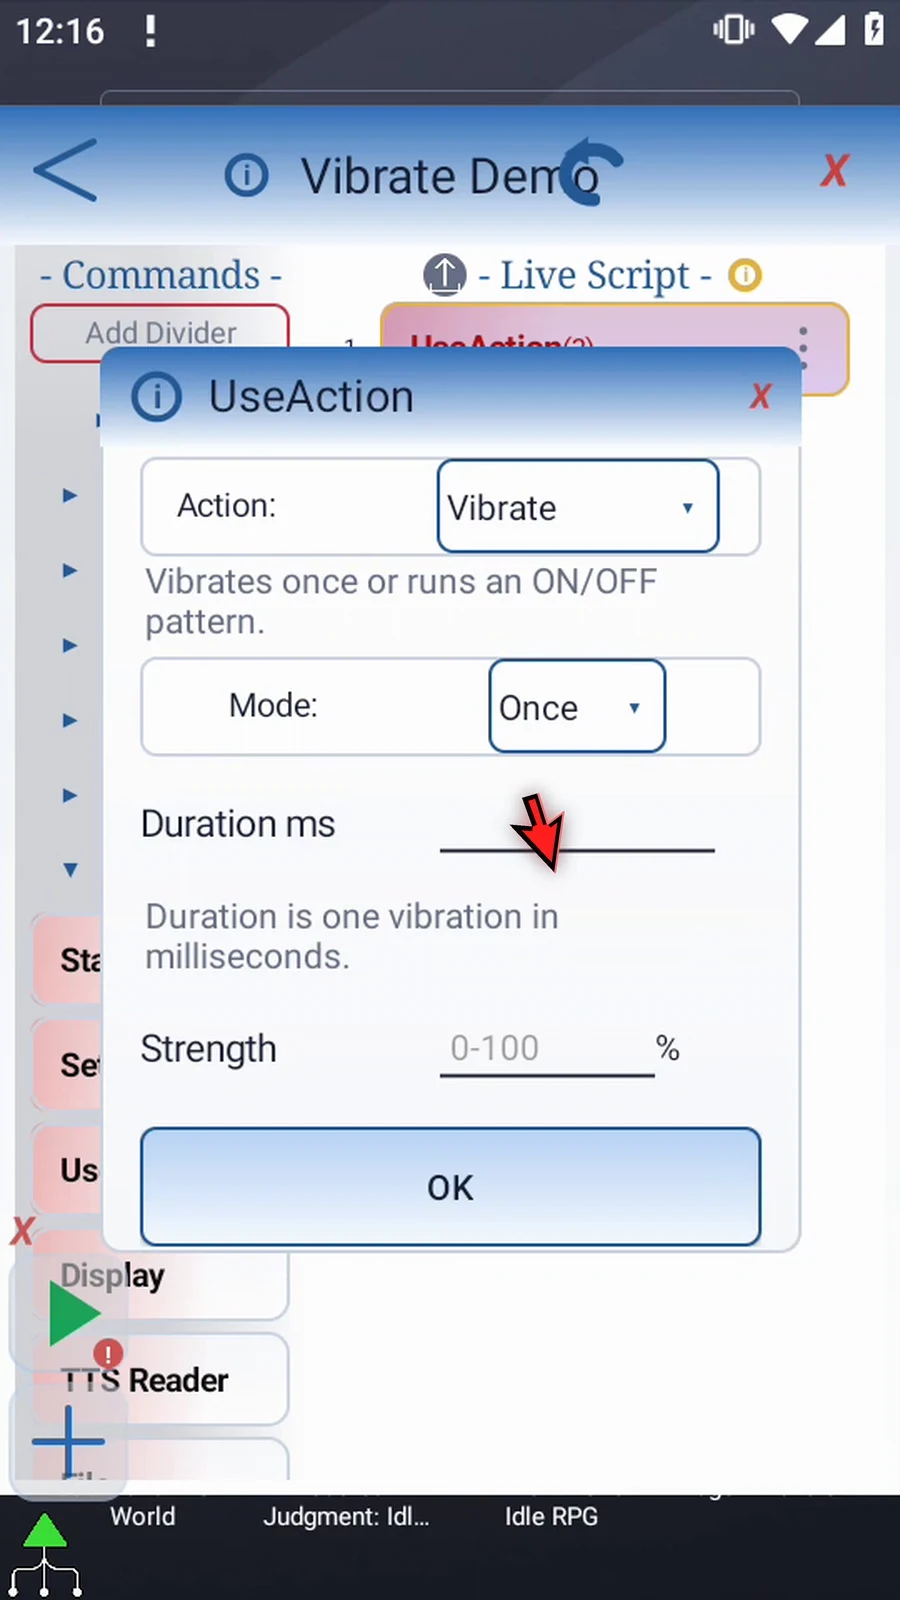
Step 07 Once produces one continuous vibration. Duration is measured in milliseconds, from one to sixty thousand. For example, five hundred milliseconds is half a second.
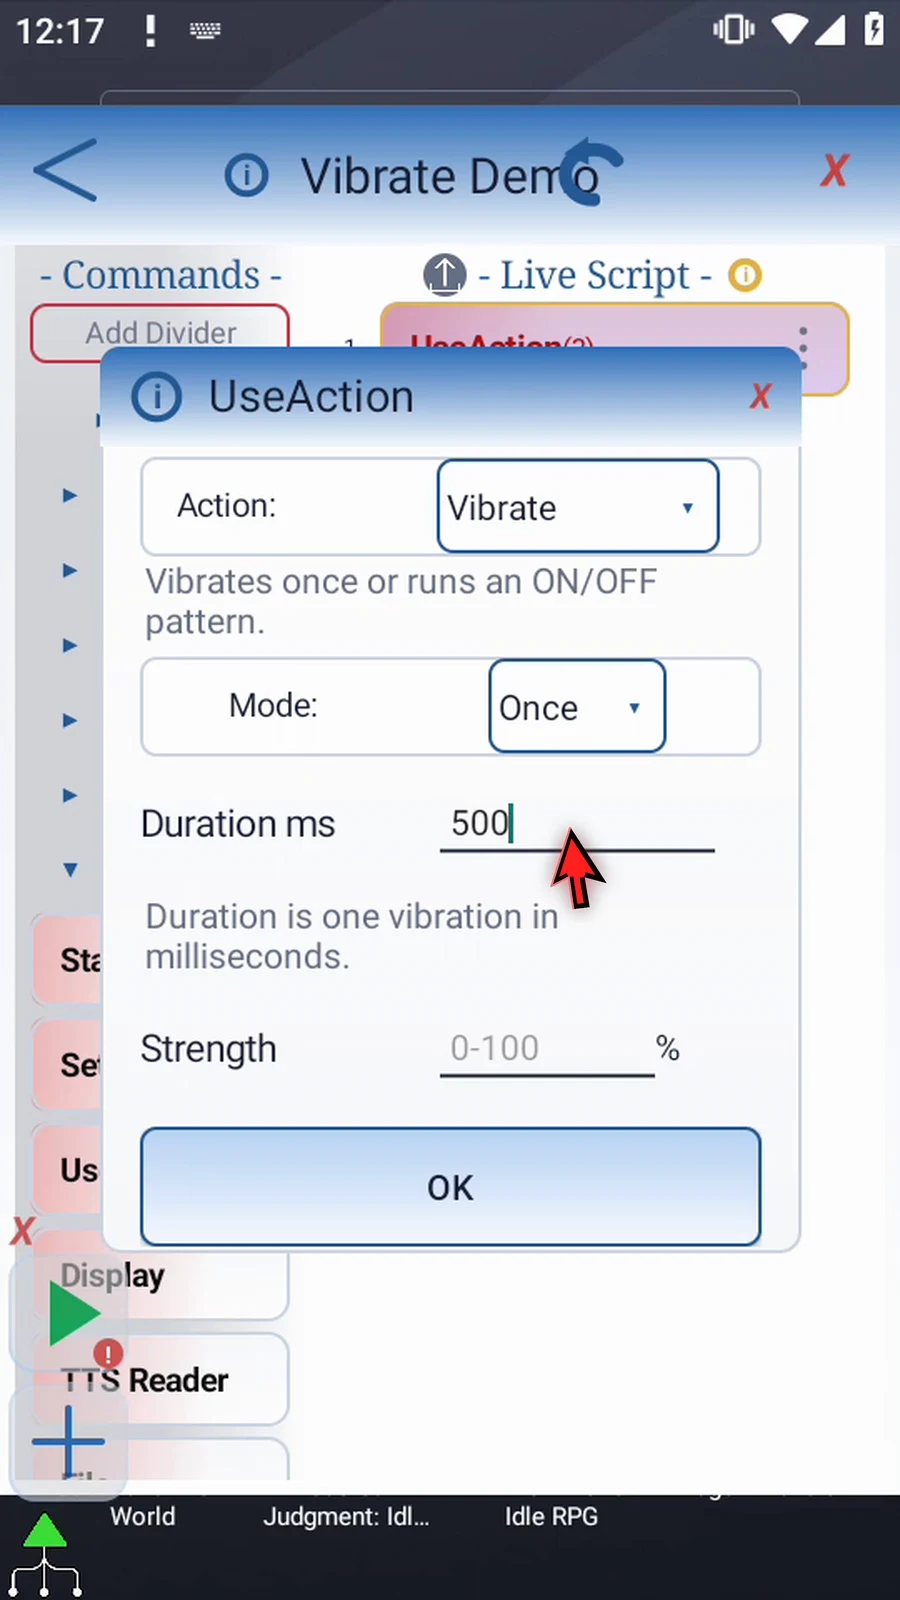
Step 08 Choose Pattern for separate pulses. Changing modes replaces the timing fields. Enter four hundred, two hundred, four hundred: vibrate for four hundred milliseconds, pause for two hundred, then vibrate for four hundred.
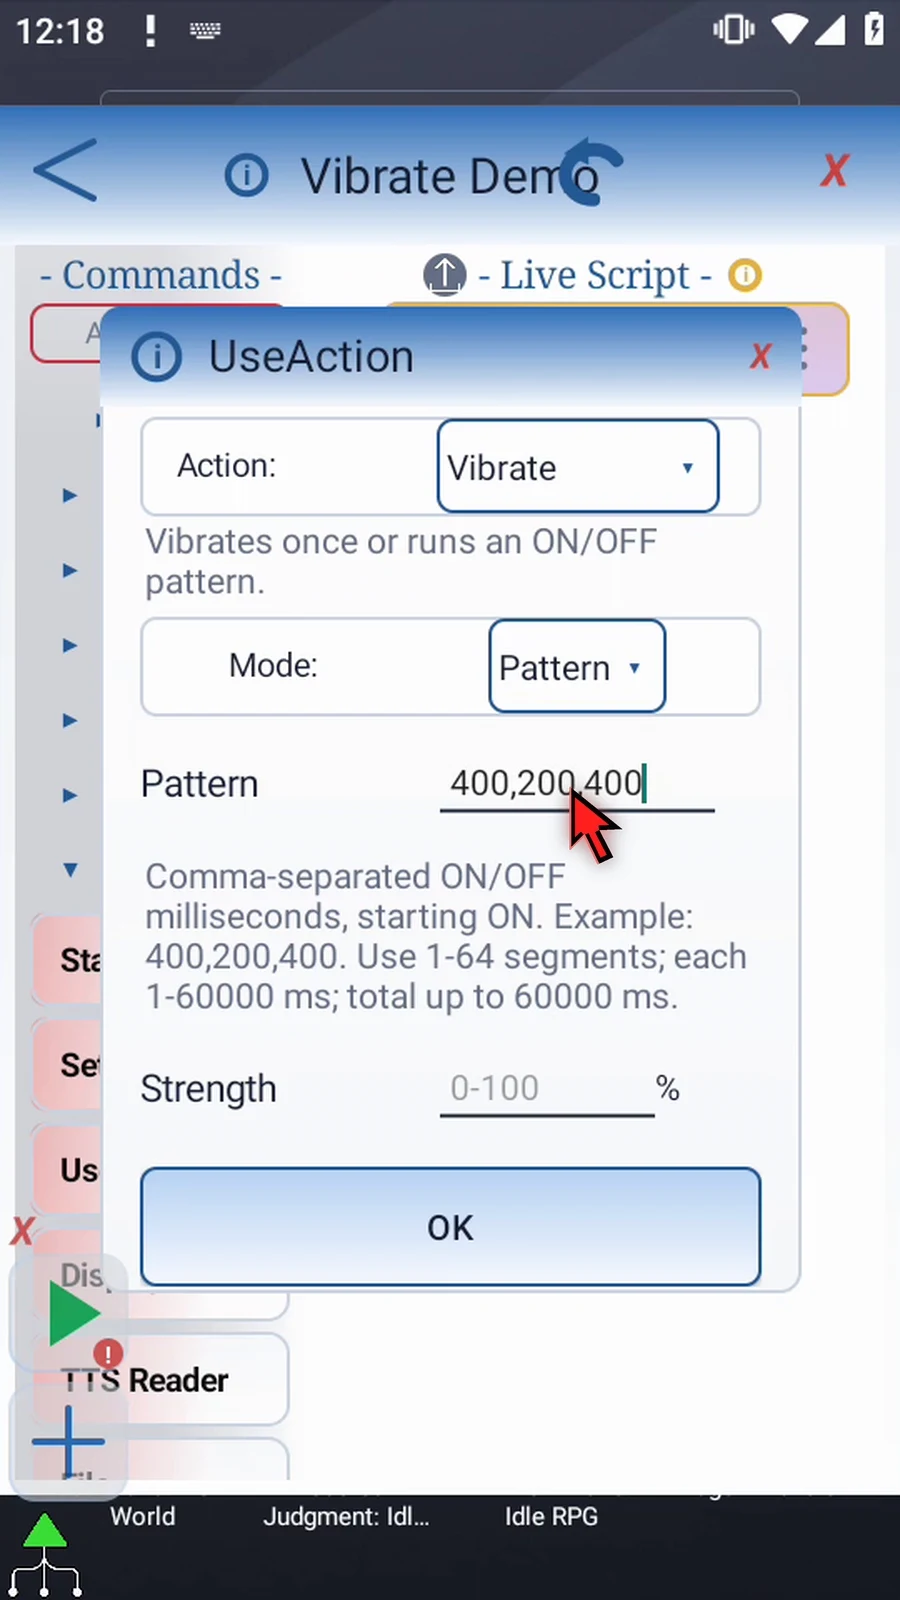
Step 09 Pattern entries alternate on and off, starting on. Use commas between one to sixty-four positive durations. Each duration, and the complete pattern, must stay within sixty thousand milliseconds.
Step 10 Set Strength to fifty percent. The range is zero to one hundred; zero skips vibration. If your device cannot adjust vibration strength, Android's default intensity is used instead.
Step 11 Tap OK to save the vibration command.
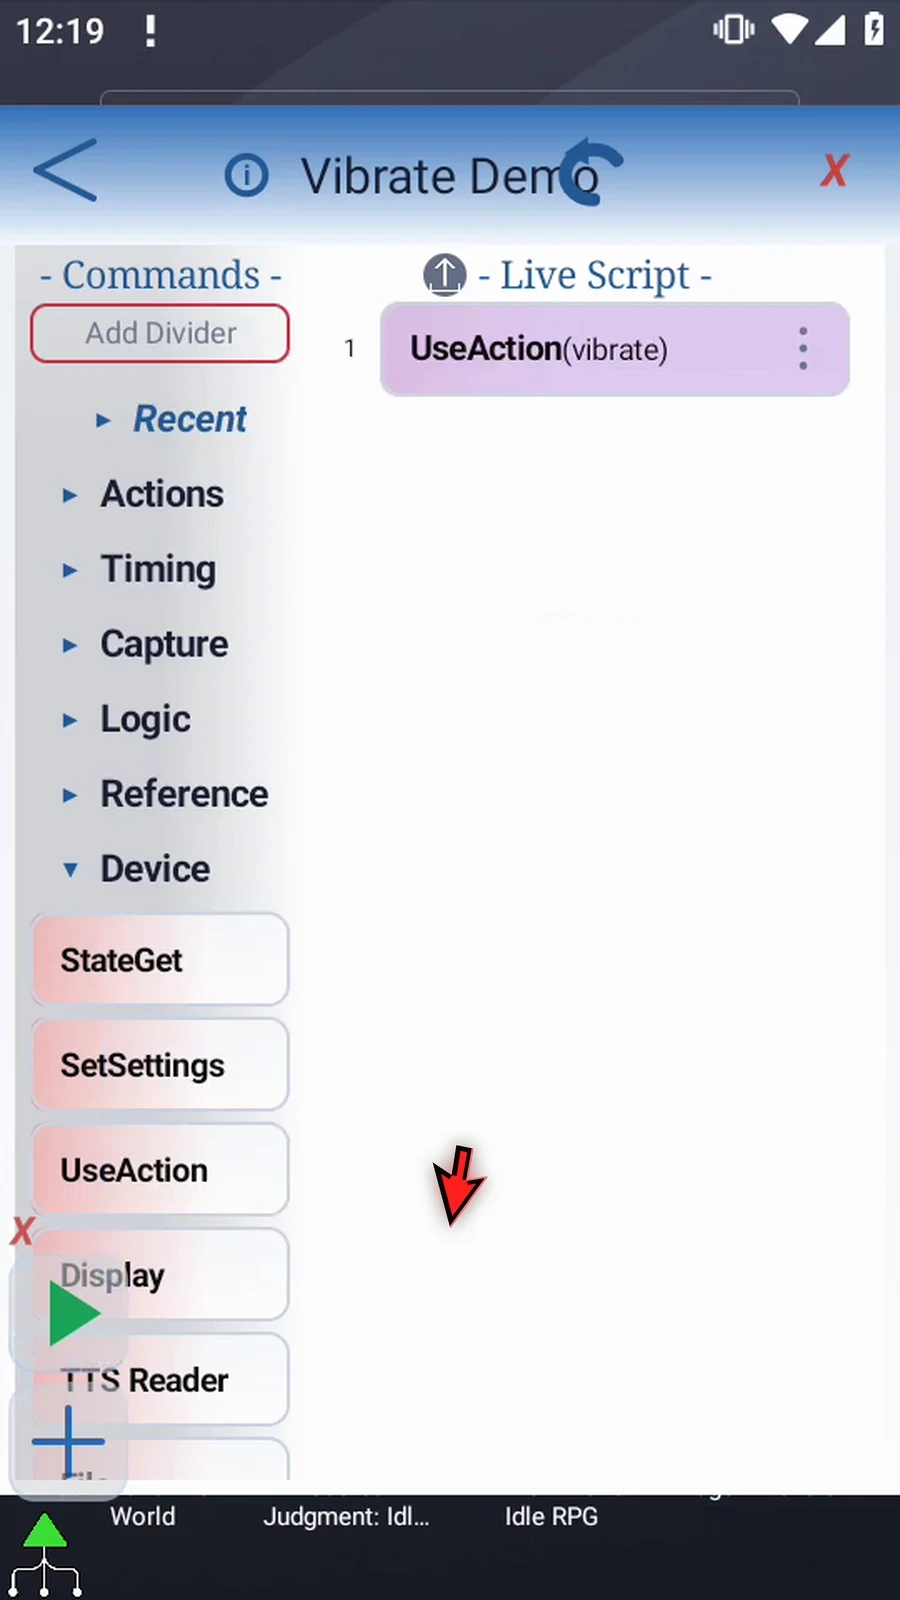
Step 12 Vibrate sends its request without waiting for the pattern to finish. Expand Timing and drag Delay underneath it.
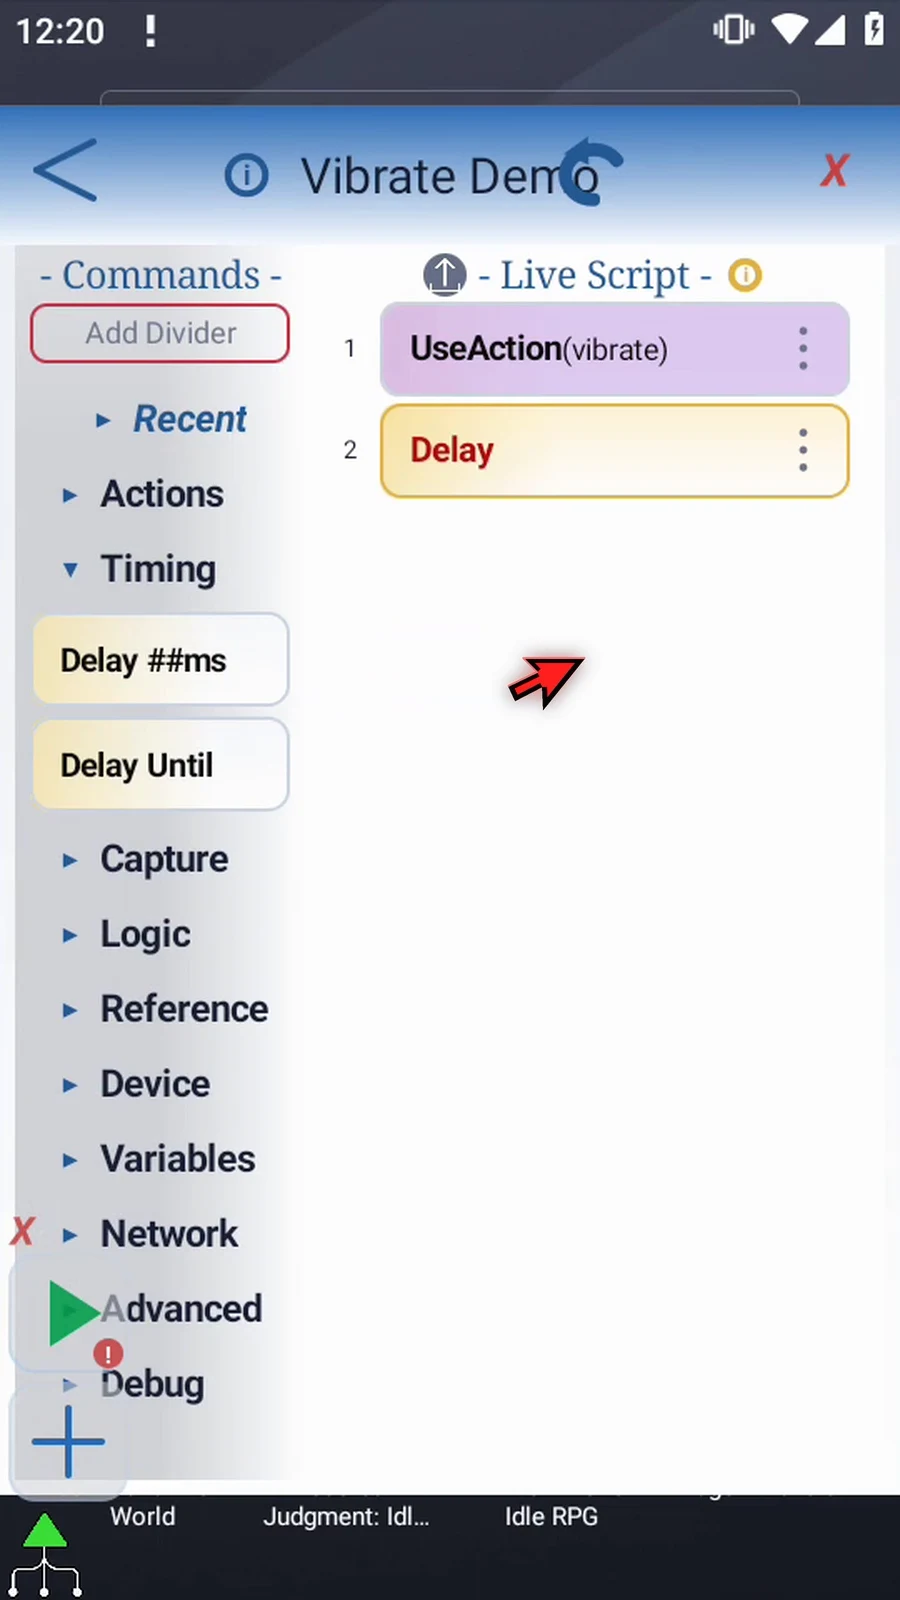
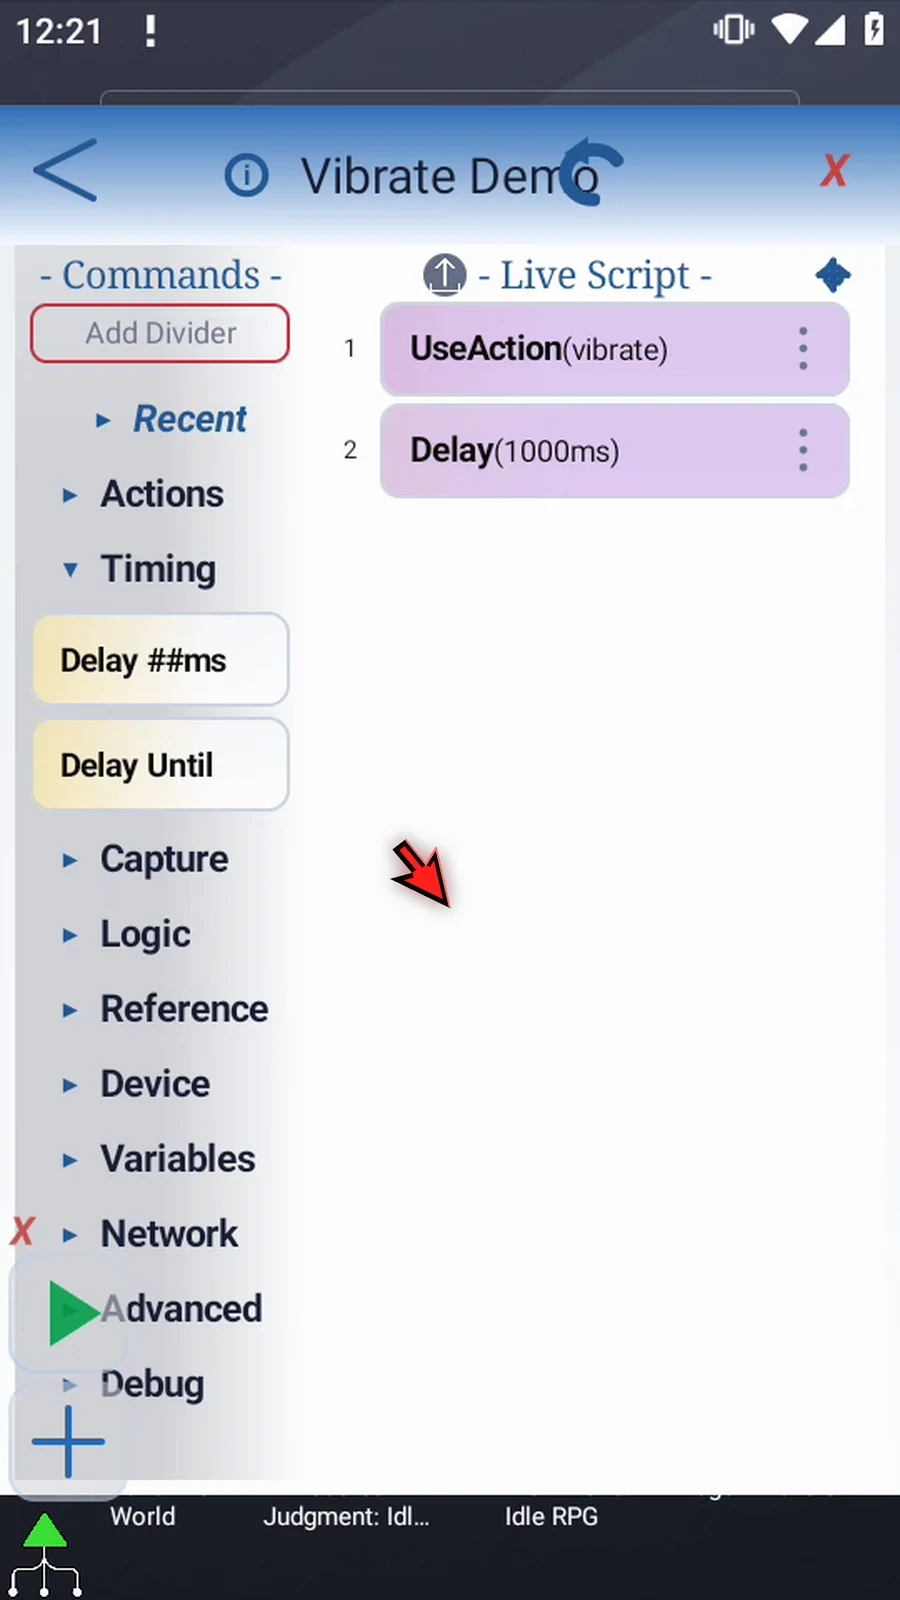
Step 13 Our pattern totals one thousand milliseconds. Set Delay to one thousand so the next command waits for that timing. Delay does not check whether the device actually vibrated.
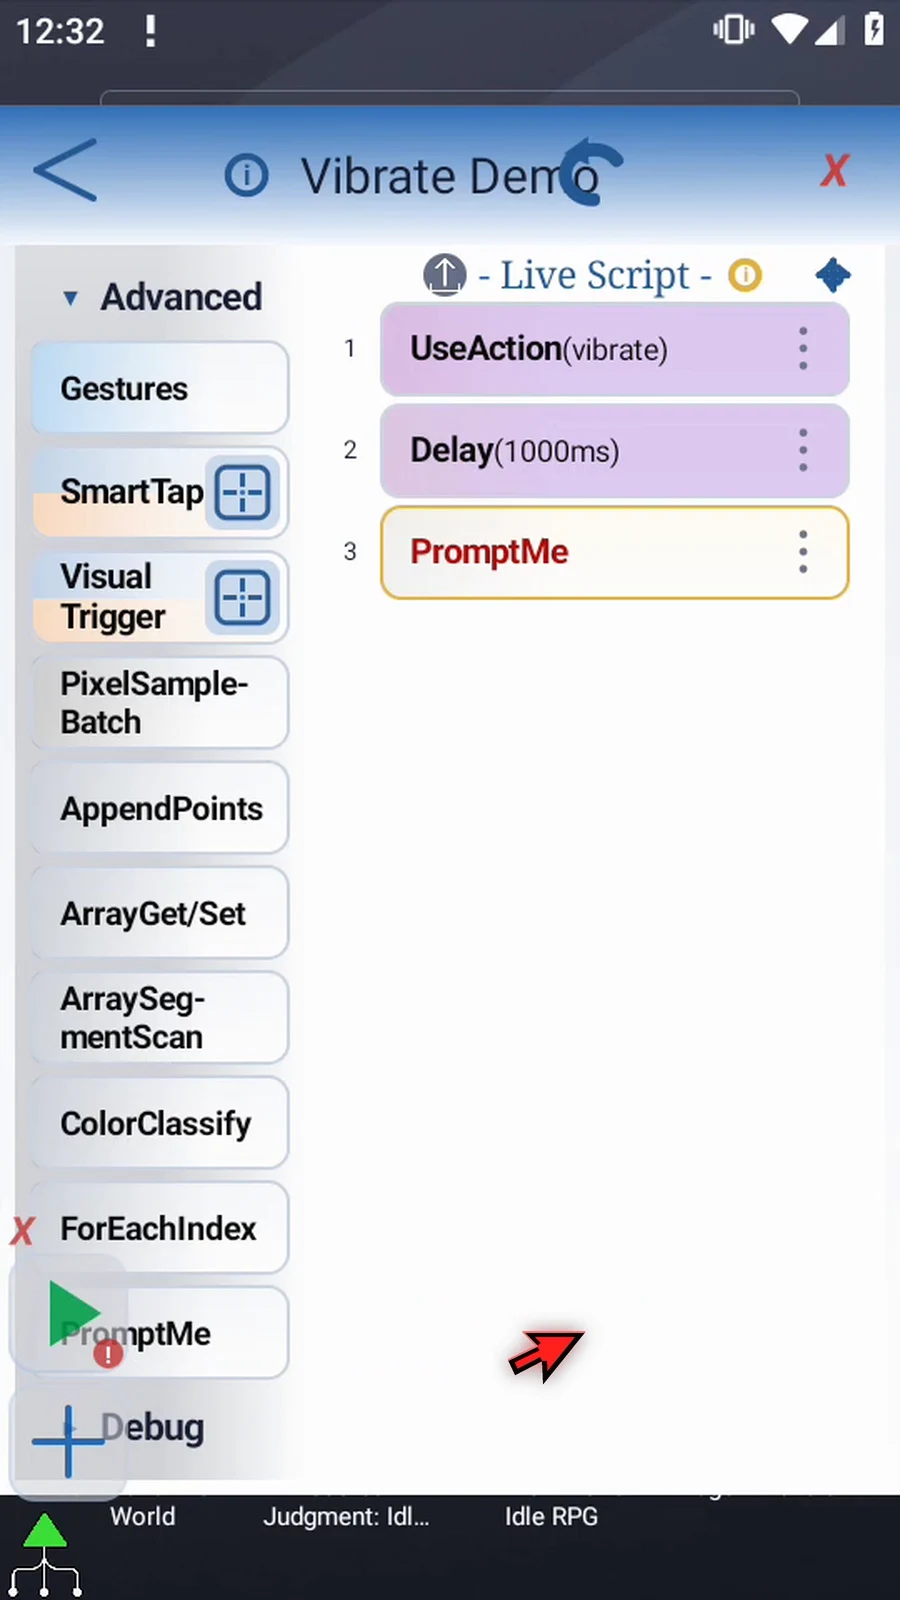
Step 14 Expand Advanced and drag PromptMe underneath Delay. This gives us a visible confirmation that the script reached the next step.
Step 15 Open PromptMe. Use Vibrate as the header, which allows up to eight characters. Keep Standard mode for this example.
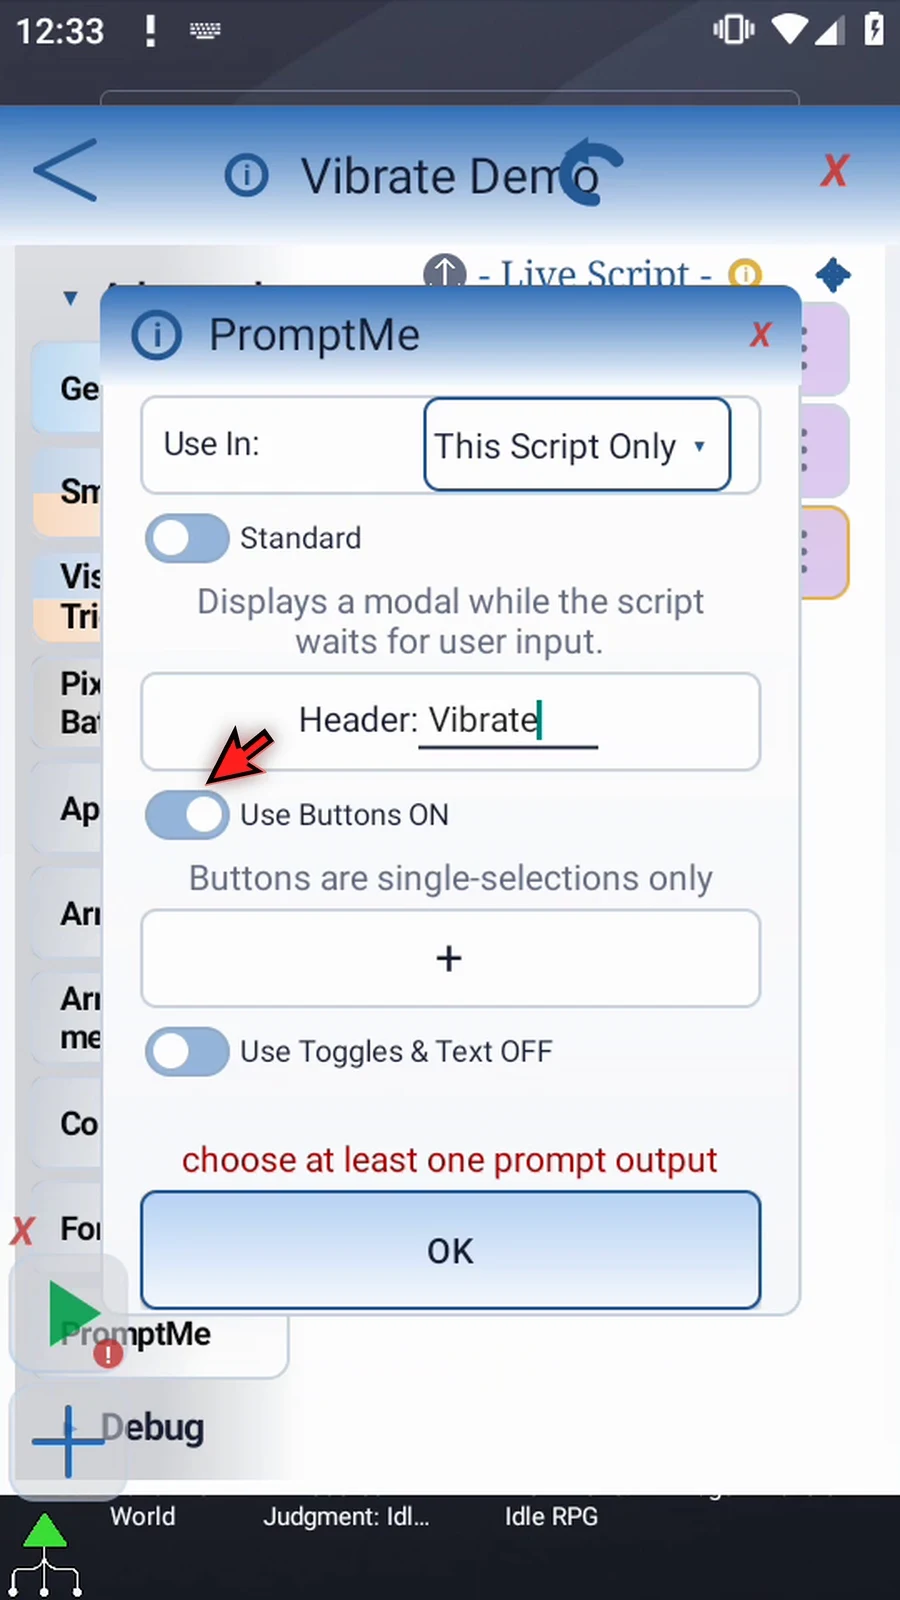
Step 16 Add a Done button and give its Boolean output the name b1. This button will close the prompt and let the script finish. Tap OK to save.
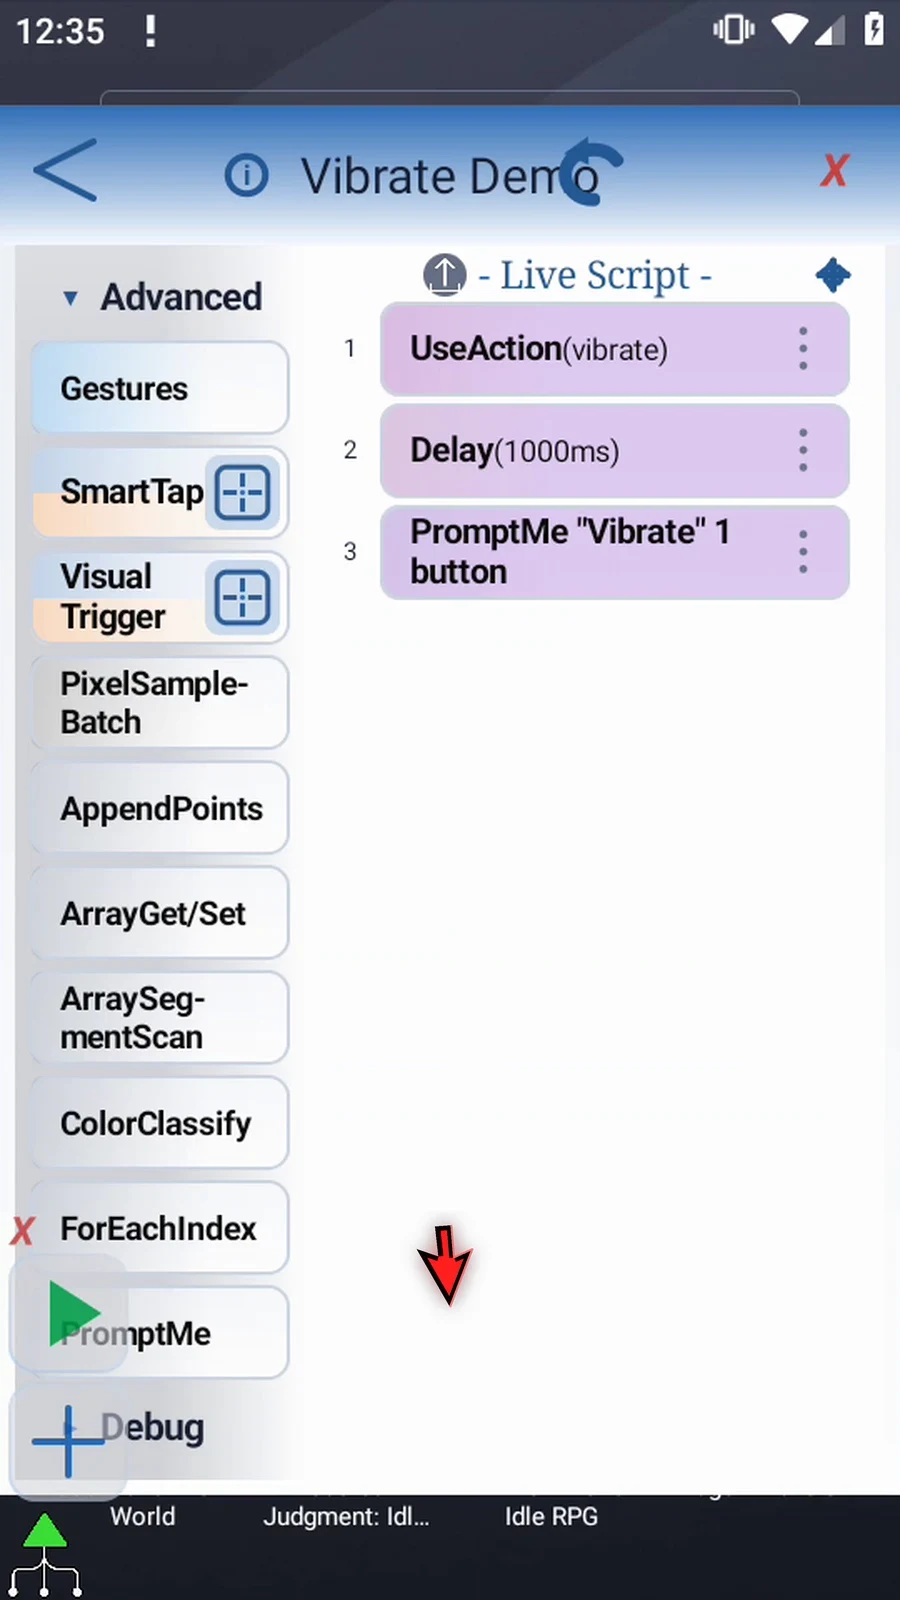
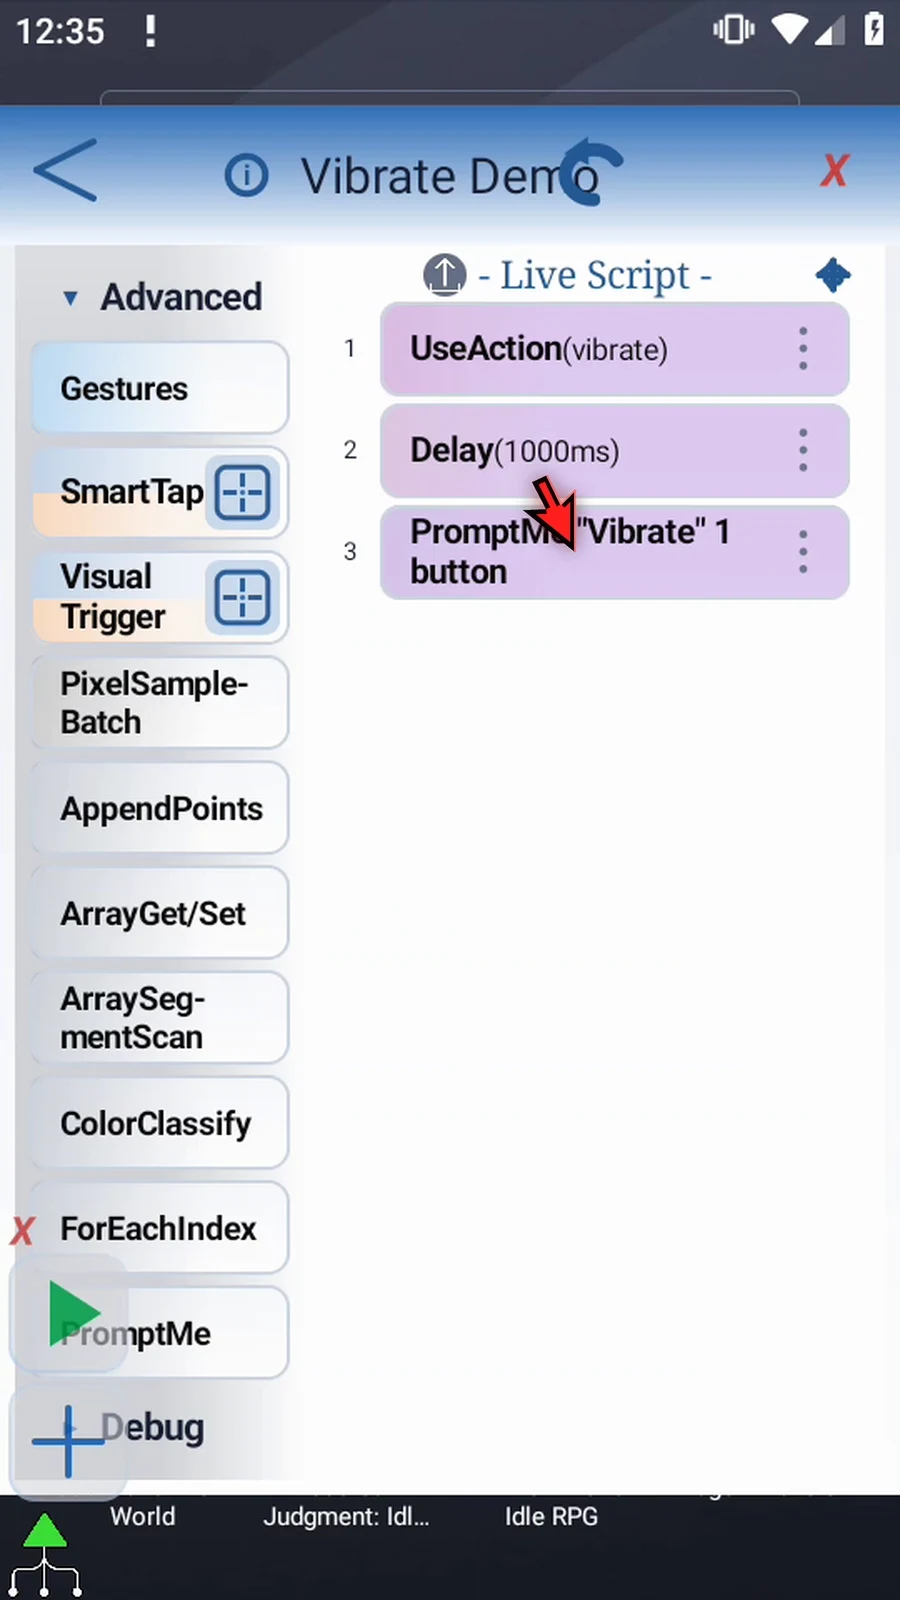
Step 17 The script now requests the pattern, waits one second, then shows our confirmation. The supporting commands make the timing and script progress visible; Vibrate supplies the touch-based signal.
Step 18 Close the editor so you can see the result on your screen.
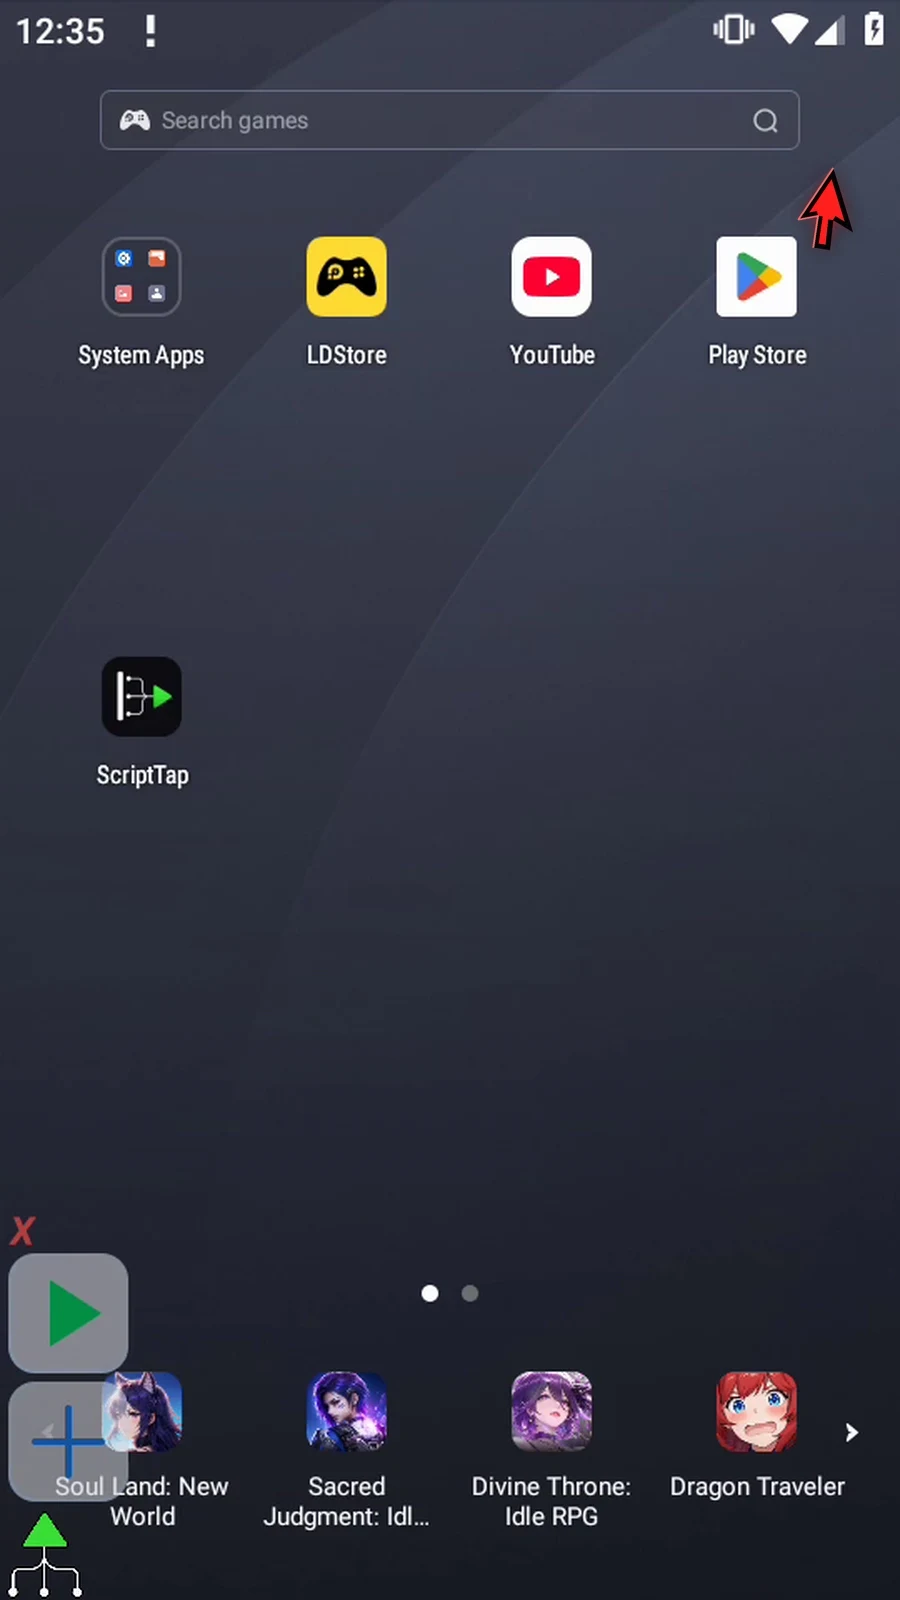
Step 19 When the script is complete, simply use the Play button in the main overlay.
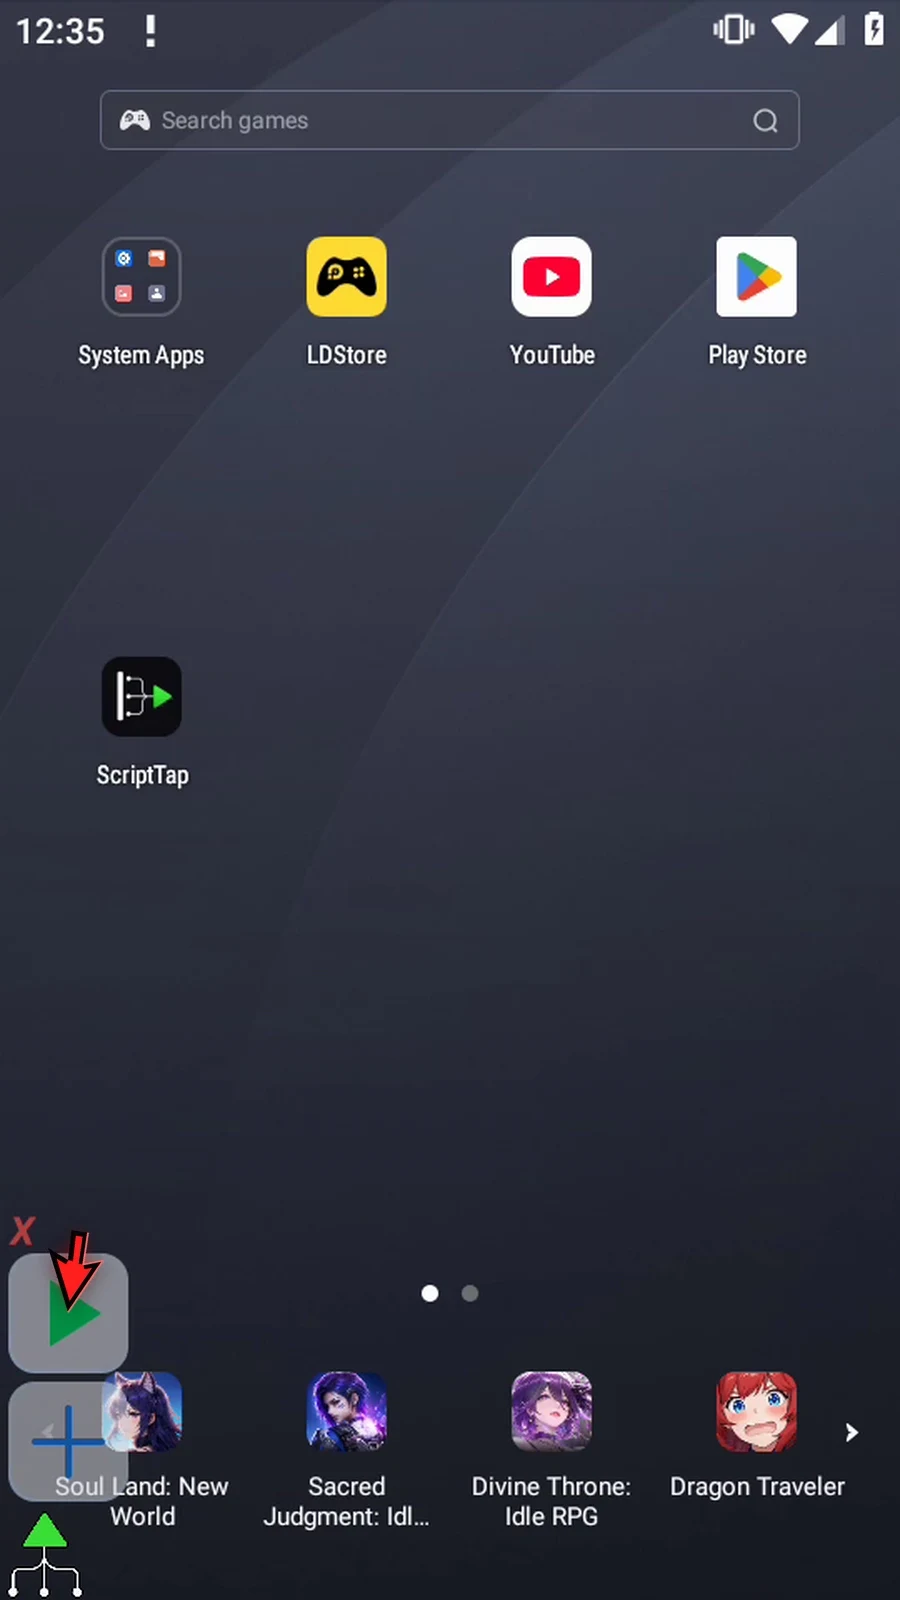
Step 20 The prompt appears after the delay. It confirms script progress, not the vibration motor. Test how the two pulses feel on your own device.
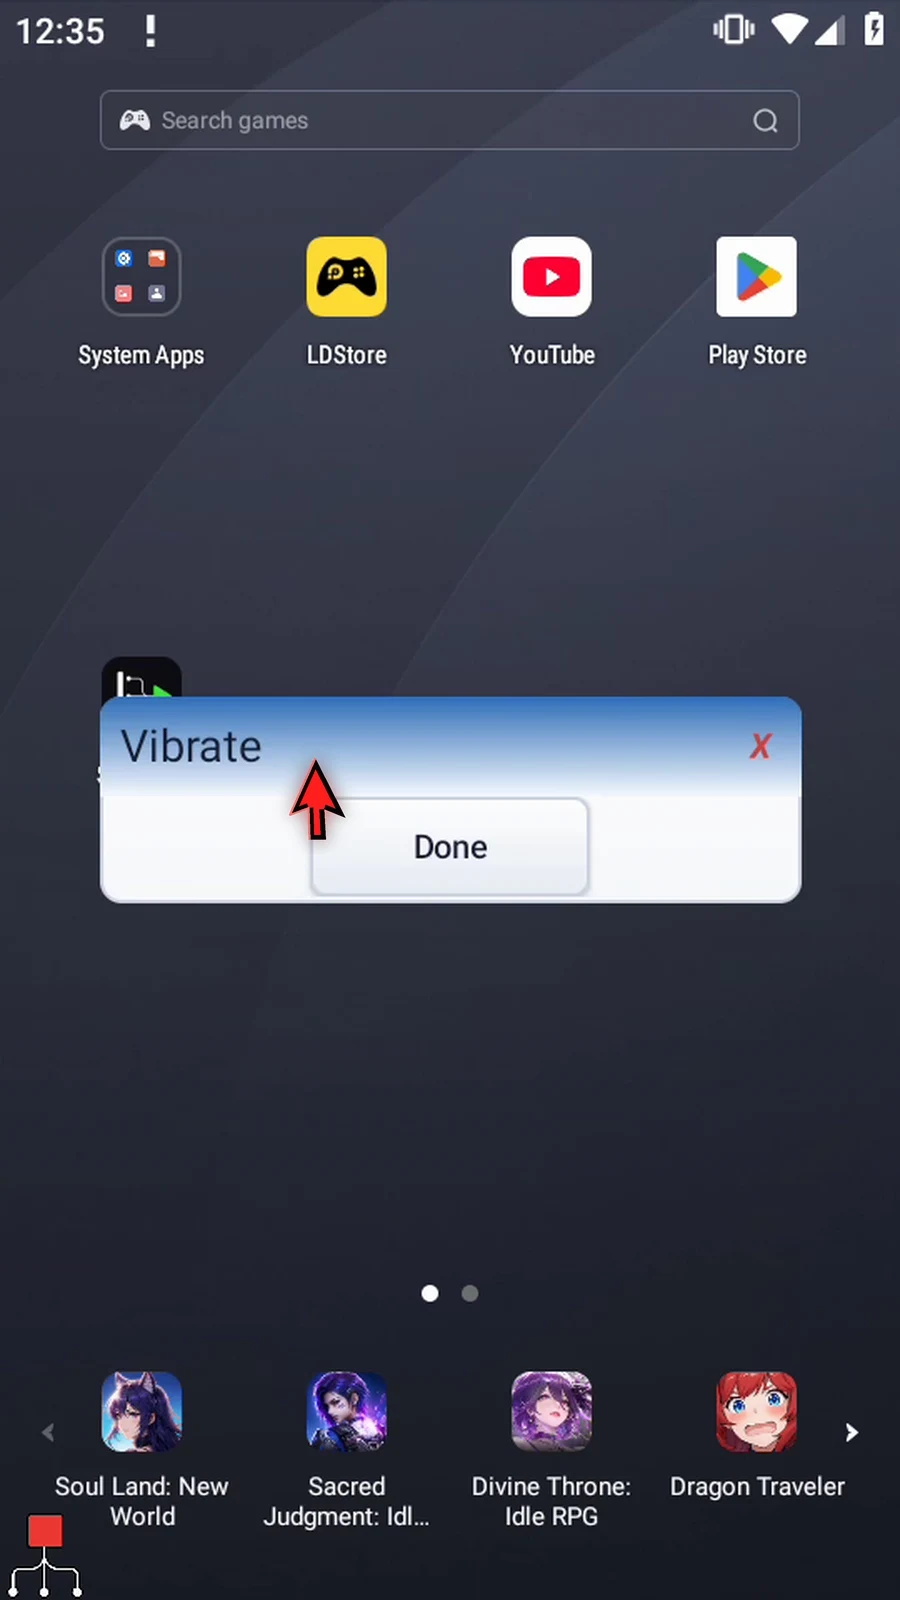
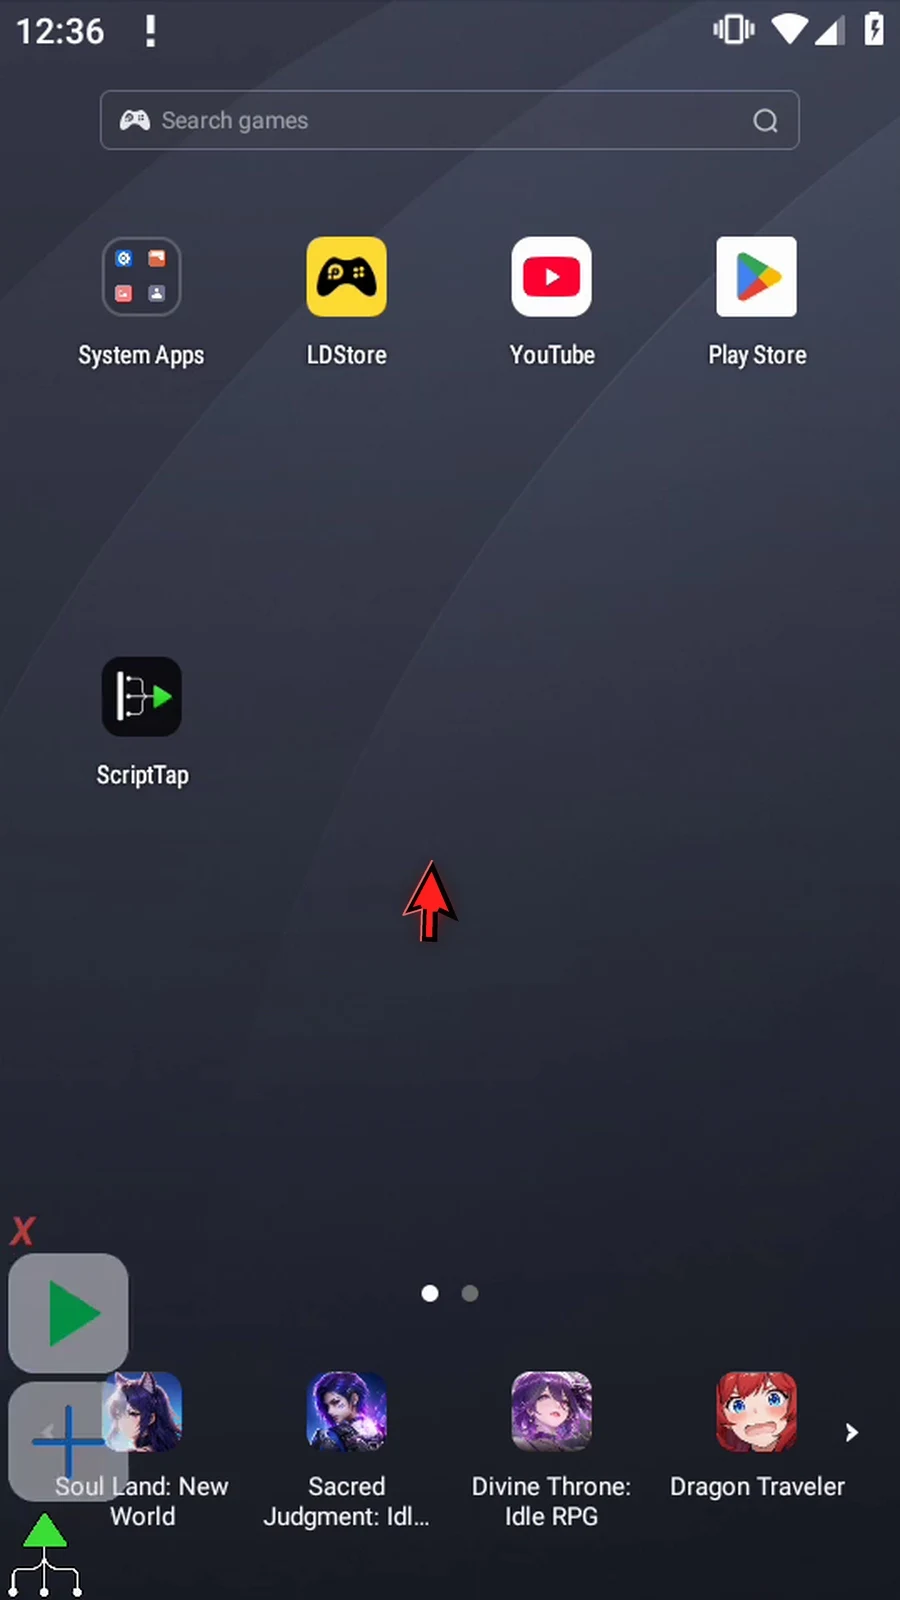
Step 21 Tap Done to close the prompt. The script finishes automatically.
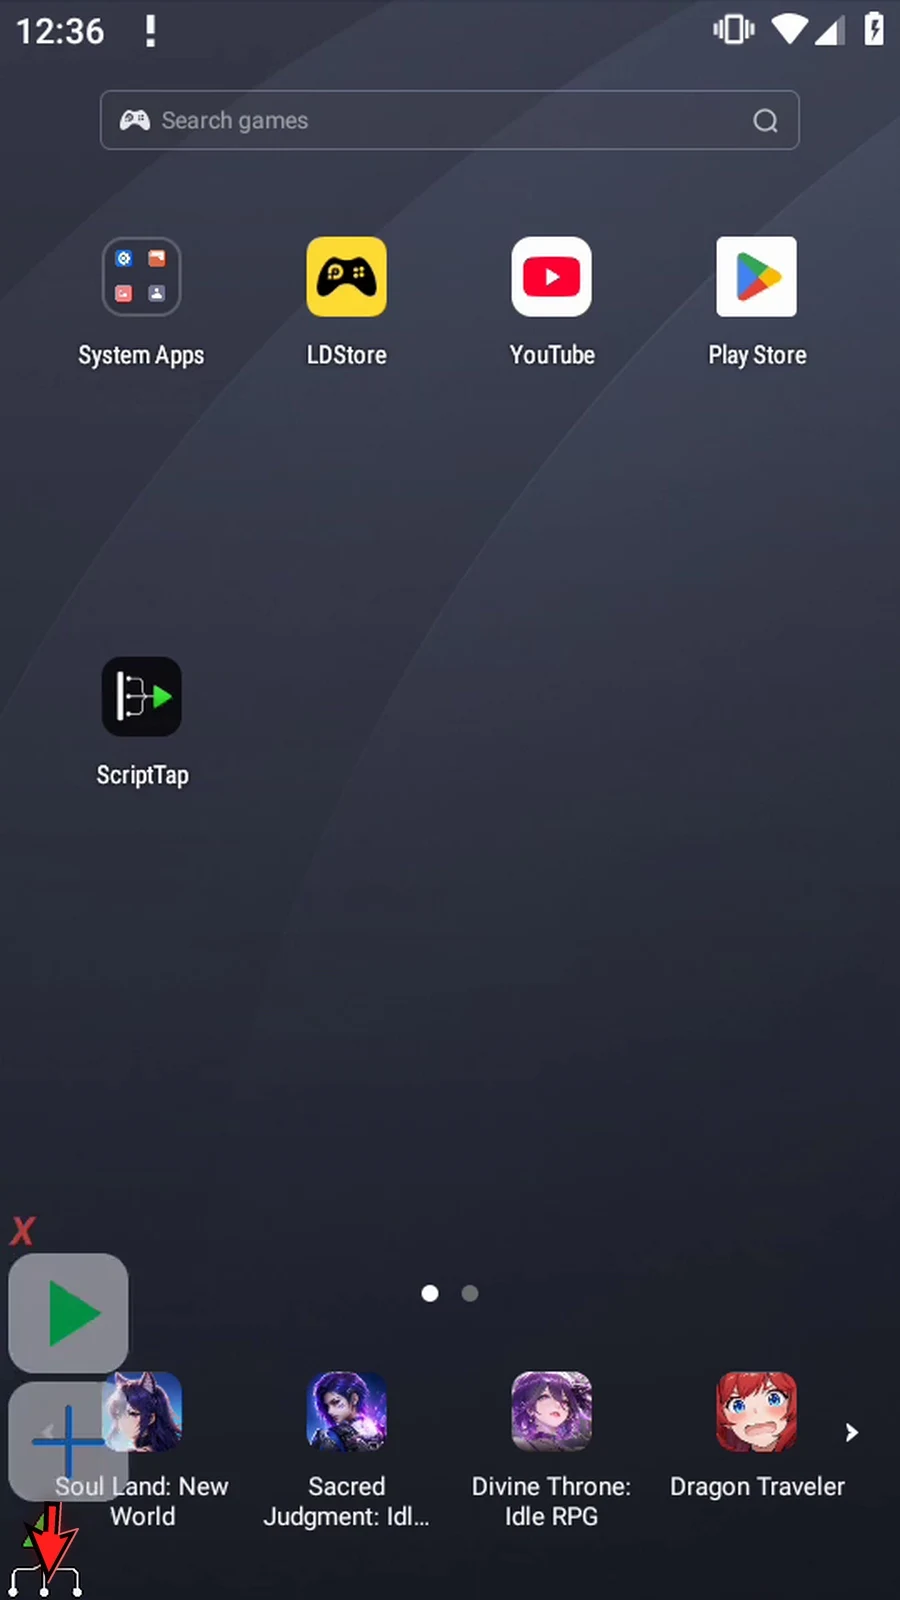
Step 22 Vibrate requires vibration hardware. ScriptTap sends the request once without checking the physical result. Test your timing and strength on each target device, because hardware support can differ.
Keep Awake prevents the screen from sleeping while a running script needs it. Use it around screen-dependent actions, then release the hold.
Create a script, manually drag UseAction from Device, and choose Keep Awake in its Action list.
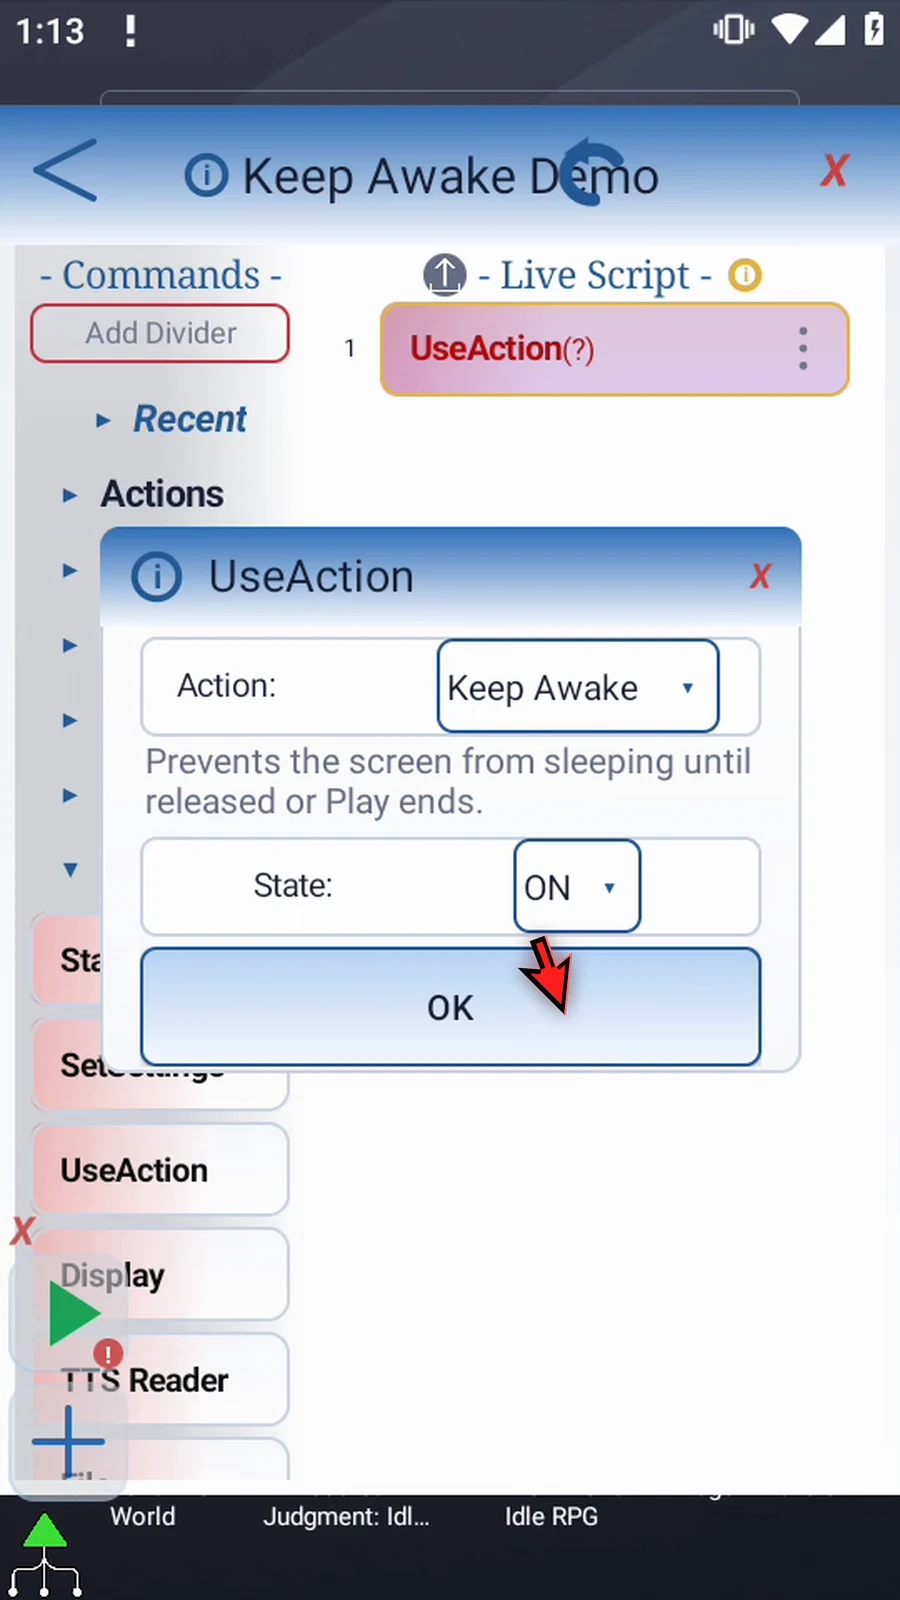
- State ON: holds ScriptTap's screen wake lock during Play. Repeated ON commands do not add extra locks.
- State OFF: the initial choice. Releases ScriptTap's hold without immediately switching the screen off.
The example manually builds Keep Awake ON → PromptMe → Keep Awake OFF. PromptMe uses Standard mode, header Awake and one Done button with Boolean output b1. It keeps the script active while waiting for confirmation. Tap Done to continue to OFF and finish automatically.
In your own script, put the actions that require an awake screen between ON and OFF. The settings take effect during Play, not while editing.
ScriptTap also releases its wake lock when Play ends or stops. Keep Awake does not wake or unlock a sleeping device and does not change Android's saved screen timeout. Release it promptly when no longer needed.
Android API: wake-lock acquisition and release.
Keep Awake
Step-by-step guide
Step 01 UseAction Keep Awake prevents the screen from sleeping while your script needs it. Turn it on before a screen-dependent section, then release it when that section is complete. We'll keep the screen awake while a confirmation waits for us.
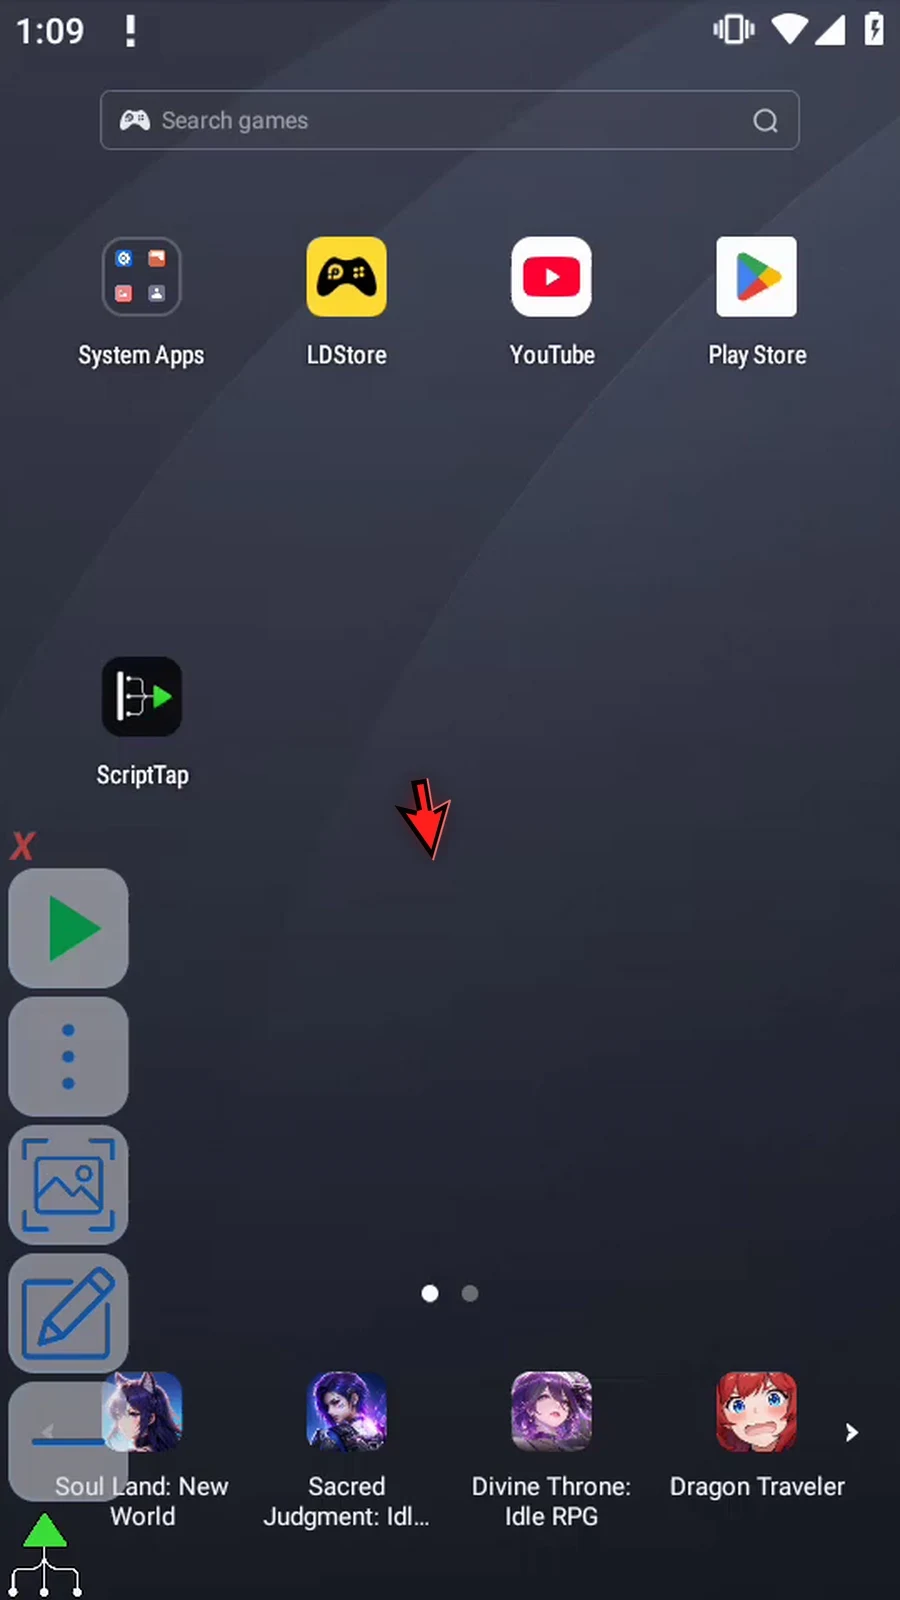
Step 02 Open the script library and create a new script for this example.
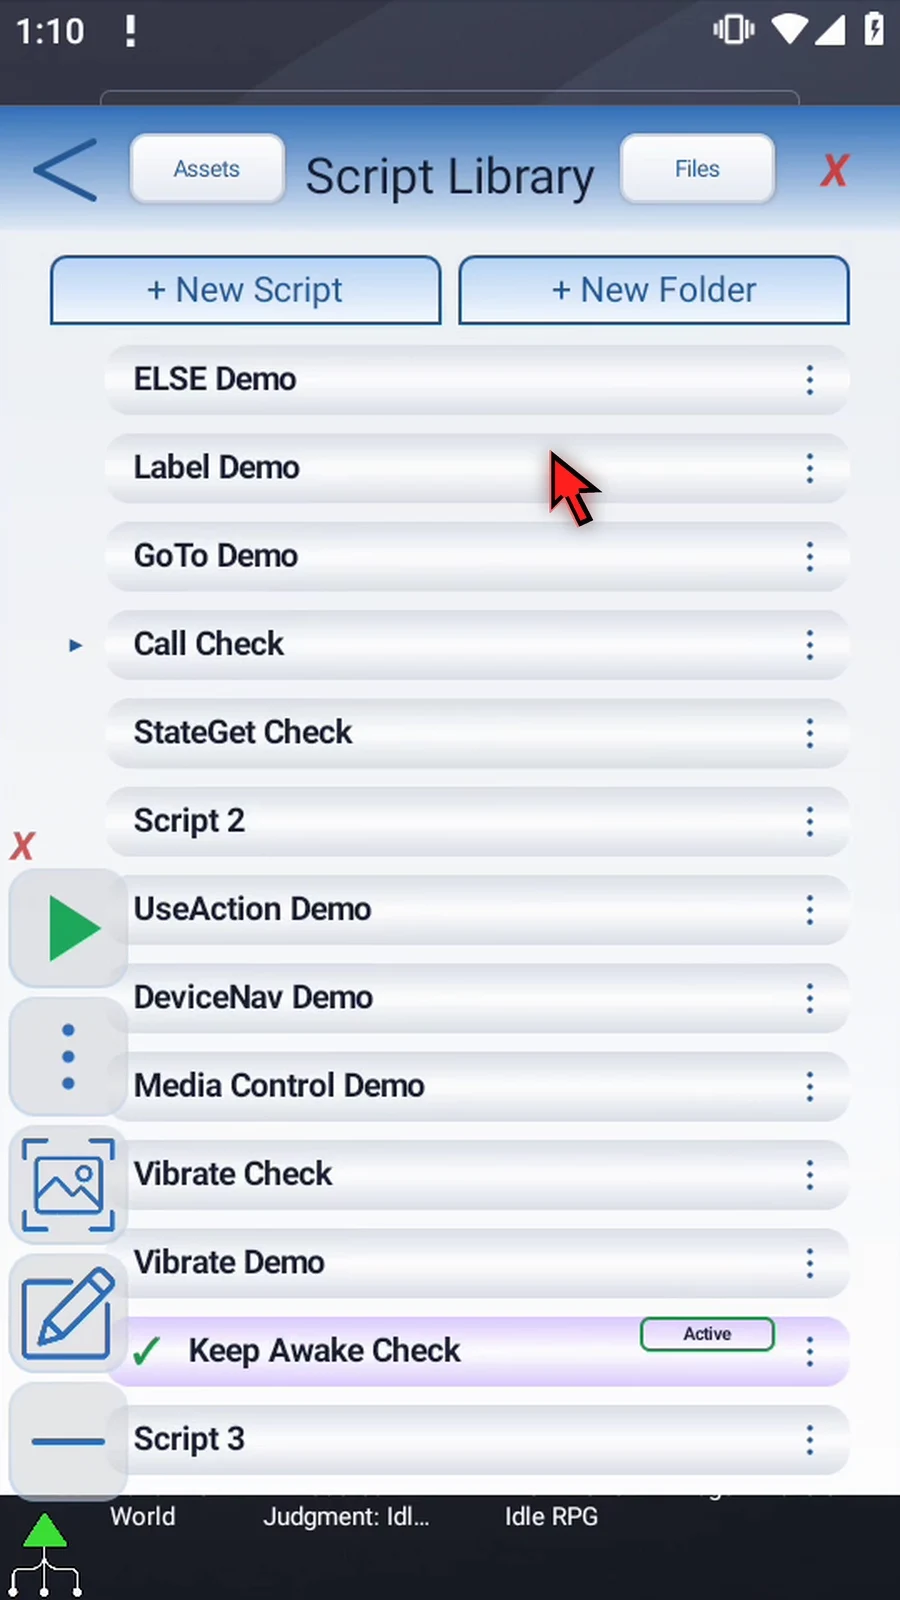
Step 03 Give your script a clear name, then open it in the editor.
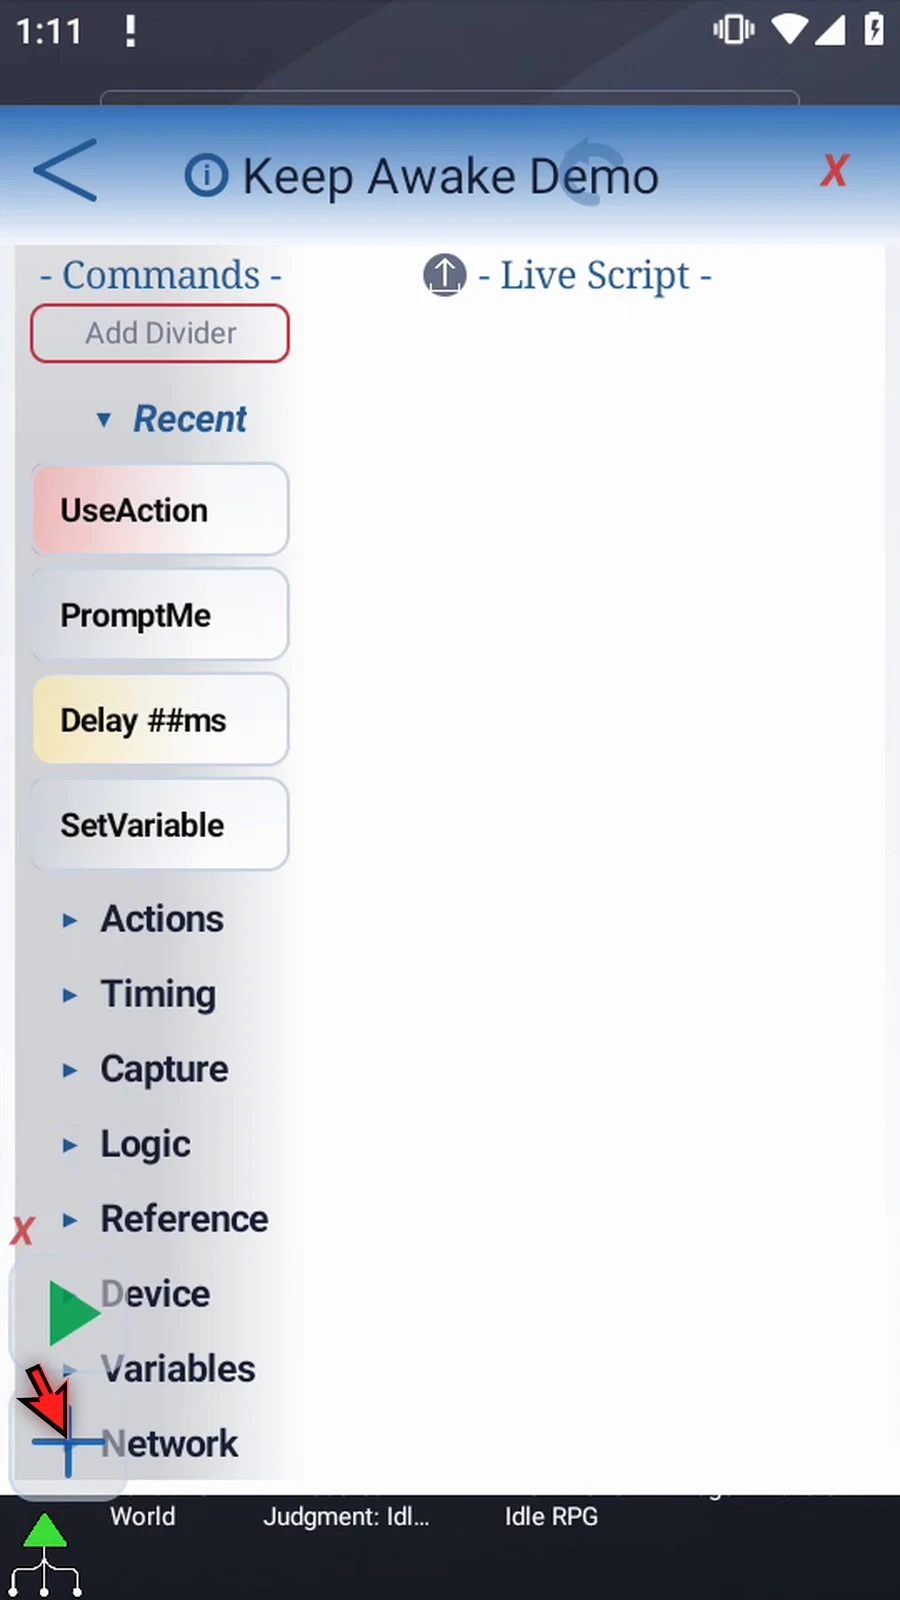
Step 04 Expand Device to find UseAction.
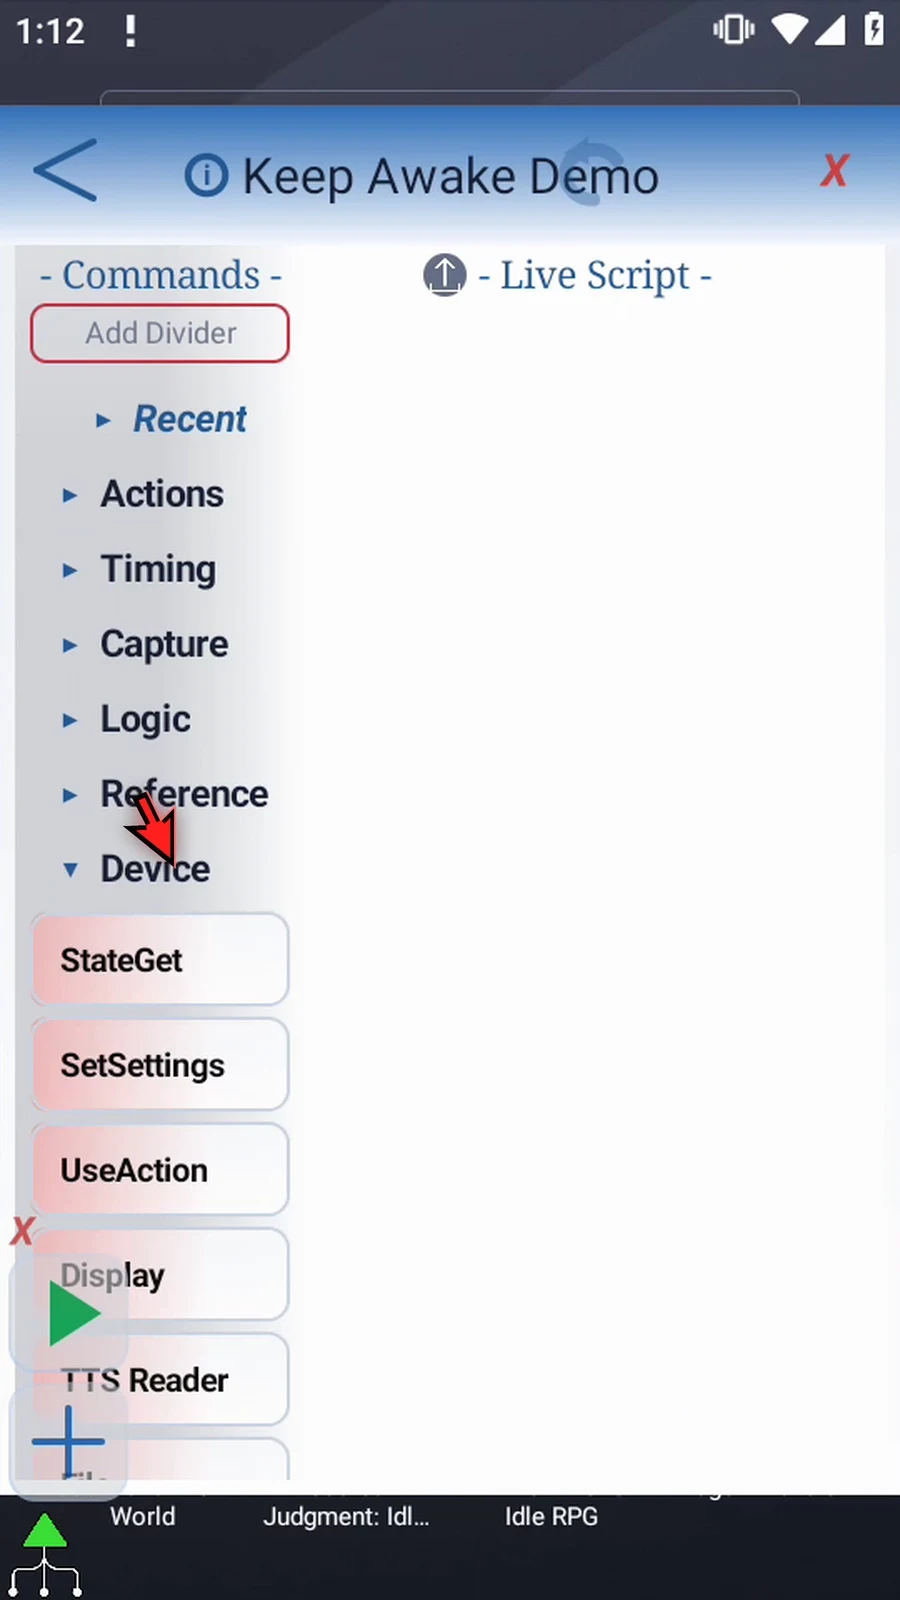
Step 05 Drag UseAction into the script. Watch the blue insertion line, then release.
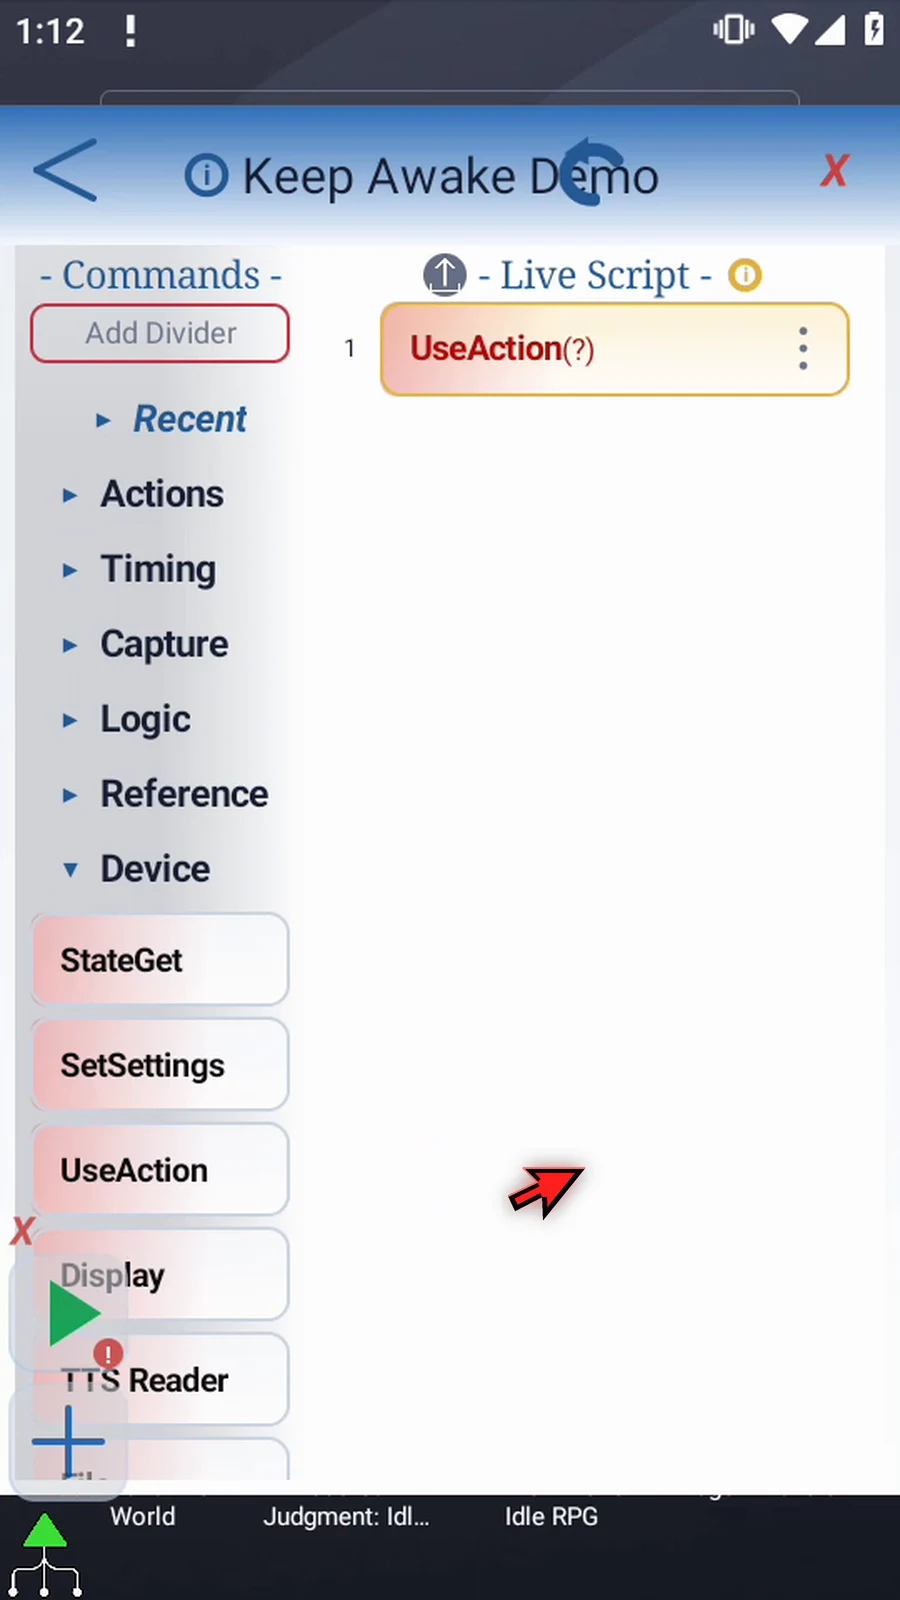
Step 06 Open the command. In the Action list, scroll down and choose Keep Awake.
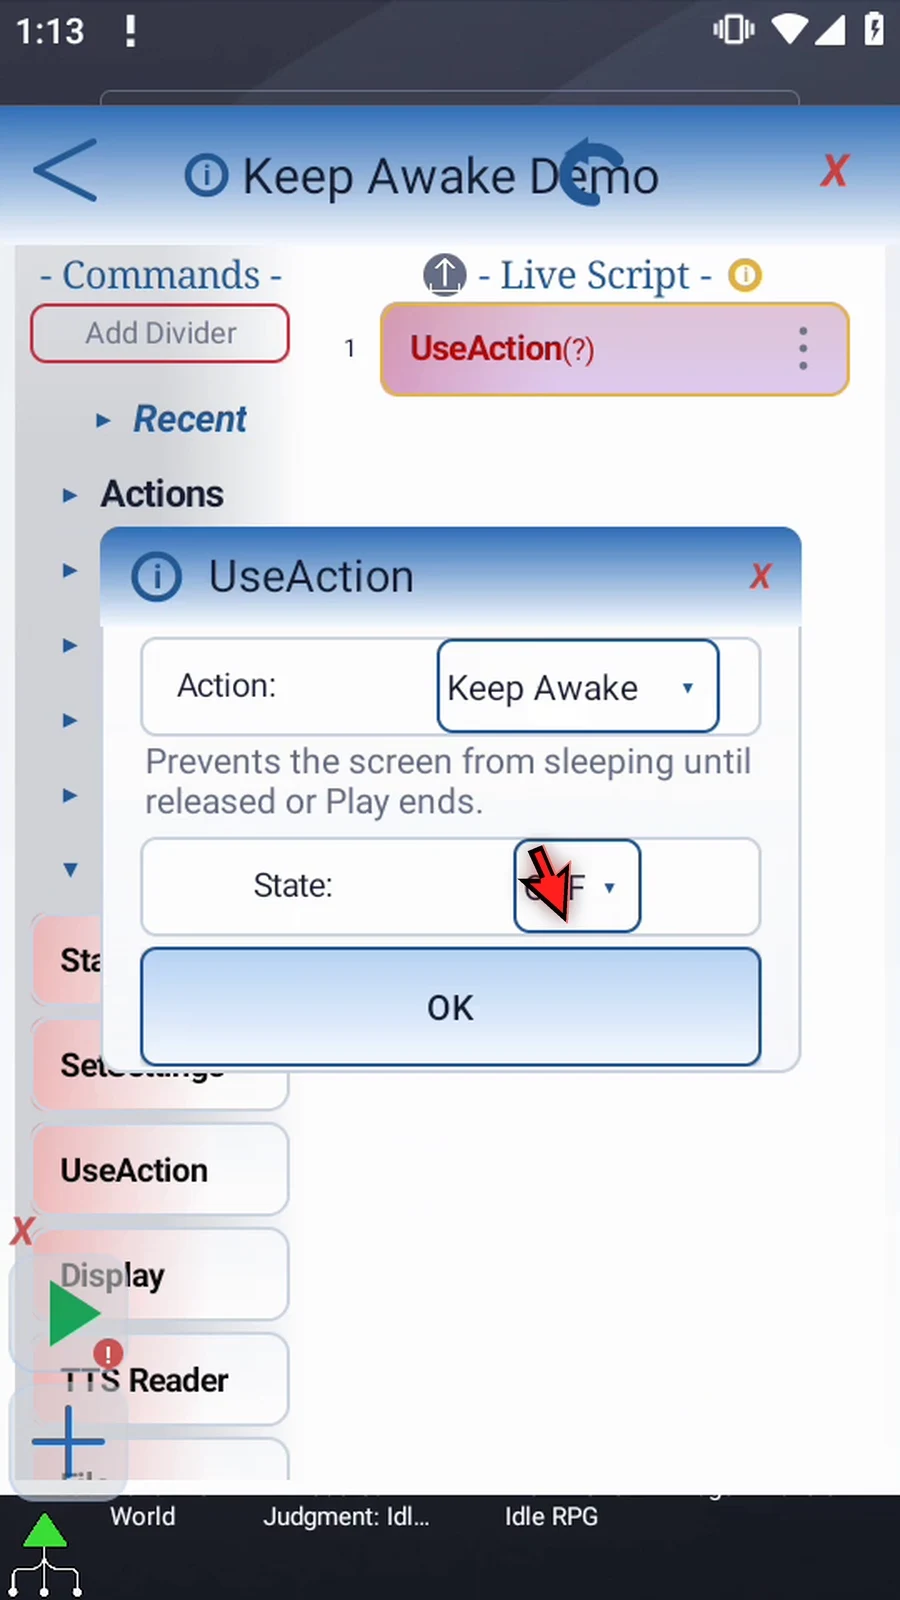
Step 07 State starts off. Choose on to hold ScriptTap's screen wake lock during Play. Repeating on does not create extra locks.
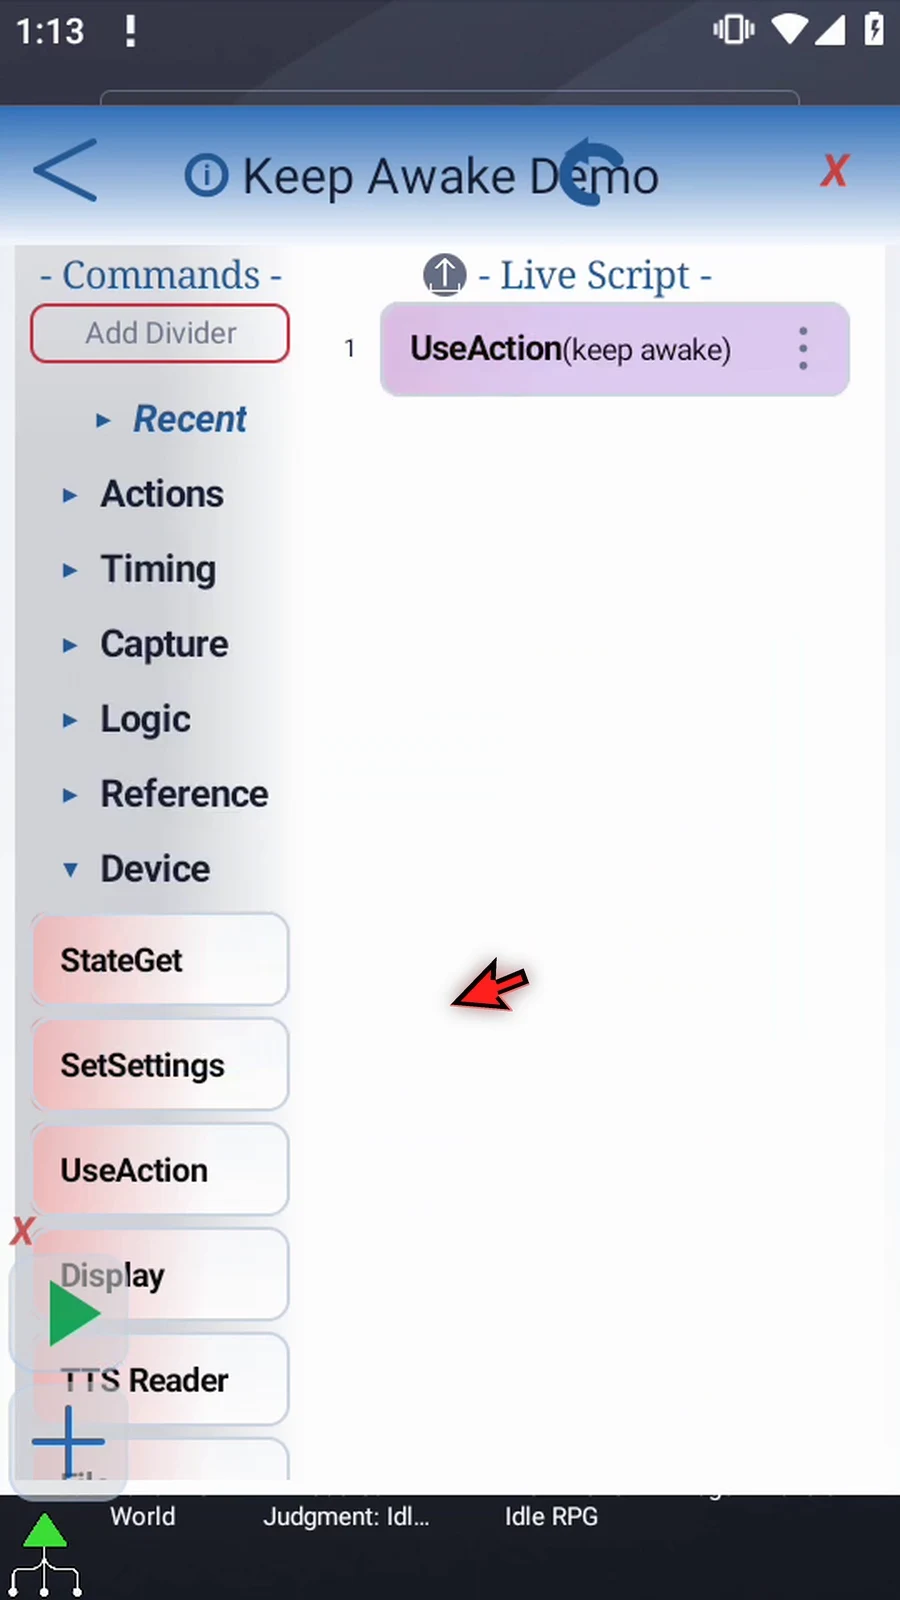
Step 08 Tap OK to save. This applies when the script runs, not while you are editing.
Step 09 Expand Advanced and drag PromptMe underneath. This supporting command will wait for our confirmation, keeping the script active.
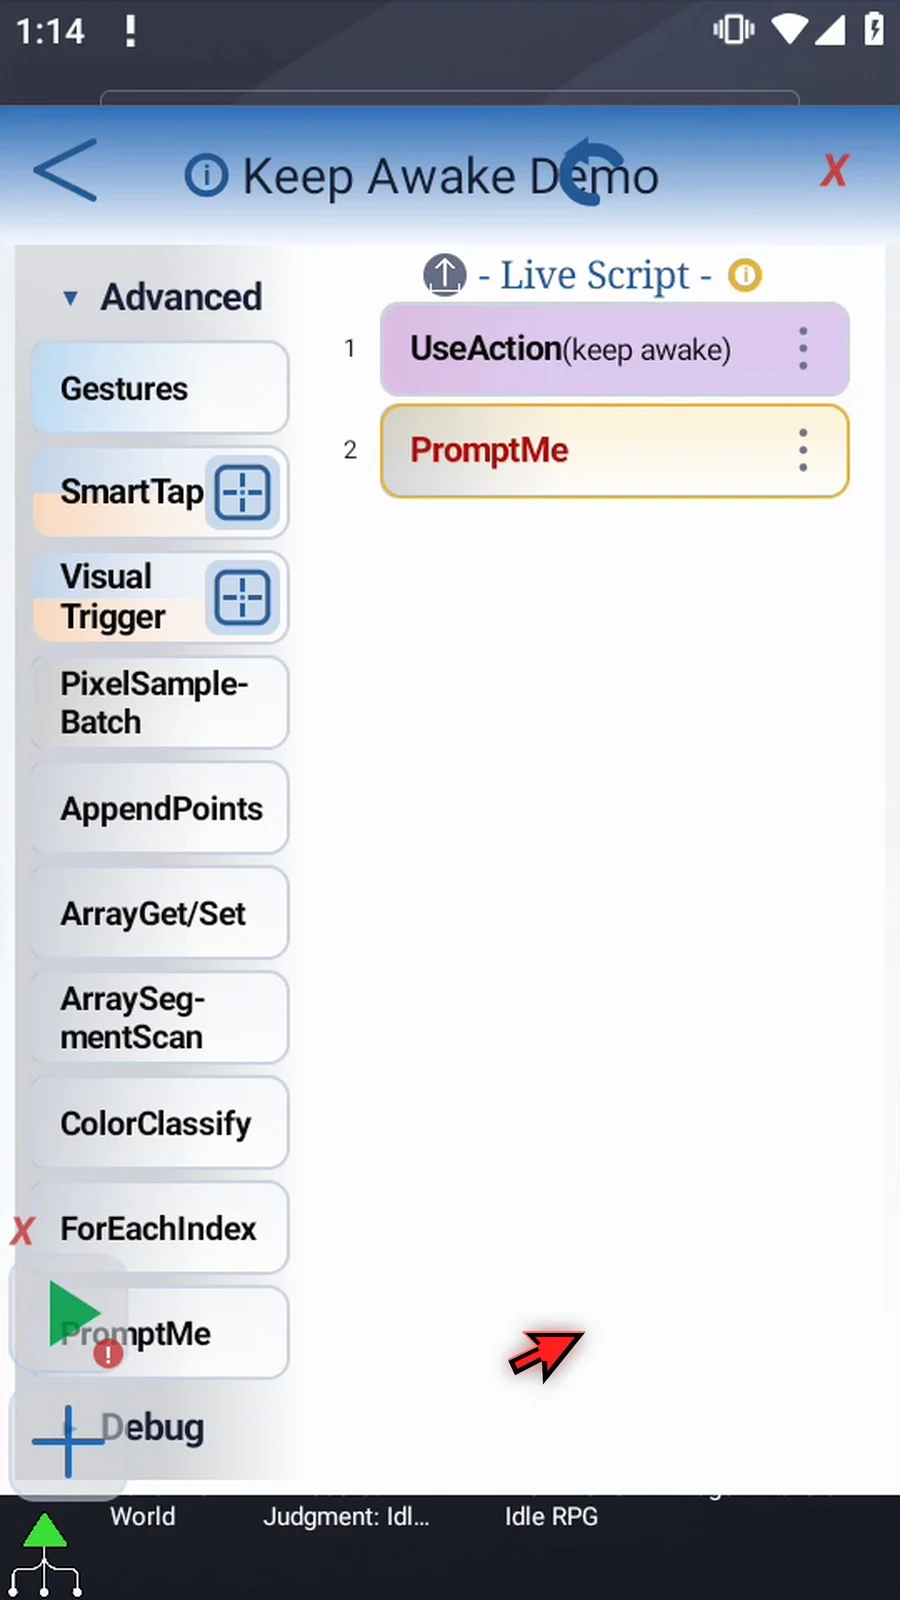
Step 10 Open PromptMe. Keep Standard mode and enter Awake as the header.
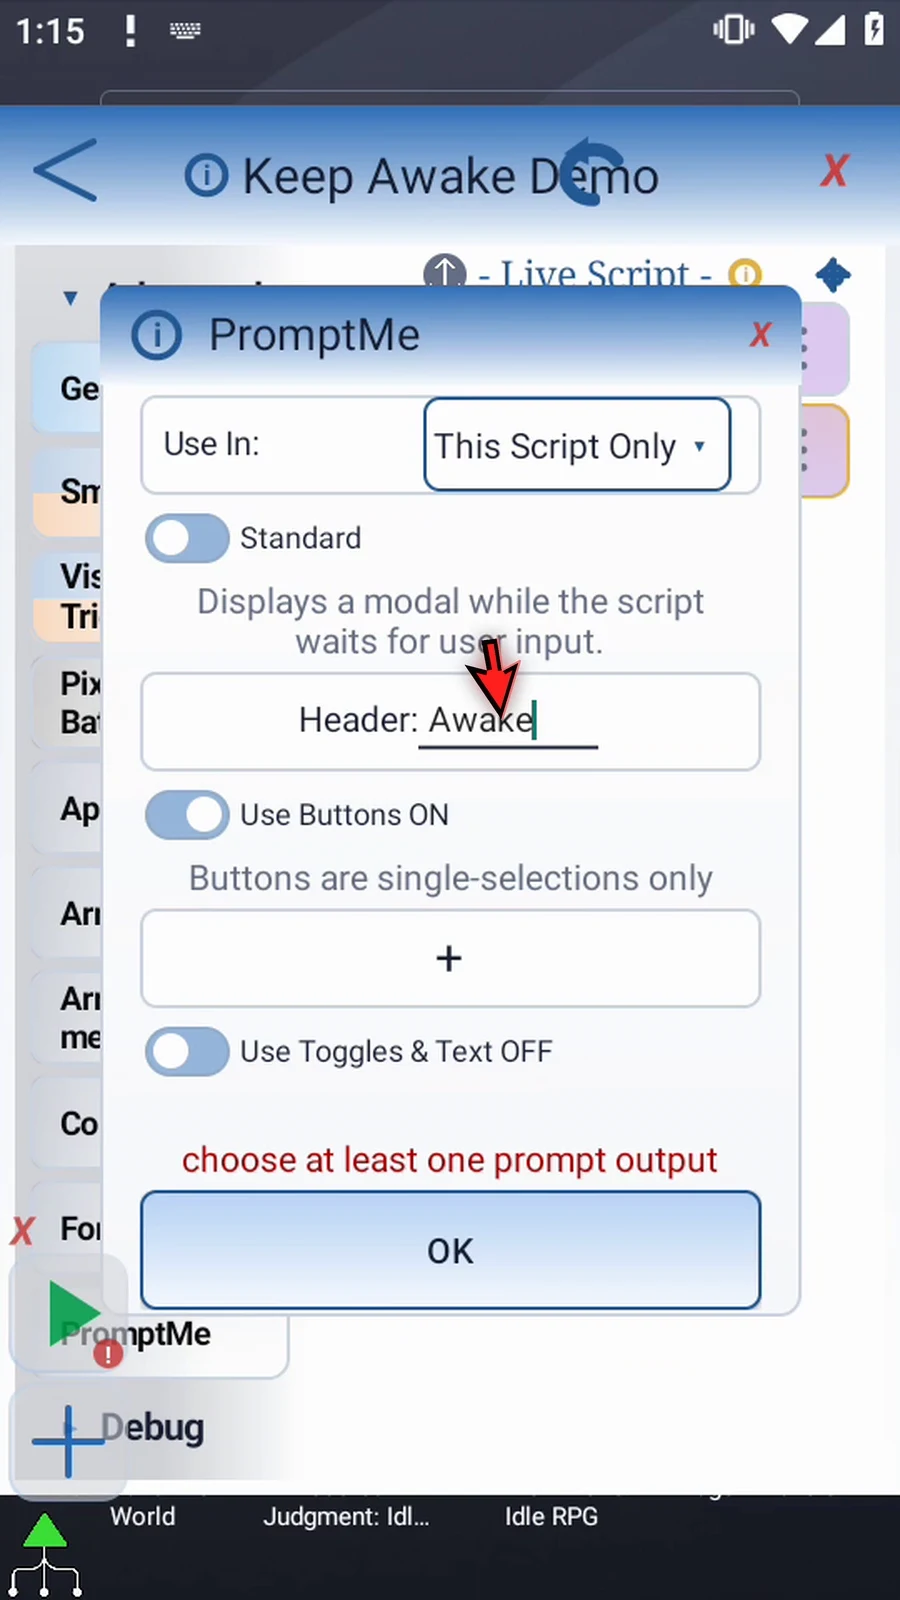
Step 11 Add a Done button and name its Boolean output b1. Tapping it will close the prompt and continue the script. Tap OK to save.
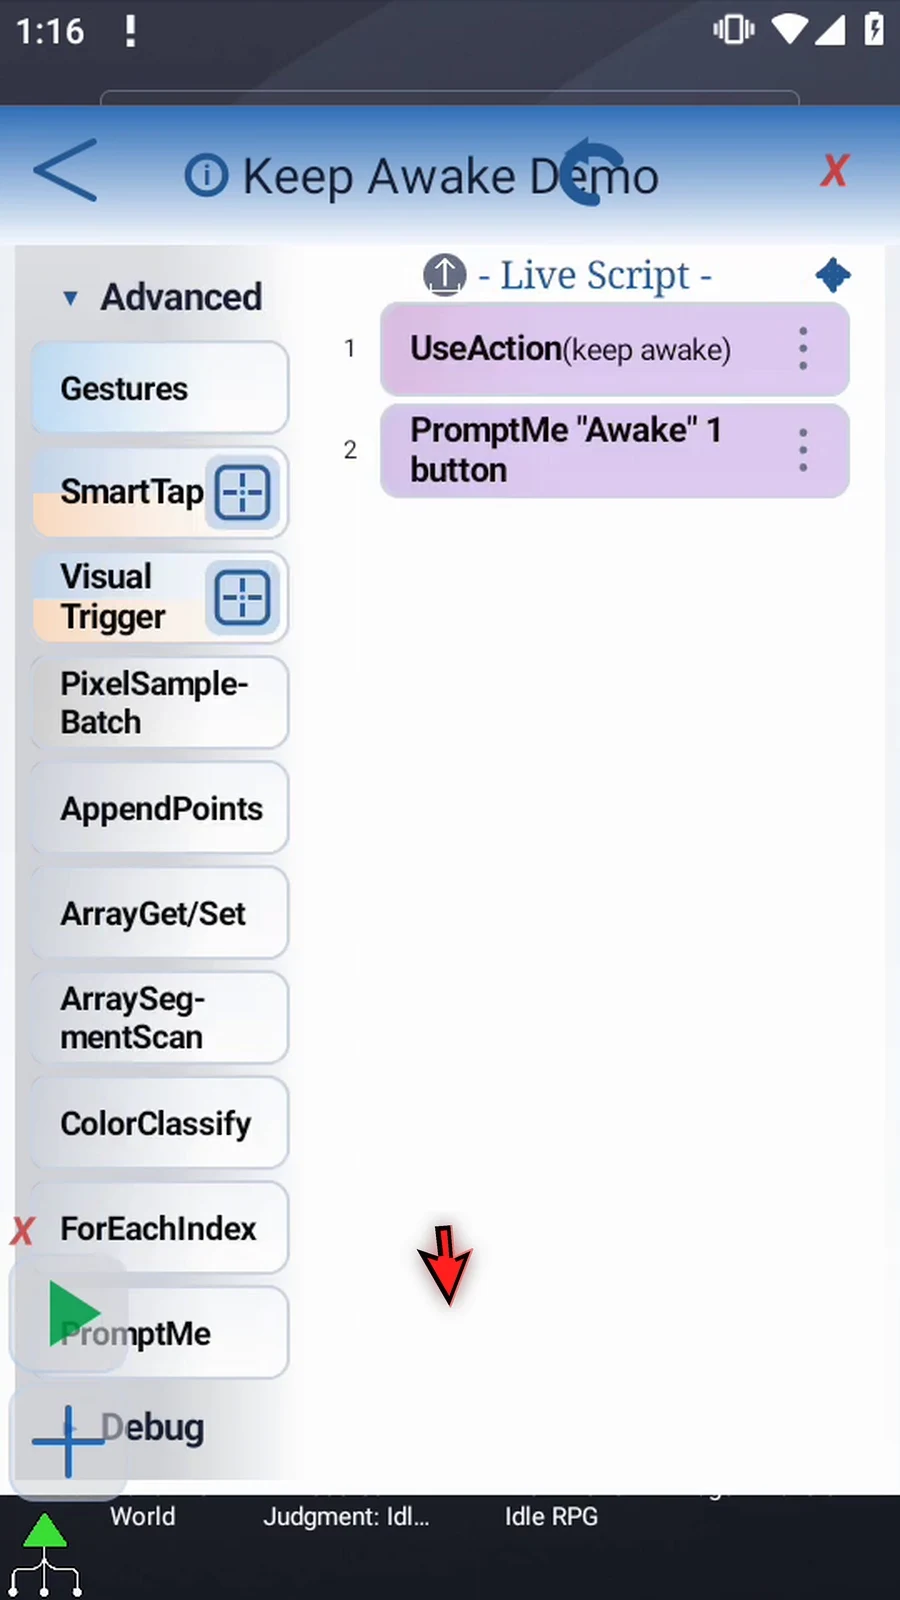
Step 12 Return to Device and drag a second UseAction below PromptMe. We'll use this one to release the wake lock explicitly.
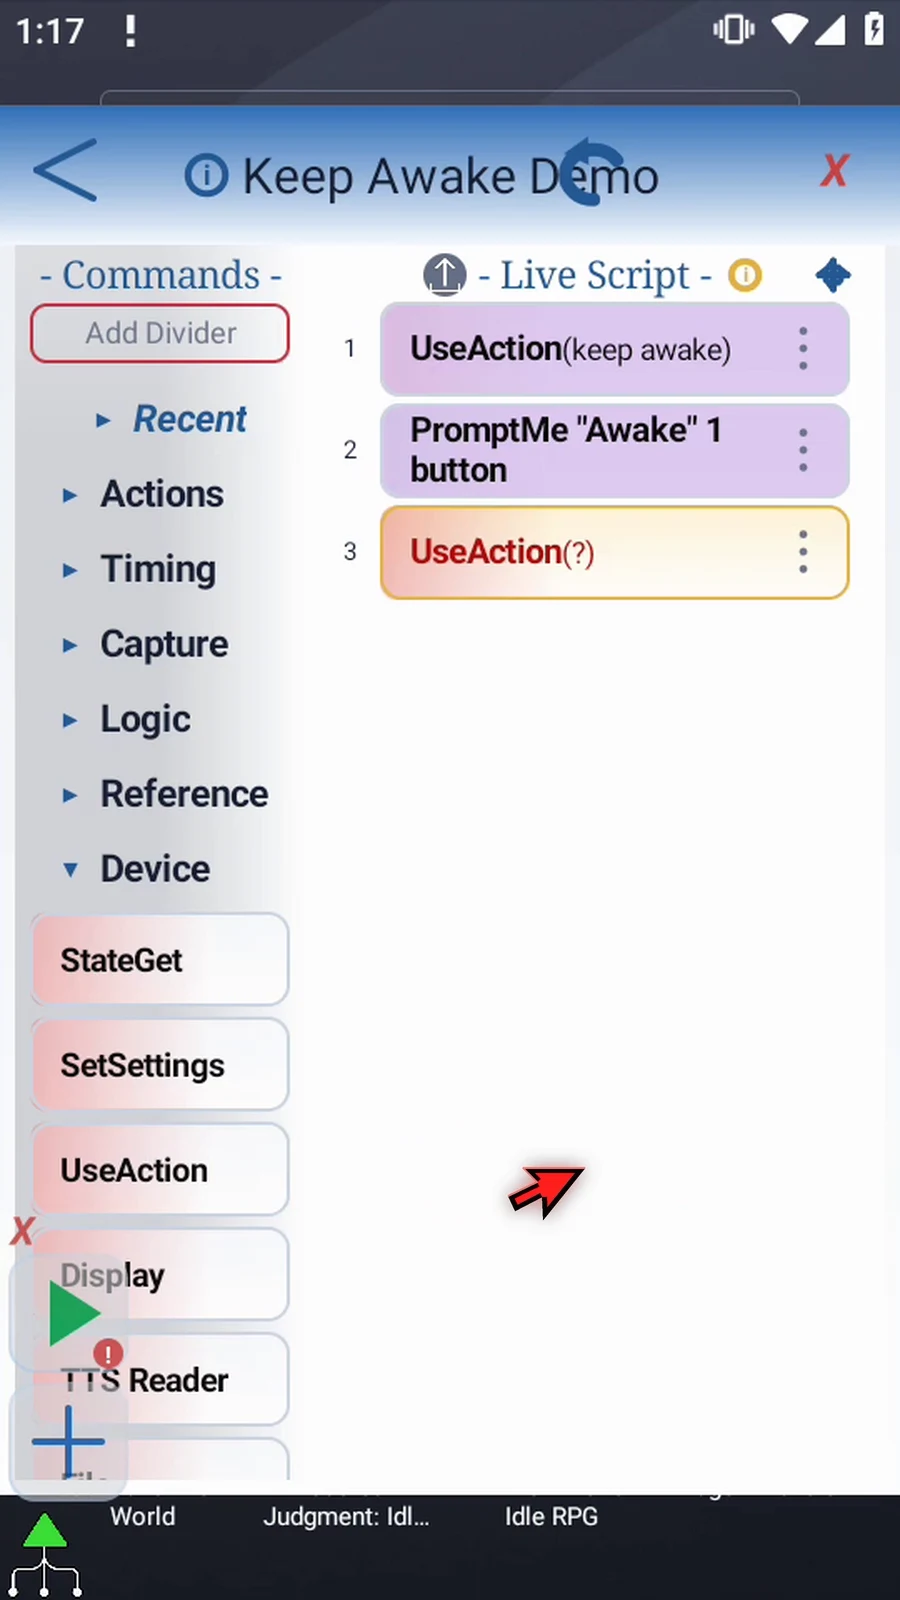
Step 13 Open the second command and choose Keep Awake again.
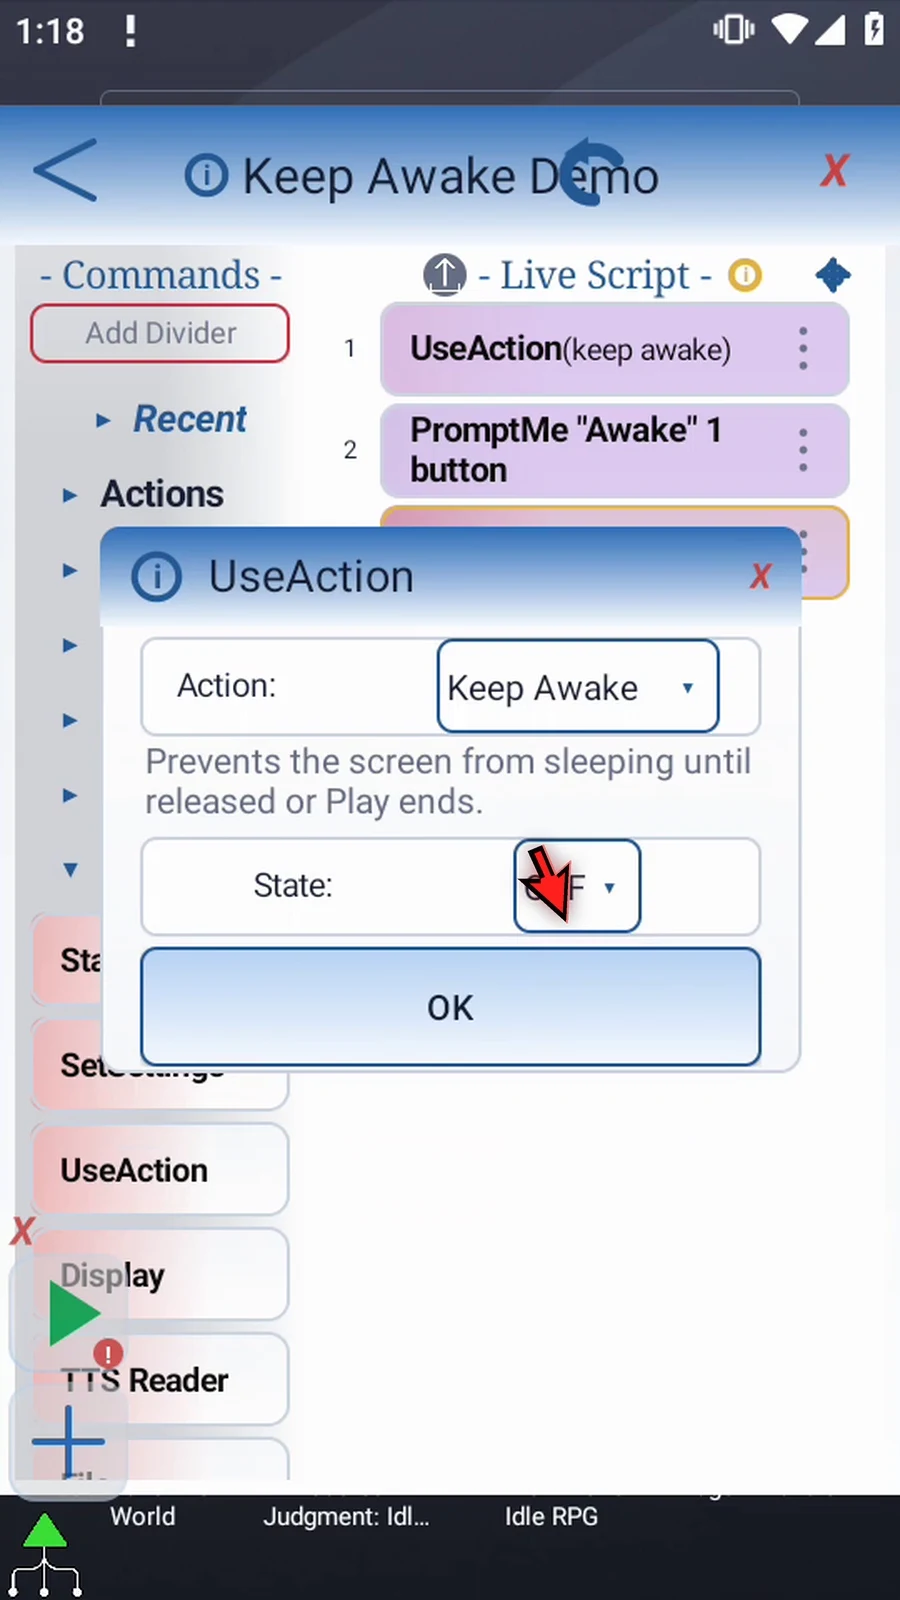
Step 14 Leave State off and tap OK. Off releases ScriptTap's hold; it does not immediately turn the screen off.
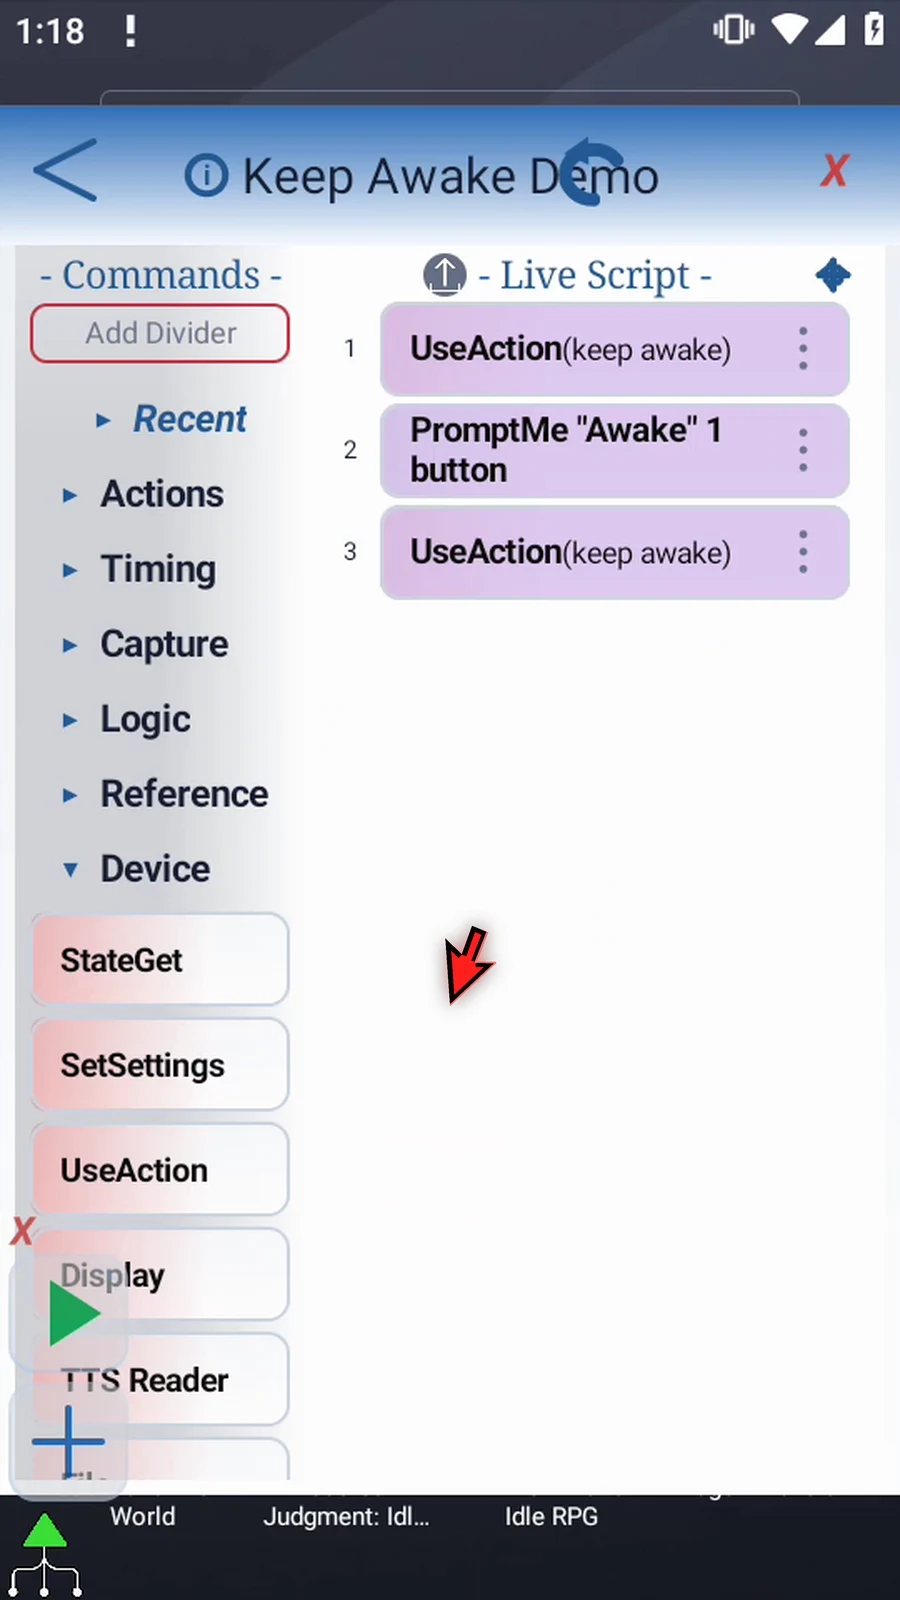
Step 15 The script now turns Keep Awake on, waits at PromptMe, then turns it off. In your own script, place the commands that need an awake screen between on and off.
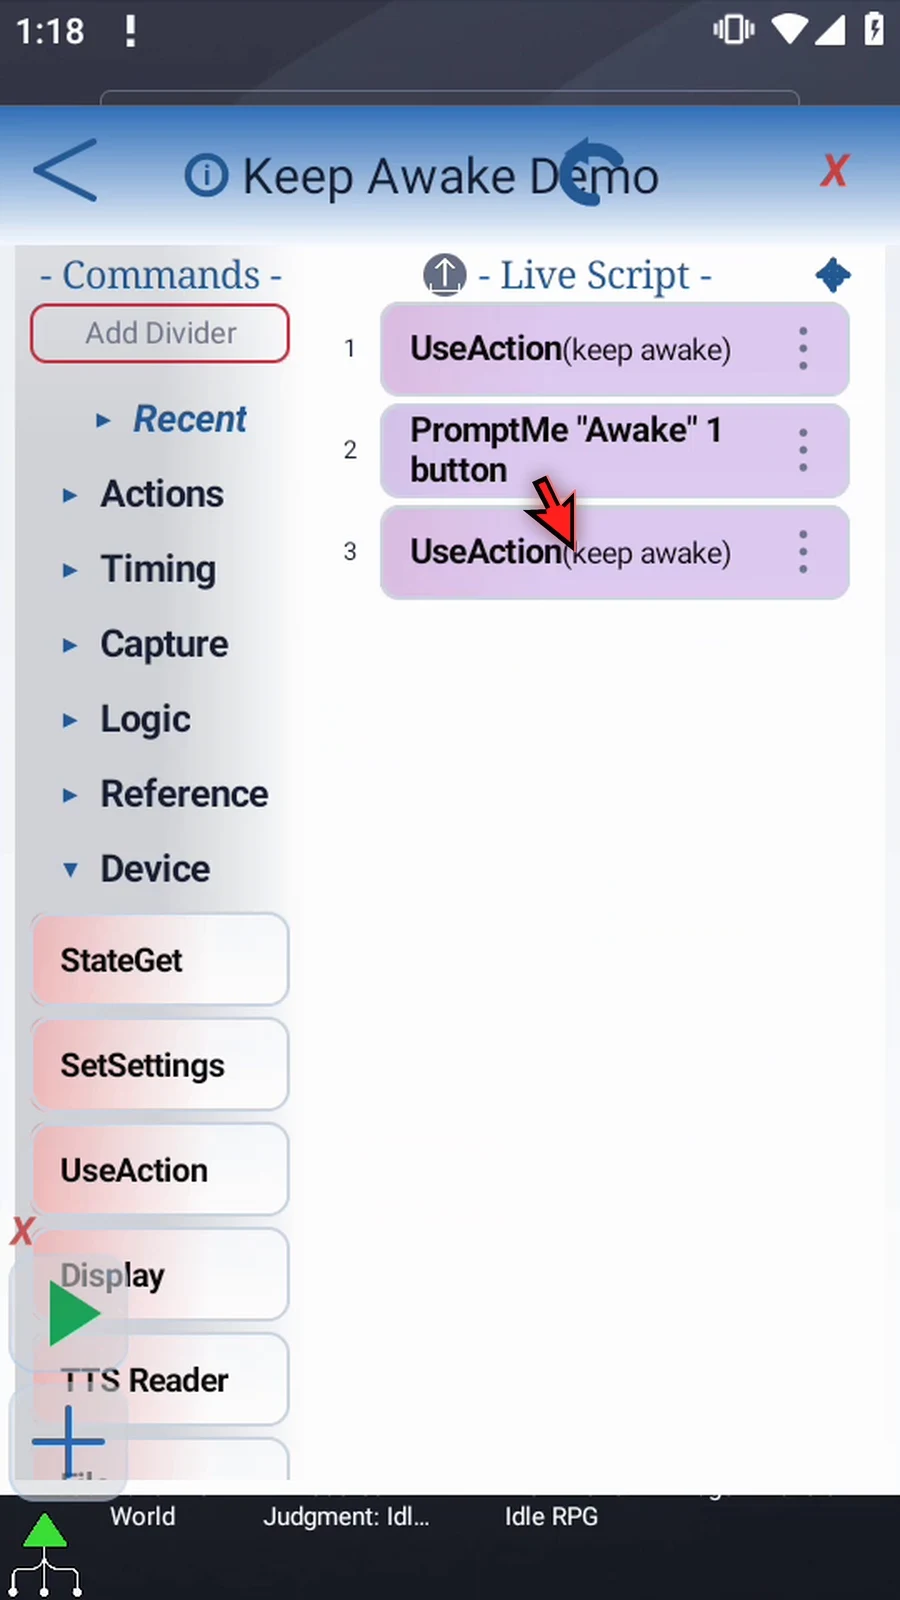
Step 16 Close the editor to see the example on your screen.
Step 17 When the script is complete, simply use the Play button in the main overlay.
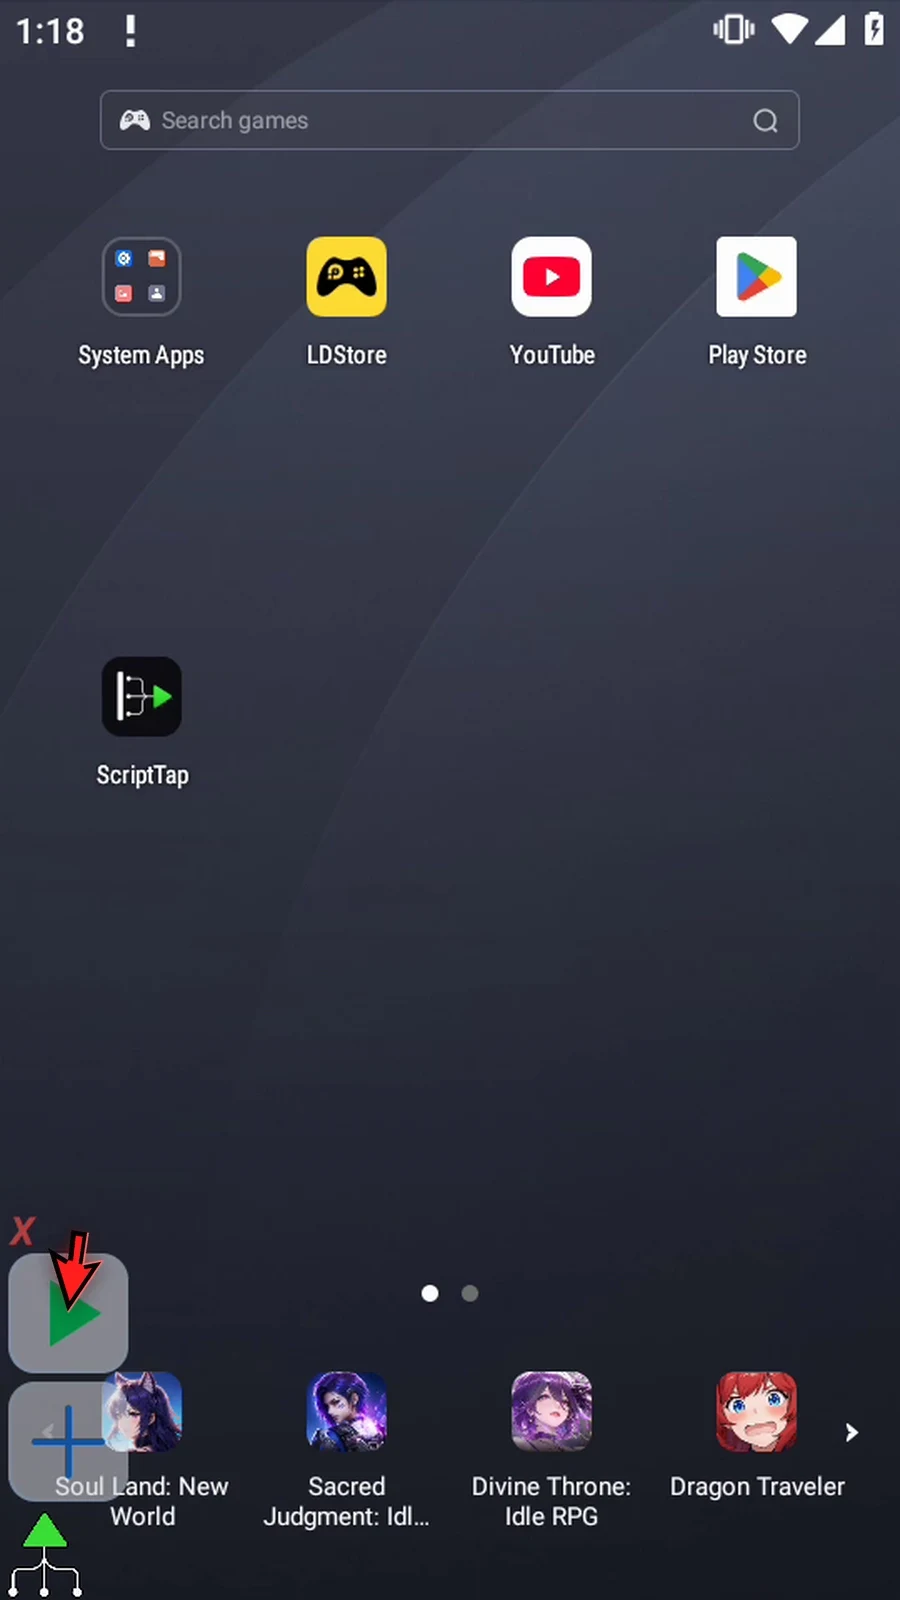
Step 18 Keep Awake is now on, and the prompt is waiting. The script remains active until we choose Done.
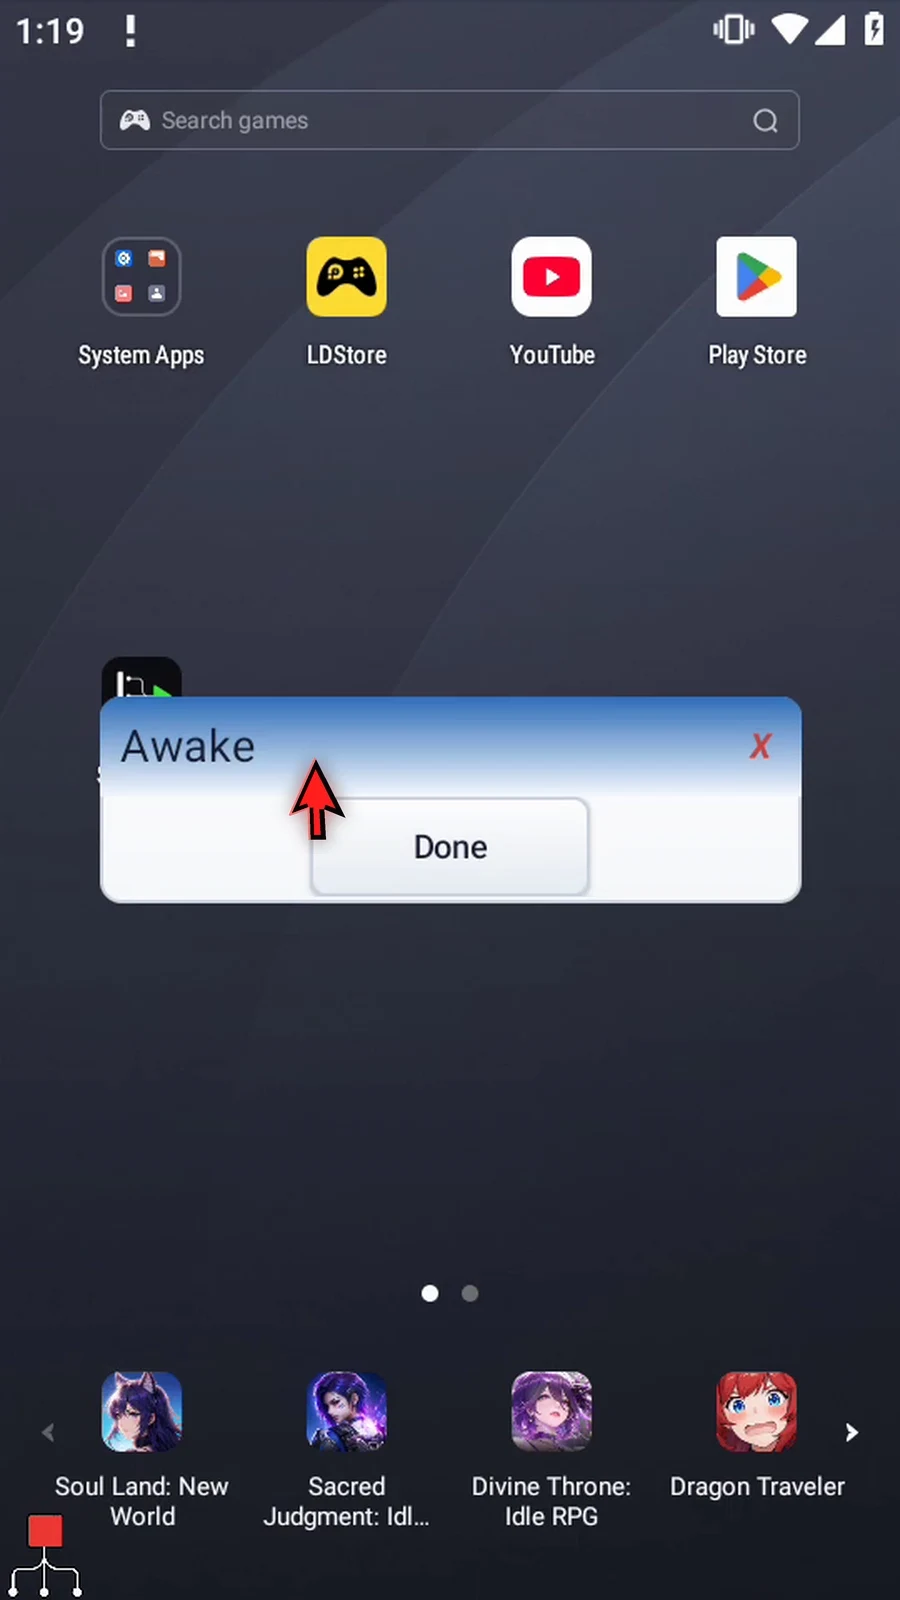
Step 19 Tap Done. The script continues to off, releases its wake lock, and finishes automatically.
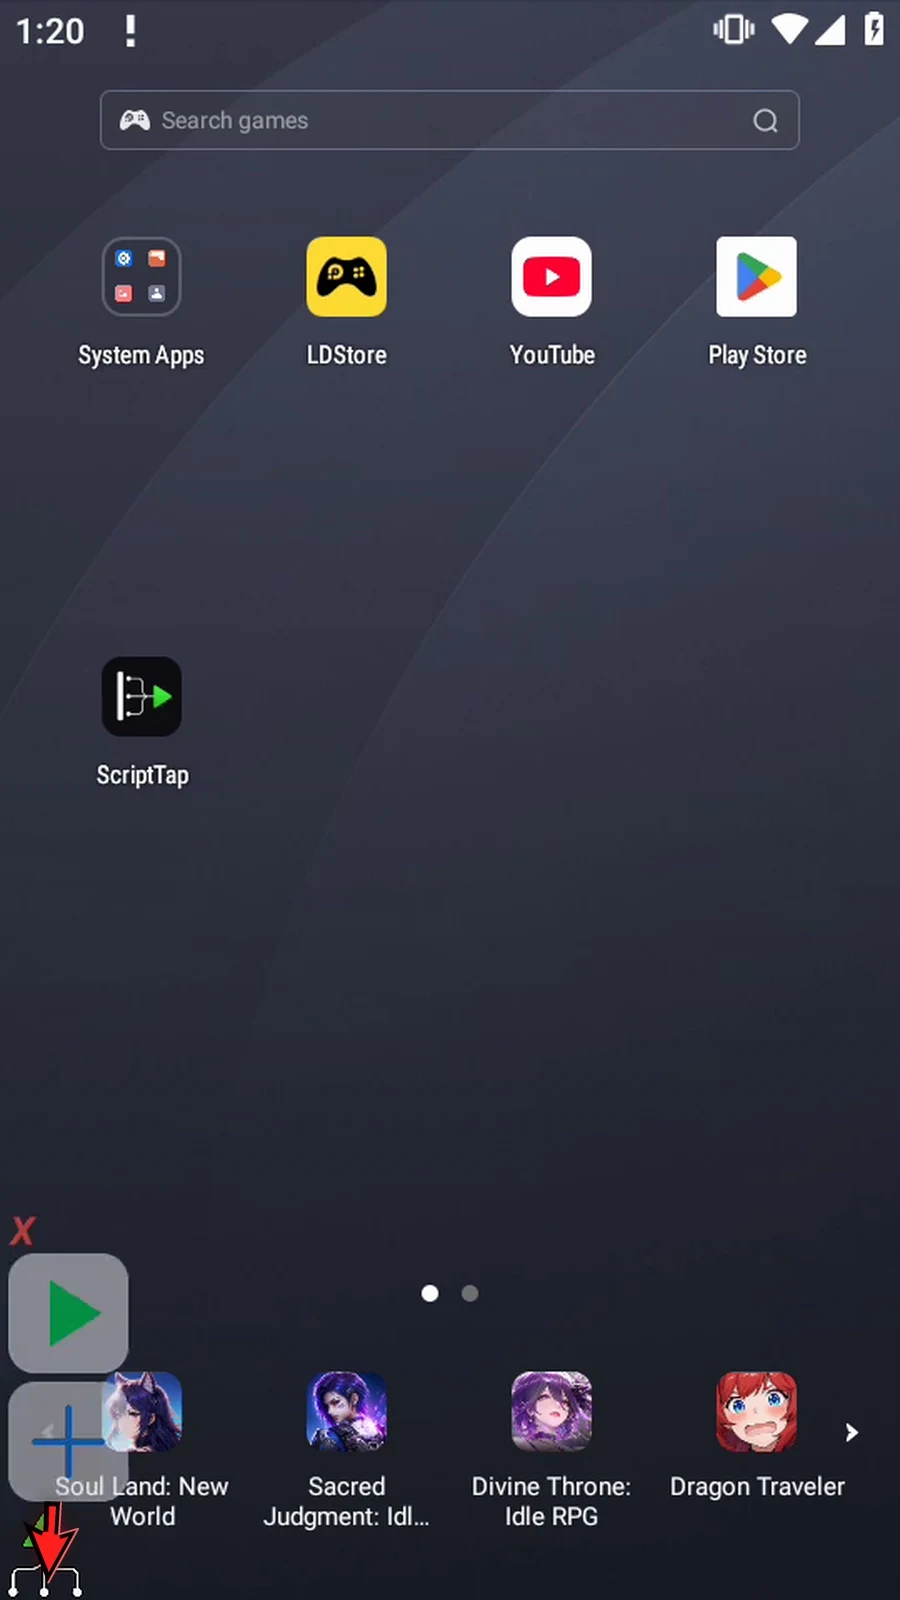
Step 20 ScriptTap also releases its wake lock when Play ends or stops. Keep Awake does not wake or unlock a sleeping device, and it does not change your saved screen timeout. Release it as soon as your script no longer needs it.